Posted on 23/06/2023 at 15:04
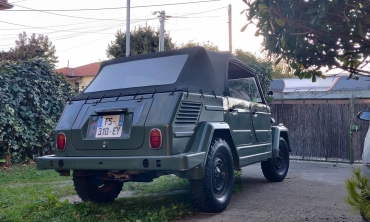
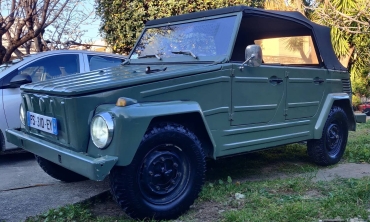
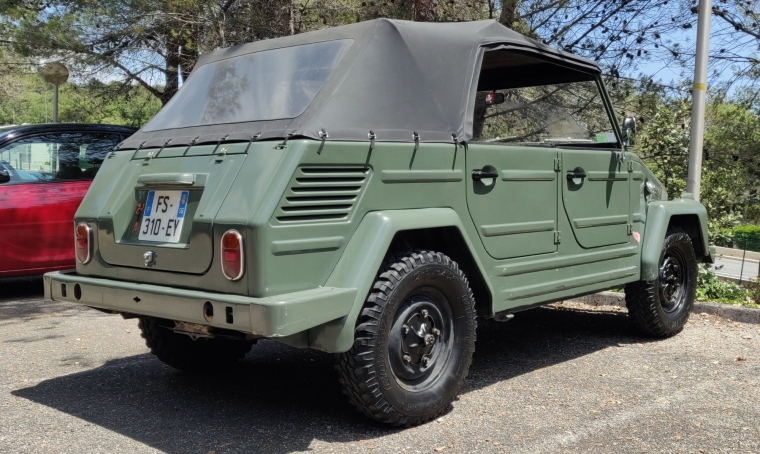
Küby : getting it back on the road... again!
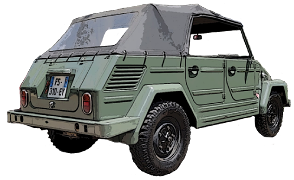
Back on the road... again!
KüBy
Küby was due to go to its MOT test, which I knew it would pass successfully, but at least it gave me a starting point. It already failed its previous test (when I bought it), amongst other things for defective wipers...
So, back to the MOT test to know what I'll have to fix... Test unsurprisingly failed for :
- braking performances : rear unbalance : AR
- baking performances : insufficient
- windshield wipers : not working
- windshield water sprayer : not working
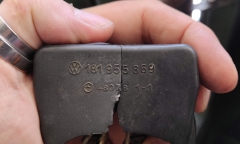
- horn : not working
- steering linkage : front left : major play
- headlights : not properly adjusted
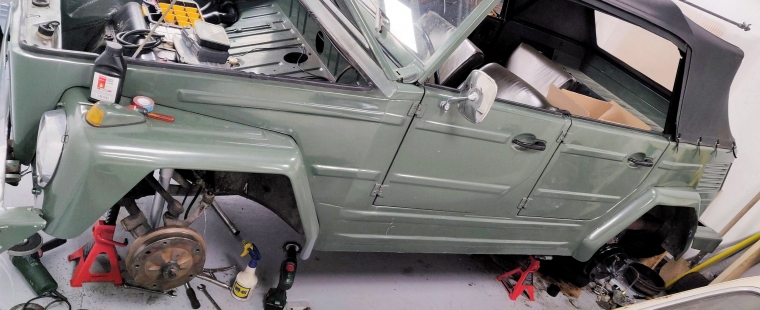
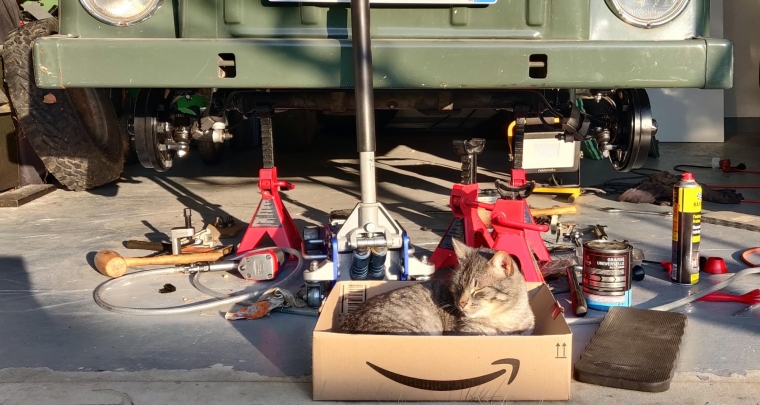
OK, let's be honest, I knew for sure I'd have quite some work to get it right. So, let's get the stands out and address each point...
Hey, here's my advice buddy : go get yourself a coffee, this is gonna be one long ass post right there.
Rear brakes
Performances of front brakes were ok as per the MOT, even though I still plan on renovating them too at a later point, at least to paint them as the drums are pretty (SPOILER ALERT : finally I'll fully rebuild them too below!)...Anyway, on the rear brakes I rebuild everything with brand new parts (last time in 2006 I only replaced the brake cylinders and their hoses, in a rush to drive).
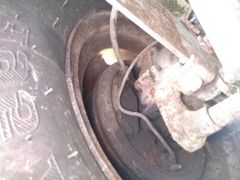
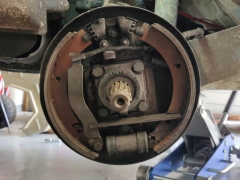
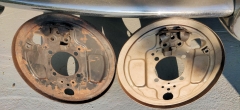
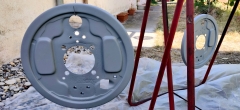
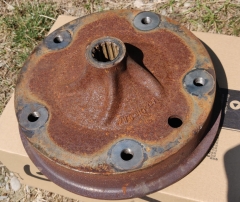
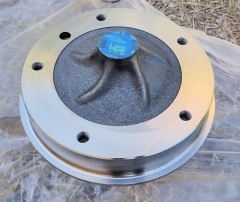
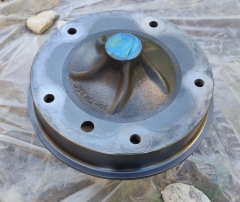
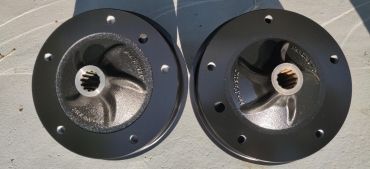
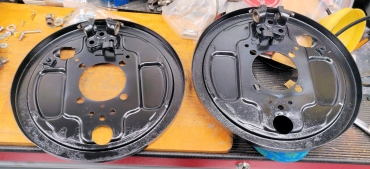
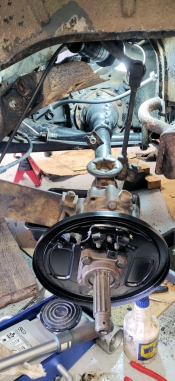
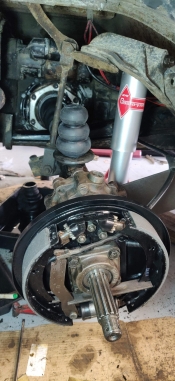
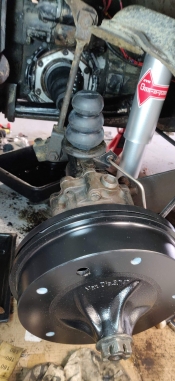
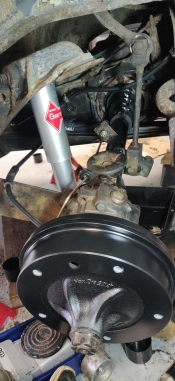
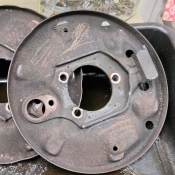
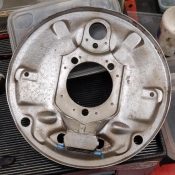
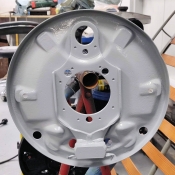
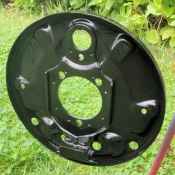
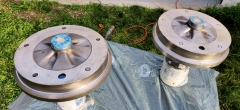
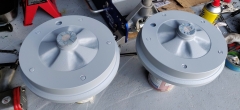
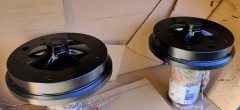
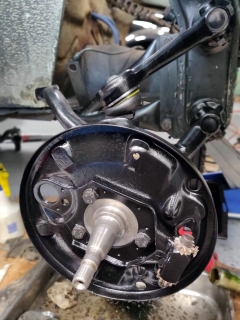
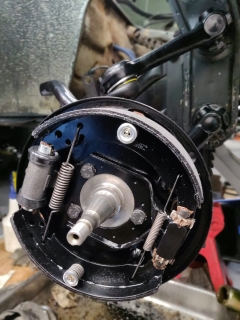
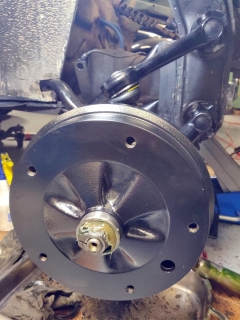
So I replaced cylinders/drums/pads/springs/hoses/hard pipe (I only kept 1 drum, recently replaced by the previous owner, it only had some exterior surface rust). I sandblast the brake plates, and paint them along with the drums (I spray one coat of MOTIP primer, then 2 coats of glossy white from the same brand). Brake cylinders get thoroughly cleaned with brake fluid, and everything put back together with a dab of copper grease on friction points. I won't detail everything, just go read my articles on the beetle brakes rebuild and Ghia brakes rebuild, it's the very same process. Fine, rear brakes check : next!
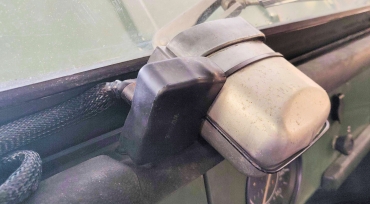
Wiper motor
My wipers motor does not run at all... Those are specific to the Thing model and do not exist as repro, so the second-hand ones are really pricey.So let's fix this one... I unfortunately did not take any pictures during the process as I was trying to do it quickly, but in the end I still spent a good 3 hours on it. Complete disassembly, cleaning the hardened grease stuck everywhere, polishing the axles that got oxidized, got the rotor on the lathe to polish its contacts and remove a couple 1/10mm on its outer diameter (got oxidized and that was grabbing on the stator once in a while, preventing the motor from starting)... Yeah, that took a while.
The coils look a bit too black to me, the motor probably got stuck under tension at some point, causing the coils to overheat.
But anyway, I reassembled it with new clean grease, I also changed the seal around the top cover, as well as the rubber boot protecting the electrical connections (both are available at Paruzzi), changed the sleeving on the wires... And it works perfectly now!
Windshield water sprayer
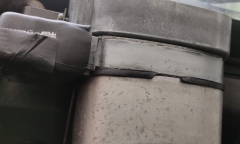
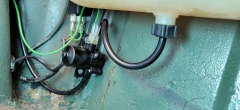
That's a new one on the MOT test, I had never been asked for that previously... It's getting trickier every year keeping our classics legally on the road.Anyway, I got rid of the factory system using the spare wheel pressure. In its stead I install an electric pump right below the water tank, actioned by a small switch I hide behind the stock switch.
I also change the stock tube and sprayer, add a one-way valve to prevent the water from flowing back in the tank, and I'm done. Next!
Horn
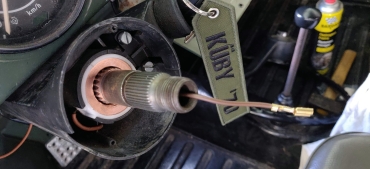
"Not working" said the MOT : well that ain't exactly correct, I'd call it "temperamental".And it got worse when I started working on the steering column, the horn blasting when I turned to the right.... Argh!!
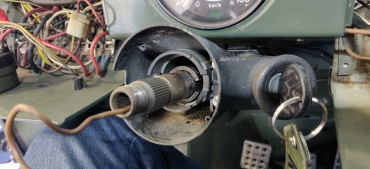
Well, it's a well known recurring issue on our old VWs... After struggling to find the root cause of the shortcut, I finally changed the steering column top bearing (the old one had a bad play anyway) and the wire that goes through the column.
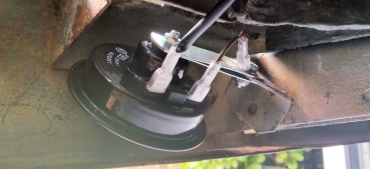
I also installed a brand new norn behind the bumper, the previous owner having glued one in the front trunk using at least a pound of hot glue (seriously, aSa???
Well anyway, the horn works perfectly now, but not on its own when I turn right!
Steering linkage
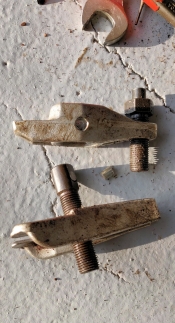
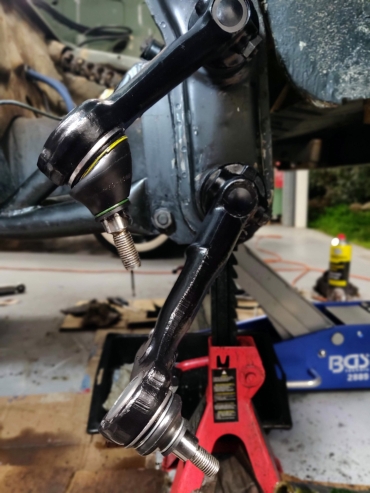
OK, I can't blame the MOT, the leftmost steering ball joint is completely shot. Heavy play, it's a bit scary to think I drove 20 miles like that to get Küby back from Nice...I was pretty confident it would be an easy job thanks to my Facom ball joint extractor, planning on just replacing the 4 steering ball joints.
But it wasn't going to be that easy, looks like the ball joint is from the factory, and is completely rust-welded to the spindle after over 50 years, ending up with the extractor breaking! (well, just its axle, which can be bought as spare parts from Facom)
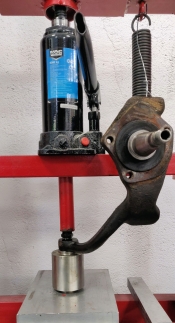
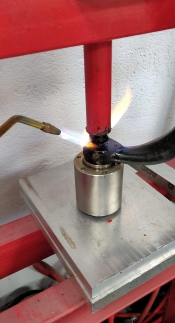
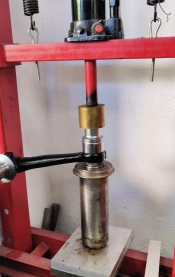
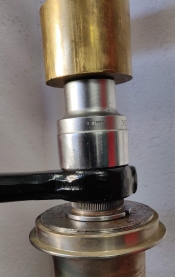
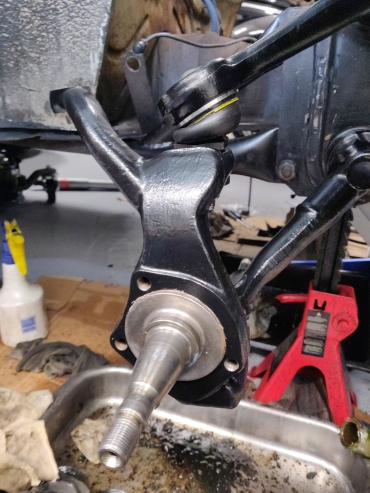
So I took the spindle off of the car, to put in into my hydraulic press (#itsnevereasy). Using an Oxygen Acetylene Torch, WD40, the 6 tons of pressure from the press, and two mallets to hit the ball joint from both sides, it finally came out with a loud "bang" that got my ears to ring for a solid 10 minutes!
Suspension ball joints (and getting carried away)
So... That's the point where I started getting carried away.When I took down the steering links, I saw that the spindles were pretty hard to turn by hand, which explained the very stiff steering wheel.
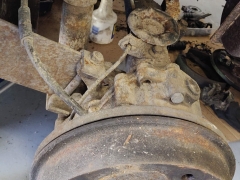
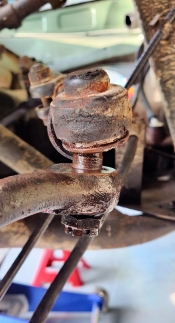
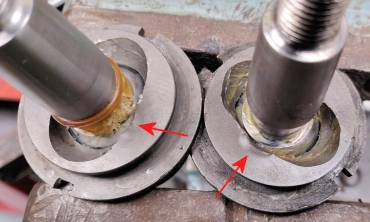
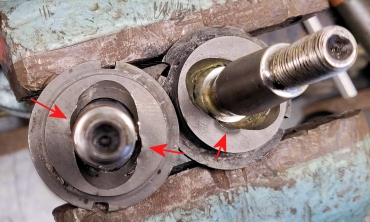
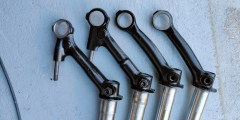
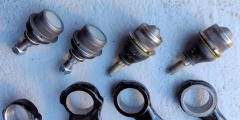
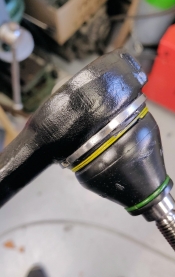
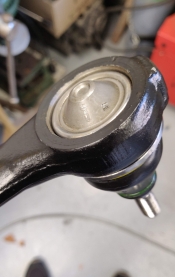
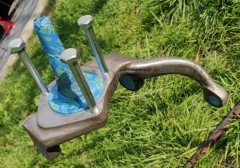
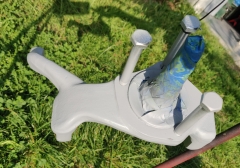
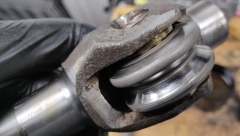
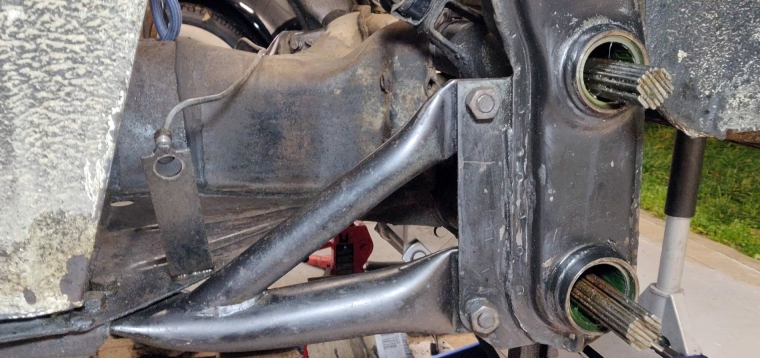
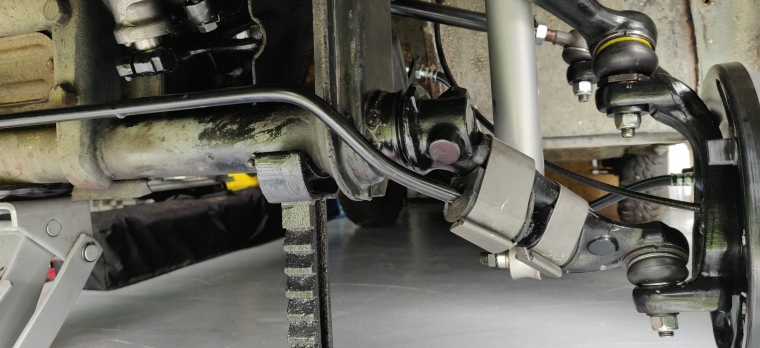
It appears the 4 suspension ball joints got replaced by the previous owner, but the shop who did the job did not align them correctly with the marking on the suspension arm. As a result, after some driving, they had to be pressed out and in again (a big no no here).
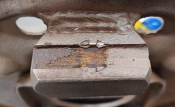
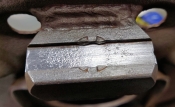
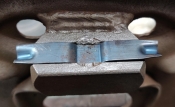
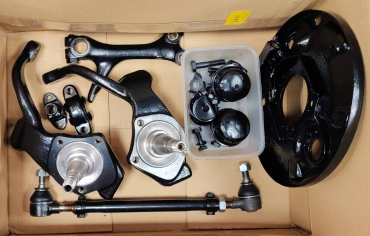
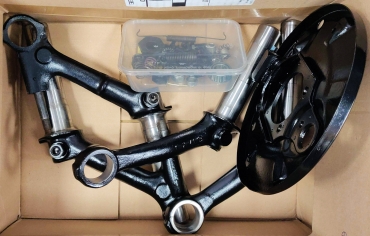
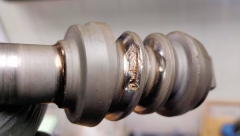
The ball joints obviously did not appreciate the treatment (especially the 2 top ones, see pictures), and since I already have removed the spindles, I figured “in for a penny in for a pound”... Let's remove the suspension arms and replace the suspension ball joints (but correctly aligned this time). I tried to find good quality ball joints, better than the Meyle "German-made-in-Turkey" previously installed, which do not have a great reputation. I end up installing a pair of TRW on top (found on eBay US - nice product but rare and pricey) et de Heyd on the bottom (bought from Paruzzi in Netherlands).
And as usual, while I'm at it, I also give the arms the classic cleaning/bead blasting/degreasing/priming/painting combo. You know what, from now on I'll call that "the combo" for short in this article... Talking about the combi, since the spindles are out...
Front brakes (getting even more carried away)
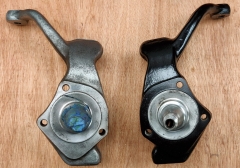
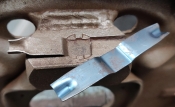
Since I had to remove the brakes to get to the spindle, well... Even though I had not planned on doing it right now, it's still the opportunity to restore them as well, amirite? #morecarriedawayOn one of the front brake plates, the spring plate locking the adjusting wheel was broken... I bought a new one, removed the old and pinned the new one in its stead... And then "The Combo".
Nuts & Bolts
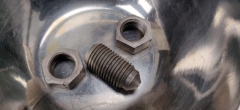
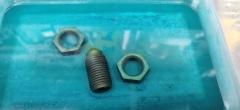
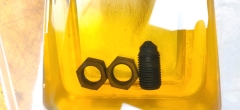
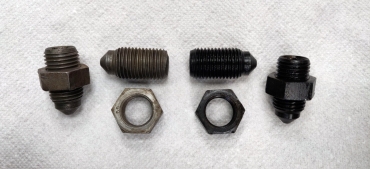
Always in the objective of getting everything clean, I treat all the hardware with Brunifast : it's a cold bluing treatment, which turns the steel a nice shiny black (like guns) and provides some rust protection.Each and every screw, nut, or spanner get sequentially :
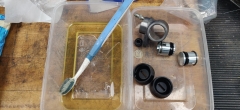
- cleaned (WD40 and toothbrush, and/or ultrasonic bath)
- bead blasted (using my DIY sandblasting cabinet - which just turned 10 yo!)
- thoroughly cleaned/degreassed (acetone/brake cleaner)
- dried with a heat gun - make sure not to touch the parts to avoid fingerprints
- bathed in the bluing solution (2/3mn max, not more, or the black coating won't stick!), while the parts are still hot from the previous step. Bath temperature must be 20°C minimum.
- rinsed with clear water
- dried with a heat gun - again
- bathed in fine oil, while the parts are still hot from the previous step. At least two hours, but overnight is even better.
- thoroughly wiped
The process, as you guessed, is extremely time consuming, parts need to be perfectly prepared for it to work properly. But without this process, the bead blasted nuts & bolts would get rusty pretty quickly... And I gotta admit, it's a blast re-assembling everything with great looking hardware!
Steering box
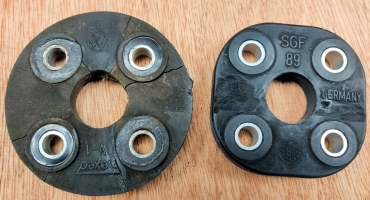
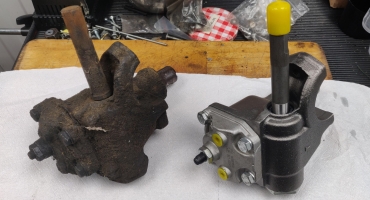
Since I was on the steering and the car was on stands, I tried to adjust the steering box, which always had issues.I couldn't for the life of me get it correctly adjusted, it caught at some angles then had massive play... In the end I decided to replace it with a brand new one, along with its flector which was the original factory one and was seriously cracked... #gettingevenmorecarriedaway
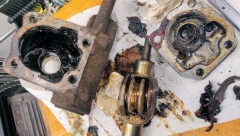
I did an autopsy of the old steering box... No lubrication because only filled in with old hardened grease stuck to the sides of the box only, and the worm shaft was massively deteriorated, which explained the "sticking" feeling mentioned before. The roller wasn't too bad though.
Reassembly
Time to put everything back together, with a dab of copper grease on the adjustment points to make it easier later... The front beam has been cleaned (WD40 by the gallon, in a spray) before reassembly, just to have something clean to work on. We're not savages. I then realized that even if Küby had the brackets for the front anti-sway bar, it did not have the actual sway bar itself! So installed a beetle one, which is not ideal as the Thing came from the factory with a bigger one (14.5mm diameter on Things vs. 12mm on Beetles.sur cox), but it will have to do for now.By the way if any of you guys have a spare Thing sway bar, please let me know... Sticking to the "It's Never Easy" law (which is a corollary of Murphy's), as I was putting back the front left wheel, torquing the screws... The thread ripped away in the drum.
This one had been replaced though... Weird.
So I considered several options :
- install an helicoil : not great on a security element like that.
- switch to shoulder studs pressed from inside : I'd have to machine a pocket in the drum as there won't be enough room for the stud's head (it would rub against the brake pad's spring retainer), but with only 8mm thickness I don't really have enough material to do this.
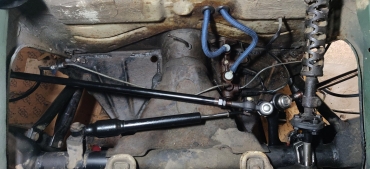
I also replace the blue hoses between the brake fluid tank and the master cylinder. They were in a pretty bad shape 15 years ago, I had even bought new ones back then but never had the opportunity to install them... Obviously they did not get any better with time, leaking fluid as soon as I touched them. Better late than never I guess?
Long story short, this looks much better, right? Just as a reminder : I was initially planning to change 1 steering ball joint... Talk about getting out of hand!!
One hiccup I face though : after reassembly I noticed the suspension ball joints were very tight... It's supposed to get better after some driving as the join get run in, but I honnestly couldn't drive like that. I decided to follow a method found on TheSamba : forcing a pre-run in of the ball joints using an impact wrench (see vidéo here or there).
It works well, you just have to go through the process a number of times so the joint doesn't overheat. And now at least the car is driveable.
Shock absorbers
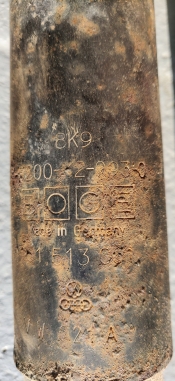
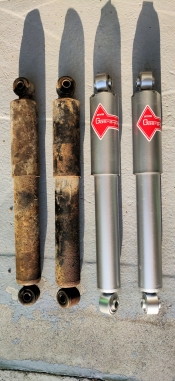
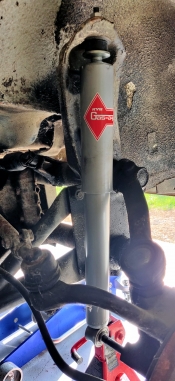
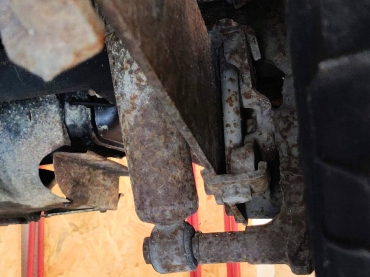
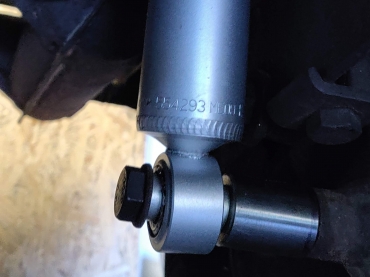
I replaced the four shock absorbers with gray KYB Gaz-a-Just ones - looks like Küby was still on his factory shocks from 1970! On the rear-left one, the original spacer had been replaced with a piece of pipe, which from a mechanical standpoint doesn't make sense, and actually ended up bending the screw. So I turned a new spacer on the lathe in a piece of scrap steel, bought a new screw, and done...Rear axle
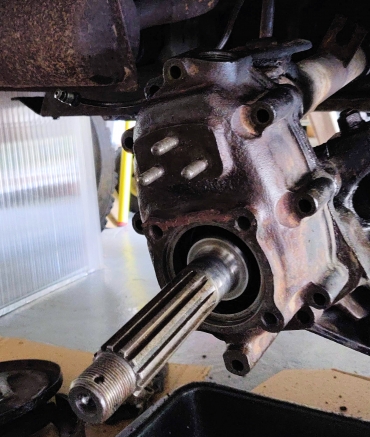
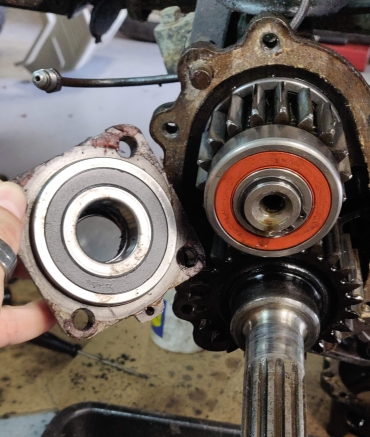
I checked the bearings in the reduction boxes : they had been replaced by the previous owner, they're new, but are waterproof models. I would have preferred standard models, keeping the original oil circulation, but I decided to keep them anyway... I reassembled everything whilst replacing the lip seal and paper gaskets, with some Loctite 518 to prevent any oil leaks. While I was there, I replaced the swing axle boots, and gave a good cleaning to the whole rear section... I also replaced the fuel hoses - the one between the chassis and the engine was completely shot, and started leaking heavily as soon as I touched it!I also installed suspension rubber bump stops, which were always absent. The left bump stop bracket got eaten by rust, I gotta weld a new one in place.
...and "a few" more things!
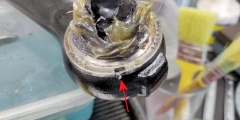
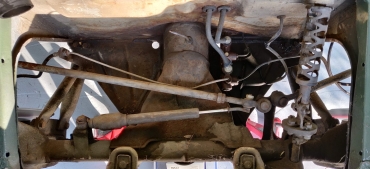
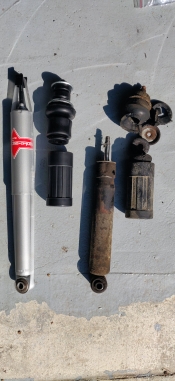
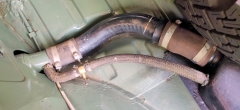
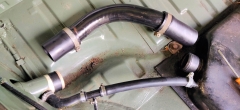
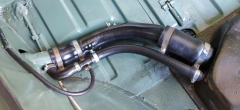
The fuel fill-in hoses always had a tendency to leak, leading to fuel smells when turning to the left. Well, the air vent had simply been plugged, it had to go somewhere...So I also replaced all the hoses, seals and air vents of the tank. On that topic : the "fuel venting hose between tank and T fitting" sold by VW parts resellers is too shorts by a couple centimeters (see middle picture below), I ended up replacing it with 15x23 hose I bought by the length from TopJoint (not a sponsor, free ad here).
I also fix many little things to get the beast more secure and reliable :
- straightening the rear left wing (that got bent 15 years ago... the wheel got away!), and adding the seals over the wings (and a couple of missing screws under the wings)
- Adding the battery strap (as usual, I found back the original one in a box after I ordered a new one in the US!)
- Adding the seals around the doors (they've always been missing)
- Adding the top and bottom seals on the windscreen (same, never had them)
- Adjusting the headlights (as required by MOT)
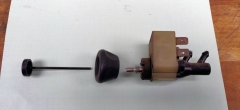
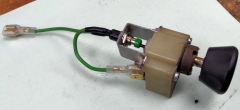
- Still on the headlights : the switch wasn't working well, I had to jiggle it a little for the lights to turn on... So I disassembled it, cleaned it, polished the contacts, used a bit of electrical spray, adjusted the spring contacts, reassembled... And it works perfectly now!.
- Engine oil change (Motul 300v 20w60)
- Gearbox oil change (Motul HD 80W90)
- Reduction boxes oil change (250ml gearbox oil)
- Installing a 2kg fire extinguisher below the rear seat (I'm a bit paranoid of fire risk on my classics
- Installing new straps for the rear seats backrests
- Changing all light bulbs to LED ones (including a LED-compatible flashing relay, and a motorbike beeper, as once the top is removed I wouldn't ear a thing and drive for miles with the turn signal on)
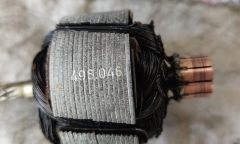
- Starter motor : once in a while it would just give a "click" noise and not run at all... I initially thought solenoid, but nope, it was working correctly. In the end it was the motor rotor contacts that got oxidized (the car was stored outside for many years, that probably did not help). So thorough cleaning, polishing, degreasing, and it runs perfect now.
- Drive door : the little door retainer tab had broken away, so I turned a new one on the lathe.
Well well well. As for "getting it back on the road" I may have gotten a bit far... How many coffees did you have buddy?
I'll have to change its 4 tires soon-ish too. Wouldn't it be a perfect opportunity to change rims??
Posted on 14/02/2023 at 22:02
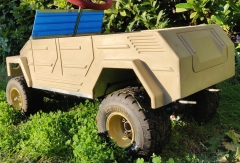
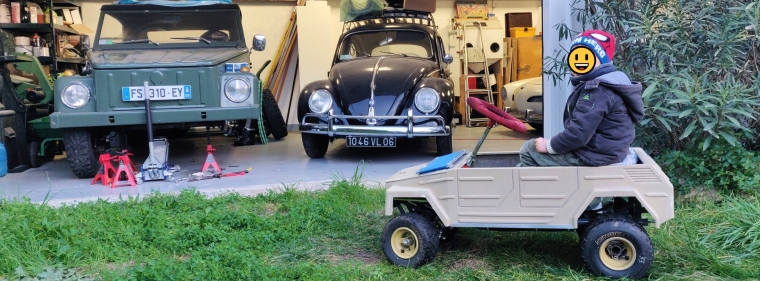
Mini Thing : Chassis, Motor, Electricity, and first ride!

Chassis, Motor, Electricity,
and first ride!
and first ride!
Mini Thing
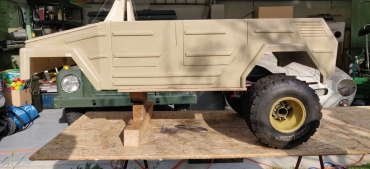
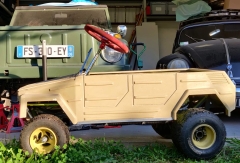
The project was on hold since I had sold my VW Thing, I had then lost the motivation to make a scale version of it... But I managed to buy back my Thing in September 2020, 13 years after selling it!
But more important, in the meanwhile my son was born (2017), and when the little one saw, two years ago, the body/shell of the Mini Thing collecting dust in the workshop, he started a constant and intensive lobbying to get the project re-prioritized.
Chassis
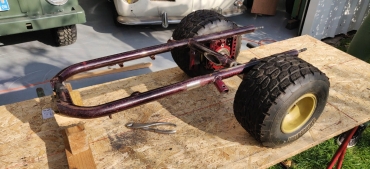
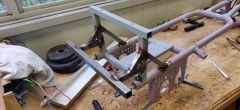
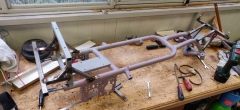
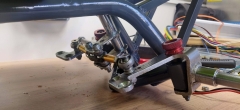
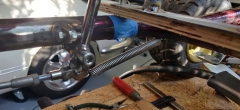
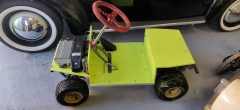
Back in 2007 I had started a chassis from square steel tubes, but it was not looking good from the beginning. I had built it in a hurry, as I had convinced myself I could get it to drive within 48 hours for an upcoming meeting. Unsurprisingly, it did not work out. To give you a glimpse of the "quality", as I did not own a lathe back then, I chose to directly spot weld the brake disc and transmission sprocket on the axle!Add on top of that the long welding session in an underground parking box, until 2AM, wearing a tank top, resulting in an unforgettably glowing sunburn... Talk about a disaster.
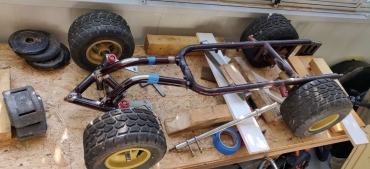
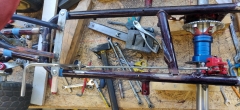
So, long story short, I started again from scratch, by sourcing two go kart chassis as base. One I bought for cheap (50€, thanks Gus!), and the other one discarded on the pavement just 100 meters from my place - fate! But you should have seen the face of the 2 cops that crossed my path, while I was dressed in a shirt and tie (I was heading to work), at 5:30AM, holding a wrecked go kart on my shoulder... Fun times.
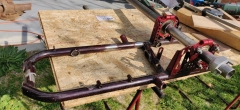
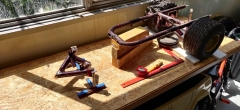
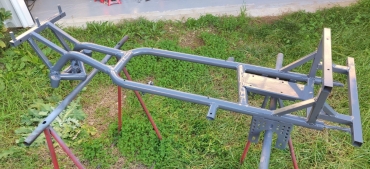
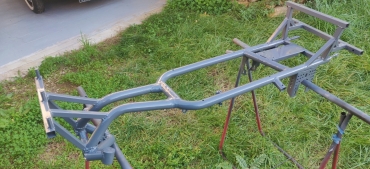
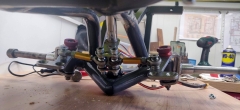
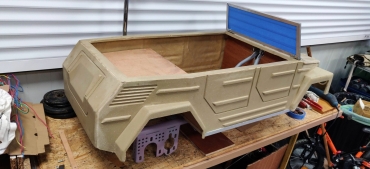
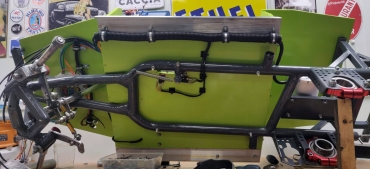
After some Sketchup design to figure out the best way to optimize my cuts, I begin with the rear end of the chassis. I cut away a section of the go kart chassis, and weld it back together, while putting it upside down to gain some much needed ground clearance. A go kart usually sits like an inch from the ground, and that's not the stance I'm going for here.
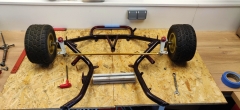
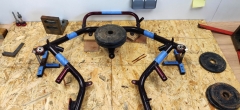
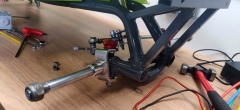
I make temporary little brackets/mounts to keep the geometry of the front axle while I cut everything, not that I intend to drive it very fast, but to ensure the steering wheel will go back to neutral on its own. Said brackets were actually cut out of the first chassis I made back in 2007, which I dug out of its rusty grave - at least it will have served a purpose! (in the end I'll have recycled most of it in this project!
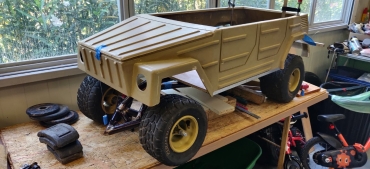
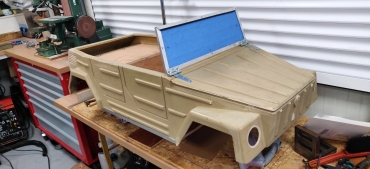
In the back and the front, I build stands/brackets to hold the body shell, and later on attach the bumpers. Never underestimate the destruction power of an overexcited 5 yo.
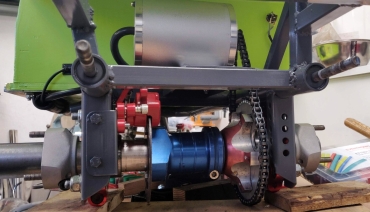
As for the steering parts, I pick in the stock of go kart parts I've accumulated along the past 15 years. I turn down on the lathe the aluminium steering links, leaving the left-handed thread on one end and re-threading the other, to keep the adjustment like on the original go kart. I also drill new holes in the spindles to increase the steering angle.
Motor
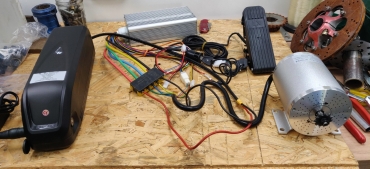
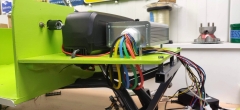
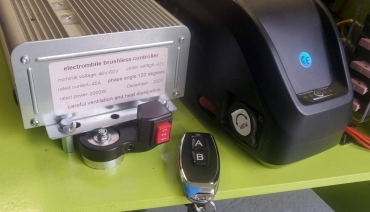
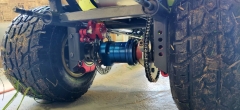
I dropped the initial idea of a gas-powered engine, not suitable for a kid, noisy... I switched to an electric brushless motor 2000W, bought on AliExpress (159€).The motor kit comes with a controller, a throttle pedal, a key-activated main switch, a 3 positions selector to limit the speed (not a bad thing to have when giving the bloody thing to a little boy), the sprocket and chain...
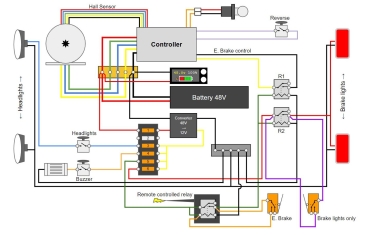
The controller comes with an input to activate the motor electric braking, which gives me the opportunity to add a remote control to stop the car at a distance, in case the little one gets a bit too enthusiastic behind the wheel.
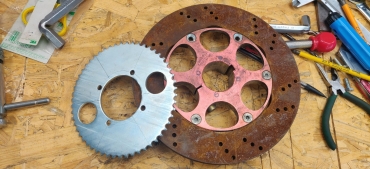
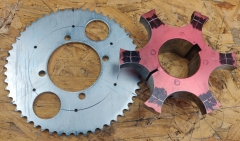
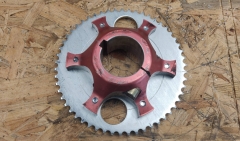
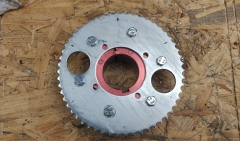
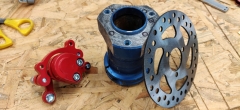
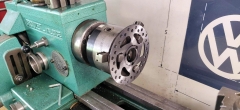
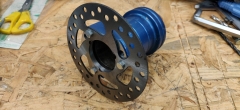
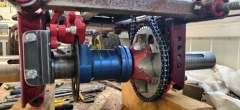
To adapt the sprocket on the rear axle, I used a brake hub I found on one of my sacrificial chassis. Turned it down on the lathe, 6 M6 threads, and done.
Brakes
I start with a 20€ disc-brake kit for bikes, mechanically actuated, not hydraulically. First because again, I'm not making a racing go-Kart, but also the maintenance will be much easier, limiting the risks of seizing (not even mentioning cost).I modified and moved the original go-kart brake pedal, with a linkage rod to action the lever on the caliper. The caliper got modified as well to adapt it to the kinematics of the movement. The disc is secured on the axle using a wheel hub I modified on the lathe.
The brake works fine, but it doesn't have the "bite" I was hoping for, due to the linkage rod buckling under the effort, which reduces the power transferred to the caliper.
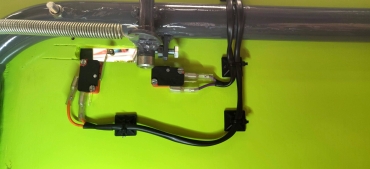
To compensate for that, I have added a micro switch on the brake pedal to activate the electric braking of the motor (which recharges the battery as well!). This will do until I modify the system, so the linkage would be pulled instead of pushed, or maybe replace it with a cable... Room for improvement.
Interior
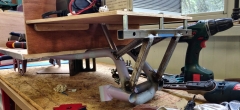
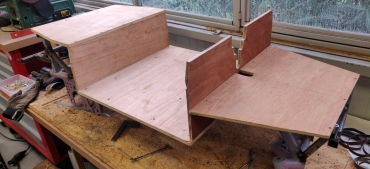
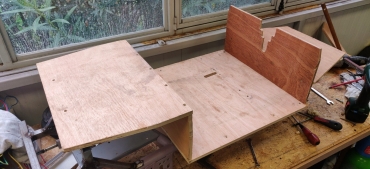
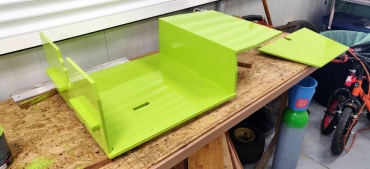
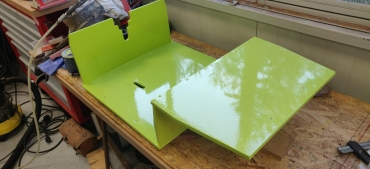
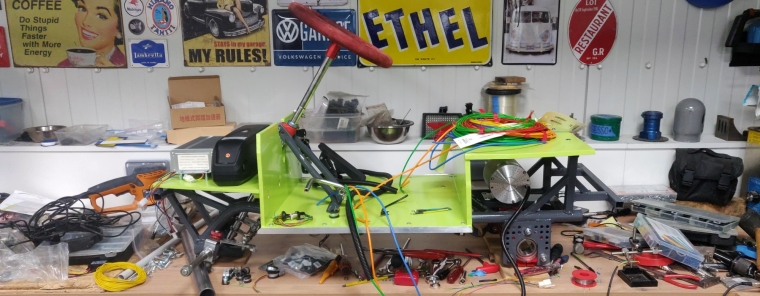
OK, "interior" might be a bit of a stretch, but anyway, I wanted a "child safe" place for my son.So I build a floor, seating area and dashboard out of 10 and 12mm thick plywood ; this will prevent the little one from putting his fingers in the rear chain and sprockets, or his feet in the steering in the front.
Sanding, gesso, some more sanding, and two coats of glycerophtalic paint using a foam roller (flashy green, but I had the pot left on a shelf).
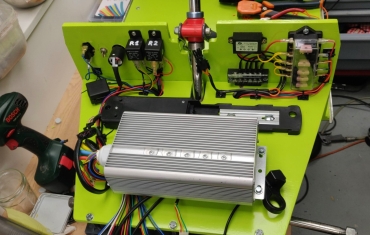
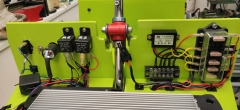
The board in the front under the hood will hold the battery, controller, and most of the electrical circuit. Two pieces of aluminium angle on the sides will hold the body shell in place. On the "dashboard" we have the key switch, and the switch for the headlights. Below the seat, on the right hand side, a switch activates the reverse. Upcoming : a gauge to track the battery charge status.
Windshield
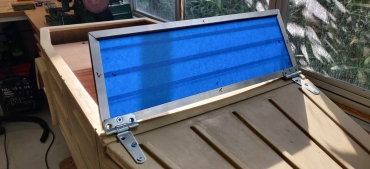
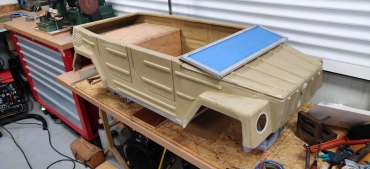
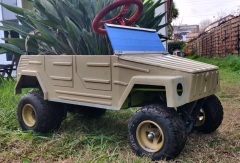
I found at my local DIY store 2 hinges that look a lot like those of the original VW Thing...So with a bit of acrylic glass, and a length of aluminium U profile, I got myself a scaled version of the windshield! I even have some rubber seal (initially intended to be put on your car's doors to protect them from impacts/scratches) that will look great around it once everything is painted. I'll keep the blue tape on the glass until everything is painted too.
Assembly and electrical circuit
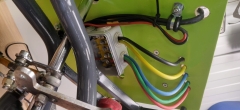
Time to put everything together! The beast is powered by an e-bike battery, the biggest expense on this build : 295€ on AliExpress. It comes with a standard XT60 plug, 52 Lithium-ion cells type 21700 3.7V/4800mah arranged in a 13S4P pattern, for a grand total of 19.4AH at 48V. Most probably way oversized...I install a voltage reducer to get 12V from the battery 48V, and put a fuse box to power each of the elements :
- a buzzer as horn (activated from a push button on the steering wheel)
- LED headlights in the front (T10 LED lamps)
- rear brake lights (48 smd LEDs boards), activated by a micro switch on the start of the travel of the brake pedal)
- A remote controlled relay, to activate the electric brake (security when the little one is driving) - with 2 relays behind so that the brake lights turn on as well.
First ride!
The project is finally on its wheels, 16 years after starting it! Yeah, I know, I'm not exactly fast...- 2000W accelerates hard! I had to put a piece of wood underneath the throttle pedal for my son to be able to drive the thing. And the 3 speed selector is a blessing!
- When giving it full throttle, the front axle loses grip and the steering becomes nothing more than a recommendation...
 The lack of differential on the rear axle doesn't help, for sure.
 - Boy am I glad I included the remote control to stop the Mini Thing at a distance, it has effectively prevented many accidents from happening to my son. In his defense, he's constantly improving his driving skills, and keeps beating his own time on the Nürbur-Green (aka our garden
 )
) - High stance + reduced track width + high speed = if you try to steer too tight, the wheels on the inside of the turn will lift... And, yes, admittedly, I did manage to end up on the side myself.

- I need to shorten the steering links by a few millimeters ; right now, even adjusted at their minimum, the front wheels have a pretty massive toe-in, giving some random behaviors when steering on mixed-grip terrain.
- In hindsight, I should have reduced the caster angle on the spindles, it makes the steering a bit hard for the little one.
- I should have made a more serious frame/jigs, as the geometry of the chassis is off by quite a bit... I managed to compensate with some adjustments, but it could have been much better.
- The tires, at over 15 years old, are dead dry, and don't hold pressure any longer. I'll swap them shortly.
I still have quite a few things to do on this project before I can consider it complete : paint, bumpers, headlights, brake lights, seating, battery gauge... But the little one was able to drive it for Christmas, and that's all that matters!
Stay tuned for the finishing touches... Soon!


