DIY Sandblasting cabinet
A sandblasting cabinet... Now that's a tool I've been looking for for quite a long time! 😉
One can find different models for sale, but I find them pretty expensive, plus they never have the right dimensions (too large or too small)... So I decided to build my own, with ideal dimensions.
Plans
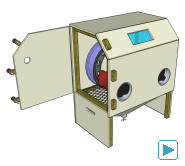
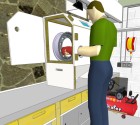
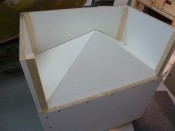
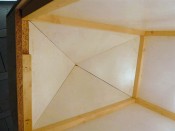
As usual, I started by drawing accurate plans with SketchUp (if you're a frequent visitor on ShamWerks, this shouldn't be a surprise!)...For the cabinet to work properly, the bottom funnel-shaped sand recycling tank needs to have enough angle for the media to slide down to the bottom. That made my design way taller, and since the cabinet is supposed to stand on my workbench (quite high itself at 95cm from the floor), it's too high for me to use it comfortably. Therefore, I want the funnel to work properly and the cabinet on my workbench, I'll need myself to stand on some sort of support (a rim for example) in order to have a correct working position.
In terms of size, I've adapted the dimensions of my cabinet so that a 15" rim can fit in it. I have an idea for a flexible extension if I need to blast bigger parts, but it'll have to wait.. 😉
My SketchUp plan is available for download here.
Building
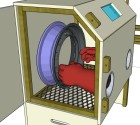
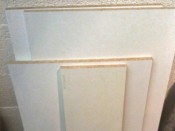
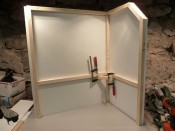
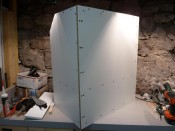
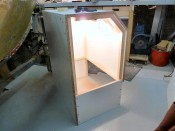
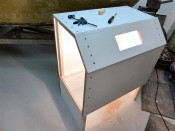
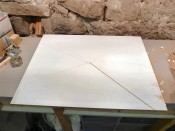
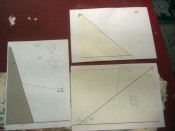
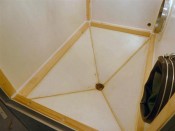
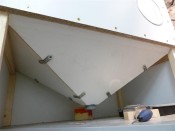
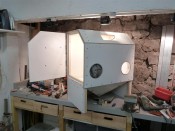
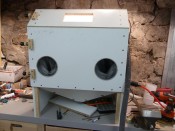
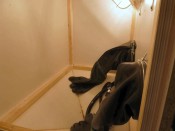
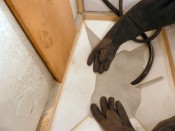
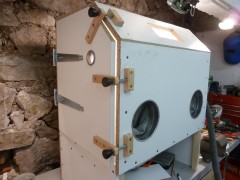
The cabinet is built out of white melamine 15mm thick chipboard. That's purely an economic choice, as I hate working with this material : but al the boards for €37, that's a bargain... Additionally, the white surface will add a welcomed brightness inside. All boards are glued and screwed on a 27x27mm pine wood frame.The only difficulty in this process is th bottom funnel shaped part, in which the media is recycled : in order for the assembly to be accurate, I need to make very precise angle cuts with my circular saw... In order to make it easier, I've printed the angle directly from Sketchup (removing the perspective effect to have a parallel projection) on A4 paper (see picture) : then I could directly put my circular saw on the paper and finely adjust the angle by visually aligning the blade with the print. I've honestly been impressed by the accuracy of the method, as my assembly wasn't totally perfect but very close to! My saw can cut up to a 45° angle ; unfortunately it wasn't enough for one of the angles, so I temporarily glued a strip of wood below the saw's base to reach the 55.7°. The method isn't really secure but it worked like a charm.
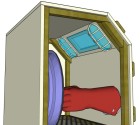
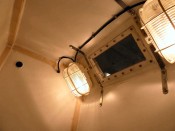
As for the lights, 2 spotlights (first price models; €4.95 here) with 60W bulbs.
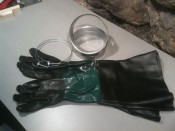
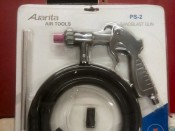
The blasting gun comes from eBay, a €18.90 model using standard ceramic nozzles. Gloves as well come from eBay ; I could have build'em from scratch using an air chamber and glued rubber gloves, but it was cheap enough to avoid this additional hassle (€19.95).
The acrylic glass piece is cut from a reclaimed piece I had in the garage ; it is mandatory to stick a sacrificial transparent protective sheet in the inside, unless it turns opaque pretty quickly due to the blasting media sanding the glass.
At the end of the funnel is a screw-in PVC plug, epoxy glued. It allows me to drain the media and change it.
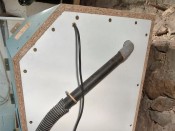
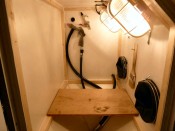
On the right side of the cabinet, a PVC 32mm bend allows the connection to the vacuum. A couple of hooks and a rubber band help securing the vacuum hose in place ; an additional rubber band is wrapped around the extremity of the hose, acting as a gasket to make it air tight. On the opposite (left) side of the cabinet, another screw-in plug acts as air intake. It creates a diagonal, bottom-up air flow keeping the airborne particles level low during operation.
Air tightness
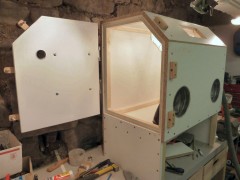
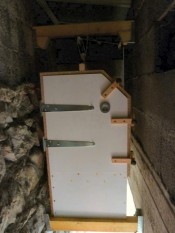
Ok, that's a nice box, but it needs to be perfectly air tight as well to work properly. for that matter, all assemblies/joints have been caulked (silicon caulk for bathrooms). Using a metal saw blade tip is perfect to smooth out the caulk with a nice round finish. 😉The door articulates on 2 shutter hinges (€1.95 each). Airtightness is ensured by a double rubber foam gasket glued around the frame. Hinges are placed taking into account that additional gasket thickness.
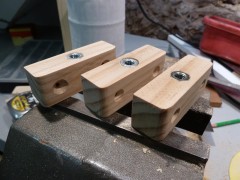
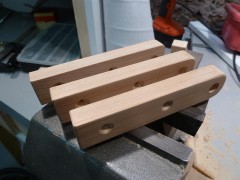
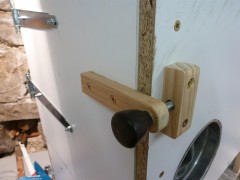
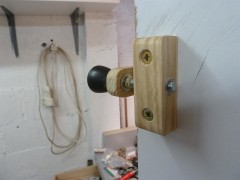
Door is closed using 3 screws (with Bakelite knobs I "reclaimed" 20 years ago from the windows of my high-school. I knew that would come up handy someday). It's probably overkill though, 2 could have been enough. Screwing snug tight compresses the rubber foam gasket, that's perfect. I originally wanted to put lever-type metal thingies, but they were too fragile, and do not offer any adjustment levels, so I decided to make my own system... 😉
Storage
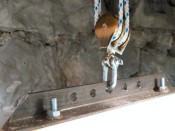
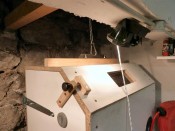
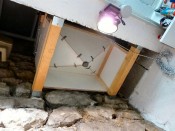
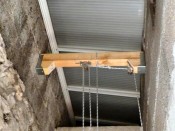
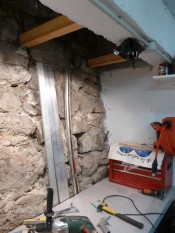
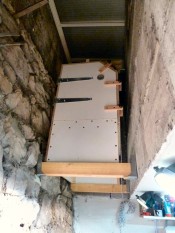
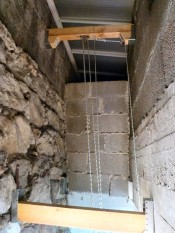
So, now I have a nice cabinet but it's quite bulky and my garage is small...Fortunately, I had planned that from the beginning, and reckoned the dimensions of the cabinet accordingly : it's made to fit right above my workbench! With the help of a couple of pulleys, as the beast weighs a good 20kg.
First tests
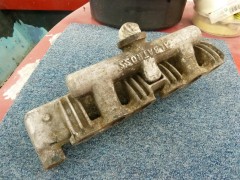
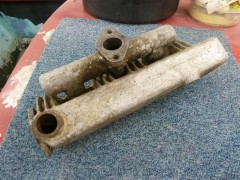
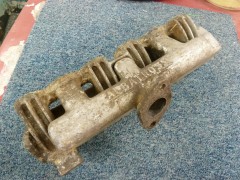
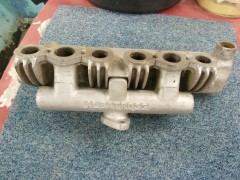
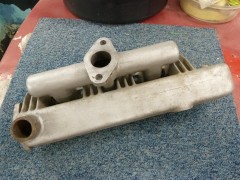
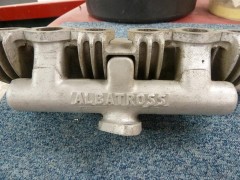
Since I could get my hand on any reclaimed metallic grill inside the cabinet, I just used a piece of plywood instead. Works fine too!I've ddone my first tests using glass beads (200-300 microns, bought online on Matthys) at 4.5 bars (65 psi), on an aluminium part (the Albatross' intake/exhaust manifold). It was just a 10 mn quick test, without degreasing the part first, which was a mistake since a rubbery/greasy compound on the part prevented me from getting a perfect result. But for a first test, I'm delighted with the result, the aluminium ends up with a smooth satin mat finish, looks just as new!
Conclusions
The cabinet is perfectly airtight, only a few glass beads manage to make it into the glove (as I had to "fold" a part of them to adjust them on the metal rings holding them). Good news! I just need to remember blowing/brushing away the grit at the bottom of the door before opening it after a blasting session, since it accumulates there ; I'll try adding an inclined/angled piece of wood to fix this later.Actually, it's almost too airtight : the depression created by the vacuum cleaner make the gloves inflate inside the cabinet, even with the air intake on the door opened. If I close it, the glove become totally inflated and rigid! I'll probably have to add another air intake to limit that effect.
However, just as expected, my 3HP/100L compressor turns out to be a bit small for blasting : it runs a lot, I'll need to take pauses to let it breathe... Or find a bigger one.
The air blow gun inside the cabinet : bad idea, the quick coupler gets jammed with the grit. So either I install a 3 way coupler to have the blow gun permanently fixed to its own hose, or I just pull the hose of the blast gun out of the grit to use it just as an air blower. Well, I'll go with that easier solution! 😁
Here are a few links that inspired me while building my cabinet, for your consideration if you want to do so :
- Ma500.fr (et and his first, smaller version) (in French)
- Restauration Anciennes (in French)
- The Simca 1100 forum (in French)
- Ford Trucks
- Custom Fighters
Coming next
As next I'll try getting heavy rust off of metallic parts using aluminium oxyde grit instead of glass beads. I'll post the results here in that very same article. I consider as well building a cyclone dust separator (like in the "Dyson" vacuums cleaners) just like this one (in French), this one, or that one here.To be continued...
Edit 30-08-2012 : support pour la cabine :
I've managed to rent the garage right next to mine, therefore I have a bit more of elbow room, so I decided to go for a bit of reorganization. It will be way more practical if the cabinet remains in the second garage, where I'll be able to use it anytime, without having to hoist it down from its storing space (t'was great from the real estate optimization stand point, but not that much when you wanna beadblast a couple of bolts real quick).In addition, I will keep the cabinet away from the lathe, which wouldn't have liked the abrasive dust that always hangs around the cabinet... 😉
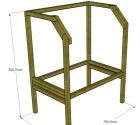
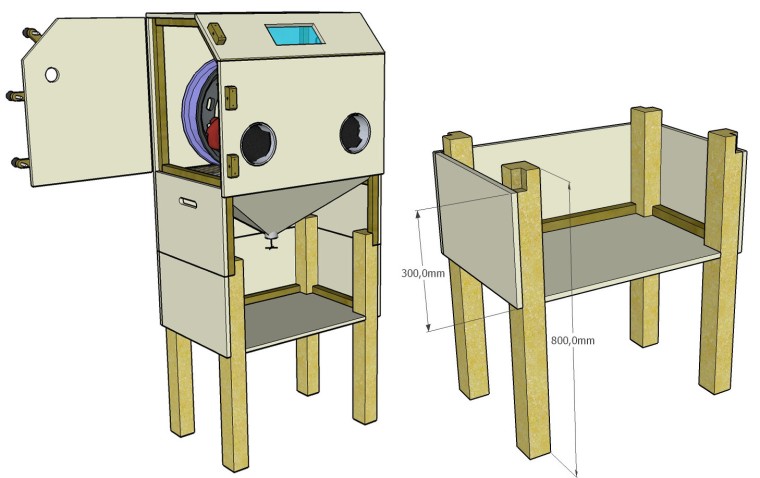
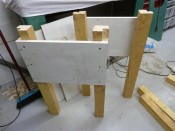
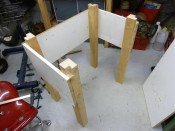
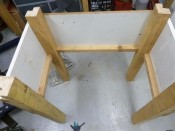
So after some reflexion, and some more Sketchup, I decided to build a stand for the cabinet. Only out of scrap wood that I have laying around the garage. It'll have to be heavy duty since the cabinet is pretty heavy.
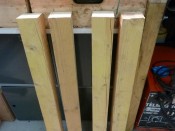
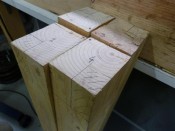
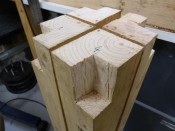
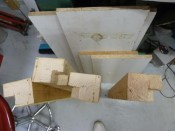
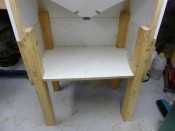
The legs will be made out of 62x75mm lumber (the left overs of the workbench project), the rest will the out of 19mm thick melamine chipboard (some od shelves I scrapped). The legs will be chiseled out at the top for the cabinet to slide into them. (check the plan). And... Tadaaaaaaa! 😁
I got it right first time... Pretty proud of meself gotta admit. 😉
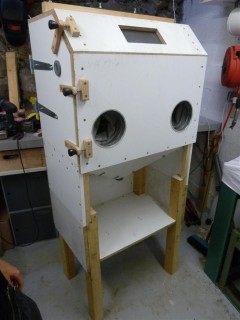
So now, the cabinet is at the perfect height, no need to stand precariously on something! 😁
The shelf right below allows me to put a bucket to pour the sand/beads into.
Next step, a cyclonic dust separator?? 😉
Edit 10-09-2012 : Corundum blasting test : :
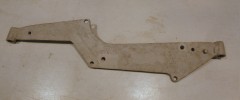
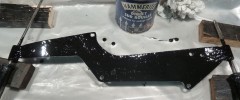
The complete process took me around 10 minutes (at 5 bars of pressure), I you can see the result by yourself, it works perfectly! I'made a short video for you to see how fast it goes.
The only drawback is my compressor : 100L/3HP is a bit low (I knew that before hand), so it tends to run non-stop, with a risk of over-heating. If I ever have to do long blasting sessions, I'll have to make regular pauses for it to cool down a bit.
I also discovered that the corundum media slides way less easily than the beads towardss the bottom of the cabinet ; on the video, you can see I have to push back the sand to the bottom from it to be catched by the intake tube. Well, it's not actually too much of a hassle, and it give a few seconds off to my compressor . 😉
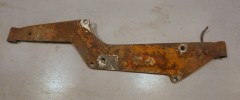
After sandblasting, the metal must be protected asap, unless rust will settle back in a matter of days (even hours depending on the conditions). Here, I use a couple of thick layers of black Hammerite (well, mostly because that's the only thing I had at the garage at that time!).
I'll still have to install a cyclonic separator on the exhaust, and a form of siphon on the intake (as some dust manages to get out that way), and it will be perfect! 😁 Published on 29/11/2011 / 6 commentaires
