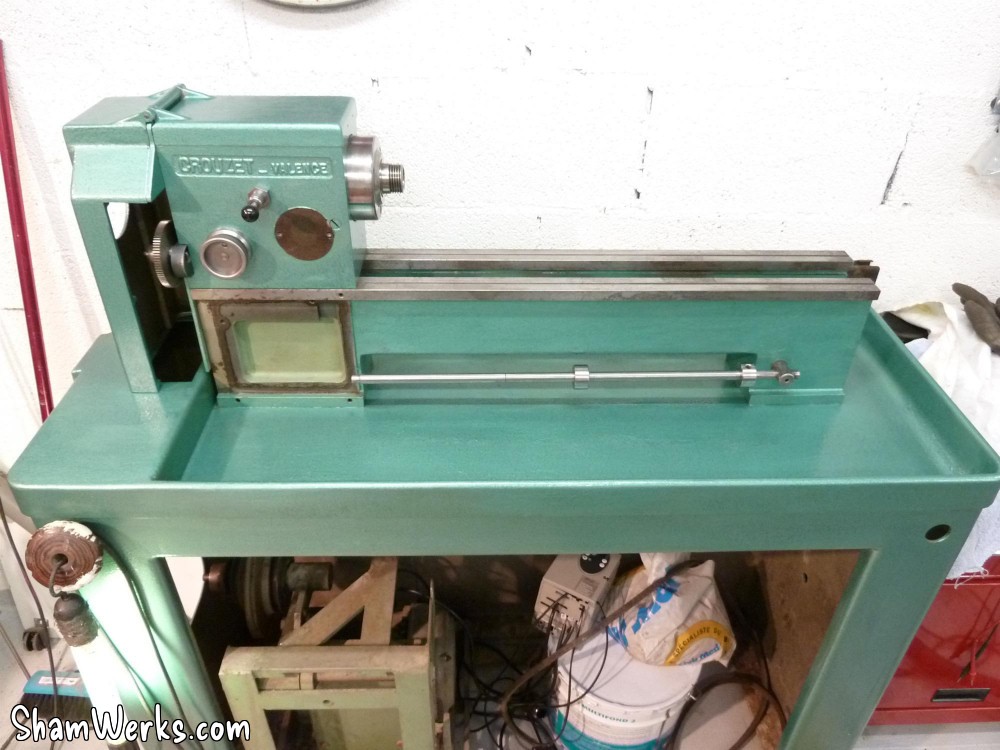
Restoring the Crouzet-Valence Lathe
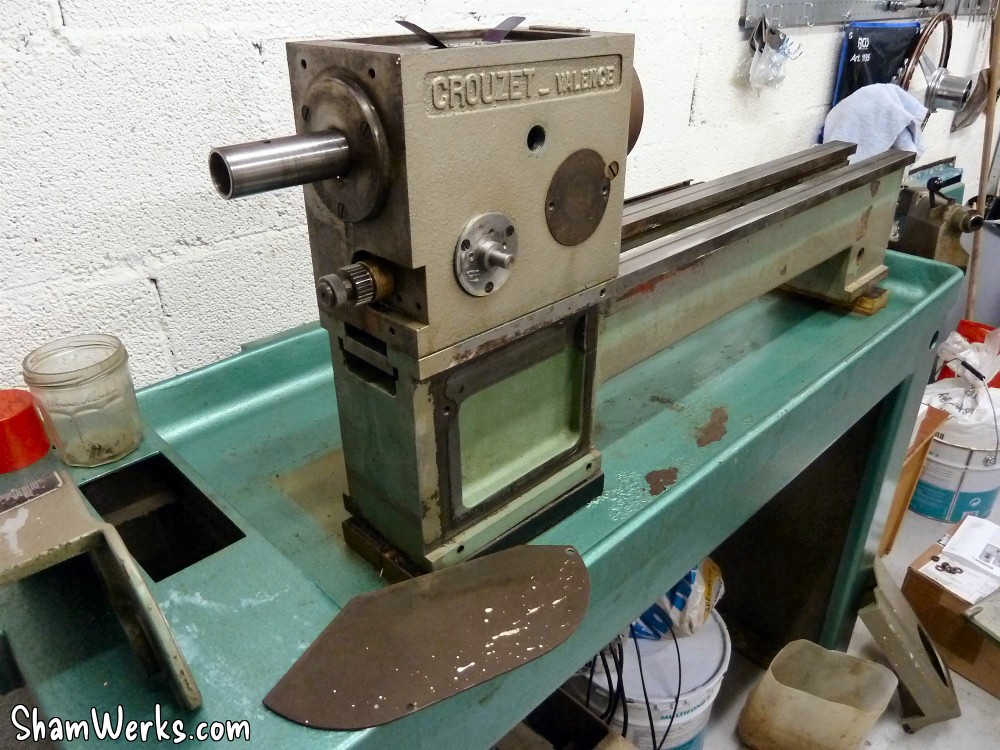
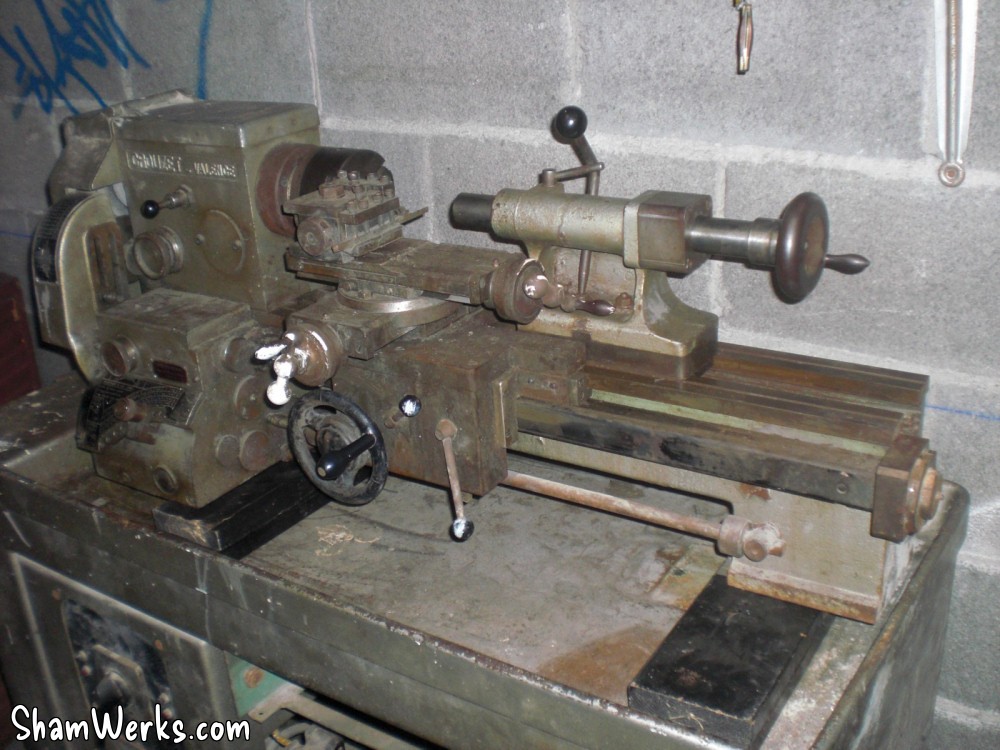
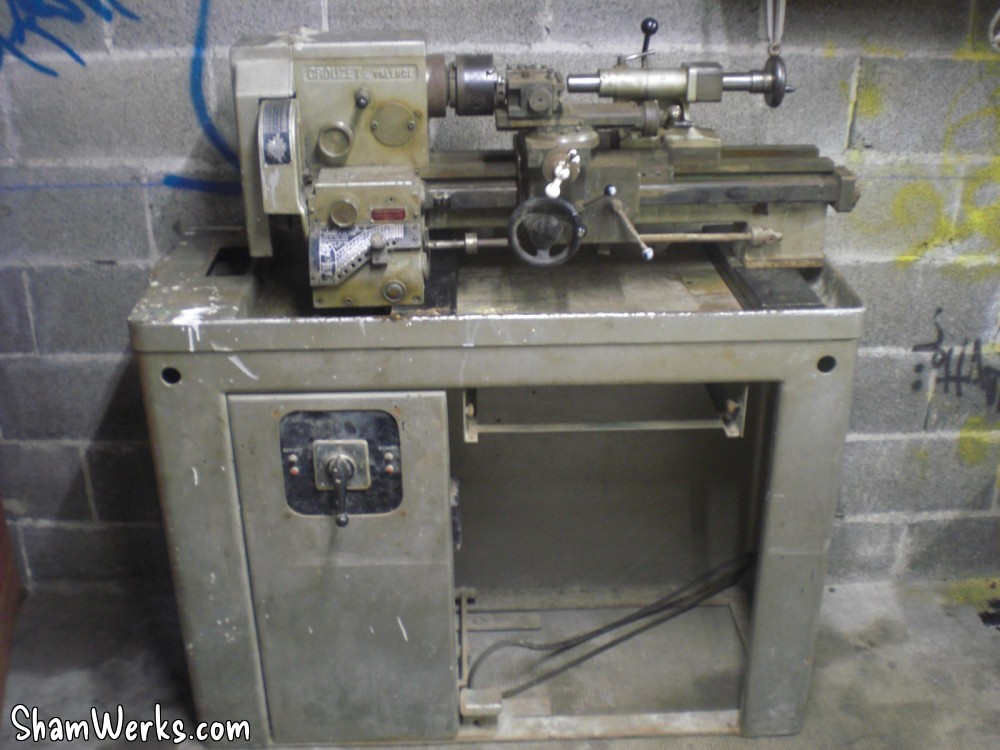
Do you remember the metal lathe I picked up last year? (see post here : Crouzet-Valence VM125)
Well, I've made the mistake of taking a part off to clean it... Then a second... And a third.... And well, finally, it wasn't a priority for me, but I've restored the whole thing! 😁
I must admit, spending time of the online (french) forum usinages.com (there's a thread about my lathe there), and seeing all these beautifully restored machines, temptation was to high!
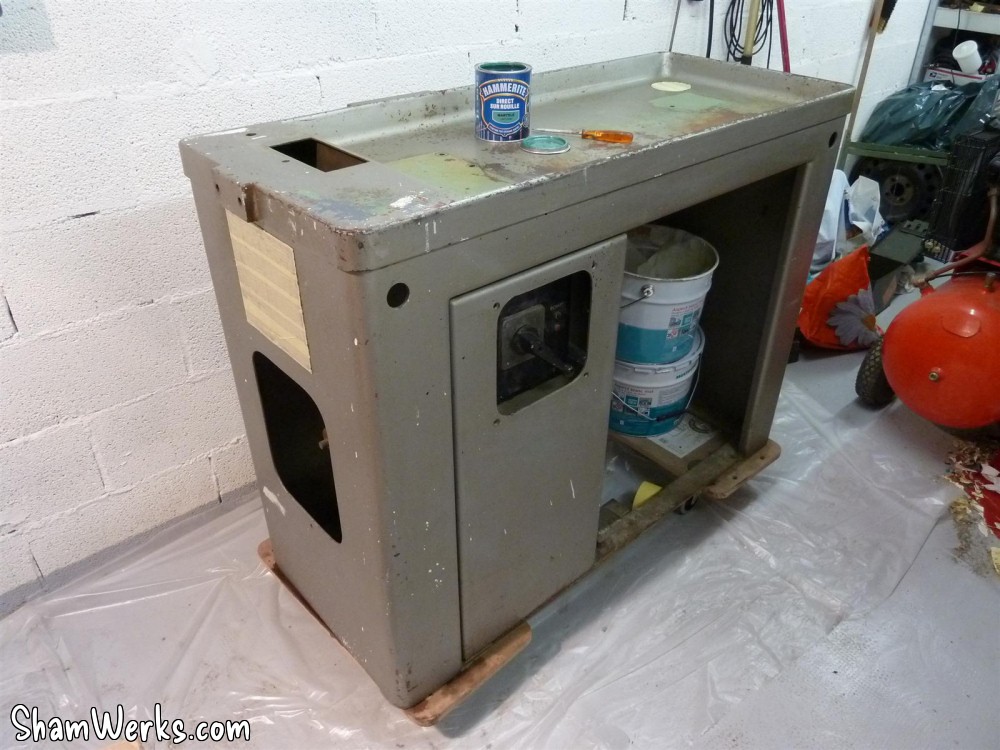
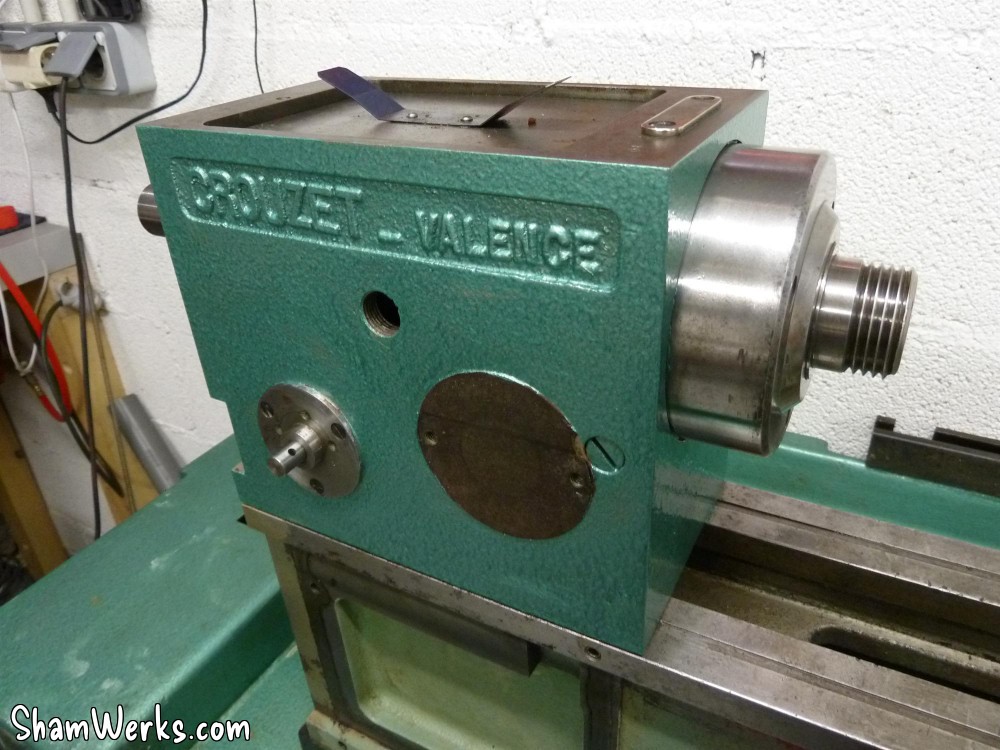
Paint
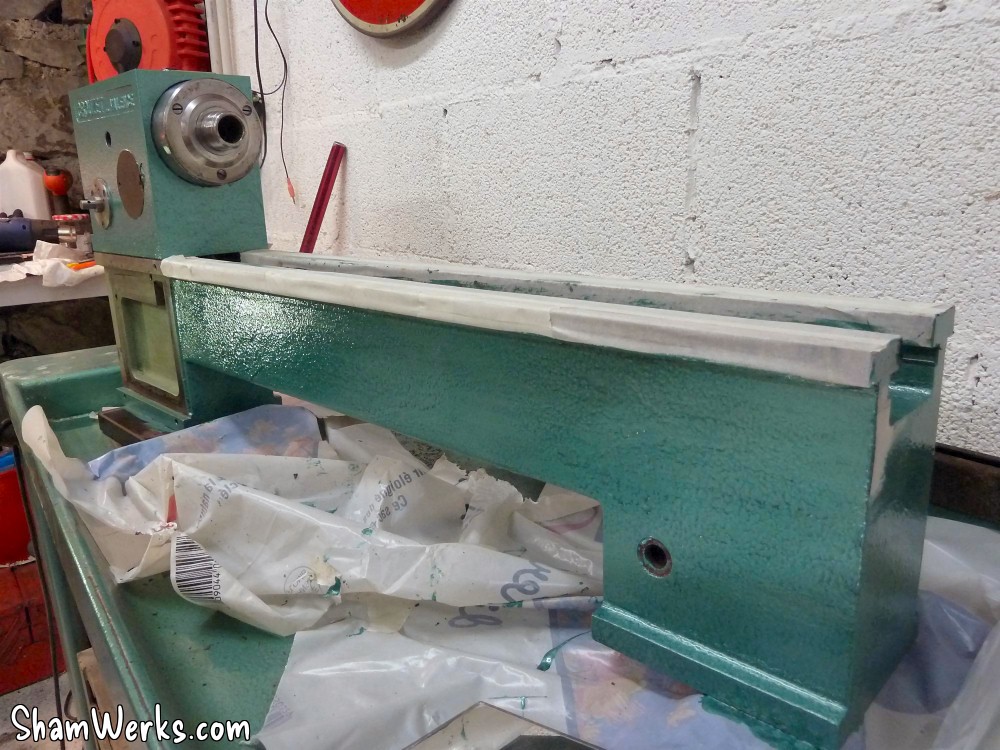
I've started by painting the stand. Degreasing using solvent F (naphtha) and Scotch-Brite scrubbing sponge to remove most of the thick coat of grease that was all over it (with some additional WD40 on sticky grease patches). Then complete washing/cleaning using "St. Marc" (french equivalent of your "Cillit Bang", I guess), rince, and a good rub with 90° alcohol to remove any remaining greasy film (the cloth has to remain white when doing this).Finally, a coat of green, hammered finish Hammerite paint (not that easy to brush, but final visual result is really nice).
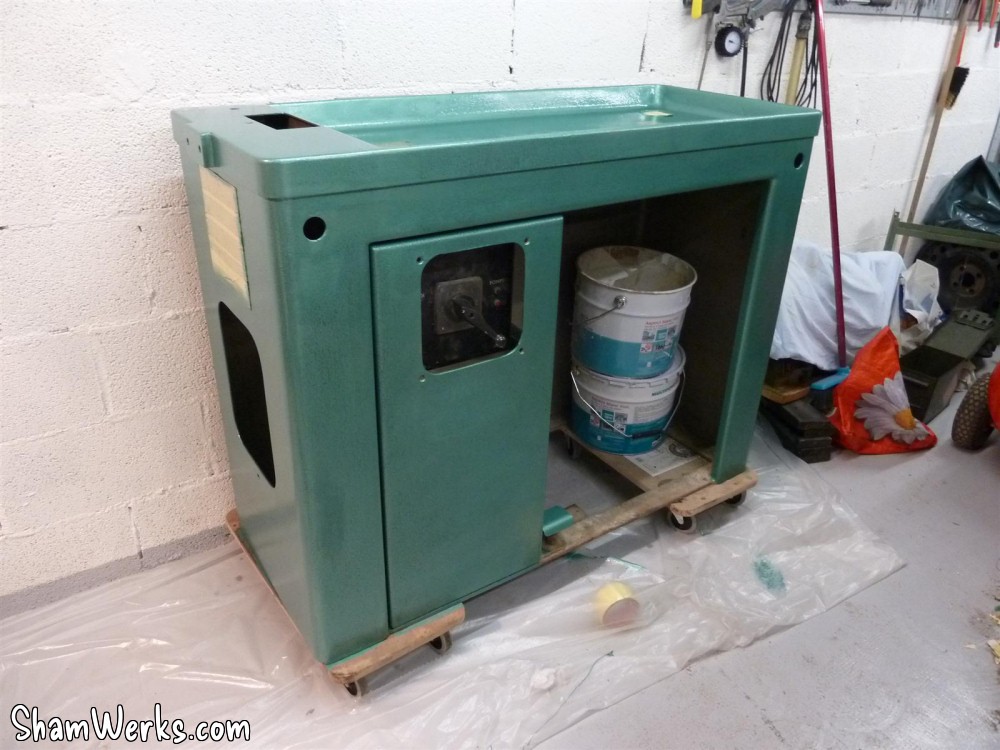
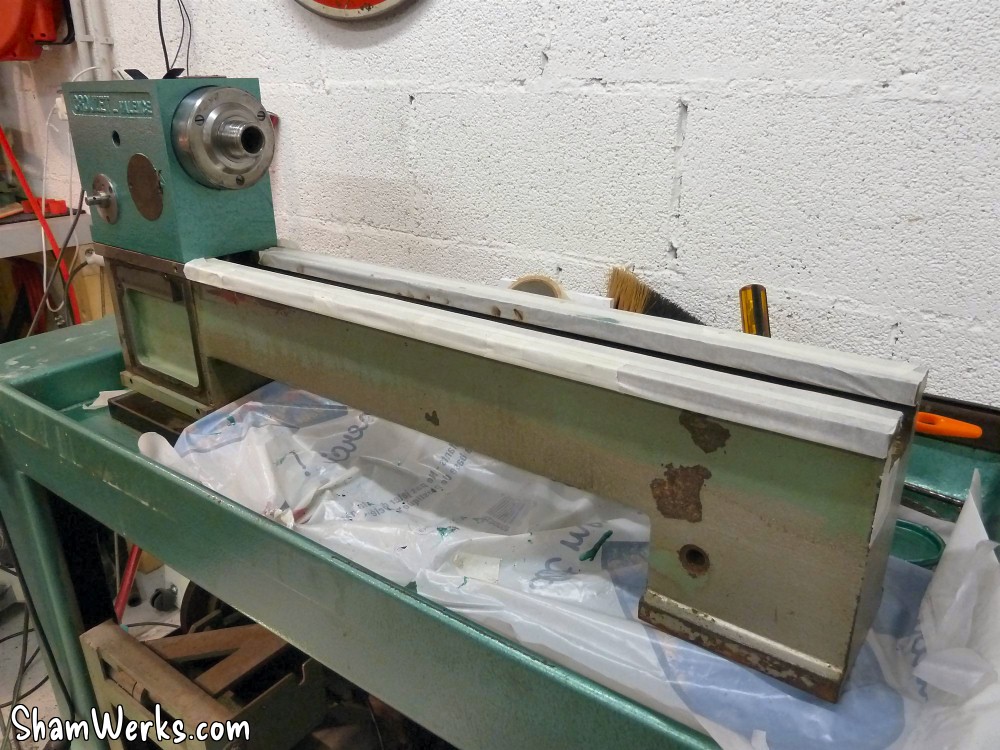
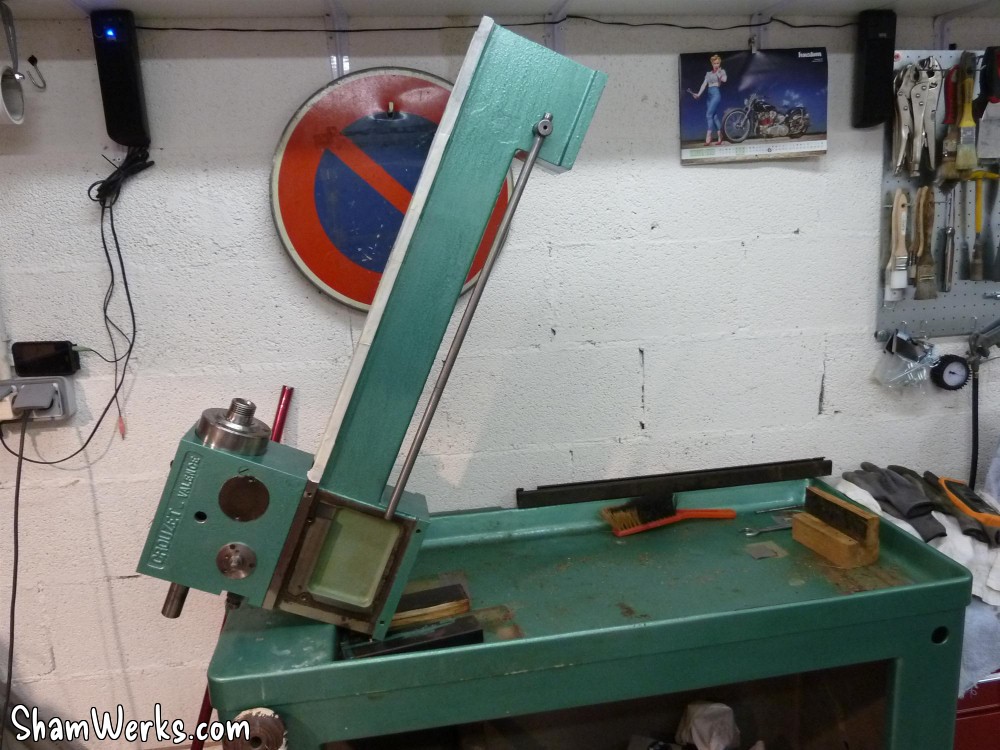
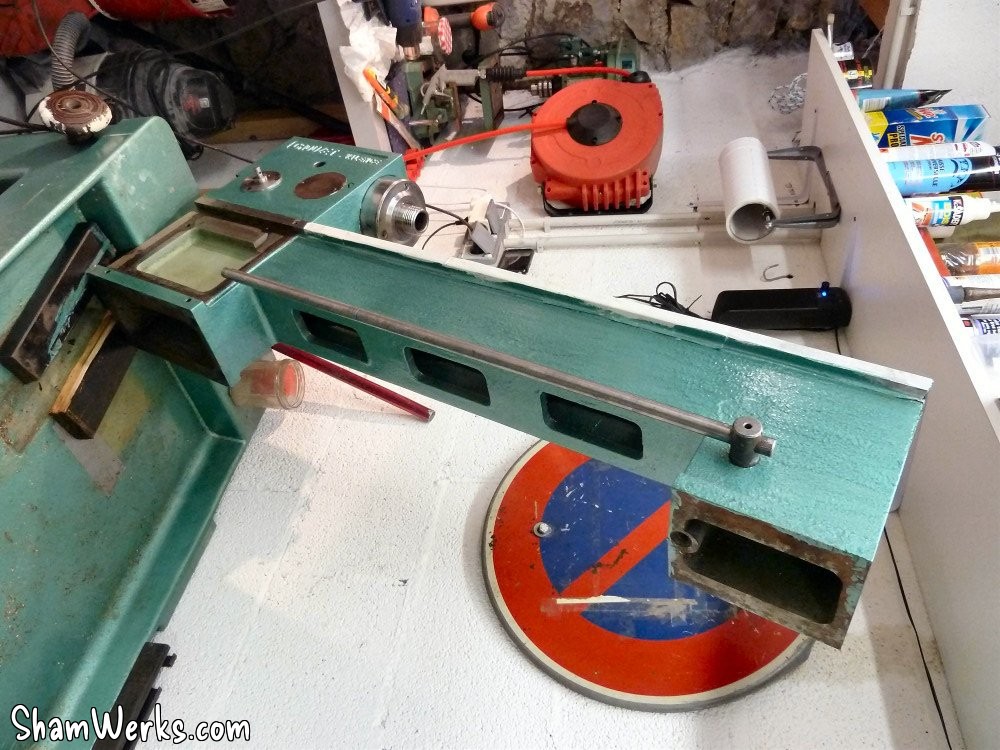
On some of the following pictures, you can see the bed standing up in quite an unstable position : that was the only way I could access the under and inside parts of it. Unfortunately it almost fell off on me, my cervical vertebras hurt for 3 days... Don't do this at home, kids. 😔
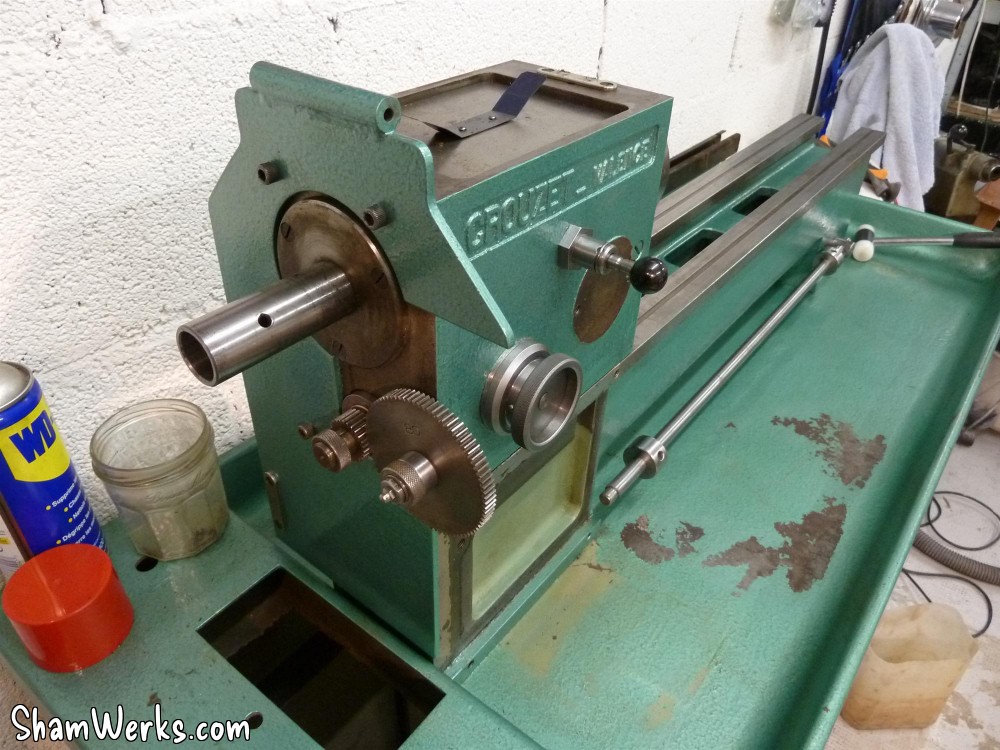

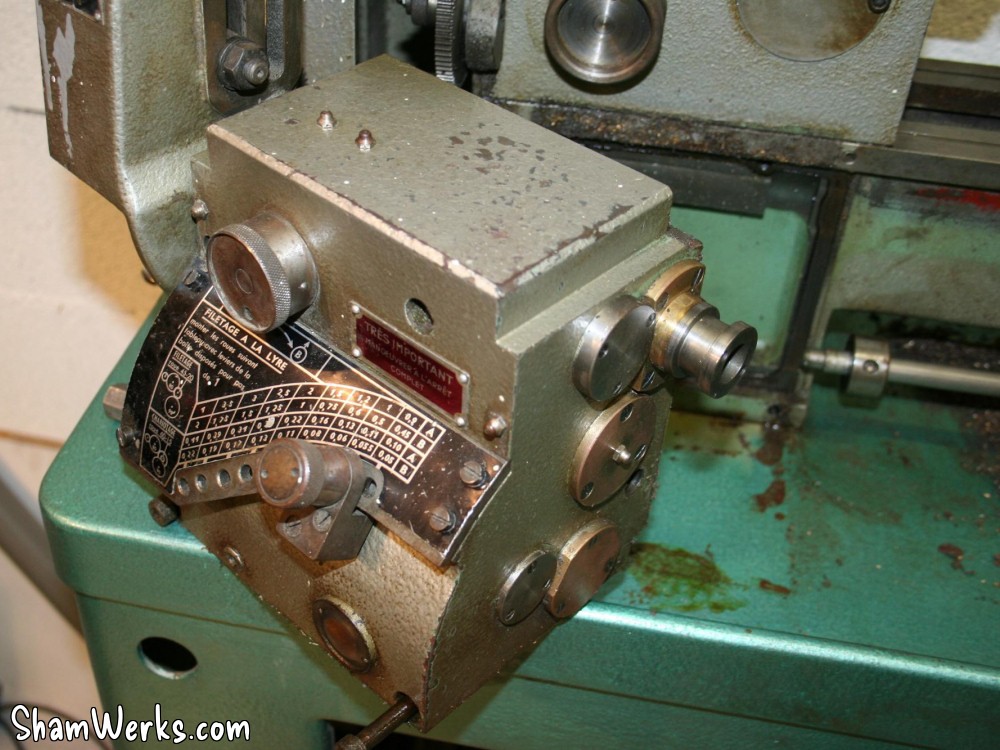
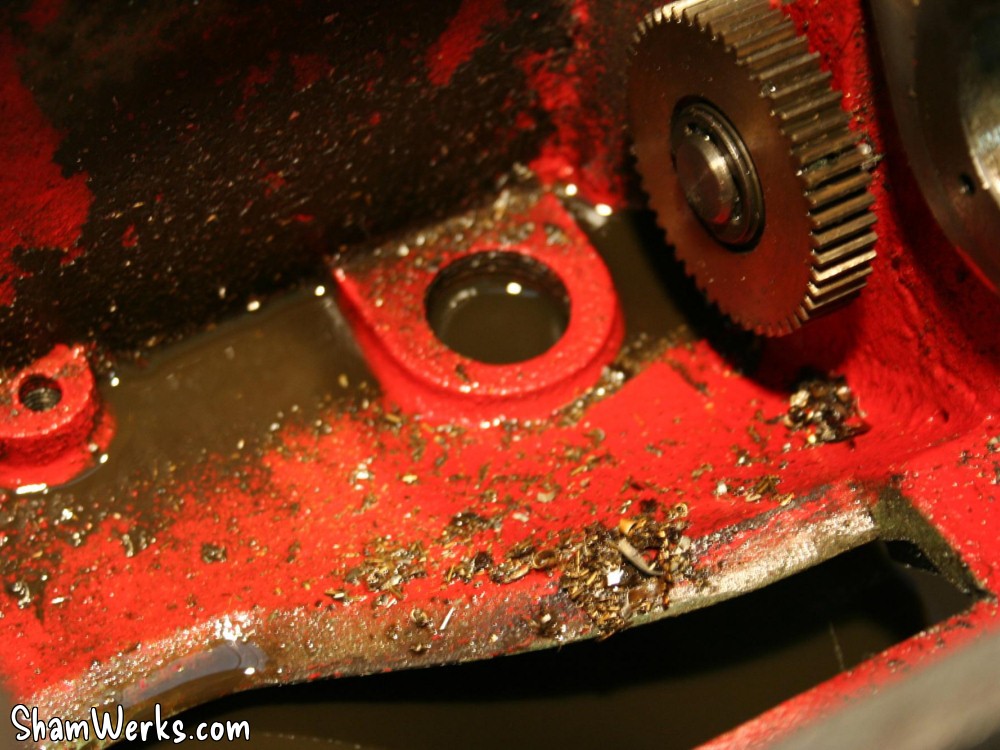
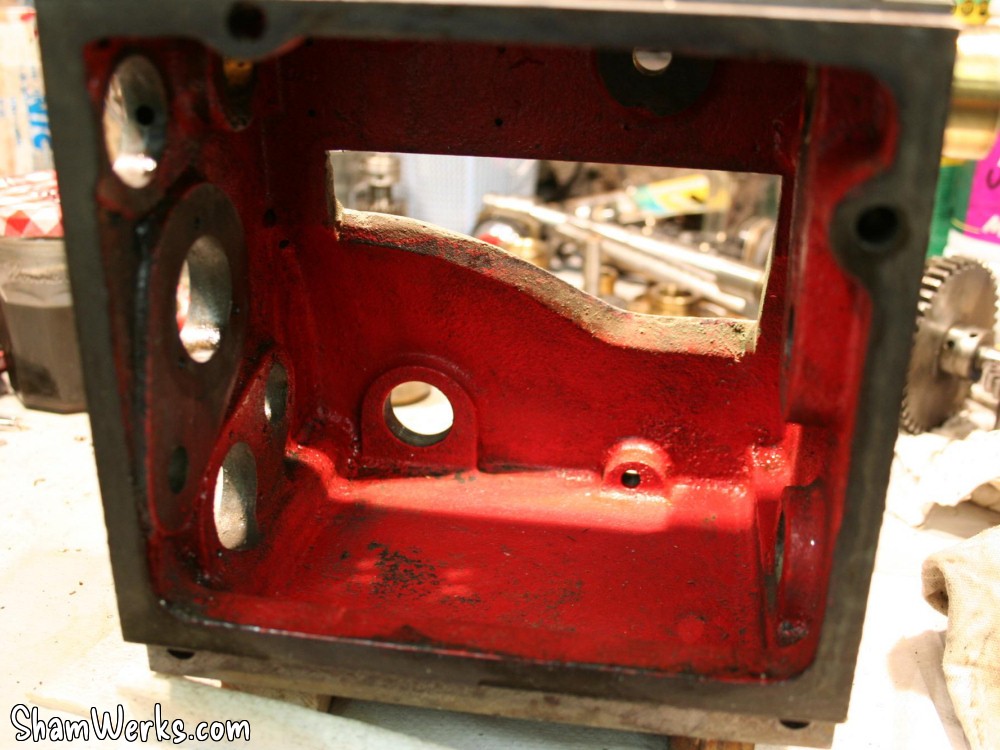
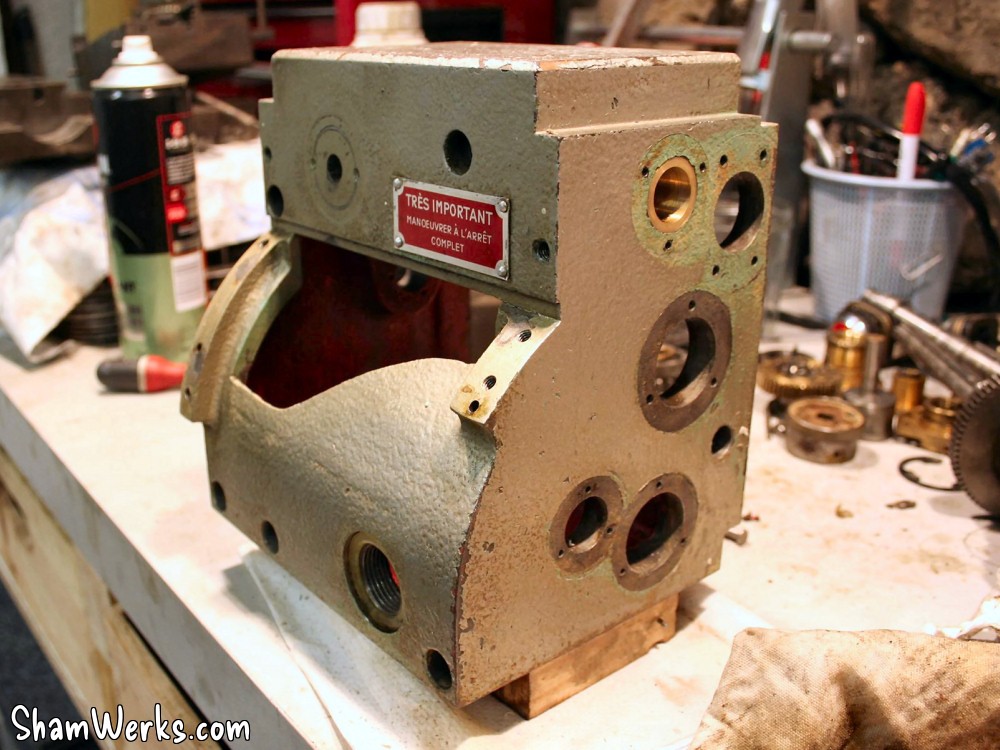
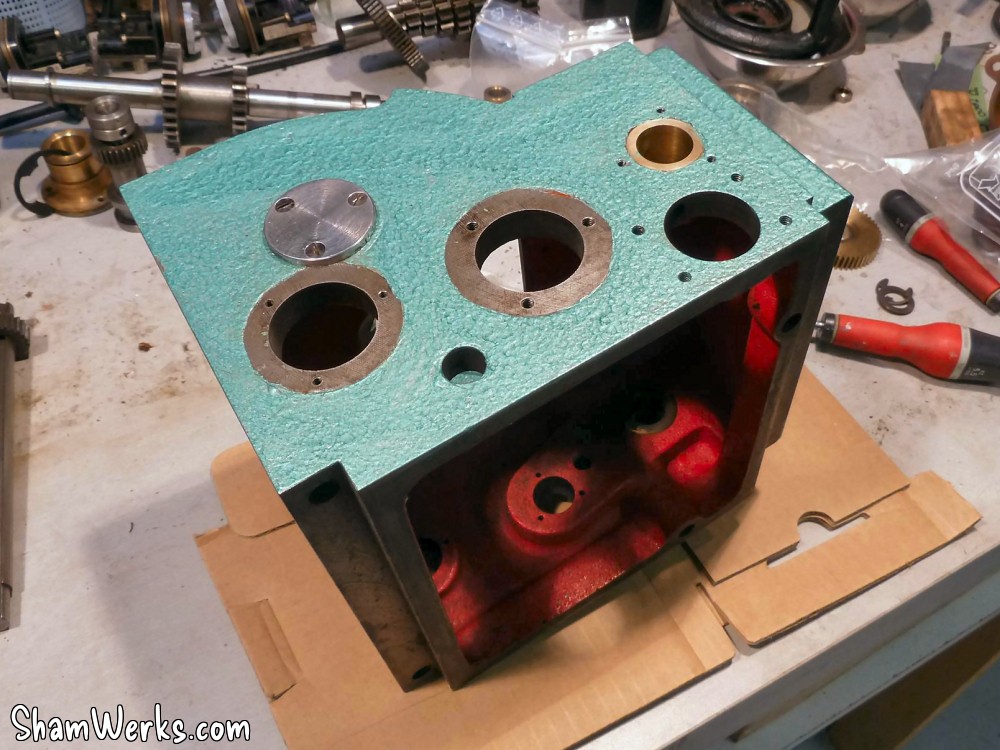
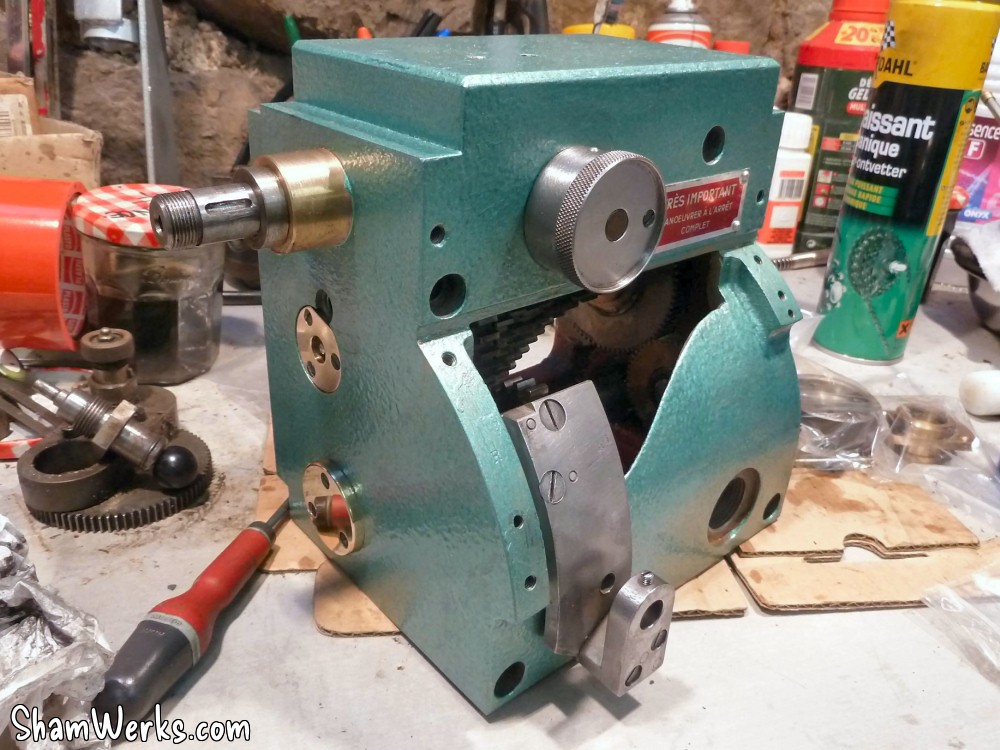
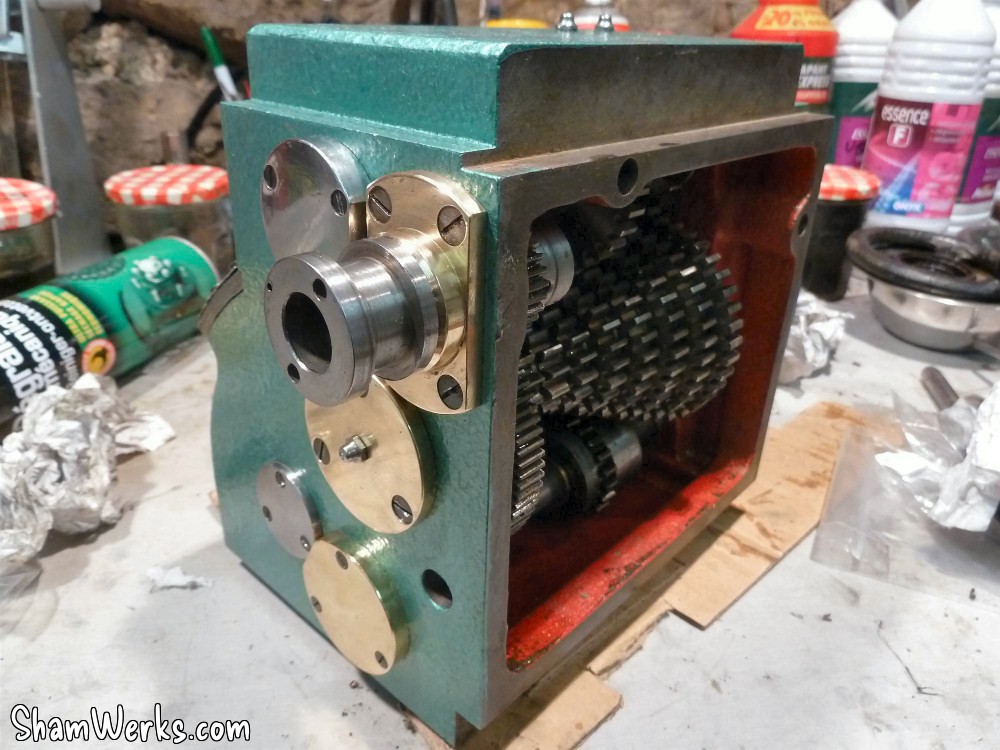
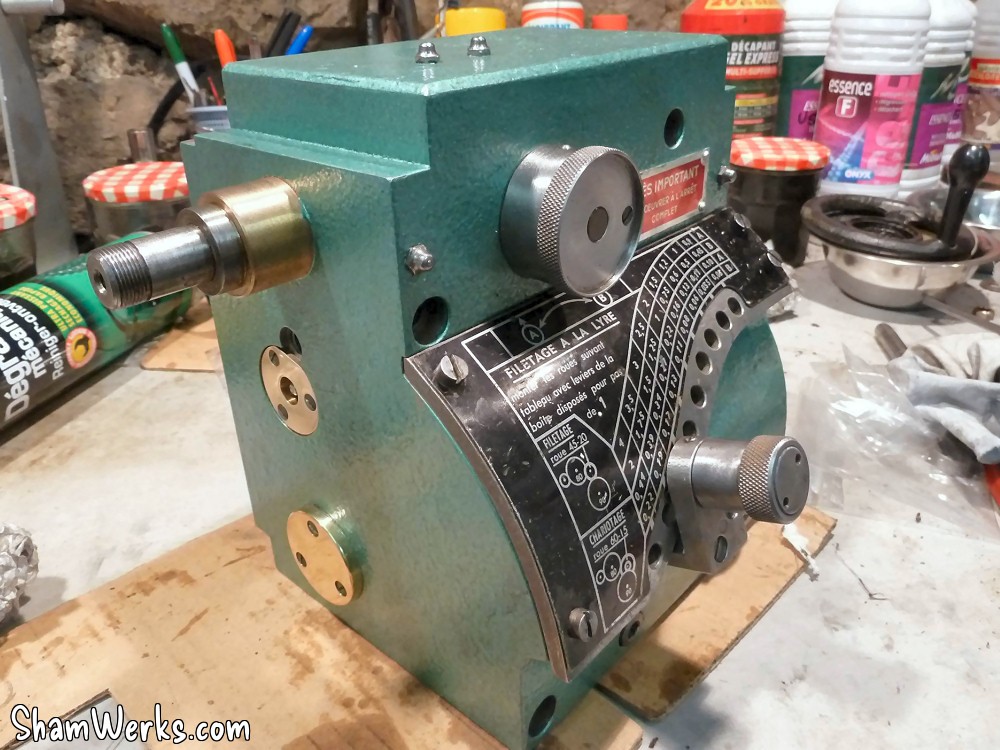
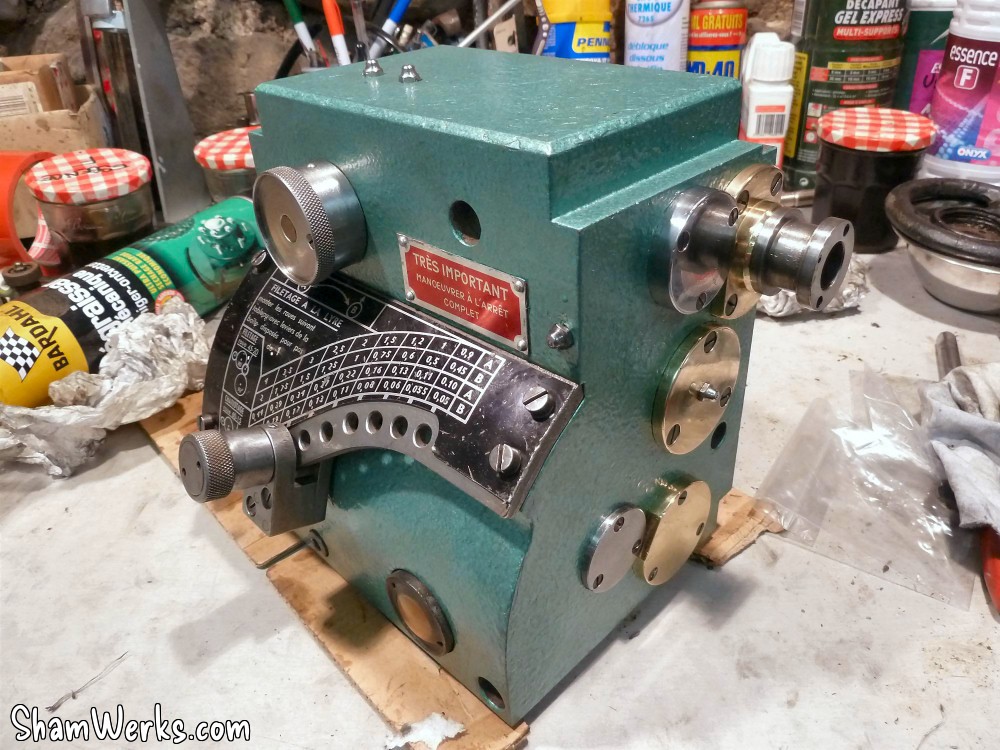
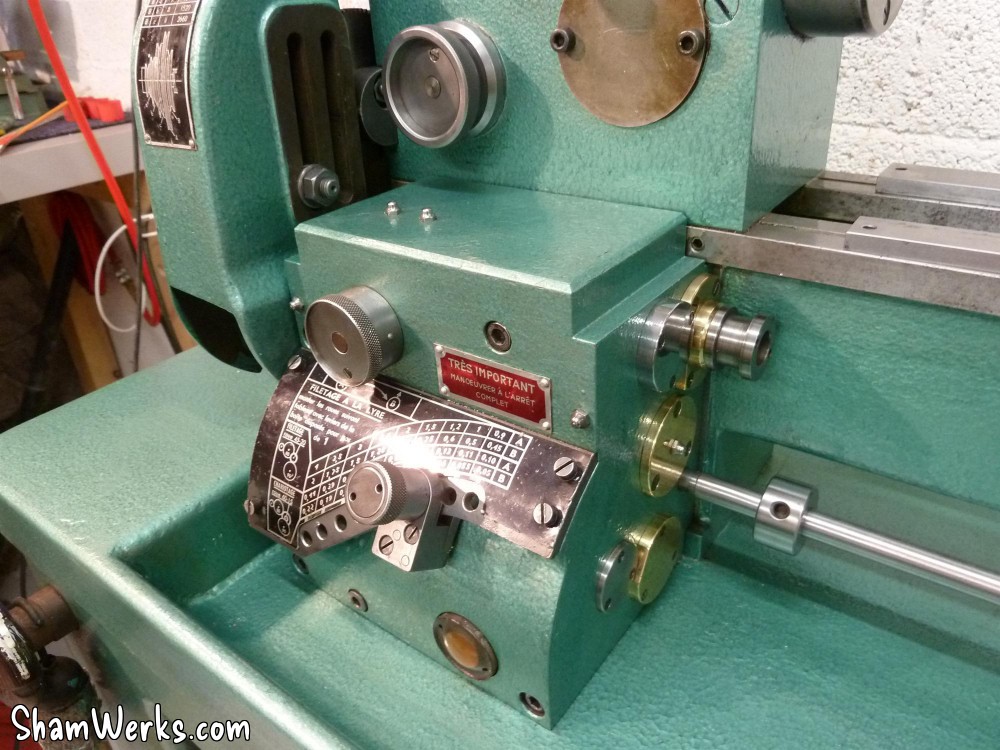
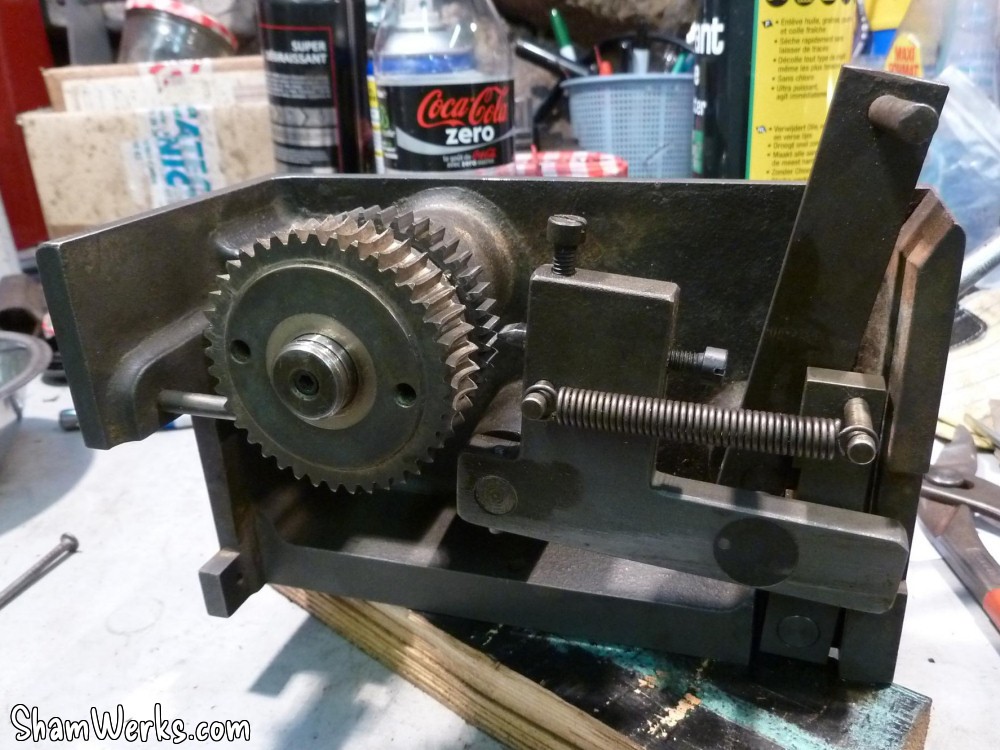
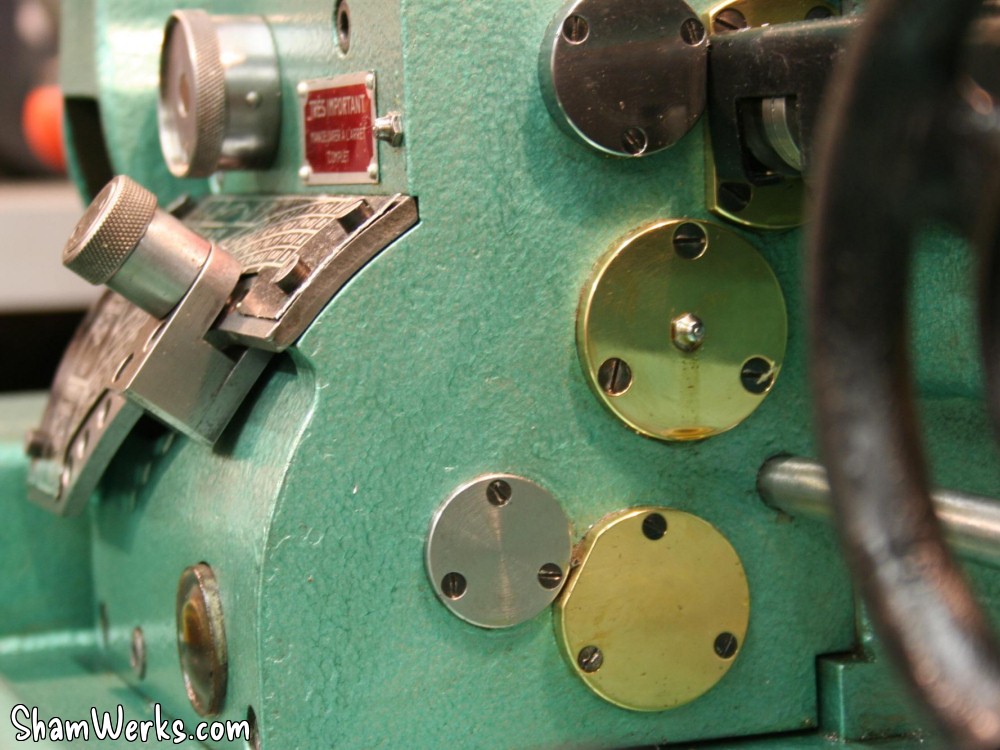
Feed gearbox
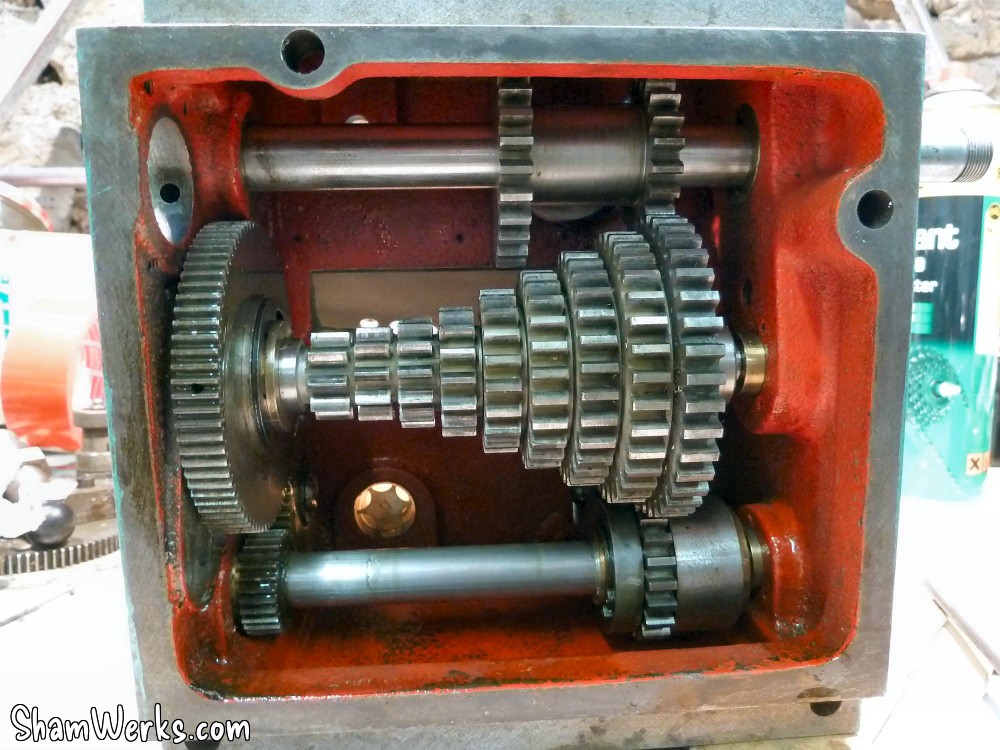
Then I start on the feed gearbox.There again, I originally just wanted to give it a good external clean, but... I got carried away. 😉
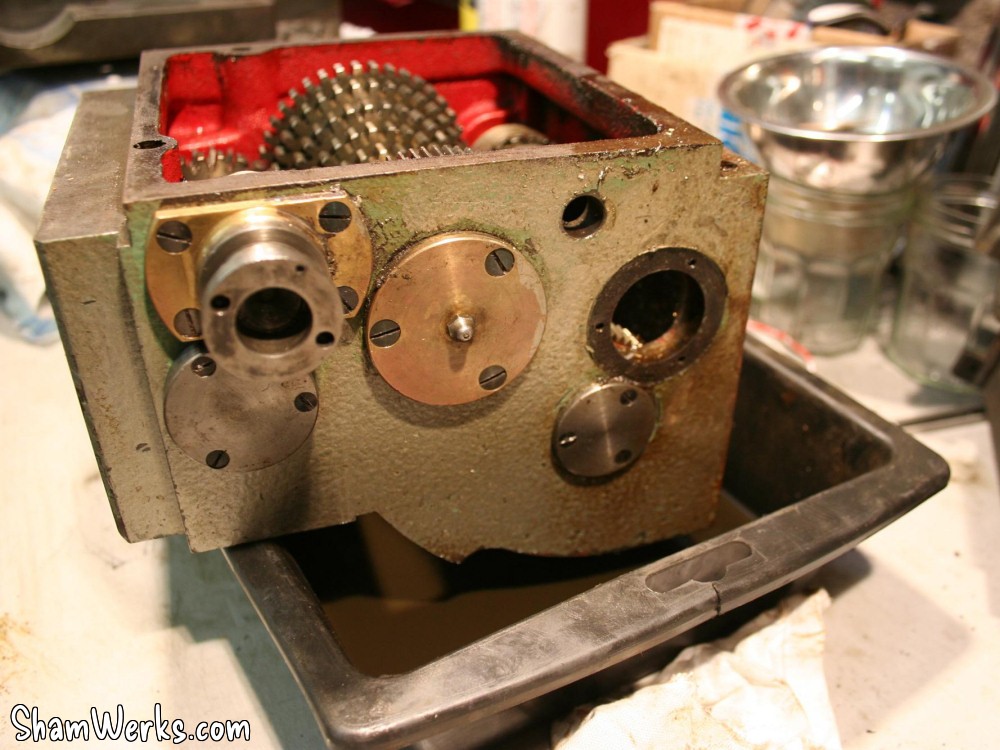
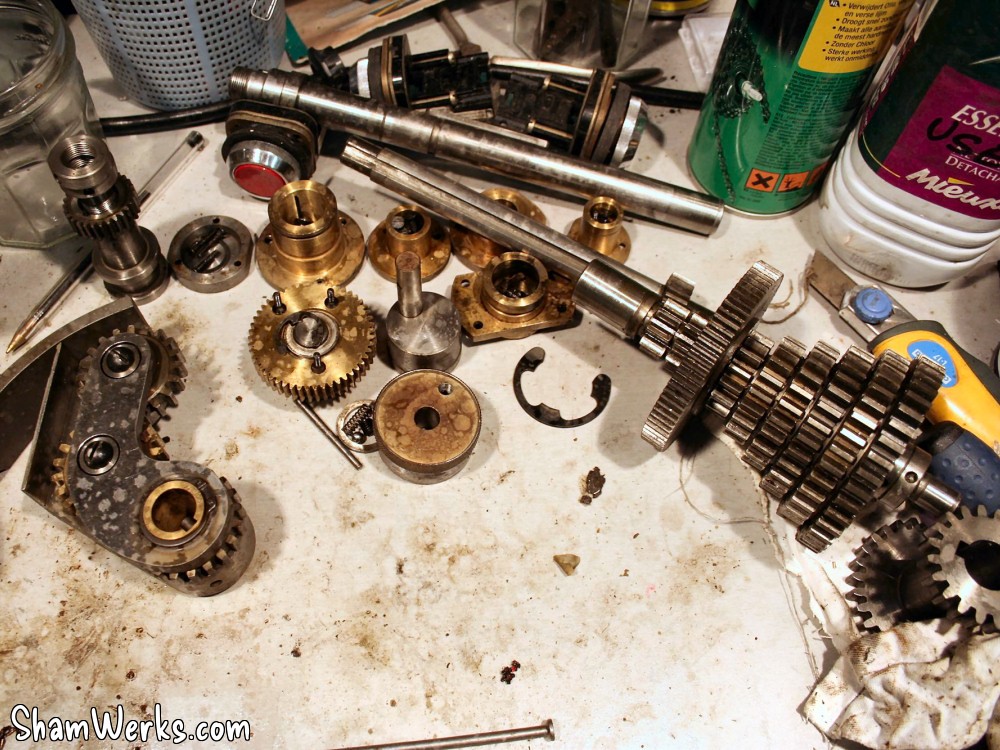
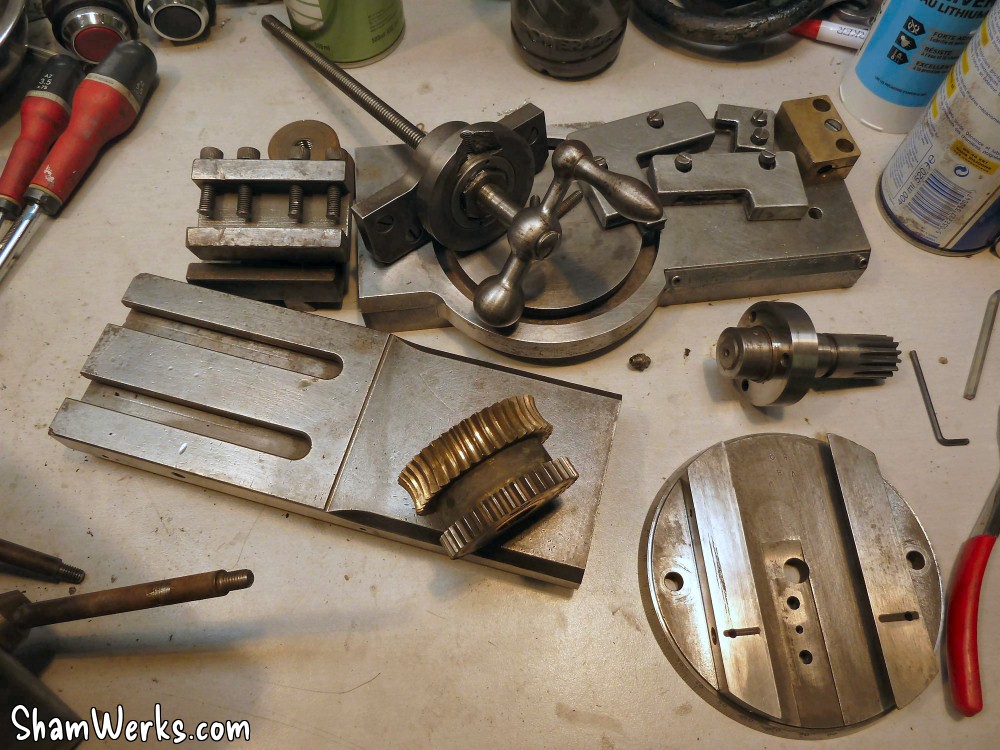
I must say I had a moment of doubt when everything was disassembled on my workbench, with gears averywhere... But finally, with a bit of patience, methodology and organisation, it's not that complex.
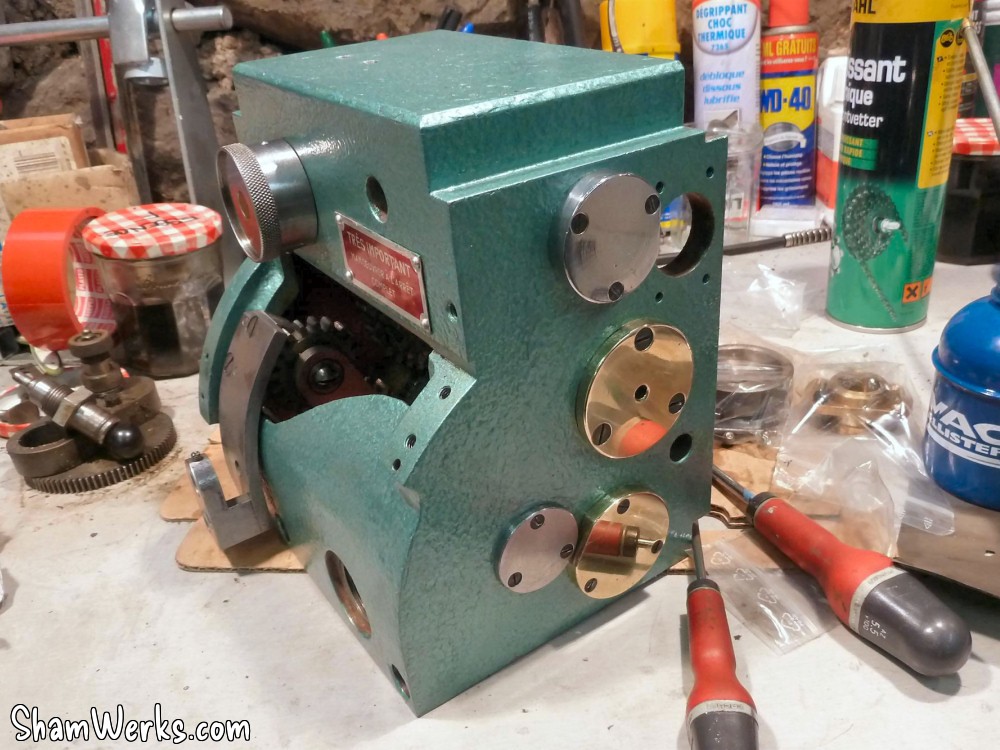
Some of you may think I went too far with the mirror finish on the bronze bearings, but I couldn't help. 😁

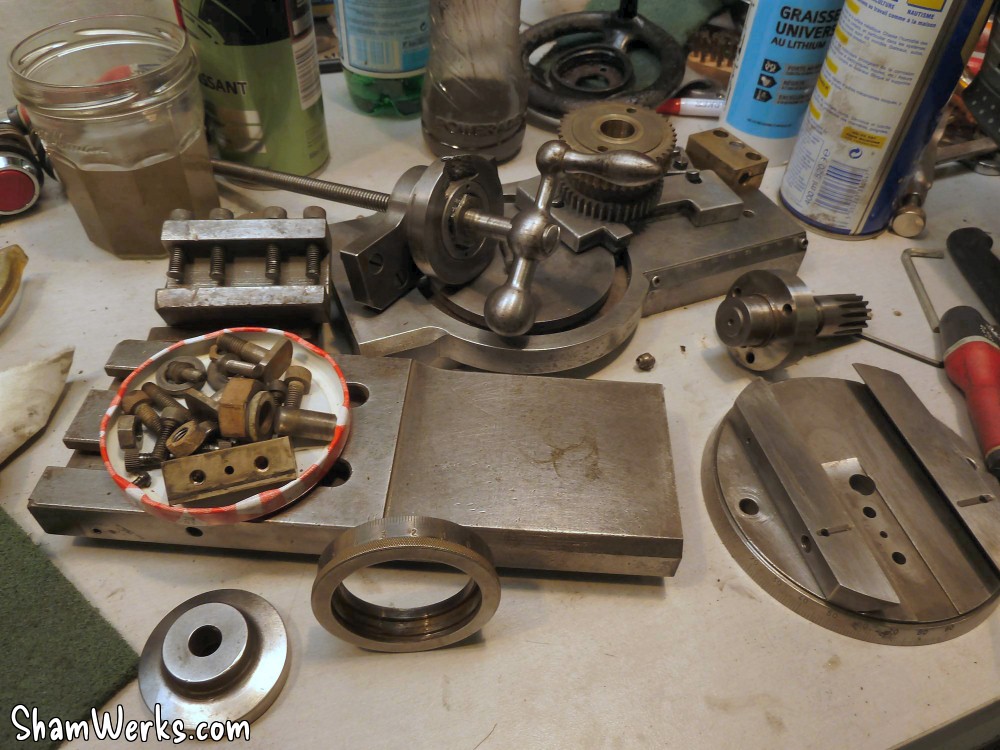
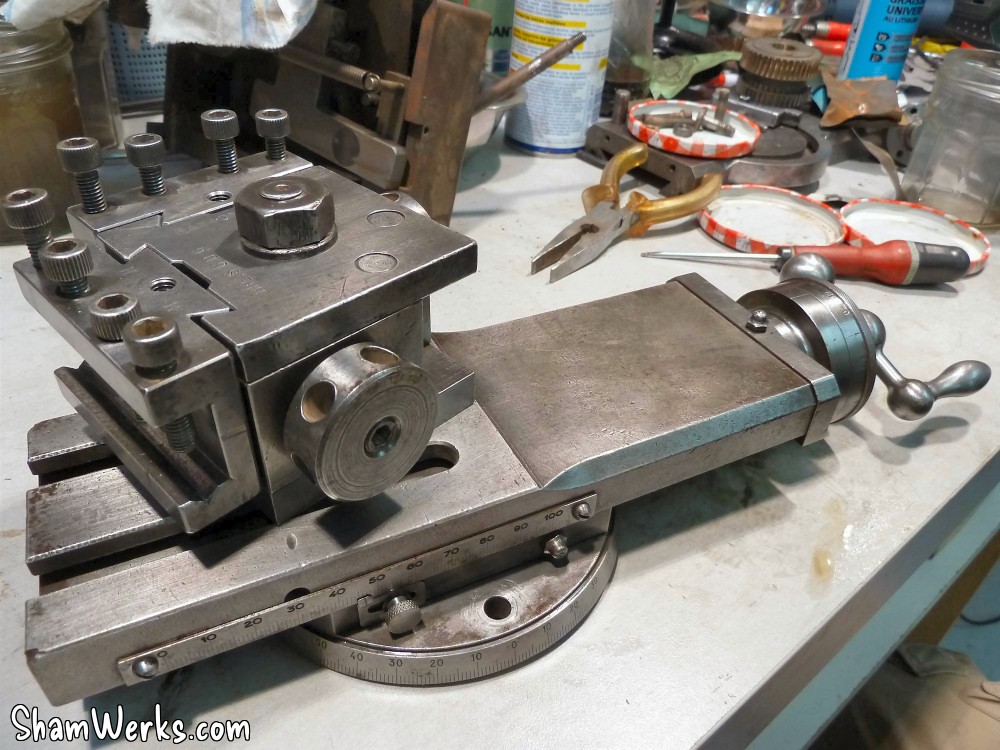
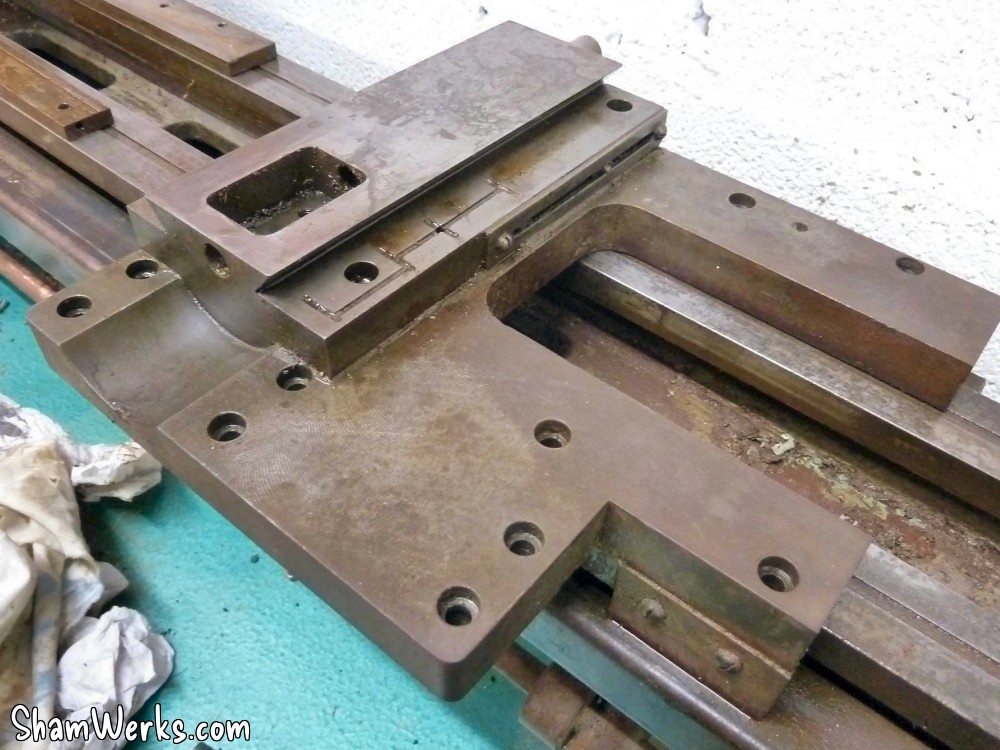
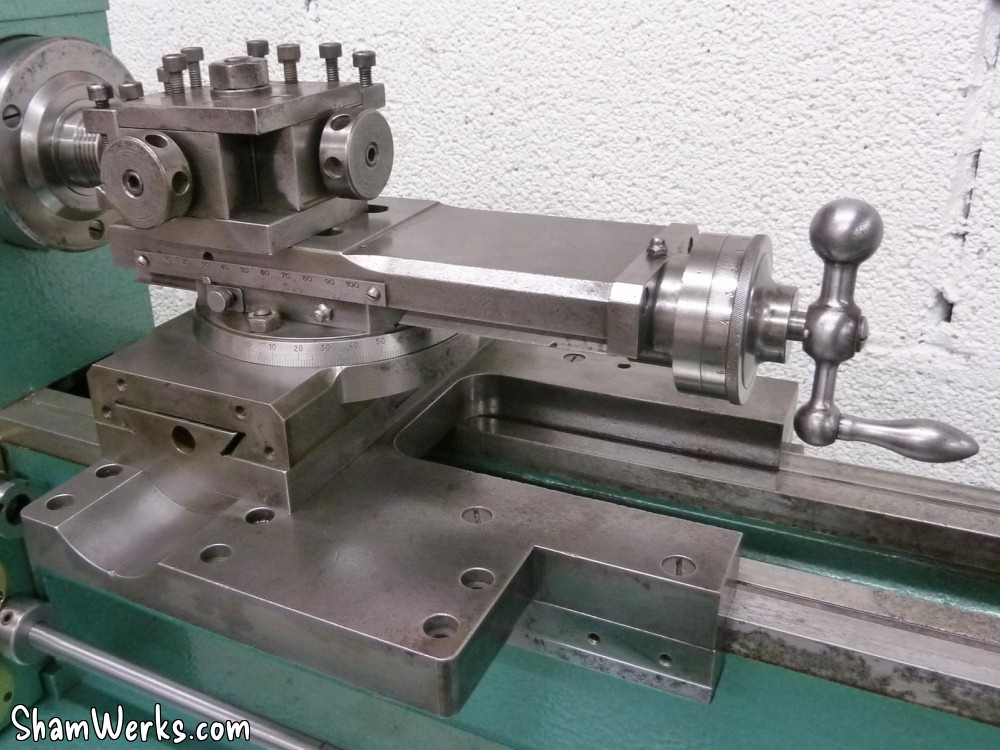
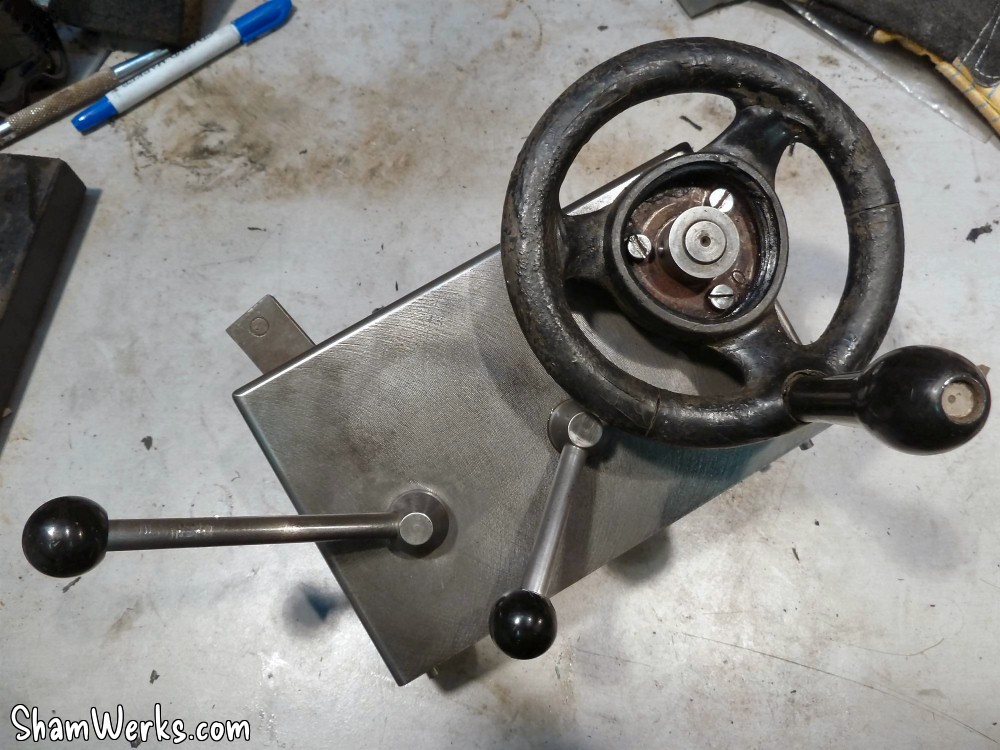
Carriage
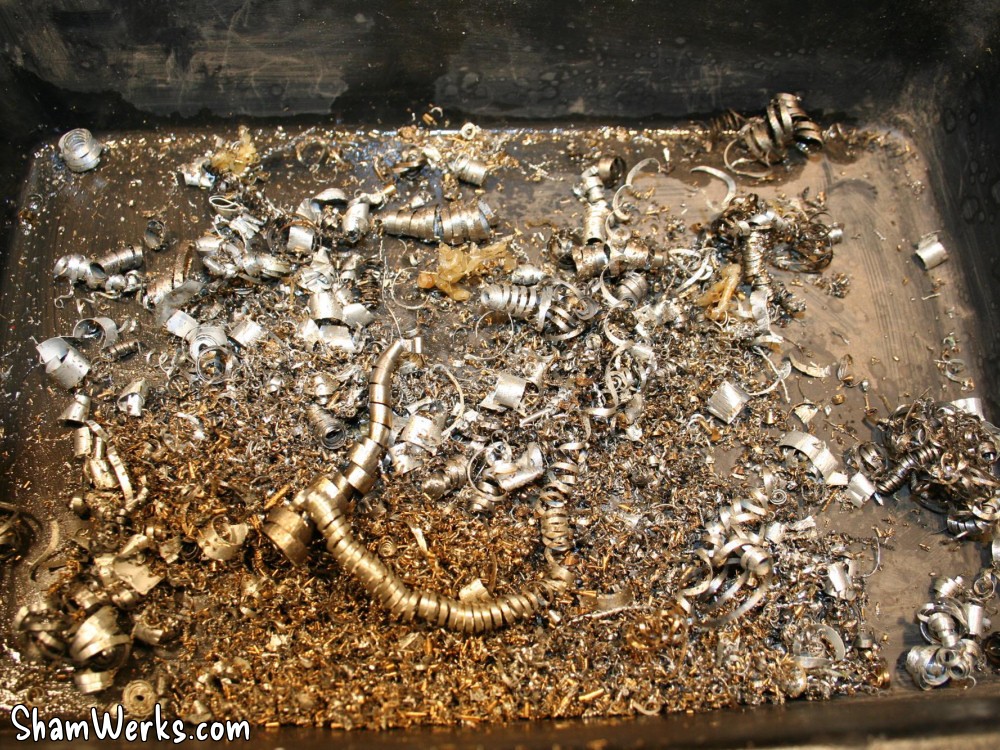
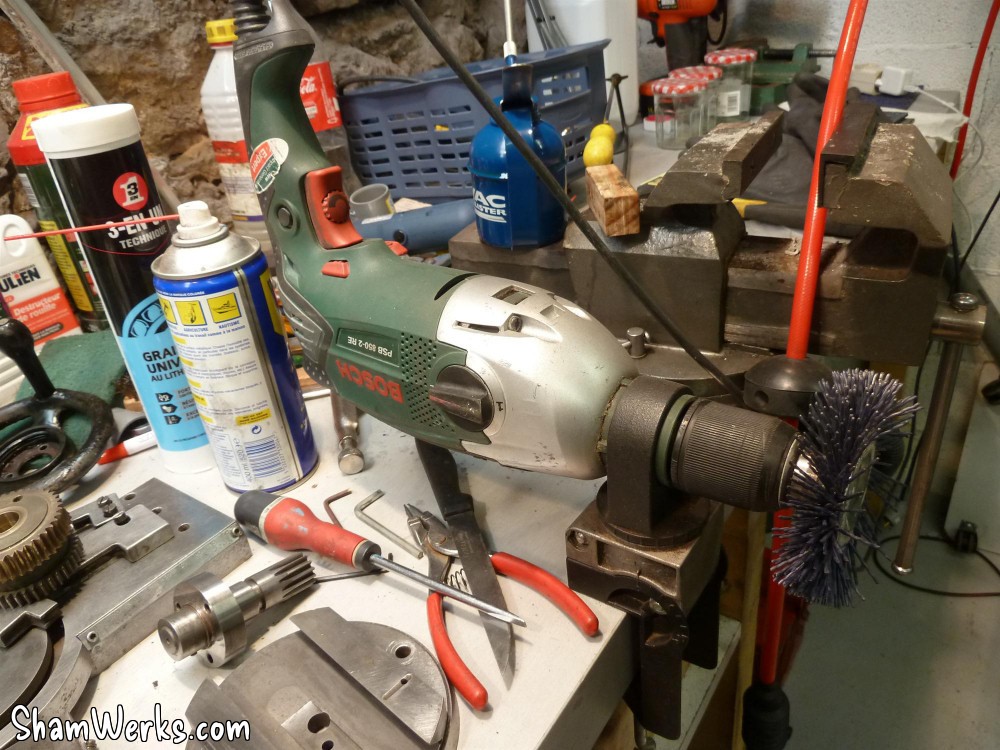
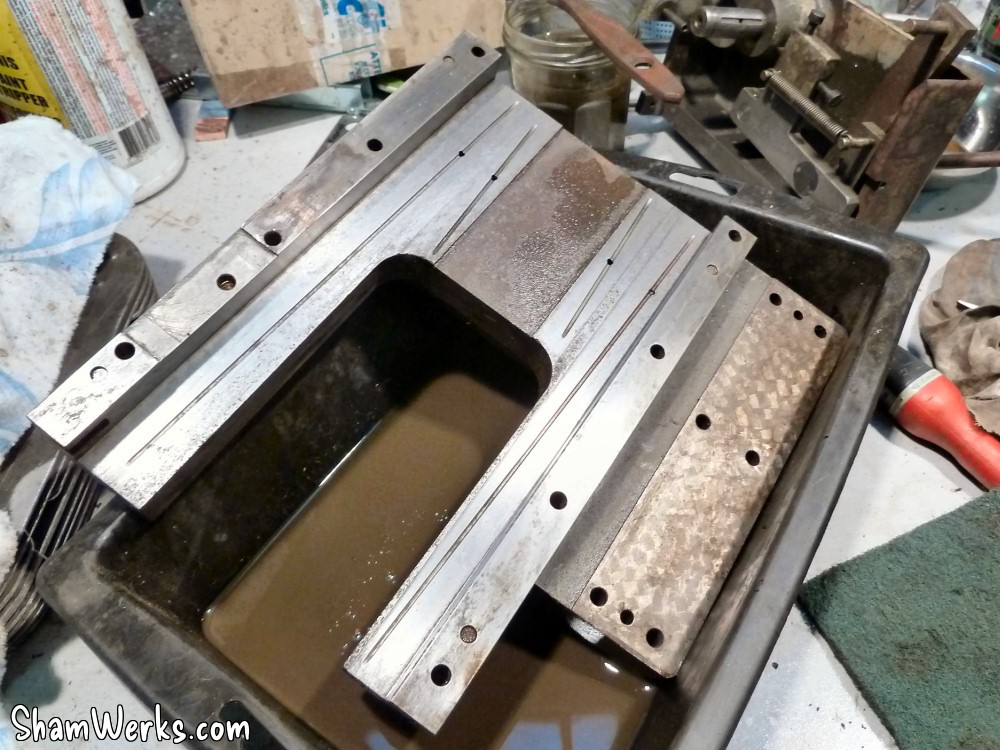
Then, dismantling the carriage assembly, down to the smallest screw... Now this is where you gotta be cautious : dozens and dozens of small parts just waiting to be lost... You must be organised : containers, reclaimed jam jars, Ziploc bags, hand-drawn schemas, pictures, anything's good to make sure you don't lose anything, and preparing for the re-assembling step later.I won't go through the detail of cleaning each and every part here, the process was always the same : degreasing in a tay with solvent F (naphtha) and a brush, then brushing/polishing with a rotary brush mounted on my hand drill (soft blue plastic brush) to remove oxydization marks. Eventually, some scrapping when there was paint stains, and/or 600 grit sandpaper with abit of WD40 to remove deeper oxydization.
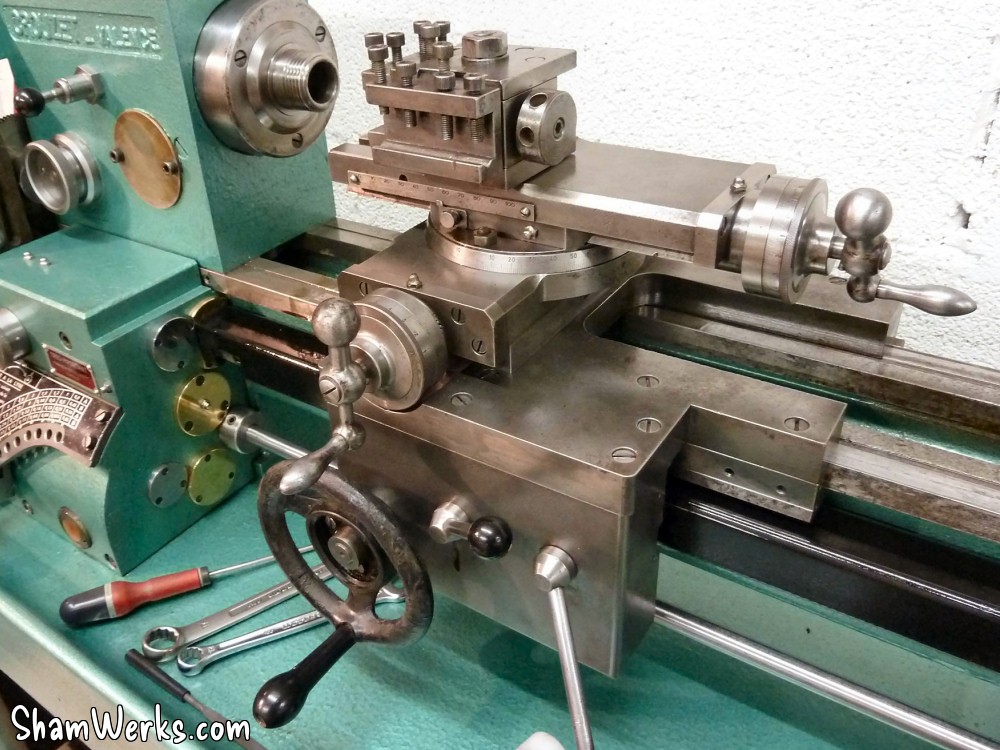
Aaaaand finally, reassembling everything with clean oil/grease, while adjusting all the necessary plays : this is the funny part.😉

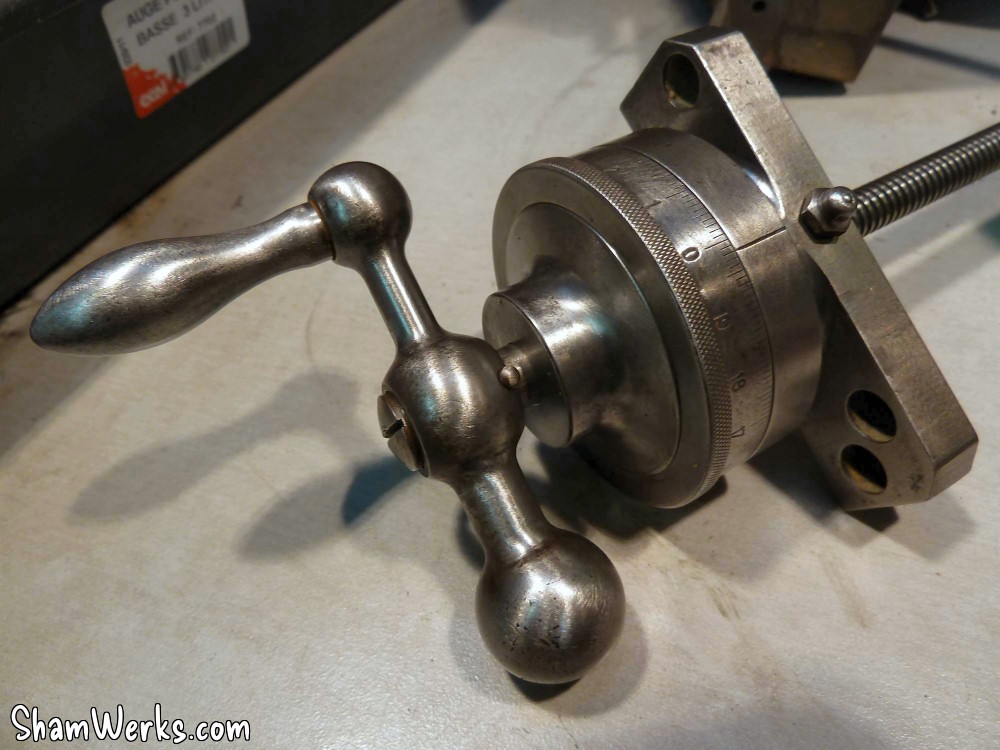
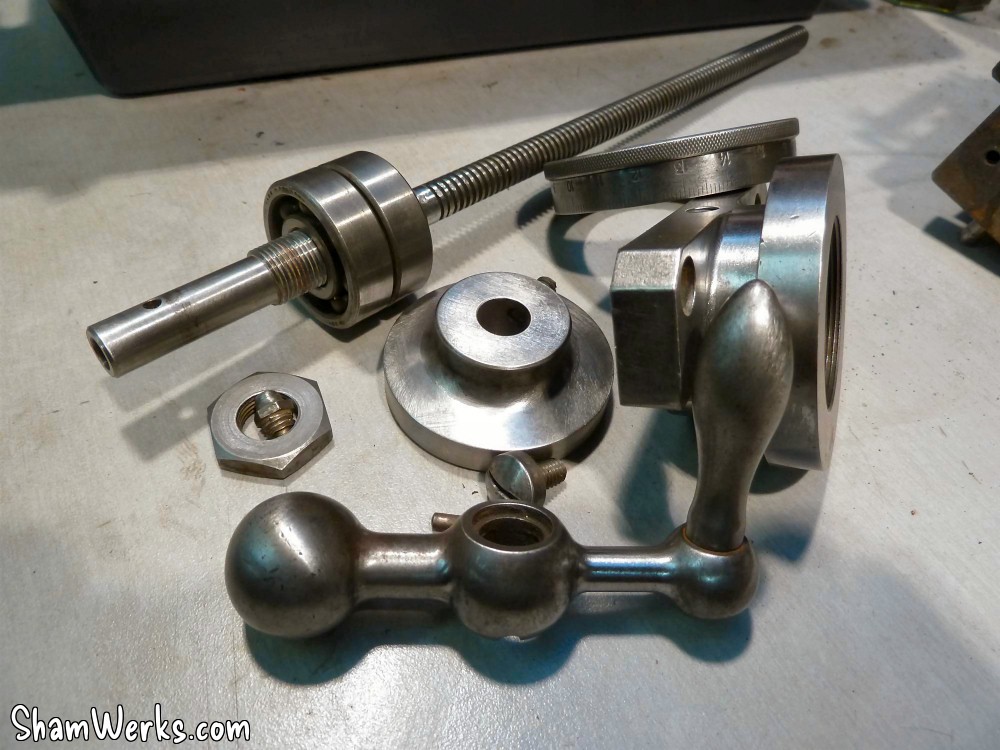
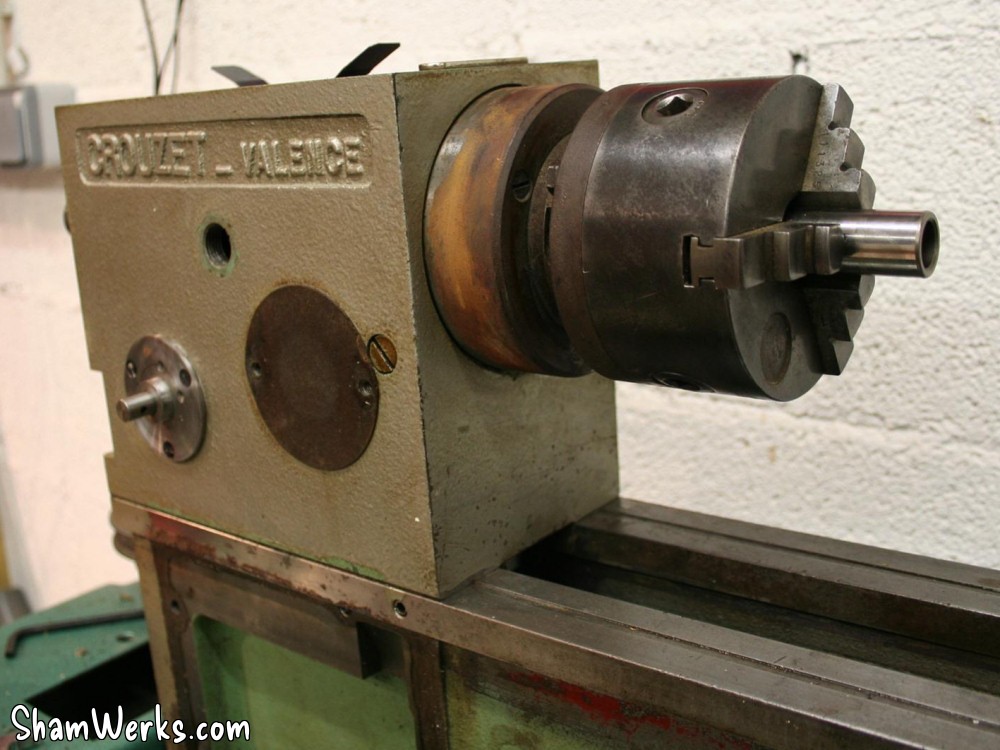
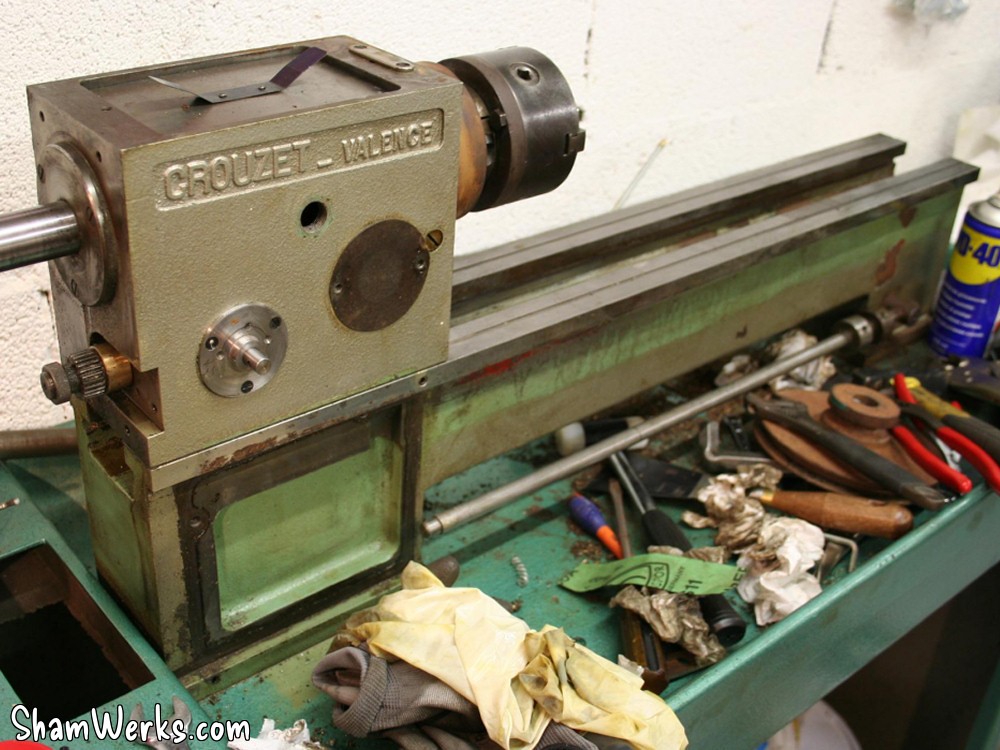
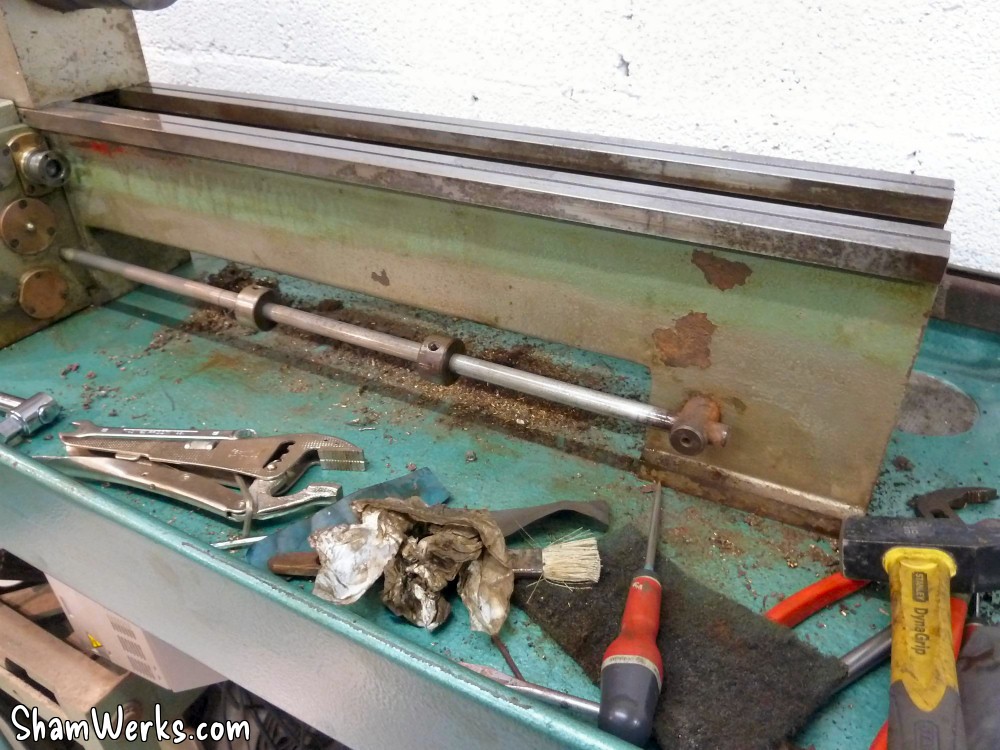
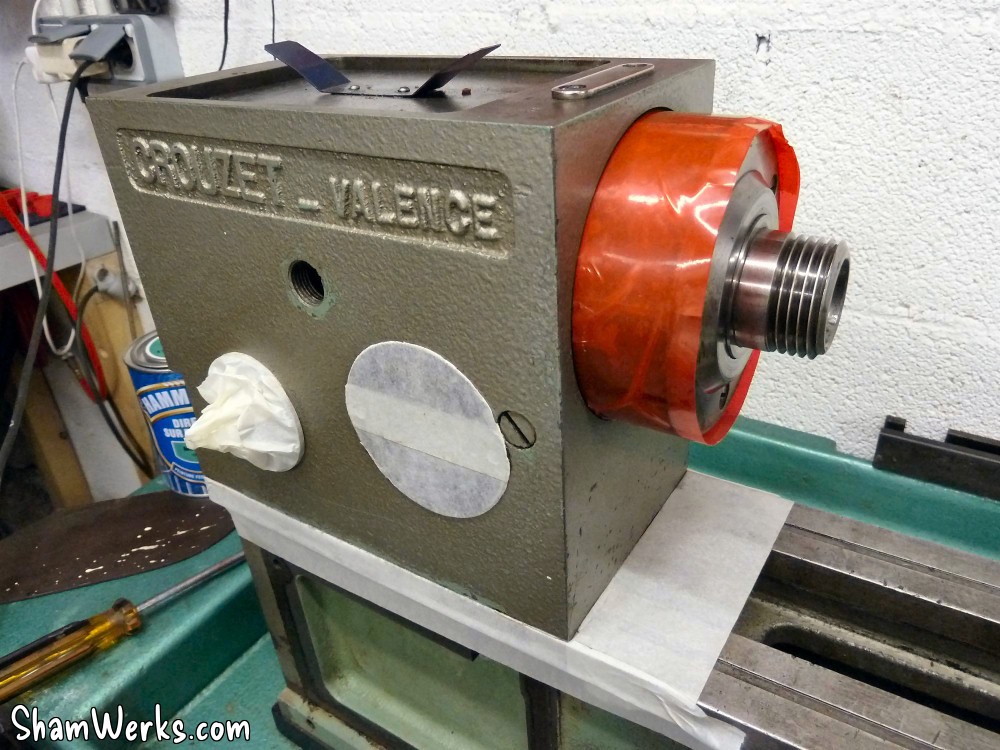
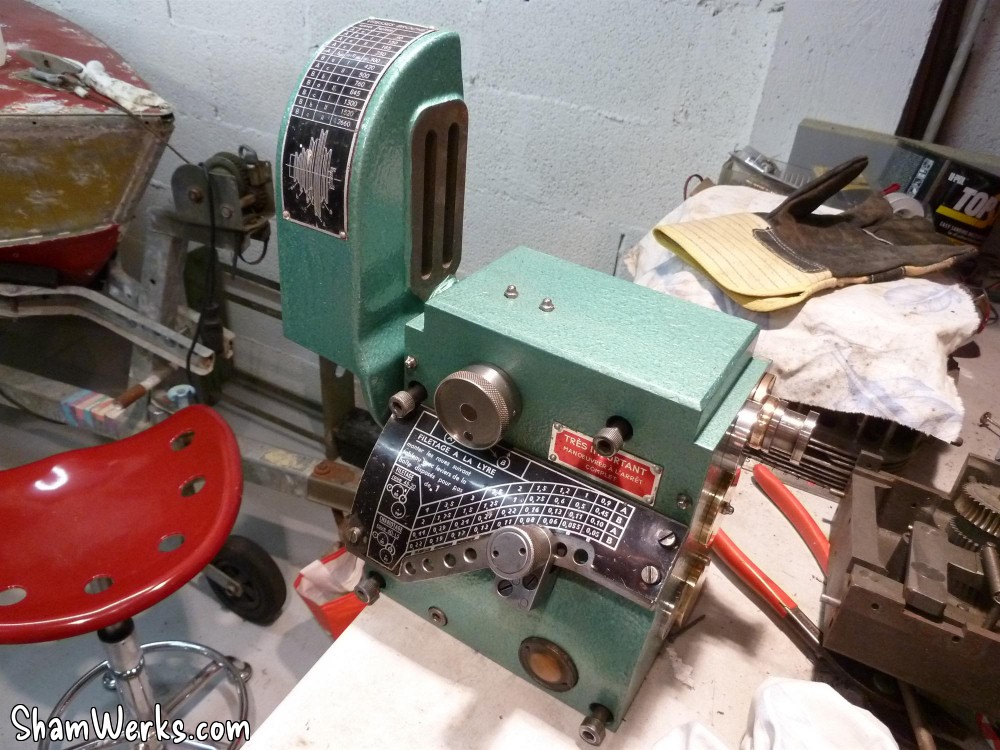
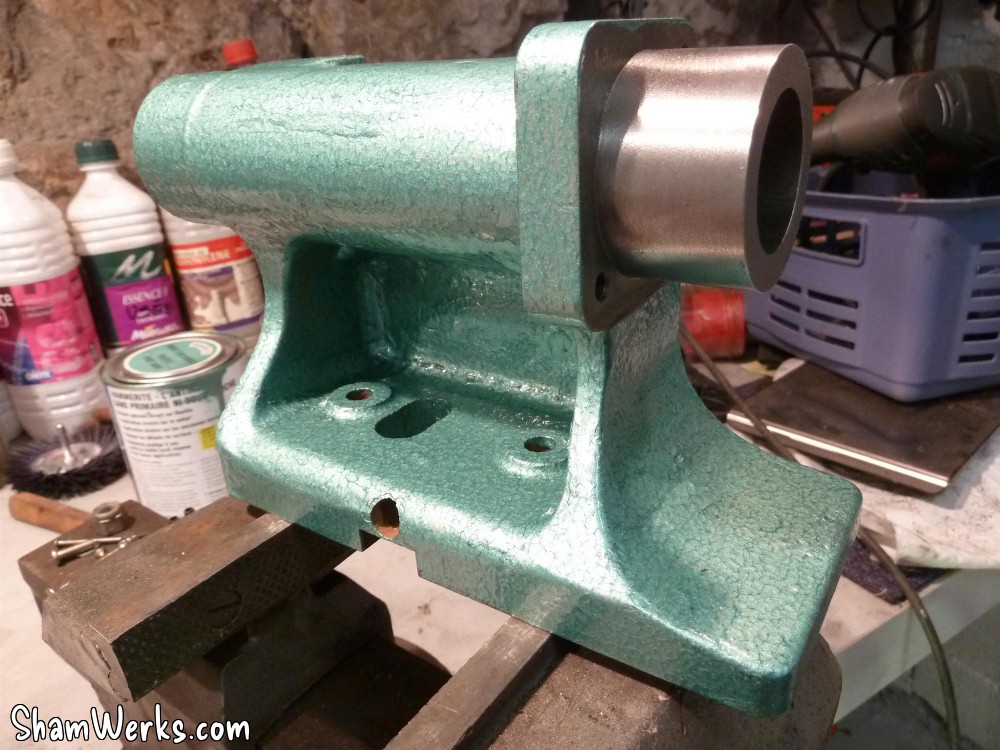
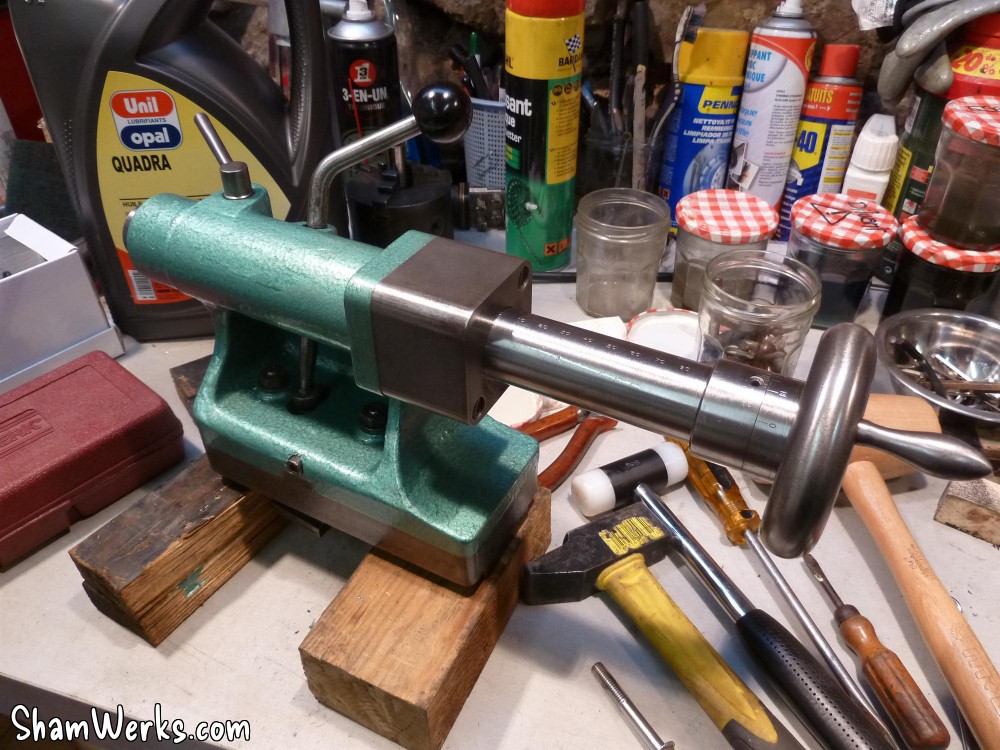
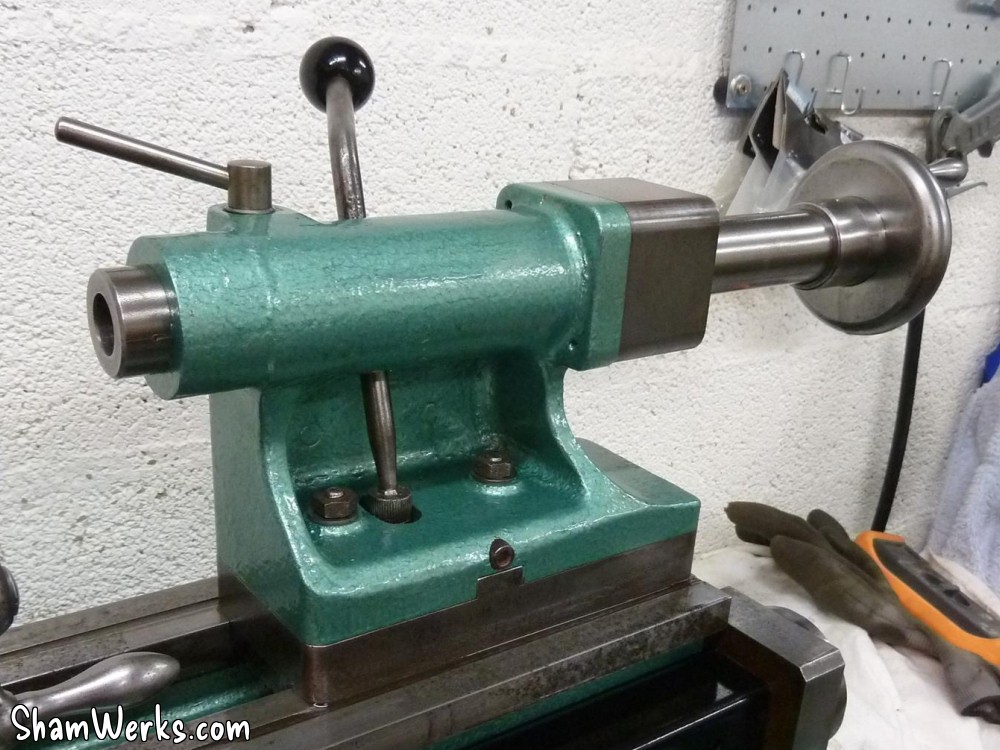
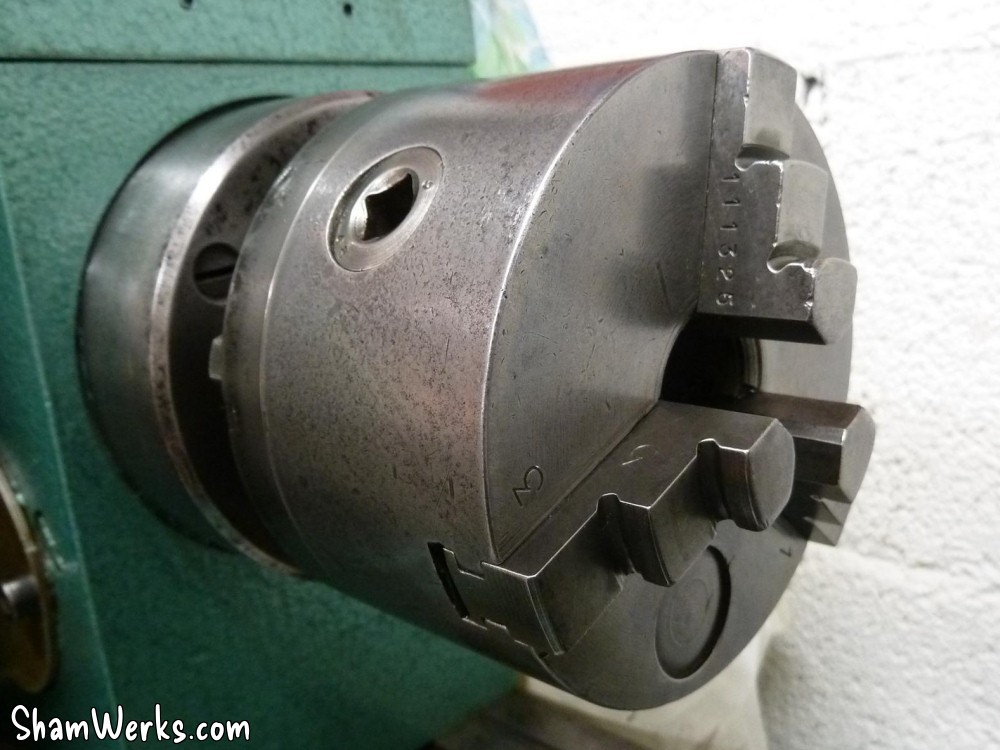
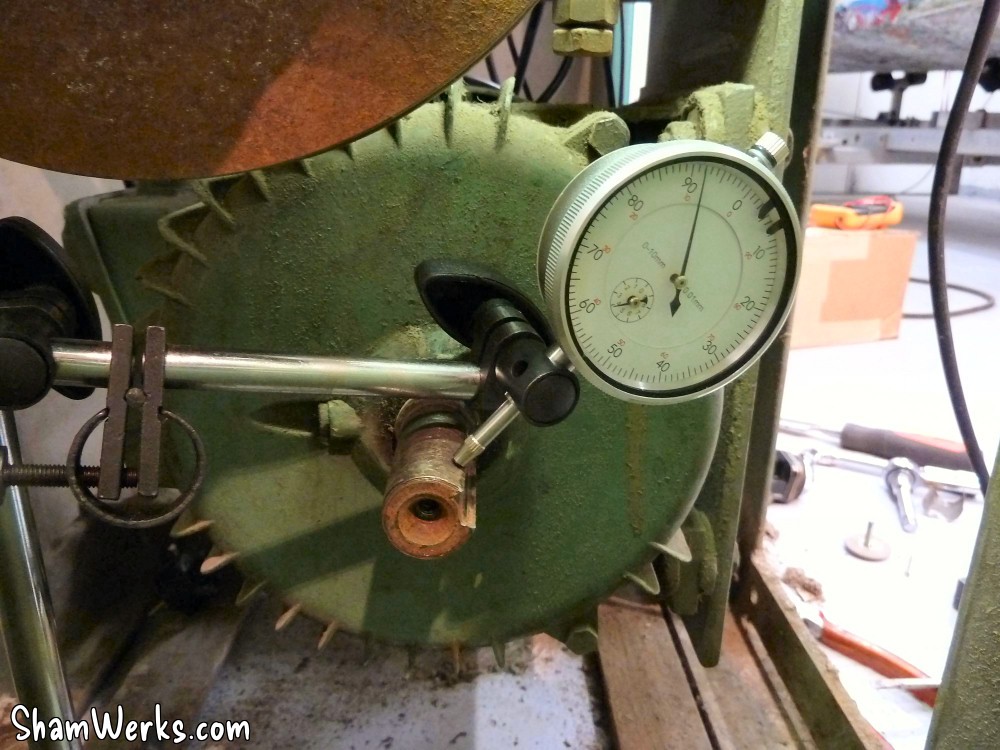
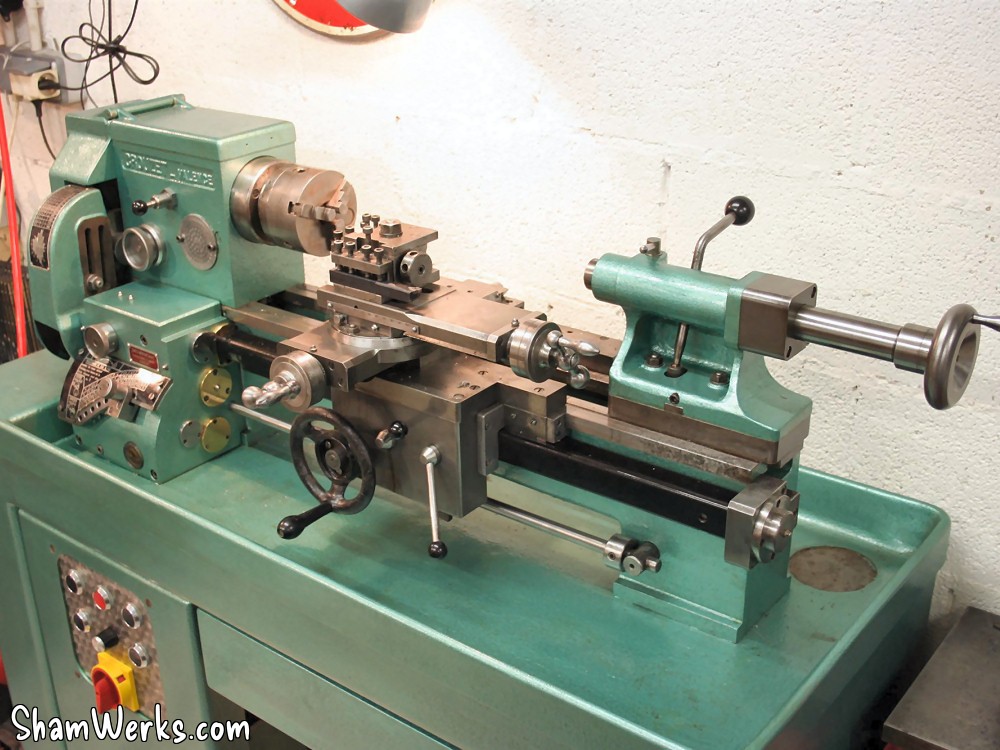
Tailstock and spindle
There's stillthe tailstock and spindle to restore. Regarding the latest, you must be extra cautious to reassemble it just the way it was originally, since the different parts broke in together.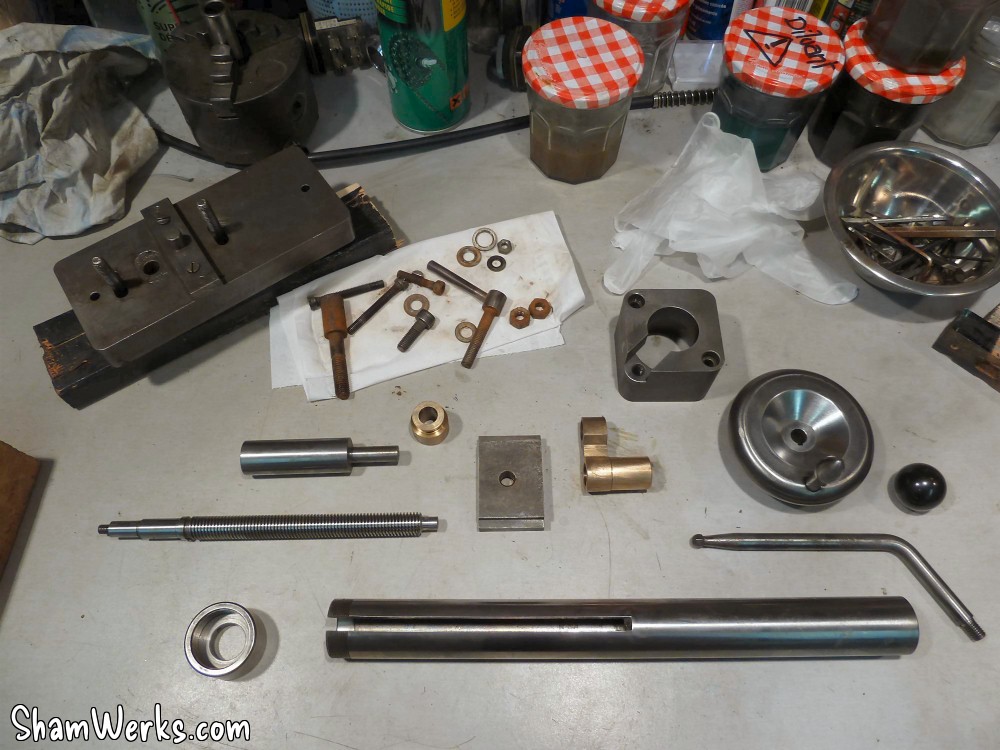

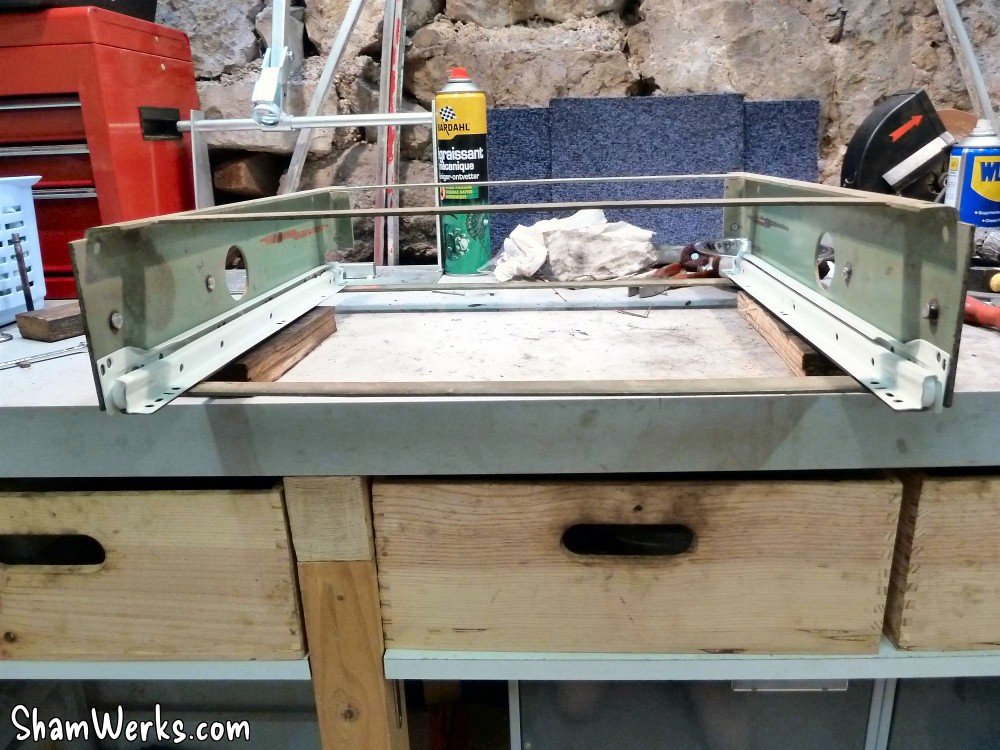
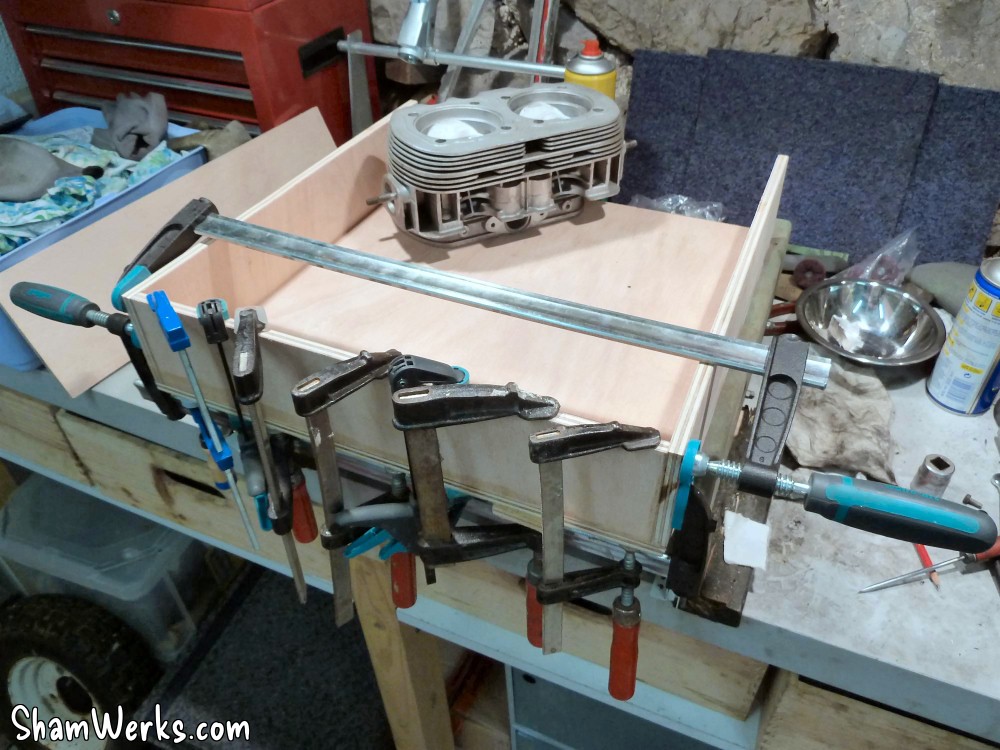
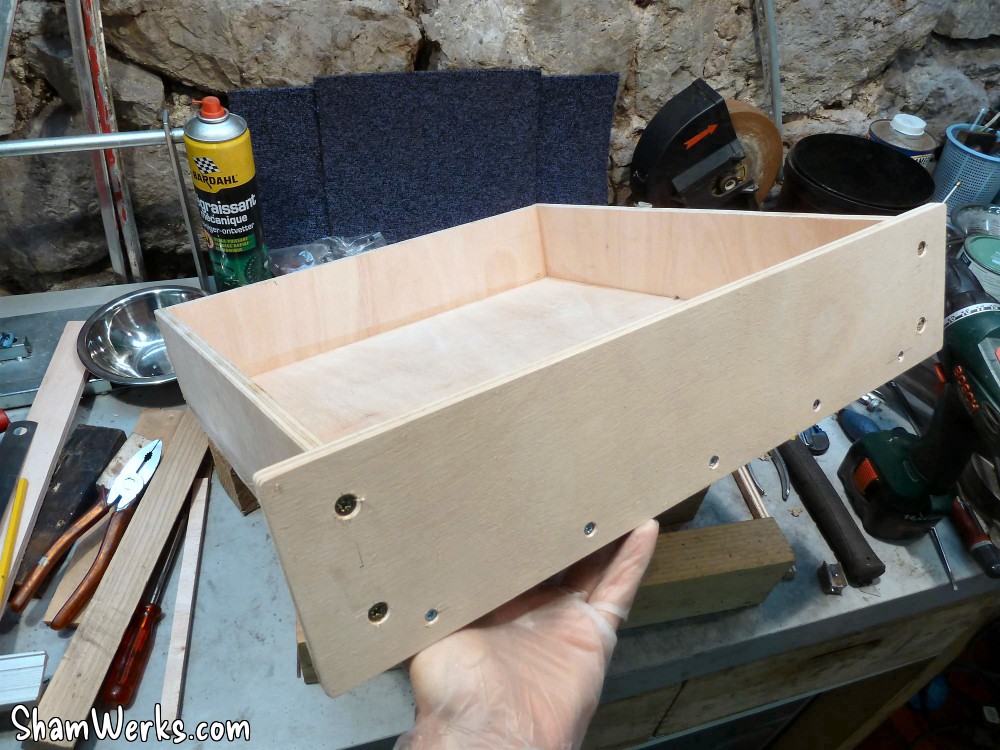
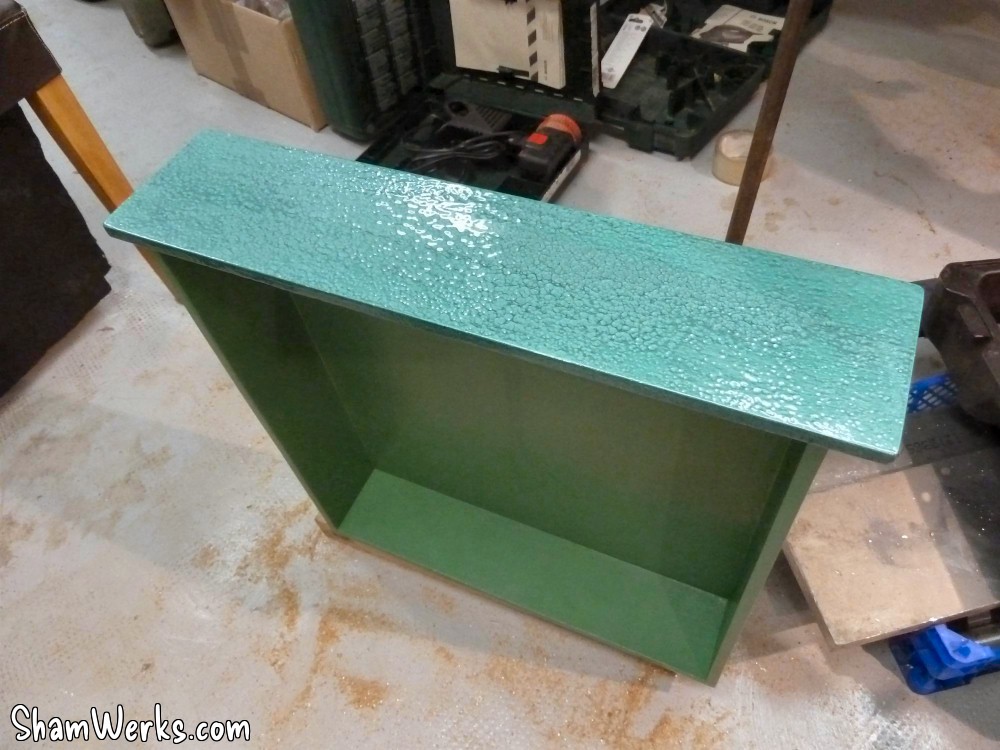
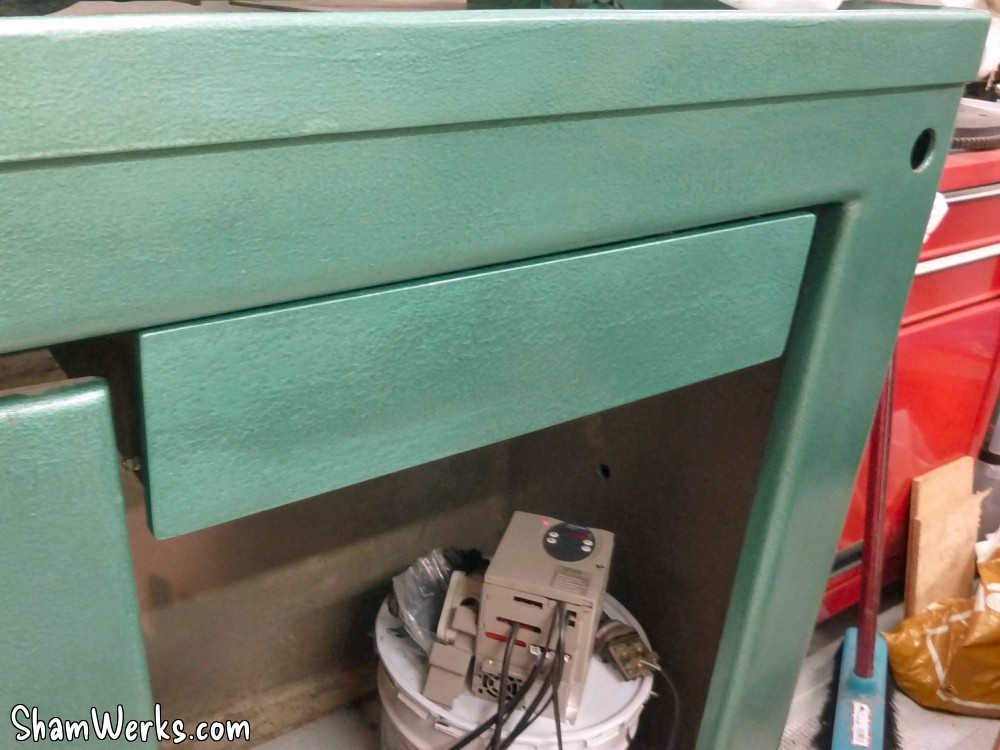
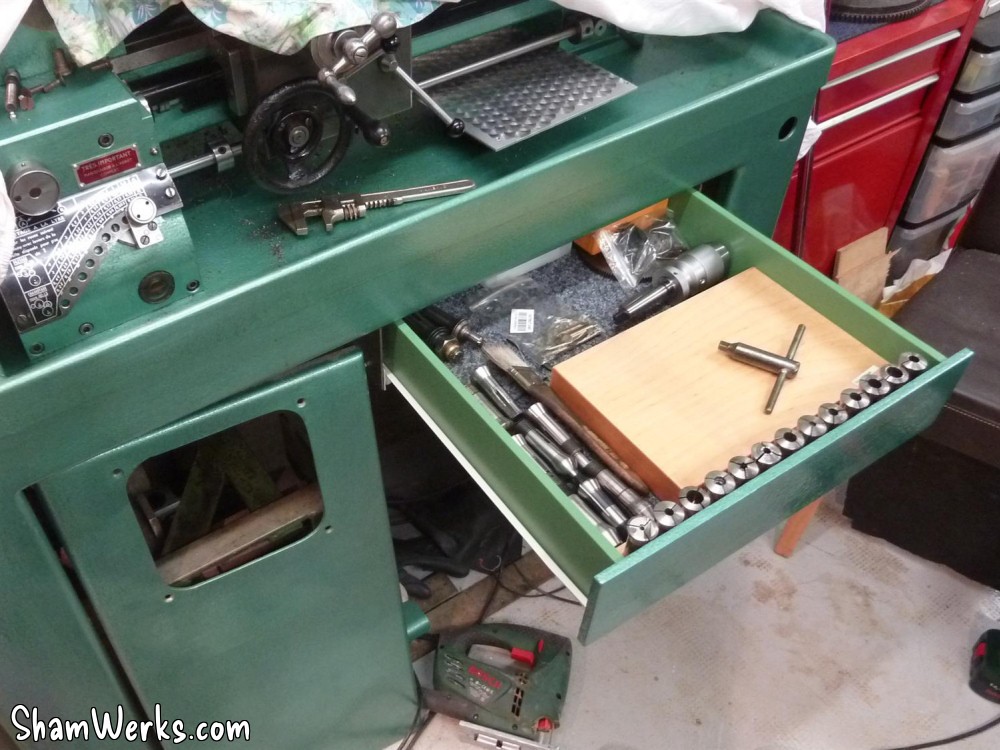
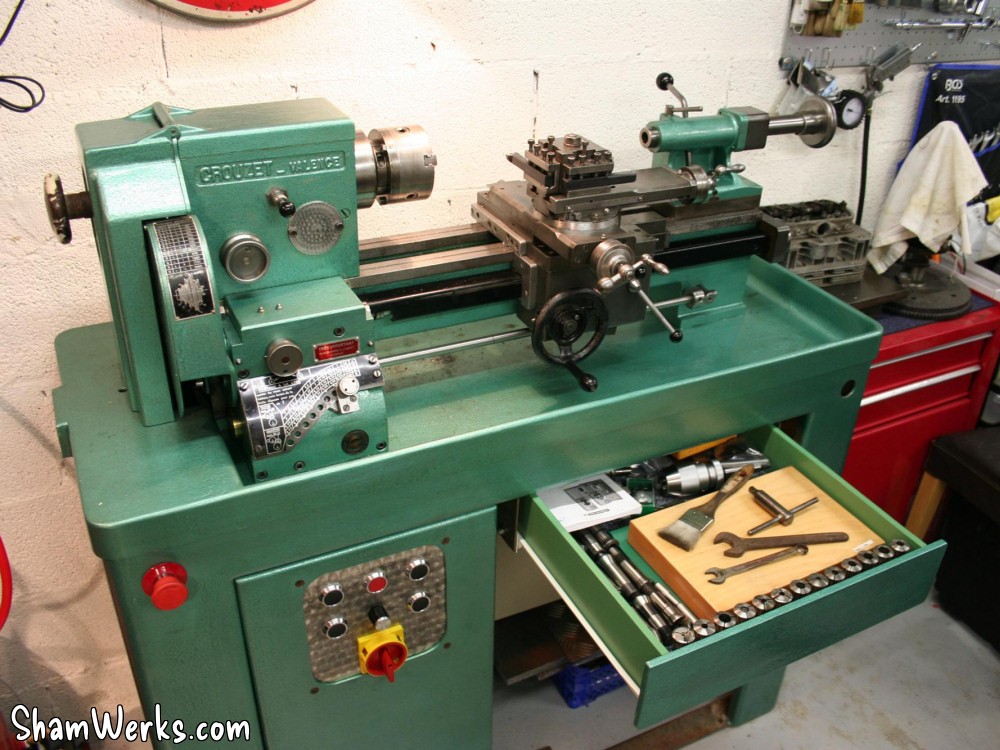
Drawer
Originally, my lathe had a little drawer, which is quite handy to keep tools protected and within a hand's reach. Unfortunately, the drawer was lost at some point in the history of the lathe. So, here I go, building a new one out of 10mm. plywood.A quick tip about plywood : to have a smooth finish once painted, you have to sand it before painting ; a good thing is then to humidify the wood a few minutes before sanding (use a spray or a sponge to slightly humidify the wood, don't soak it!). This will raise the grain of the wood, so you can sand it smooth. If you don't, the grain will raise with the humidity of your paint coat, and you and up with an ugly rough surface.
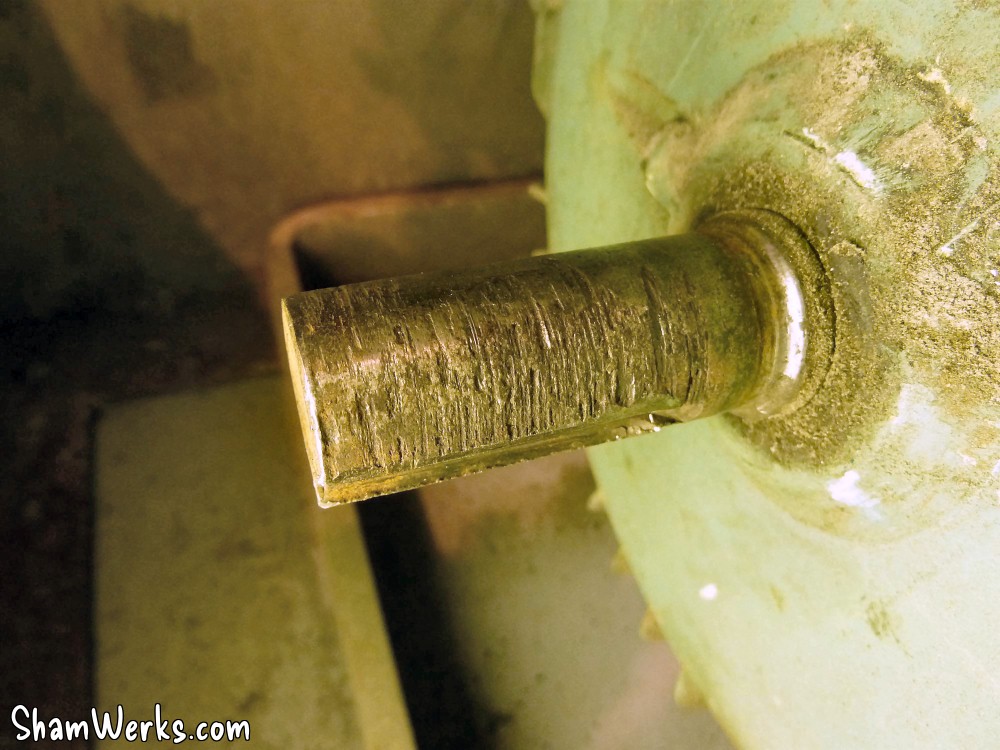
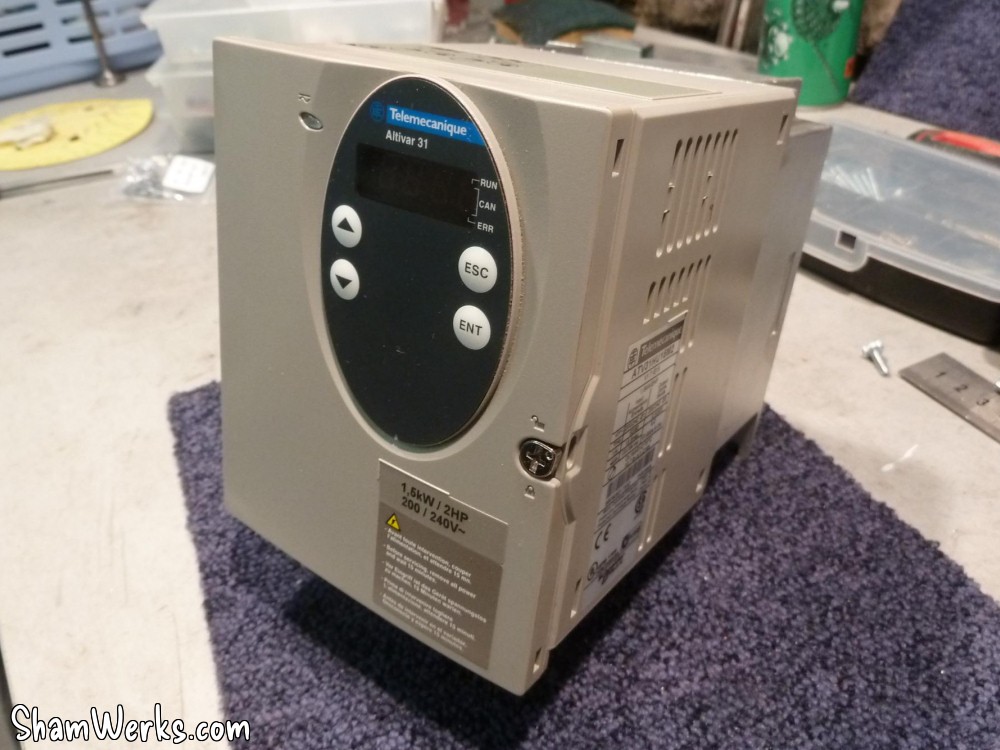
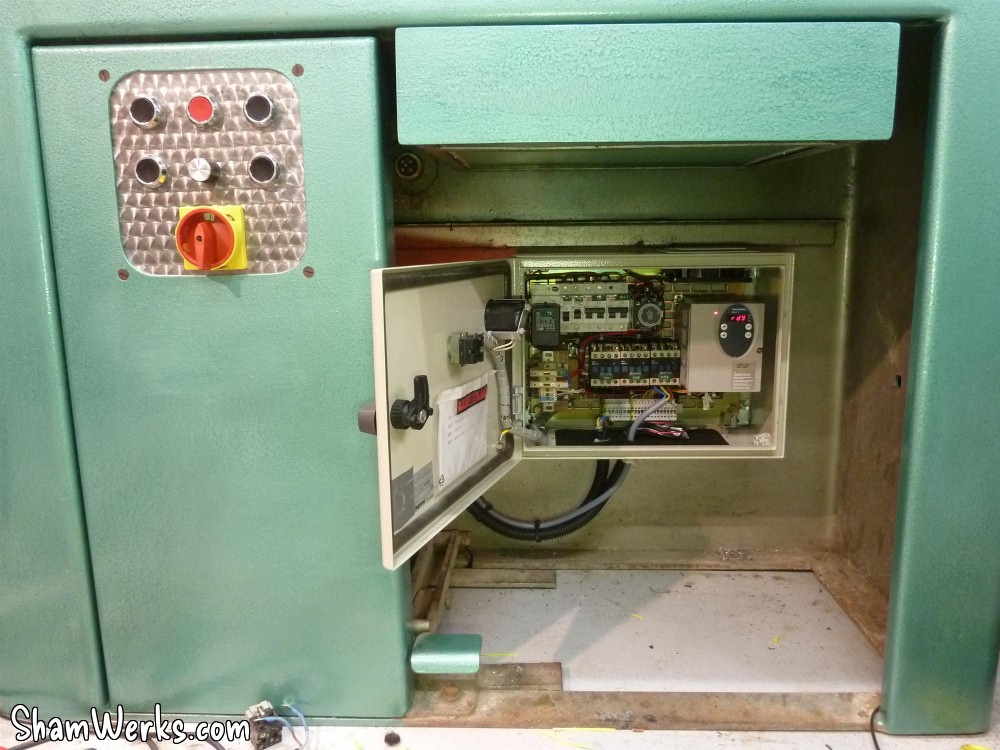
Electricity
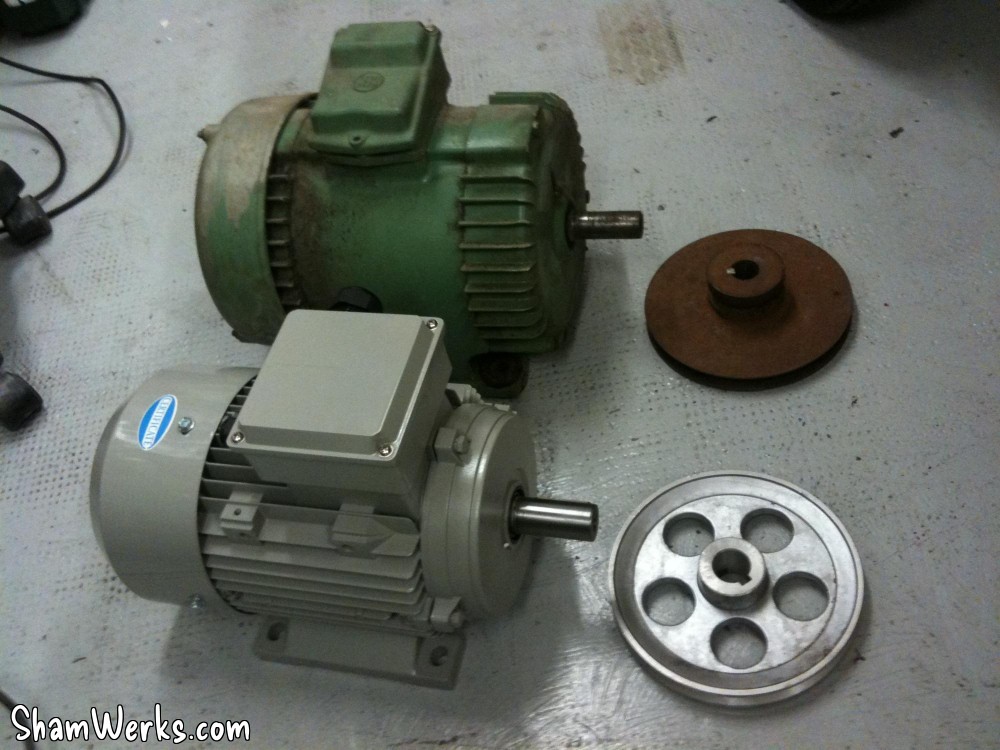
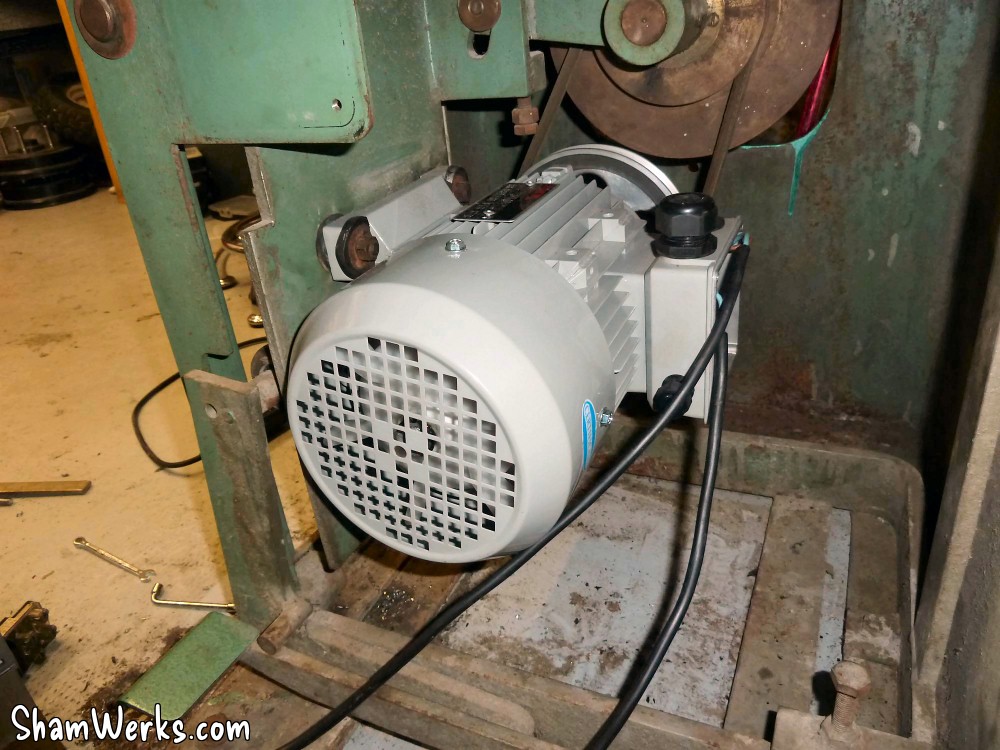
Since I don't have three-phase current available in my workshop, I use a variable speed drive to drive the motor (I use a Schneider Altivar 31, great product.).The original motor (1,5 kW/2hp, dual speed) will finally be in too bad a shape to be used. I don't know what its previous owners did with it, but boy does it have suffered : the output shaft was beaten, it was impossible to mount the pulley on it without heavy vibrations. I may have been able to grind it back straight, but since the motor made a naughty noise when running, I preferred to replace the motor + pulley assembly. For 160€ for both (same power as the original motor : 1,5kW, 1500 rpm, pulley 160mm in diameter), I preferred to have my mind at peace on this point.
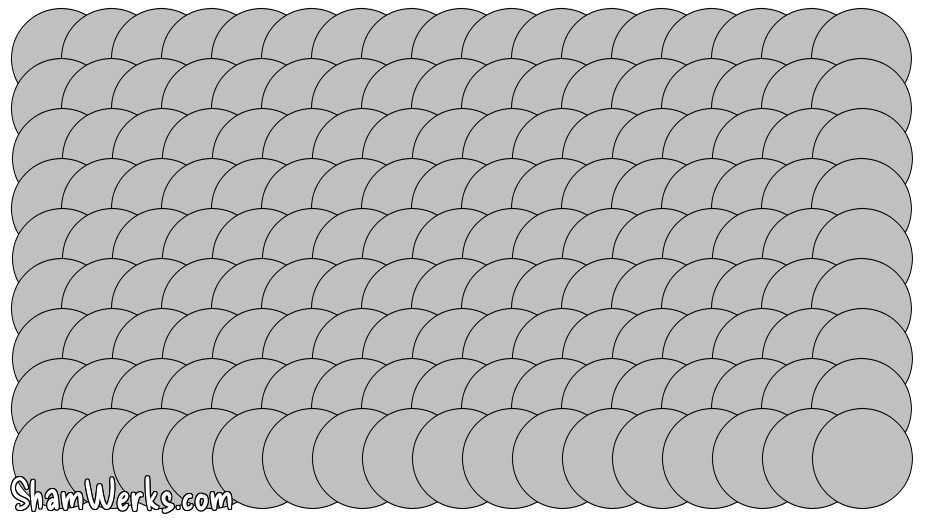
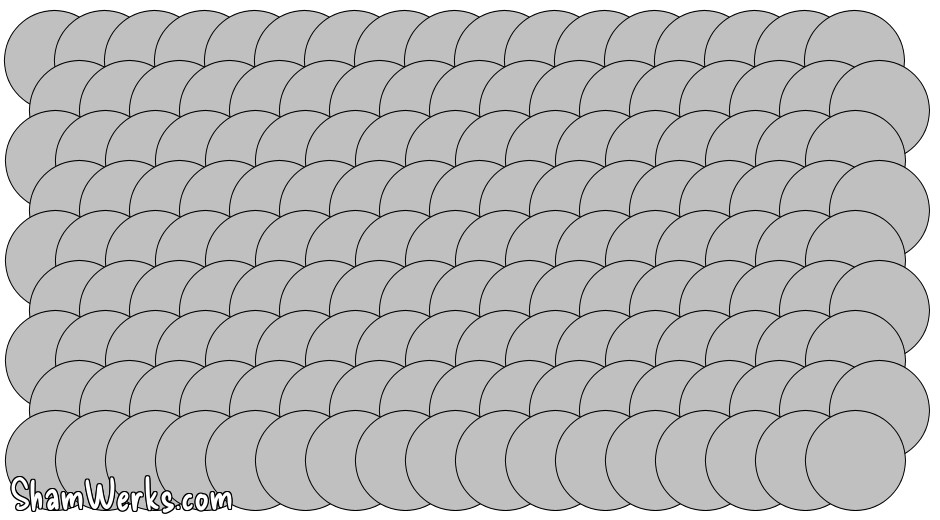
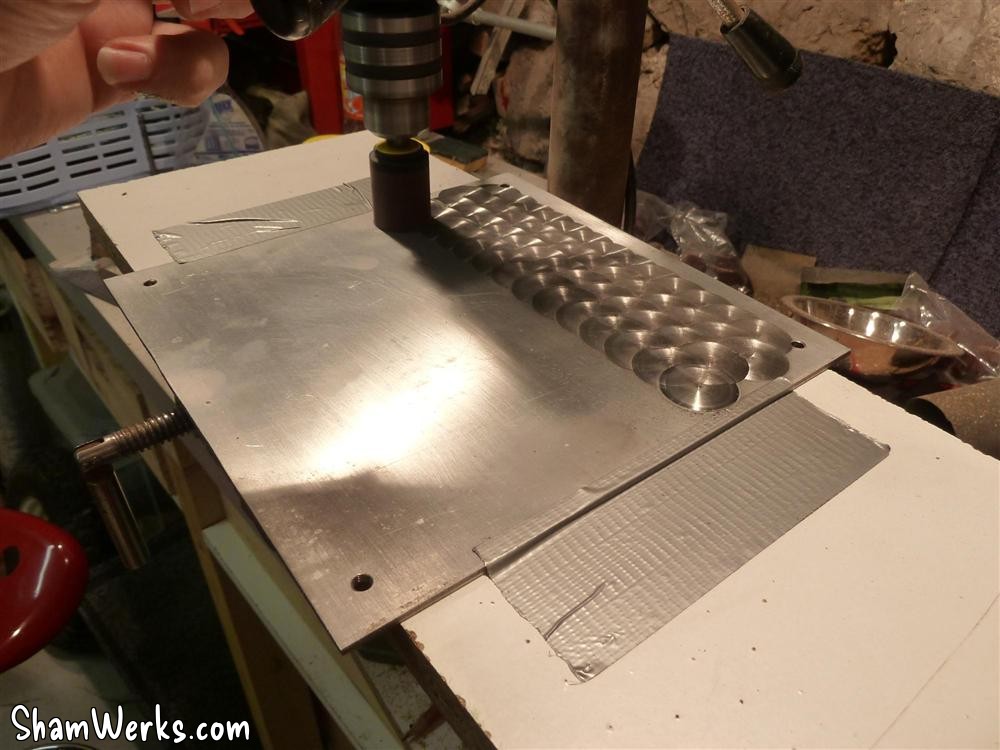
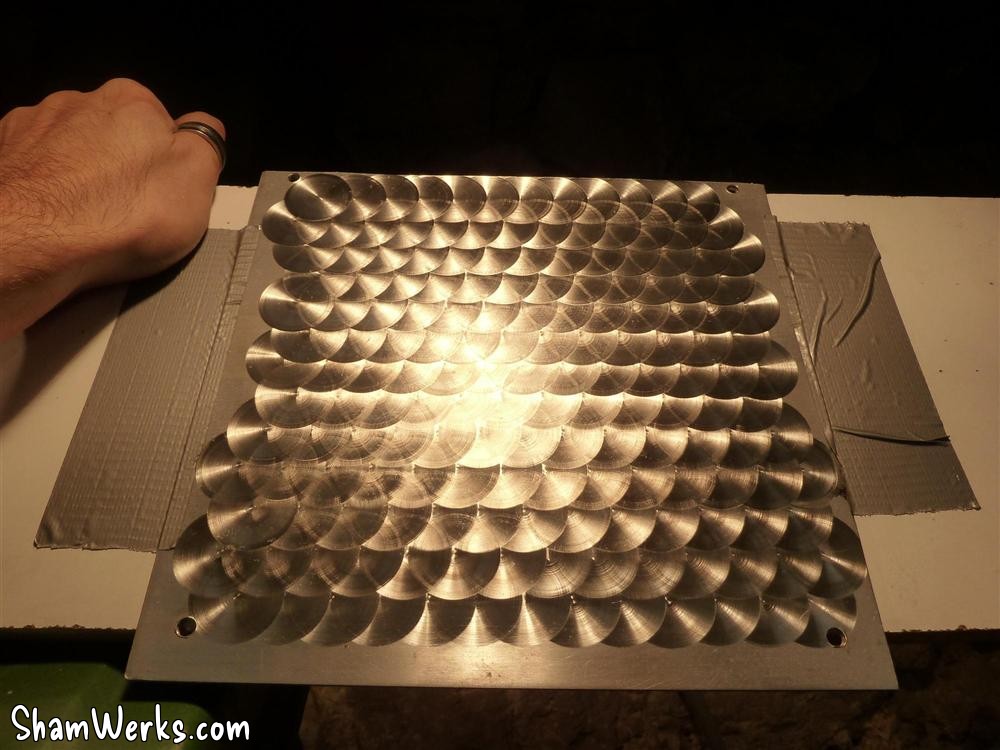
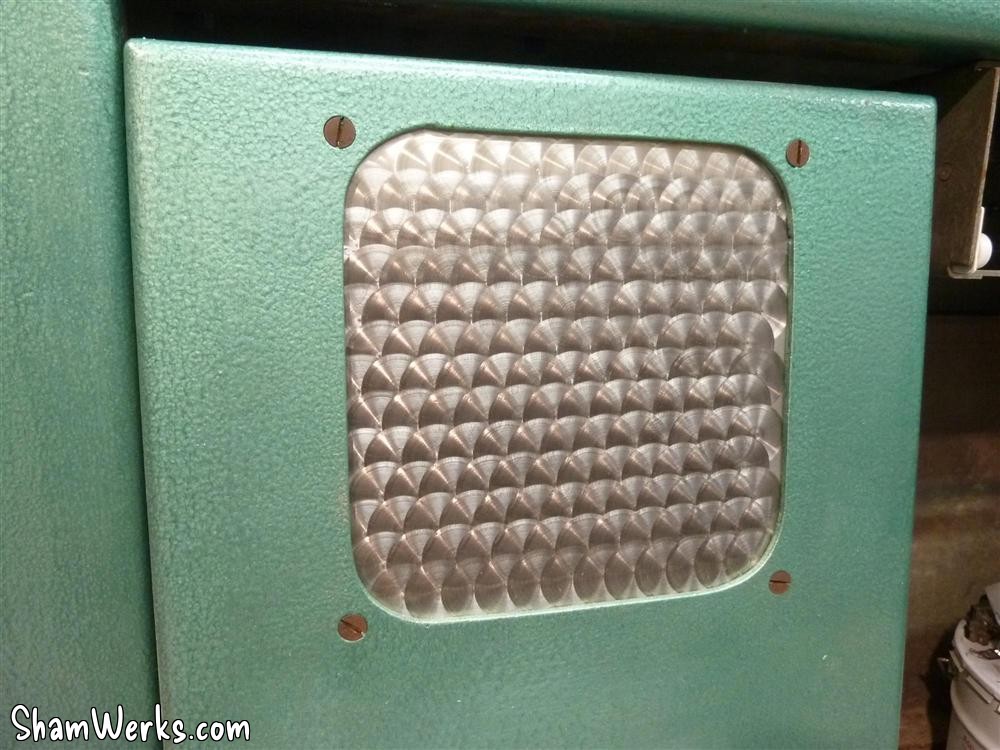
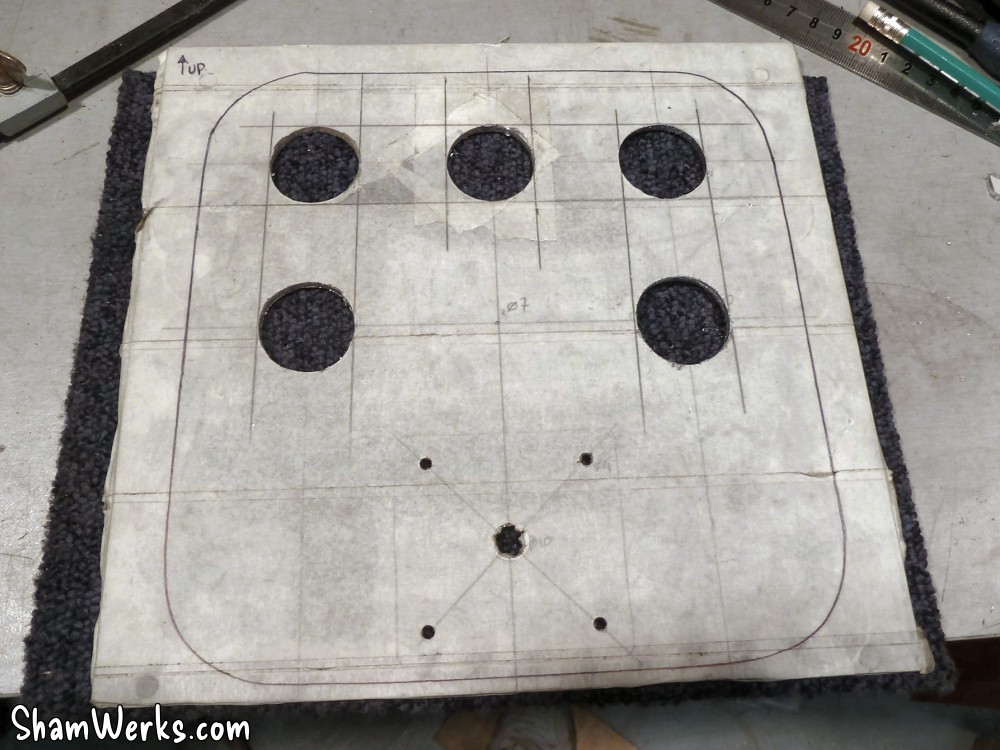
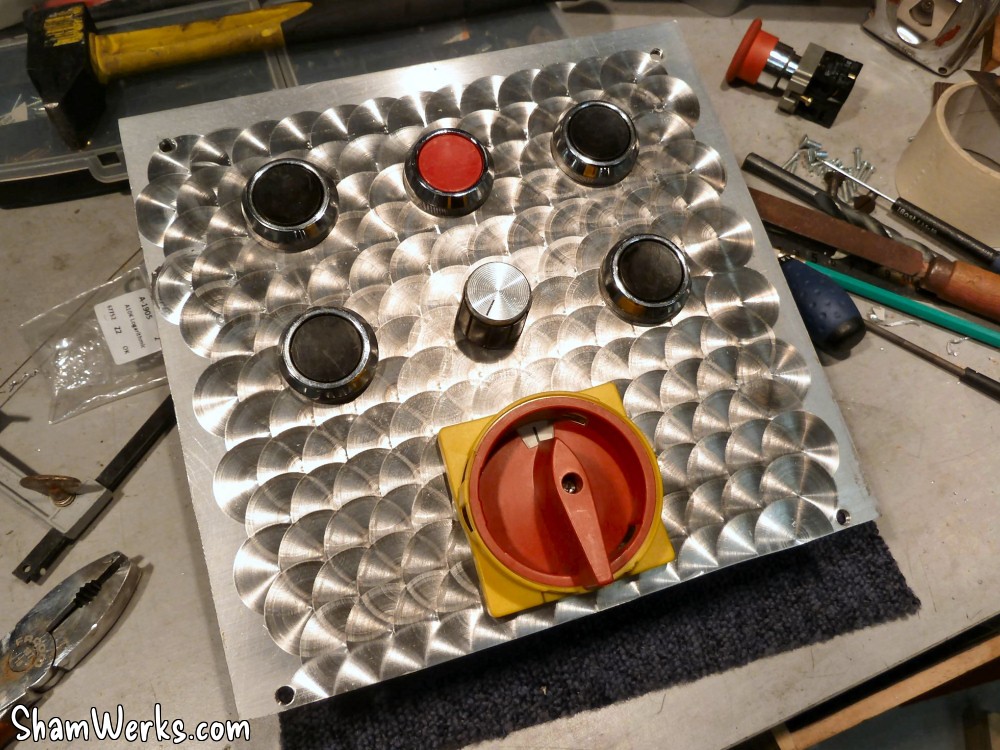
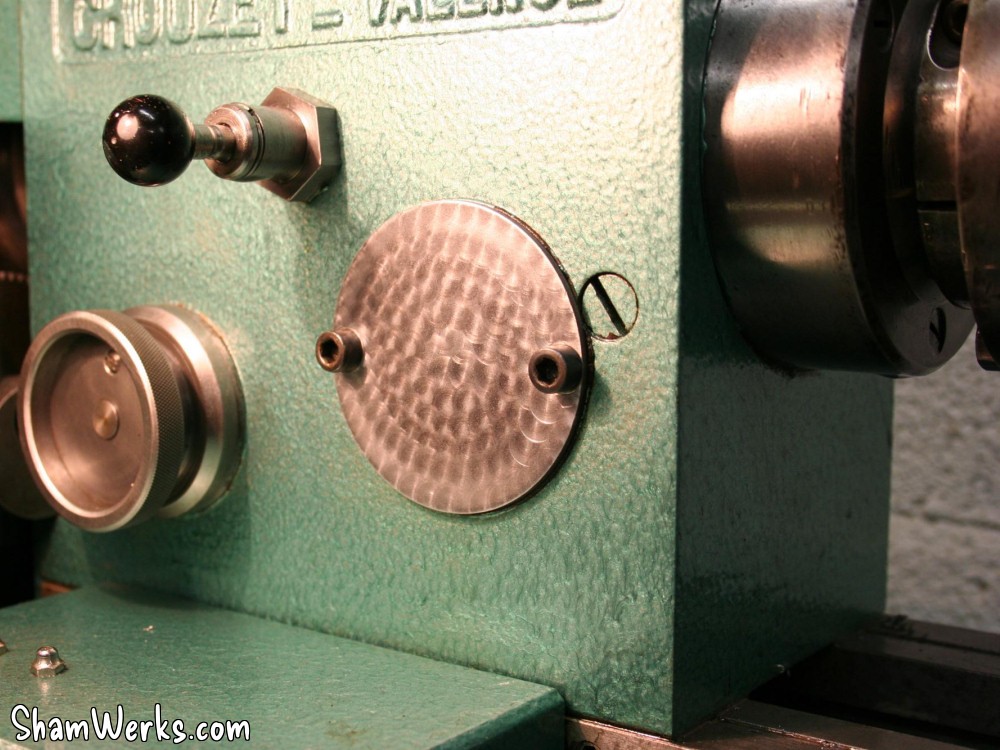
The abrasive grindstone I use is from PolirMalin, a bit expensive, but does a great job. The circles are 30mm in diameter, I've decided to shift each line by half a radius, the final aspect is much nicer. A bit more complex to do, but the result is worth it, see schema below. This is when the jig comes really handy!
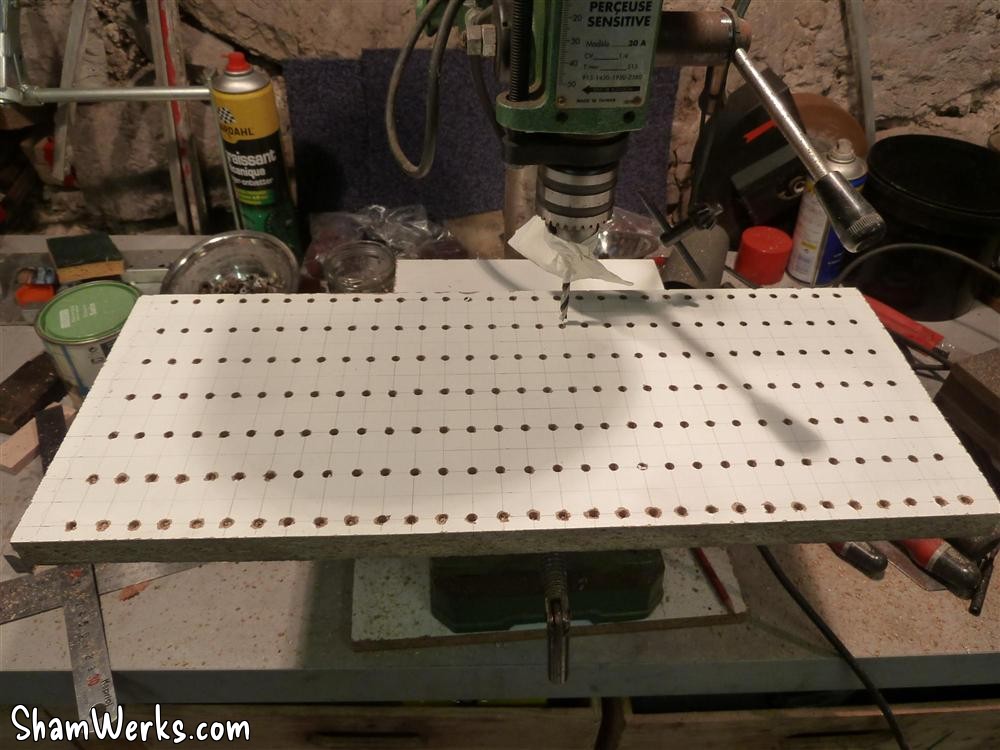
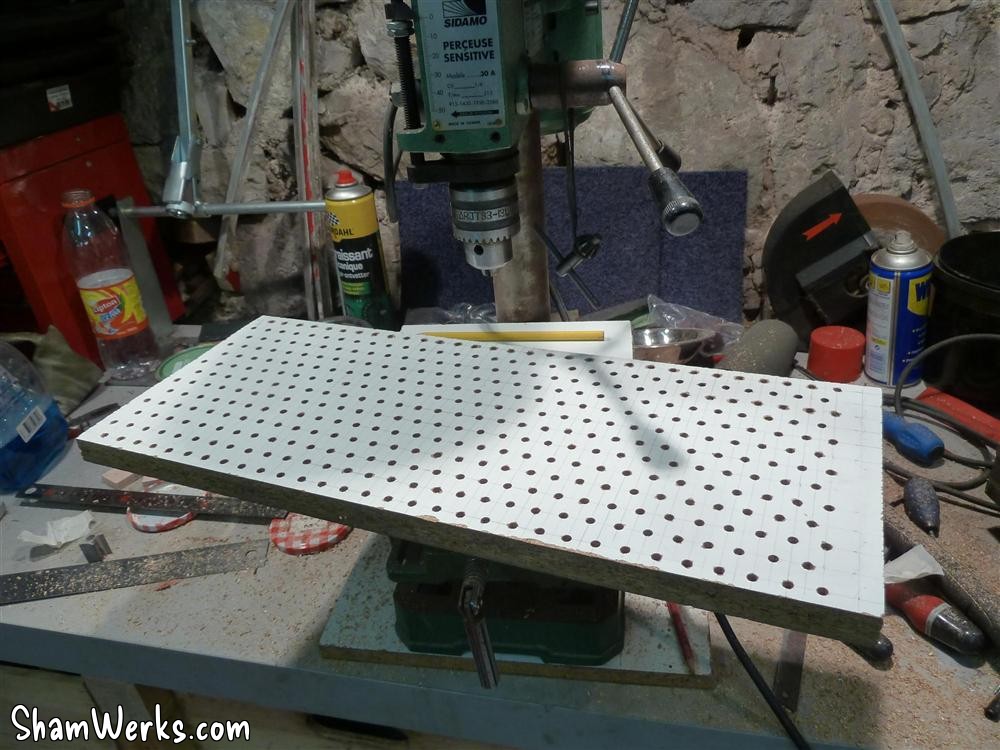
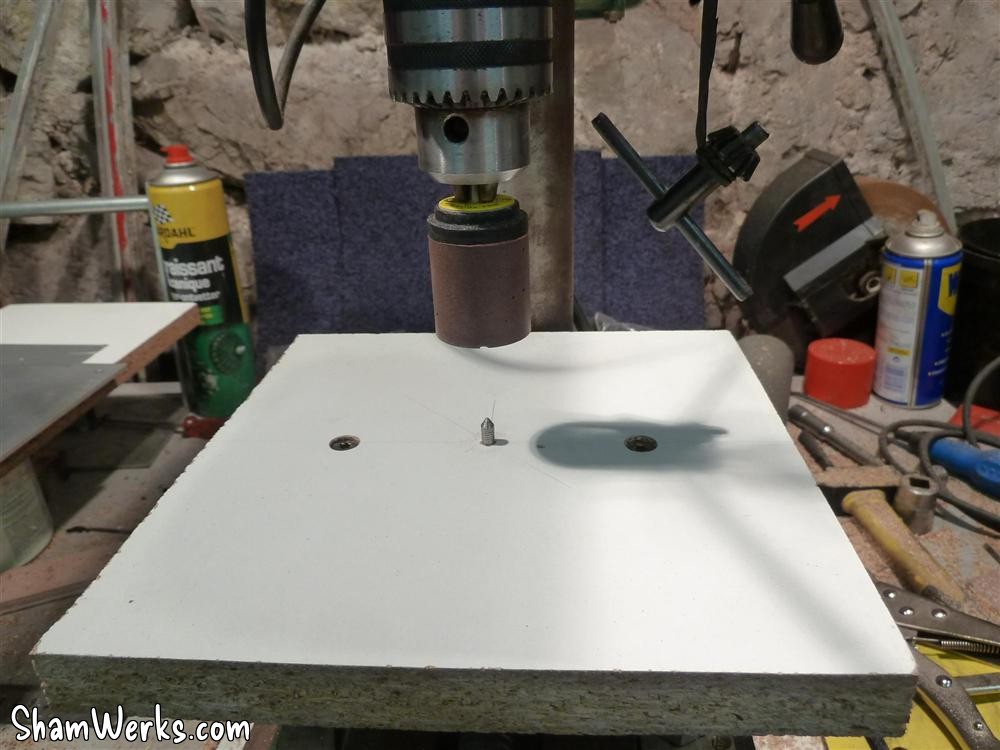
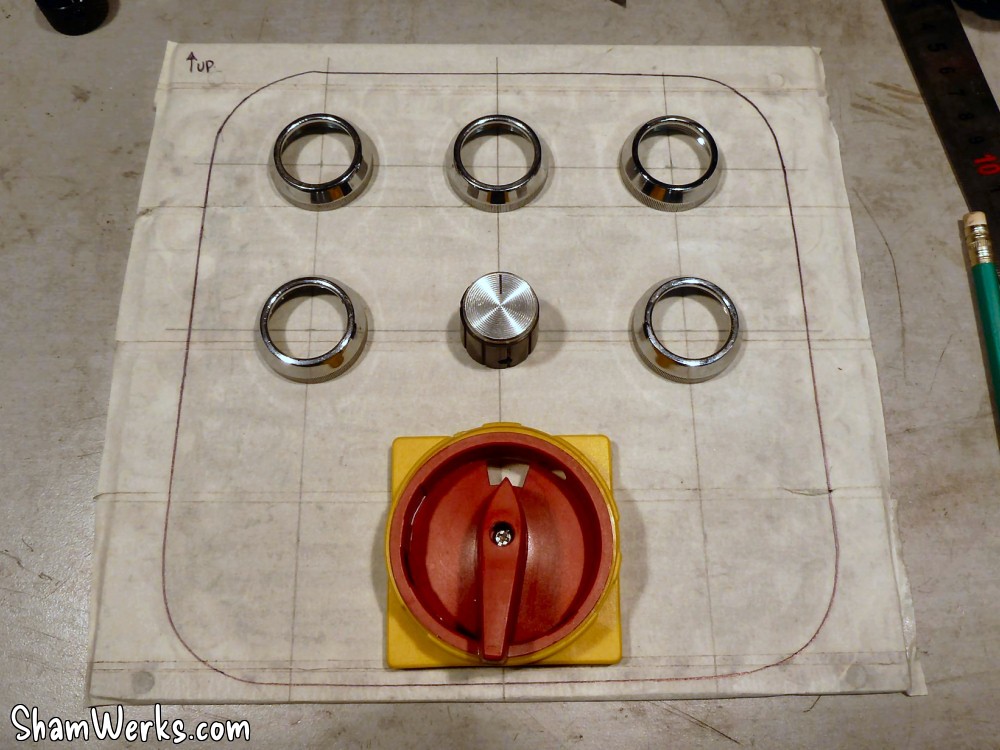
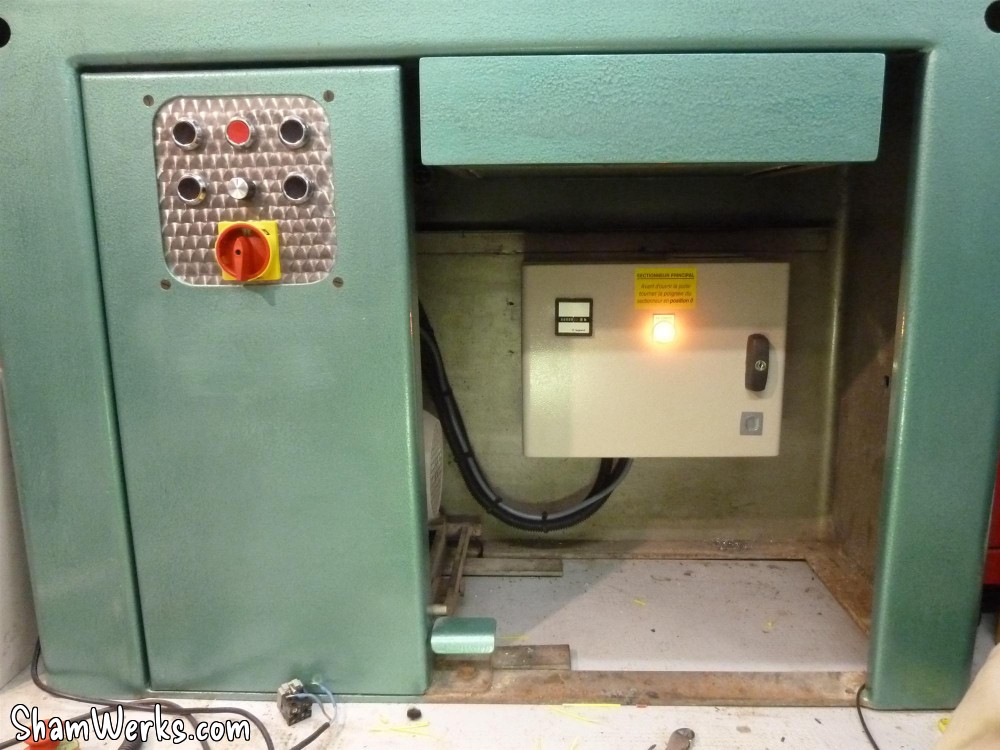
Then I just need to put the buttons in : I use paint adhesive tape (two layers) to protect the aluminum while driling the holes. Additionally, you can write on it, which is hande to note down where the holes should be!
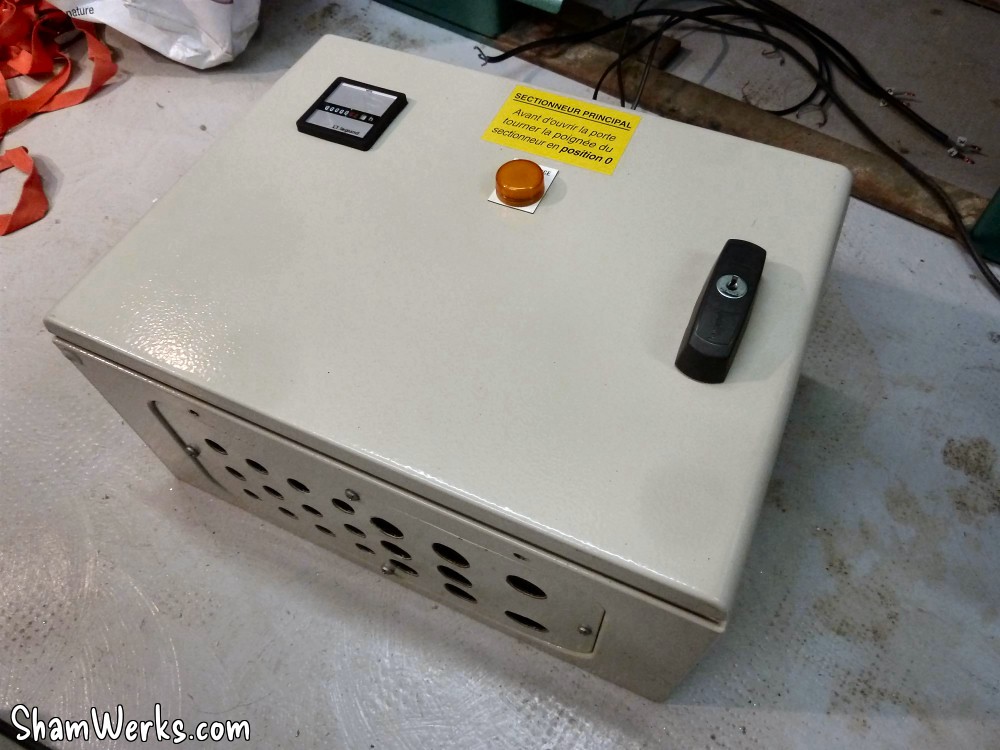
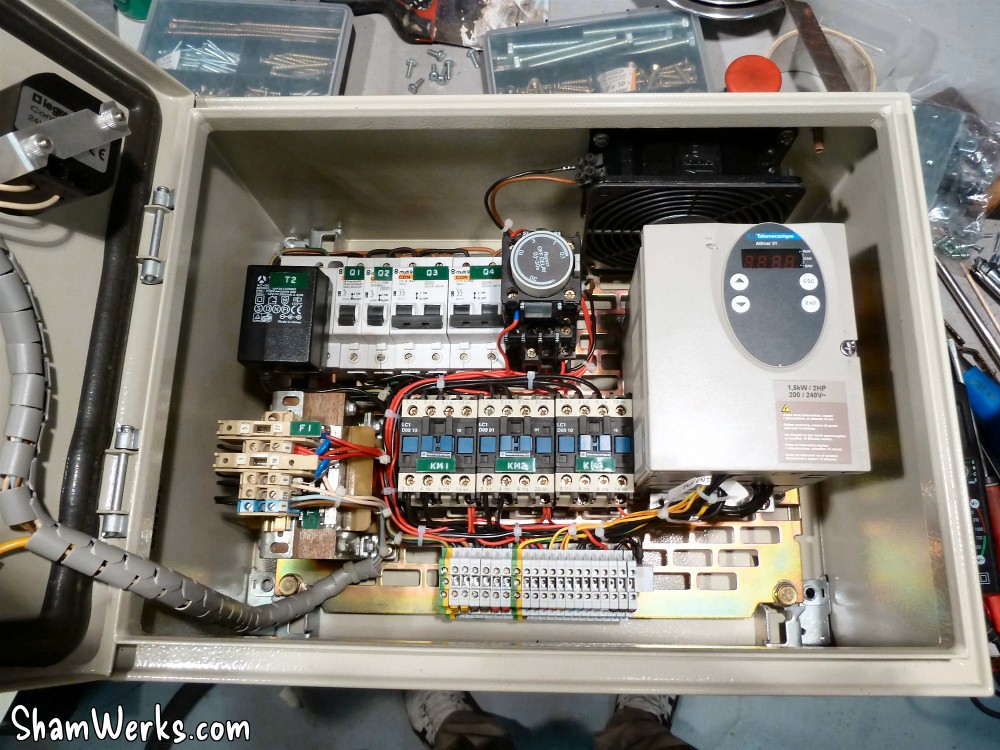
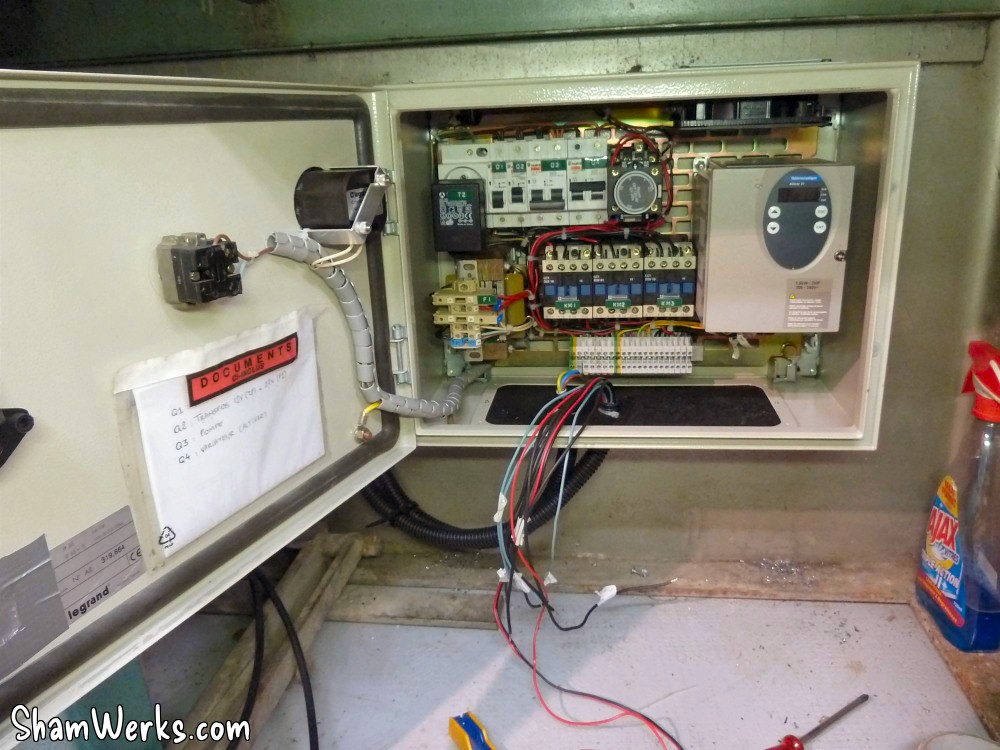
Fortunately, a member of the forum usinages.com proposes refurbished high-end second-hand products (thank you so much Emmanuel aka "Turbo Gros Michel S.A" for your help!), and he prepare a complete electrical box for me : relays for the motor drive, pump and light (even I don't use these last two for now), 27V transformer for the commands, 12V transformer for an electronic speed indicator that I'm gonna install later, emergency stop button with an adjustable 2.5s temporizer for the speed drive (which wouldn't appreciate being disconnected while in charge, so it waits for the motor to brake before shutting the current input)... A real electrical bow, up to standards, full options! 😊
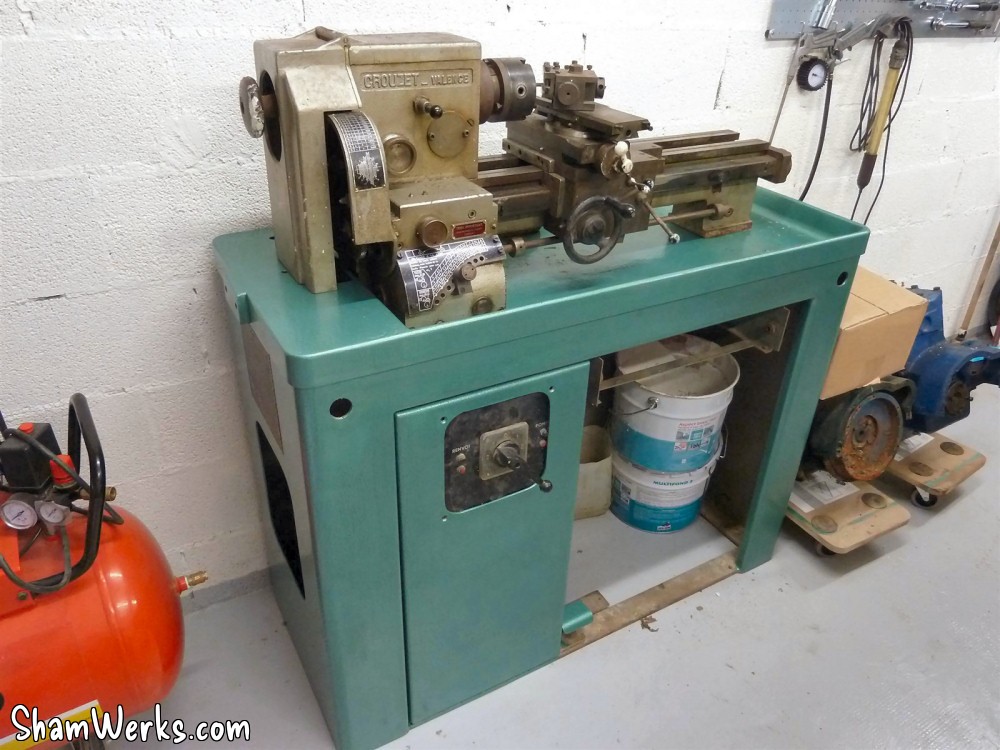
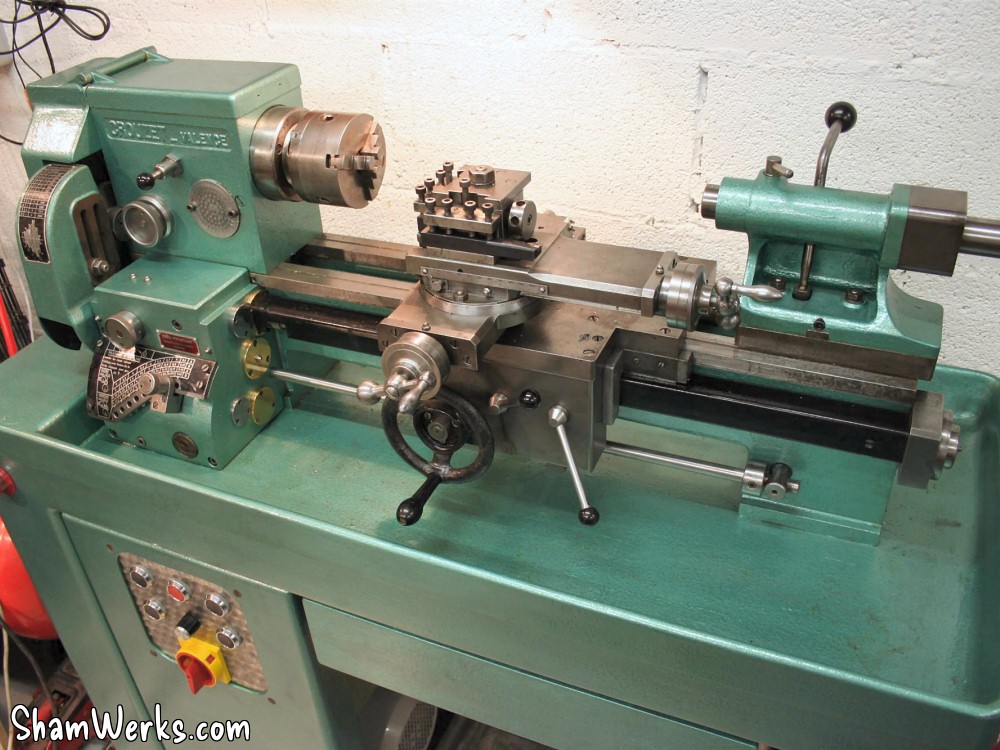
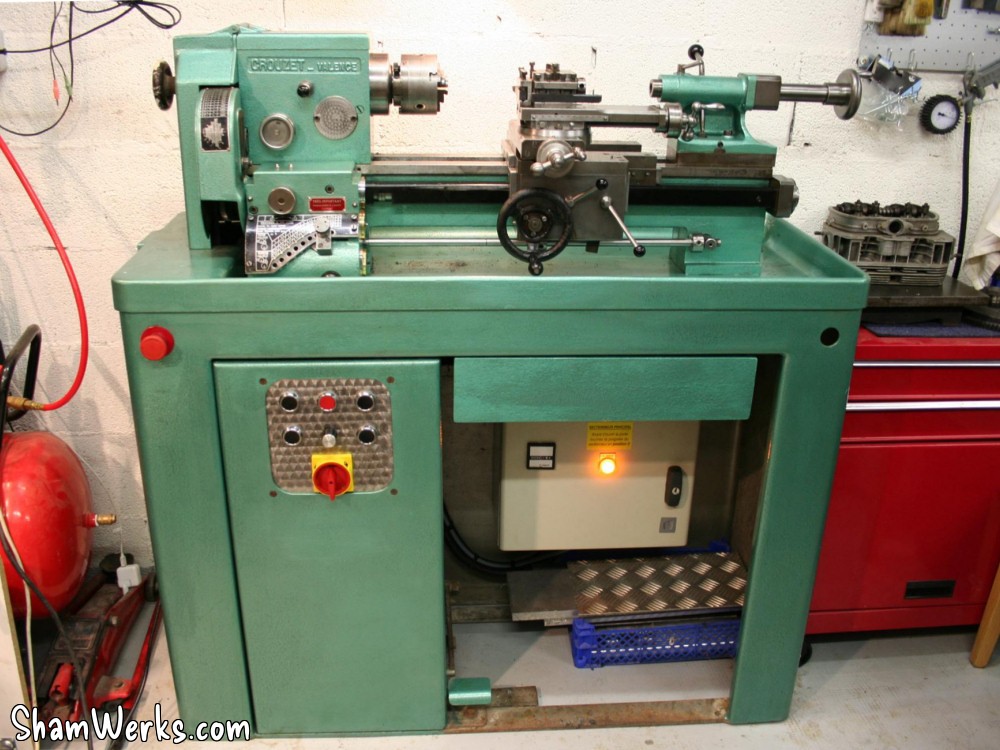
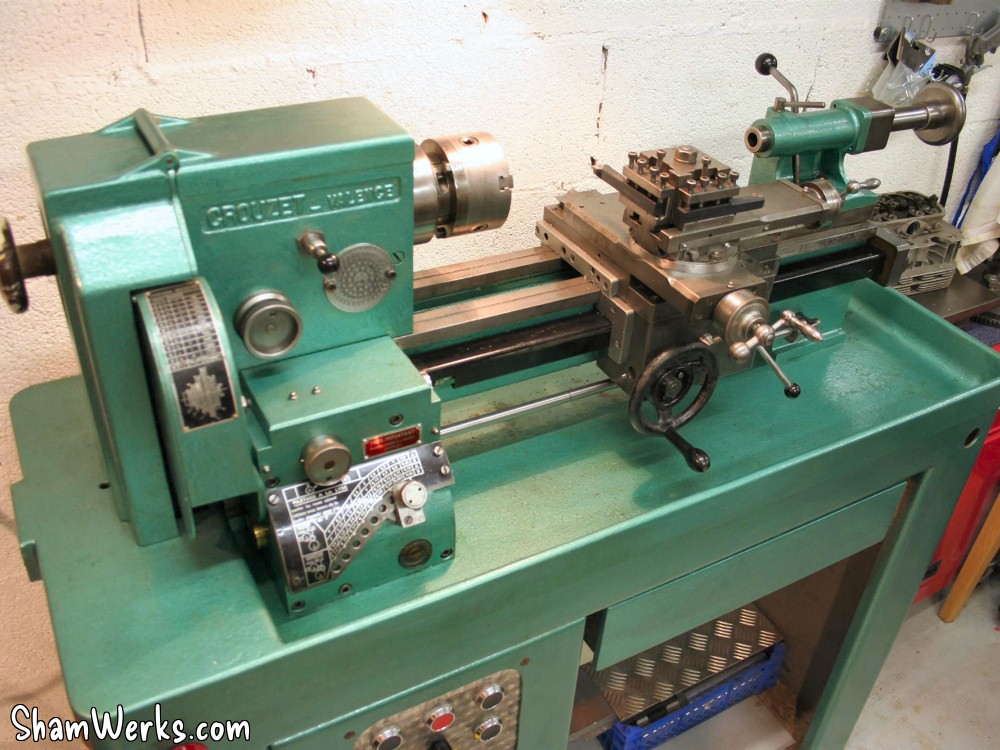
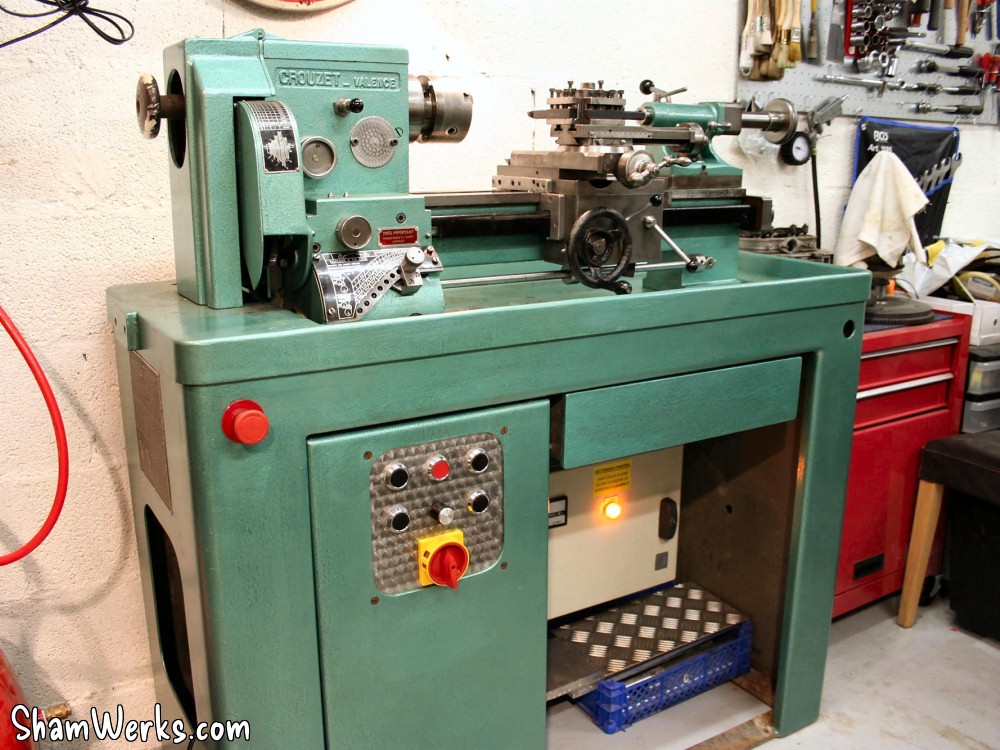
Final result
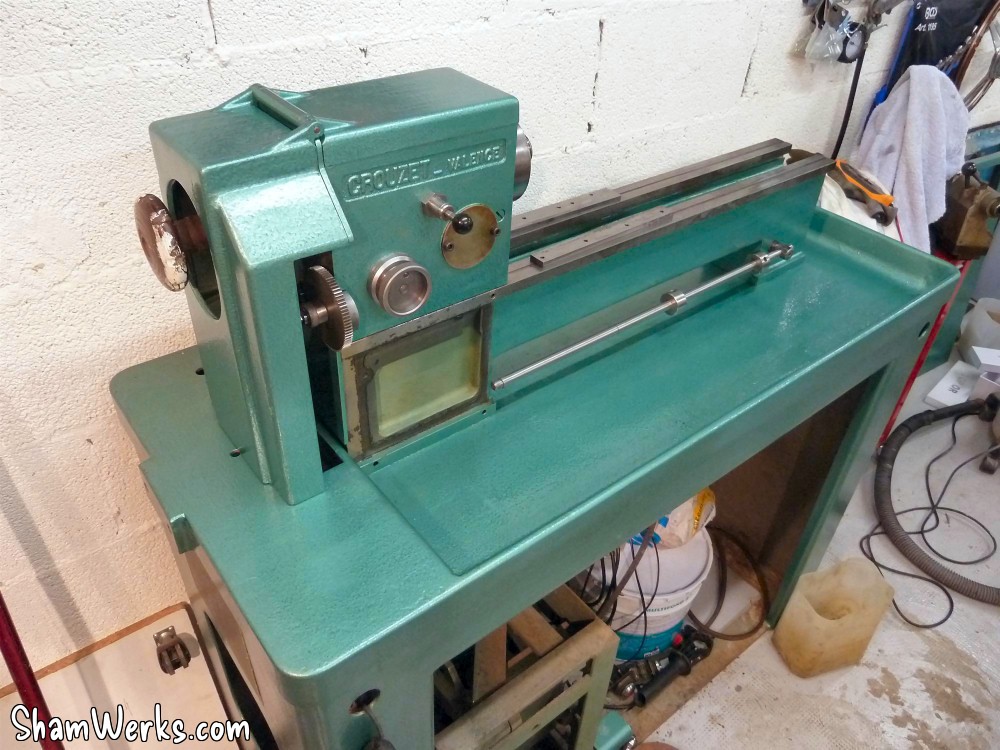
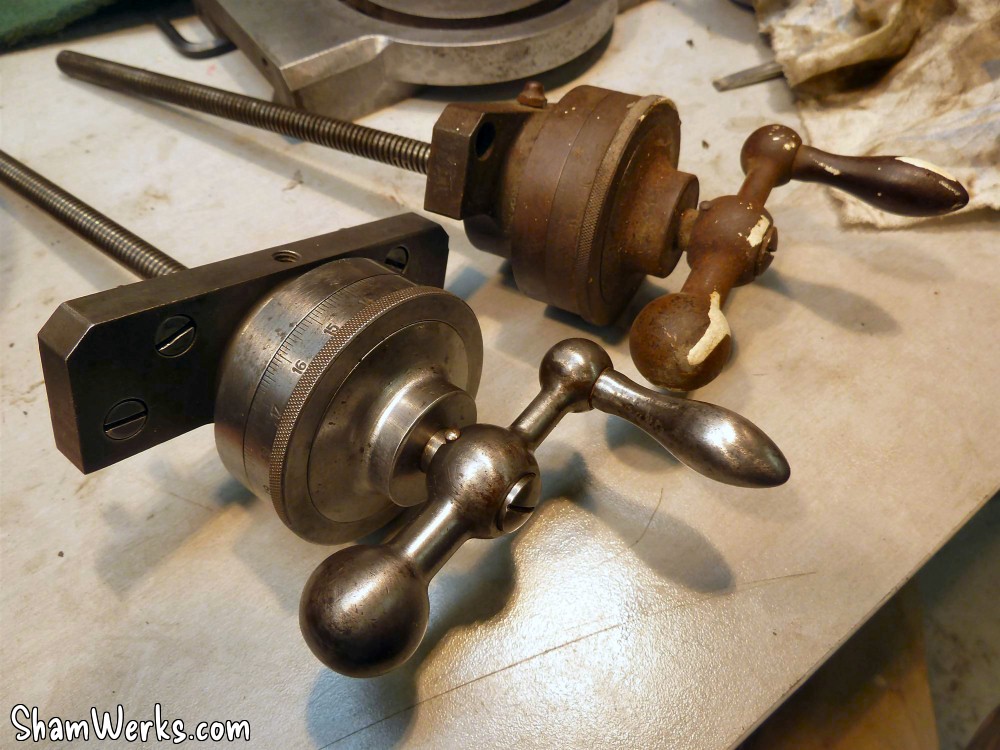
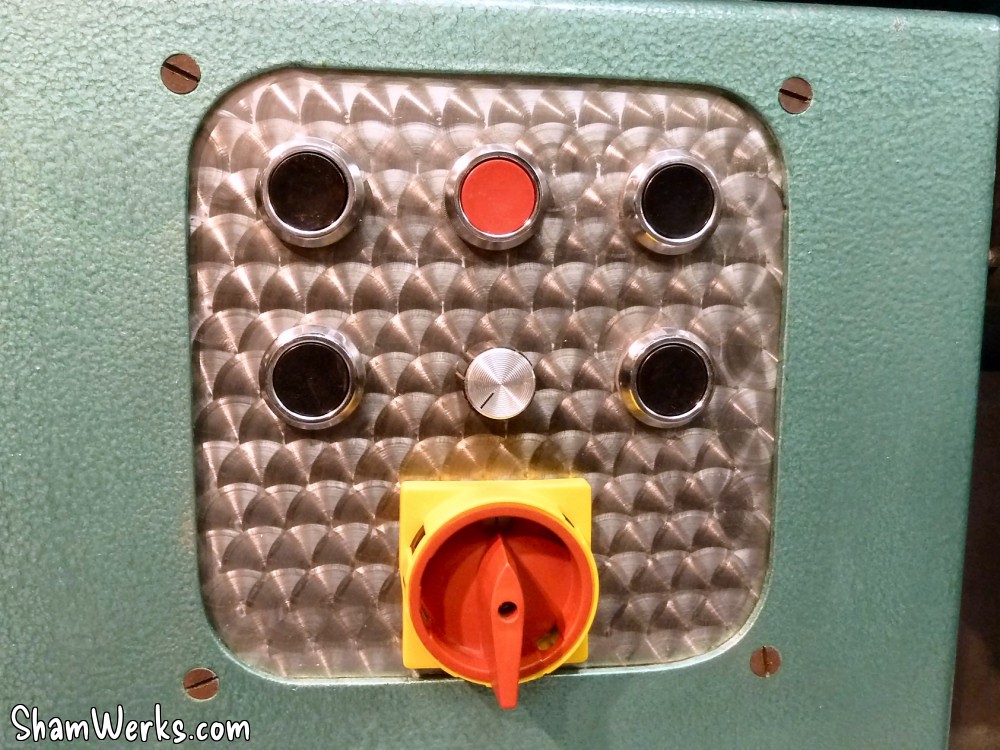
And finally, the result... It's such a pleasure to use this machine! 😁Here are a couple of "before-after" pictures!
Cost
The final total cost is way below the current price this kind lathe resales nowadays, so I guess I did good... Well, obviously, as long as I don't take into account the dozens of hours of labour I've put in it!| Lathe : | 200 € |
| Belts : | 30 € |
| Motor : | 140 € |
| Motor pulley : | 20 € |
| Speed drive : | 140 € |
| Electrical box : | 170€ |
| Miscellaneous (paint, hardware...) : | 100 € |
| Total : | 800€ |
That's it for today folks, I'm going back to the workshop, I got metal ships to make! 😉 Published on 02/11/2012 / 7 commentaires