Posted on 30/06/2010 at 02:08
Terrace Project : Boardwalk between Decks
Sorry! This article has not yet been translated in english! Please come back later!

Boardwalk between Decks
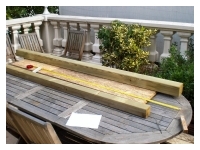
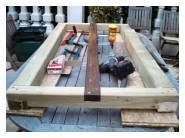
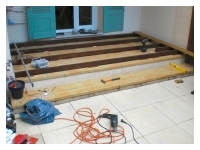
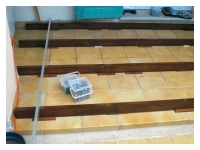
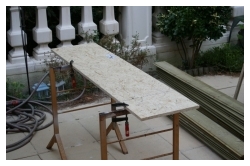
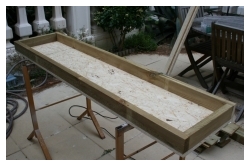
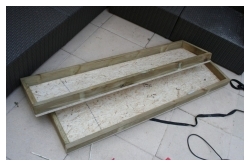
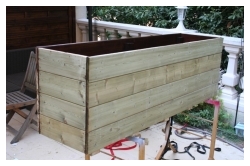
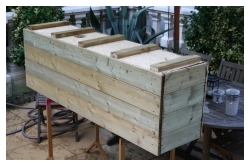
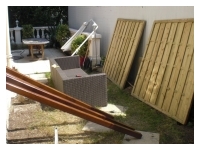
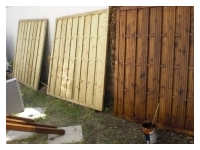
Sur la photo de droite, le bois utilisé pour fabriquer la structure. Bon, je dois avouer, j'ai une certaine tendance à sur-dimensionner mes poutres (Kétèb généreux, pour ceux qui connaissent la référence); les principales faisant 11cm de coté (épicéa autoclavé), on doit pouvoir monter à 15 sur le ponton sans qu'il bronche ; c'était mon but, je ne voulait surtout pas d'un truc branlant.
Le dessus du ponton fait 79cm de large. Cela a été imposé par la longueur des lames d'almendrillo que j'utilise, pour optimiser chutes : les lames de faisant 240cm, je pouvais en tirer 3 morceaux de 79cm, avec une chute finale négligeable, d'environ 2cm. Ben oui, faut compter la largeur du trait de scie...
Du coup, les dimensions de la structure ont été calculées en fonction de la largeur du plateau, en tenant compte d'un débord d'un centimètre pour l'esthétique.
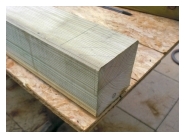
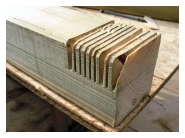
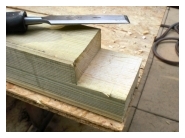
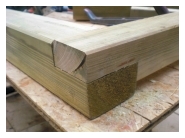
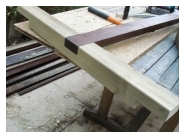
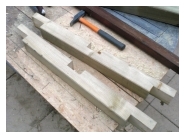
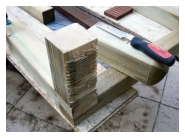
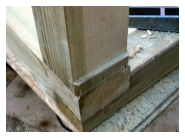
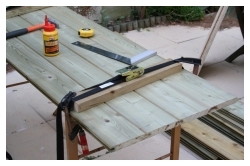
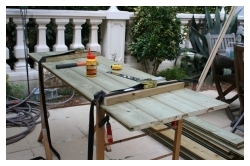
Pour faire "propre", j'ai réalisé des assemblage à mi-bois pour la structure. La technique est simple, en utilisant une scie circulaire : on règle précisément la profondeur de coupe en fonction de la partie à supprimer (cf. marquage sur la première photo ci dessous). Ensuite, on fait une série de coupes à quelques millimètres d'intervalle (photo 2) ; les morceaux restant cassent facilement, sont arasés au ciseau à bois, puis finition à la râpe (photo 3). Avec l'habitude, cela se fait rapidement et facilement, et c'est bien plus solide qu'un pauvre assemblage à base de vis et équerres... Et puis c'est plus joli, non?
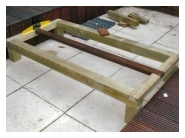
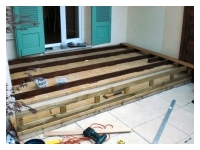
La poutre centrale est une lambourde me restant de la réalisation du grand deck ; elle ne supporte en fait quasiment pas de poids lorsqu'on marche sur le deck, l'écartement des 2 poutres principales étant faible et les lames de bonne épaisseur... Son rôle est juste de permettre un vissage des lames au centre, pour éviter qu'elles ne "tuilent" en vieillissant! Un montage à blanc des pieds montre que l'ensemble de la structure est un poil trop long, juste de quelques millimètres. Ça passe, mais je veux garder un peu de jeu pour prévoir les éventuelles dilatations du bois, je ne veux pas que cela vienne forcer contre mon deck. Du coup, les pieds sont amincis de 6/7 millimètres, toujours par la même technique : une série de traits à la scie circulaire, ciseau et râpe à bois...
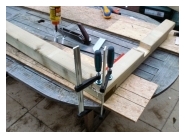
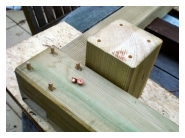
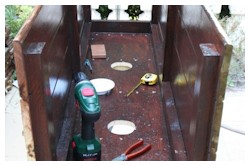
Les pieds sont chevillés/collés en place. J'utilise un kit Wolfcraft pour les chevilles : on perce d'un coté, on place les petites pointes en cuivre (voir photo) dans les trous, on ajuste la pièce en face, un coup de marteau et on a les repères précis pour percer la seconde partie...
Ici, les chevilles n'ont qu'un rôle limité dans la solidité de la liaison : avec une telle surface de contact, la colle PU est indestructible. Par contre, les chevilles permettent d'aligner parfaitement le pied et d'éviter tout glissement pendant le serrage des pièces. L'ensemble de la structure a bien sûr reçu ses deux couches de lasure, histoire d'être certain que ça ne bougera pas dans le temps (je n'ai pas mis en photo cette étape, ça n'avait pas beaucoup d'intérêt...). Y'a plus qu'à habiller le tout de lames!
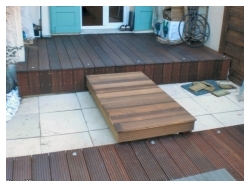
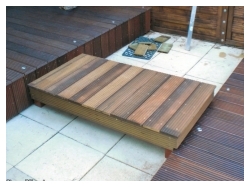
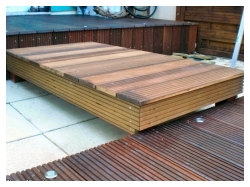
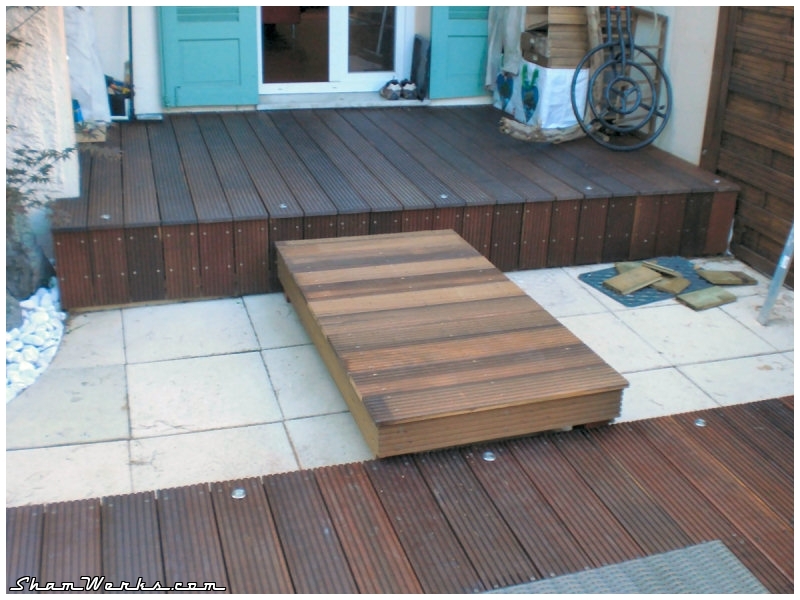
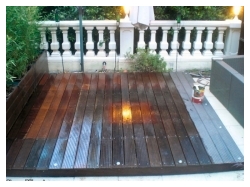
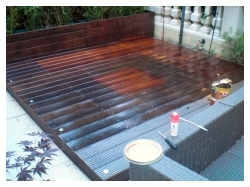
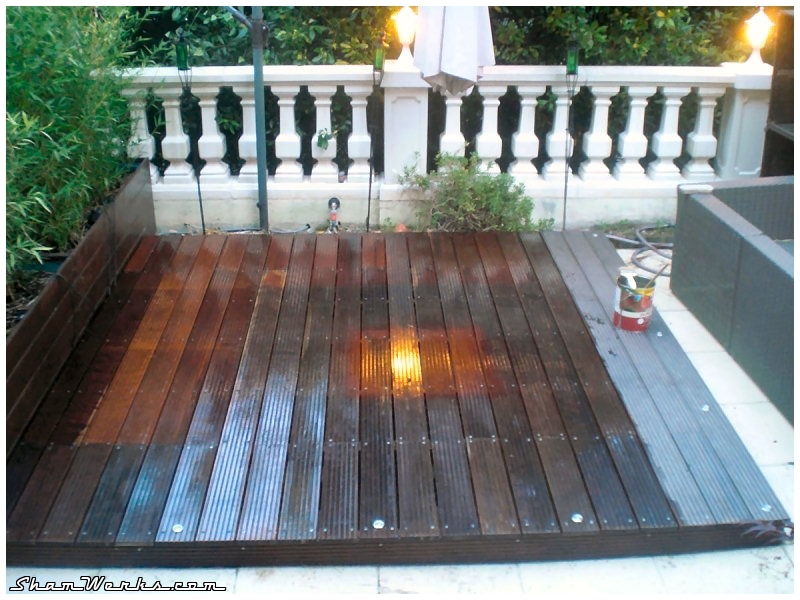
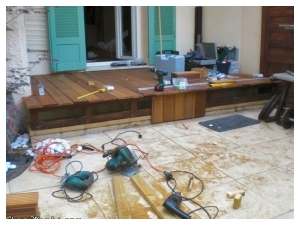
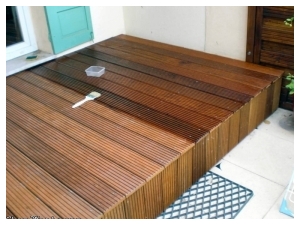
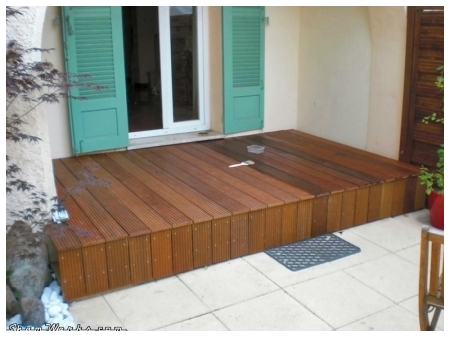
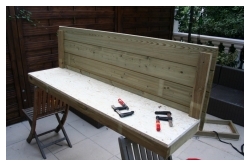
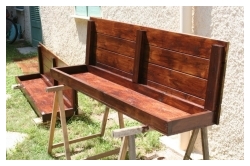
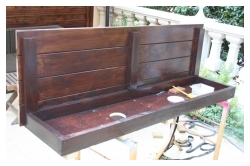
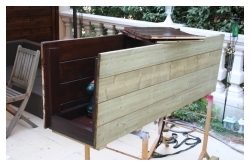
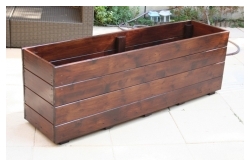
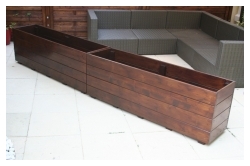
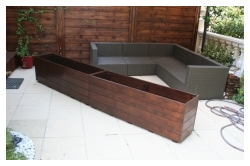
Et voila le résultat, pas tout à fait final, il reste encore à passer deux couches d'huile/saturateur pour protéger le tout. Les lames prendront leur teinte définitive après avoir été traitées, et avoir passé quelques semaines au soleil...
Et hop, je vais finir par en voir le bout de ce Terrasse Project!
Posted on 24/06/2010 at 11:52
Terrace Project : Deck Lounge
Sorry! This article has not yet been translated in english! Please come back later!

Deck 2 : Lounge
J'avais toutes les photos de cette partie de la réalisation sur un portable, dont le disque a décidé de rendre l'âme, sans prévenir.
M'étant déjà fait avoir dans le passé, je fais des sauvegardes régulières... Mais je venais tout juste de transférer ces photos là depuis mon appareil, donc pas de sauvegarde!
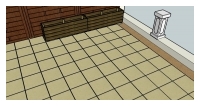
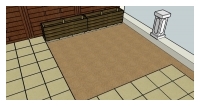
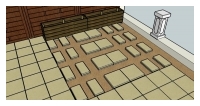
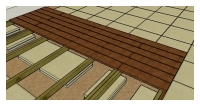
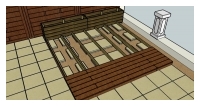
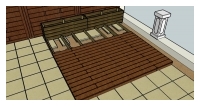
Du coup, je ne peux vous proposer qu'une représentation 3D de la technique employée, et des photos du résultat final... Qui sait, je finirais peut-être par m'offrir les services (très chers) d'une société de récupération de données, et je pourrais finalement vous montrer de vraies photos... Appel aux lecteurs de ShamWerks : si vous avez un bon plan, je suis preneur!
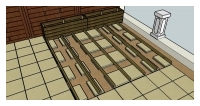
En avant... Voila la situation à ce moment là du travail. Les bacs pour mes bambous au fond, juste devant la séparation en bois (cf. articles précédents : [Pare-vue/séparation en bois] et [Bacs à bambous]).
Les dalles sont posées sur un lit de sable : j'ai commencé par les retirer sur un carré de 3 x 3mètres. Comme elles font 50x50cm (pour 4cm d'épaisseur), cela fait 36 dalles à mettre de coté.
Le tout est finalement mis de niveau et damé. Pour mettre toute la surface de niveau, j'ai enfoncé dans le sable (parfaitement de niveau, moins 1 centimètres par mètre de pente pour l'évacuation de la pluie), 3 lambourdes, espacées d'un mètre. Ensuite, en tirant une règle de maçon perpendiculairement par dessus, on met tout à niveau simplement et rapidement. Pour réhausser un tel deck, on utilise généralement des parpaings. Pour recycler les matériaux sur place, j'ai réutilisé 32 des 36 dalles précédemment retirées. 16 dalles sont coupées en deux (meuleuse d'angle et disque diamant segmenté), 16 autres sont laissées intactes. En empilant les dalles, j'obtiens 8 cm de réhausse, auxquels viennent s'ajouter la hauteur des lambourdes : largement assez pour laisser respirer le bois, et tout juste ce qu'il me faut pour que les bordures du deck puissent être faits avec une lame de dimension.
Les lambourdes sont posées entre elles et les dalles, un feutre géotextile est installé, pour éviter les remontées de mauvaises herbes. L'espacement est calculé pour avoir 50cm maximum de portée entre deux lambourdes.
Bien que ça ne soit pas impératif, j'ai choisi de lasurer mes lambourdes avant leur installation, par sécurité. Je ne fais pas totalement confiance au traitement autoclave de ces pièces de pin bon marché... Notez que les lambourdes ne sont pas fixées sur les dalles, elles sont simplement posées dessus : cela pour que l'ensemble puisse travailler avec les variations de température et d'hygrométrie sans tout déplacer. Les deux doubles lambourdes sont là pour pouvoir faire la jonction en bout de lames : elles ne font que 240cm de long, il fallait donc pouvoir rajouter un morceau de 60cm...
Pas tout à fait d'ailleurs : j'avais calculé mon coup dès l'achat des lames pour en optimiser l'utilisation, car à 17€ pièce, on évite les chutes! Du coup, je coupe 4 morceaux de 59cm dans une lame de 240cm, pour tenir compte de la largeur de la lame de la scie circulaire... La chute finale fait moins de 2cm de large.
Je commence la pose des lames depuis le coté "libre" du deck, pour pouvoir recouper dans la longueur la dernière lame, et l'ajuster au mieux contre les bacs à bambous...
L'espacement de 5mm entre les lames est gardé constant en utilisant des petits croisillons en plastique généralement utilisés pour la pose du carrelage.
Les lames tordues sont redressées à la sangle à cliquet lors de la pose.
336 vis plus tard, les 42 lames du dessus sont enfin en place... Il ne reste plus qu'à installer quelques spots LED et à passer deux couches de saturateur sur tout ce petit monde!
Et donc, voila le résultat de ce deck - ci-dessous, les rares vraies photos que j'aie pu sauver!
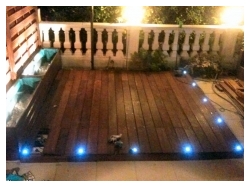
La photo de gauche, de mauvaise qualité, a été prise avec mon téléphone, de nuit, juste après avoir terminé l'installation...
La lame manquante à gauche est la trappe d'accès au transformateur torique 12V étanche en dessous. On voit encore en haut à droite le stock de bois restant pour faire le ponton...
Ouf... Deck lounge : Check!
Posted on 09/05/2010 at 14:44
Terrace Project : Deck Loggia
Sorry! This article has not yet been translated in english! Please come back later!

Deck 1 : Loggia
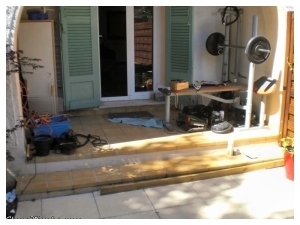
Voila à quoi ressemblait l'endroit avant travaux (première photo à gauche) : hey, j'vous fait grâce des commentaires sur le contenu de l'endroit, hum?
La profondeur de cette surface étant trop faible pour y faire quoi que ce soit (160cm, impossible d'y caser une table et deux chaises, ou une paire de fauteuils...), j'ai décidé de la couvrir, en faisant un prolongement de près de 40cm au dessus de la marche pour obtenir une surface exploitable. Bref, regardez les photos, c'est plus parlant.
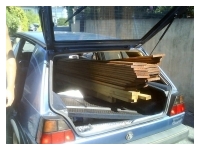
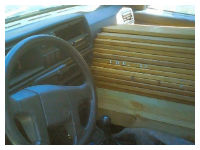
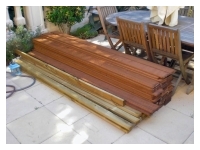
Première étape, aller chercher les matériaux, et c'est pas une mince affaire, ça pèse très vite très lourd, le bois exotique!
C'est encore une fois Krapo Bleu, ma vieille Golf '88, qui s'y colle... La structure en dessous se compose de lambourdes en pin autoclavé, préparées de deux couches de lasure V33 8 ans "Cèdre Rouge". C'est une précaution dont j'aurais pu me passer, mais je ne voulais pas prendre le risque de voir mes lambourdes pourrir au bout de deux hivers...
Les lambourdes sont surélevées grace à des petites plaquettes de contre-plaqué, qui permettent à l'eau de passer en dessous. C'est que moi, je compte bien nettoyer le tout au jet d'eau ensuite!
Les lambourdes sont fixées au sol via des vis/chevilles, dont les trous sont percés dans les joints entre les carreaux du carrelage. Comme ça, si un jour je devais enlever l'ensemble, il suffirait juste de reboucher quelques trous...
Le cadre de support sur la marche est fait de telle manière que les lames, une fois posées dessus, conservent la pente d'un centimètre par mètre de la terrasse. Les lames venant par dessus sont en Almendrillo, un bois originaire du Brésil, naturellement imputrescible.
La réalisation demande surtout de la patience : chaque trou dans les lames doit être pré-percé et fraisé, sinon la lame se fissure à tous les coups. Pour cela, l'utilisation d'un foret avec fraise intégrée est impérative, sinon l'opération vire vite au cauchemar : un peu plus de 300 vis rien que pour cette partie de la terrasse!
J'ai utilisé des vis inox 5x50mm, tête fraisée, empreinte Torx : deux vis à chaque fois pour bien plaquer la lame (sinon elle "tuile"), tous les 50 cm maximum. A propos, achetez vous un embout tout neuf pour votre visseuse, il vous aidera bien... Et mollo sur le serrage final, au risque de fendre la lame ou de péter la tête de la vis. Les lames sont posées quelques centimètres trop longues par rapport au besoin final : cela permet de les couper une fois en place à la scie circulaire, toutes d'un coup (avec une règle de maçon pour guide), pour avoir un alignement parfait. J'ai poussé le vice jusqu'au bout en passant un coup de défonceuse avec une fraise à 45° pour faire un chanfrein de 3mm, histoire de peaufiner la finition...
A propos, si vous vous lancez dans un tel projet, oubliez la lame fournie avec votre scie circulaire, tout juste bonne à débiter du bois pour la cheminée, et investissez dans une très bonne lame, avec beaucoup de dents, ça vous change la vie.
Et après "quelques" heures de patience, voila le résultat, ici en cours de traitement avec 2 couches d'huile dure! Il ne restera plus qu'à y intégrer quelques spots à LEDs...
Posted on 30/11/2009 at 17:35
Terrace Project : Bamboo containers

Bamboo containers
So I built them from scratch, based on an idea found on Vialbost.org. On Sketchup, I adapted the plan to my dimensions, trying to optimize the cuts in my boards and struts ; if you're interested, you'll find my Sketchup plan here. So, I've made two identical containers, measuring 163cm long per 42cm wide.
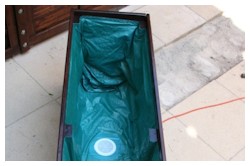
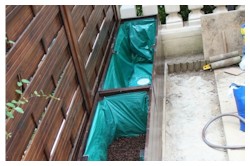
The sides are made of autoclaved pine weather-boards, 179x14.5cm, 2cm thick. You can use it just like you would paneling, the boards fitting into each other. The "strip" of the last (top) board is removed with a circular saw, for aesthetic reasons (use a plane block and sandpaper for finishing) ; that strip is then glued into the bottom groove, for enhanced solidity and to avoid moist getting in there. The boards are glued with polyurethane wood glue and clamped using ratchet straps, while waiting for the glue to set. The bottom of the containers is made out of 18mm thick OSB ; that's a purely economic choice, 9 euros for both, it's a real bargain! It would have cost arround 60 euros in plywood... OSB is far from being as solid as plywood, but here, with less than 30cm between each bottom supports, it will be more than enough. In the other hand, OSB is very sensitive to moisture/humidity, you must protect it. Three layers of wood surface coating (inside and outside), along with the inside tarpaulin, should do the job. All reinforcements and uprights are made of 70x32mm autoclaved pine struts. These are the very same struts I used for the decks.
I used a stock of 4x40mm. stainless Torx screws I bought by mistake (not the right dimension) for the decks. Since I had 500 of them, I did not hesitate in the number of sreews during assembly, to make sure it will remain solid though time : 175 screws per container!
Phew! Yet another thing done!
Edit 24/06/2010 :
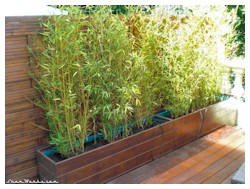
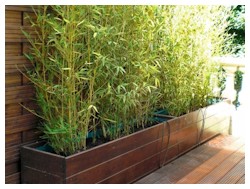
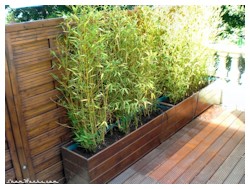
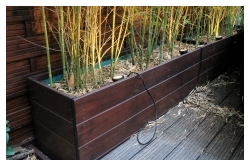
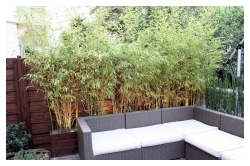
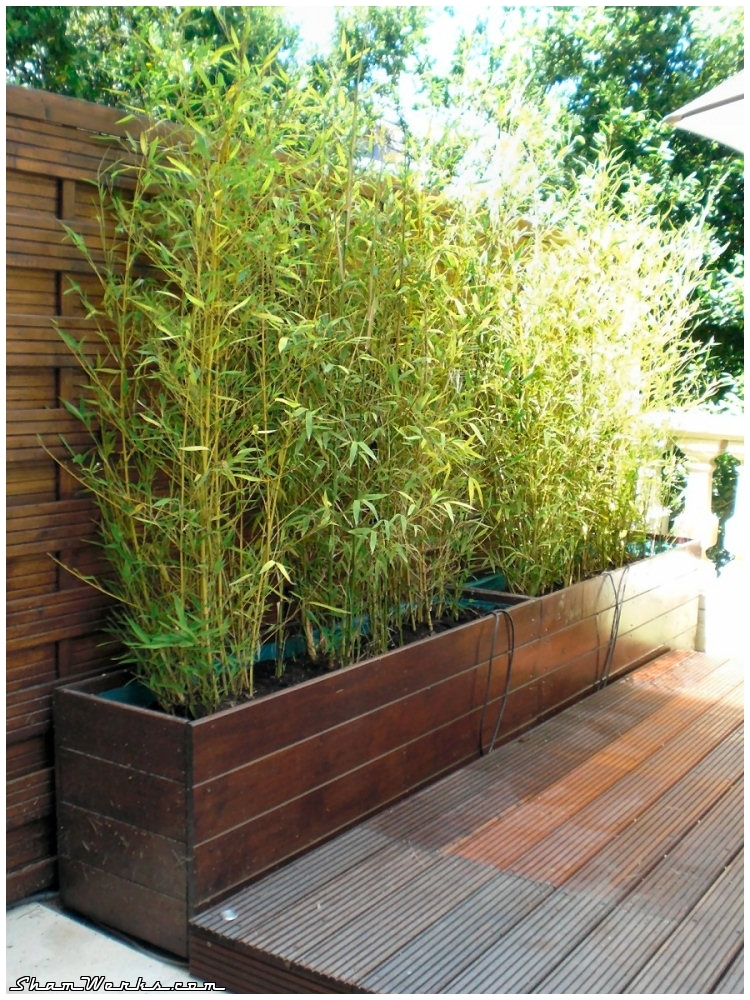
By Internet Magic, we already are on next spring!So, end of May, Blue Toad is on duty again to fetch 6 containers filled with 160 to 180cm high bamboos. I felt like I was inventing green tuning in my car.
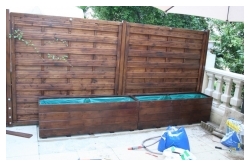
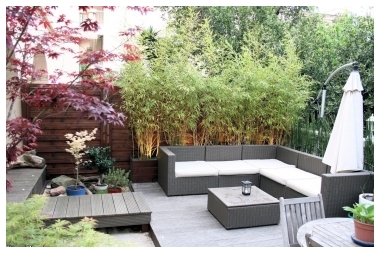
So, finally, here is the result of my bamboo containers... I must say I'm quite impressed by the speed at which these guys grow, almost 40 centimeters the first 2 weeks after I installed them!
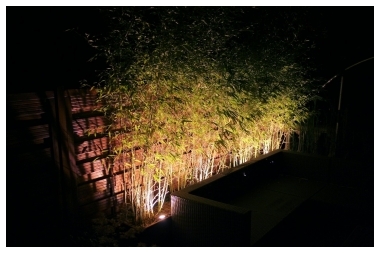
The 4 wire you can see in the front of the containers are for lights, they'll be hidden by the couch.
Bamboo containers... Check! By the way, good to see that my design inspired other realisations : here on Zep's blog! (french only)
Edit 05/05/2015 :
This article is the most read on ShamWerks, and I'm often asked how are my bamboo container doing now.So, 5 years later, here's a quick update!
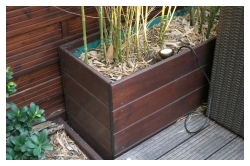
Below are a few pictures of my containers as they are today : In short : everything's fine!
For those of you who feared the bamboo roots would pierce through the wooden containers, here's the proof they're doing just fine. The left one just got a bit of a billow because of the roots pressure (about 3cm measured in the middle), but no sign of weakness, crack or leak.
The bamboos are now about 3 meters high.
If I had to do it all over again, I'd change the tarp : that el cheapo one doesn't handle humidity too well, I should rather have installed one of those heavy duty root barriers, which would have kept it water-tightness (the objective being to protect the wood from humidity). Or maybe, simply brush a few coats of tar in there.
The OSB bottom is doing fine too, giving no signs of fatigue ; thinking about it, I should probably have gone with the more expensive plywood anyway, just for my peace of mind.
The coating looks perfect. It was V33 brand "8 years warranty", a really good product, I'd gladly use it again. Well, to be fair, the containers are quite protected from wind and sun ; the wooden panels behind them received the same coating, but being more exposed, they don't look as pristine.
I finally replaced the originally halogen lights by LED ones ; Halogen got too hot, and front glass broke all the time because of thermal shock with humidity... No more problem with LEDs that barely heat at all - and draw much less power!
So, that's it for this update! I'll keep you informed about the evolution of these containers in a couple of years from now!
Edit 05/09/2017 :
I had to make two additional bamboo containers! The article is here, go check it out!Posted on 17/11/2009 at 19:38
Terrace Project : Japanese Garden Tsuboniwa Chaniwa

Tsuboniwa Chaniwa
Since I only had a few square meters, I chose a tsuboniwa-style garden ("courtyard garden") was necessary. These are very small gardens, integrated into closed spaces insides habitations and temples, using the same constitutive elements as their big-brothers : the chaniwa ("tea garden") and the karesensui ("dry garden", usually named "Zen garden" in occident).
This one will be kind of a reduced version of a "tea garden". These gardens are leading to the little house where takes place the ceremony of... tea, you guessed it right.
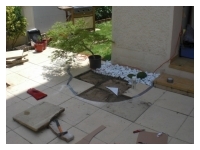
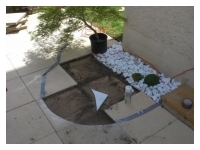
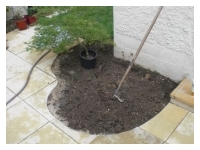
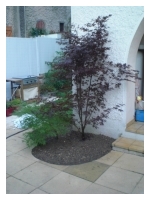
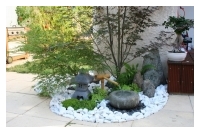
Here we go! First step, cutting off the concrete tiles to get a nice round shape. It's easier than it looks actually, using an angle grinder with a segmented diamond disc. You just want to go slowly, tracing the cut line on both sides of the tile, then cutting half-way through only (don't try cutting all the way through, you'd block the disc). Then I put the two big trees that will structure the whole set.
The chaniwa gives me the opportunity to integrate Japanese mapple trees, a tree that I really like a lot, which leaves turn bright red at the autumn.
The taller one is anAcer Palmatum Matsumurae while the smaller one is an Acer Palmatum Dissectum (one can recognize it thanks to its dissected leaves). Mapple trees do not like the clay-ish soil of my garden, therefore I gave them a mix of peaty soil, leaf mould and sand, which they seem to appreciate.
Thanks, by the way, to "Blue Toad", my '88 mk.II Rabbit, that has transported absolutely everything possible those past few years...
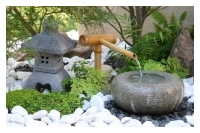
In the other hand, I did not want the shishi-odoshi made famous by the movie Kill Bill (remember, the fight between Lucy Liù and Uma Thurman in a Japanese garden : that was the bamboo fountain making a regular tocking noise) : too noisy, I only want a tiny whisper of water flow, not giving my neighbors a reason to call the cops... Traditionally, it was supposed to scare away the deers, but well, they are pretty seldom in my neighborhood these days.
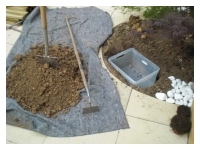
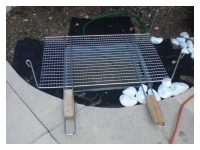
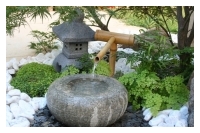
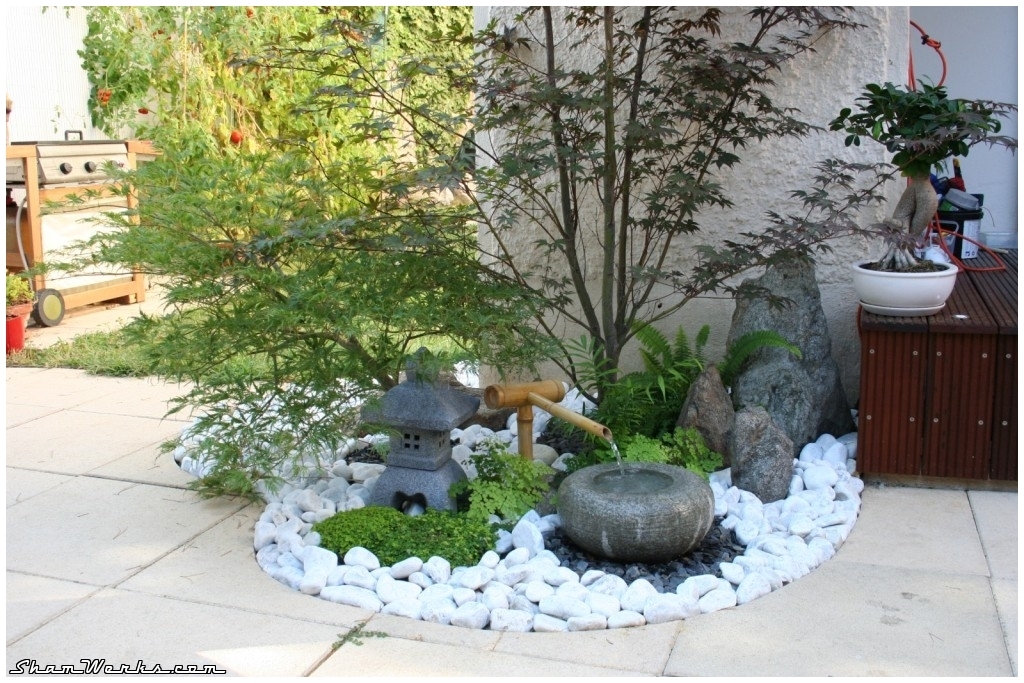
A small aquarium pump pushed the water into the bamboo spout, it flows into the sink, overflows into the tank below... Circuit closed.
Next on the list are the plants.
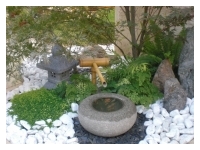
On the ground, some Helexine (creeping plant originating from Corsica, with very small leaves, looks like moss), some Adiantum Fragrans around the tsukubai, and a fern behind the three stones.
These three stones are yet another traditional element of a japanese garden, named sanzoniwagumi, "Buddhist triad stone ", the biggest one representing Buddha.
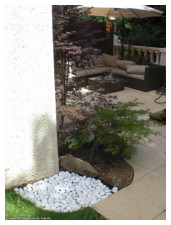
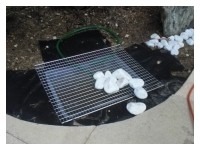
The naked soil is first covered with geotextile fabric, to avoid unwanted wild grass to grow.
Above, a layer of Carrare white marble pebbles : a bit too shiny at the beginning, but it tend to take a nice patina through time.
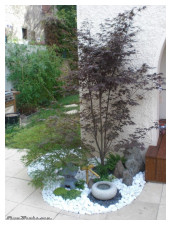
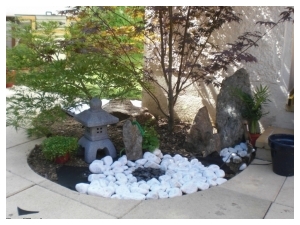
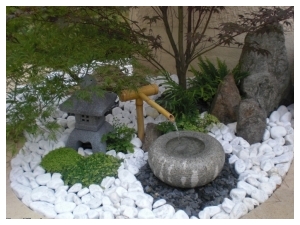
At the foot of the maple trees, and of the basin, black slate flakes bring in some contrast. Here is the result in August, i.e. two month after the original setup : all the plants look fine, the Adiantum Fragrans have exploded,the helexine is creeping away covering everything (I'll have to keep an eye on it), the granite basin got some patina.
The lantern is a ceramic model bought in a garden centre ; it's not the cutest ever, but it will do fine until I find a nicer one (not easy in such a small size)...
Same thing for the basin : I originally wanted something more natural (evoking Noguchi's fountain at the NYC Metropolitan museum), that one will stay here until I find the perfect one. Even I'm more than satisfied with the result, it's not really a "Japanese" garden, but more a "Japanese-inspired" one. I've tried as hard as possible to follow the rules and codes of a traditional Japanese garden (whereas adapting it with the local plants and available space), but I'm very far from the look and feel of the masters in that art!
Anyway, I won't stay at that point, a "cloud-shaped" boxtree will come later behind the angle of the building, the whole set up will be harmonized, the rest of the garden will be landscaped as well... To be continued, so.
I've read a lot on the subject before I actually stepped in, studying the different options... If you're interested, I highly recommend the following web sites (all in French, sorry guys, just watch the pictures!) :
- Fuji-Jardins, made by a true enthusiast, it's complete, detailled, pleasant to read, and, last but tnot least, graphically superb.
- Erik Borja's garden is one of the references in this domain, and his website is brilliant.
- Fullhouse-Niwa, a blog following the creation of a Japanese garden, from its "soul-less square of soil" to the final small piece of Japan.
Posted on 10/11/2009 at 18:33
Terrace Project : Wooden fence

Wooden fence
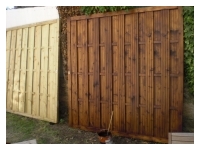
I've used 180x180cm panels made of autoclaved pine, found at the DIY superstore ; these are thick, with a solid a assembly and stainless screws, while the el cheapo models wouldn't resist more than a week...
The first (and so tedious!) step is to brush two layers of wood surface coating (both sides). Autoclaved or not, pine wood outside wouldn't make it through winter without it (even I live in sunny French Riviera). I'm using V33 coating, said to be guaranteed 8 years. That's free advertising, I'm happy with it for now, we'll see later how it turns out. The panels are fixed with four 70 x 70mm posts , made of pine wood as well, surface coated the same way as the panels.
As a small 50cm wall was there, I fixed my posts on it, using four 120mm long bolts ; the leftmost and rightmost posts have an additional long bolt at their top, to fix them on their side wall. Sometimes the are some strong winds at my place, I wanted to be sure nothing would move... And, well, I believe this could take an earthquake.
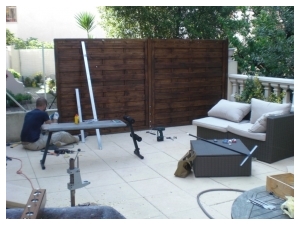
I only have one single picture of the assembly process : bottom left, you can see the column drill I use to drill down really square into the posts ; in the corner, you can see the bottom of one of the posts, drilled, with its four long bolts in place.
The long bolts heads are not directly in contact with the wood, but with a large washer, unless the pressure would make the head go through the soft wood. The bolt head, and its washer, are in a small 5mm deep hole, made with a 35mm drill... Aesthetic detail!
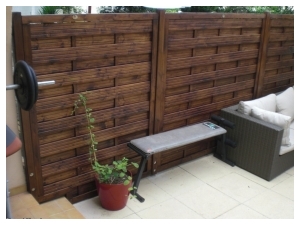
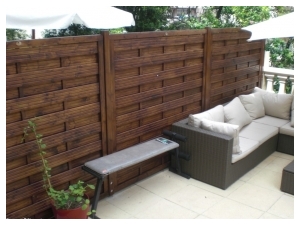
Here we are! It took me way longer than expected, but I really wanted to make sure it would last long. And some details take a looooong time to achieve, like the modification of the left panel : narrowing and notching to deal with the step... Phewww... Done. Next!
Posted on 23/10/2009 at 15:36
Terrace Project

I'm lucky enough, since I moved in (in December 2007), to have a nice terrace, and even a small garden.
But everything here has to be done, nothing has been set up yet.
So, this will be a new topic on ShamWerks : setting up my terrace, this is the "Terrasse Project".
I hope this will give some of you ideas and/or some help.
Inventory :
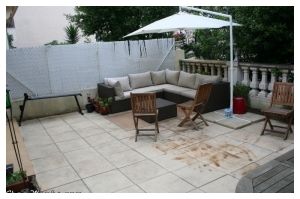
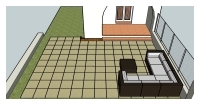
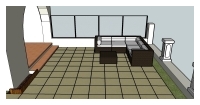
So, in the beginning, I have a 30m² terrace (4.7m wide per 6.3m long), covered with unskillfully installed concrete tiles (over a sand bed), with a separation from my neighbors' garden made of plastic-reeds-and-wire-mesh-that-fly-away-as-soon-as-there's-some-wind (lovely stuff)...We get to the terrace via a 5m² loggia, i.e. not enough to make anything of it, specially with its ugly orange shaded tiling...
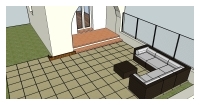
To plan things, I use Sketchup (as usual - I'm getting good at that soft!), transferring all the measurements, to get an accurate virtual representation of my terrace : To sum it up : nice place, lots of potential, but nothing sexy either.
The Project :
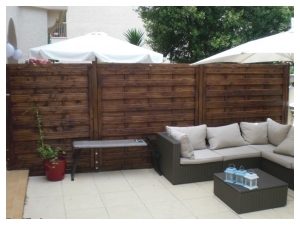
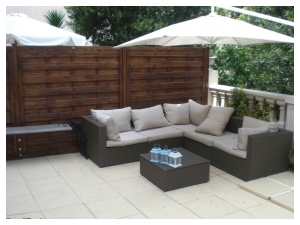
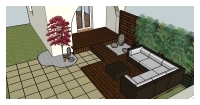
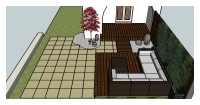
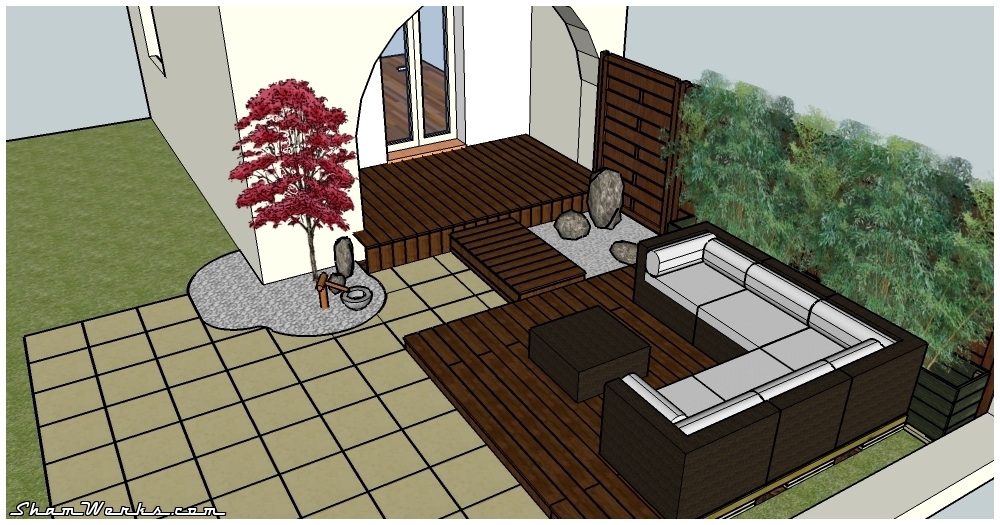
After putting my brain upside-down for quite a while, trying to put up a project that would be coherent, comfy and trendy, but not cold-designed, easy to maintain, and that would blend nicely with the 30's house facade... I ended up with that :Compare the pictures with the ones on row above for the "before/after" effect.
This involves several sub-projects, that I will write about in detail in as many dedicated articles :
- A wooden fence (to replace the plastic reeds/wire mesh thingy) [edit 20091110 : article is online!]
- A Japanese garden, "tea garden" type (tsuboniwa chaniwa) [edit 20091117 : article is online!]
- A Japanese garden, "dry garden" type (tsuboniwa karesensui). [edit 20101104 : article is online!]
- Two bamboo planters behind the sofa. [edit 20091130 : article is online!]
- A wooden deck in the loggia. [edit 20100509 : article is online!]
- A wooden deck under the sofa, 3m x 3m. [edit 20100624 : article is online!]
- A boardwalk, used as a step to connect the 2 decks. [edit 20100630 : article is online!]
So... Some work to be done, uh?... To be continued!
Posted on 28/04/2009 at 14:33
Radio-Cycle or Tri-Flyer?


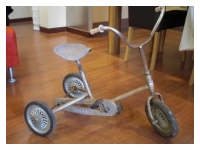
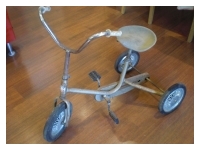
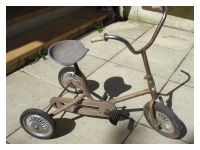
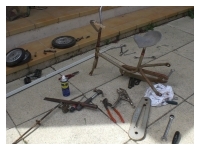
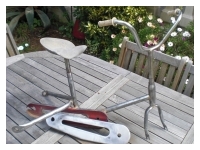
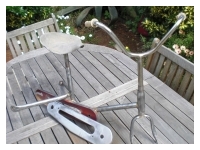
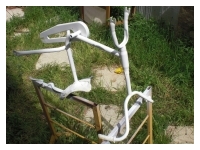
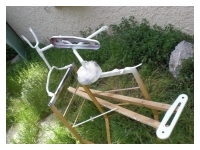
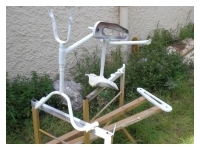
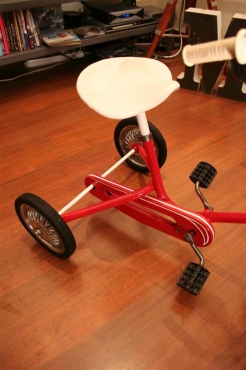
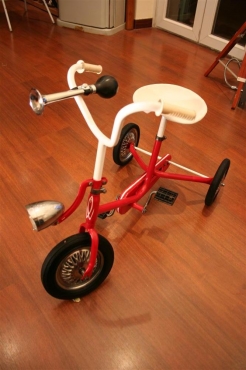
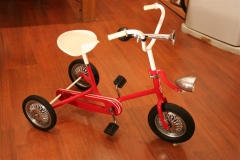
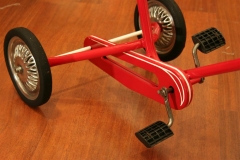
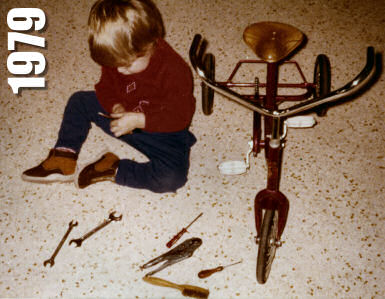
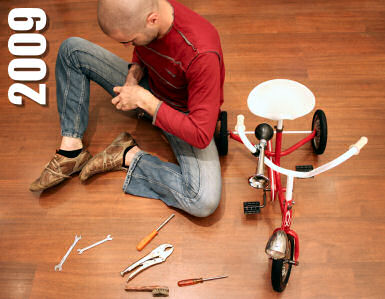
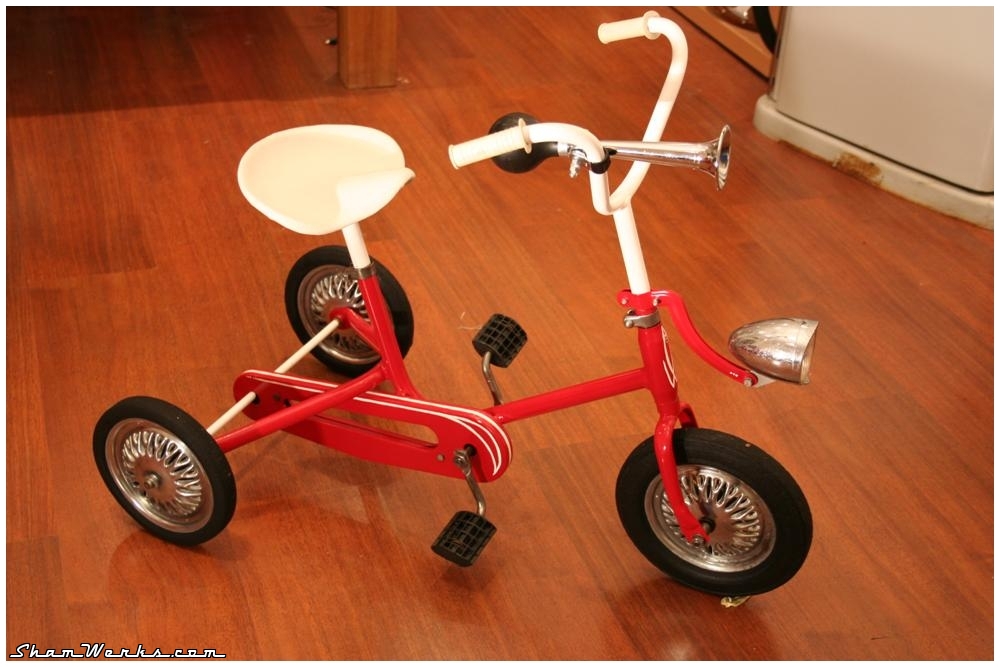
Mission : turn an old rusty toy into a fancy birthday gift! I first dismantled it entirely (well, almost, the saddle and handle bar were stuck by the rust, I couldn't remove'em without bending the whole frame). Then, I removed all the rust and paint with a metallic brush on my electric drill, which was statically fixed on a workbench, with a foot switch for ease of use. Only 30 minutes to get it done! Anti-rust primer spray, two layers... Sprayed right after the brushing, unless your bare metal starts rusting again! > No pictures of the actual paint job (spray as well, 2 layers of red, 2 layers of white) cuz the weather was changing and I really wanted to finish before the storm arrived... Therefore I totally forgot to take any further pics!
The color scheme is obviously the same as the famous Radio-Flyers... I could have made it more "girly", but the Mom could not stand any additional pink!
Then final finishing :
- cleansing of the chain and put it back with new grease,
- polishing of the wheels,
- special product on the tires to get them shiny black again,
- covering the saddle with white leather (using spray glue : the result is great!)
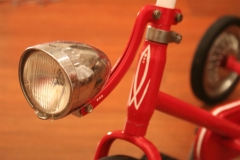
- fixing a little vintage headlight, and a vintage-looking horn (the horn was a mandatory part of the original requirements from the mother!)
- cleansing of the handles,
- small pinstripe on the chain carter and front of the frame (not that, t'was my first time!)
Here we are! Perfect gift for a little monster to break the speed limits in the streets of her village!
"Some things change... Others do not."
edit February 2019 : This article is bitter-weet to me today, almost 10 years after I wrote it. A few days ago, Anna, who had asked me to restore this tricycle for her daughter Charlotte, took her own life. We were not in touch regularly anymore (life, years, tend to do that), but her smile, her laugh, will for ever stay with me. Her two teen daughters will now have to grow up without a mother... I remember them discovering this tricycle and pedaling like crazy accross the place in Valbonne, scaring people around by honking the horn...
I am so sorry you made that choice Anna. I truly hope you don't suffer anymore today, wherever you are.
Posted on 21/02/2008 at 16:00
WoodWork Concept
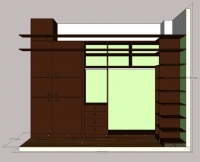
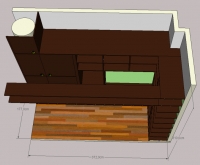
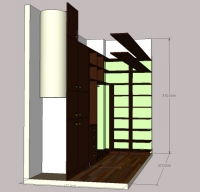
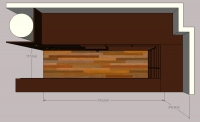
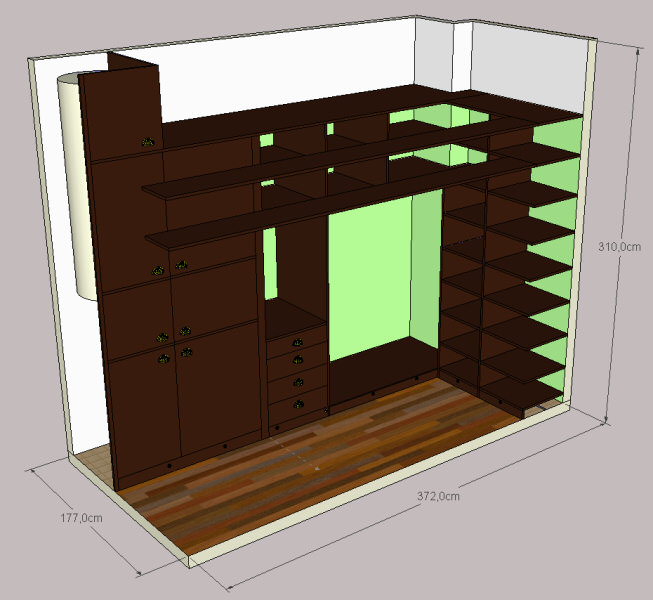
 What can we do out of a window-less room, 3.70m long, 1.80m wide and 3.10m below ceiling?
Well, you can turn it into a lovely dressing room, with plenty of space to store your heavy and bulky stuff (like old magazines, scuba diving apparel, snowboarding stuff, etc.)... Kind of a small attic to me!
Well, as nothing's simple, the room's dimensions are far from the usual nowadays standards, (especially the 70cm-deep closet), plus the building being pretty old (built in 1927), the walls aren't that straight... So just forget about Ikea ready-to-go stuff, gotta custom-make it to measures!
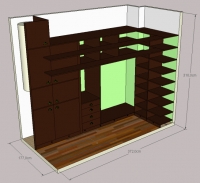
So here we go, first I give it a try on Sketchup to fine-tune it, making sure everything fits, and listing all the wood board dimensions I need : So, here is what I'm building with all that wood! Electric jigsaw, circular saw, router and sander are my very best friends those days.
Invisible hinges on the doors, invisible full-extend BluMotion drawer grooves (not that easy to find these, especially 65cm long... Finally got them at a discount price from Foussier), LED lights integrated all around the bottom part...
Lots of sawdust, but not only... Lots of plaster as well! removing the crappy false ceiling, building a plaster dividing wall, treating, plastering, painting, etc...
Some pictures of the current status real soon!


