36hp, episode 11 : engine installation
The engine is finally back on the car after almost 13 years out! I took it out back in 2008 to get it restored...
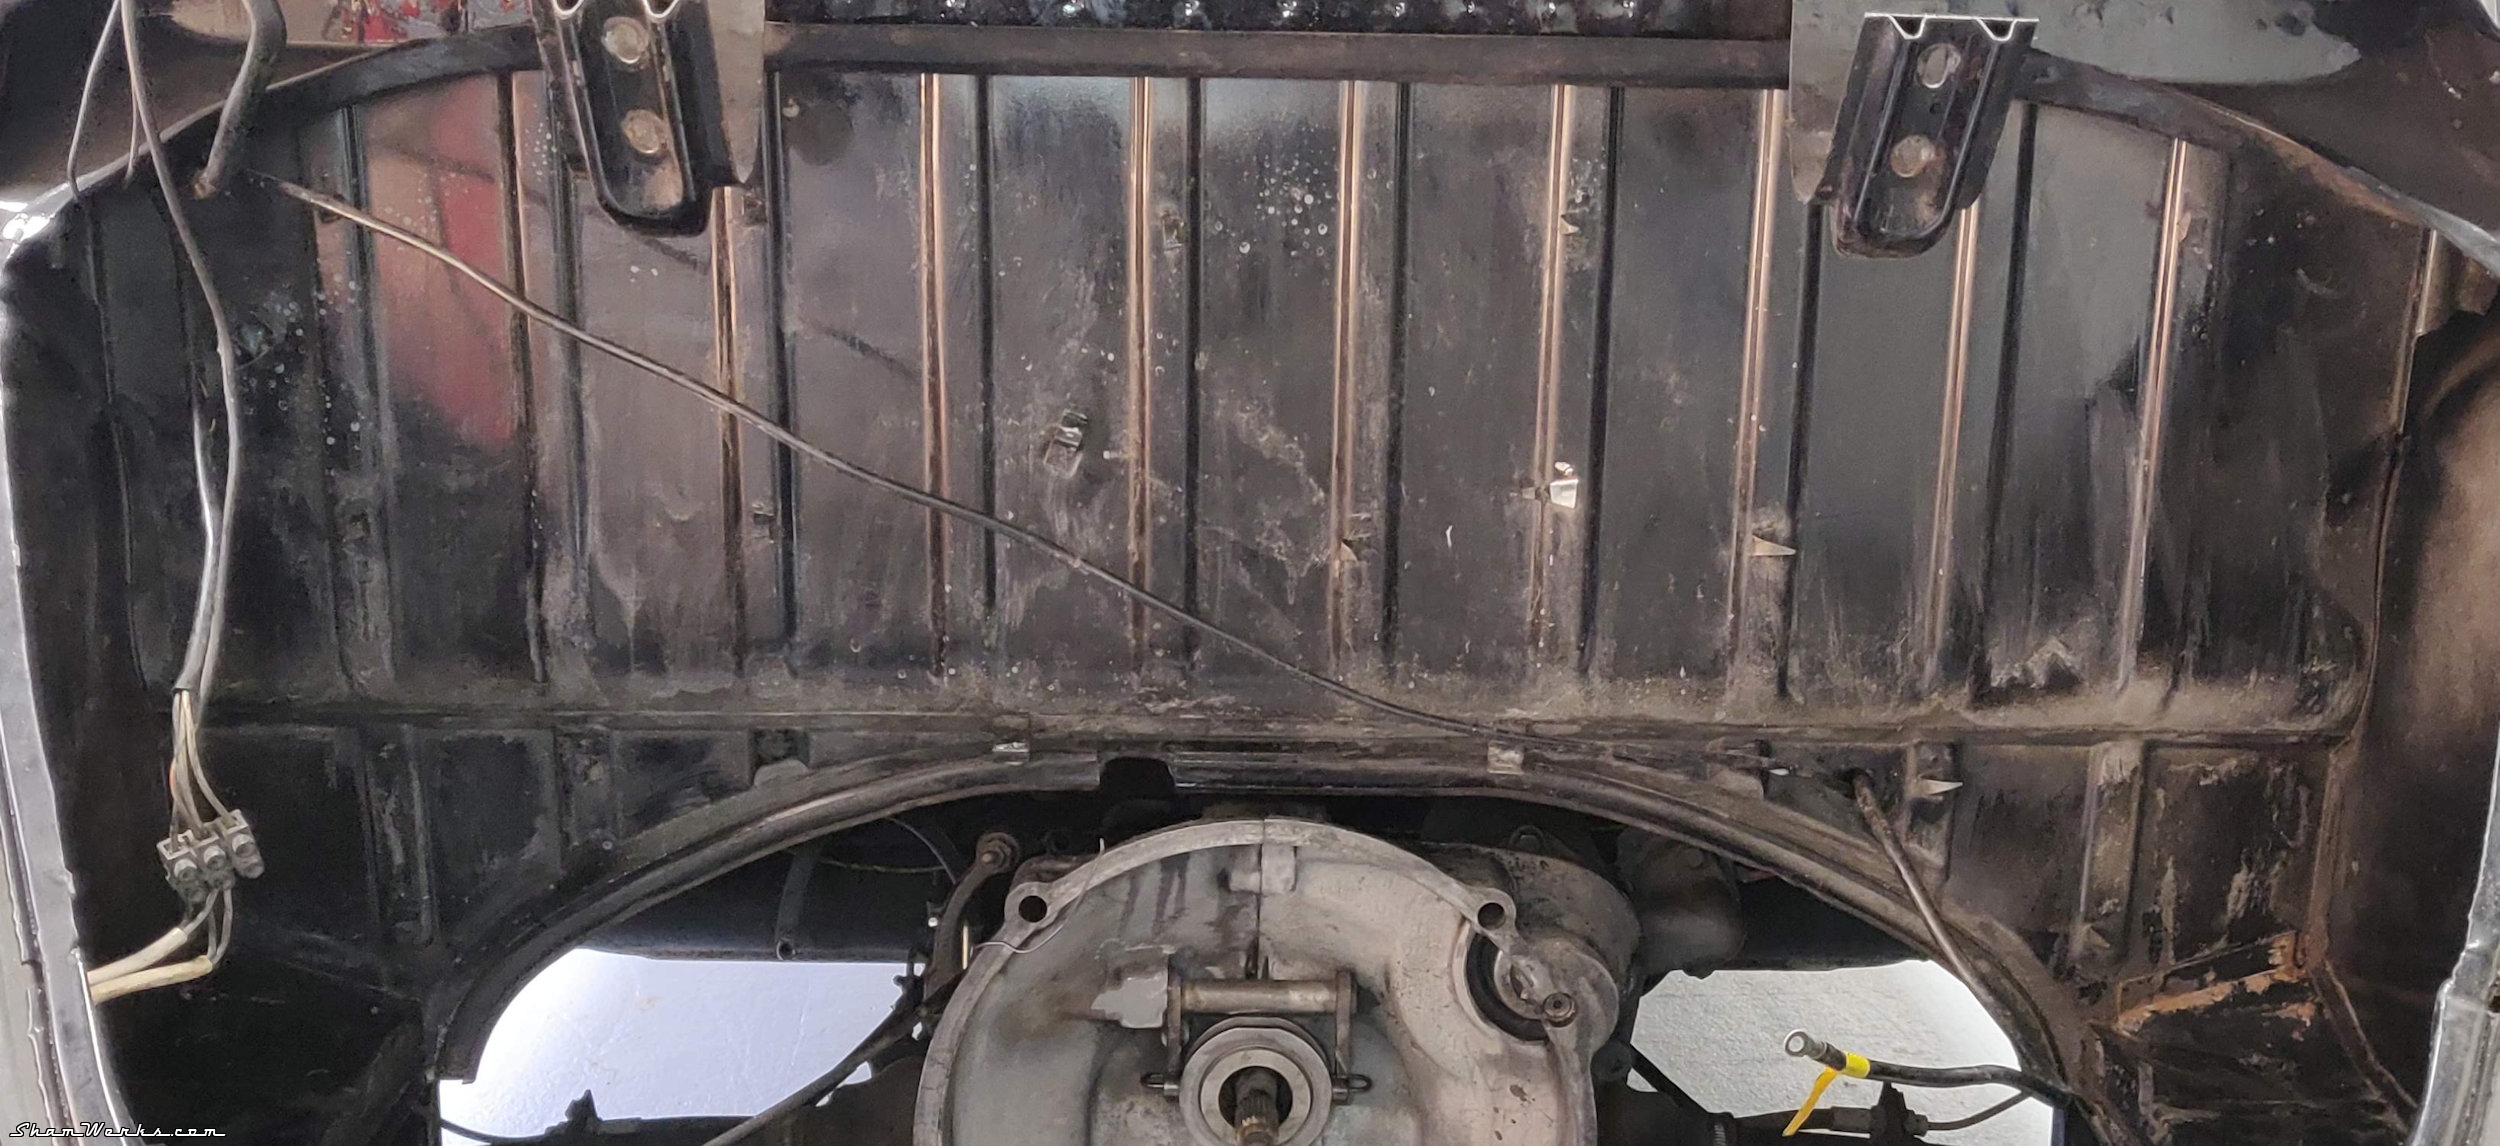
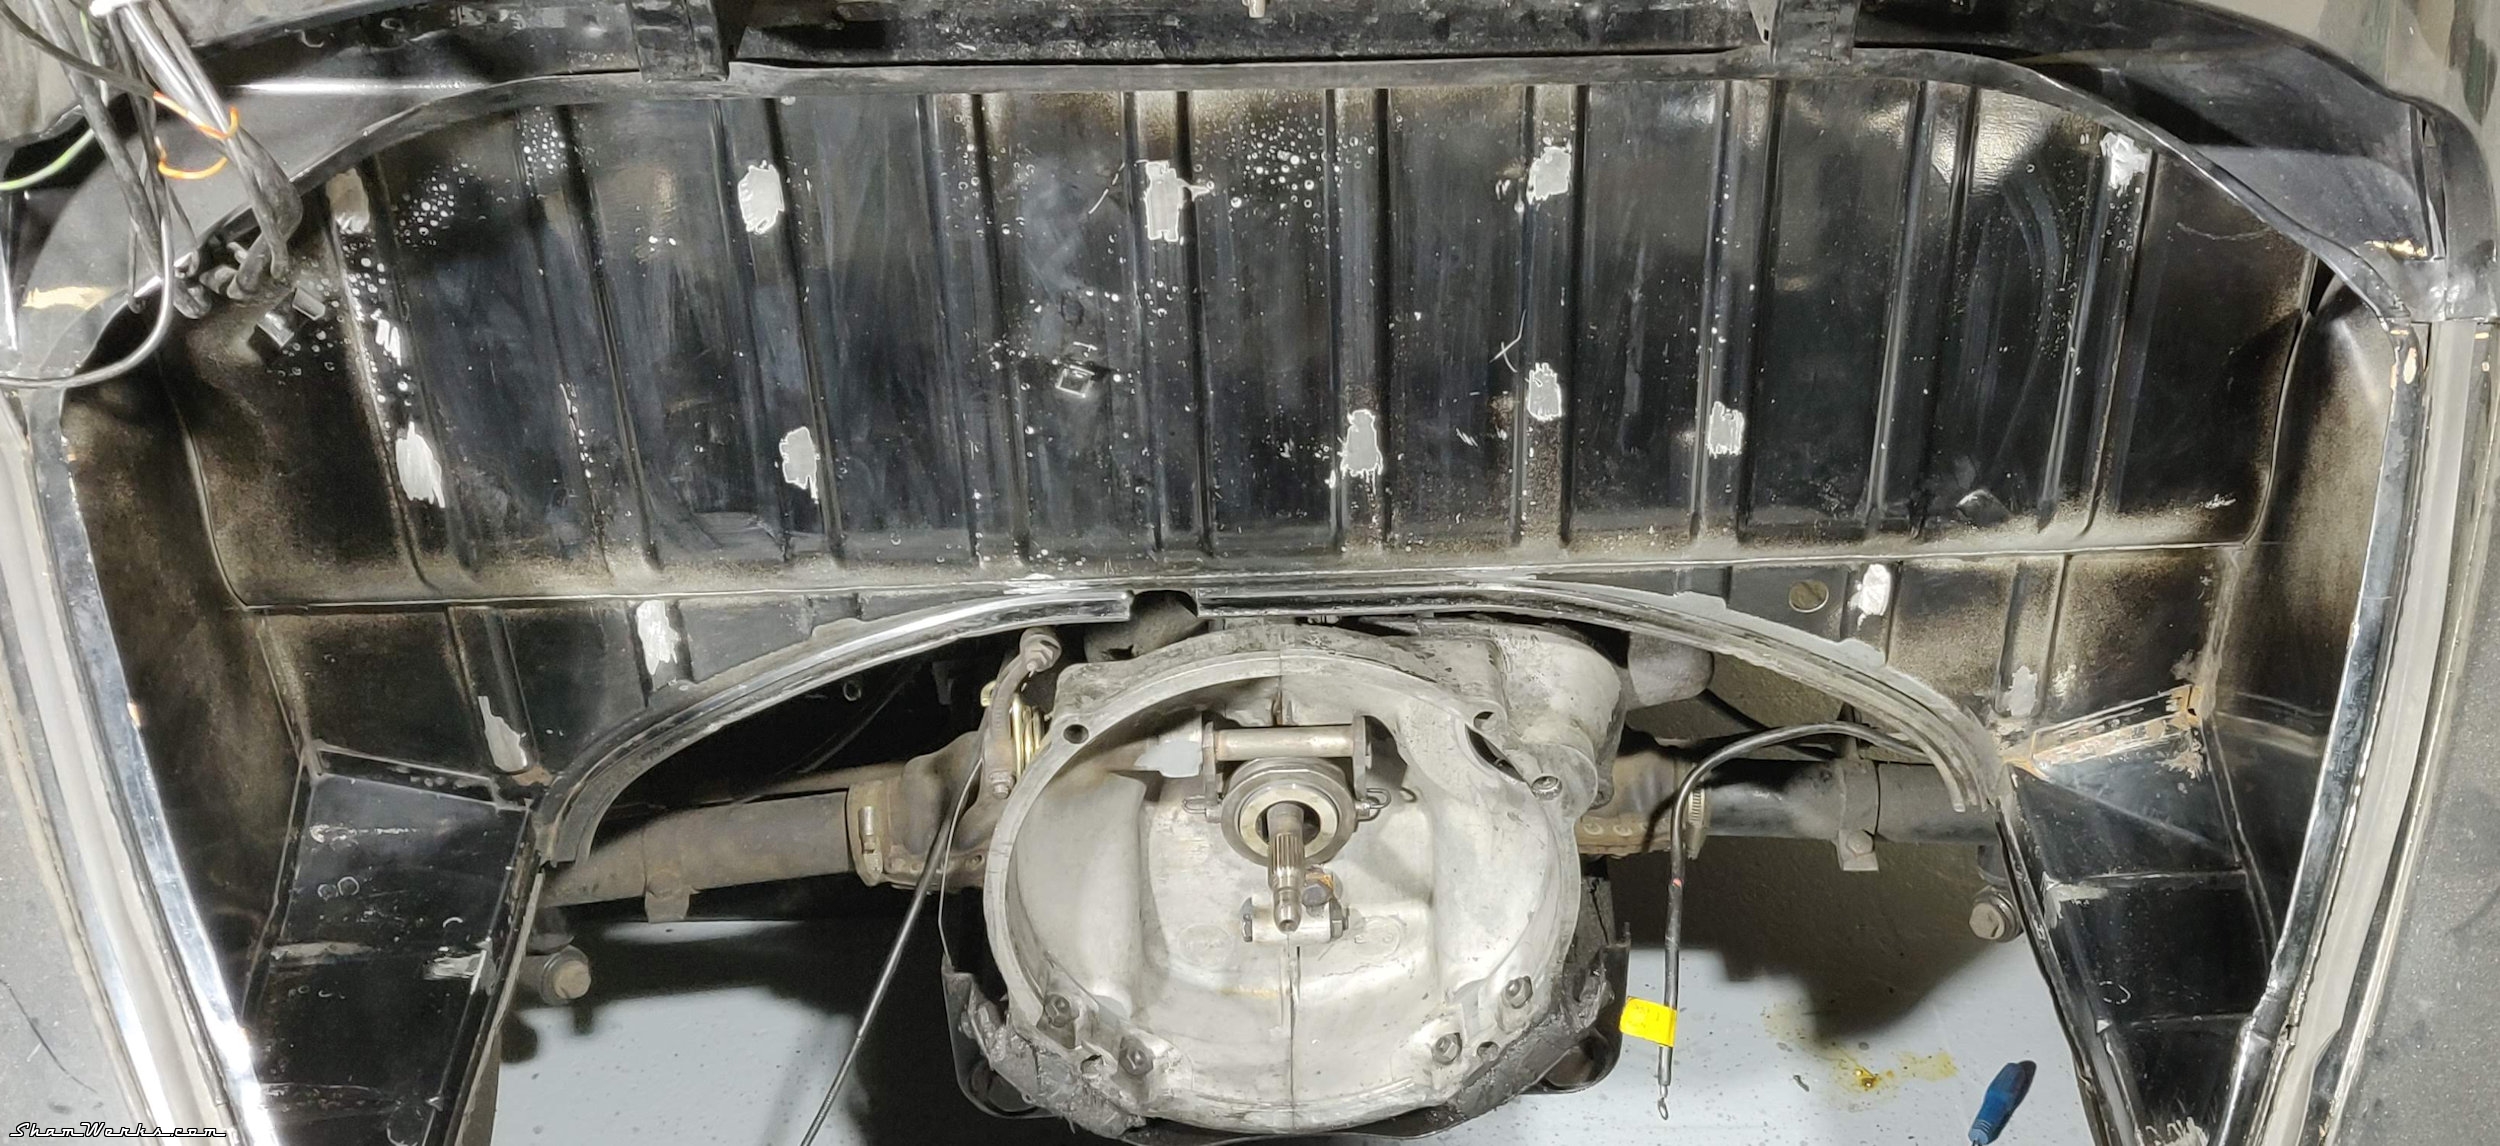
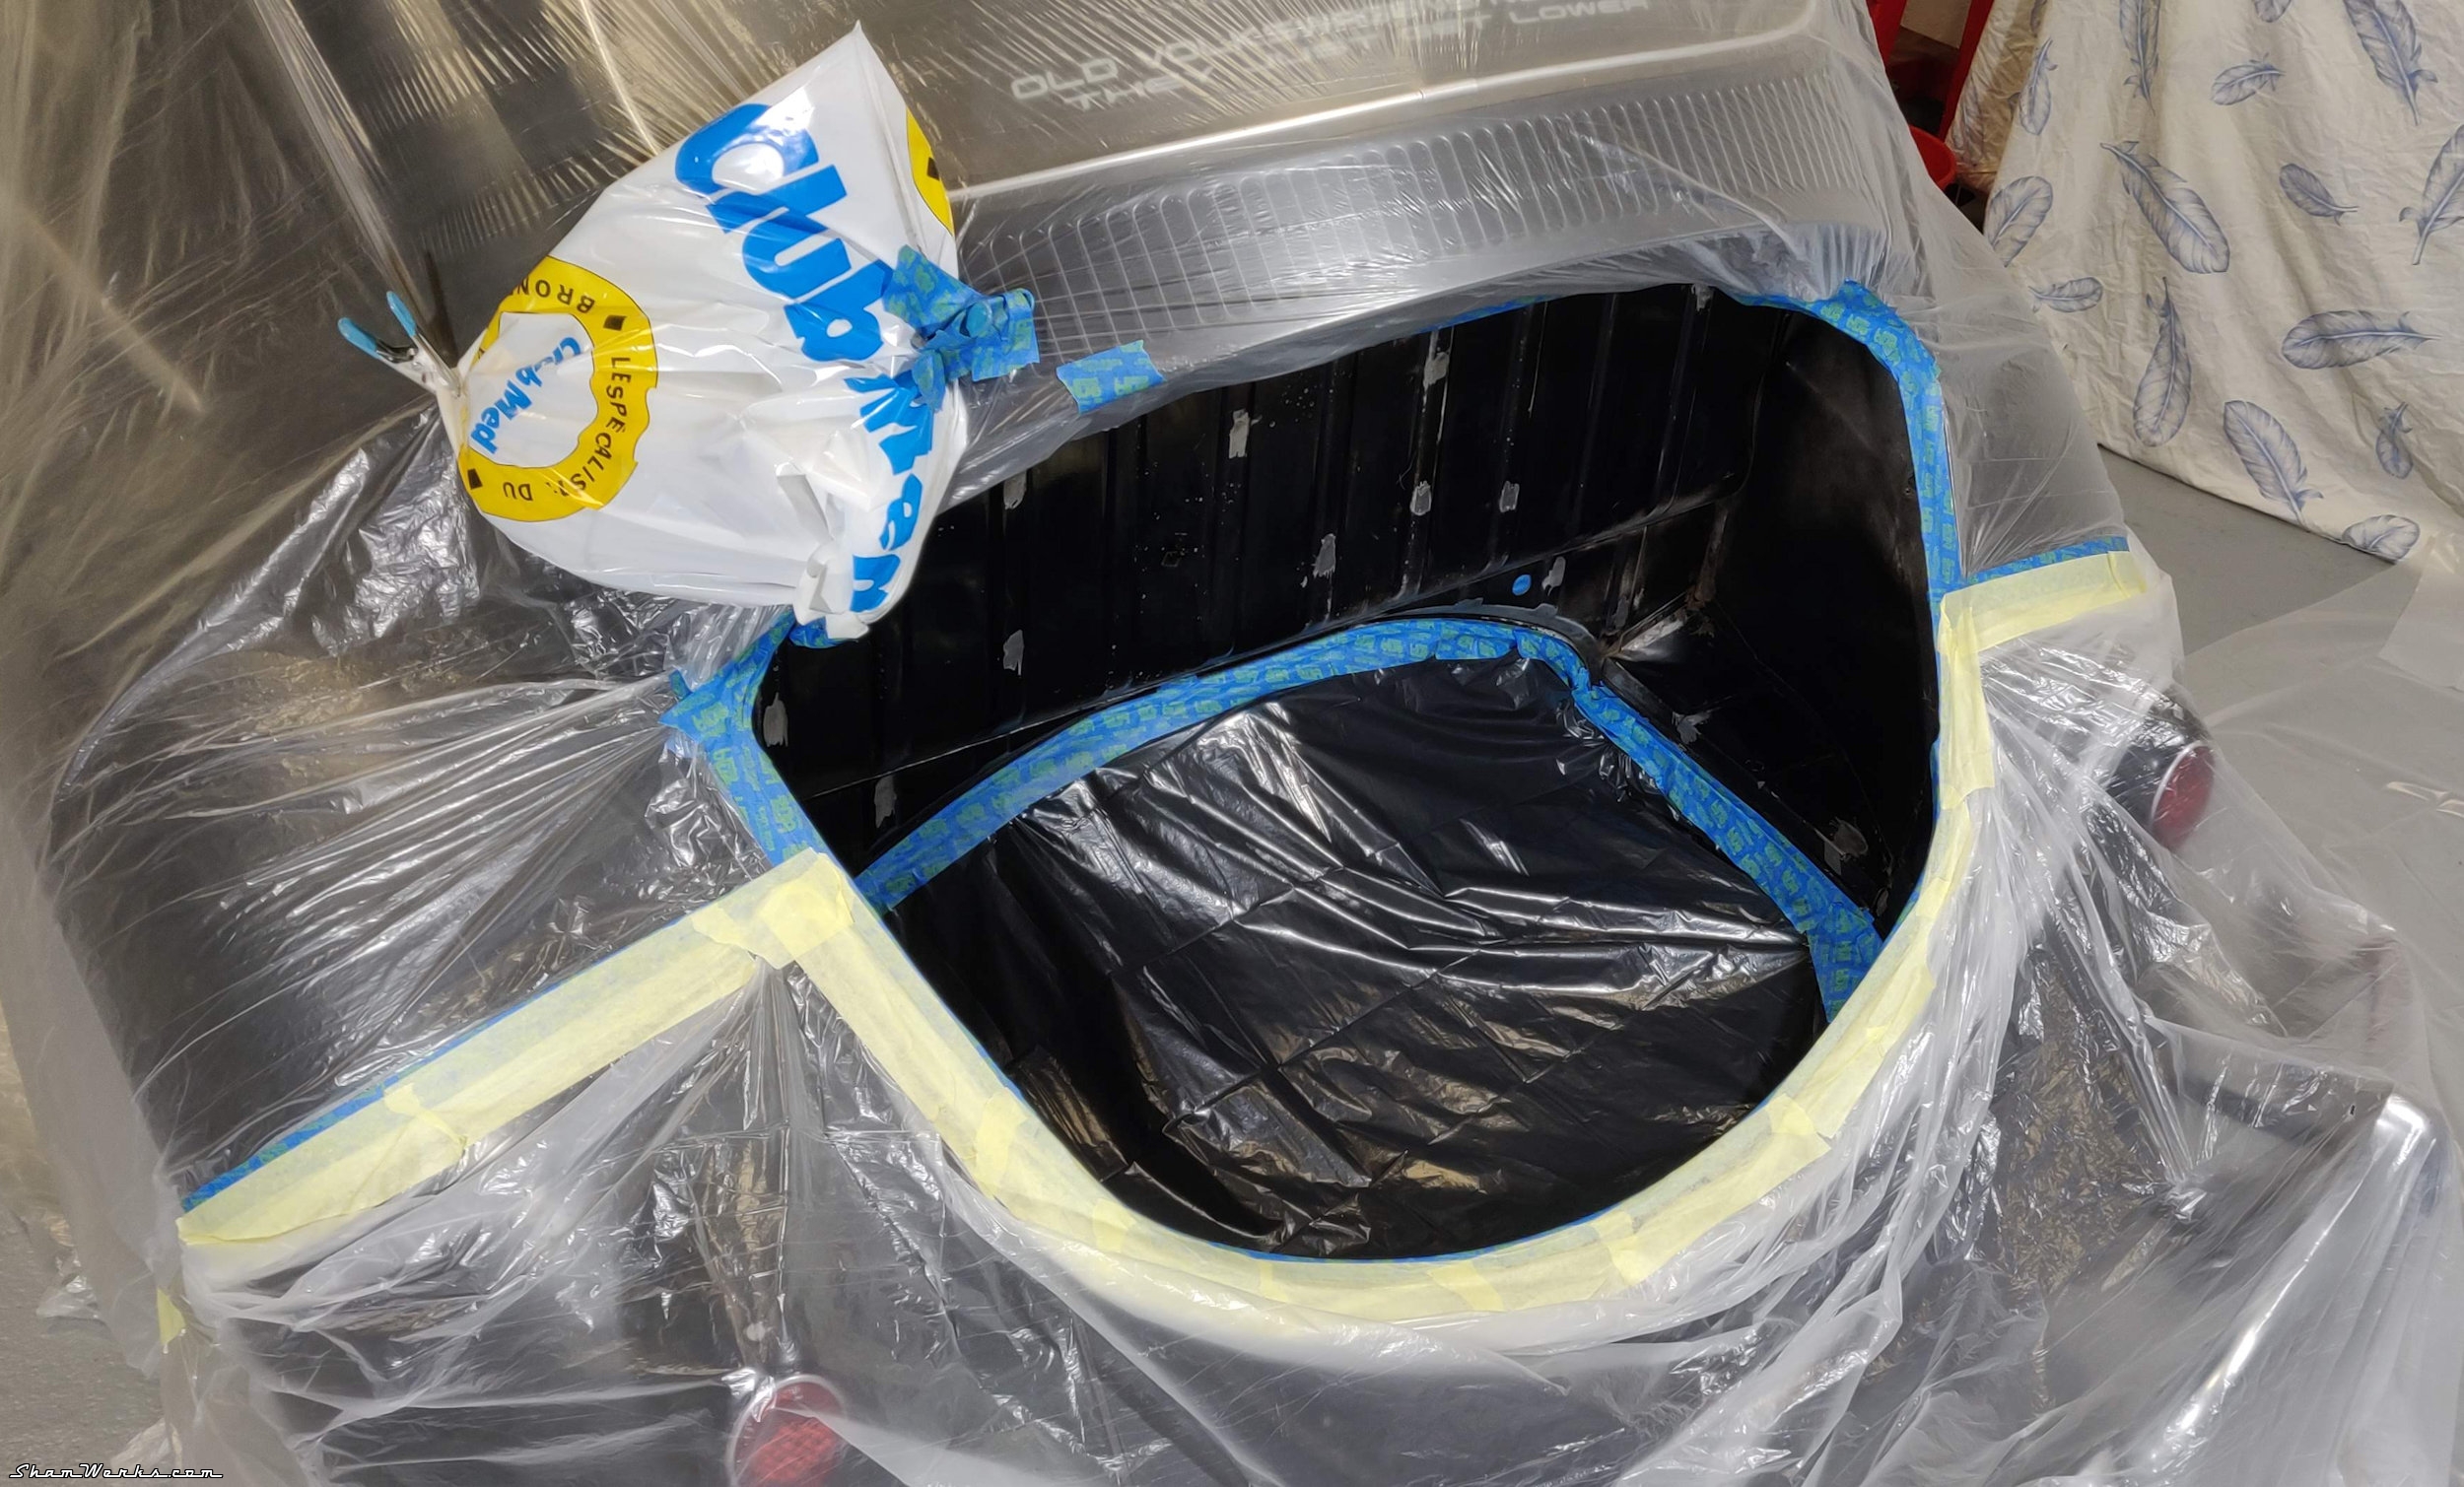
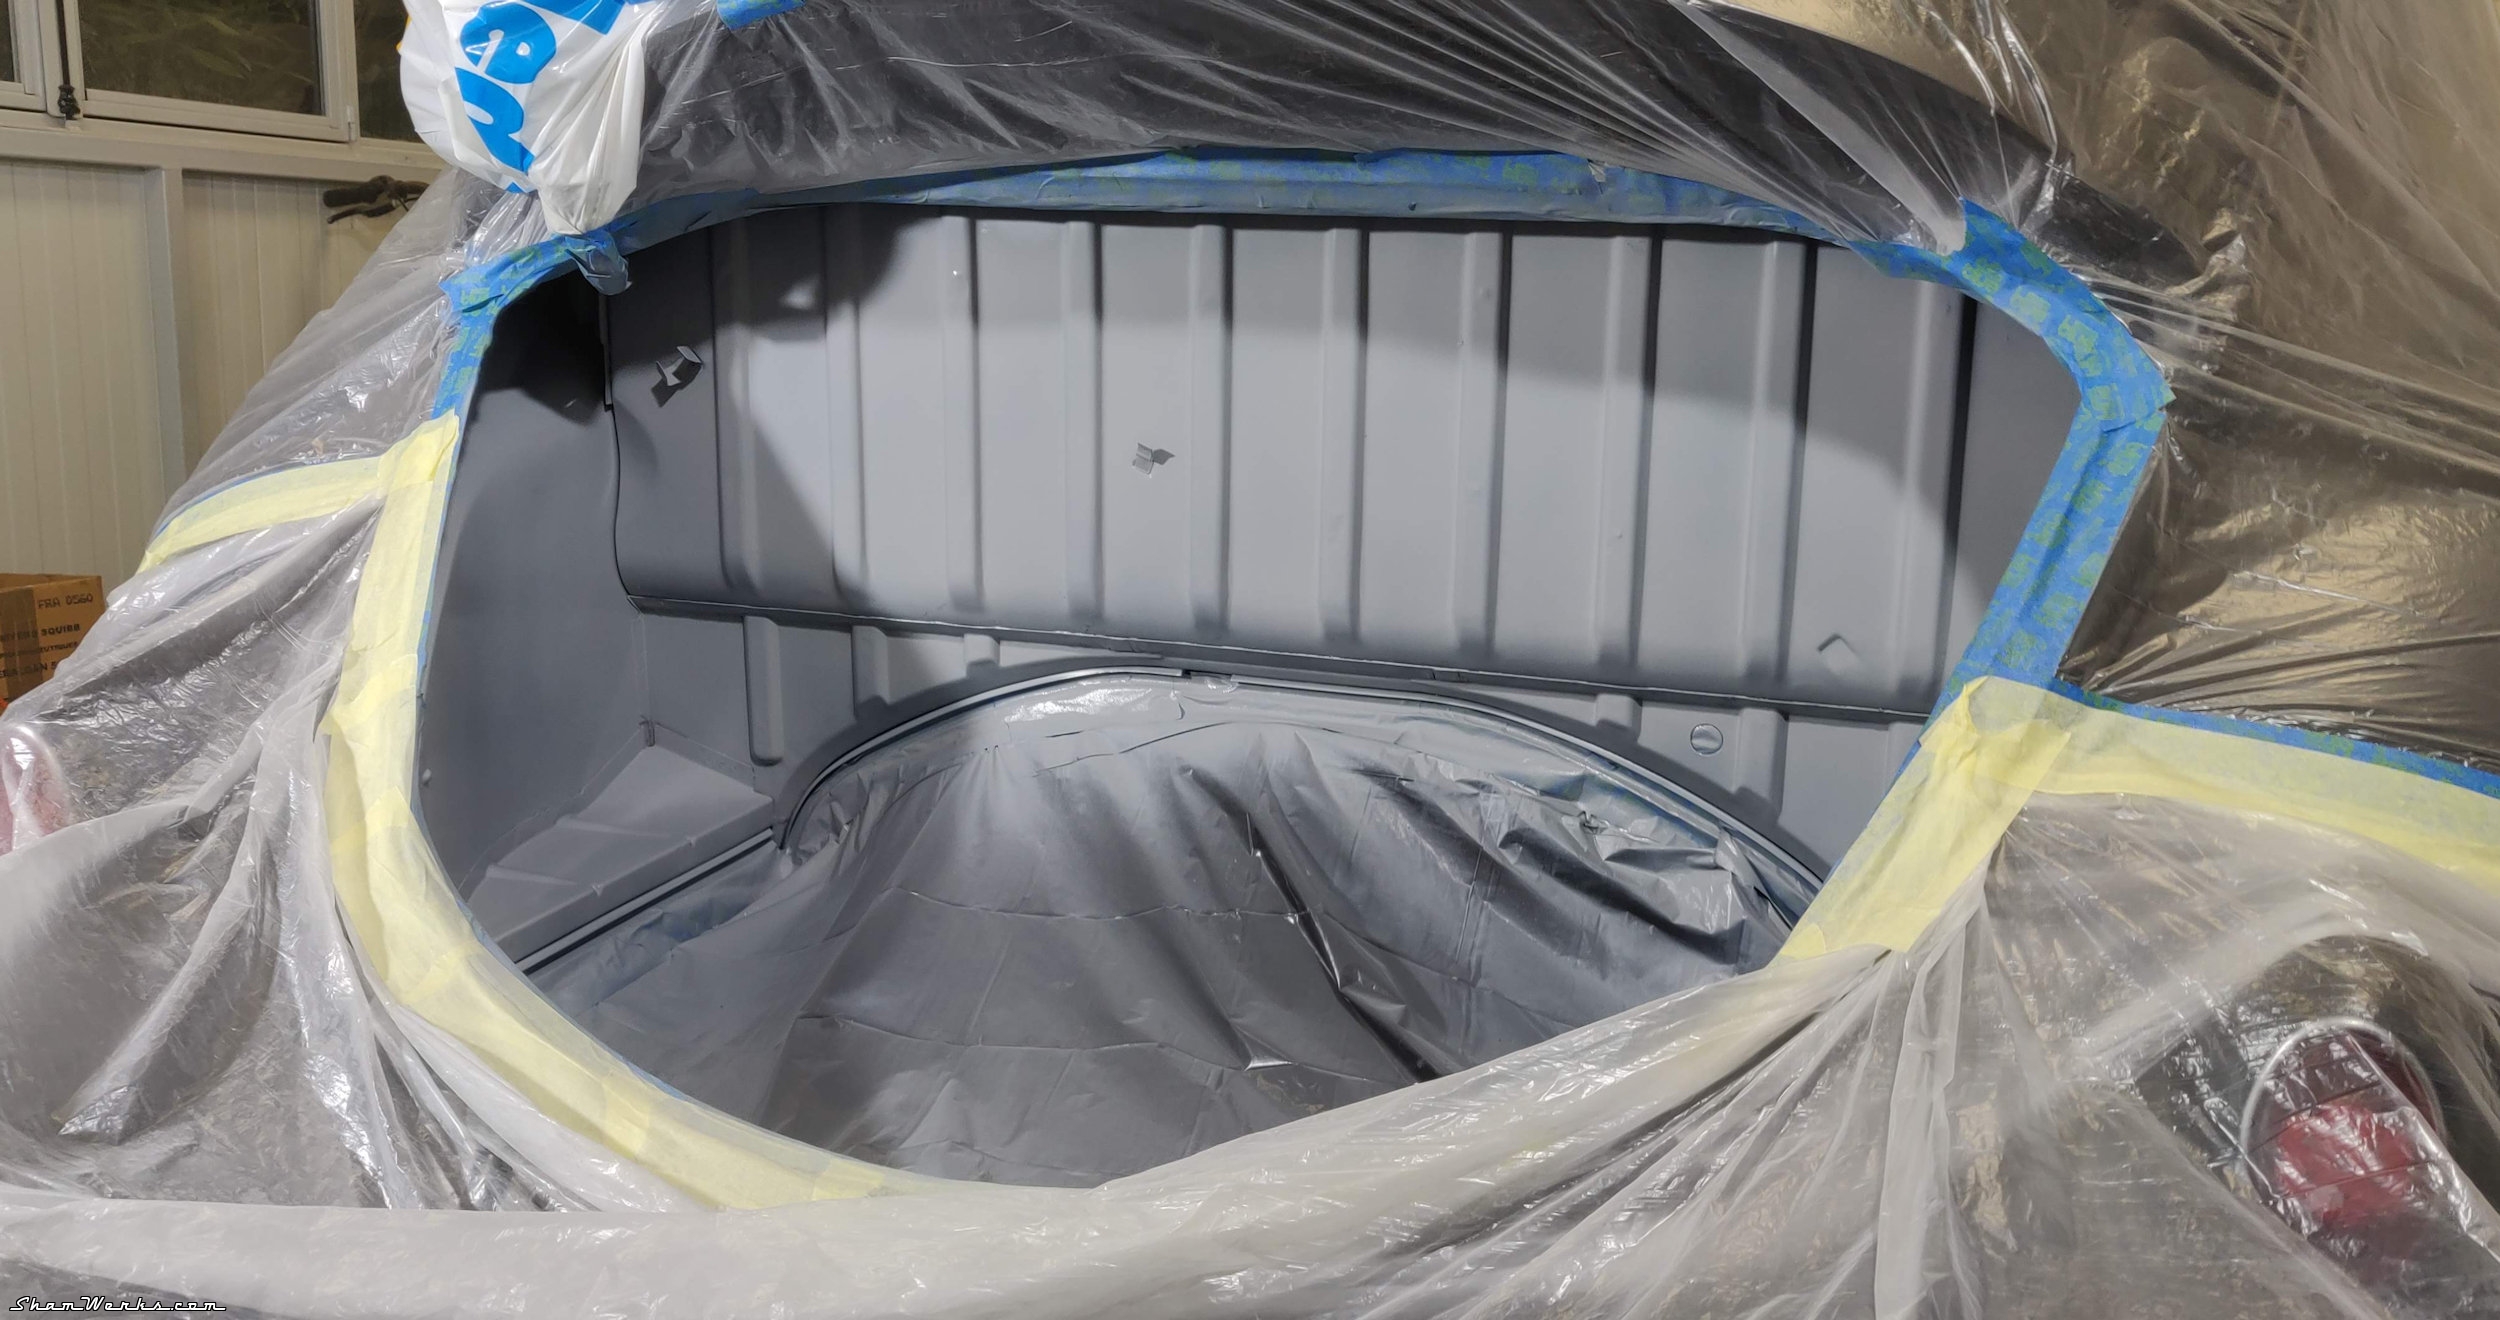
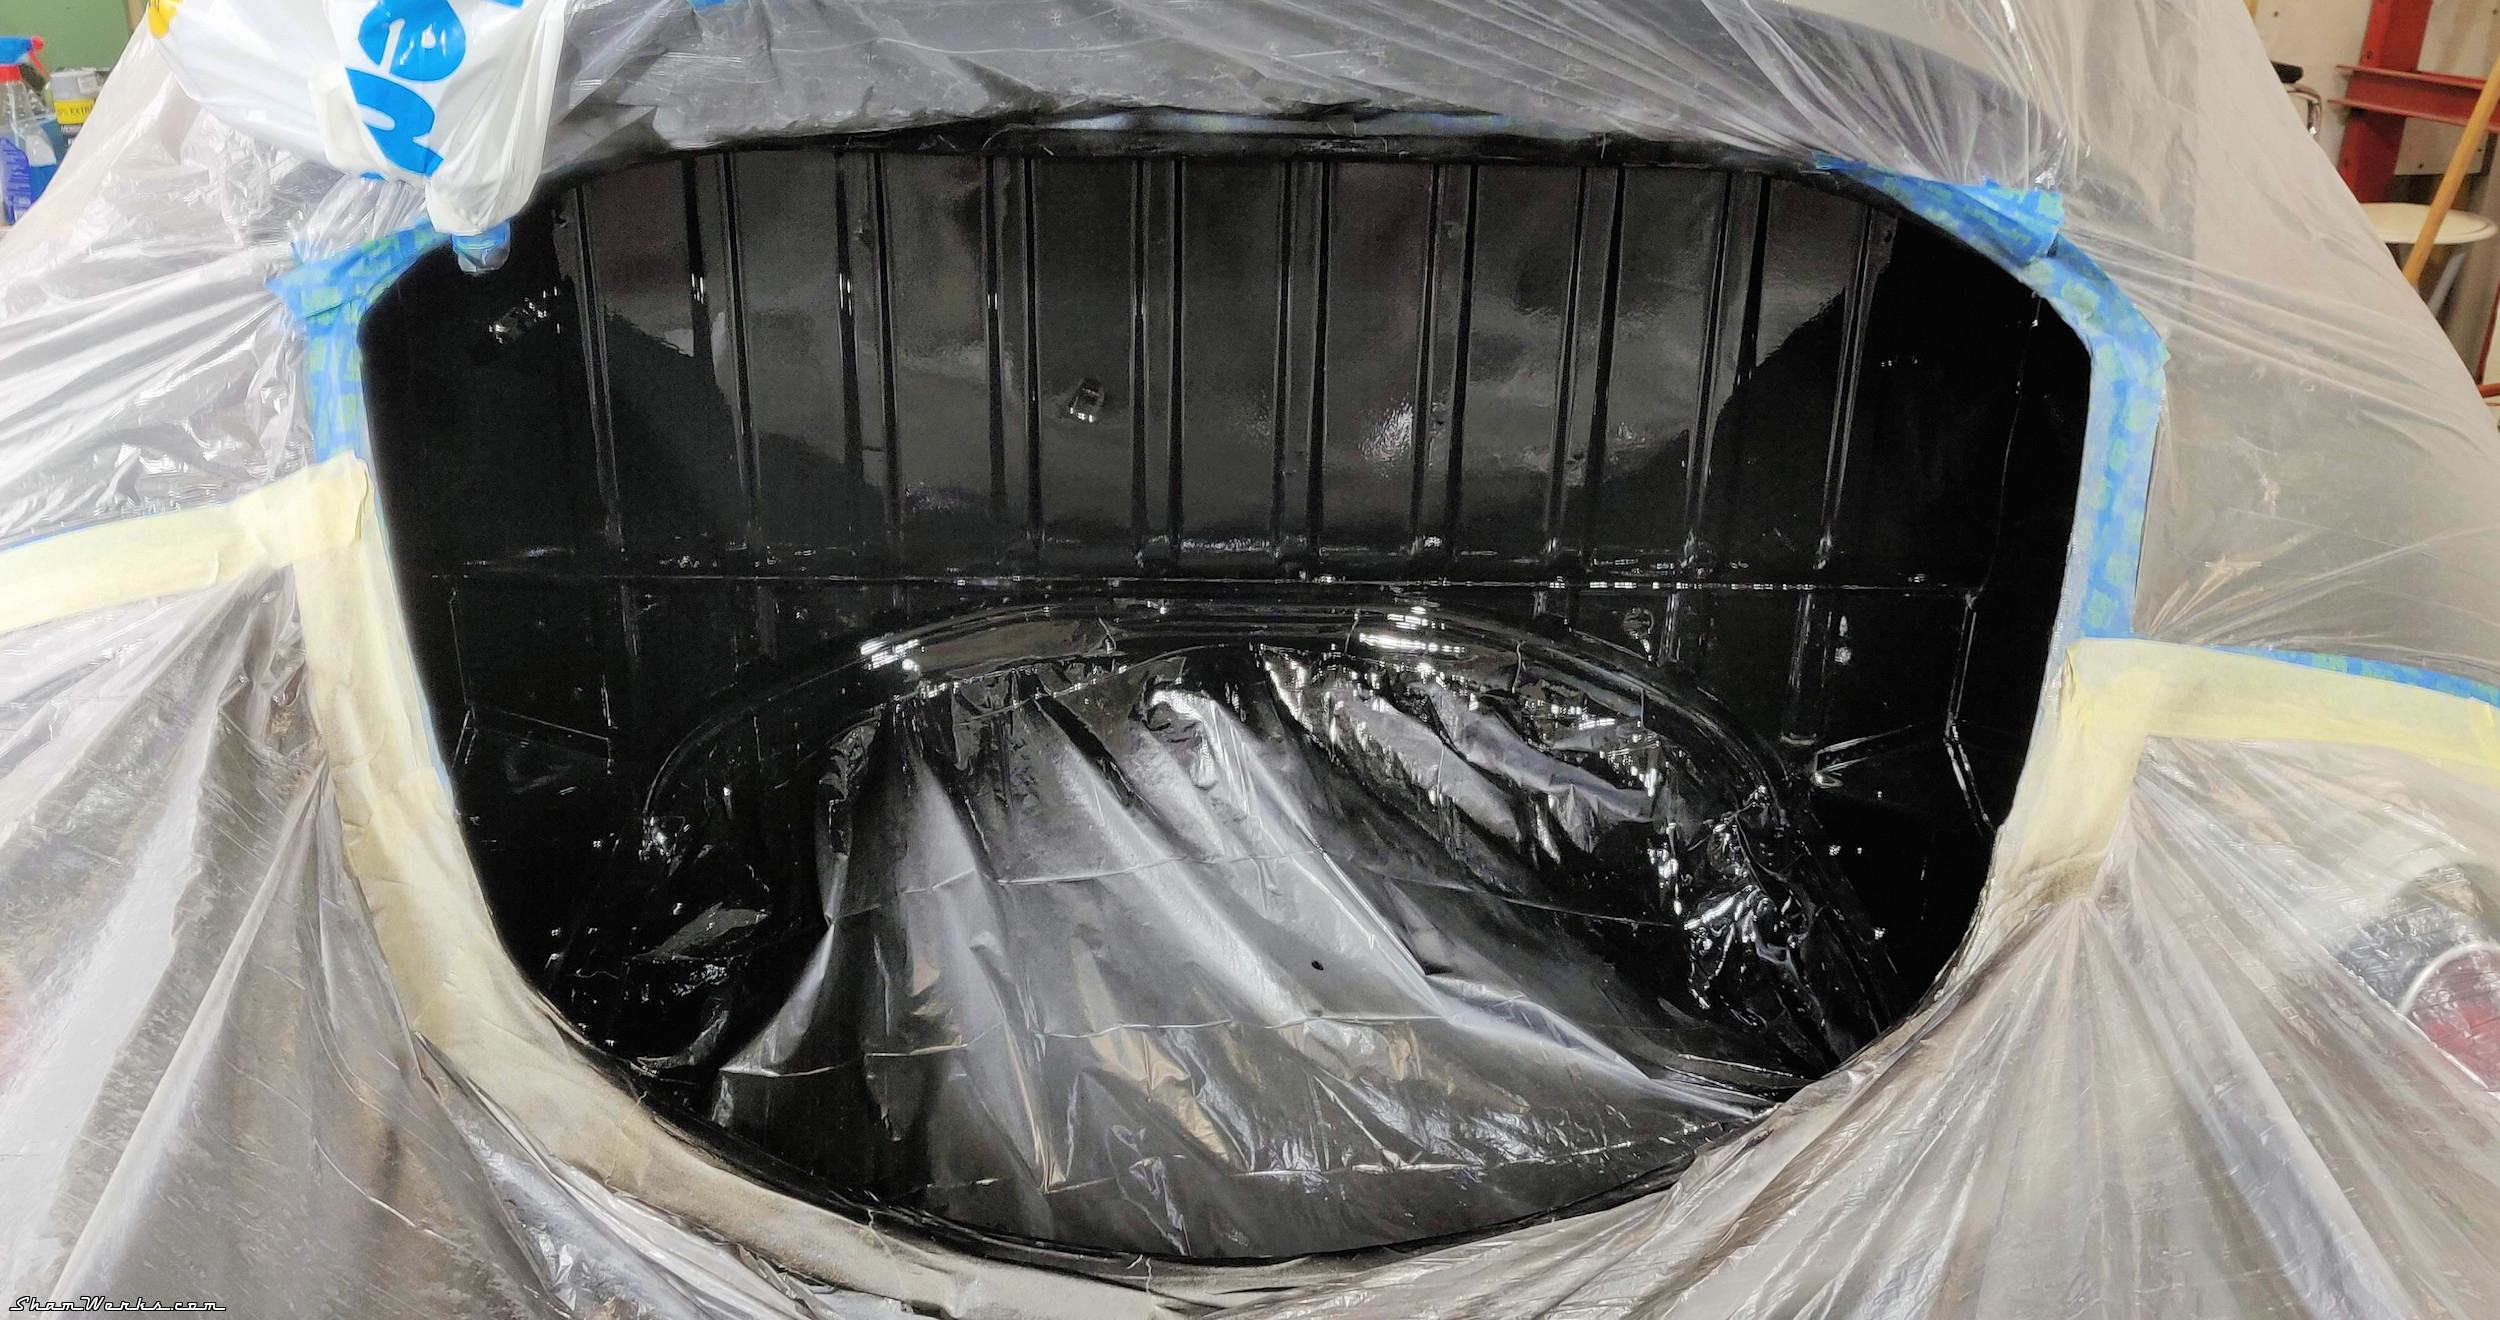
Engine Bay
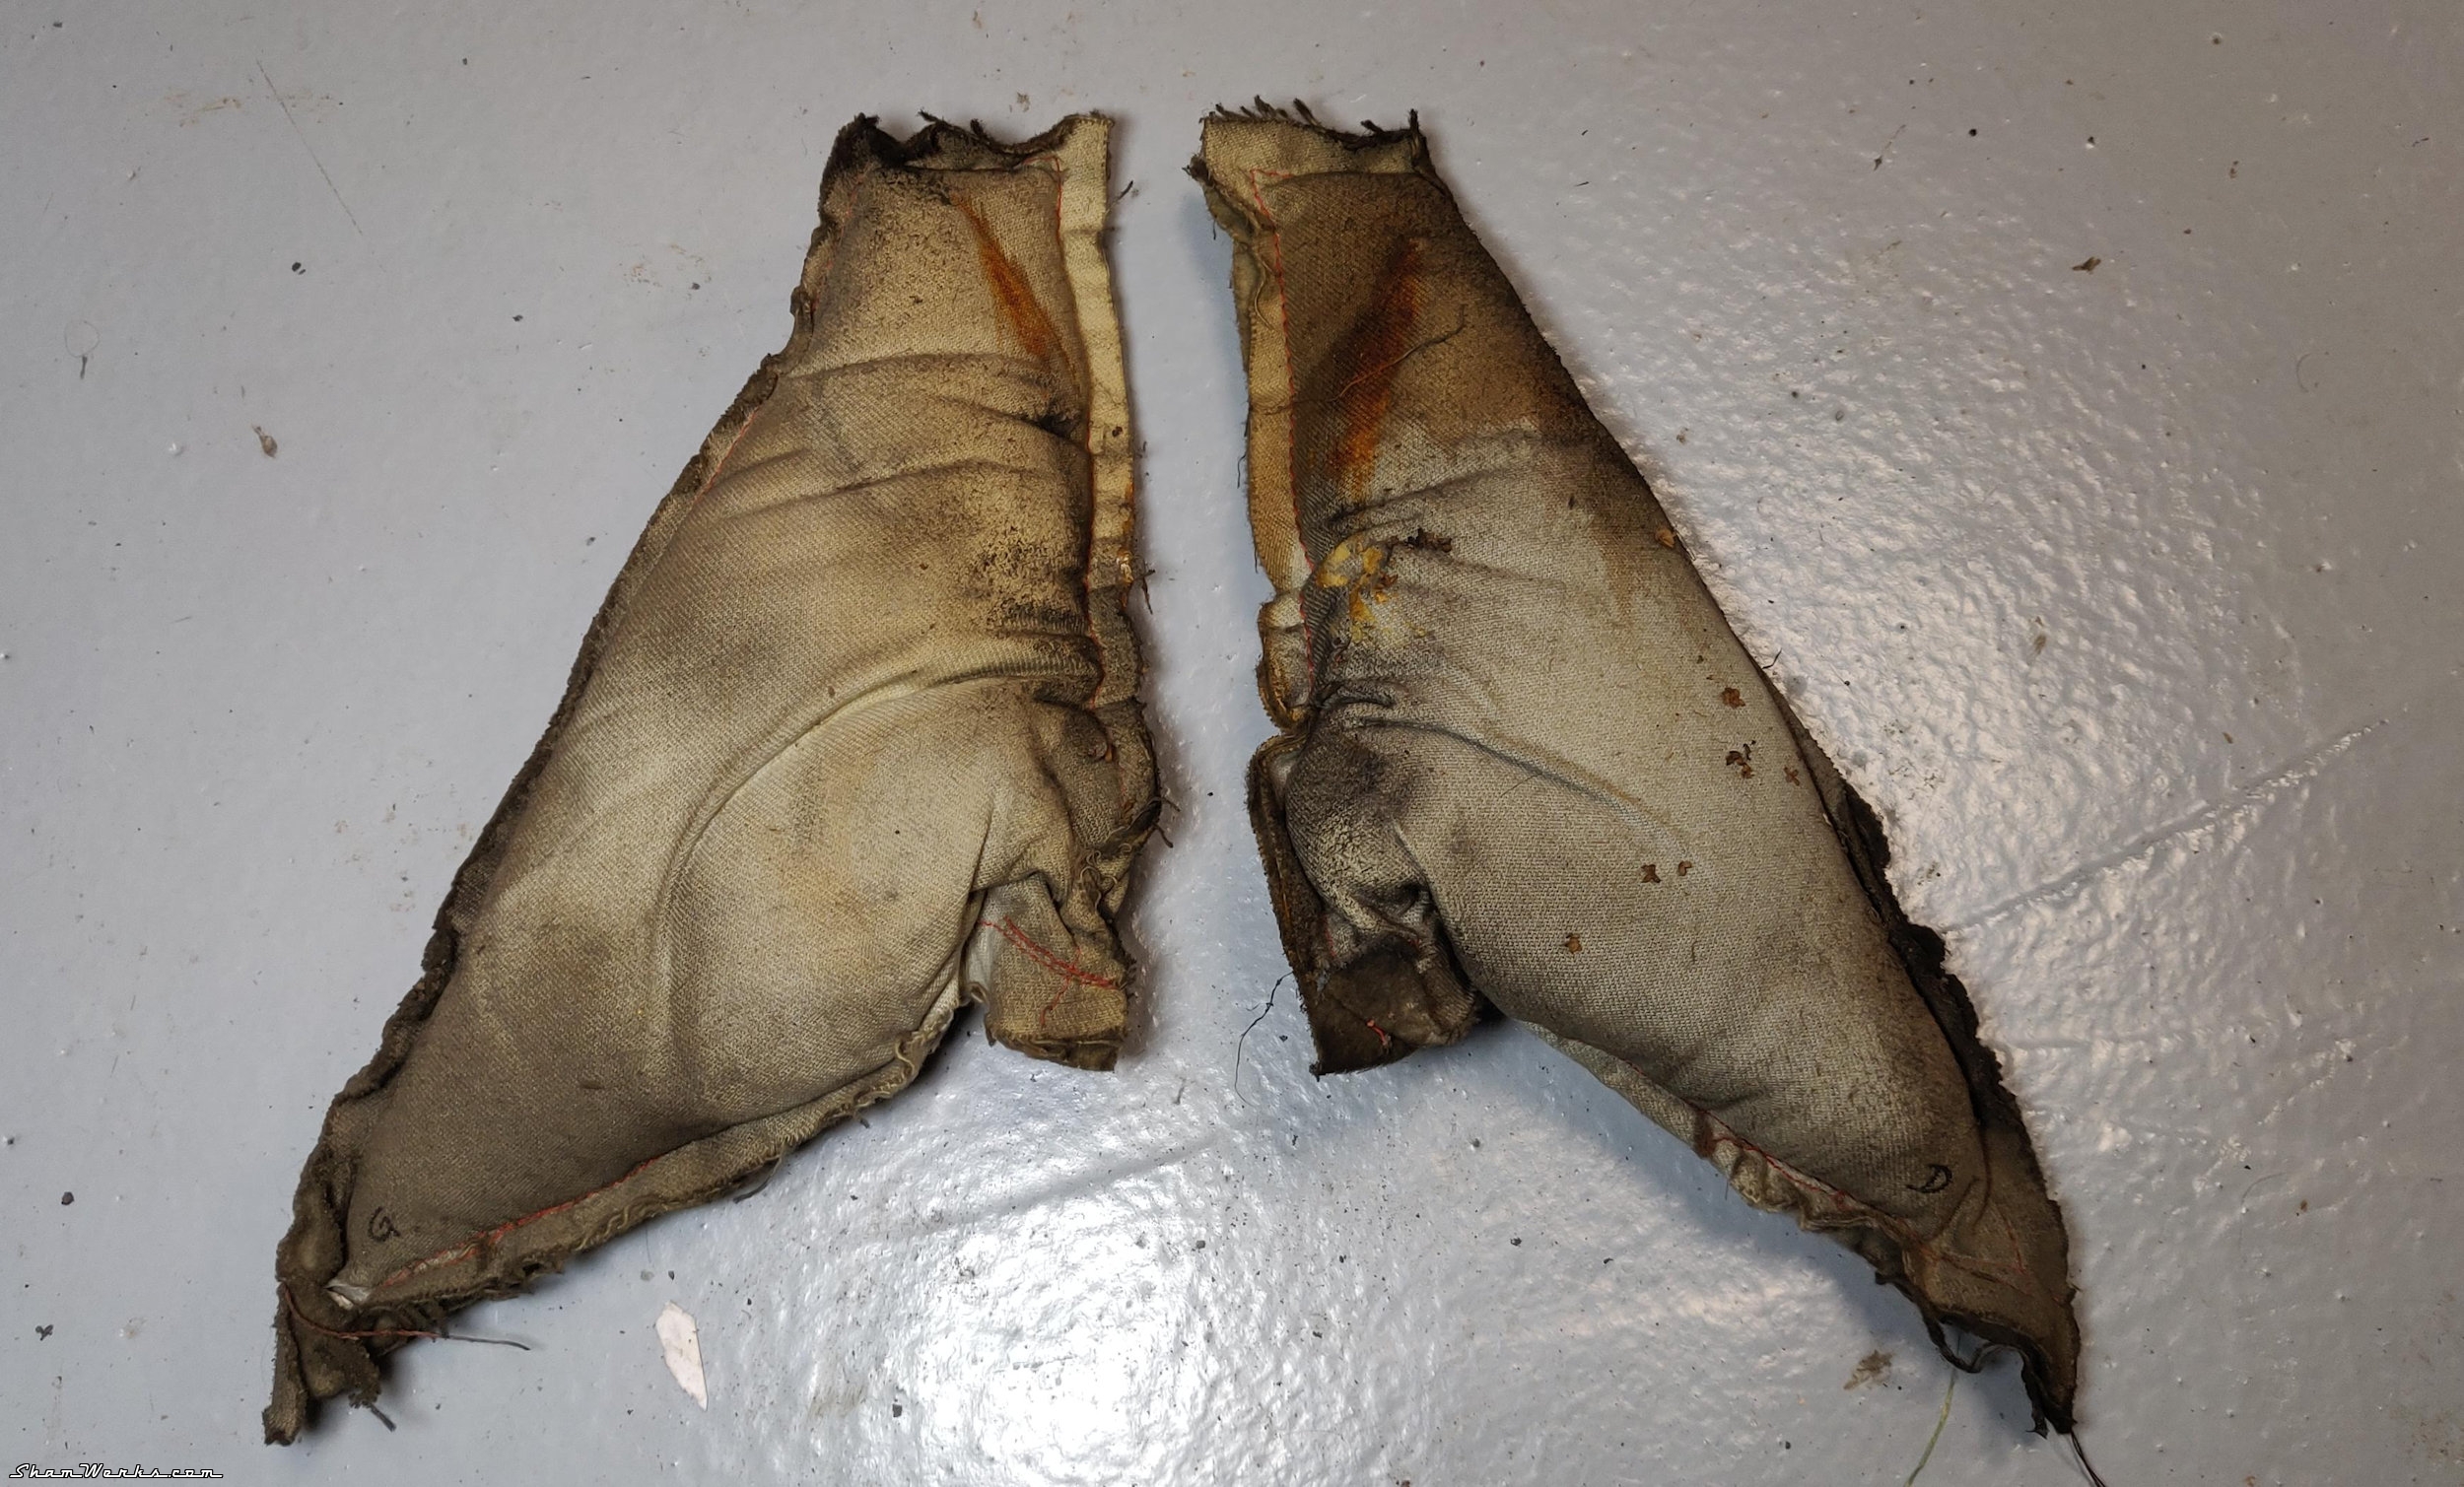
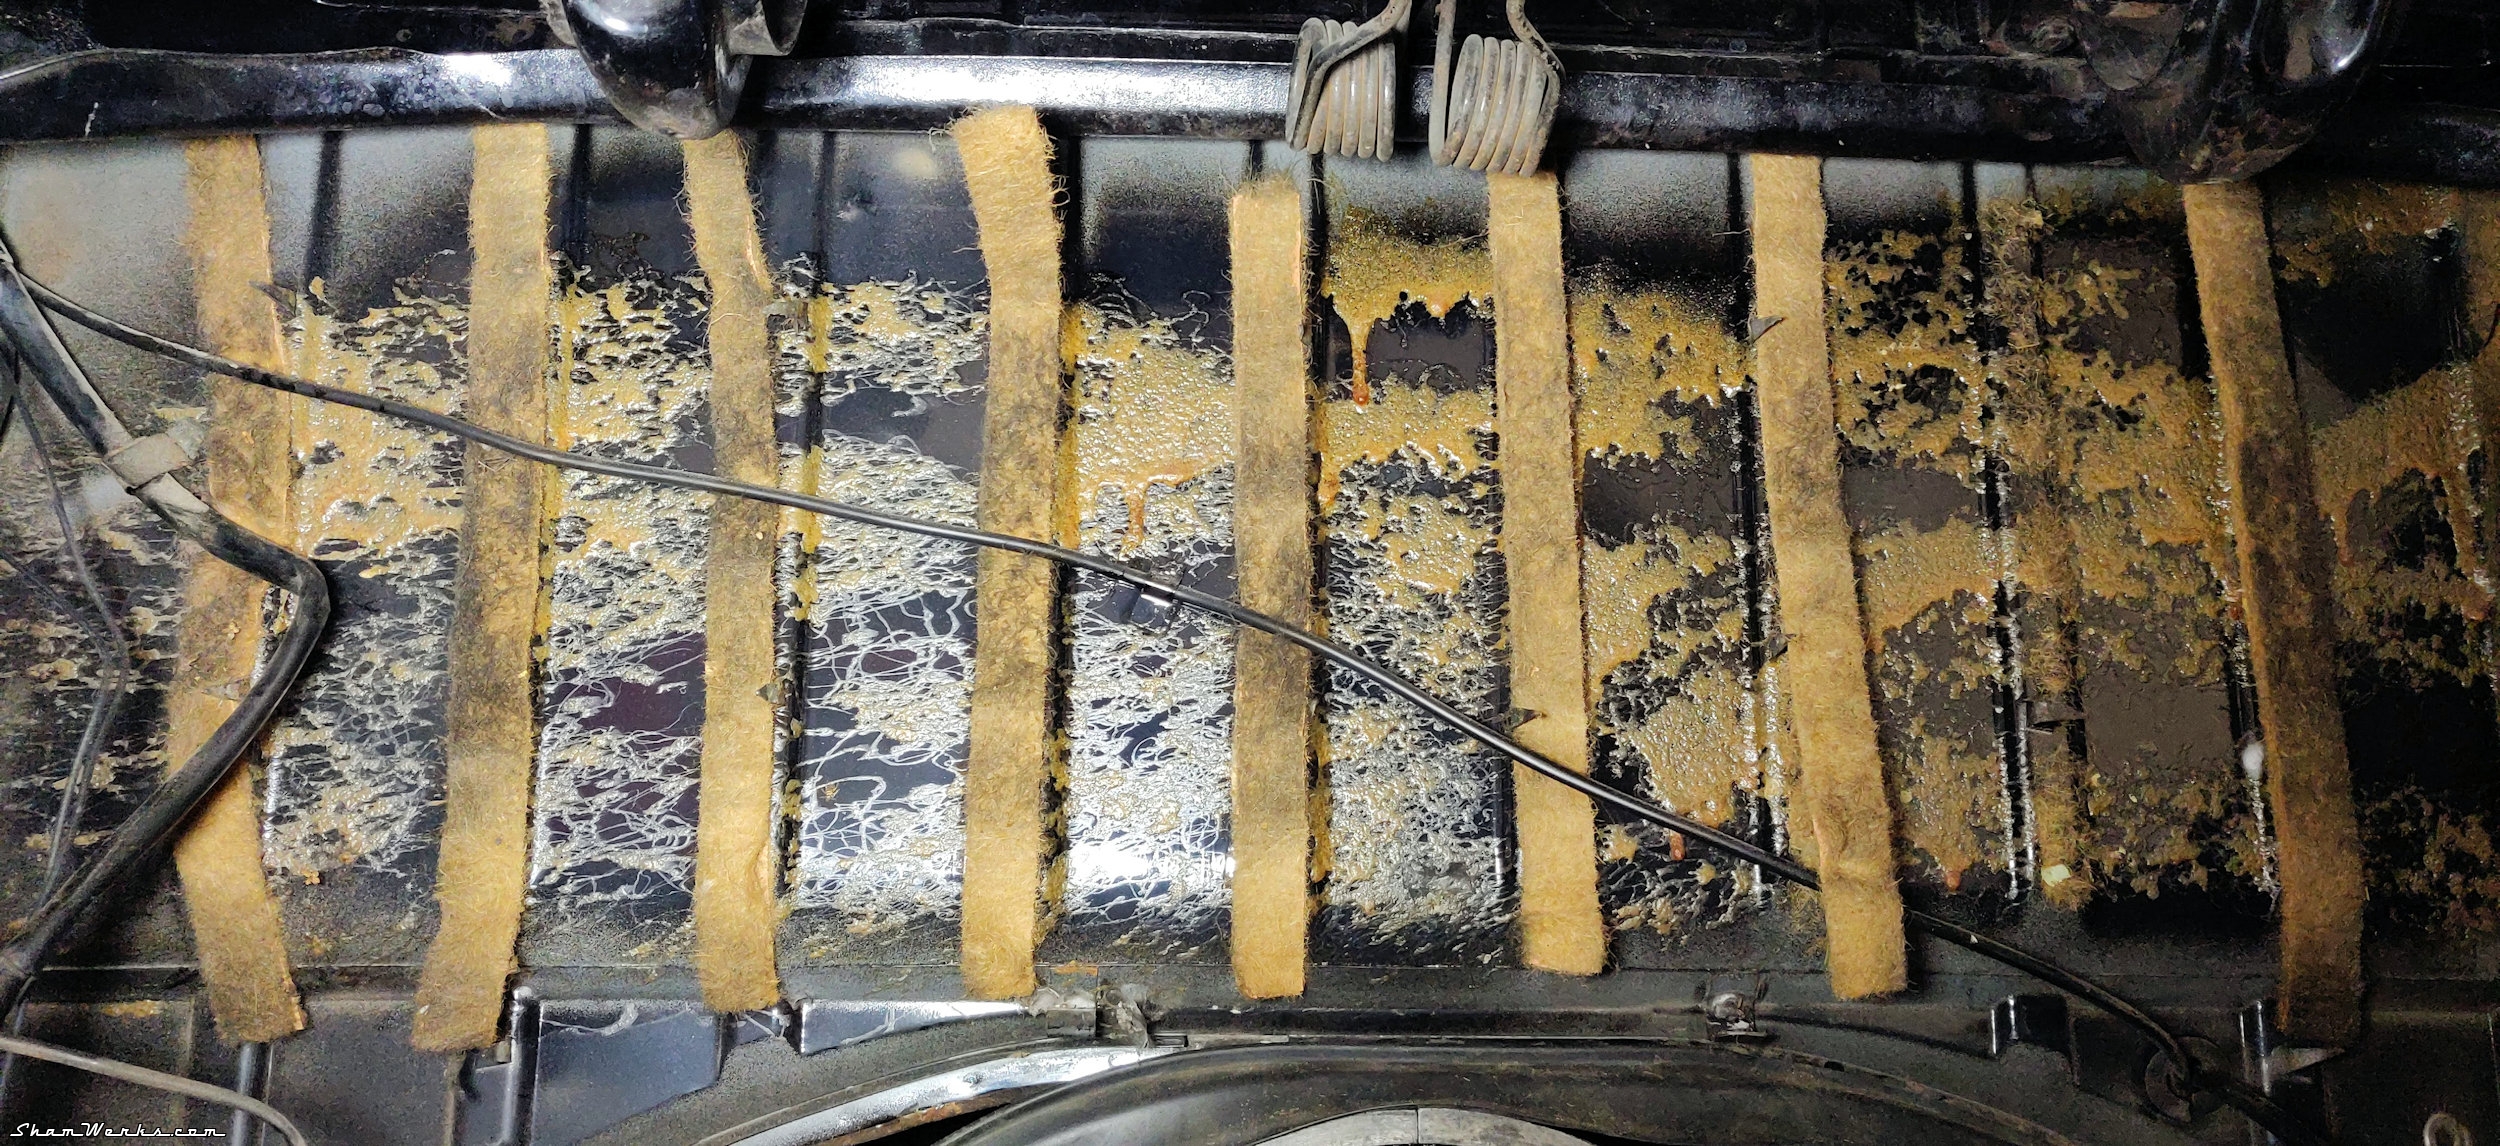
As it was inconceivable to put back my beautiful engine in a dirty engine bay, I decided to get rid of the original sound deadening cardboard, as it was pretty banged up - and I much prefer that look, even if it means a louder engine. I also get rid of the little cushions hidden in each side of the body top, as they tend to promote rust.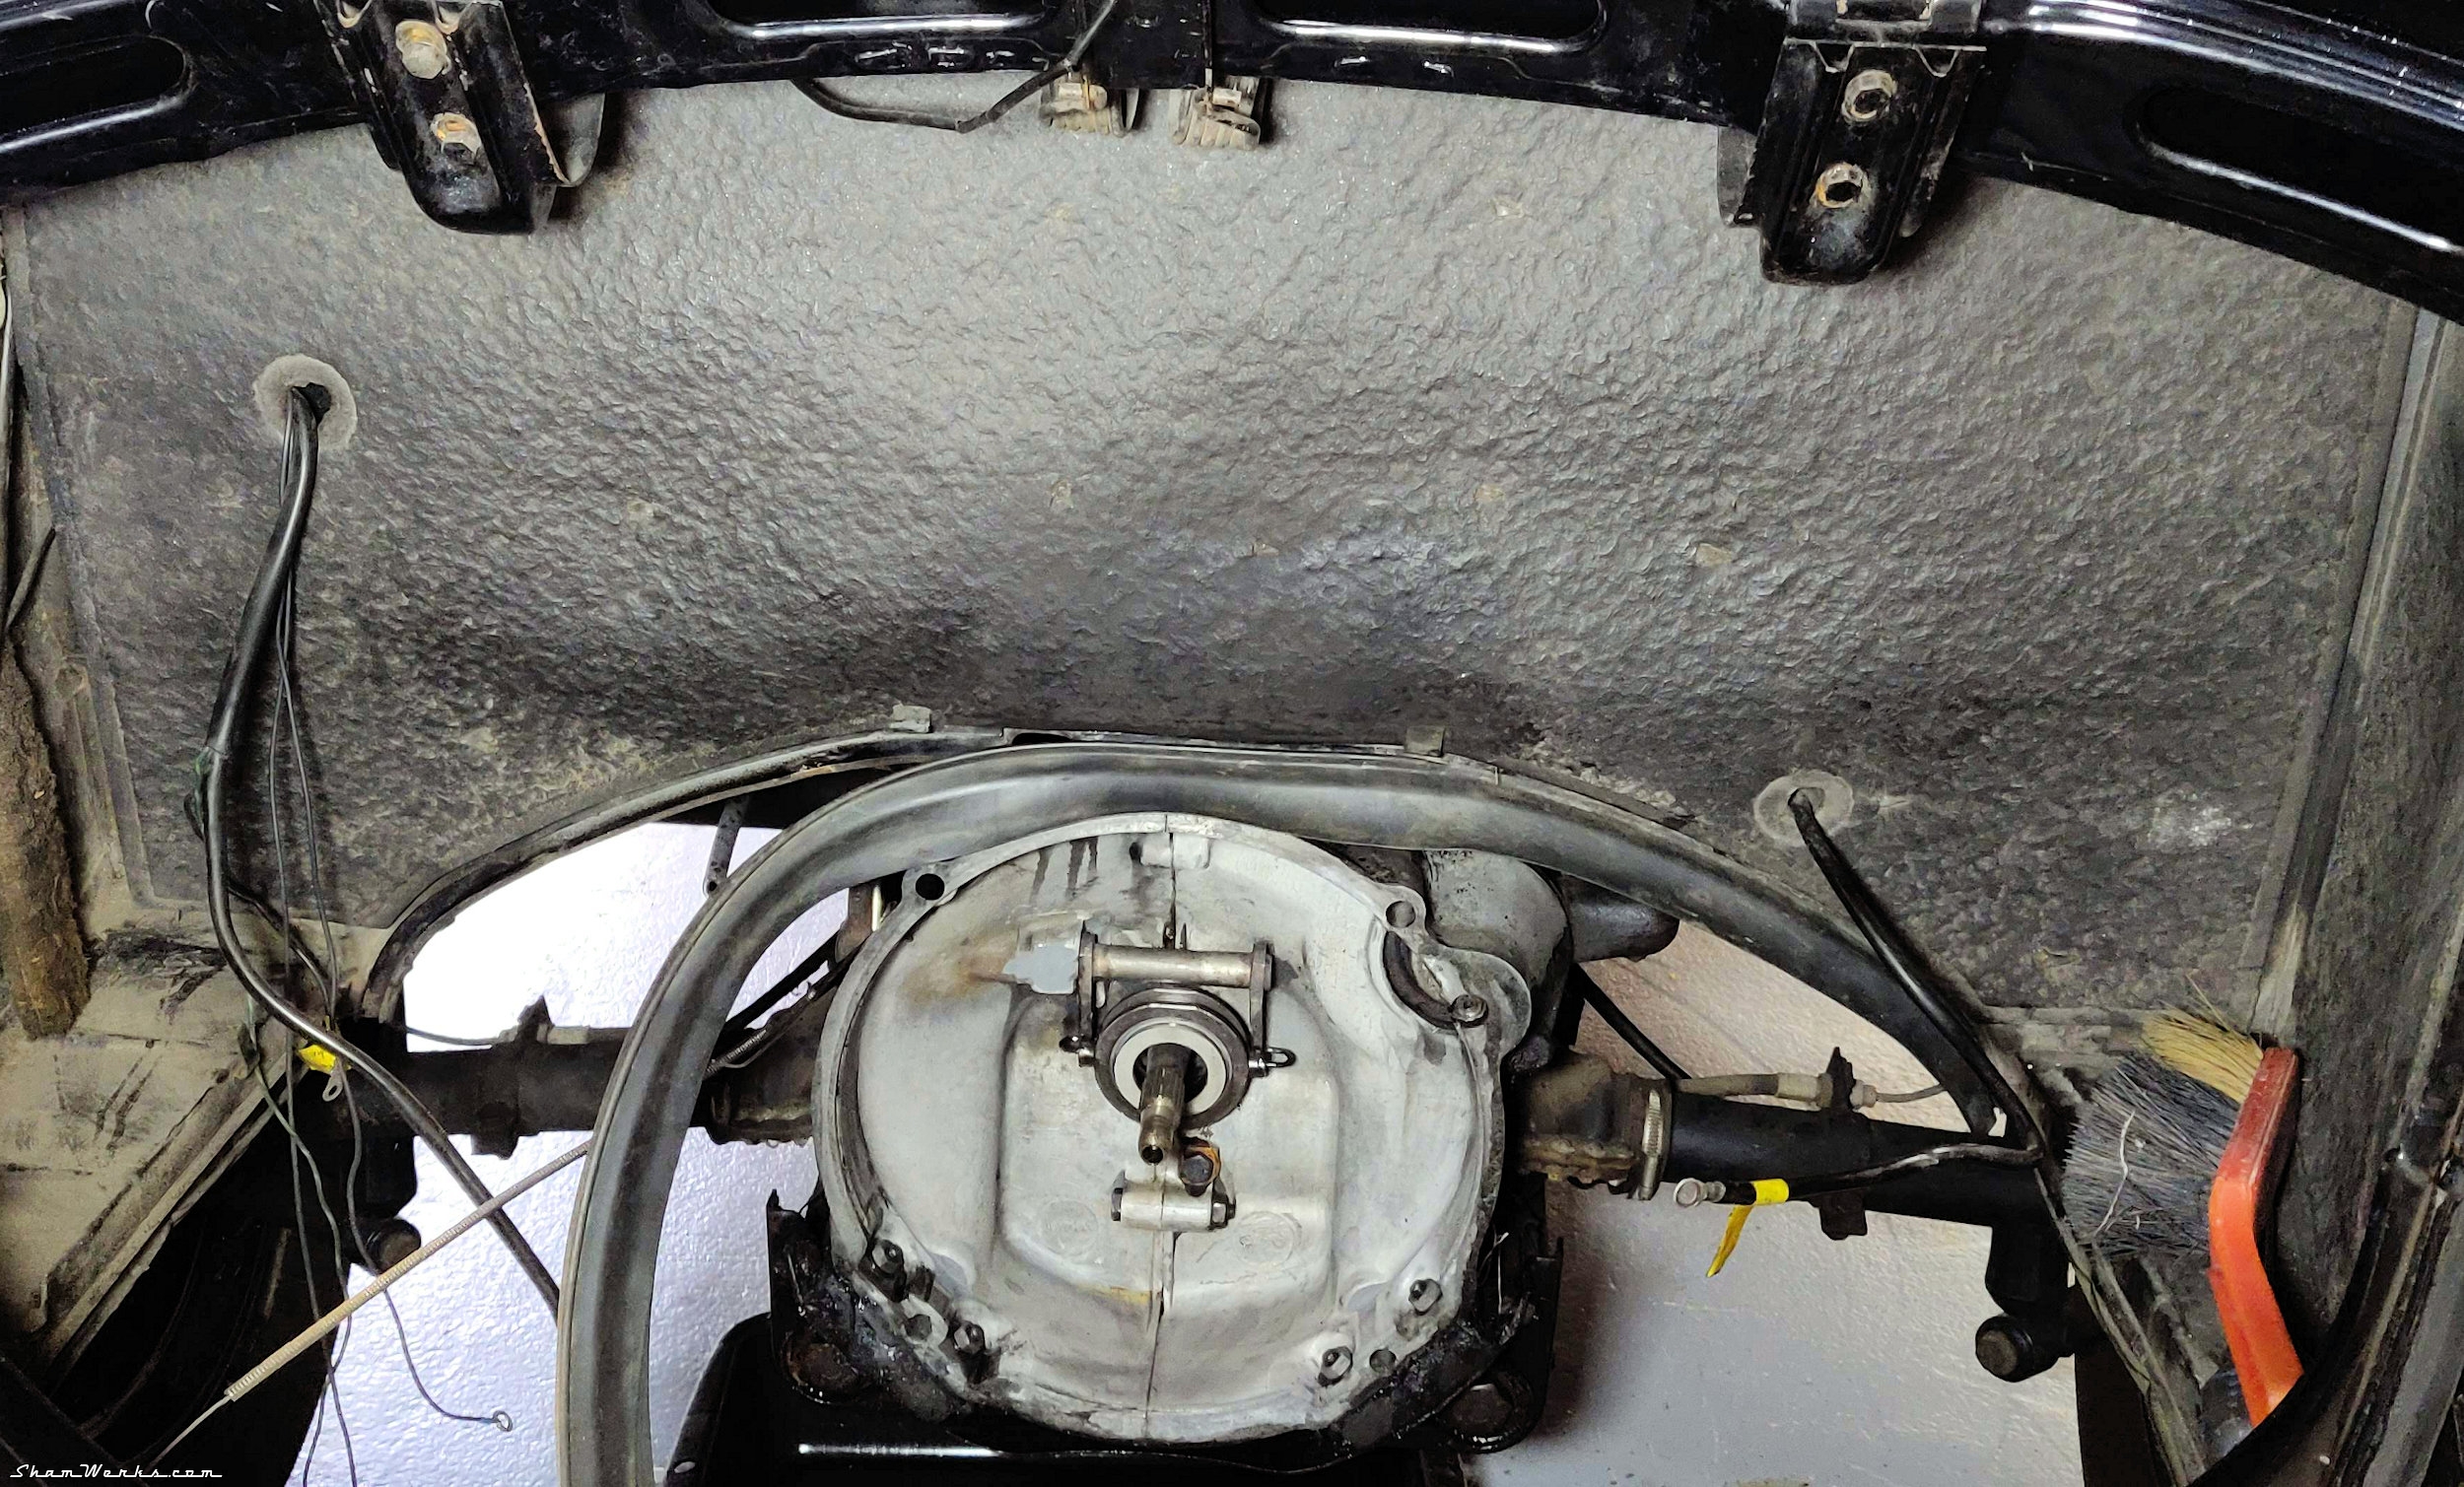


Pre-install preparation
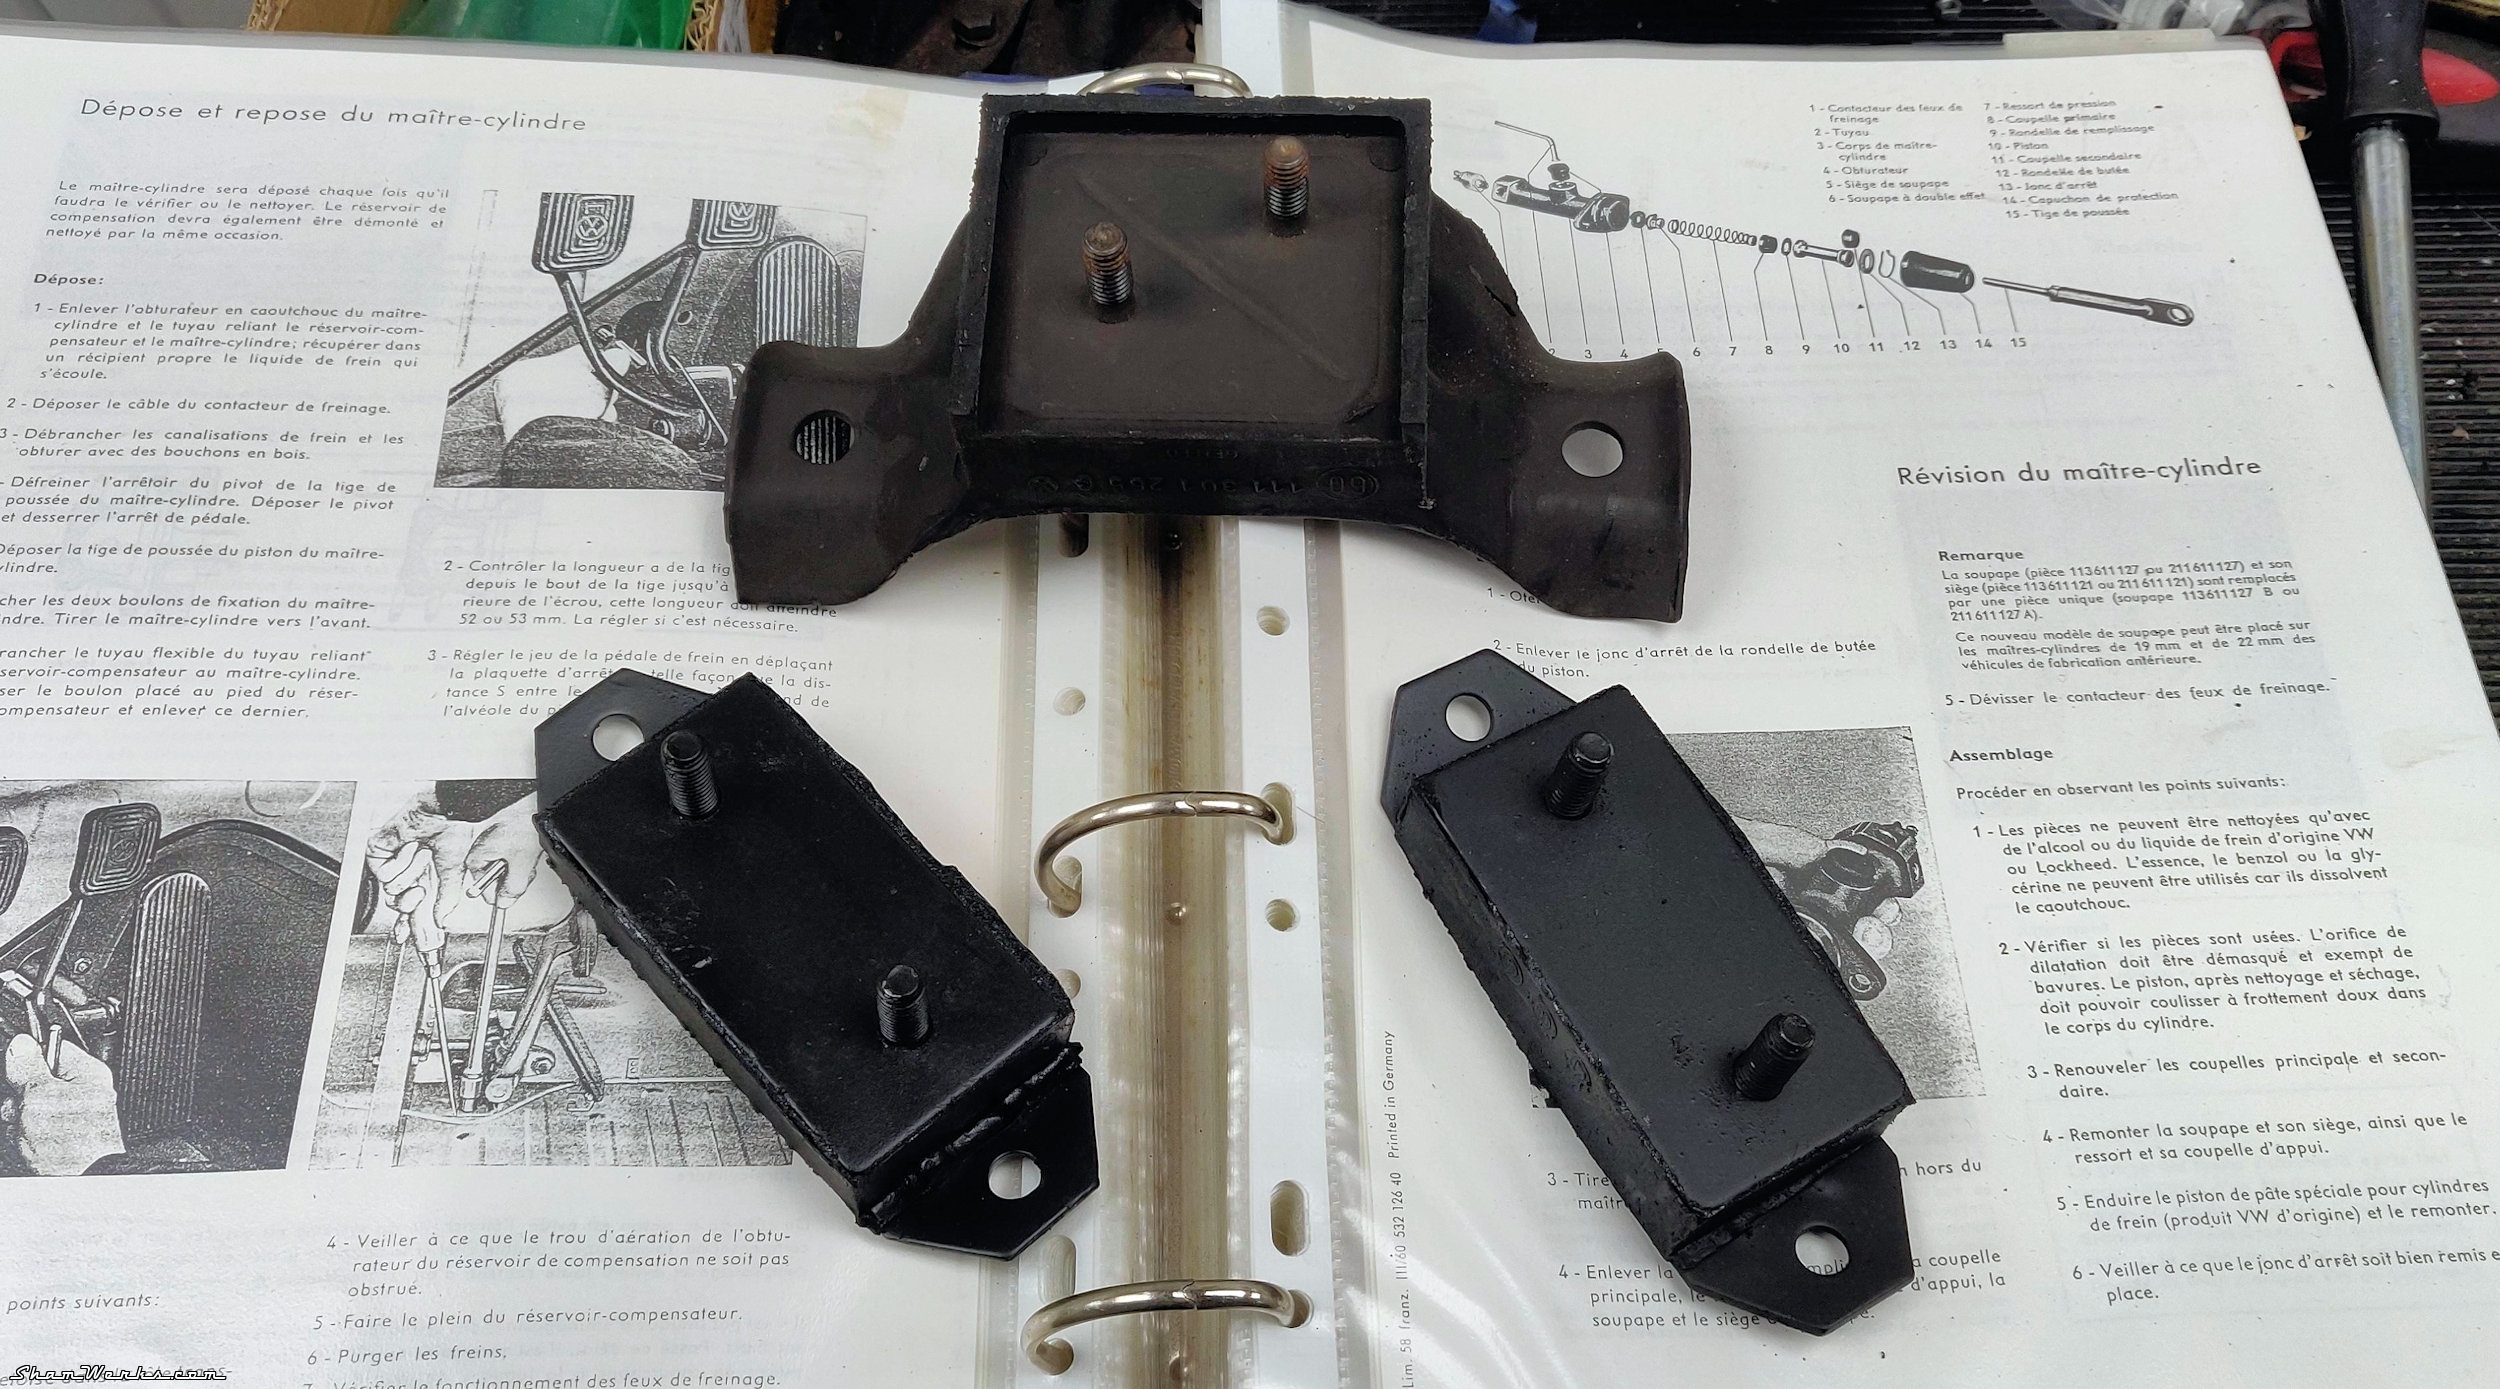
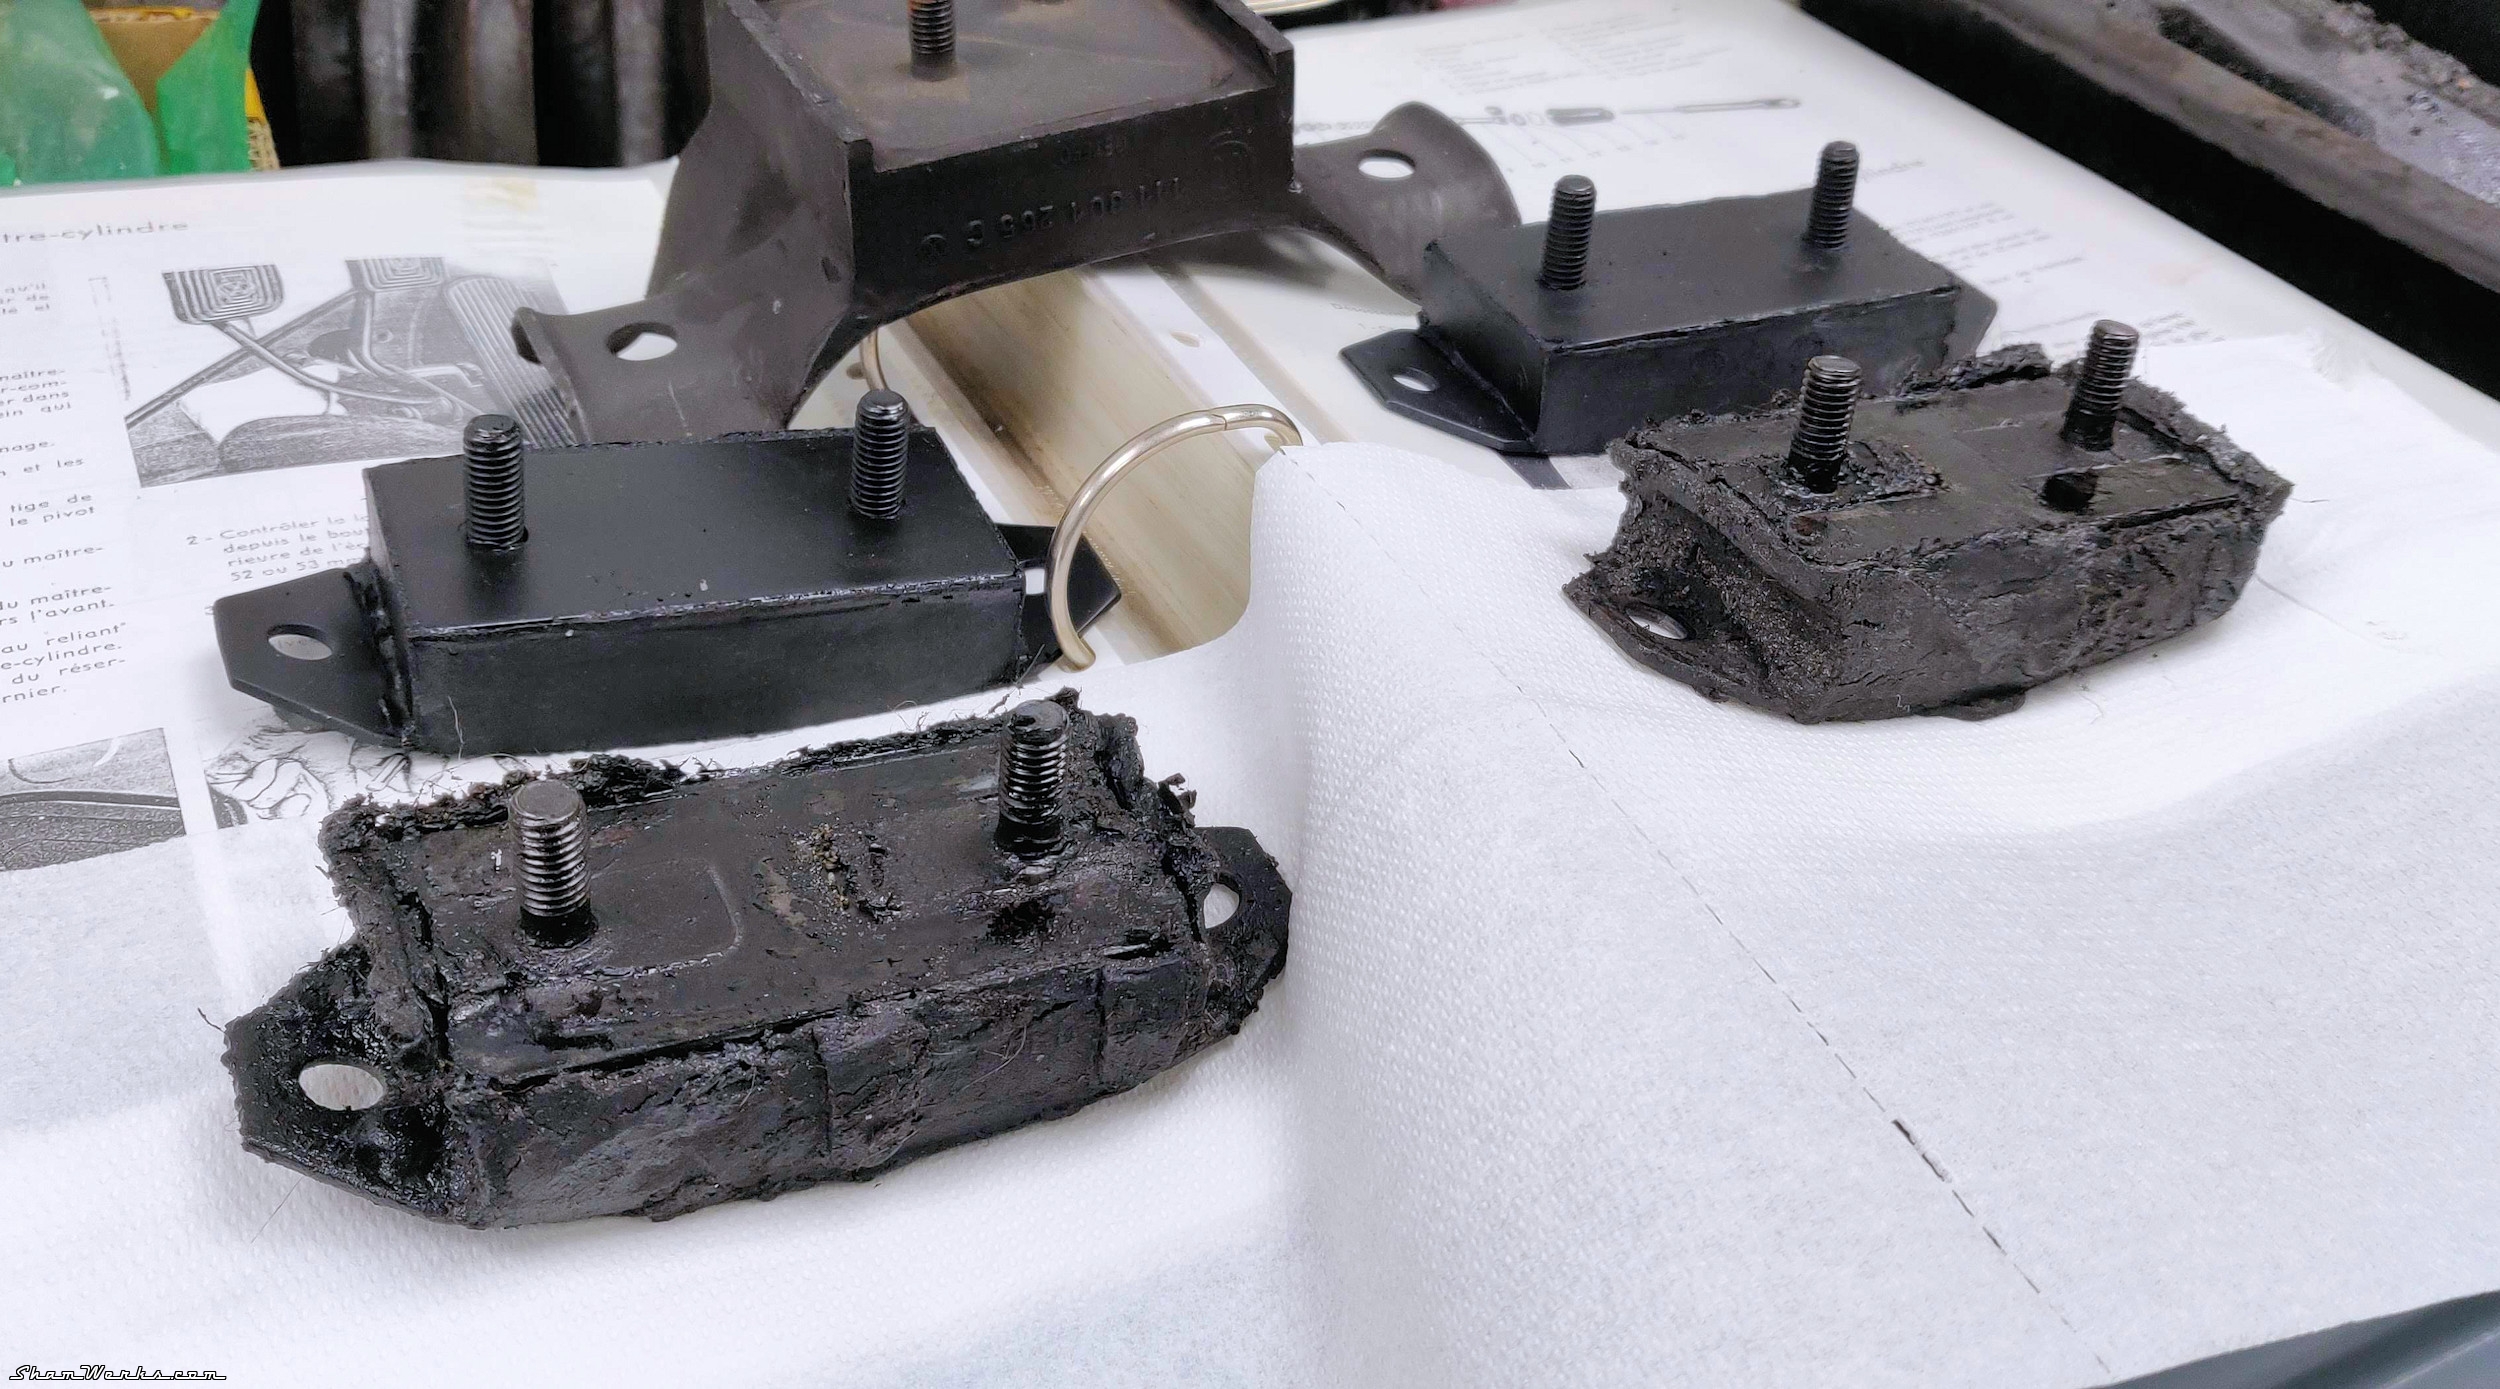
Since the engine was out, I took the opportunity to replace the gearbox stands, including the nose one, a specific model for year 1960 (VW reference 111301265C).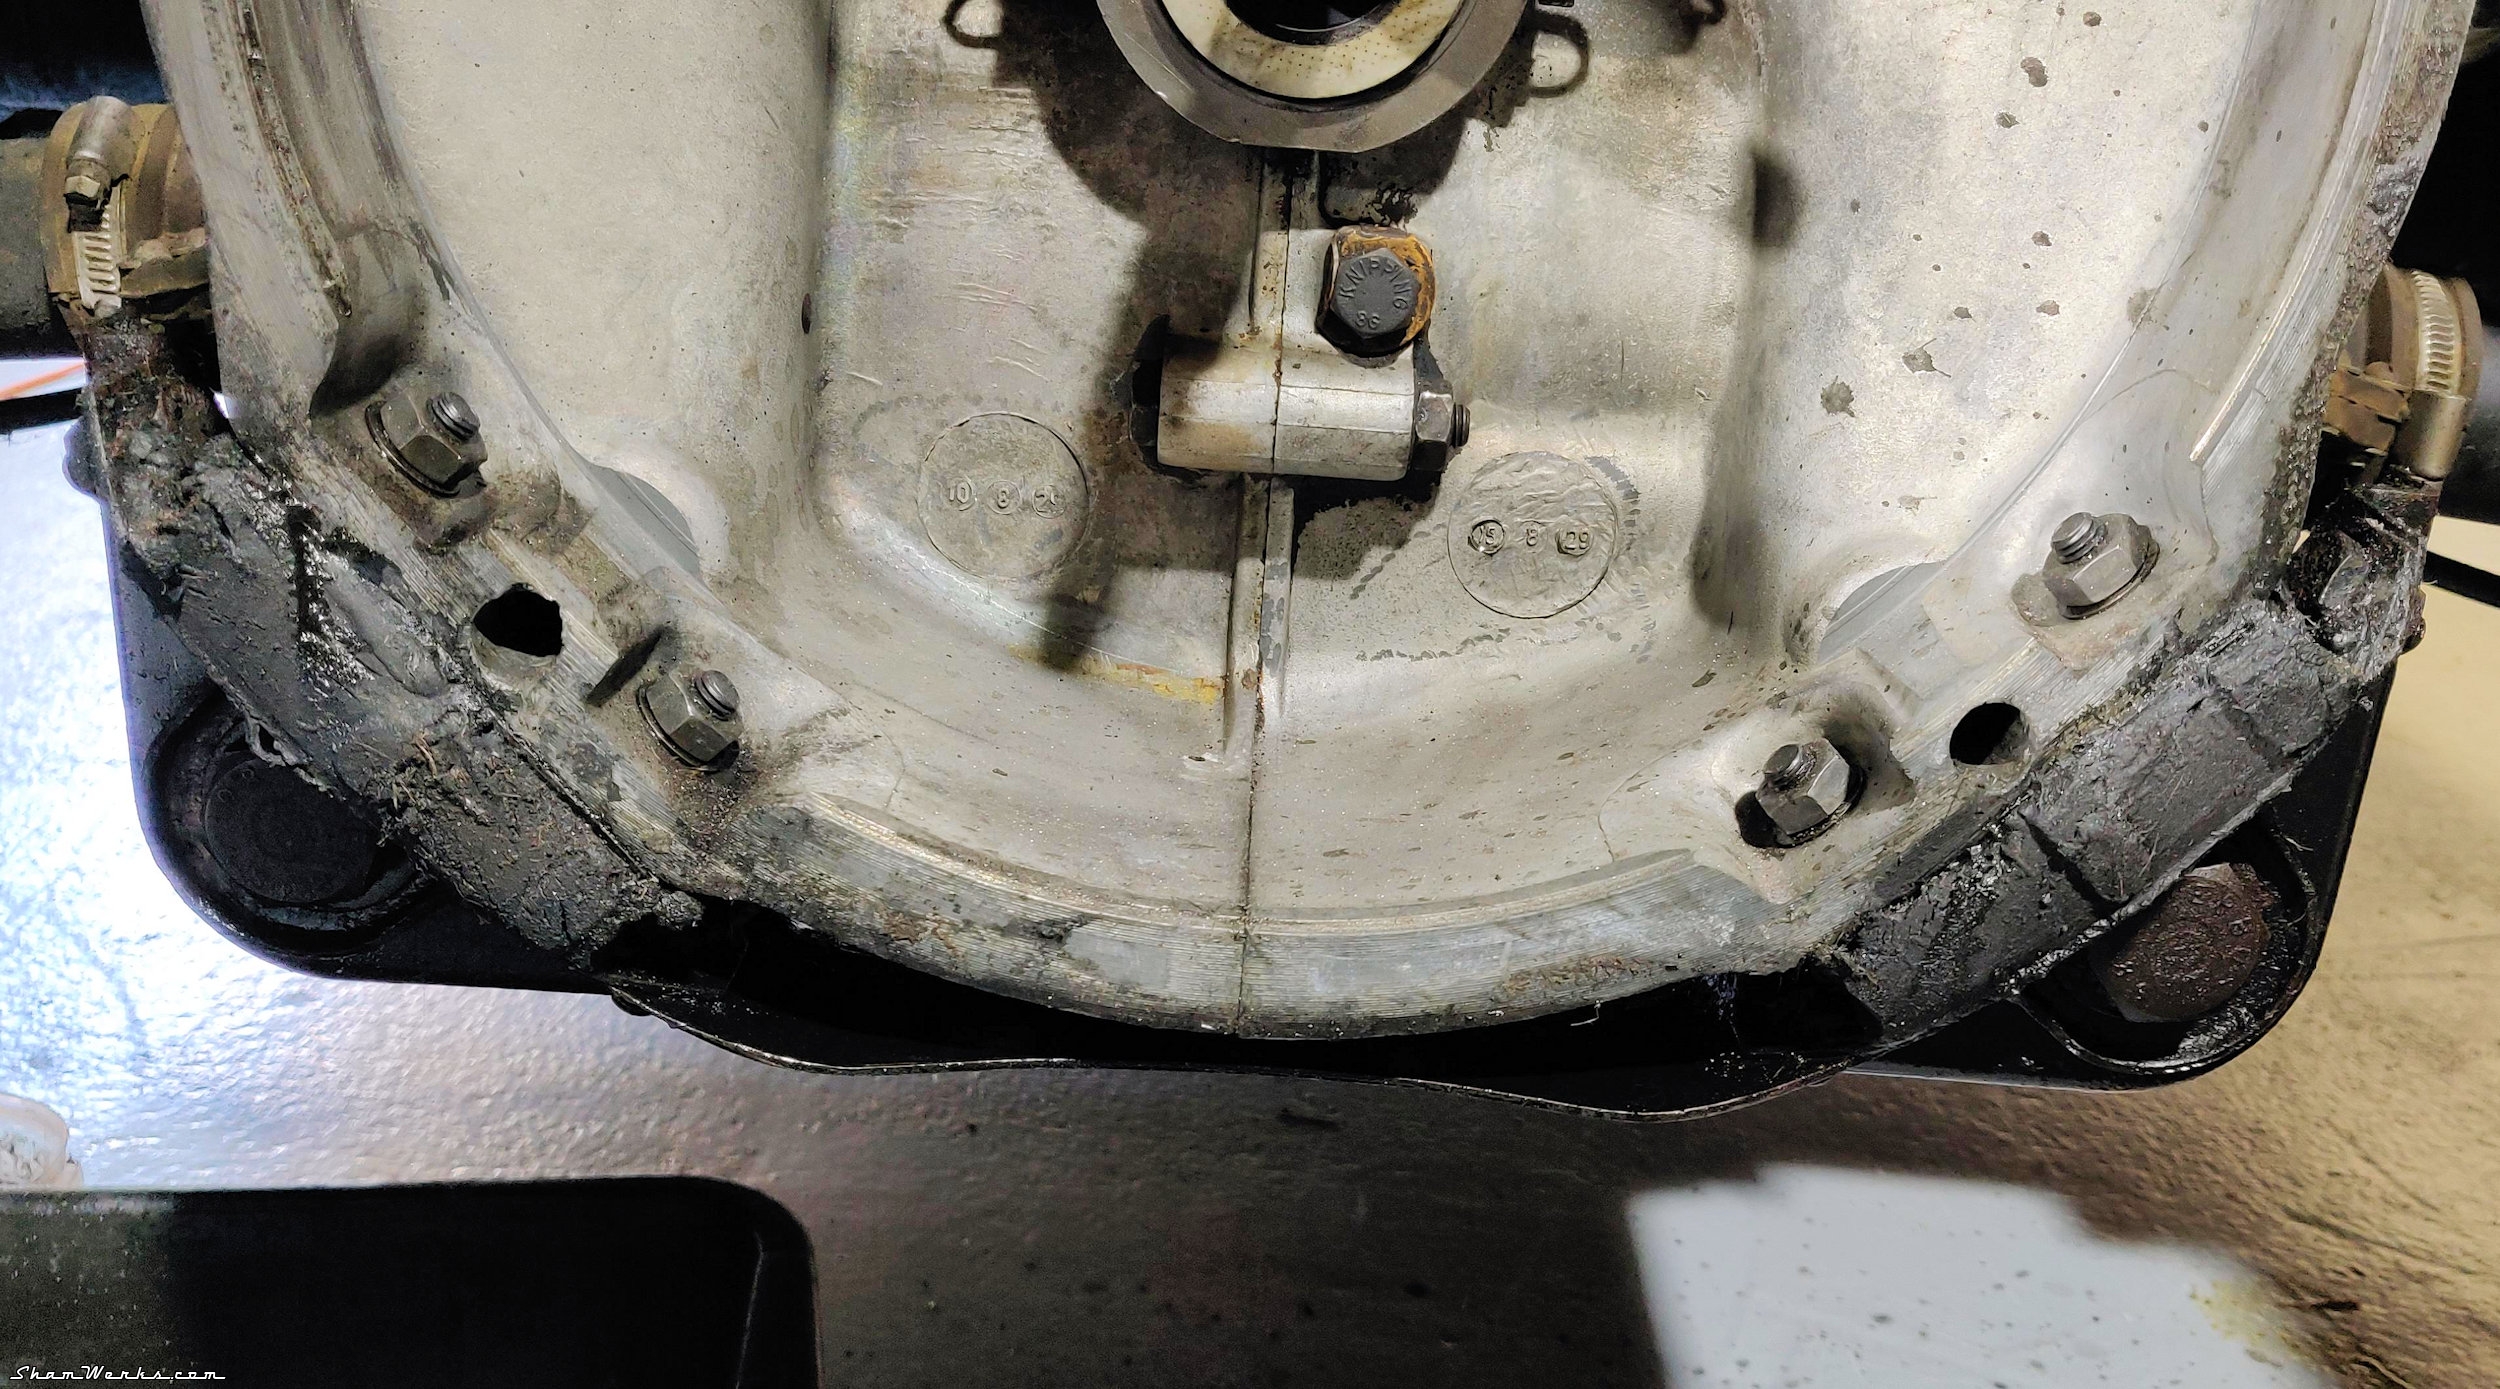
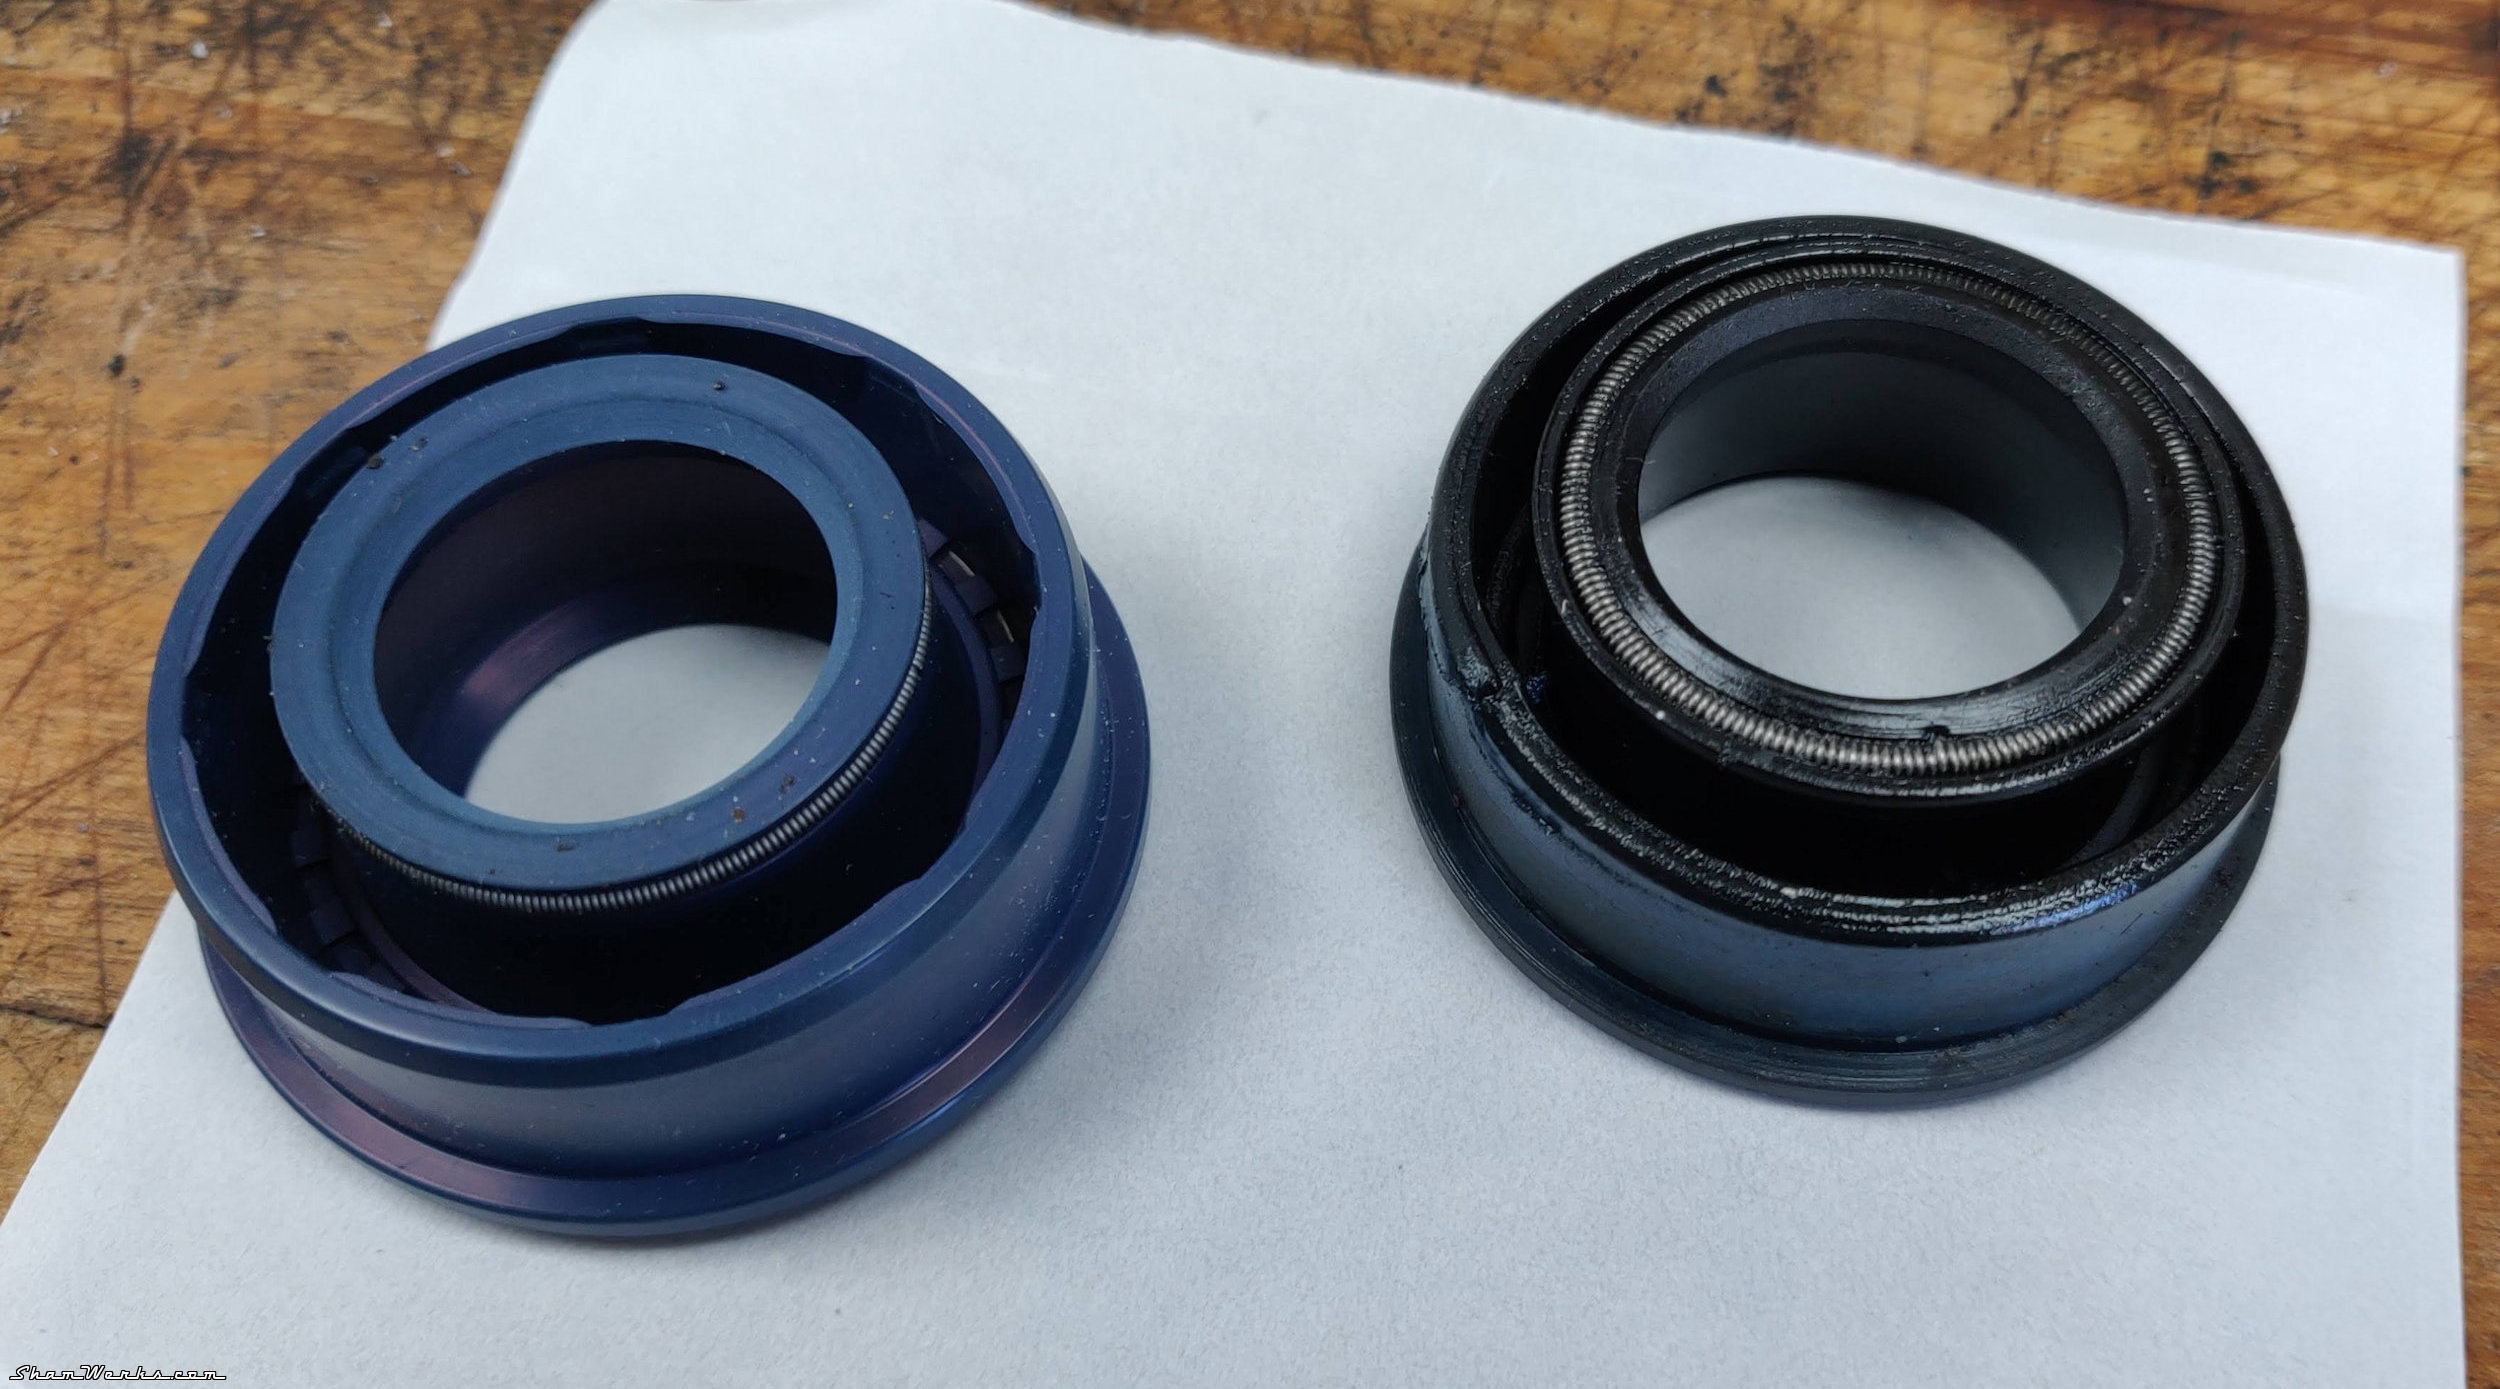
Gotta be cautious when installing it, as because of the lack of shoulder to stop the seal, it's rather easy to tap it a bit too much and have it go too far into the gear case. It's then pretty difficult to get it out without damaging it - don't ask me how I know that. 😉)...
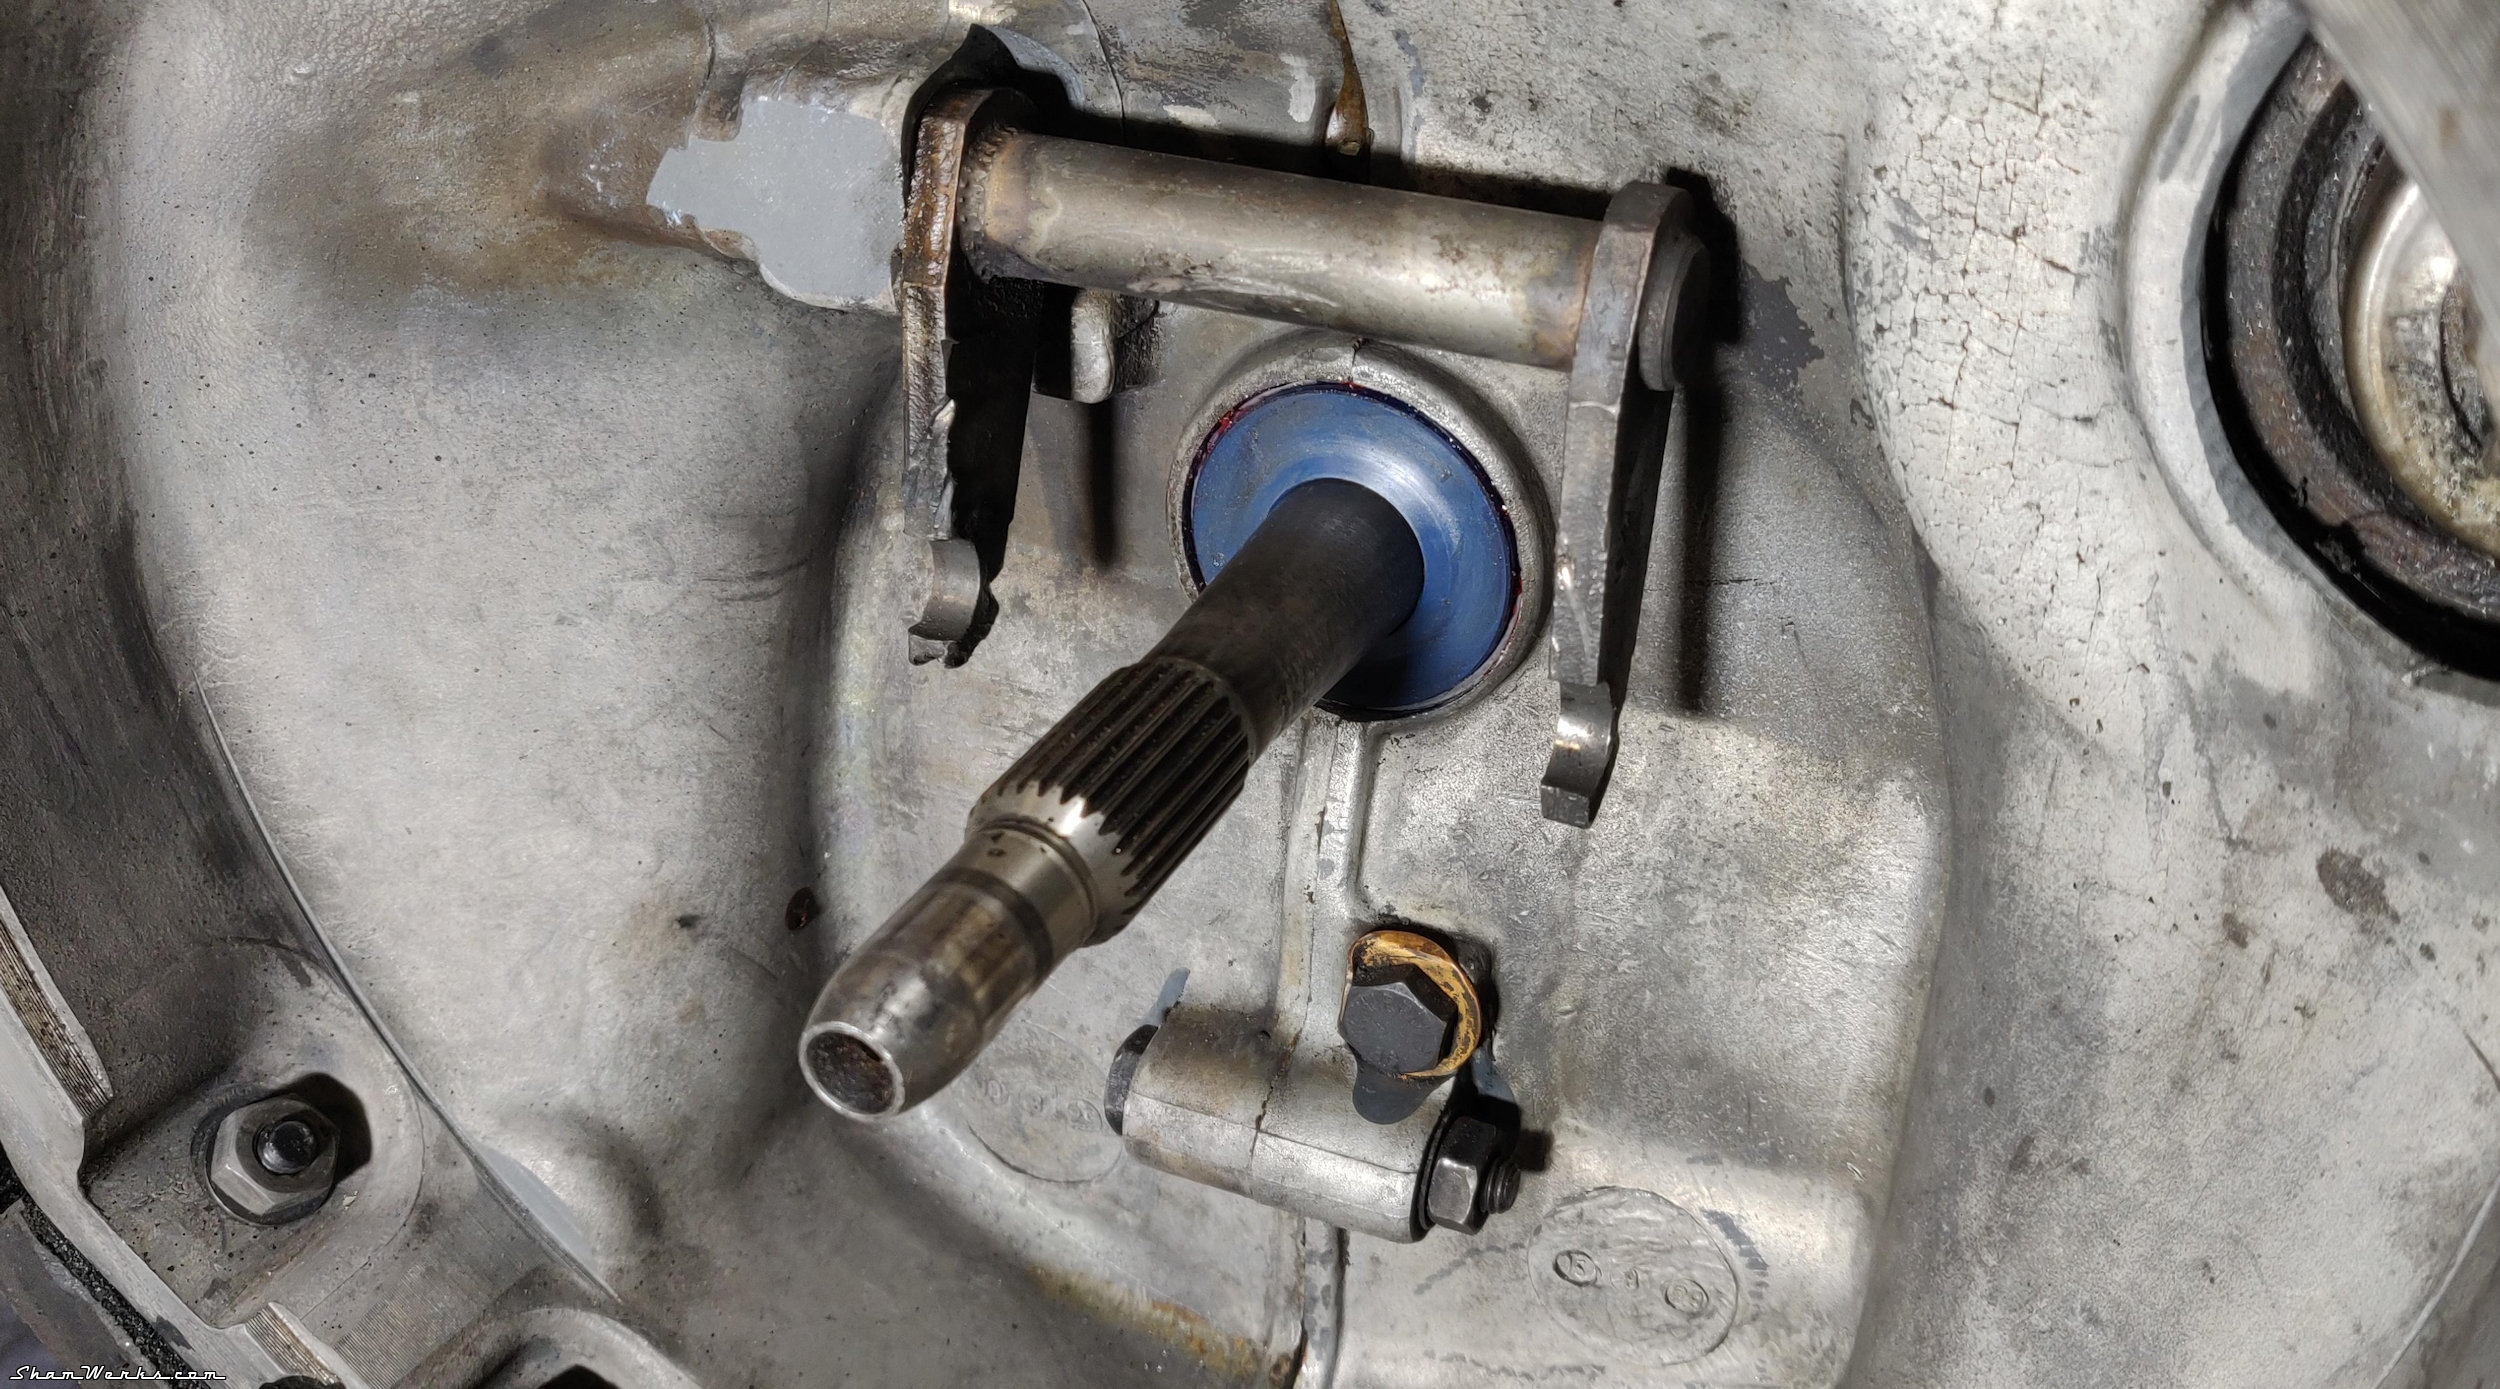
The clutch lever spring on the gearbox was broken (no idea why/how, it broke on its own), so I replaced it too. Warning, it's specific to split cases too, VW reference 111141723A.
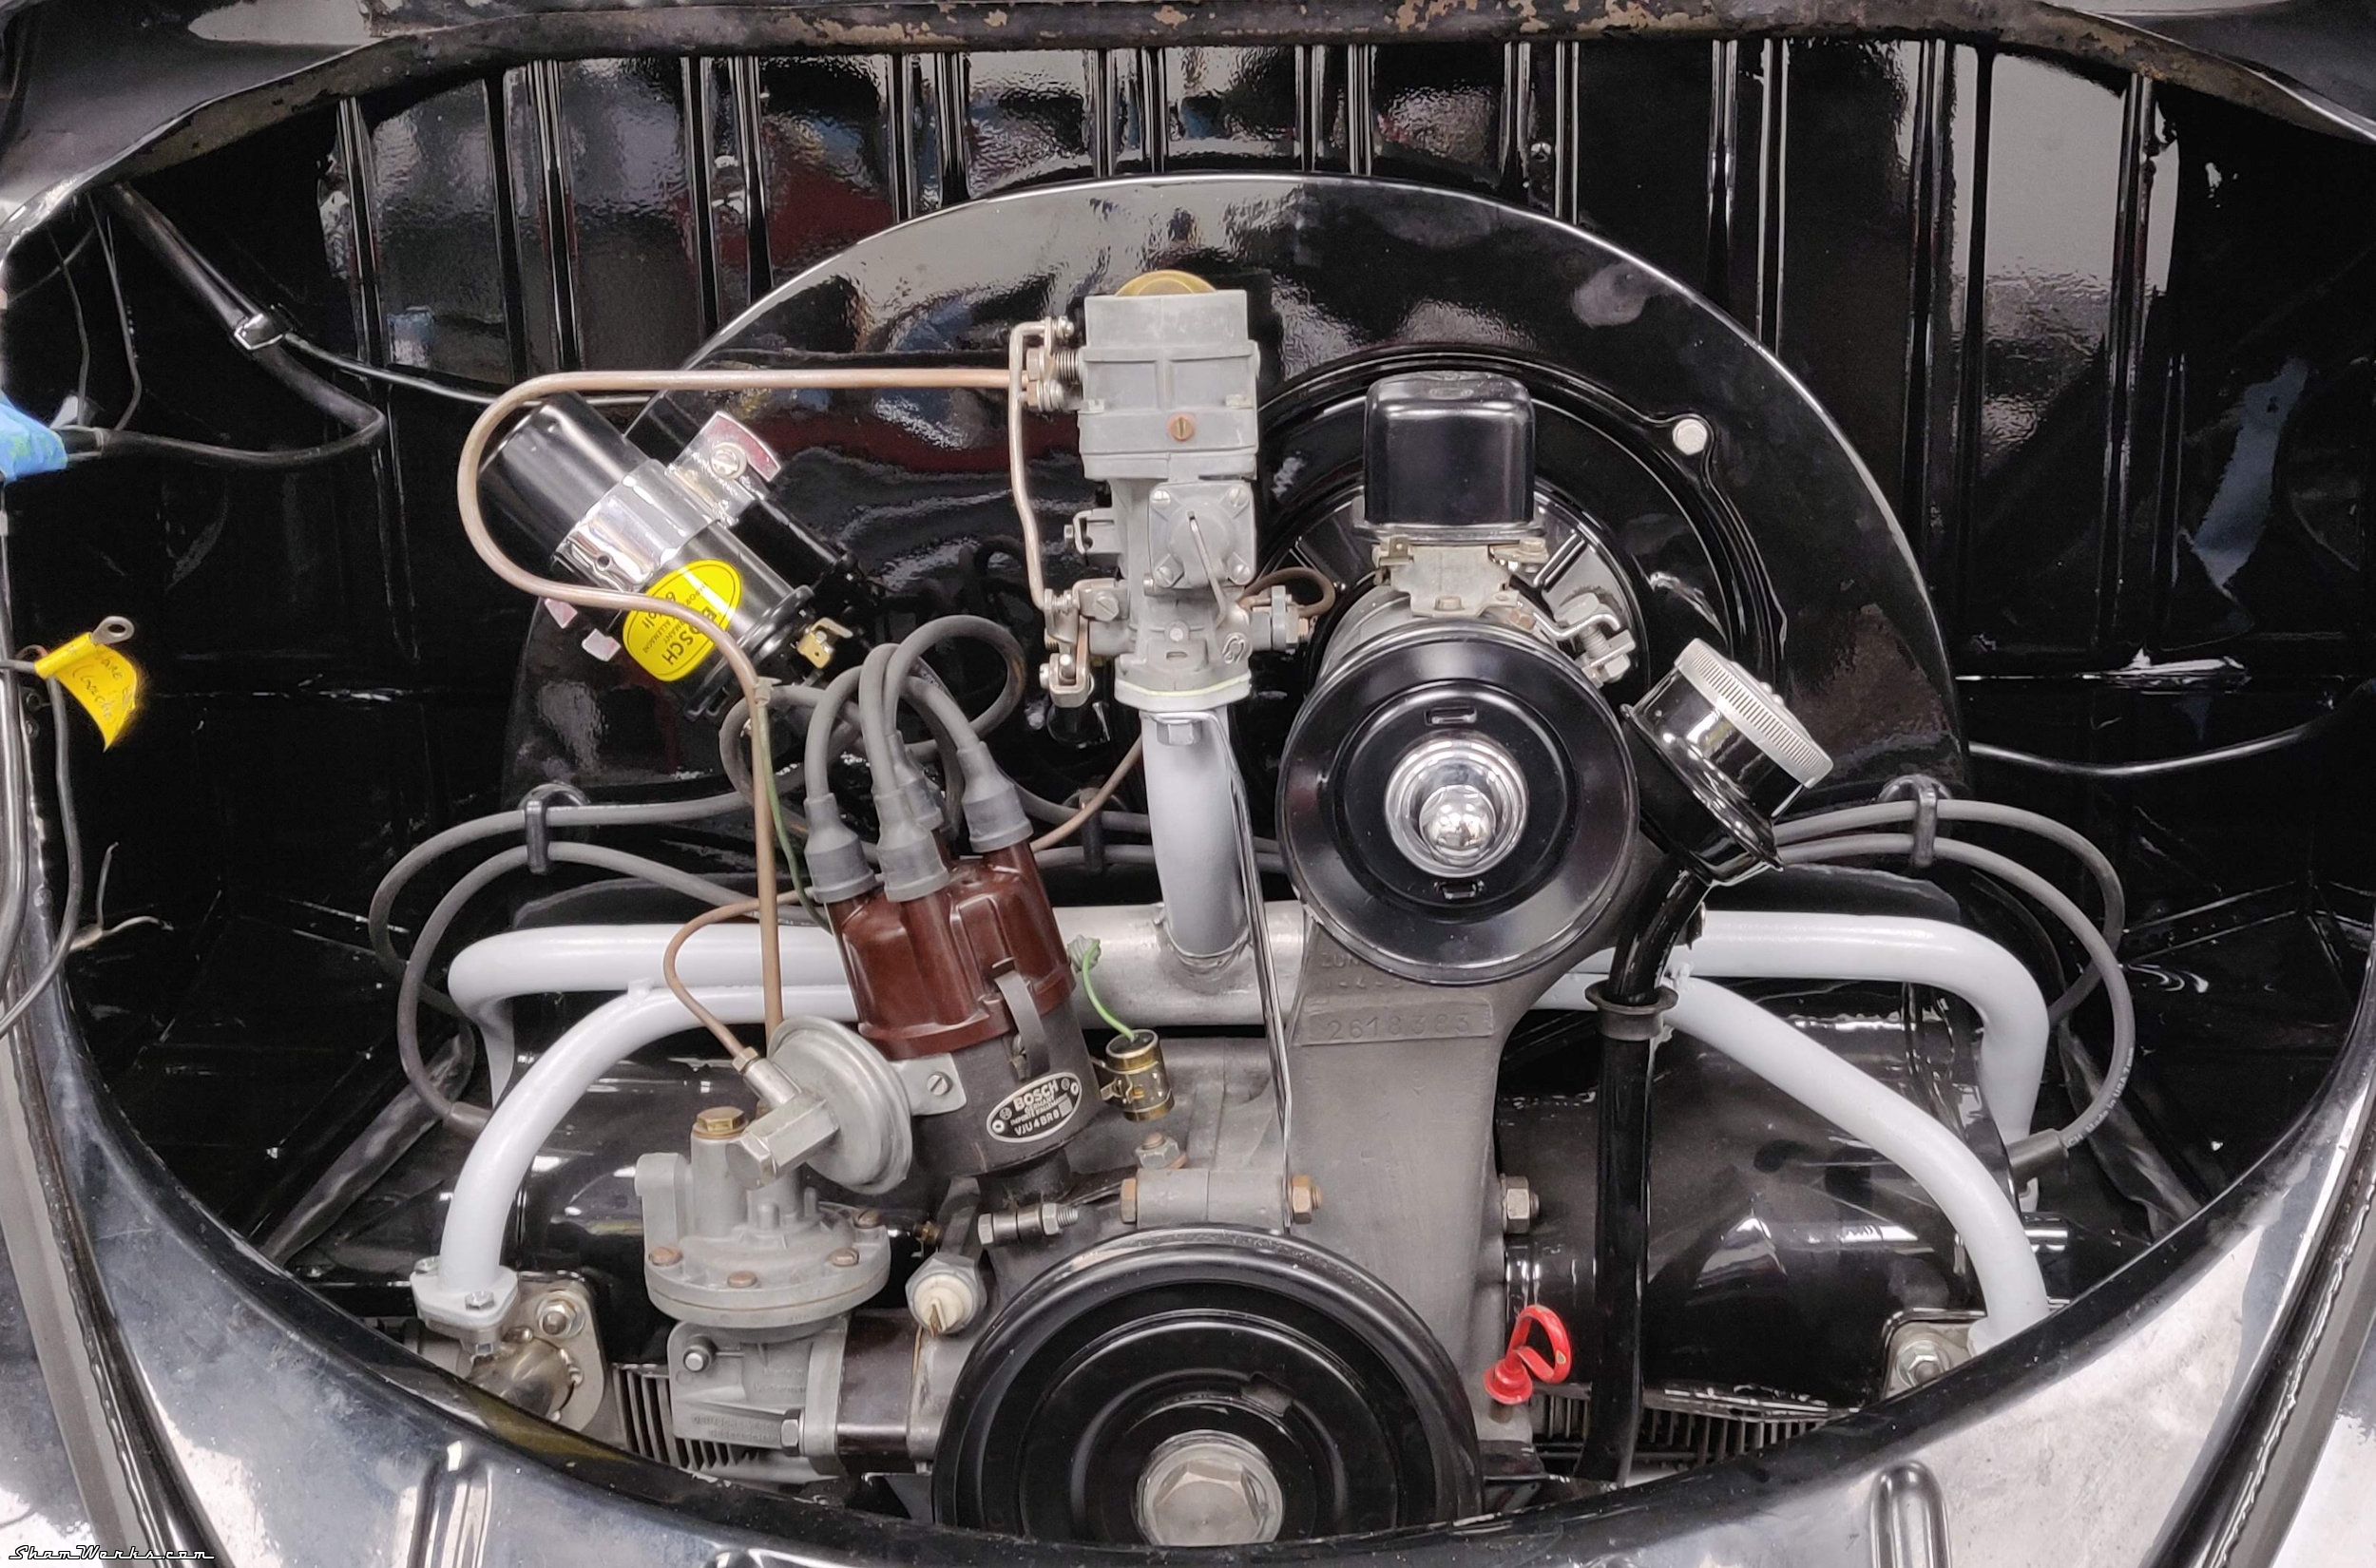
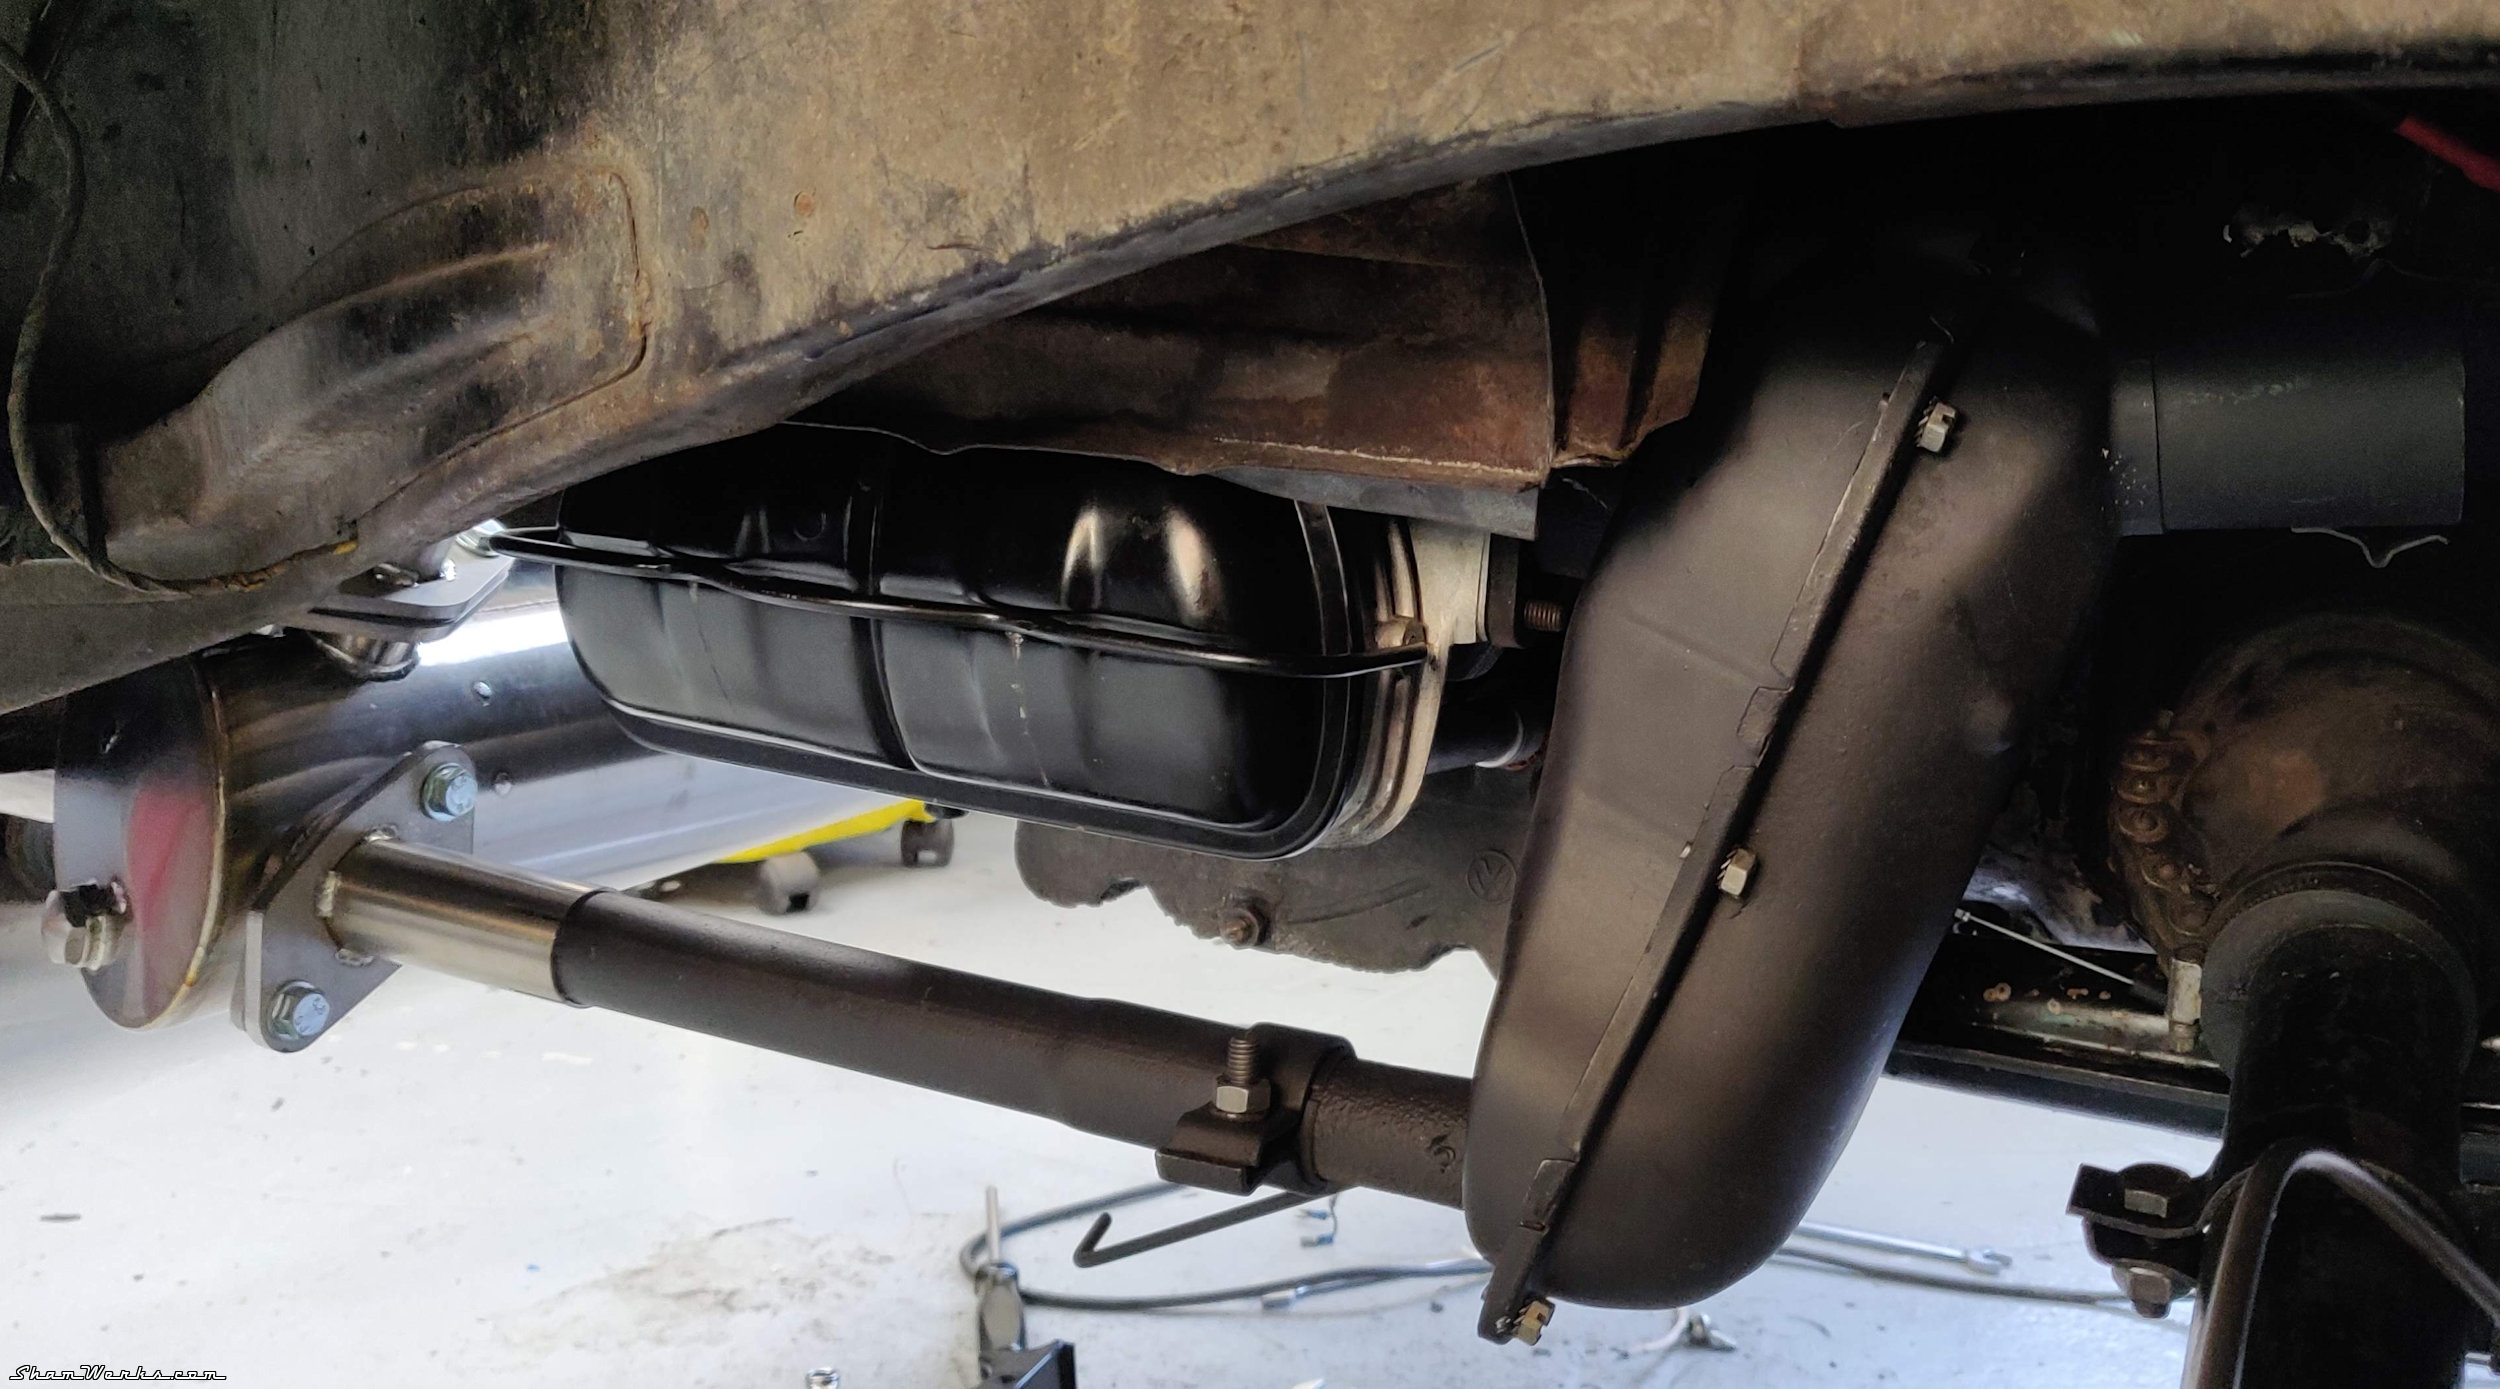
I've replaced all the fuel lines, the fuel filter (installed under the tank), and the fuel tap under the tank that always leaked a bit since I had this car. I'm a bit paranoid about fire, I'll probably install a Blazecut too in the near future...
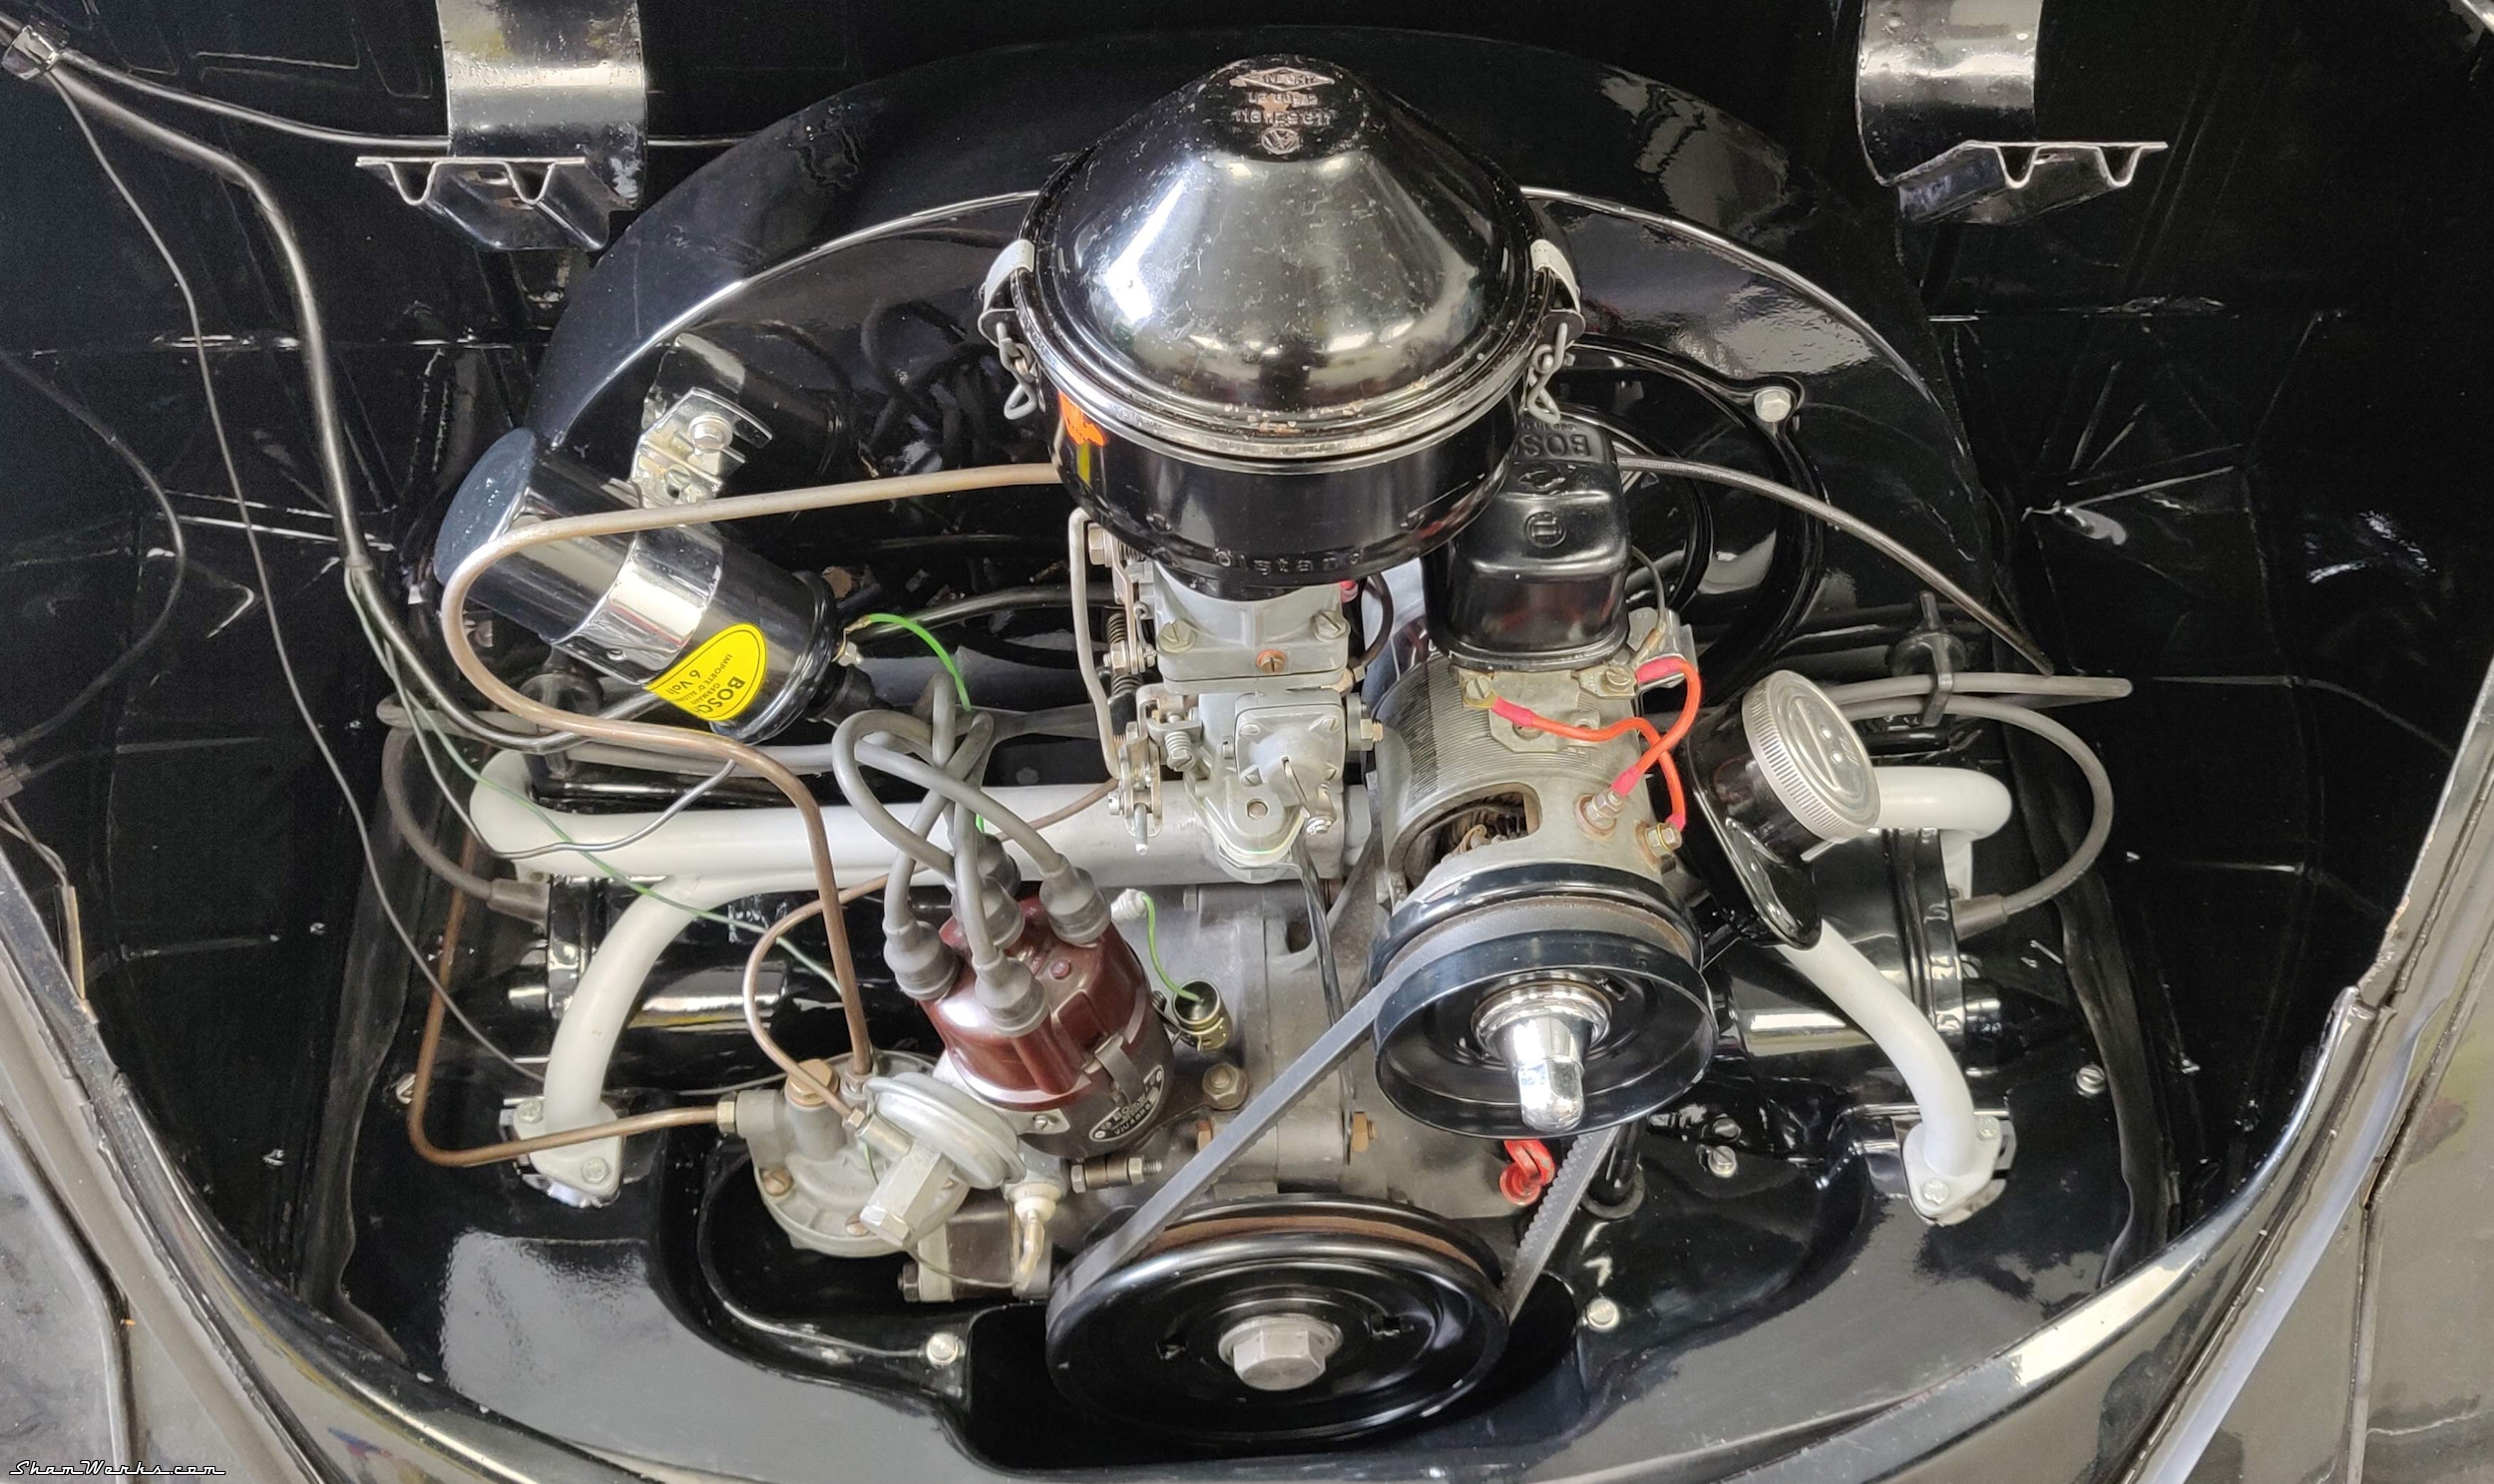
I replaced the spark cables with new Bosch ones, while installing the little rubber cable supports specific to 59-61 models (VW reference 113905451), with a dab of vaseline so they mount easier on the fan shroud. I keep the original distributor, I'll replace it at some point with a 010...
Engine reinstall
Well... I guess time has come now, the engine is now ready to go back in its bay. Which I manage to do alone in 15mn, one of the advantages of small stock engines... 😁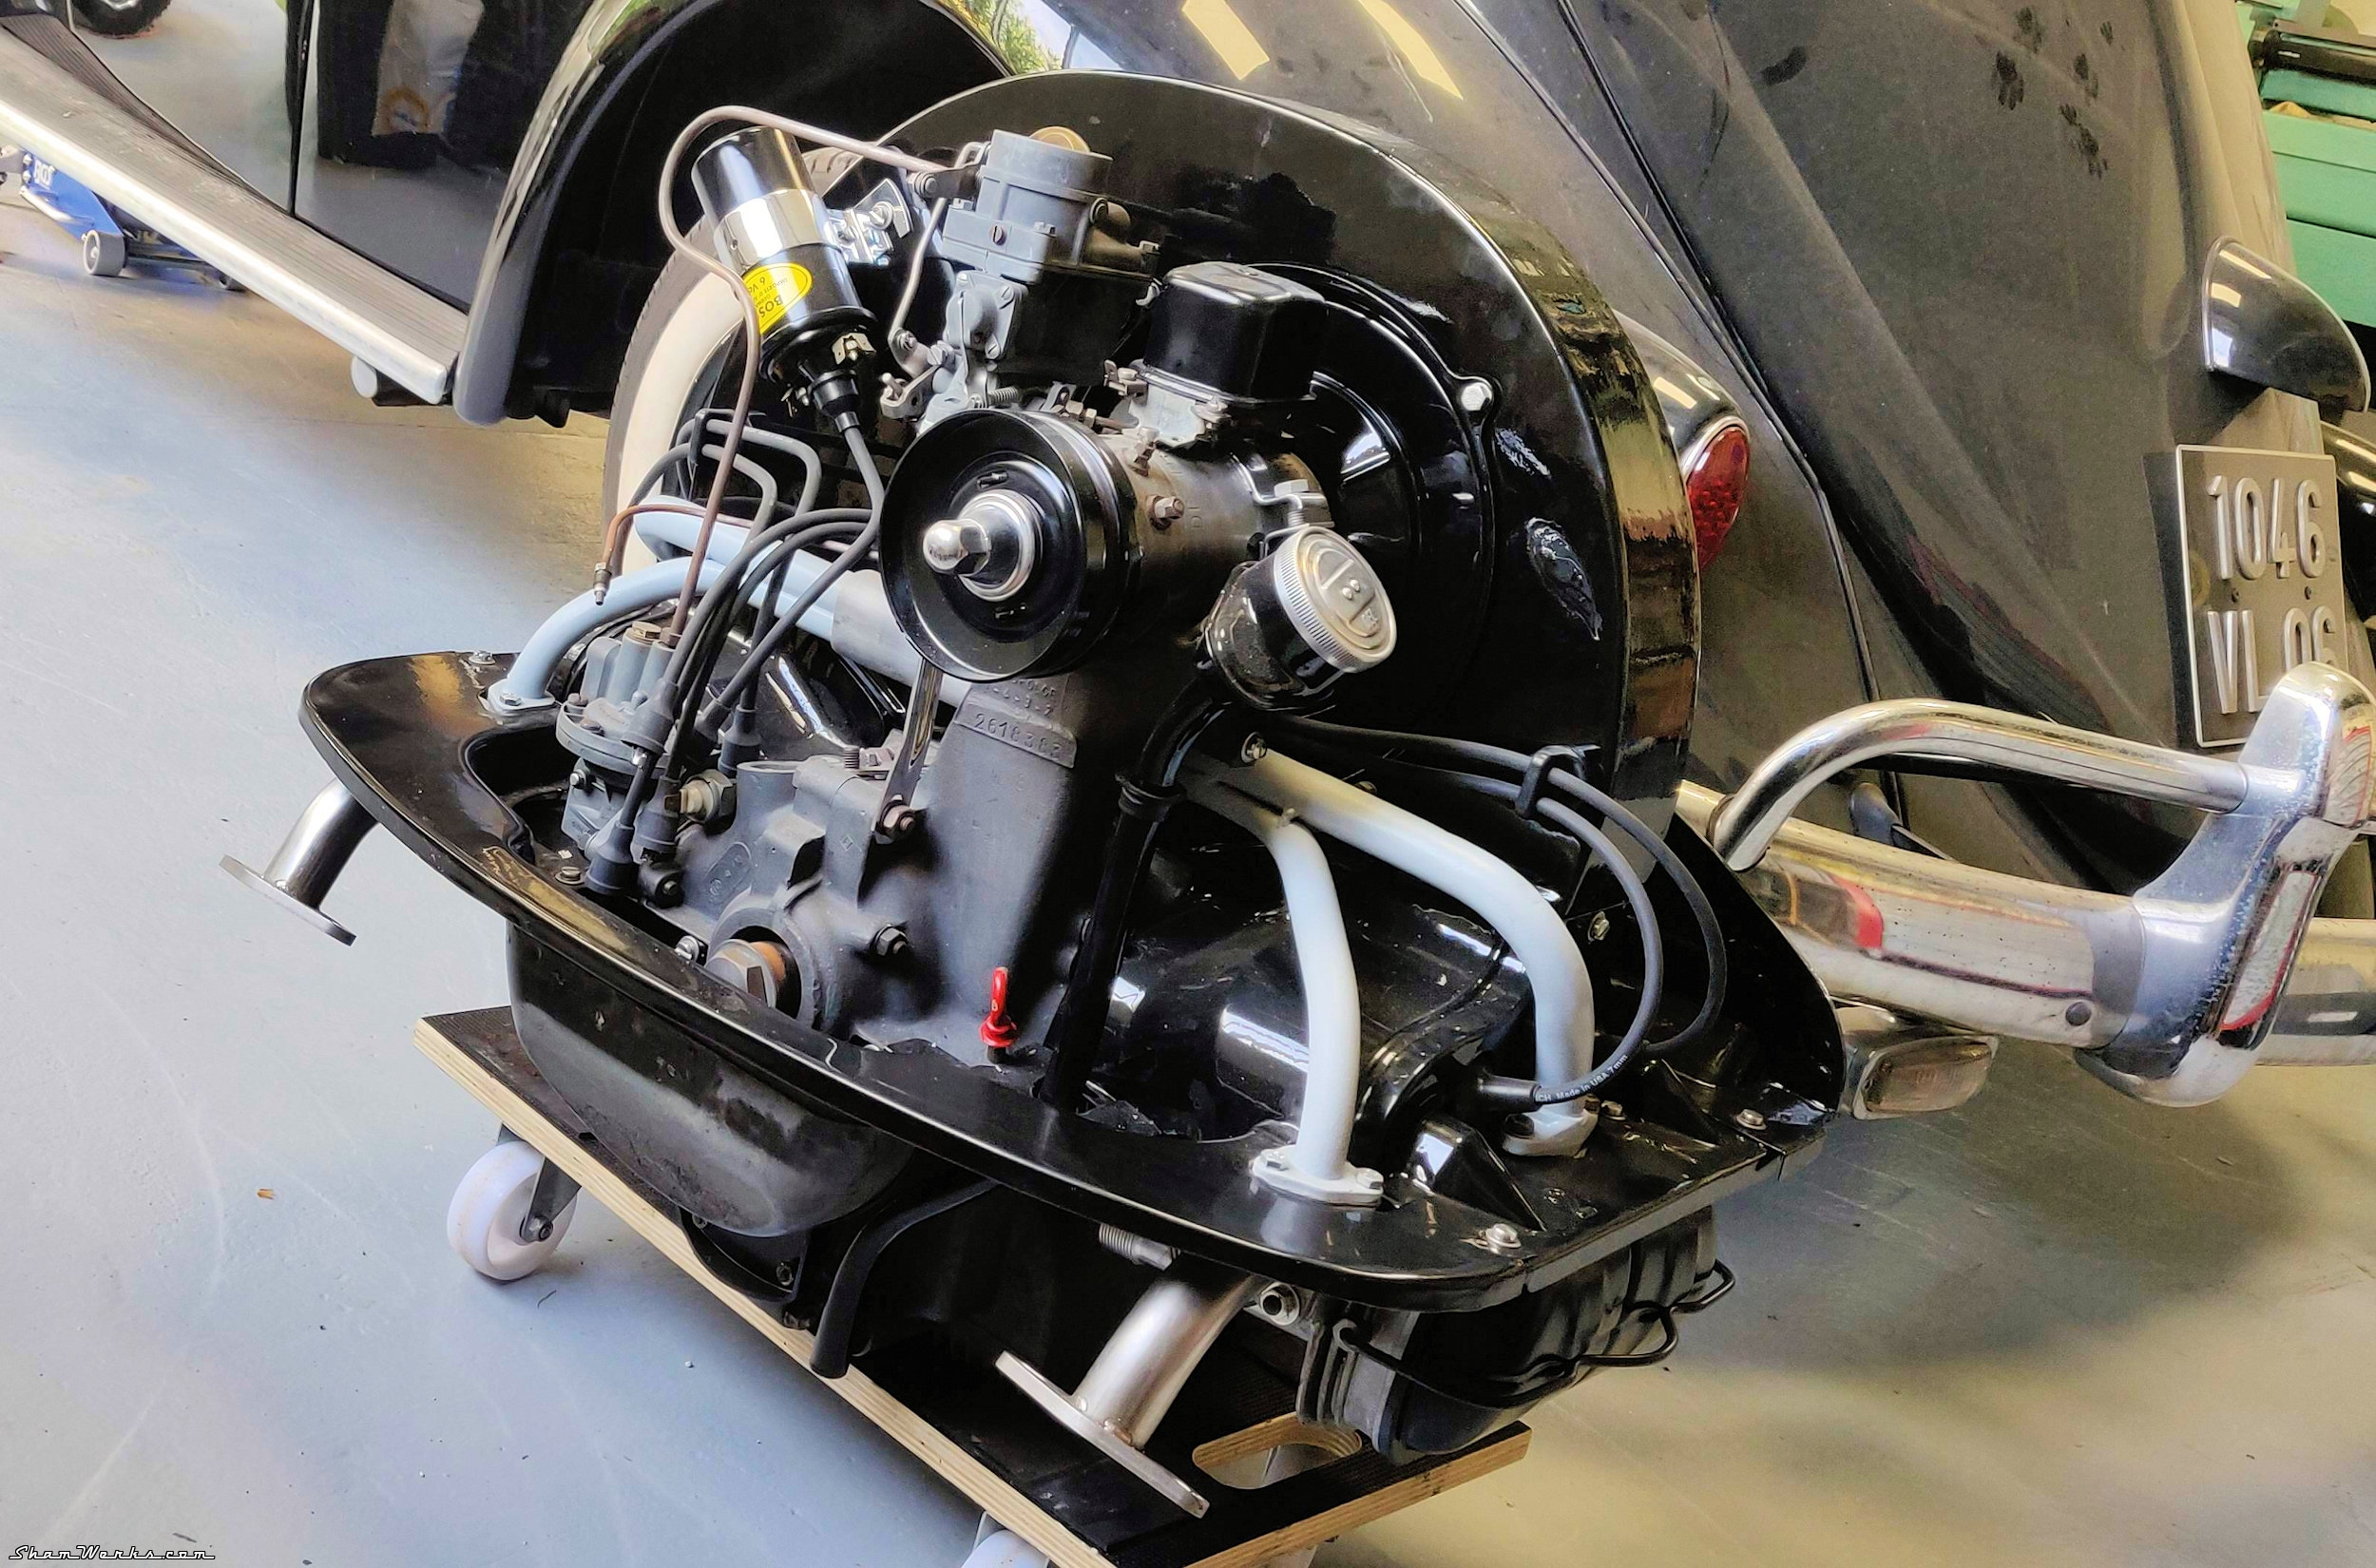
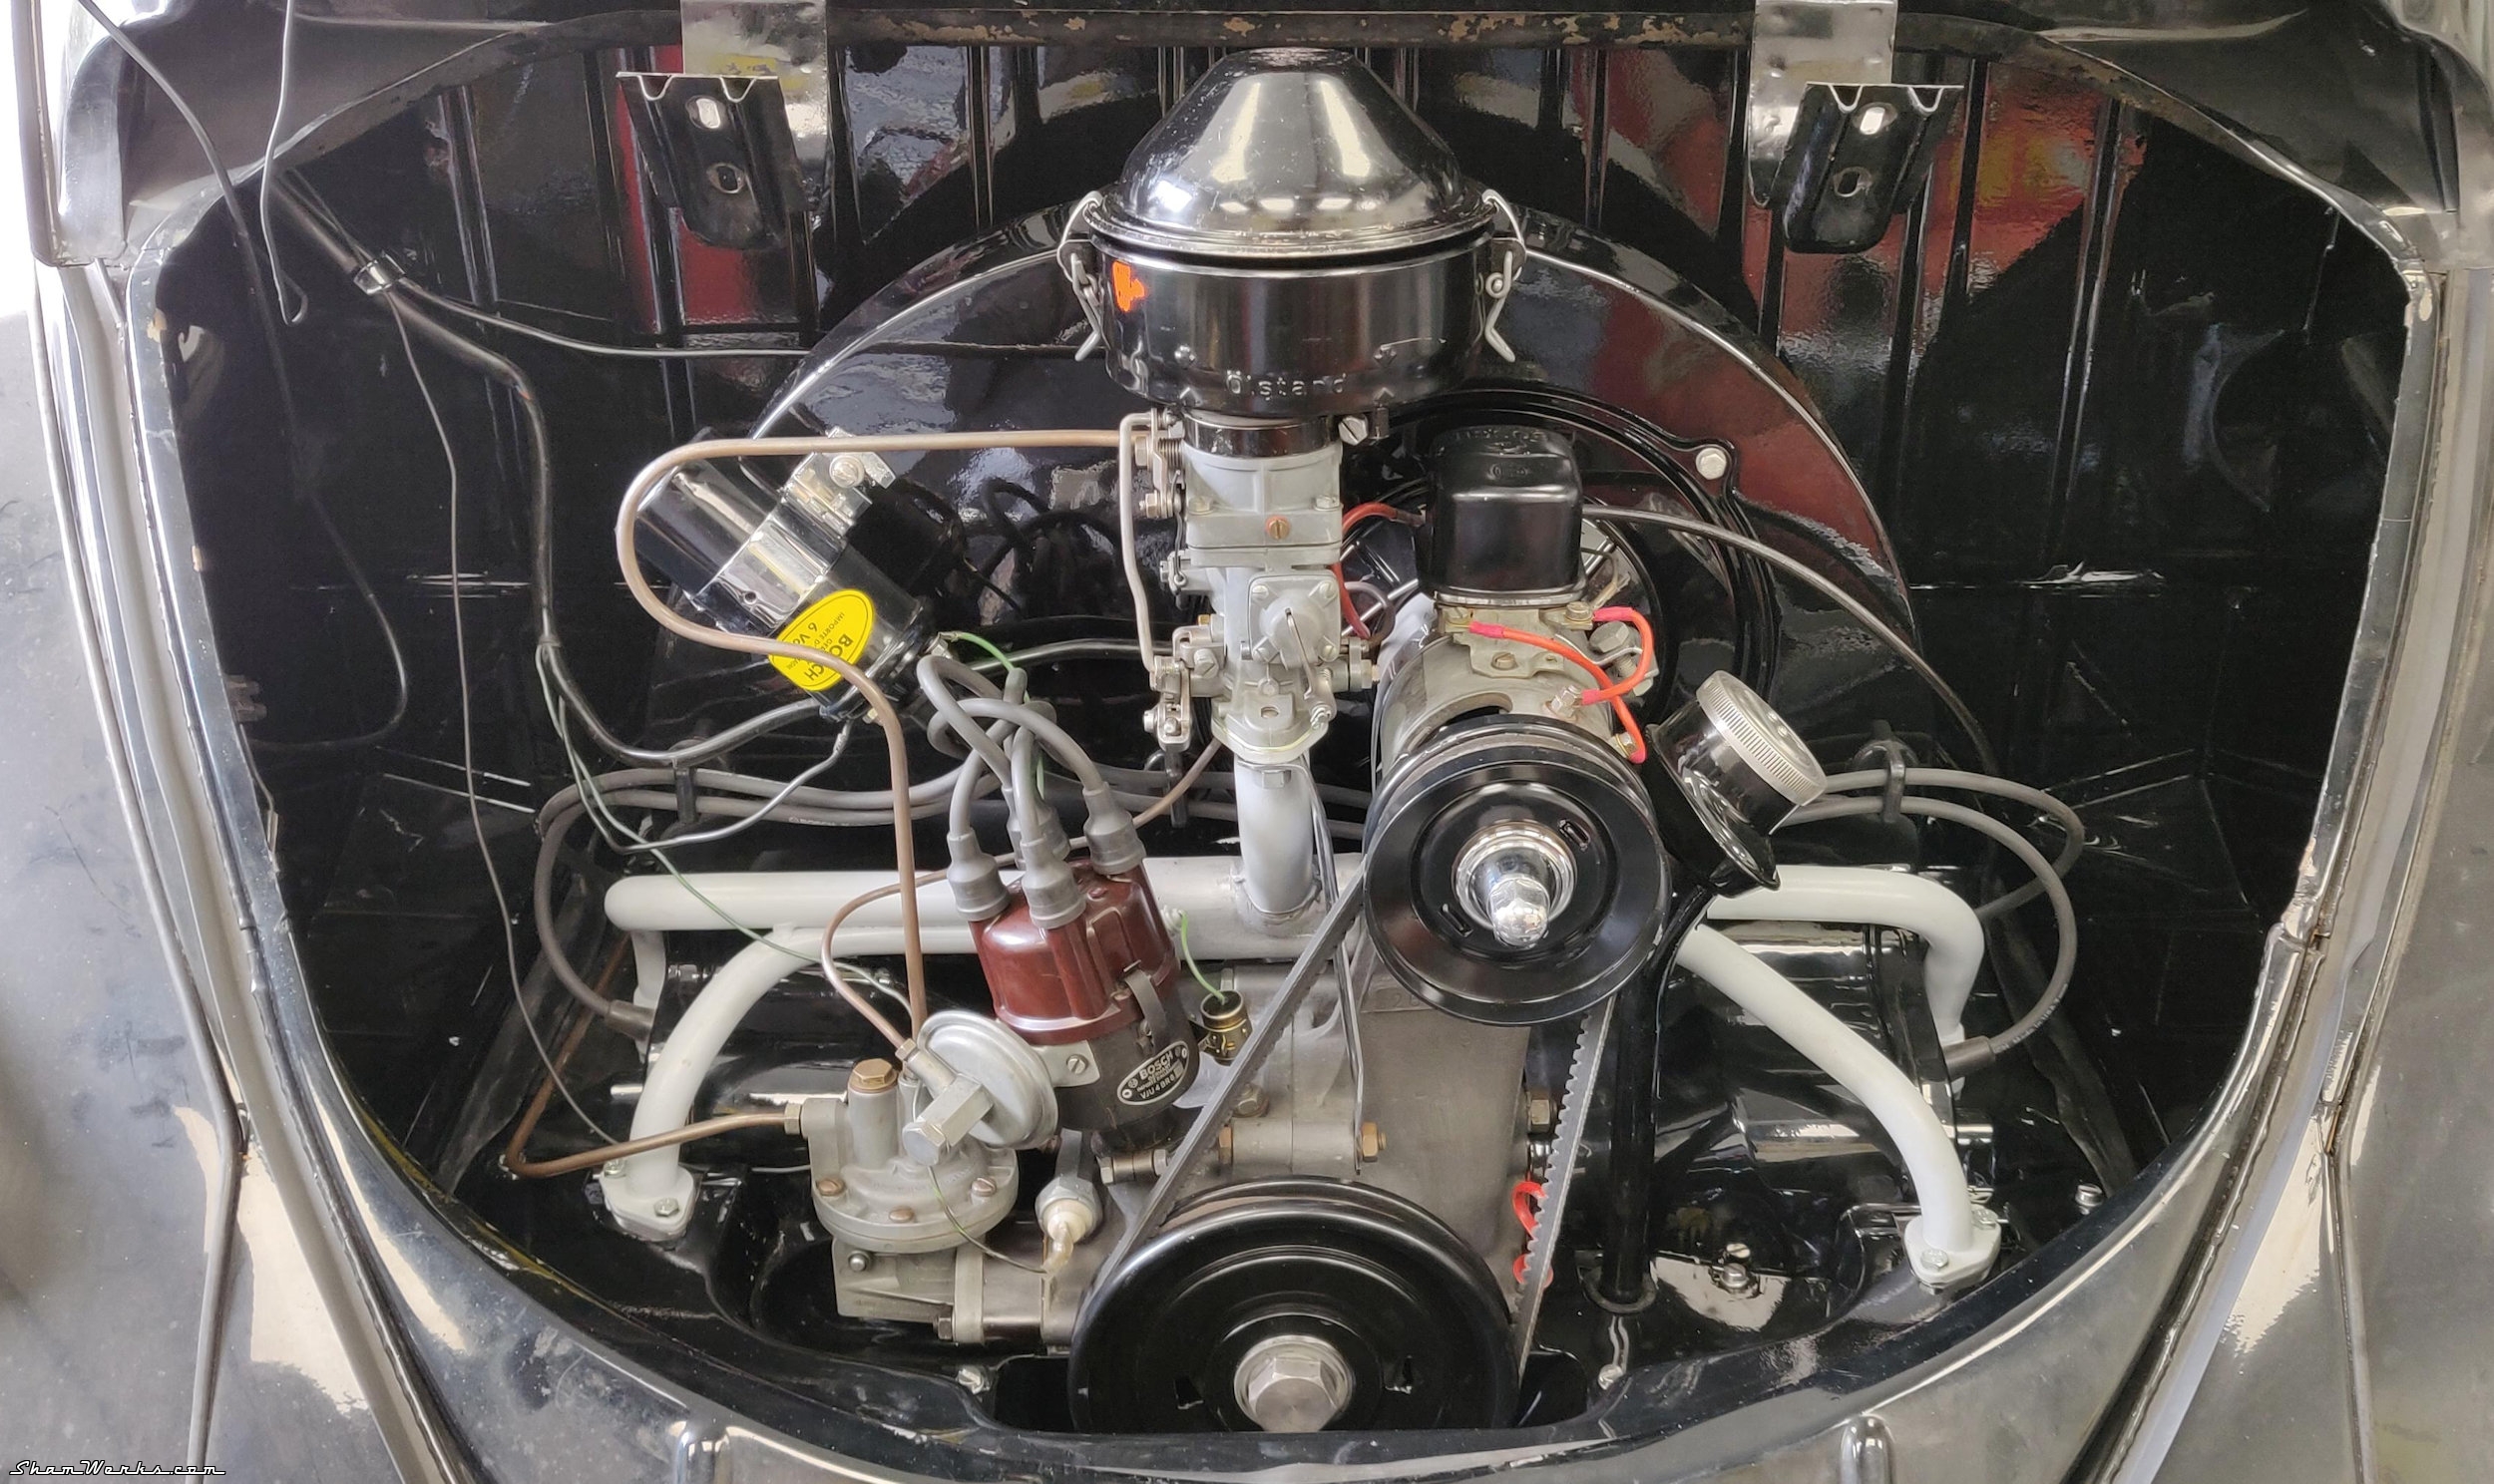
So for once that was pretty easy, at least something not fighting me! 😁
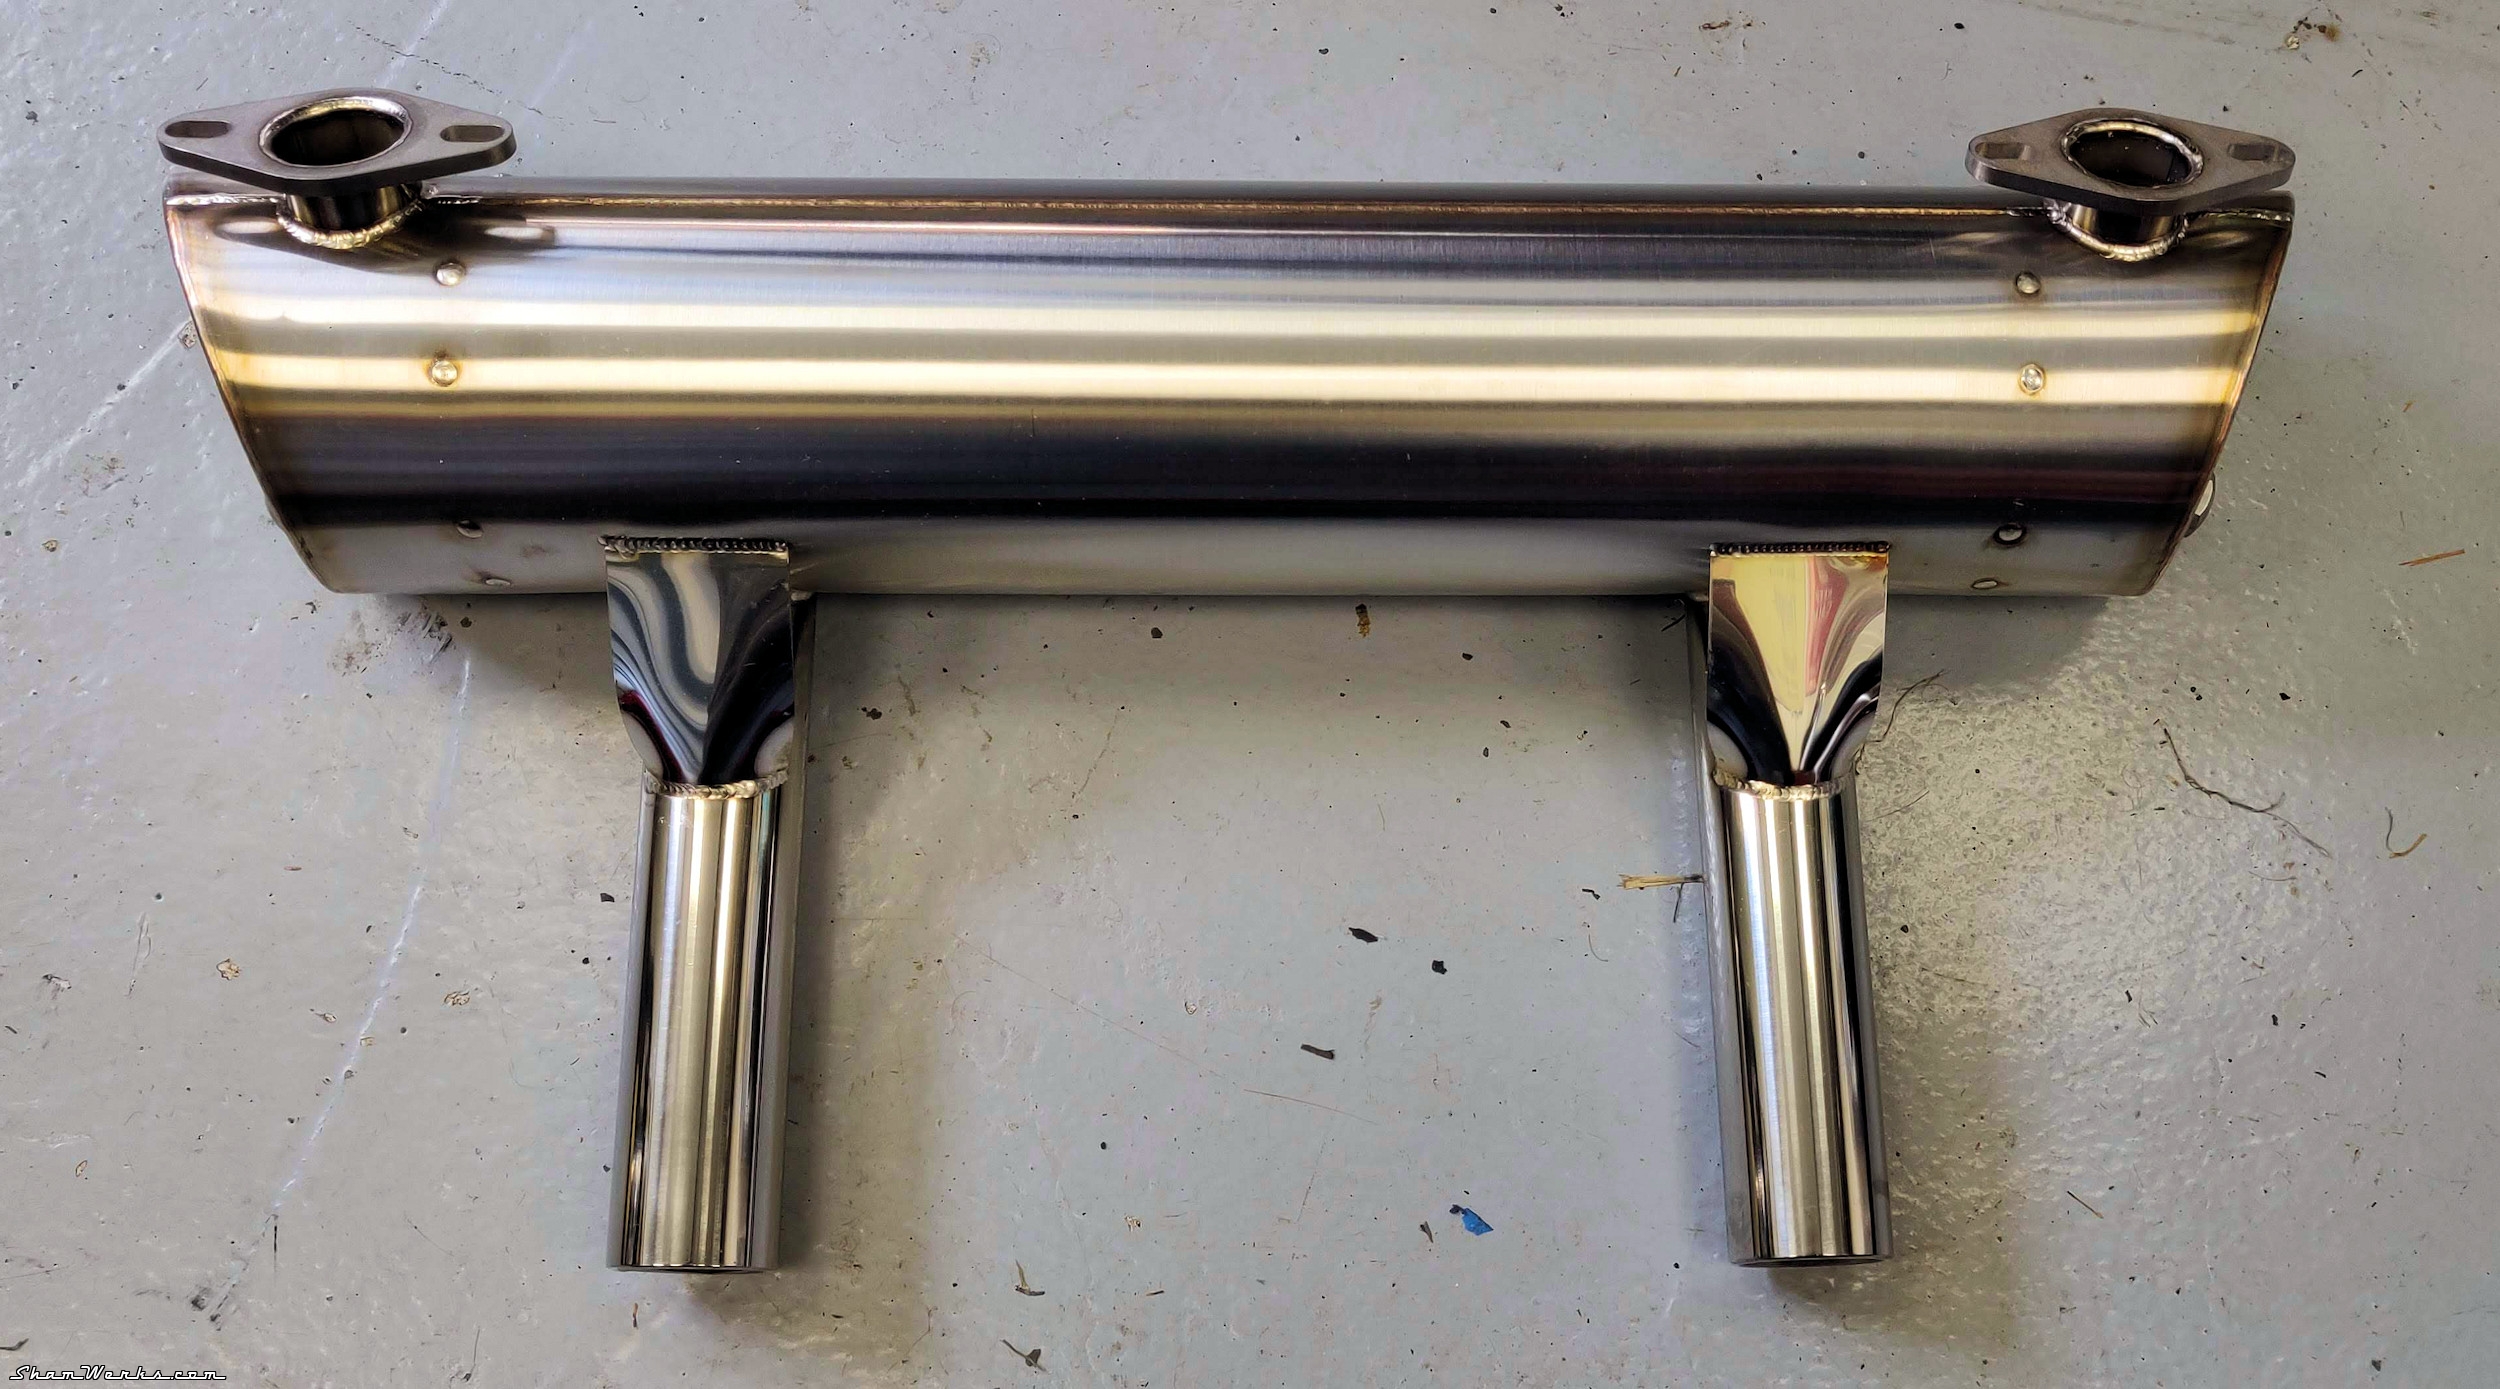
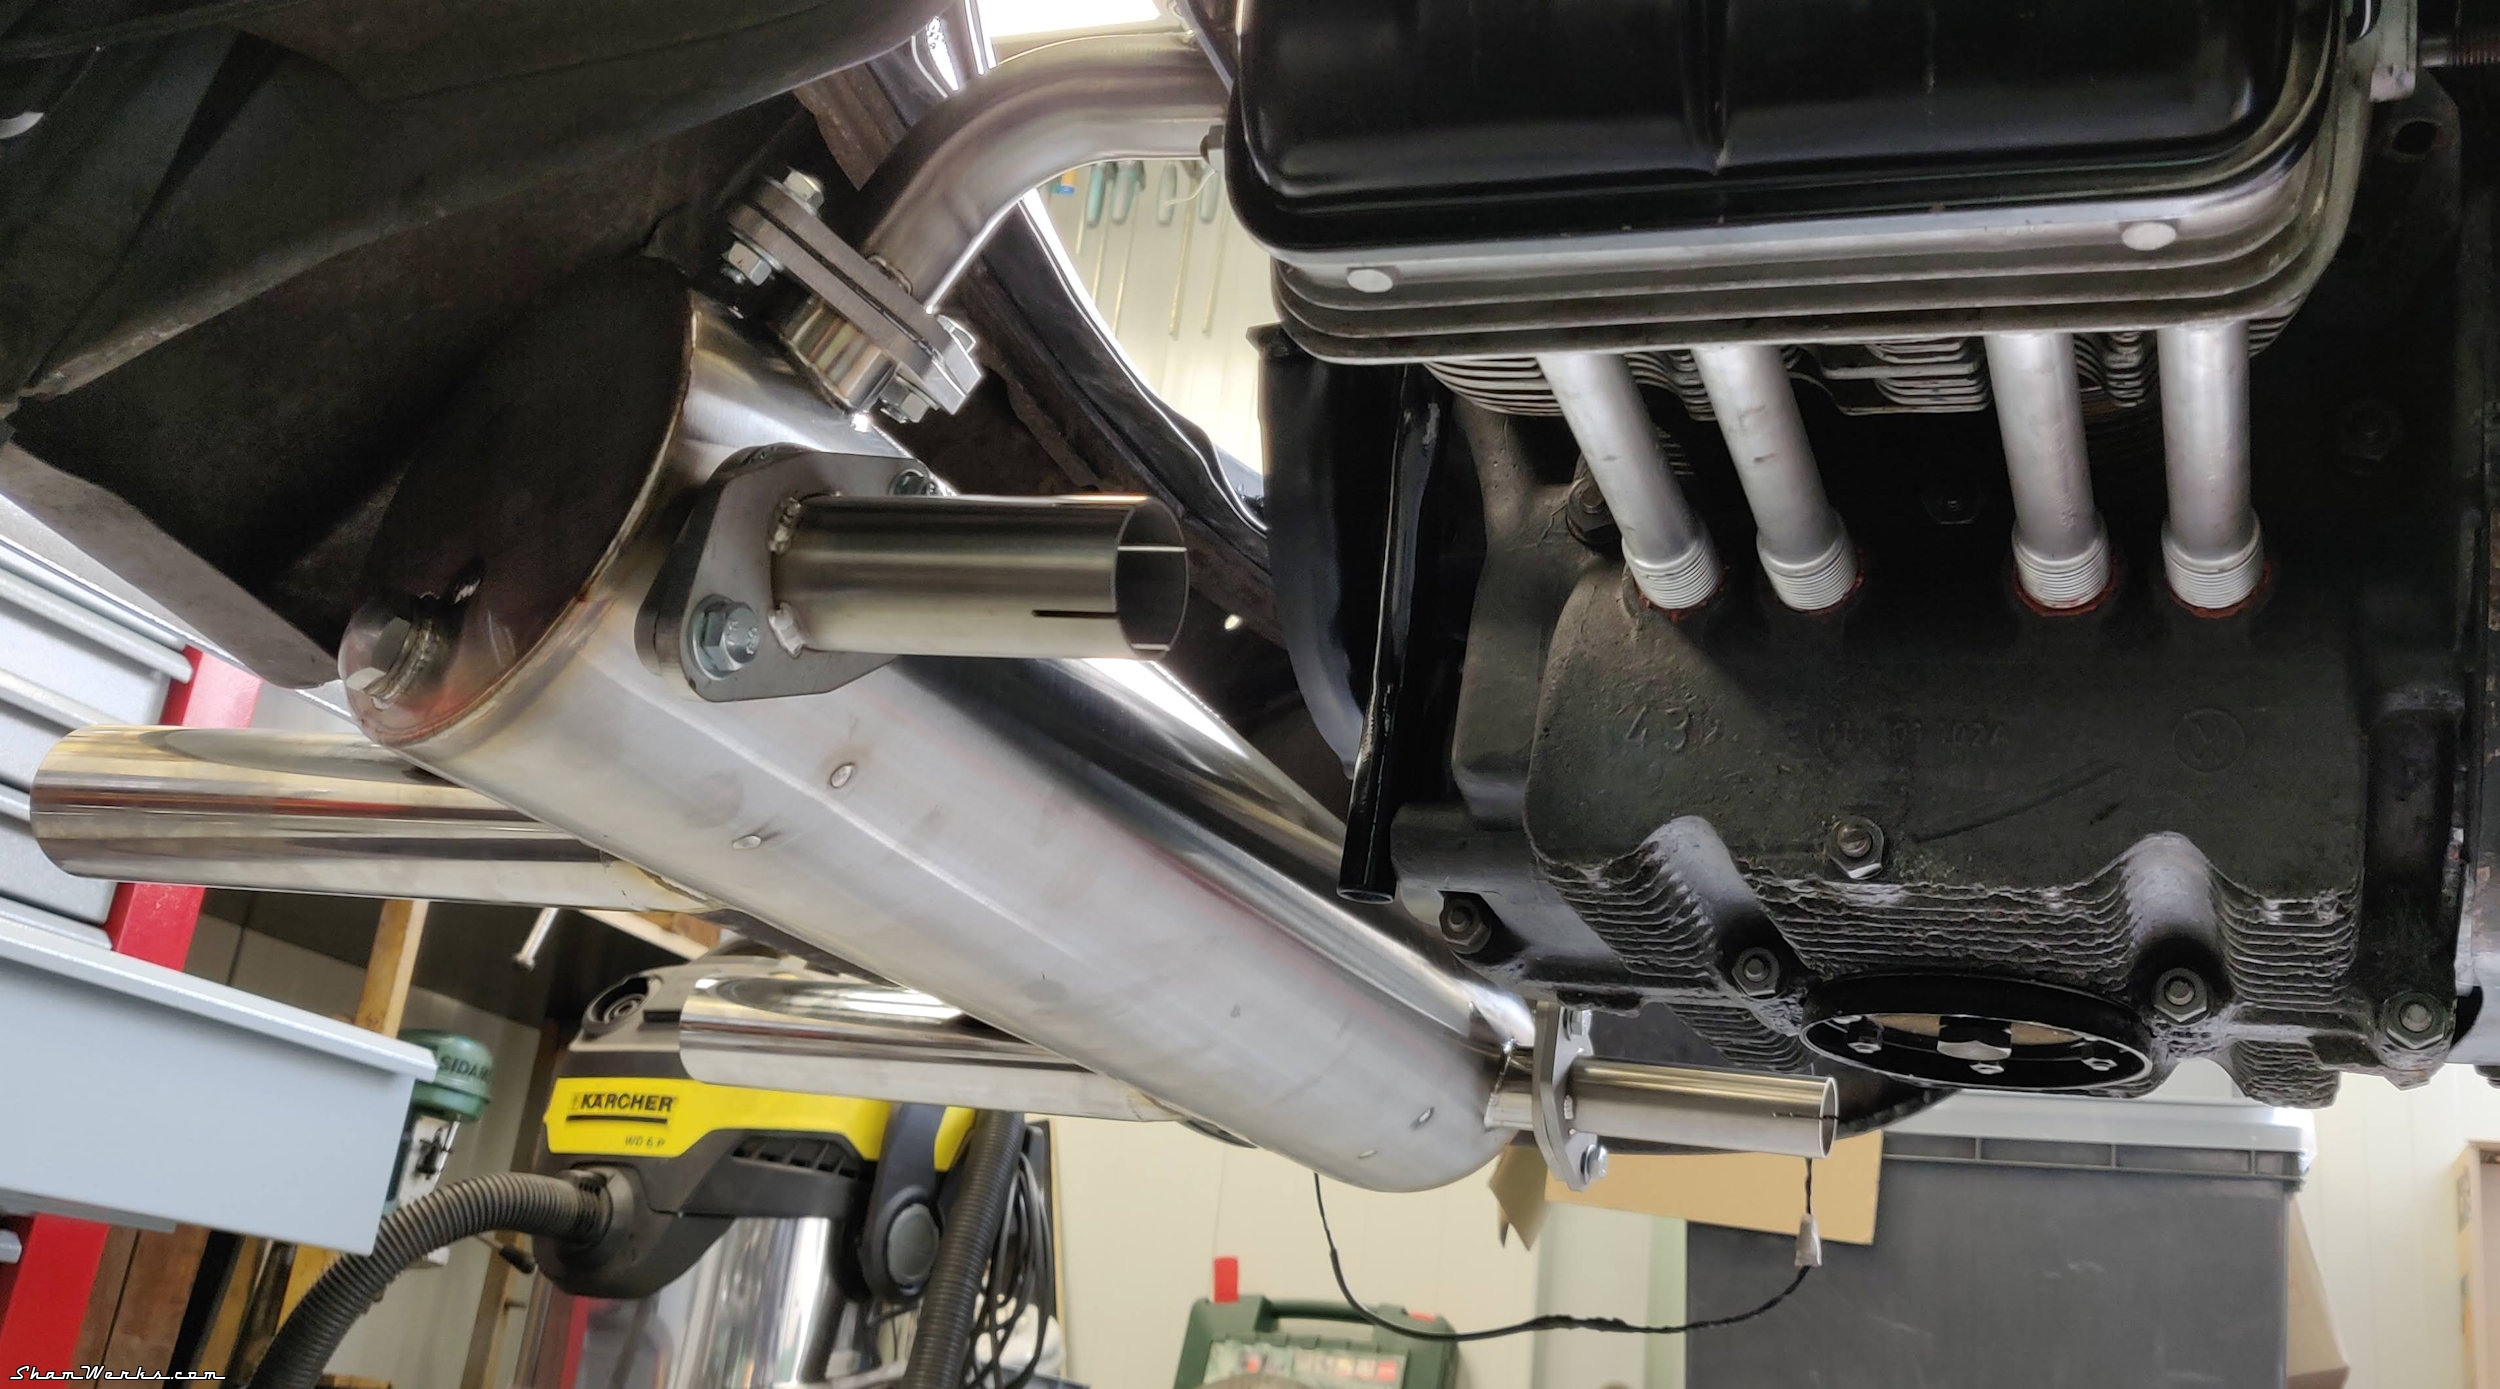
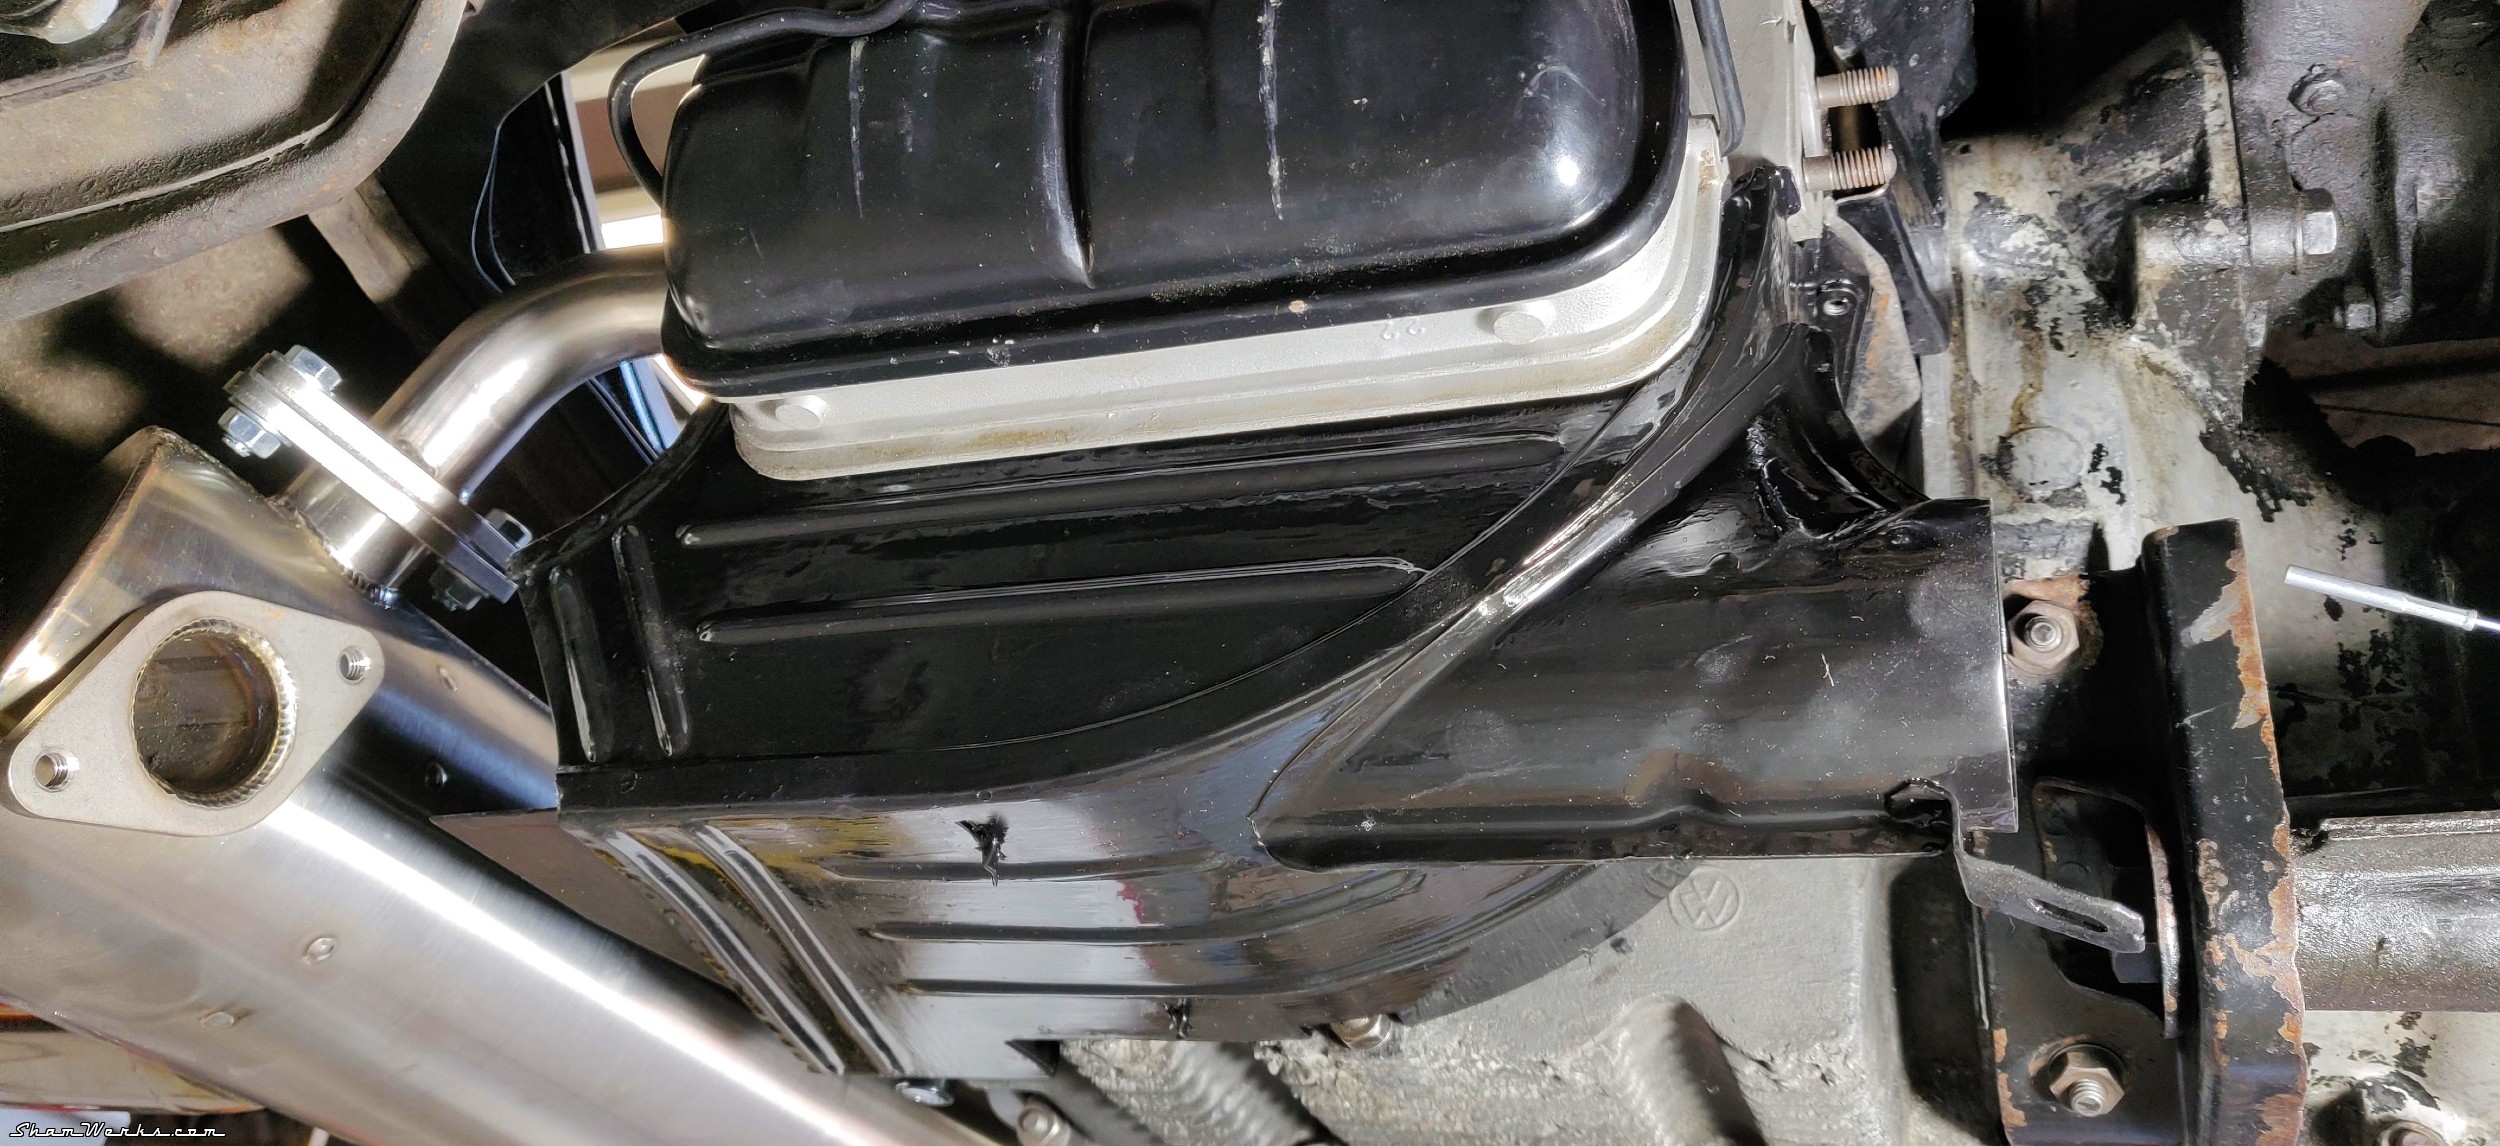
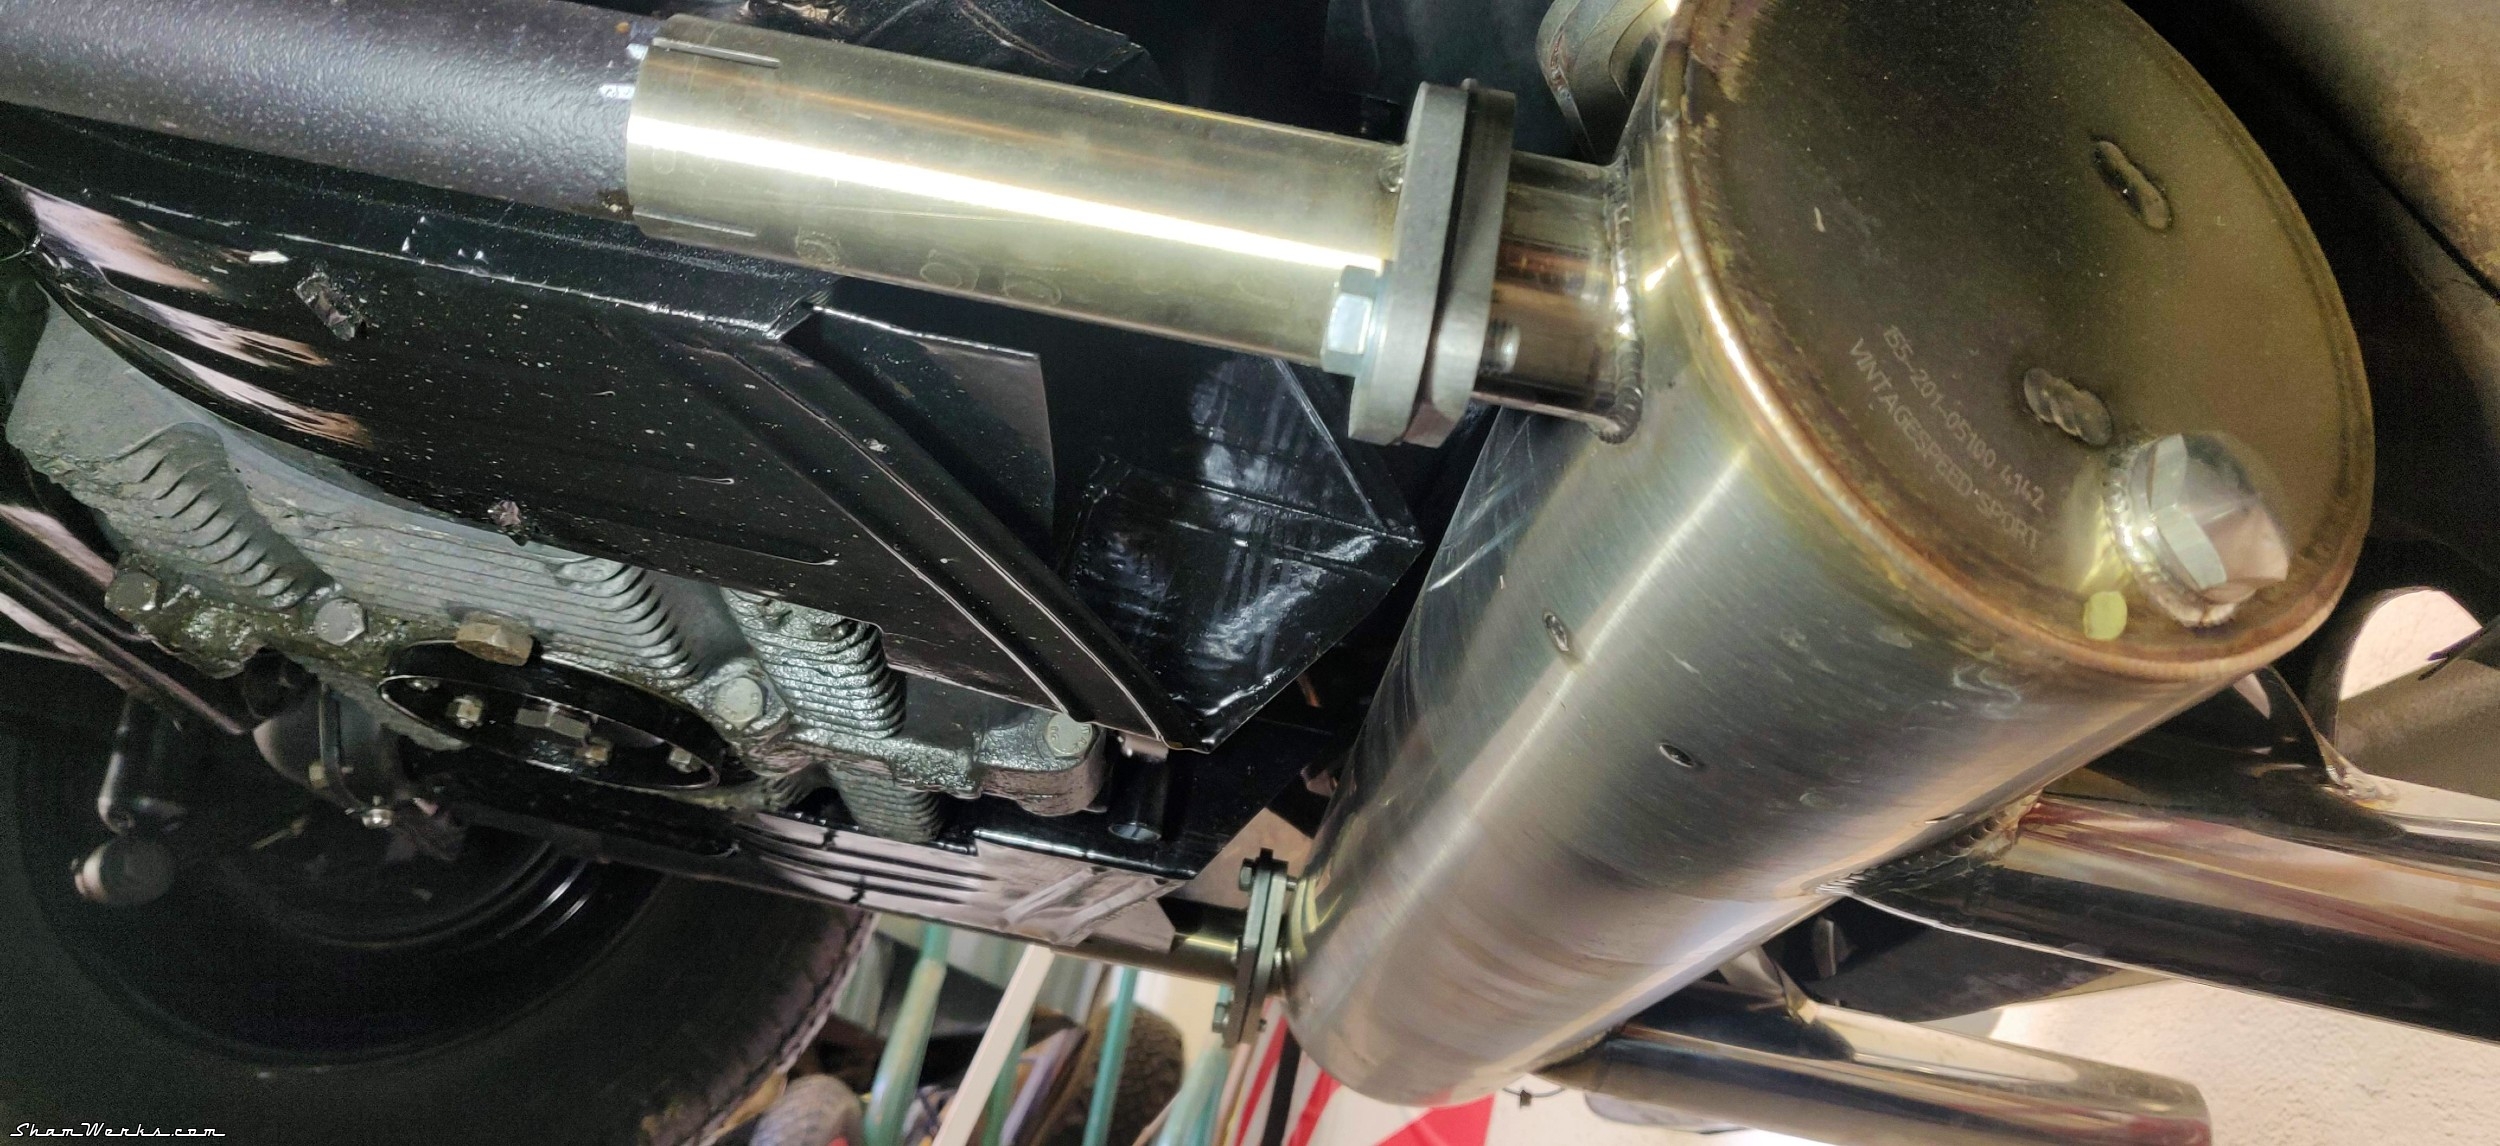
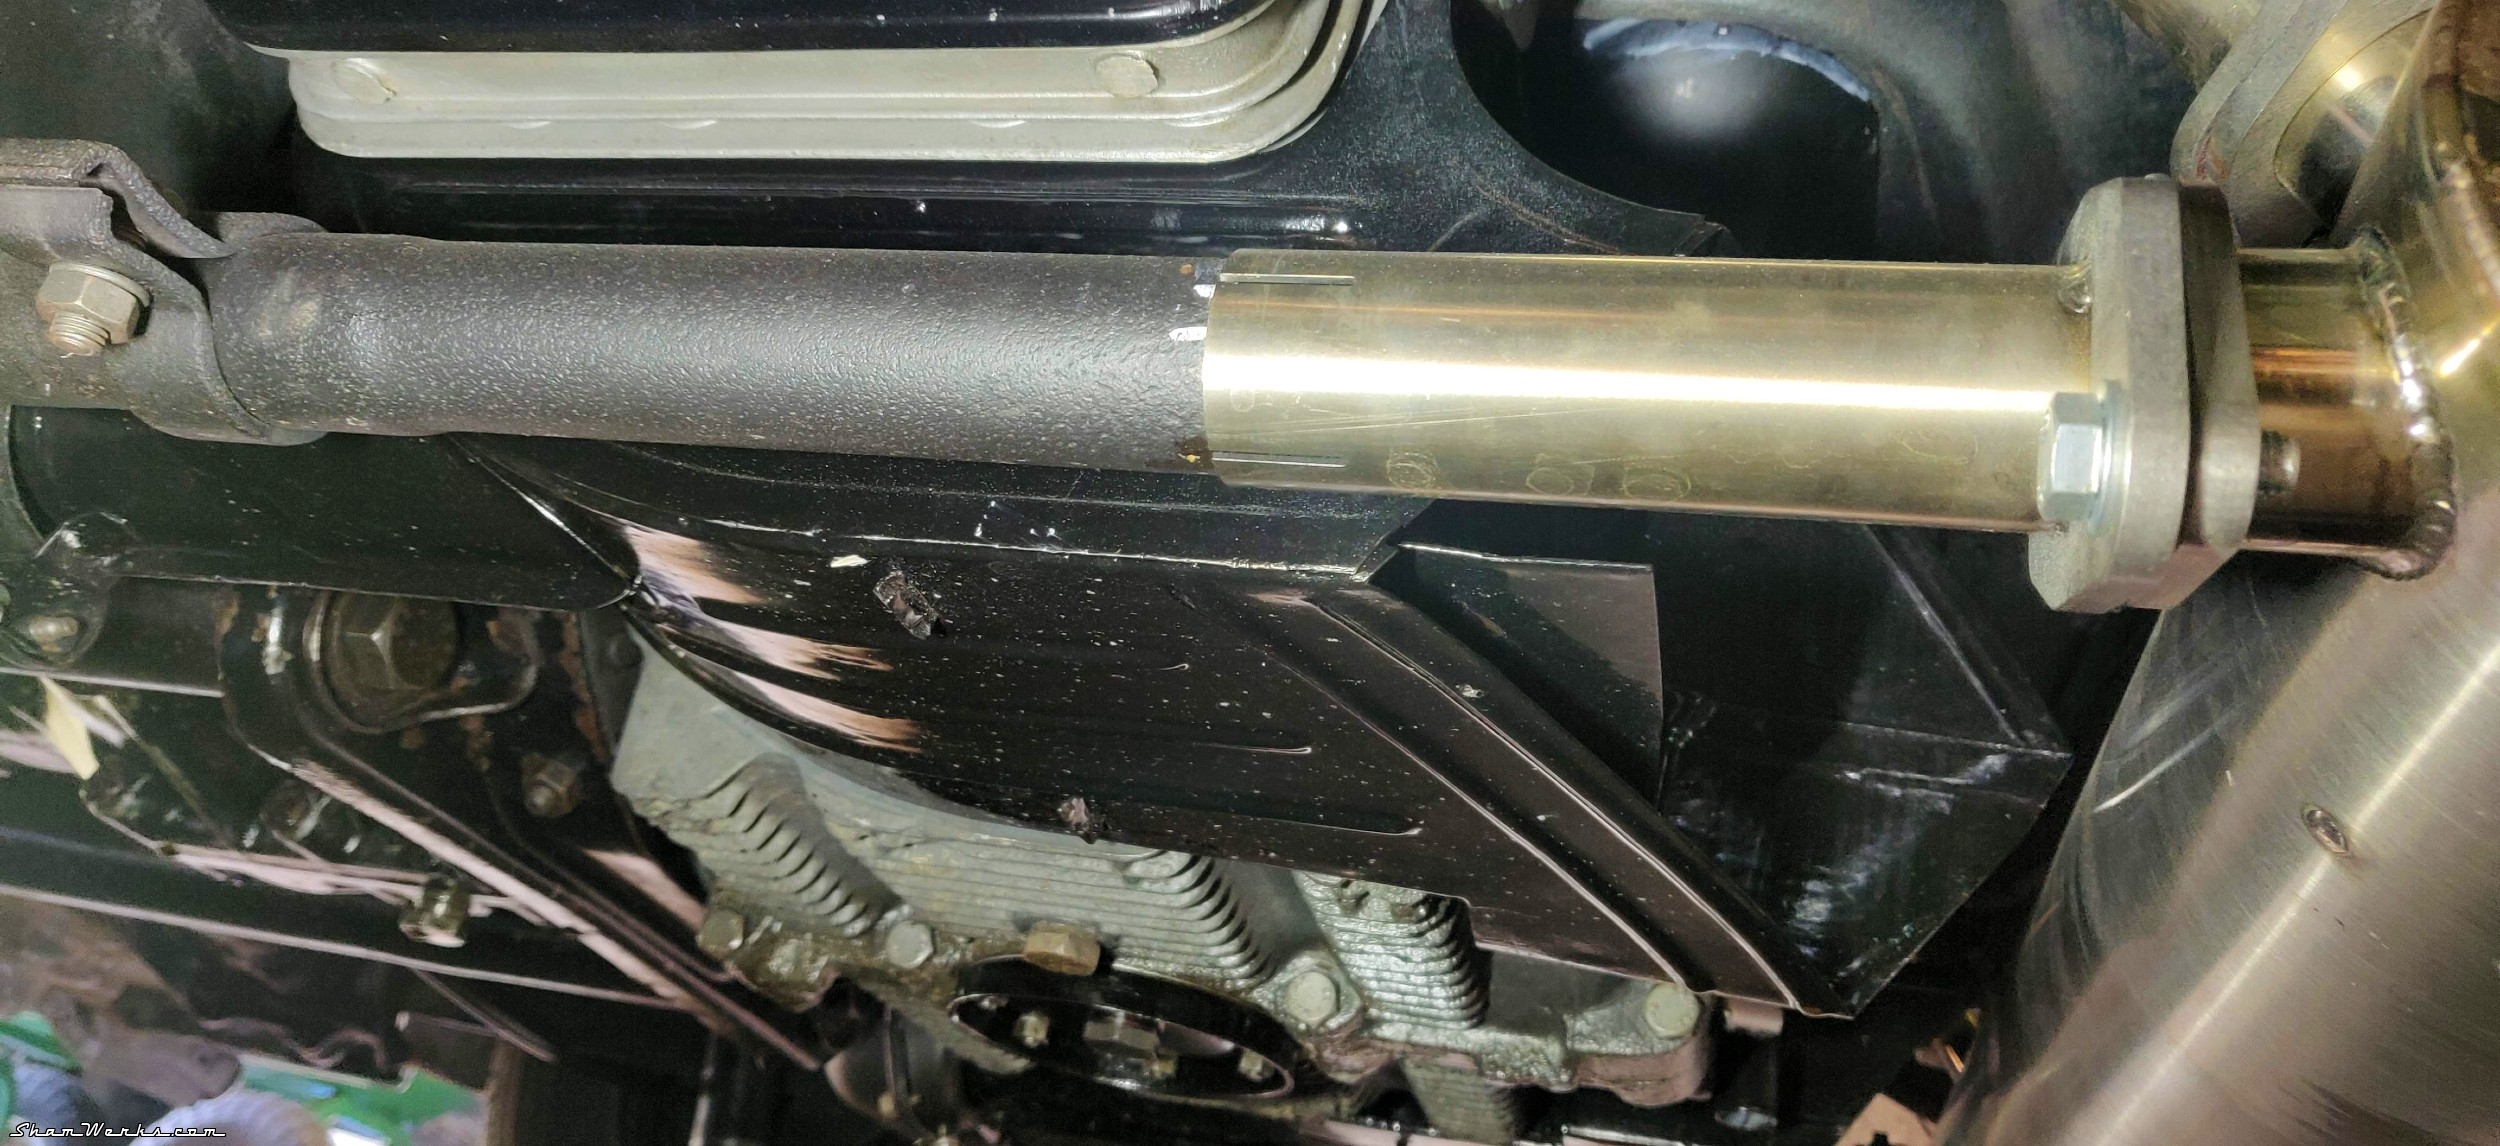
With a bit of adjustment on the engine tins I fit them under with the heater boxes (see their restoration on my previous post), and finally connect everything to the exhaust.


First start
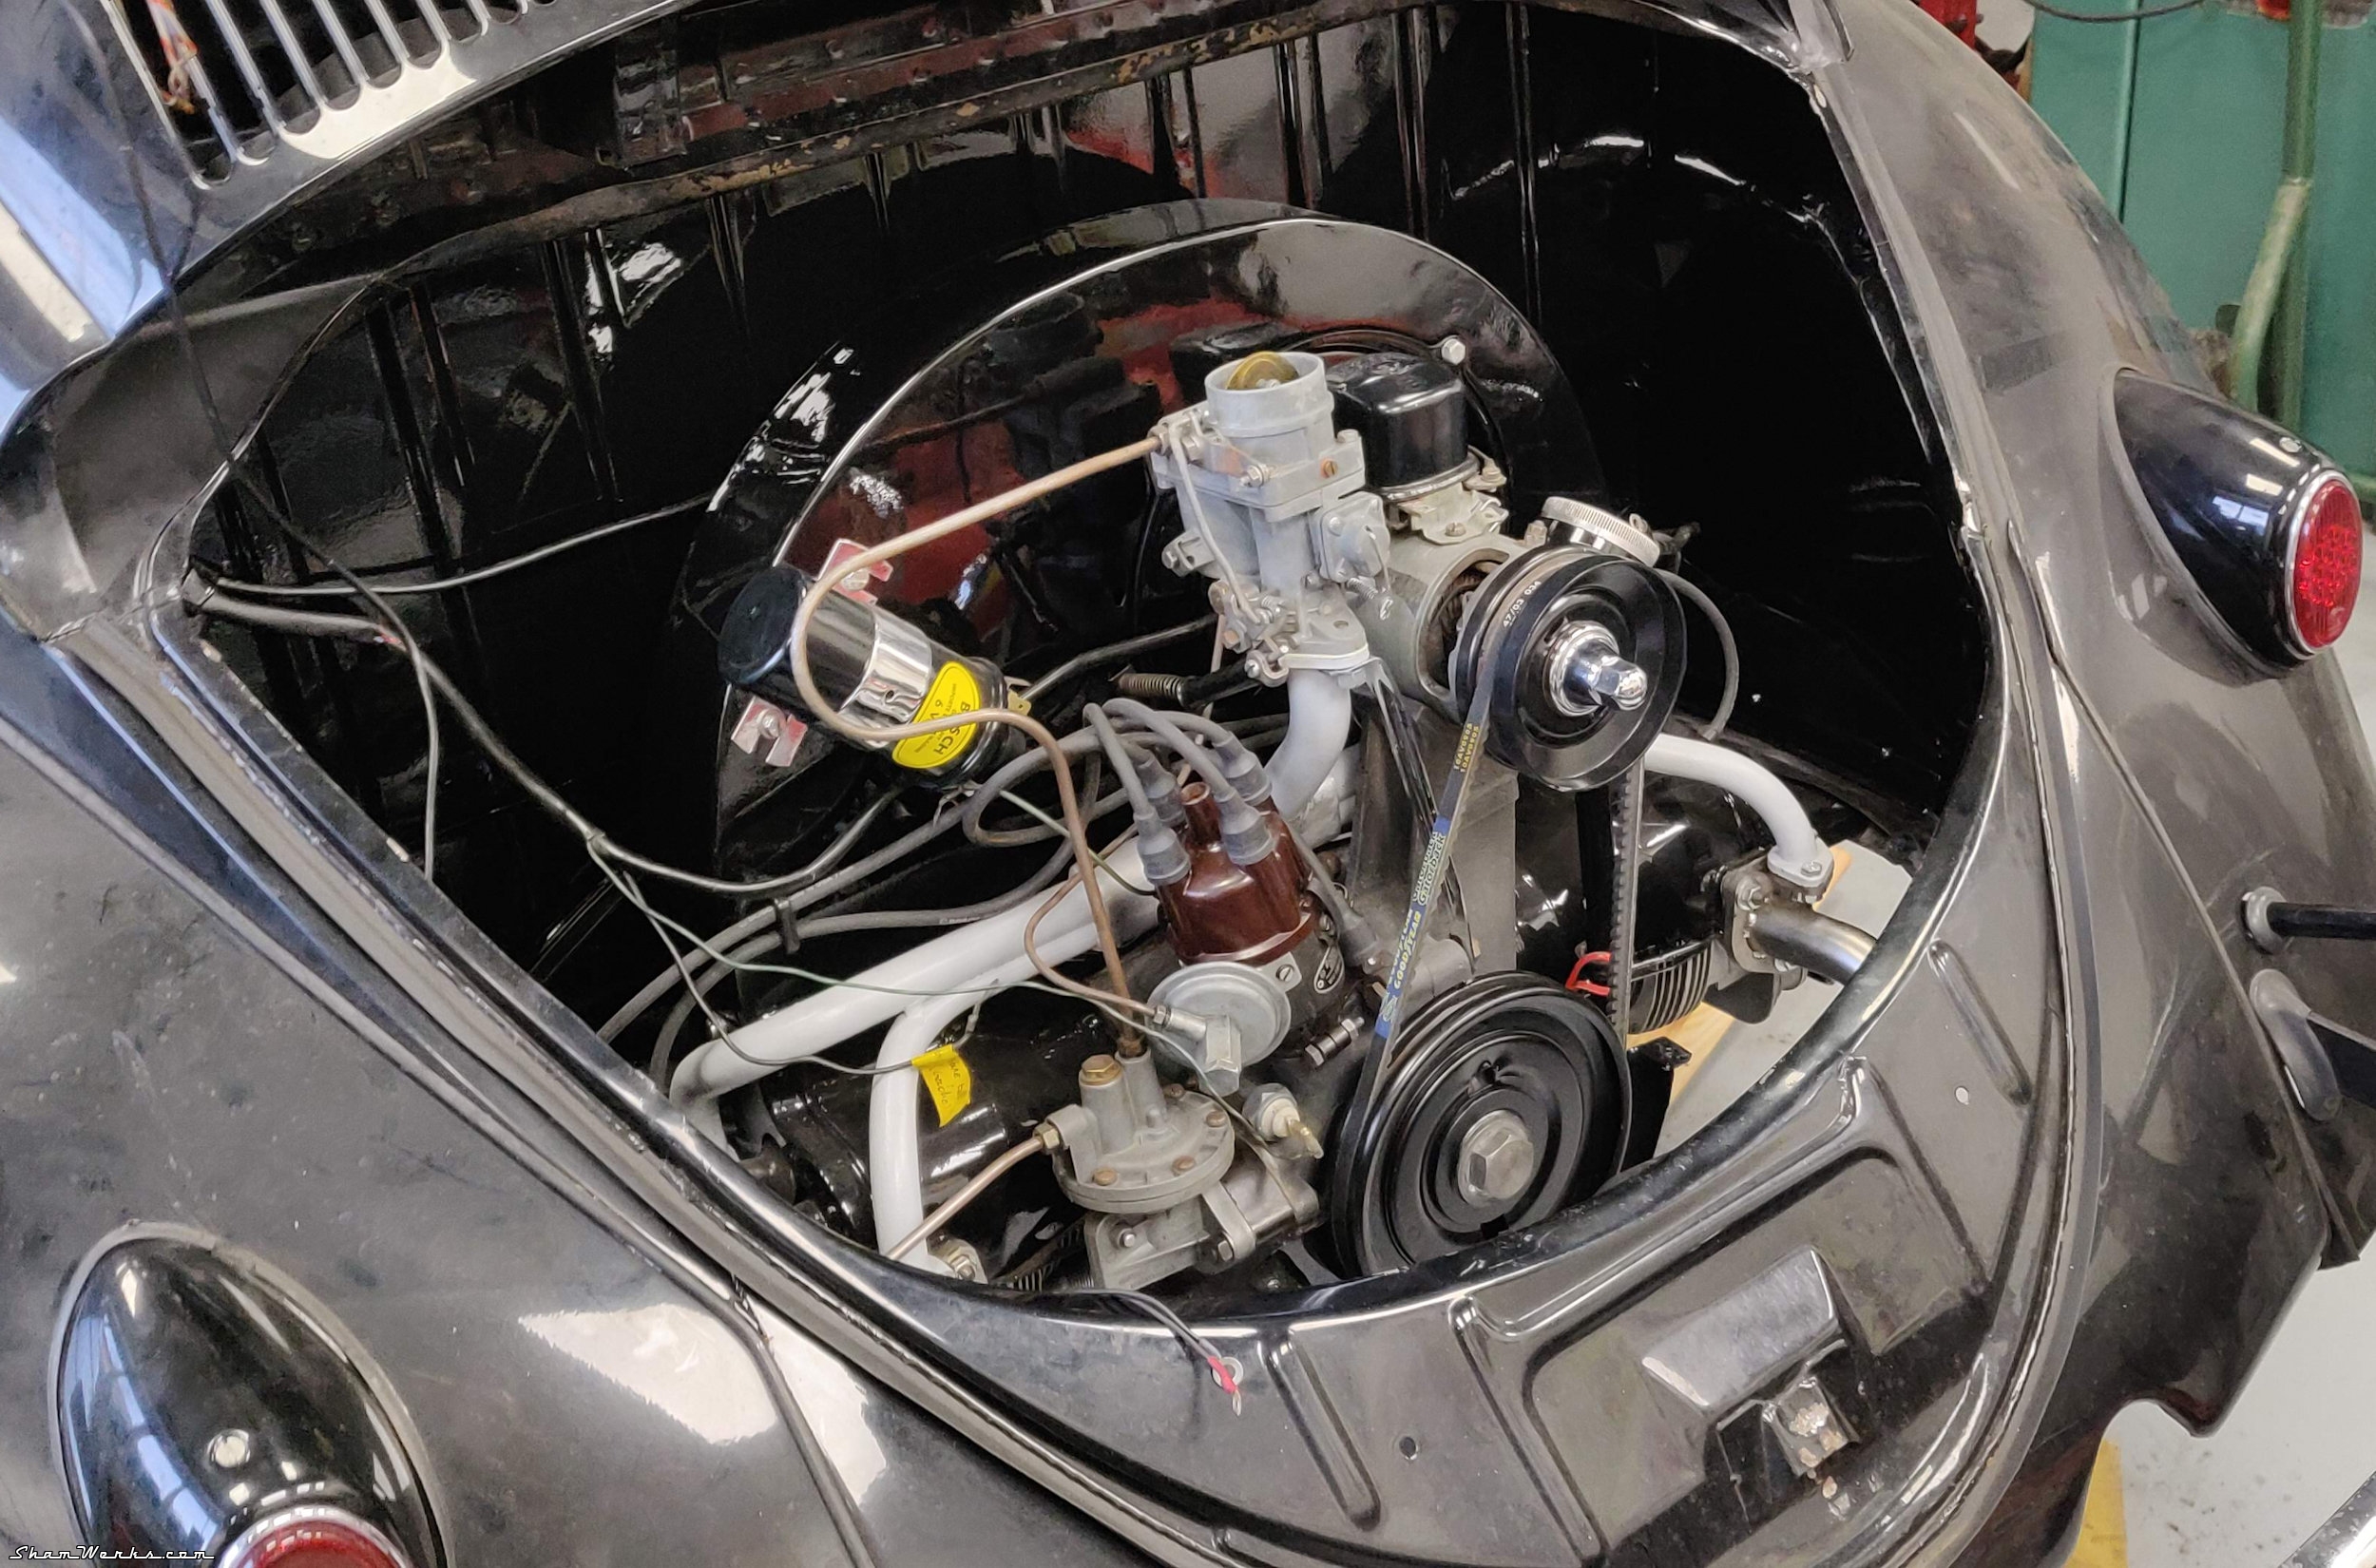
Finally, April 13th 2021 (yeah, yeah, I know, I'm Hell behind my articles publication schedule!), everything is ready for a first crank... I wasn't feeling so sure I gotta admit. 😉Setting the ignitor at 7.5° static advance, adjusting the rockers, priming the fuel line and pump with a vacuum pump (one of those used to purge brakes, works great for fuel too)... I also primed the oil circuit by unplugging the ignition coil and cranking the starter until the oil pressure light blinked out (takes 20/30 seconds on a brand new engine). This will prevent the crankshaft from running dry on its bearings...
And then, well... A squirt of Start Pilot, deep breath, and...
OK, my very first drive out ended up on a tow truck because of a failed fuel pump lever, see my edit from 2021/10/22 on the dedicated post... But since then it drives great! 😁😁 Second gear cracks a bit more than I'd like when gearing down, but for now I'll keep drivin'! 😉