36hp, episode 8 : cooler, tinware and shroud
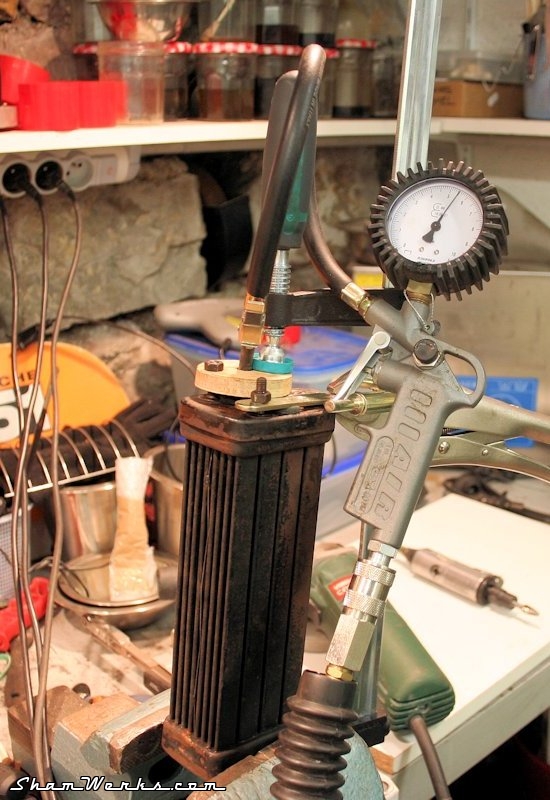
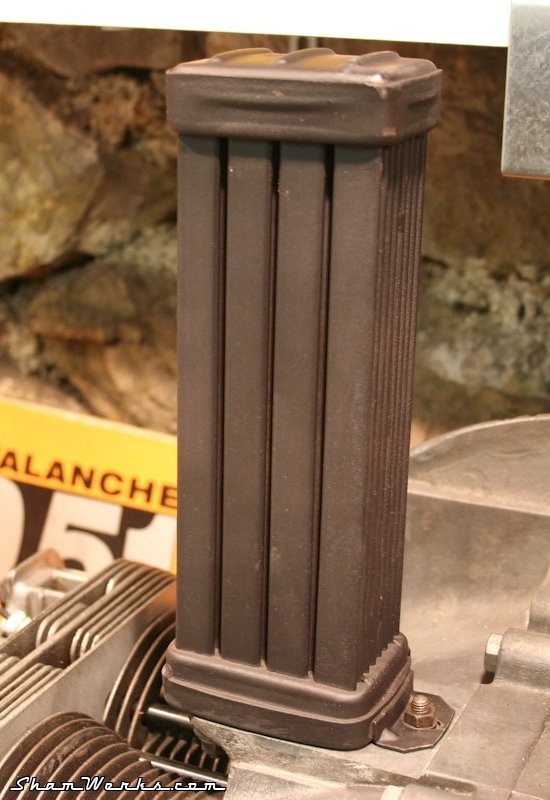
Oil Cooler
I start by sprucing up my oil cooler. I put it under pressure to ensure it is still air tight, using a bicycle tire valve (same method I recently used for my intake manifold). It holds at 5.5 bars : we're good here.Thorough cleaning using brake cleaning fluid and compressed air, giving the whole damn thing a good shake to make sure I get rid of any muck sitting in all the nooks and crannies inside...
Then I give it a light sandblast to remove the flaking off original paint (I obviously first taped shut the oil in/out holes), and then a thin coat of high temperature spray paint, just to prevent rust. Just to make sure the sandblasting did not affect the oil cooler, I give it another pressure test ; still holds at 6bars, we're still good (#paranoid).
It then goes back on the engine with a couple of brand new gaskets. Next !

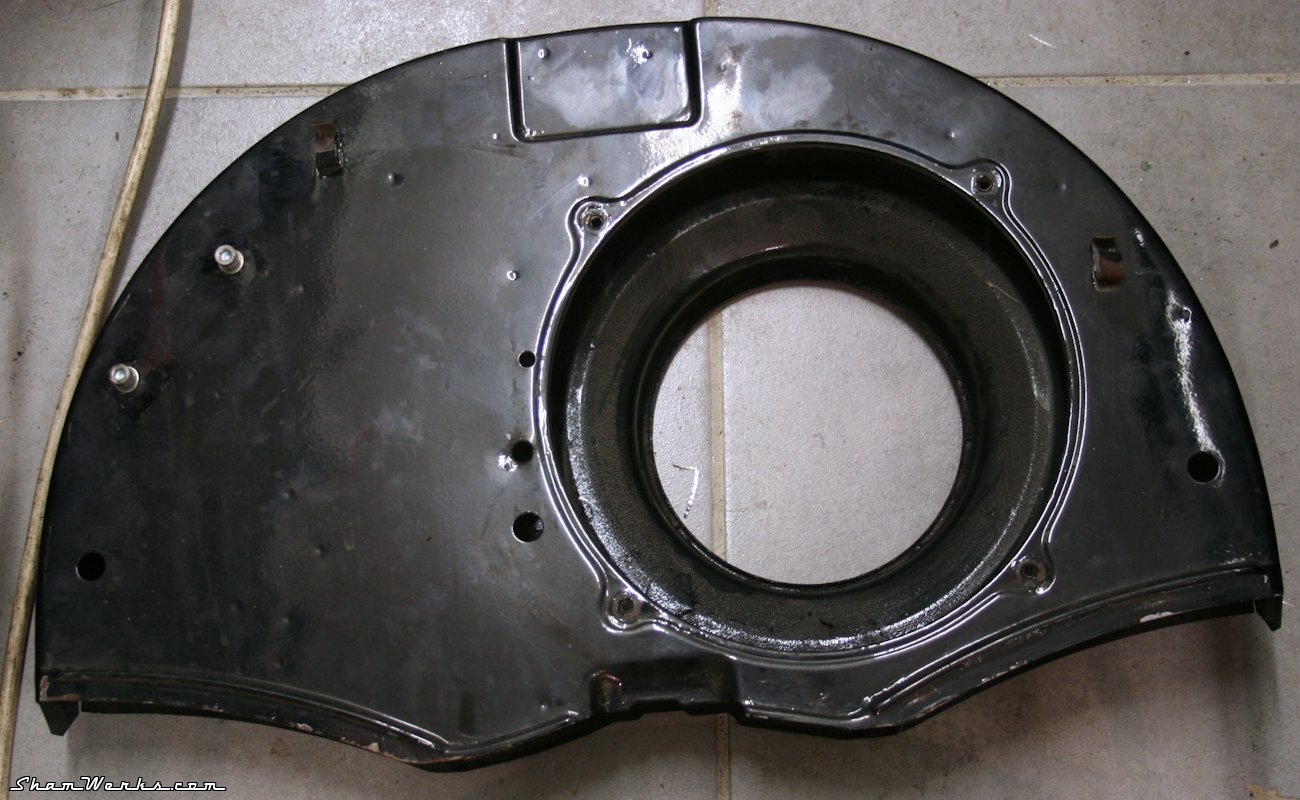
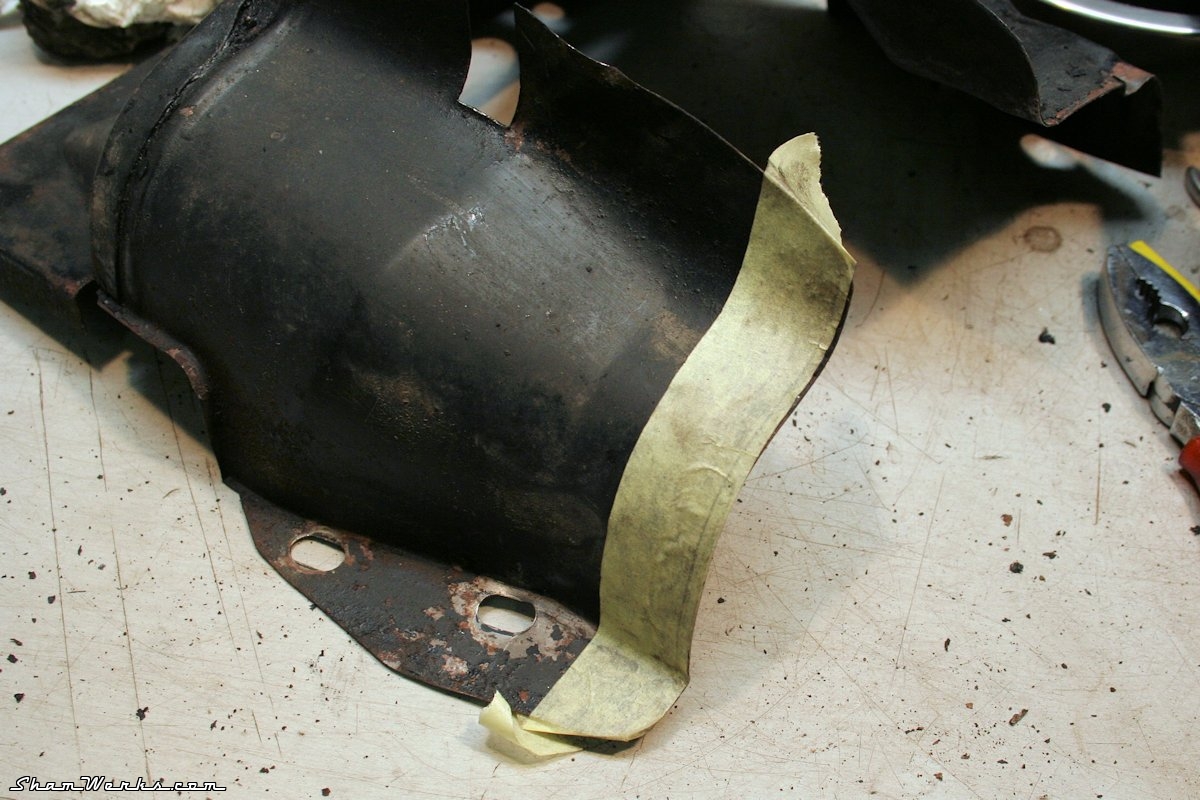
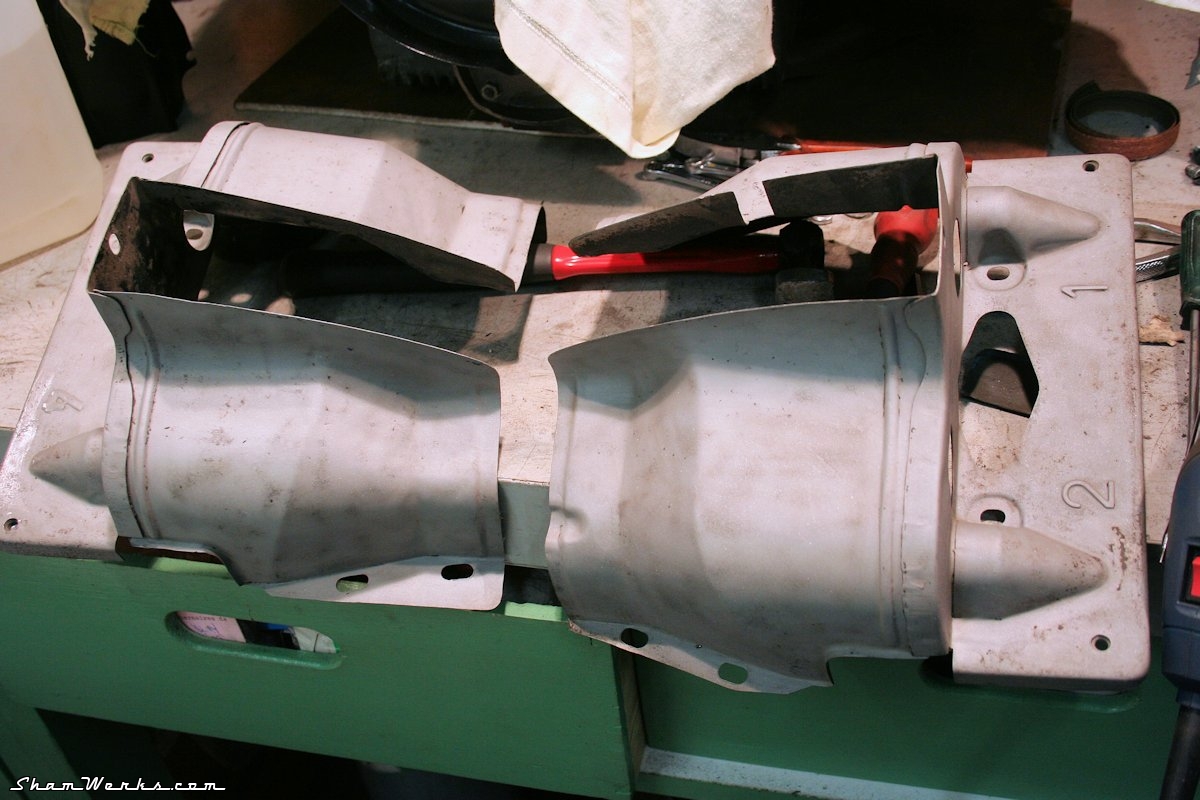
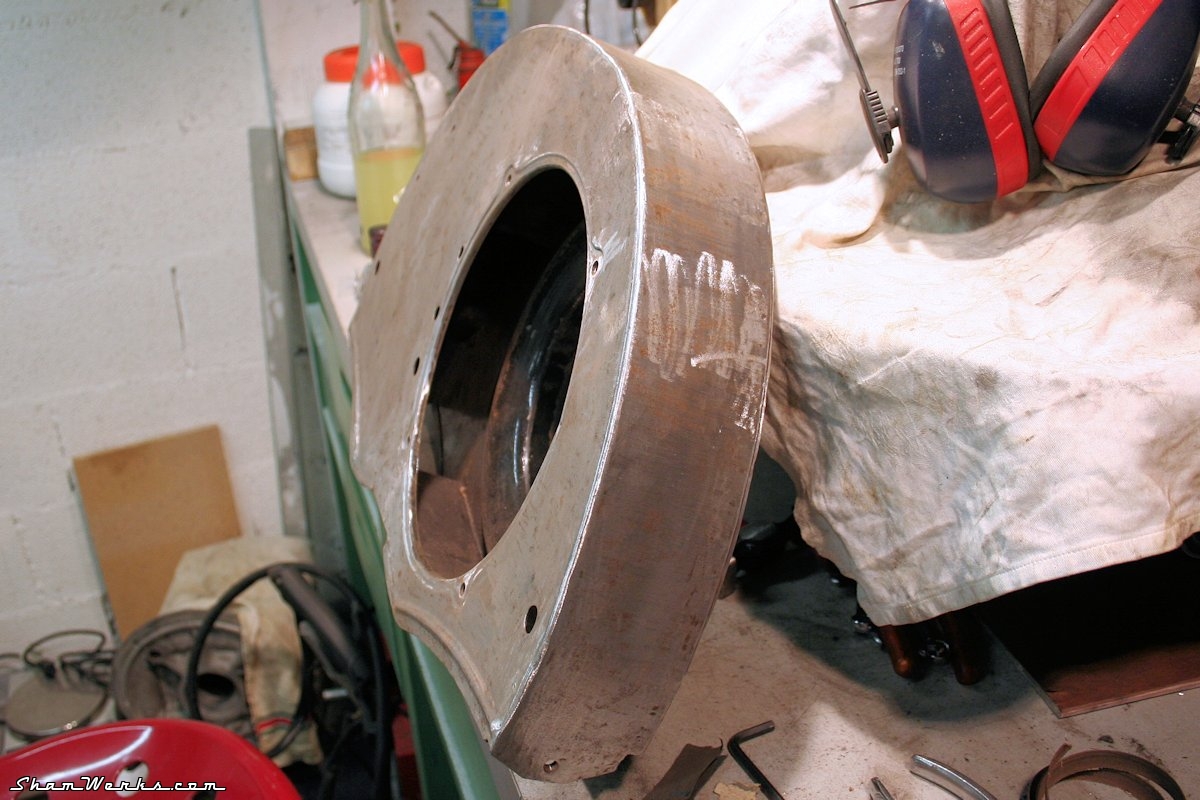
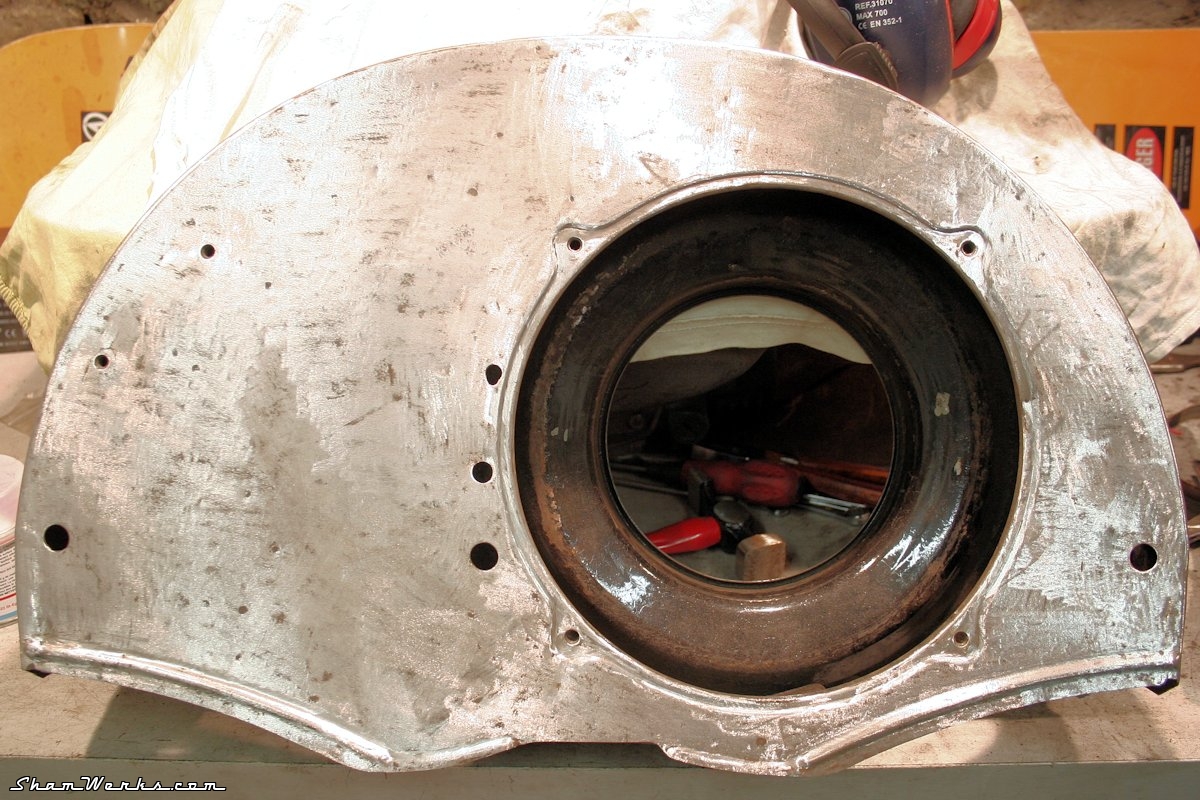
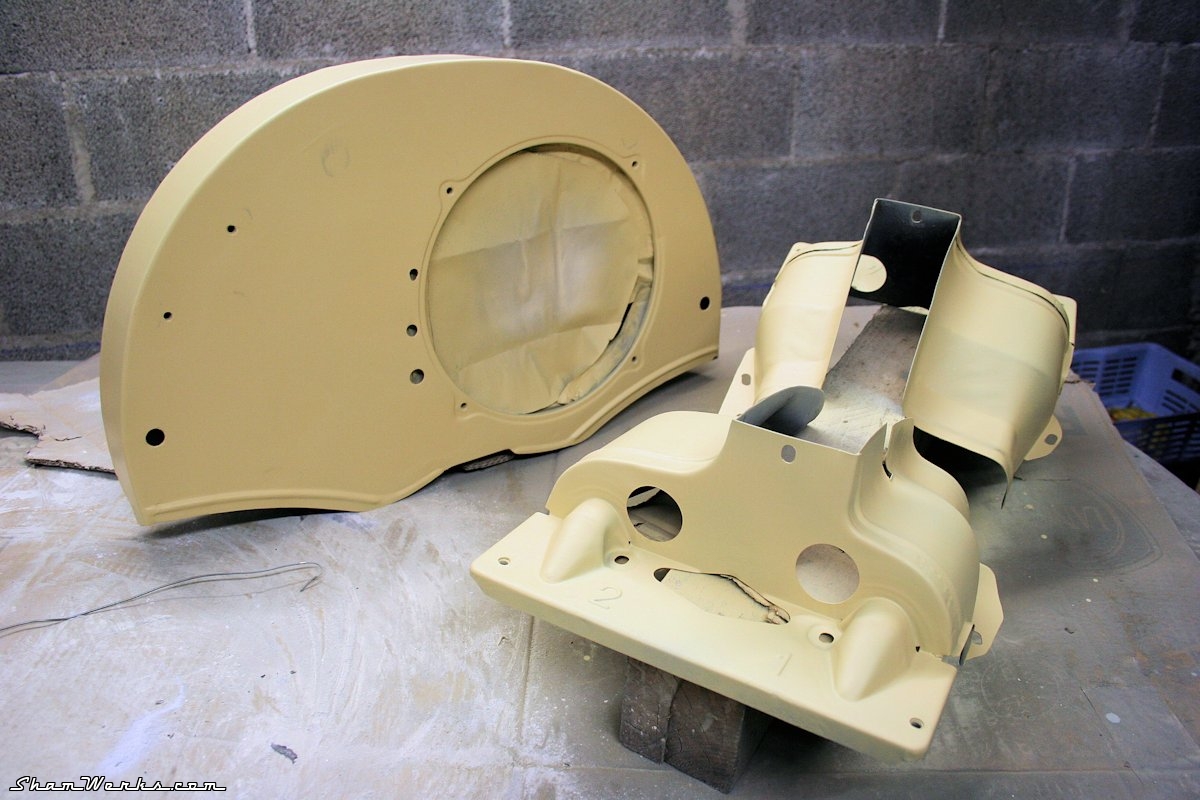
Fan shroud and tinware
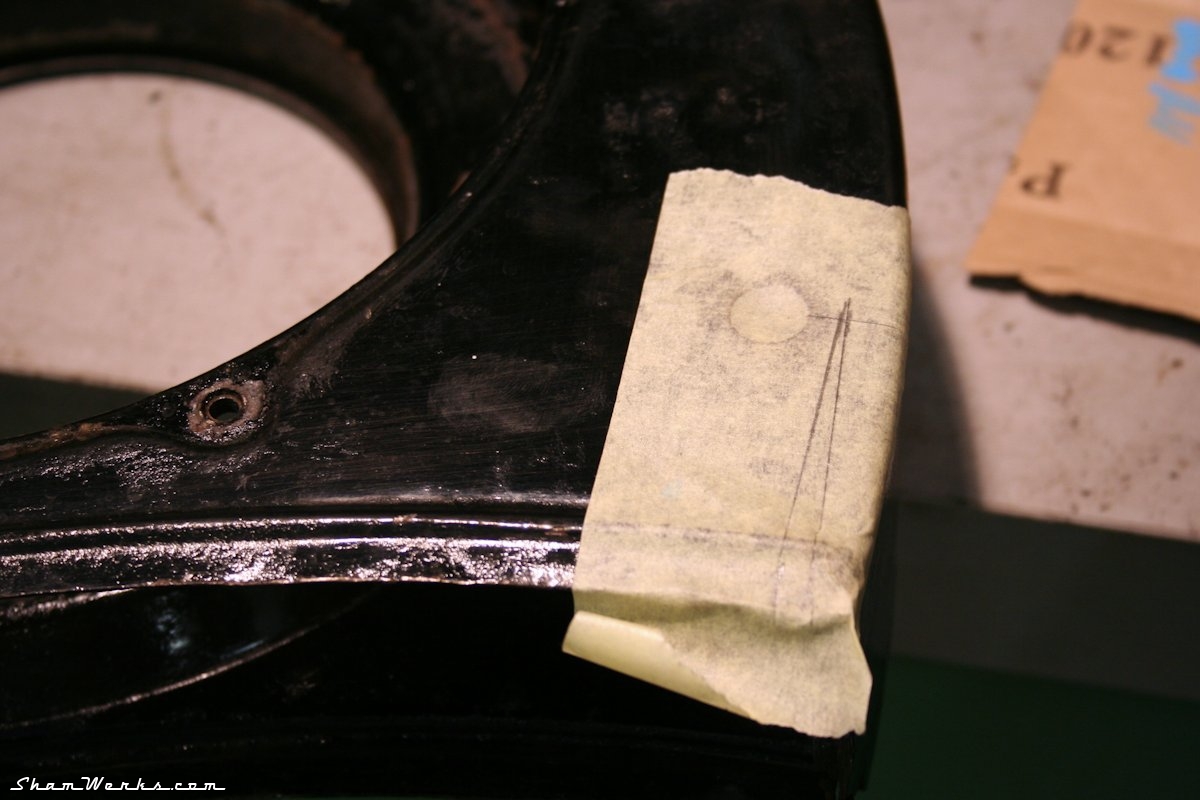
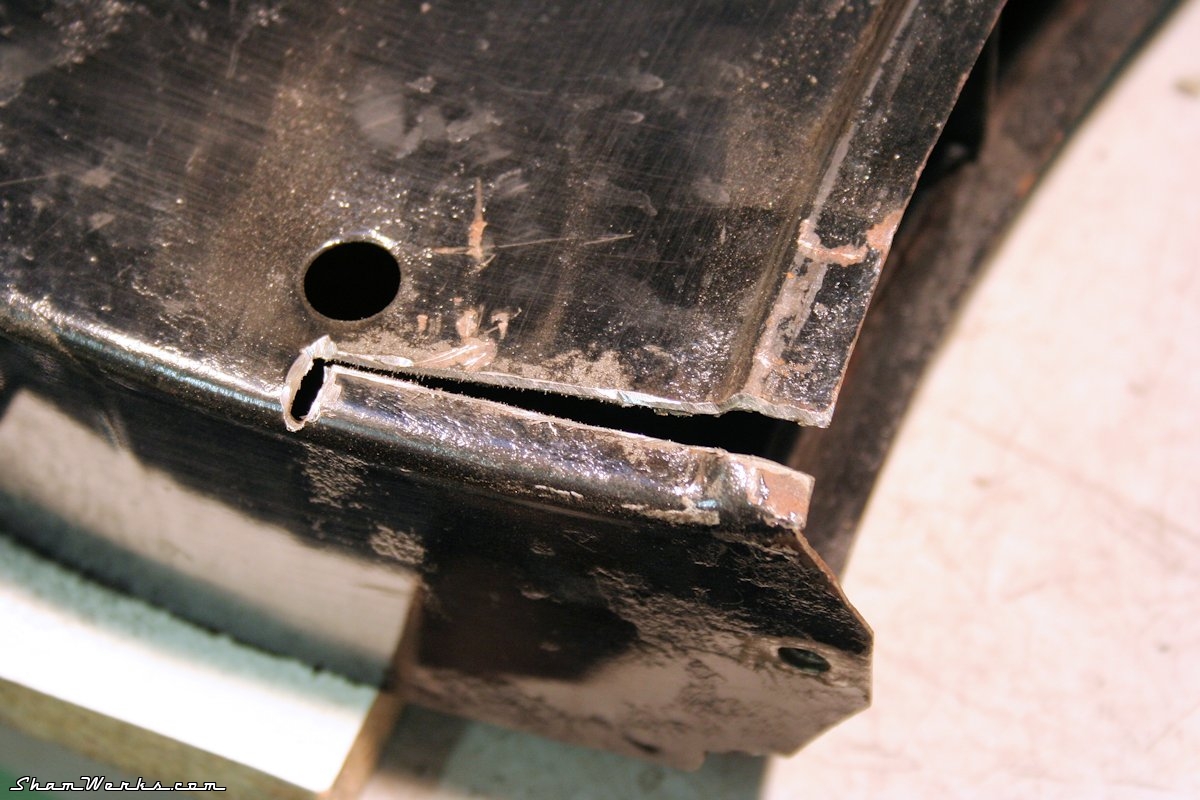
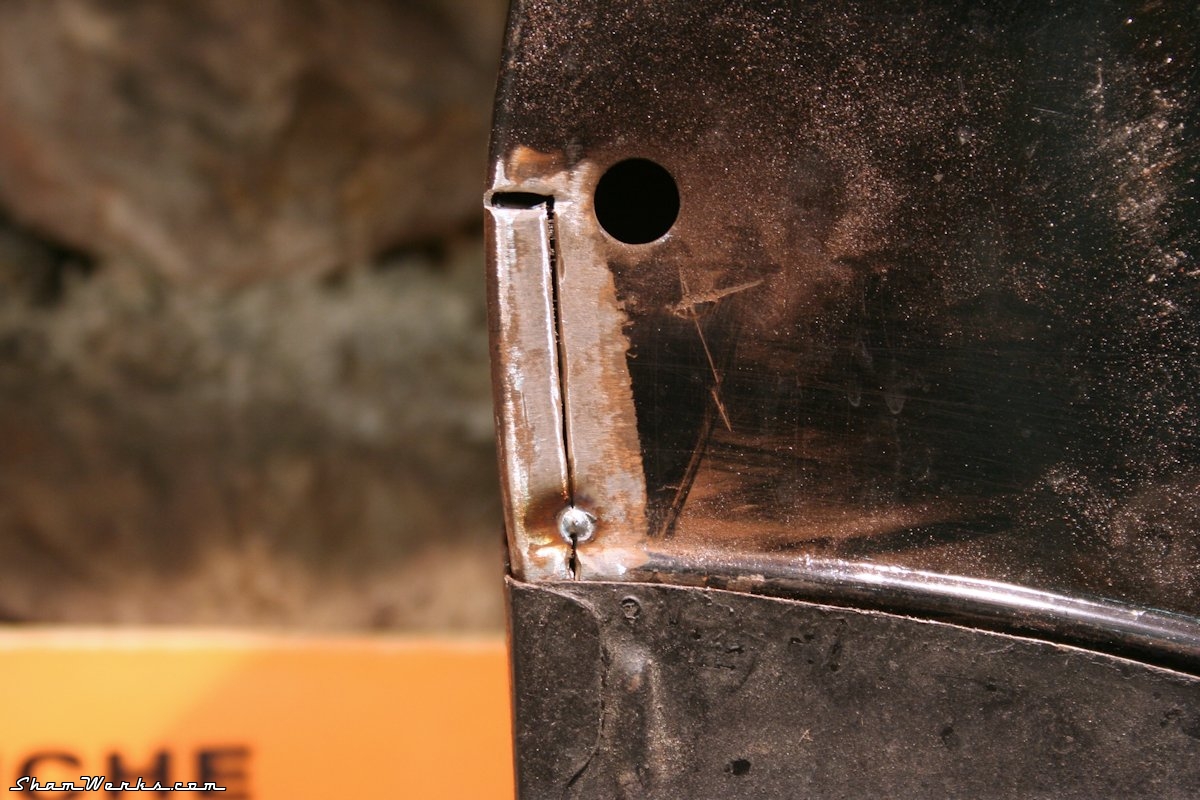
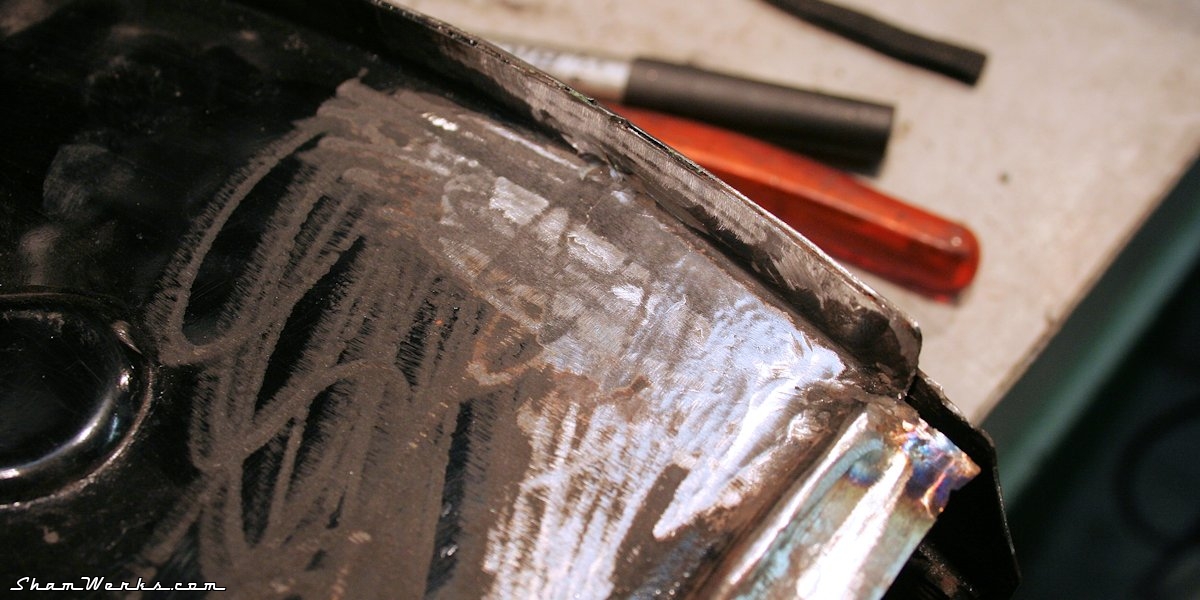
Again, because of my modified cylinder heads, I gotta touch up the tinware to make it fit the new engine width.Since I'd rather keep my original tinware untouched, I managed to get my hands on a new set of tinware and fan shroud to modify them. That new shroud is slightly different than my original one, it doesn't feature the top recess (which makes room for the oil bath air cleaner)... Prolly an older shroud ; well, since I wanna move later to a two carbs setup...
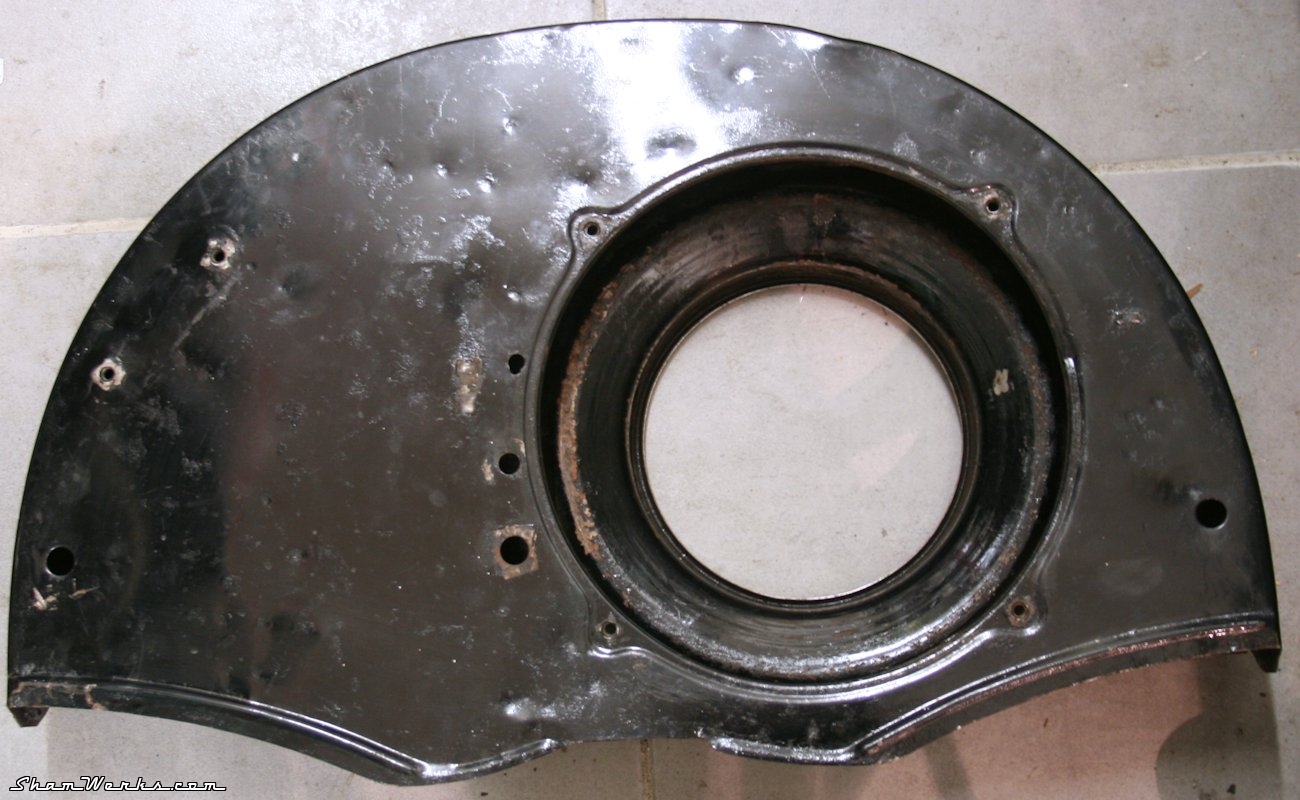
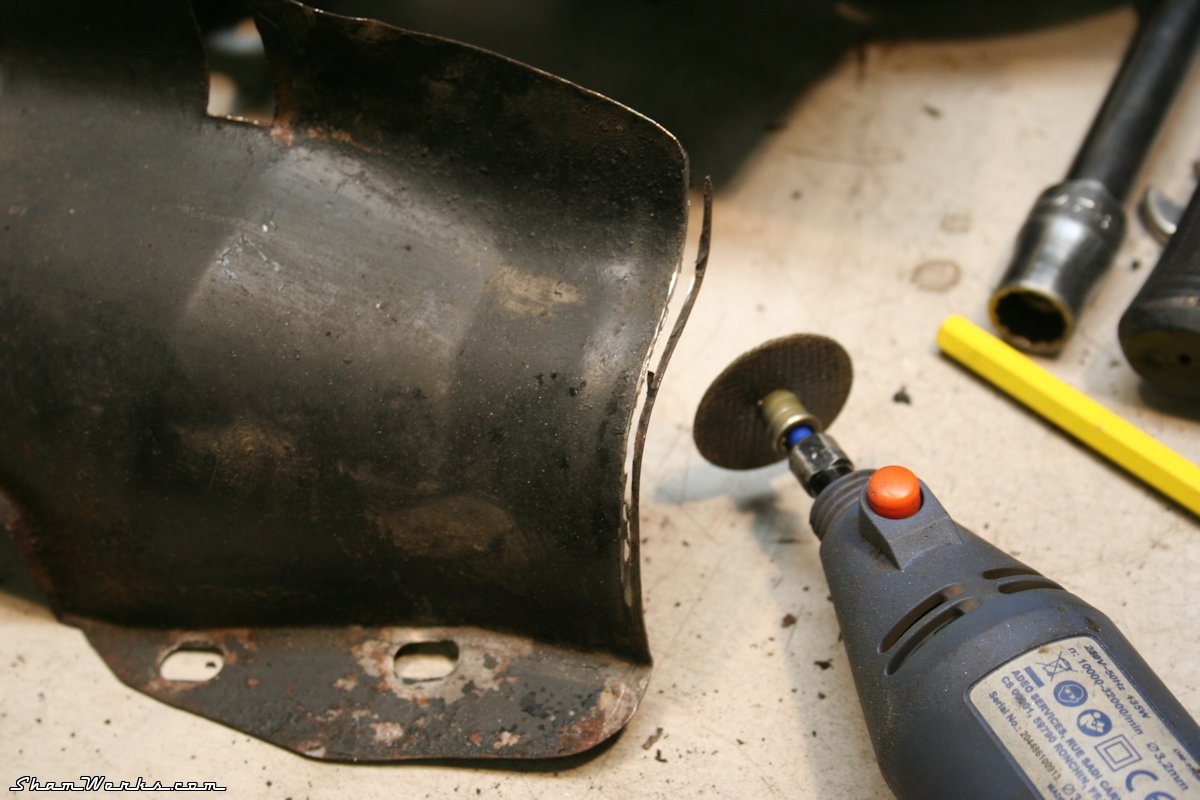
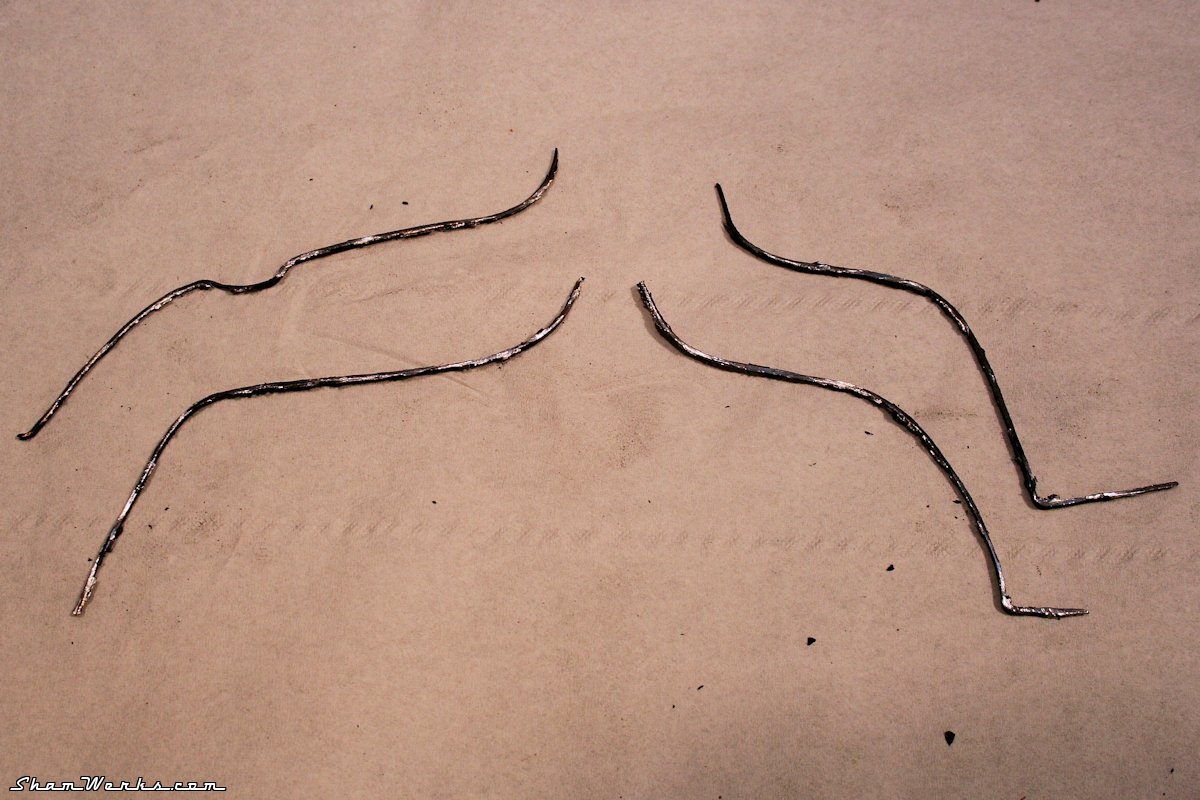

Well, it did take a few hours to weld/grind! 😁


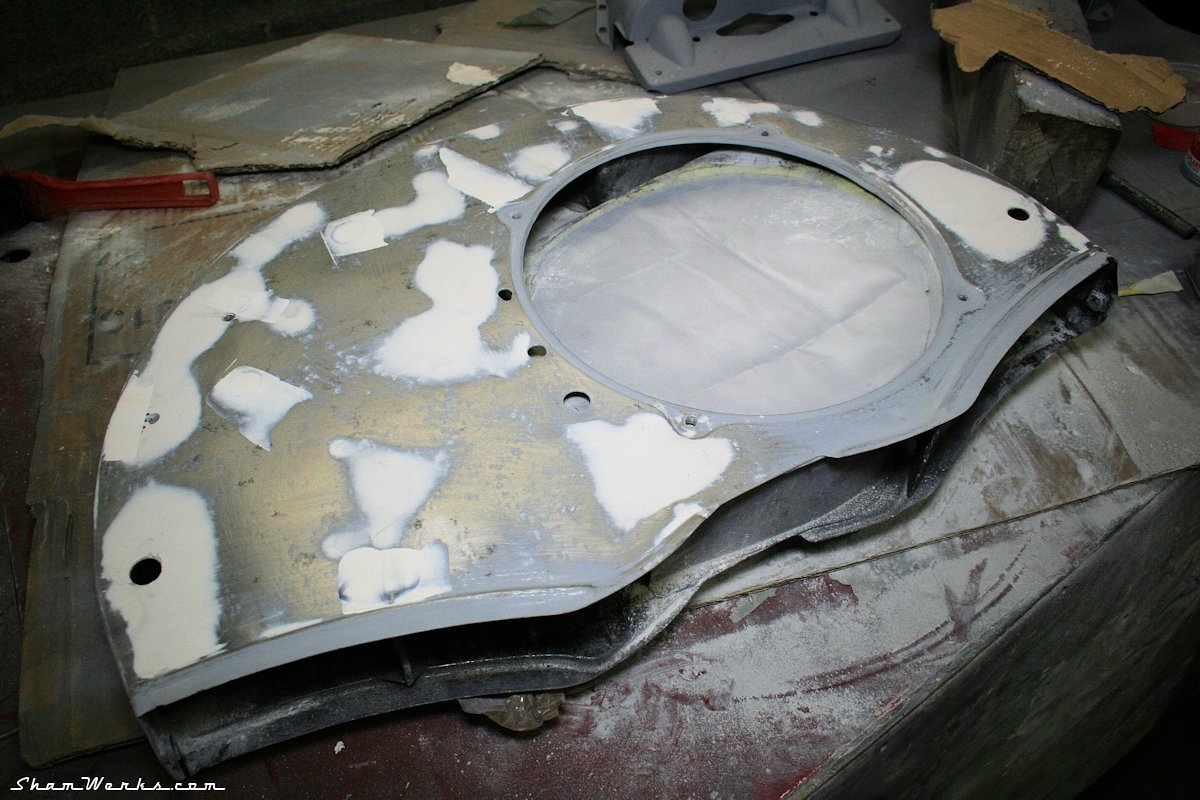
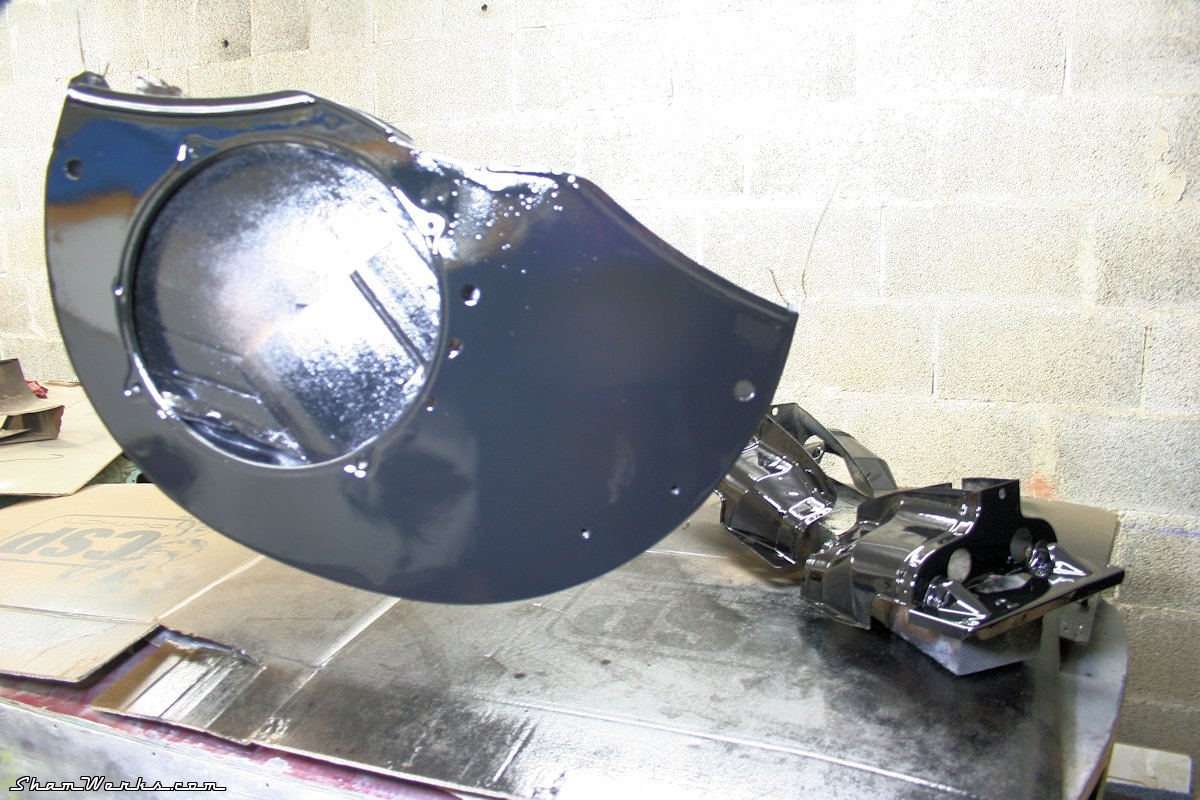
I wanted to give a shot to this product for a while now, as a friend recommended it to me... Not exactly cheap (25€ the spray can at Vernicispray), but I gotta say, the result has NOTHING to do with that of a standard spray can! Shiny! Well, sure, as I used it in my dusty garage, it's not perfect by any means, but way good enough for engine tinware as far as I'm concerned.
In order to use these spray cans, you first have to hit the bottom cartridge, that holds the hardening component, then shake the damn thing a couple of minutes. You than have 6 to 7 hours to use the product before it hardens... So you need a bit of organization if you want to spray more to one coat!
Just one drawback I experienced : it might be because the temperature in my garage was too low, but by the end of the can, it spitted droplets instead of a nice even spray (even though I did heat the can before use by putting it above a radiator, and made sure the nozzle remained clean)... Just be careful.
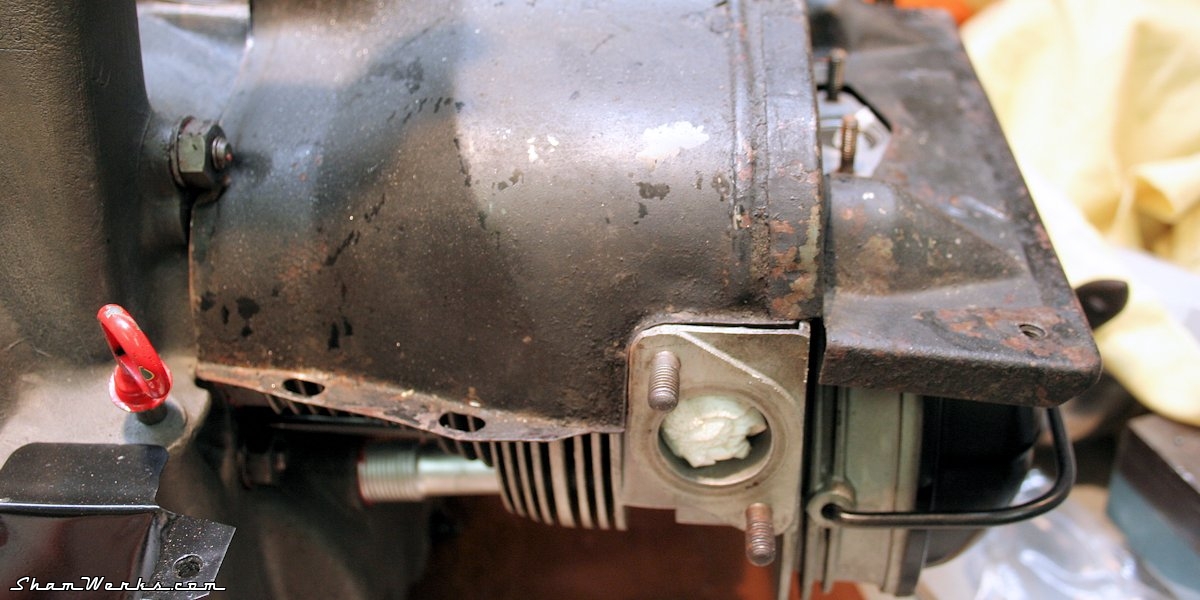
The oil filler, small tin below fuel pump, and front/back half-moon tins all get their lick of paint as well... I did not originally planned to do so, but they looked dull next to the other shiny parts... 😉


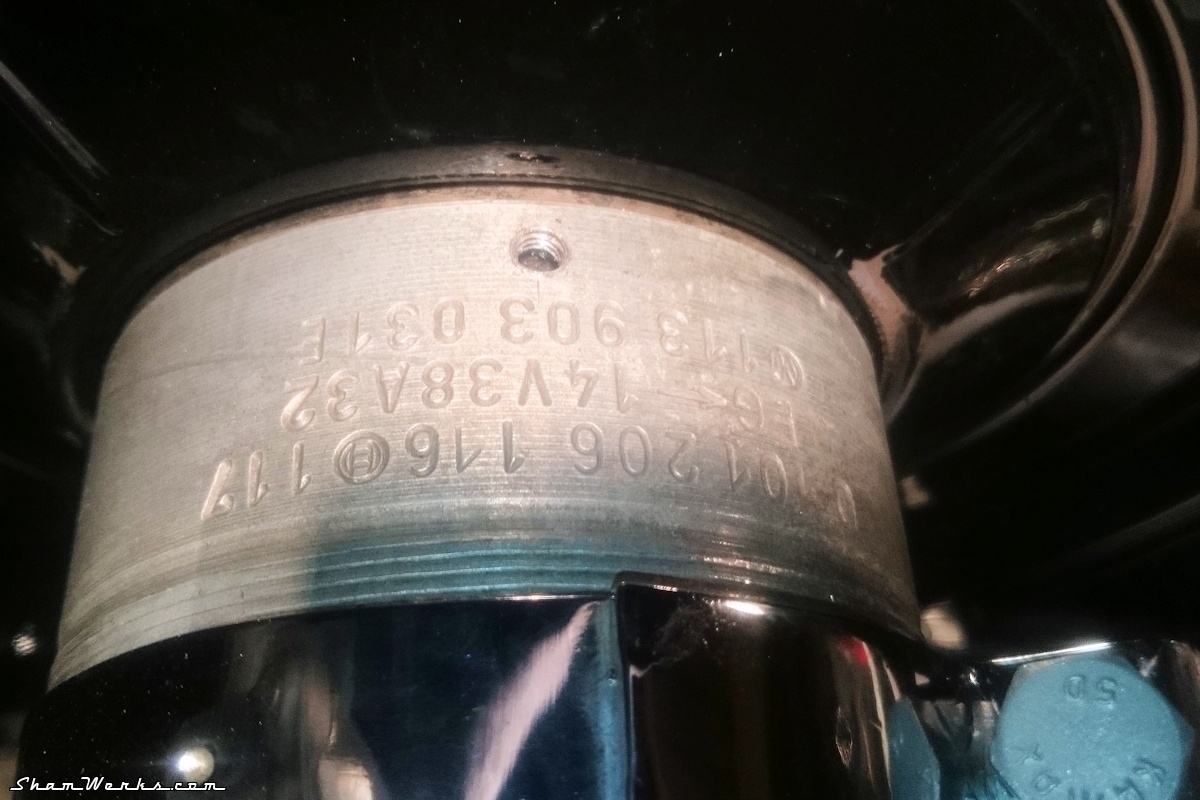
Generator
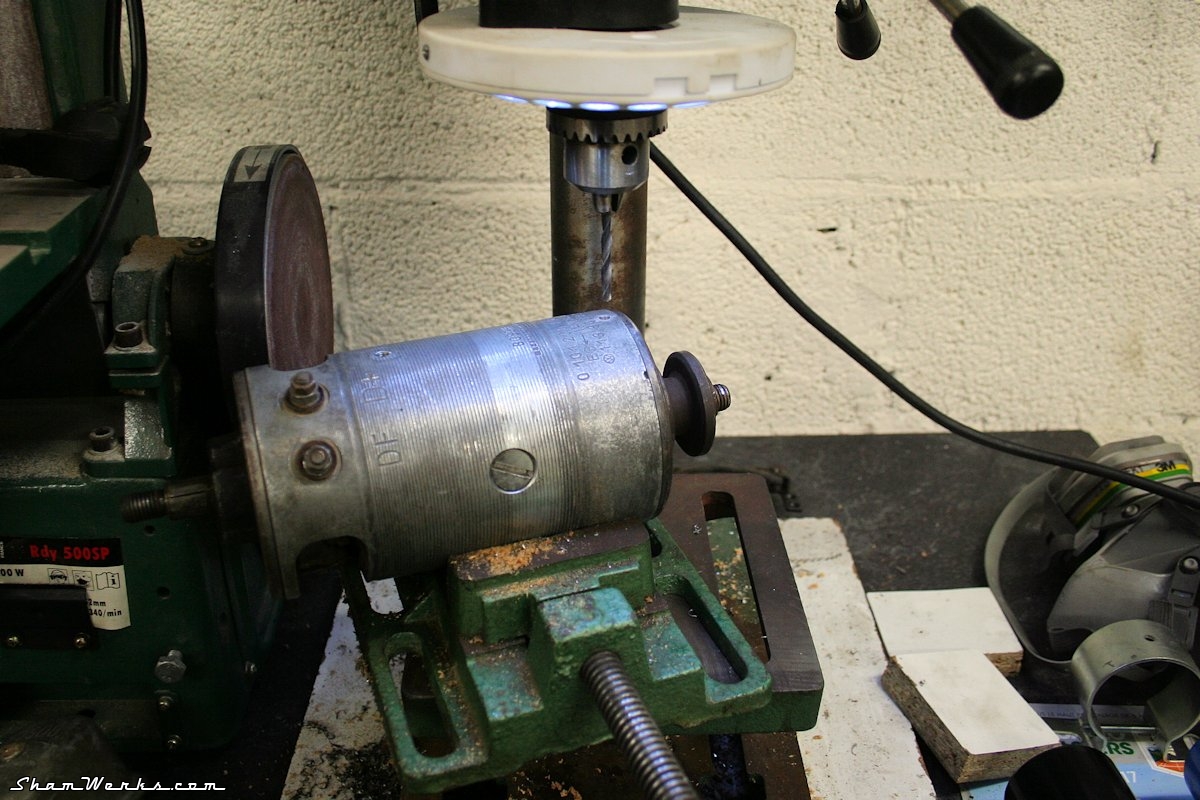
About a dozen years ago, I converted my circuit to 12V, using a rare 90mm generator (ref. VW 113903031E, ref. Bosch 0101206116), and a fitting Bosch 14V 25A regulator (ref. Bosch 0190350049).But that regulator only held by one single screw on top of the generator, and since it was a bit too long, it had to be set askew... And, well, you know my OCD.
So i took a deep breath, a drill press, and drilled a 4.2mm hole in the generator body (making sure I wouldn't drill into a coil inside, obviously), which I proceeded to tap at 5x80 like the other one. Done! I then gave a lick of paint to the regulator, cut 3mm from its back stand, and now it ssits aligned with the generator. Much better!
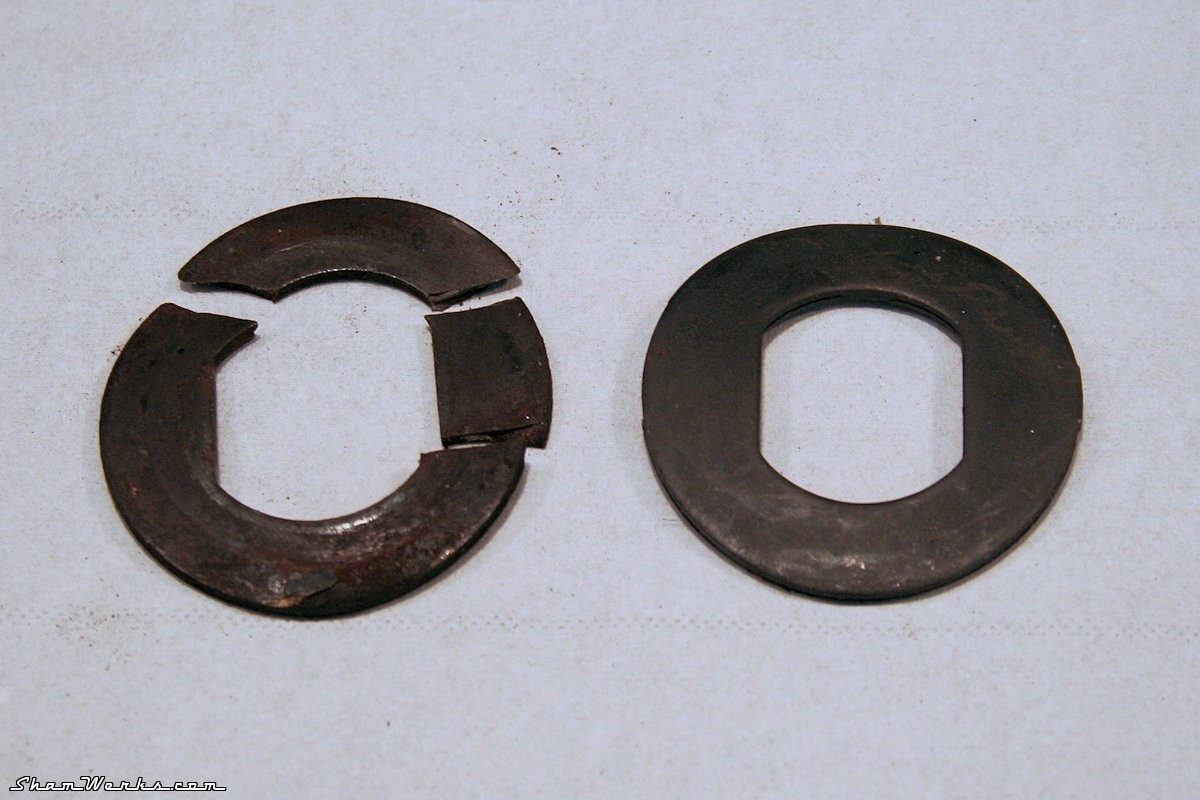
As usual, since nothing is ever simple, while putting back together the fan assembly, torquing the nut at 6mkg, the expansible washer broke on me... Argh. Ordered a new one from VW Classic Parts (ref. 111119135), yet another week to wait... Damn, restoring these machines requires infinite patience!


...and reassembly!
To put everything back together, I ordered a set of stainless steel tinware screws identical to the original ones (mine weren't looking good). The cardboard "seal" between the generator and its stand is glued in place using Gasgacinch.I also give a coat of satin black on the coil (an actual, real blue Bosch one), the generator's pulley, and the oil pump plate (which I had forgotten, and already showed rust spots).
The coil also receives a sticker reproduction to make it look like an old 6V one... That'll make the trick! 😁
After a bit more of fiddling... TADAAAAA!! 😁


OK, almost there now... If the pain in my shoulder gives me some slack, this baby should run pretty soon! Published on 07/03/2017 / 1 commentaires