

Posted on 03/01/2007 at 00:25
Desktop lamp the Fifties way...
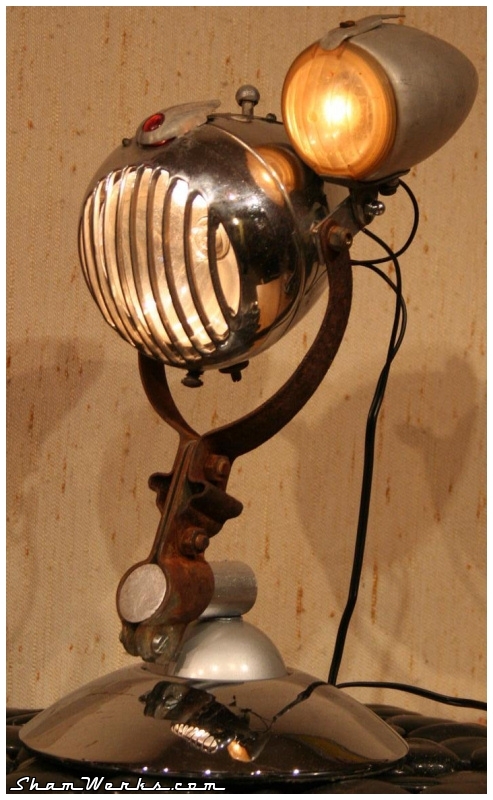
Just a few pictures of my latest realisation...
I had those two headlights getting dusty on a rack for a longtime...
Then I got inspired, and putting together some spare parts I had under my bench, I built this lamp within an hour... And I'm kind of proud of it!
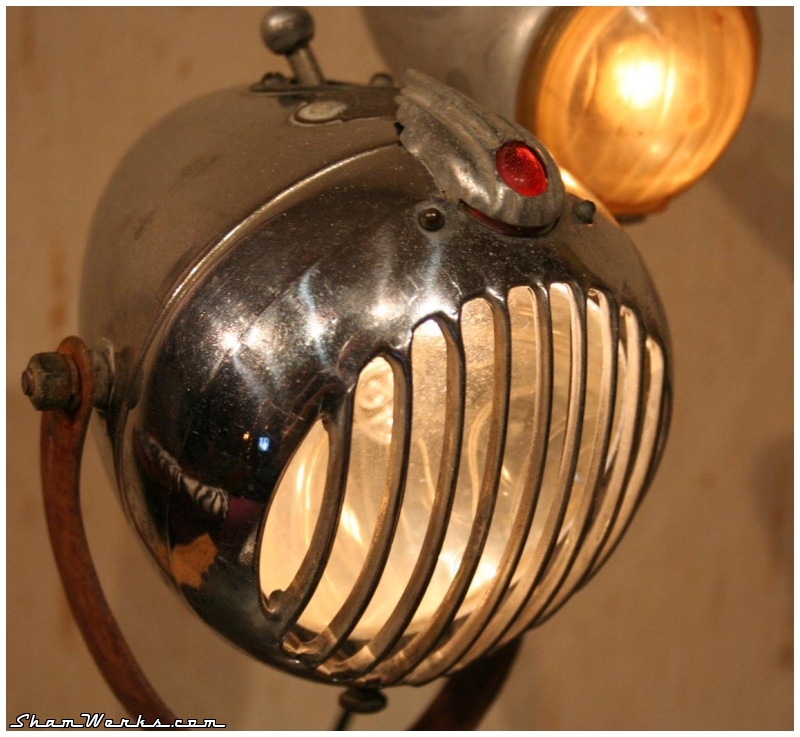
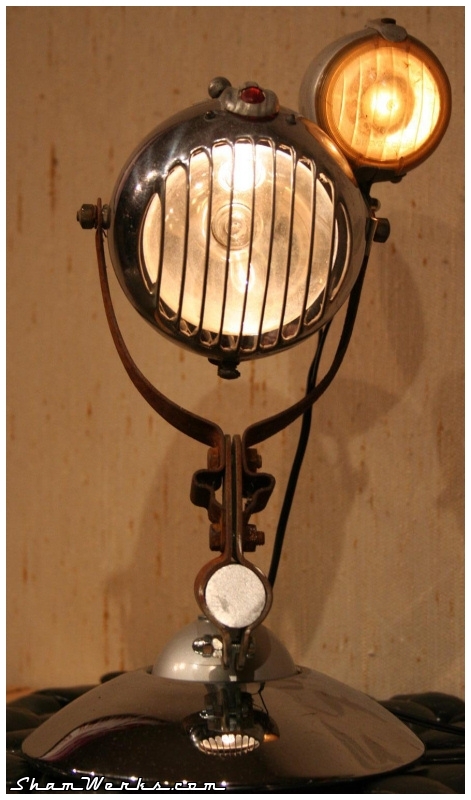
The chromed base has been hacked from a lamp I wasn't using for years... The switch on the bigger headlight is functionnal, selecting high/low beam... A 6 volts transformer behind, and here we are!
I still have to finalize it, adding a general switch, cleaning the cabling stuff... Maybe replacing the smaller light with a chromed one, or even polish this aluminium one...
But it's already on my desk, and I like it a lot... Nice, uh?
Click on all of the 4 pictures to see them full size...
 |  |  |
Posted on 15/01/2006 at 01:59
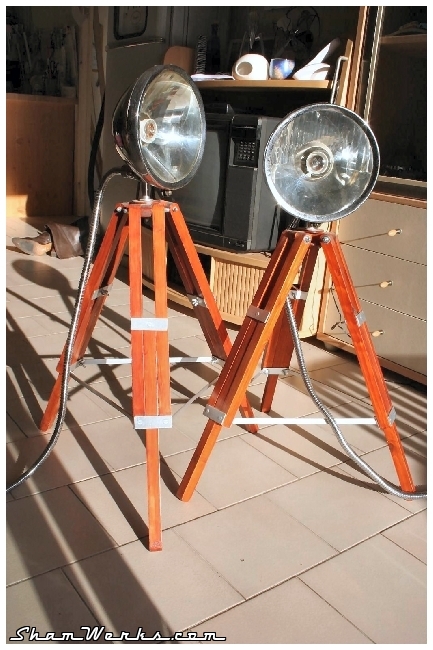
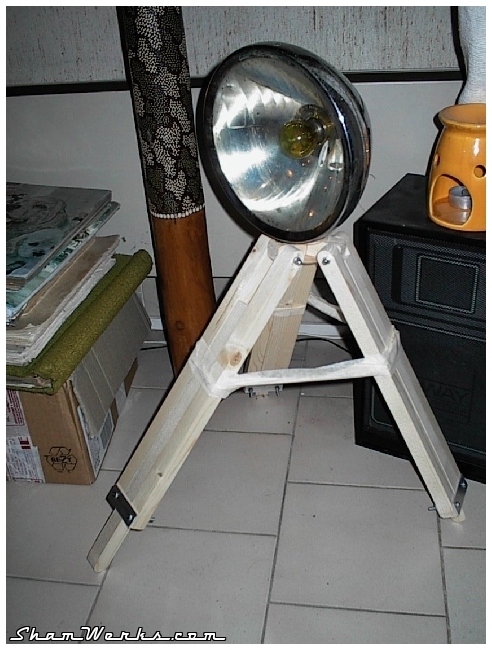
Final Result
And here is the result! Achieved in a few hours of woodworking, plus some patience, I've got great vintage styled lamps! I Love'em... 

Posted on 15/01/2006 at 01:50
Fabrication...
I had this idea in mind for quite a long time. I had seen such lamps in an American series, can't remember which one... Friends maybe?
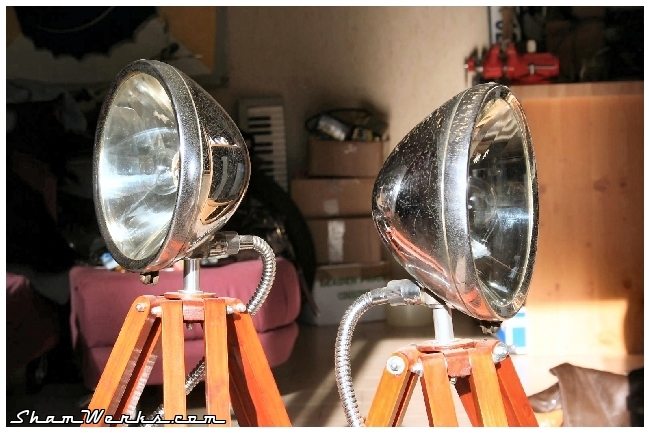
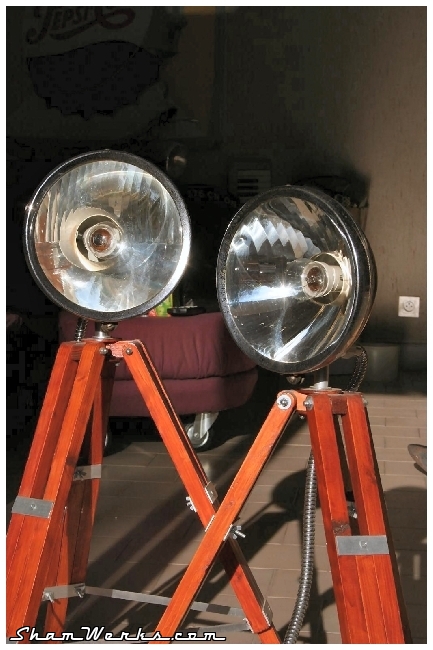
After month staring at eBay to find a pair of headlights with the correct aspect, chromed, and for an affordable price, I finally found those babies for 30 euros at a scrap merchant at 5 minutes driving from home! Don't know the origin of these, probably Renault during the 40's...
These 2 headlights are exactly like I wanted them, with only a few rust spots on their back. The building process can start!
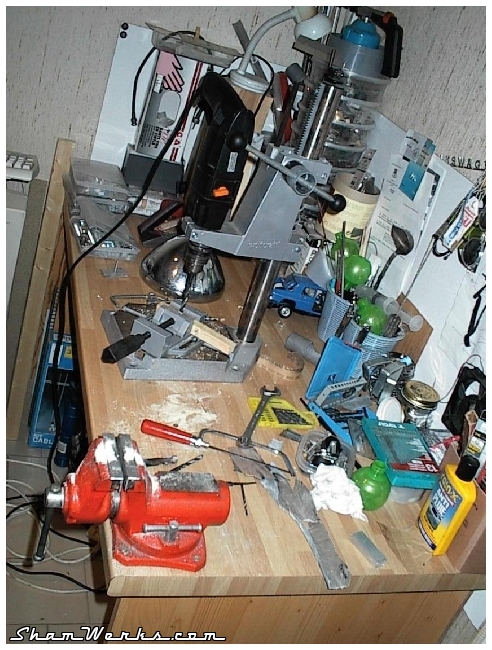
Here we go! My workbench gets covered with some fine wood dust...
 I keep on cutting pin wood for the tripod...
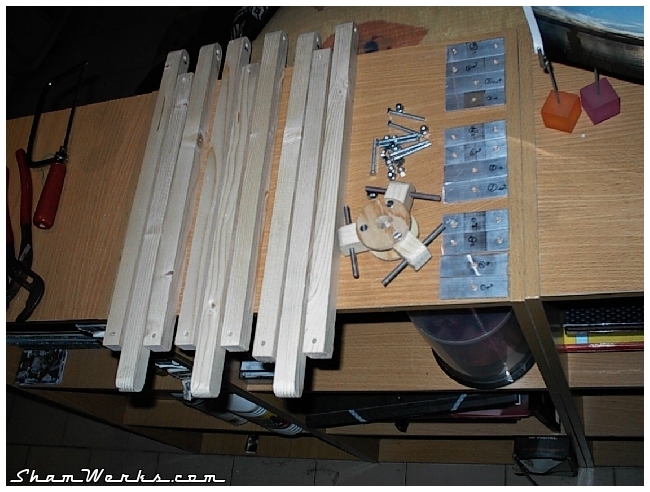
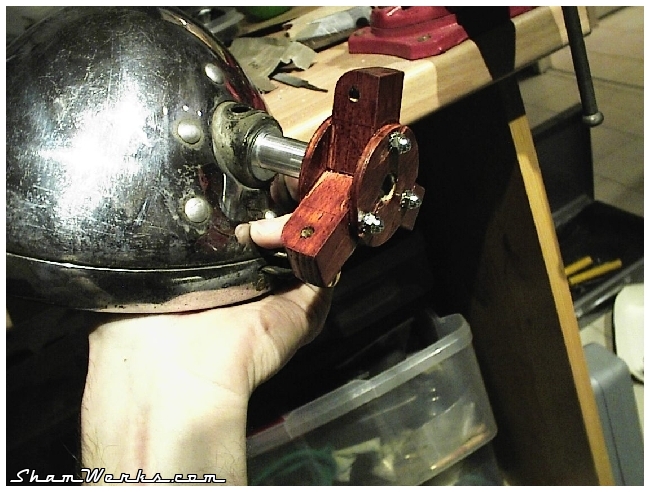
3 parts parts per foot, 3 feet per lamp, 2 lamps... It makes 18 parts to cut, sand, drill, adjust!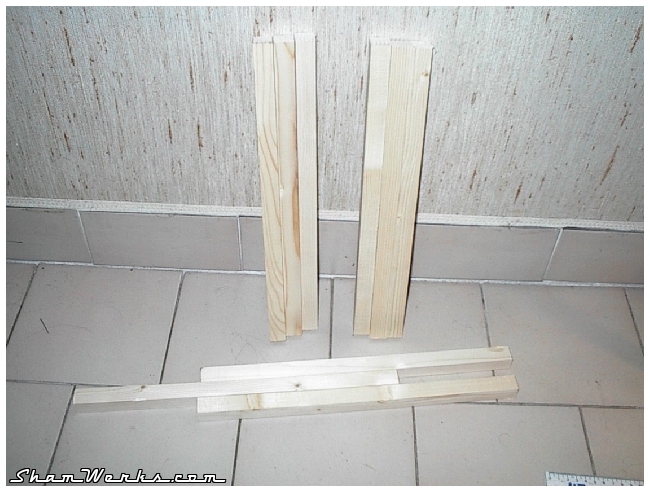 The only tricky part : the tripod's "head", just under the headlight. Well, tricky, but not that much neither...
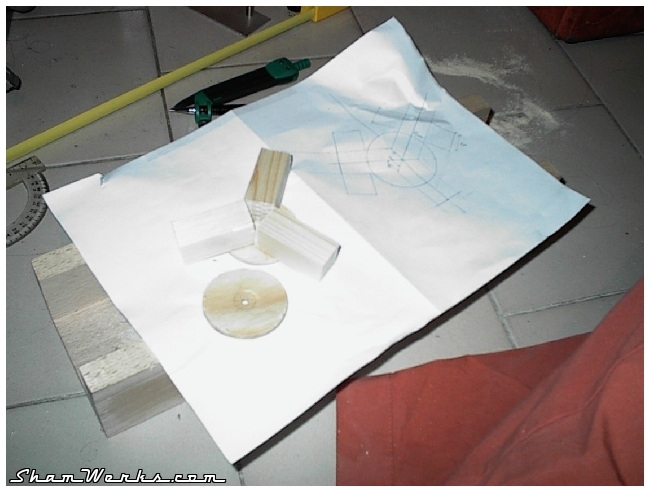
 Here are all the parts needed to assemble a lamp : the 9 parts of pine wood, the tripod head, some screws and bolts... And 12 aluminium plates to cut, grind and drill!
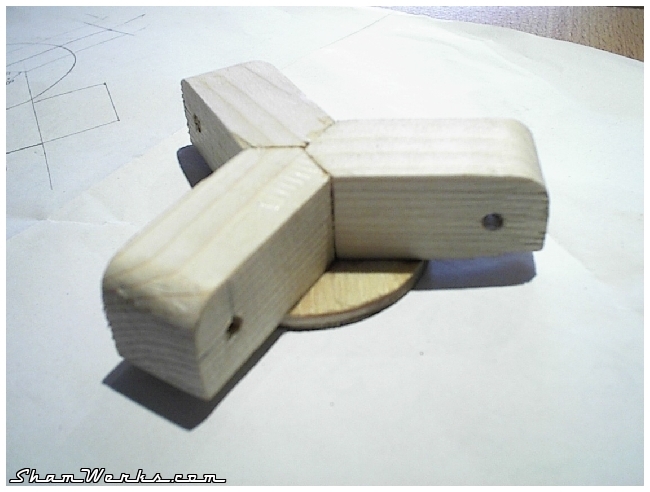
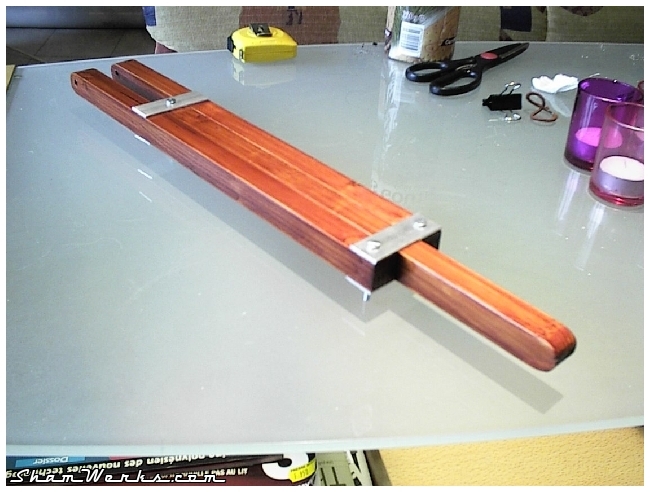
 First assembly, just to double check... OK, I'm happy with it!
 I still have to put some varnish on these babies... I decided to use a mahogany colored varnish which looks nothing but superb. On the other hand, it's bothersome to brush : 3 coats with fine-sanding all the parts (18 parts!) between each layer... That's long...
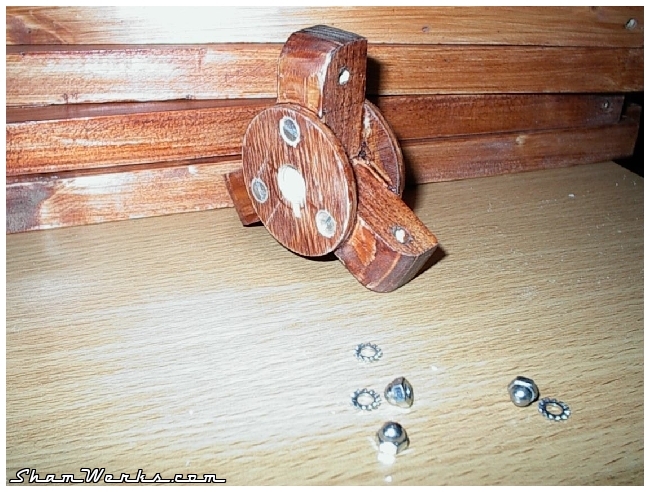
Here, the first batch is quietly drying...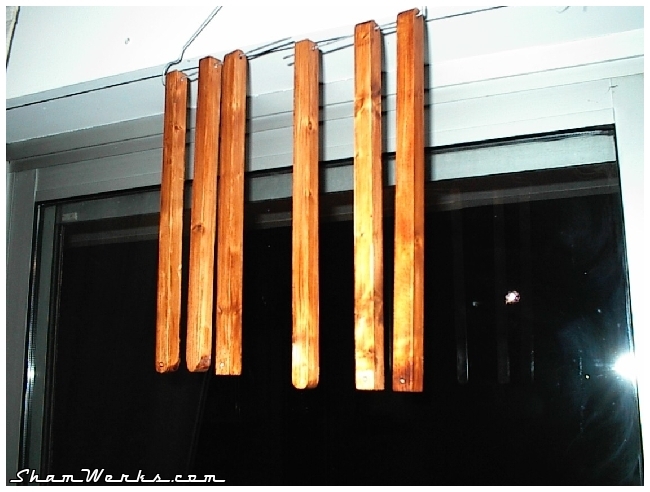 The tripod's head receives some varnish as well...
 These are the aluminium plates used to adjust the tripod's feet length.
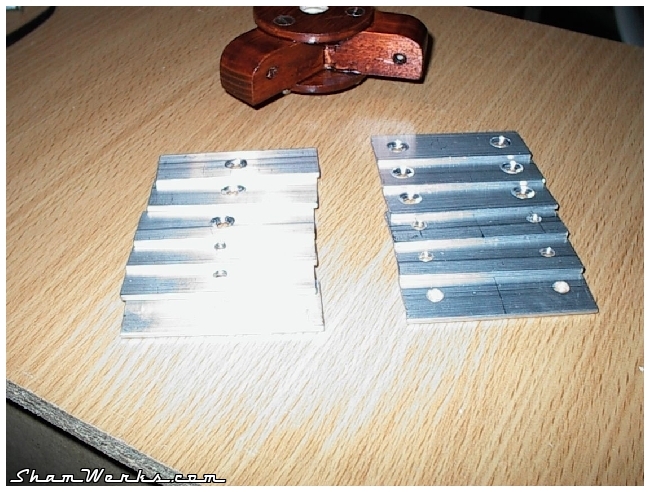 The process is
 fucking boring, but it's worth it! Isn't my first foot beautiful?? Carry on, 5 more to do...
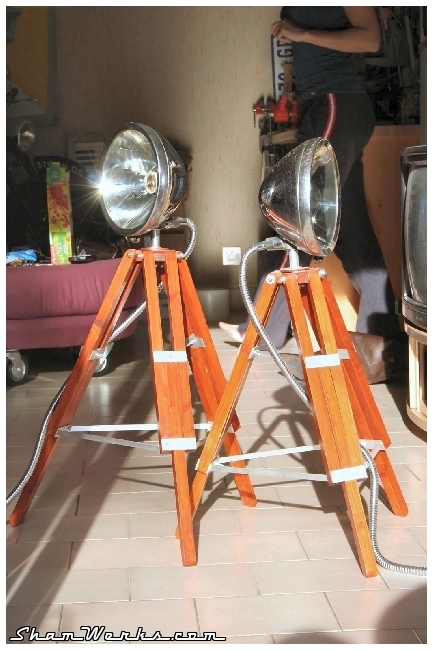
 Finally, assembling the first lamp...
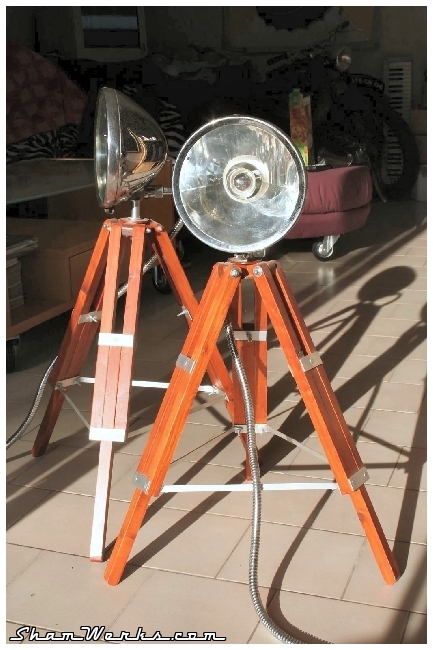
 And... Let there be light!
I used some shower chromed tube to put around the alimentation cable, which sticks to the vintage overall look...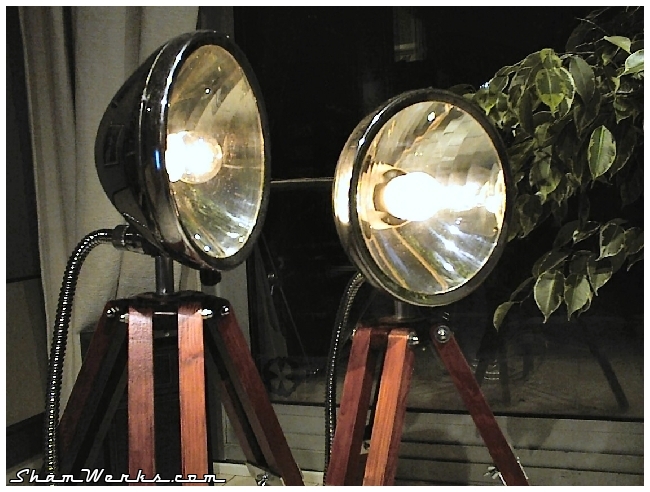
After month staring at eBay to find a pair of headlights with the correct aspect, chromed, and for an affordable price, I finally found those babies for 30 euros at a scrap merchant at 5 minutes driving from home! Don't know the origin of these, probably Renault during the 40's...
These 2 headlights are exactly like I wanted them, with only a few rust spots on their back. The building process can start!
Here we go! My workbench gets covered with some fine wood dust...
3 parts parts per foot, 3 feet per lamp, 2 lamps... It makes 18 parts to cut, sand, drill, adjust!
Here, the first batch is quietly drying...
I used some shower chromed tube to put around the alimentation cable, which sticks to the vintage overall look...

1