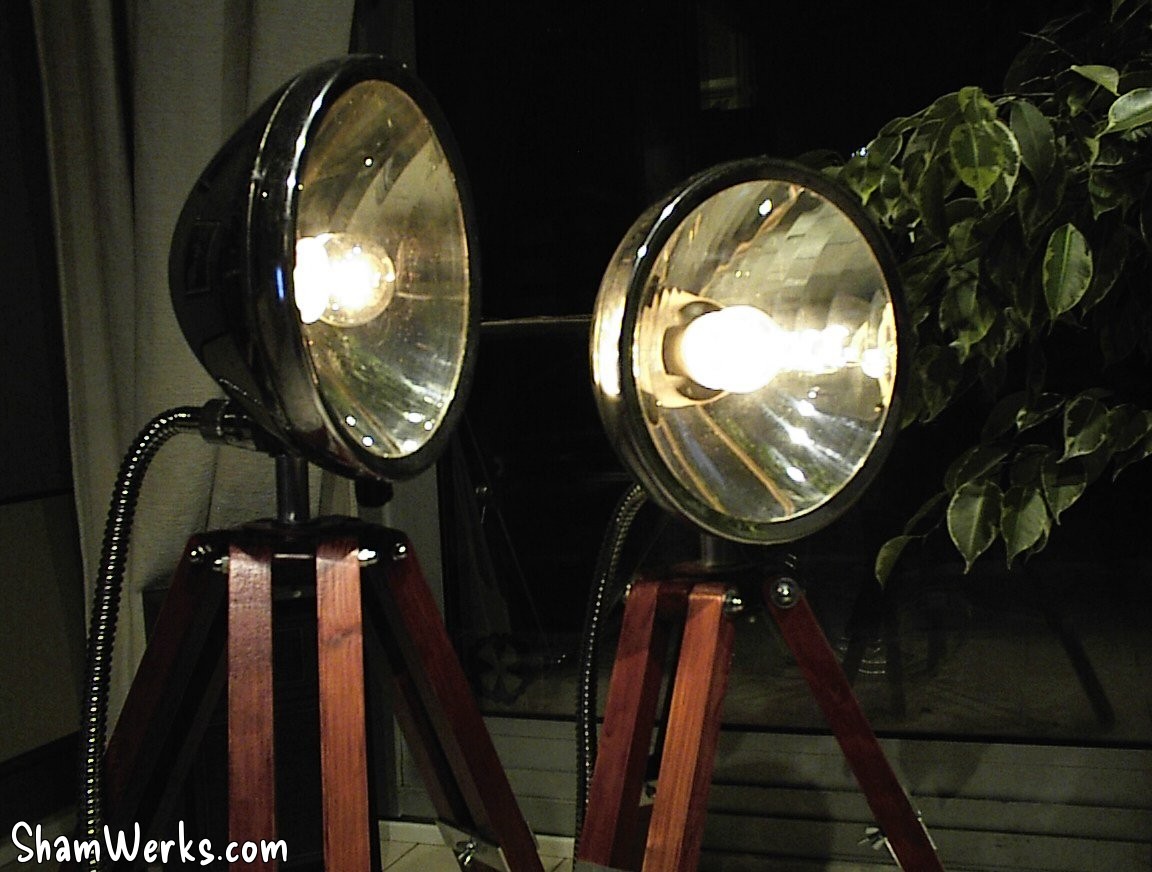
Tripod headlight lamps
I had this idea in mind for quite a long time. I had seen such lamps in an American TV show, can't remember which one... Friends maybe?
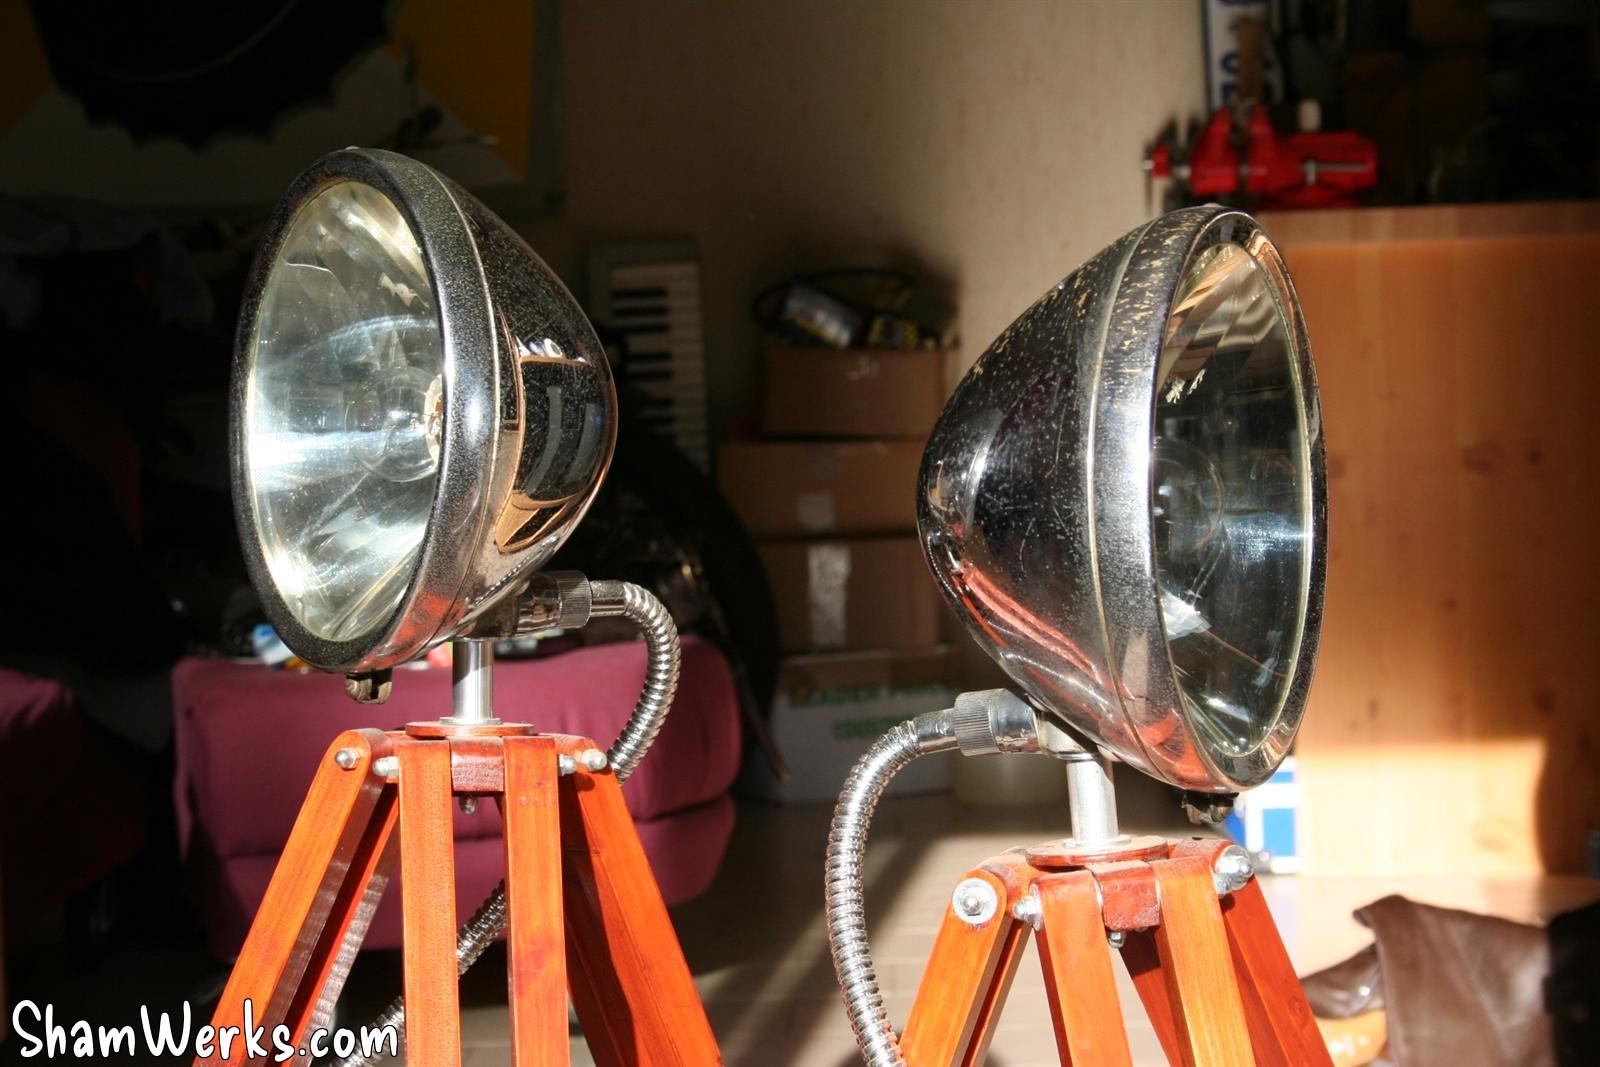
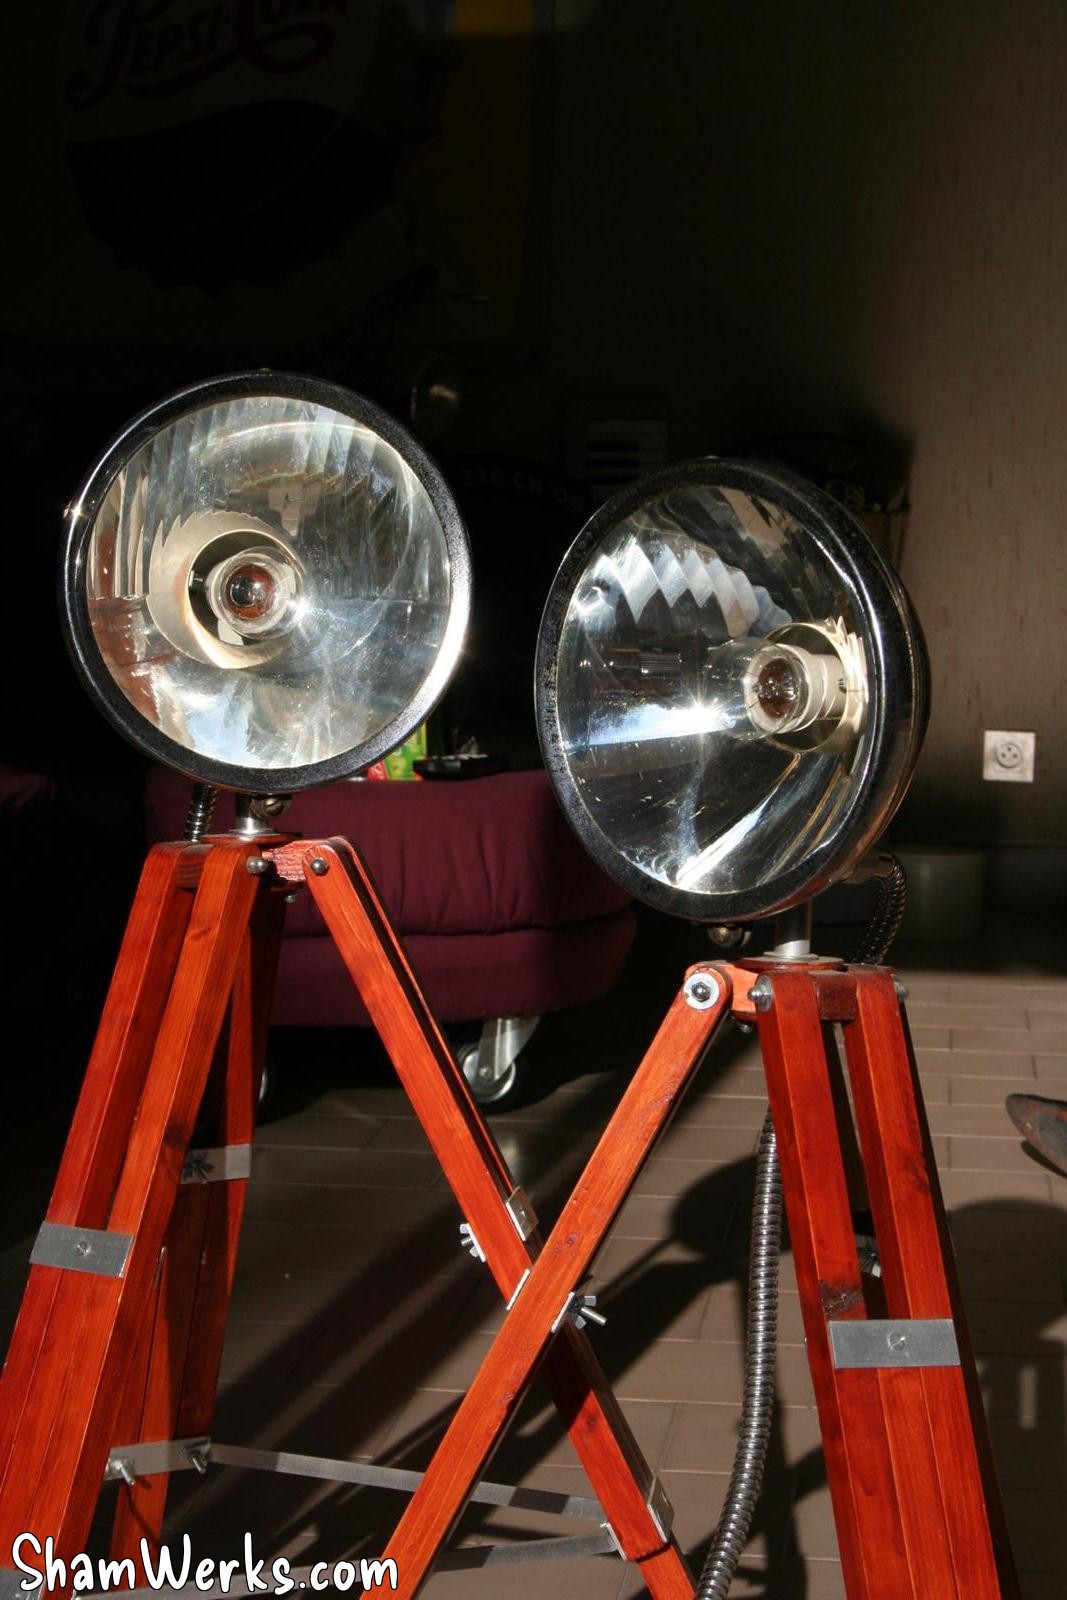
After month staring at eBay to find a pair of headlights with the correct aspect, chromed, and for an affordable price, I finally found those babies for 30 euros at a scrap merchant at 5 minutes driving from home! Don't know the origin of these, probably Renault during the 40's...
These 2 headlights are exactly like I wanted them, with only a few rust spots on their back. I can now start making the tripods!
Fabrication
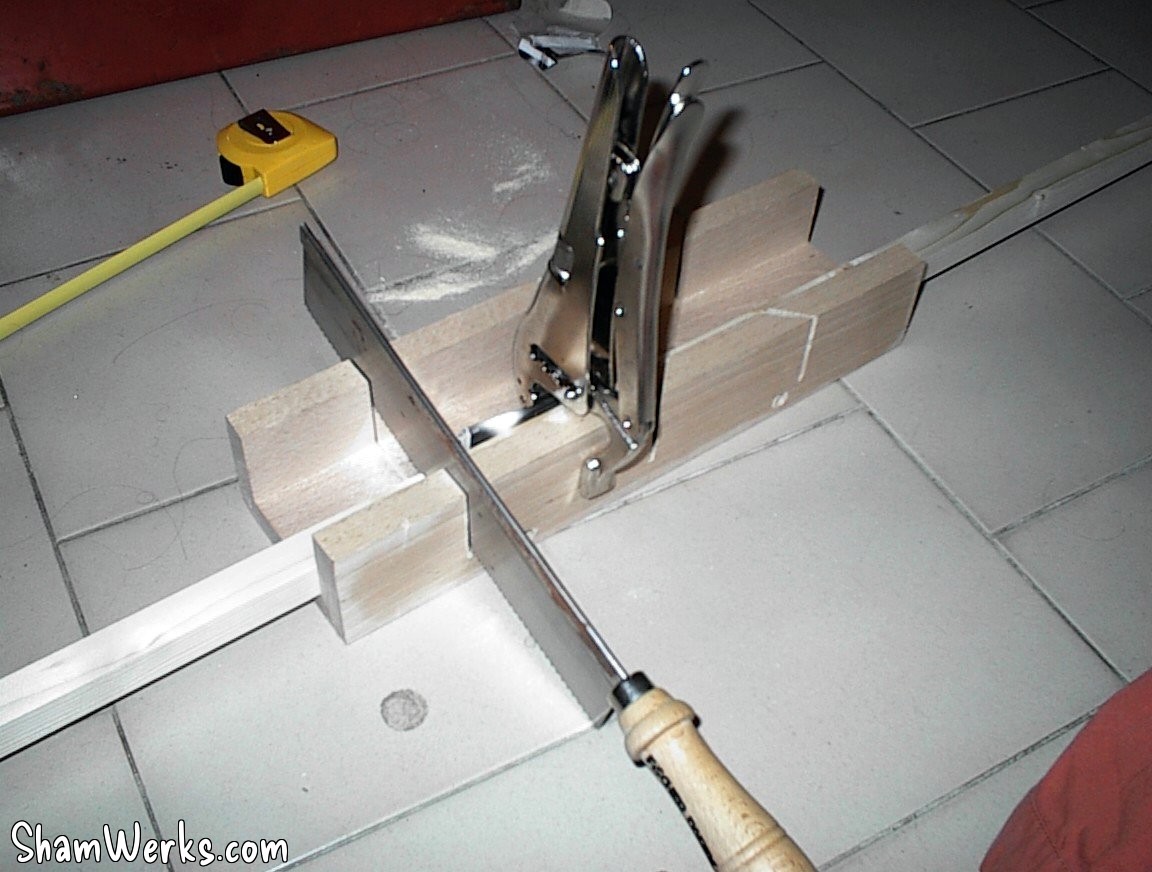
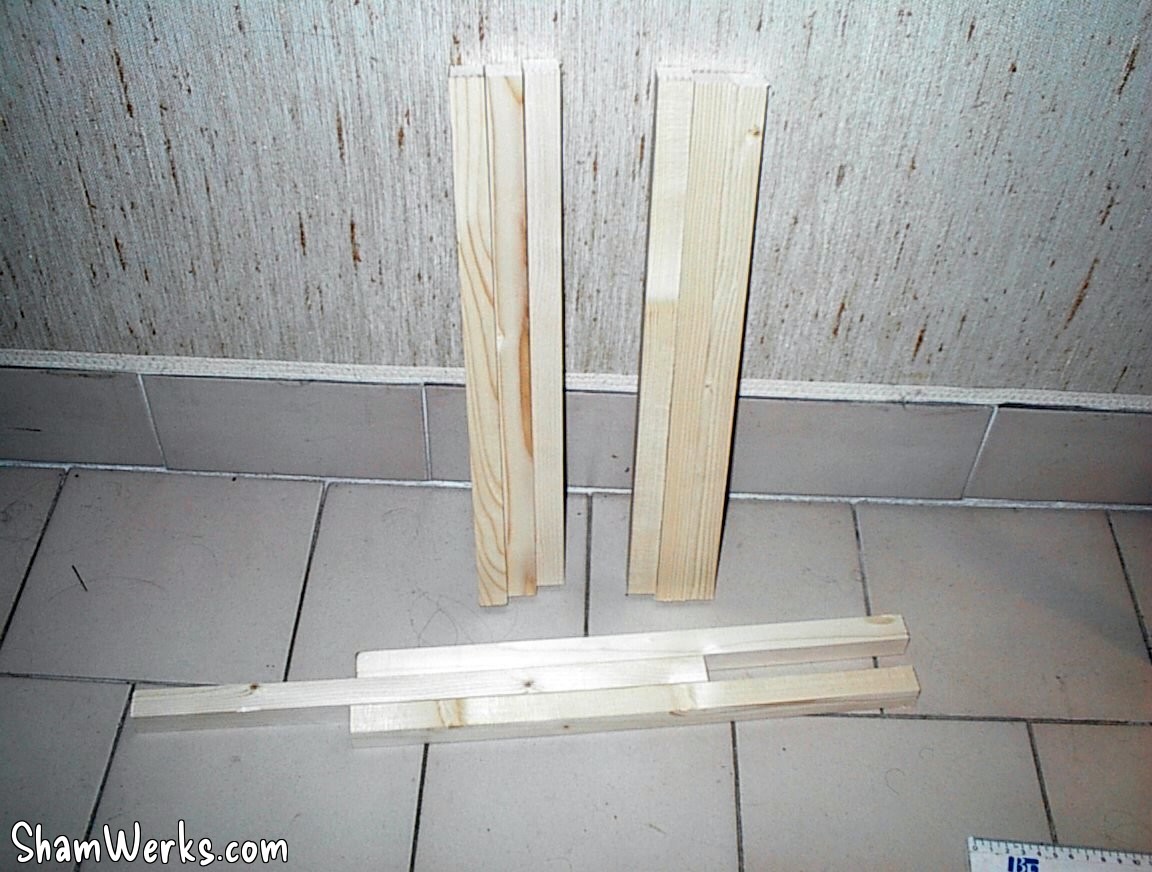
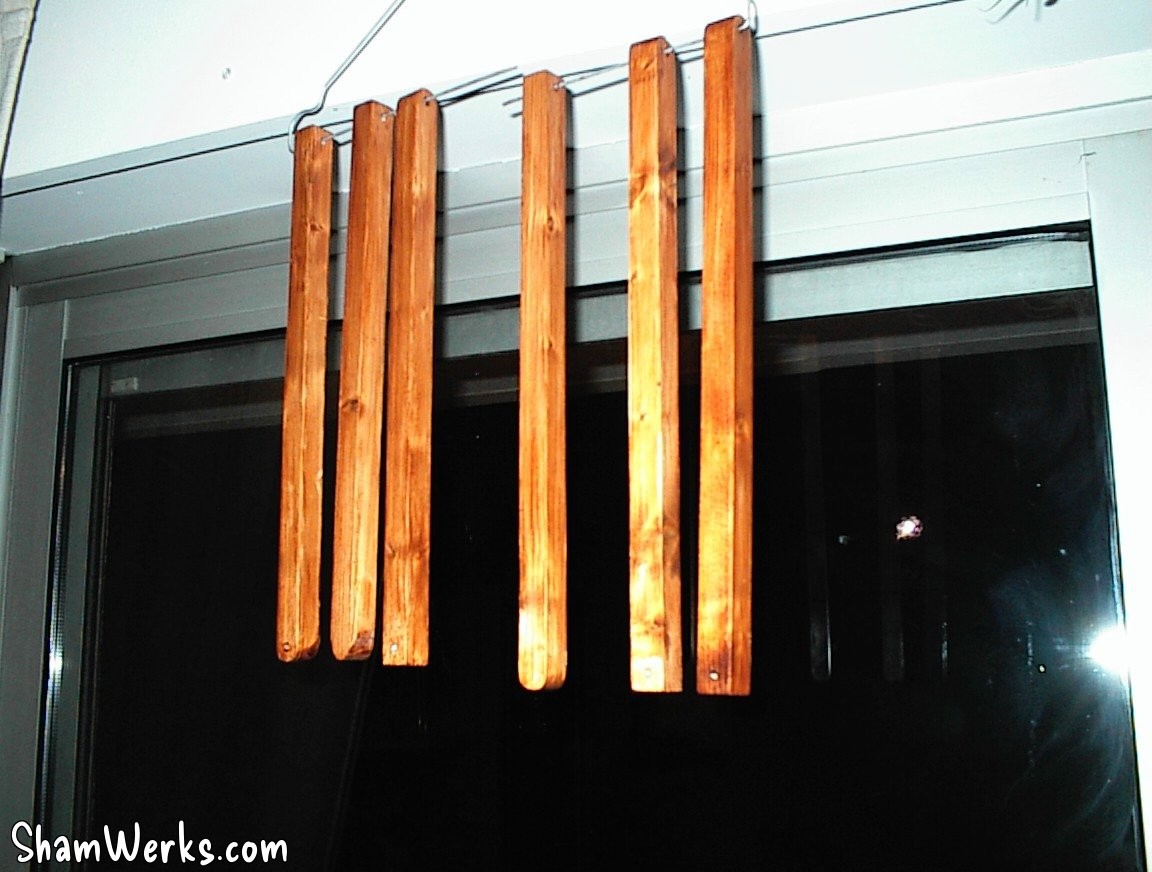
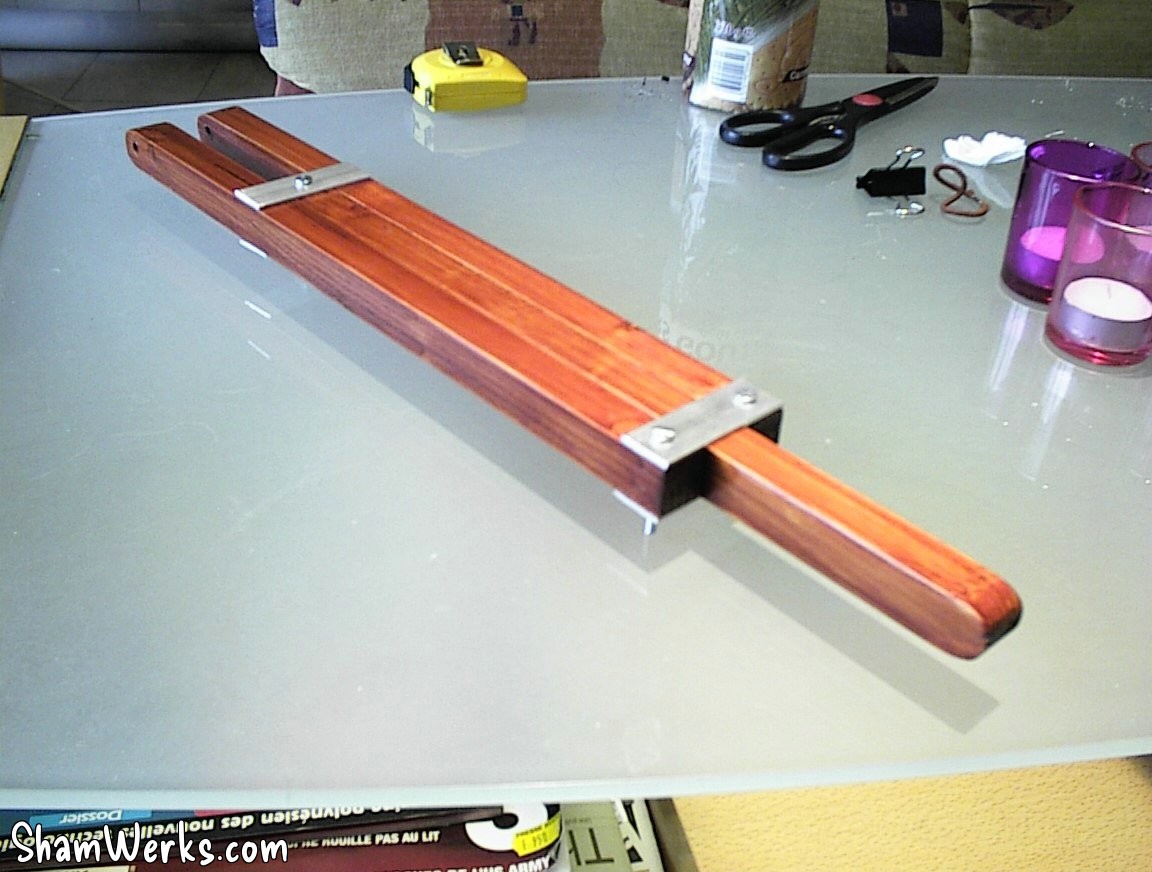
I start cutting pine wood for the tripod legs : 3 parts per leg, 3 legs per lamp, 2 lamps... It makes 18 parts to cut, sand, drill, adjust!
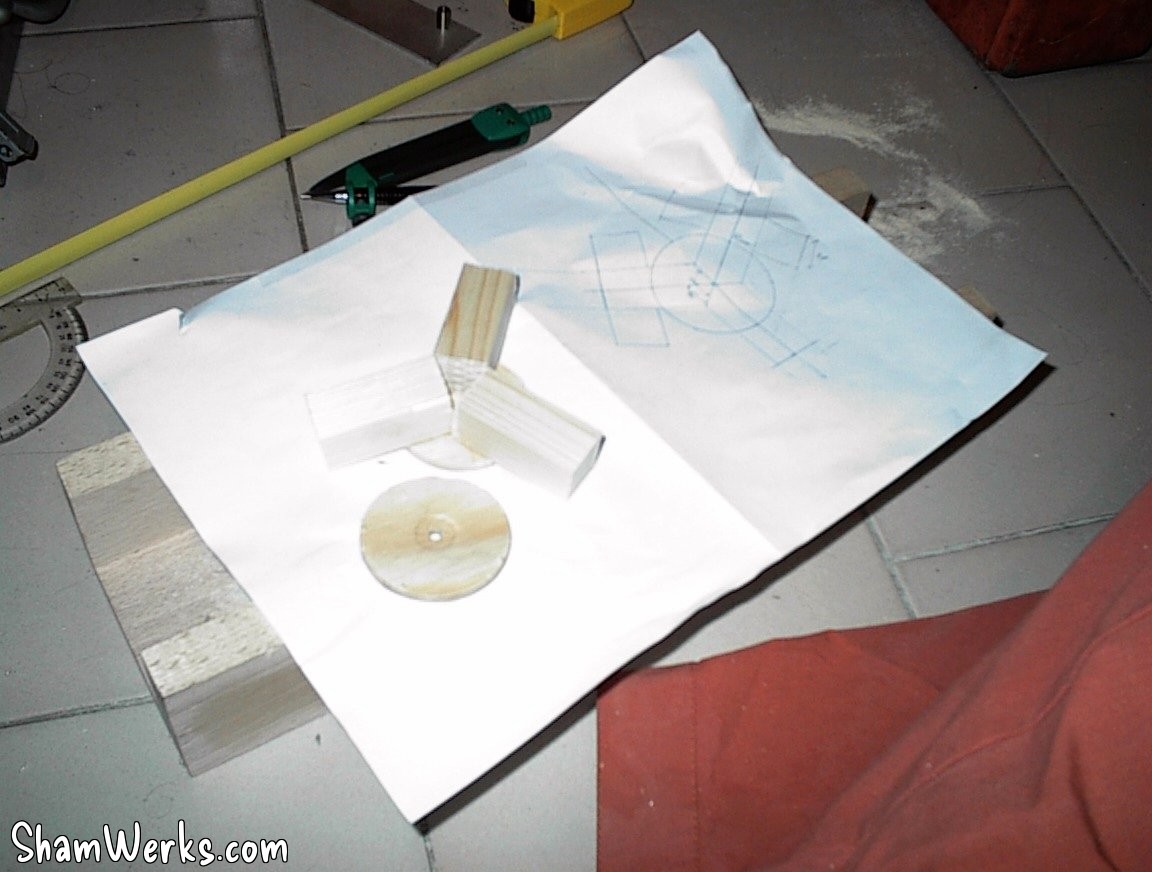
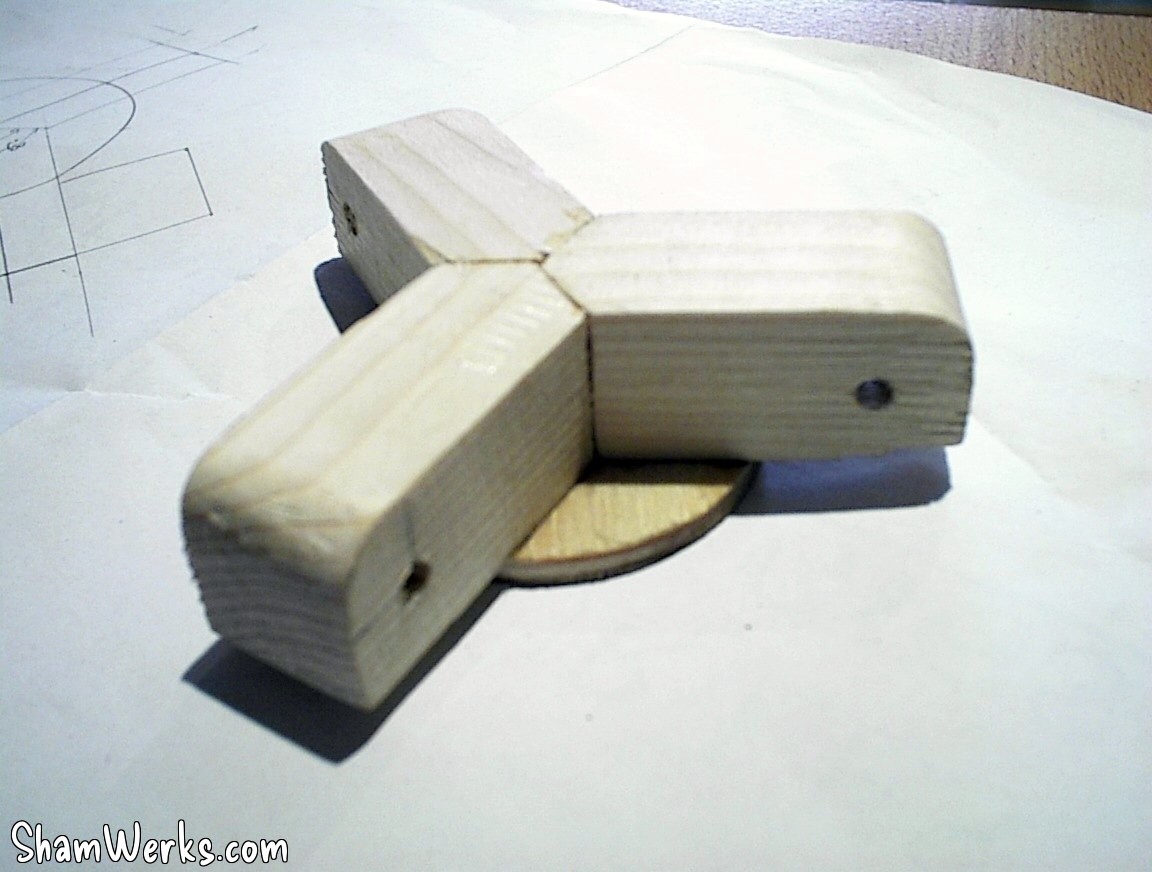
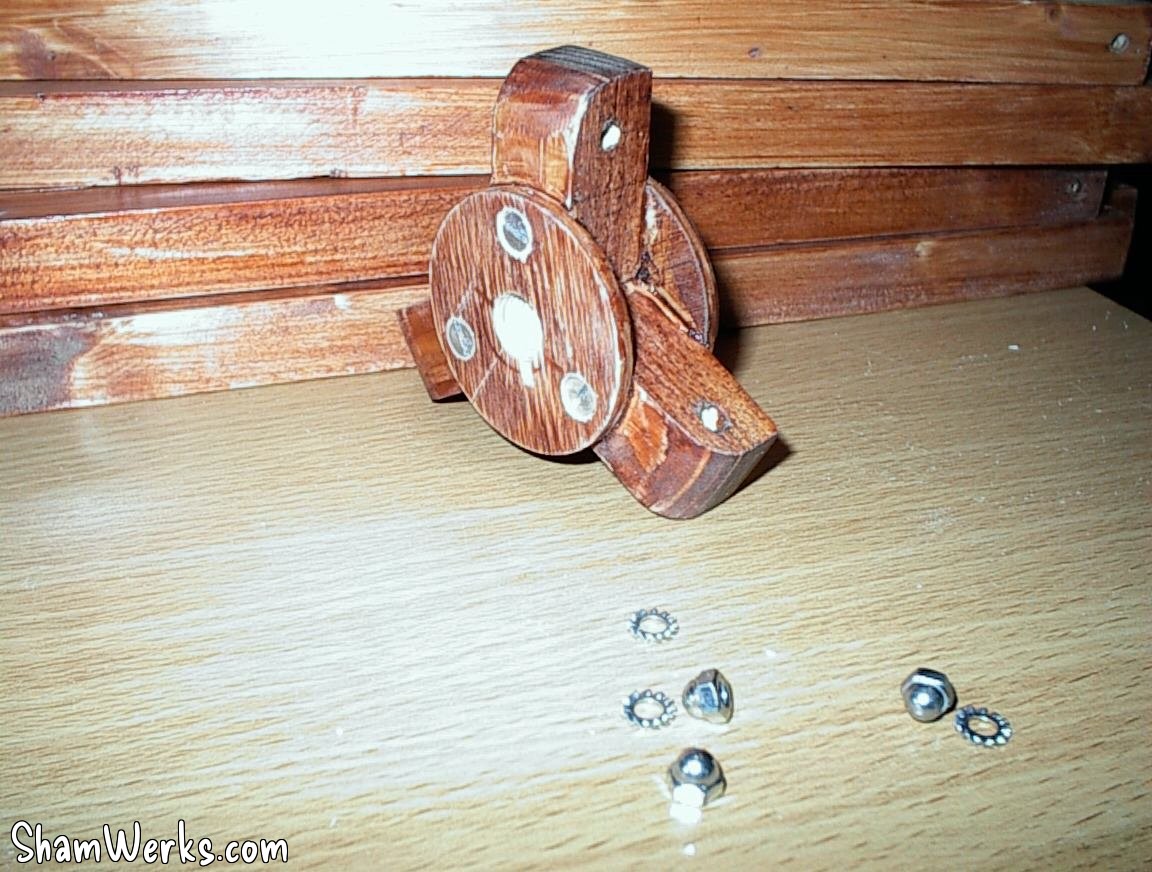
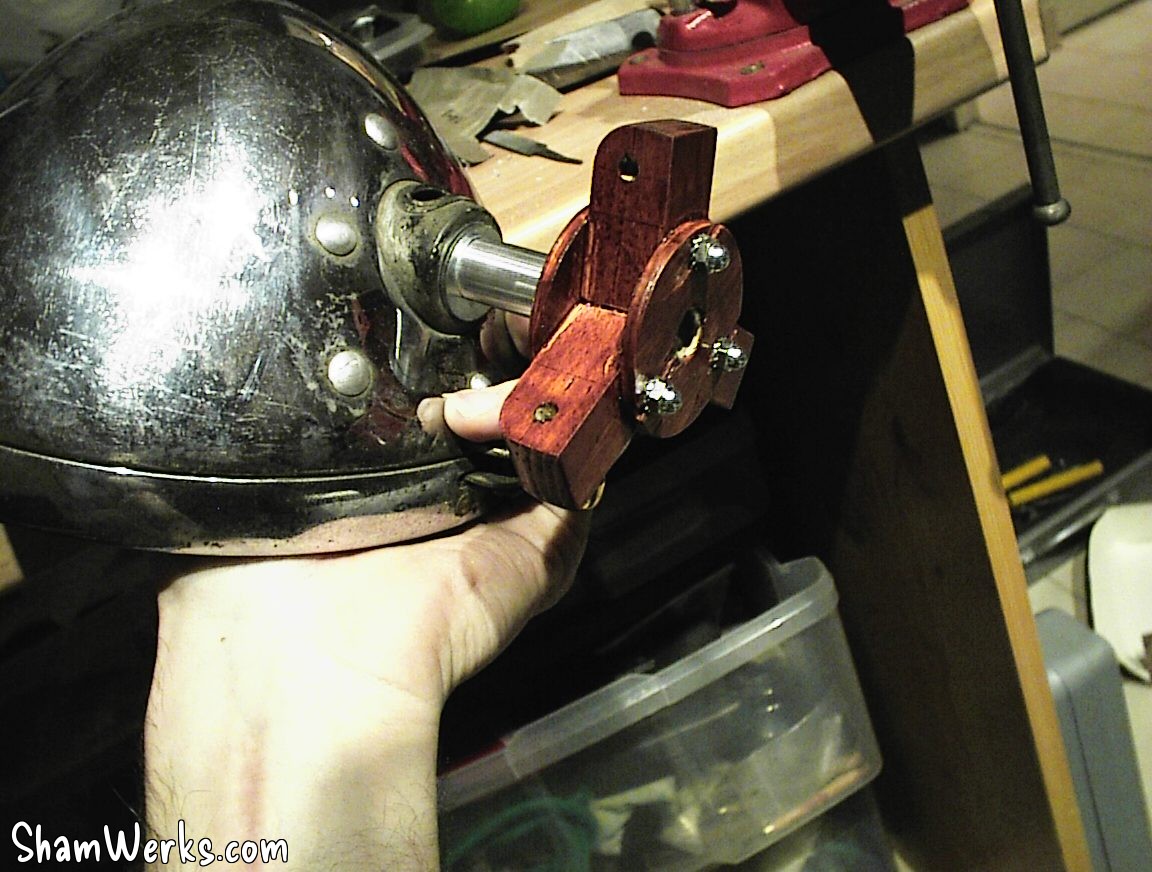
The only tricky part : the tripod's "head", just under the headlight. Well, tricky, but it's not rocket surgery either...
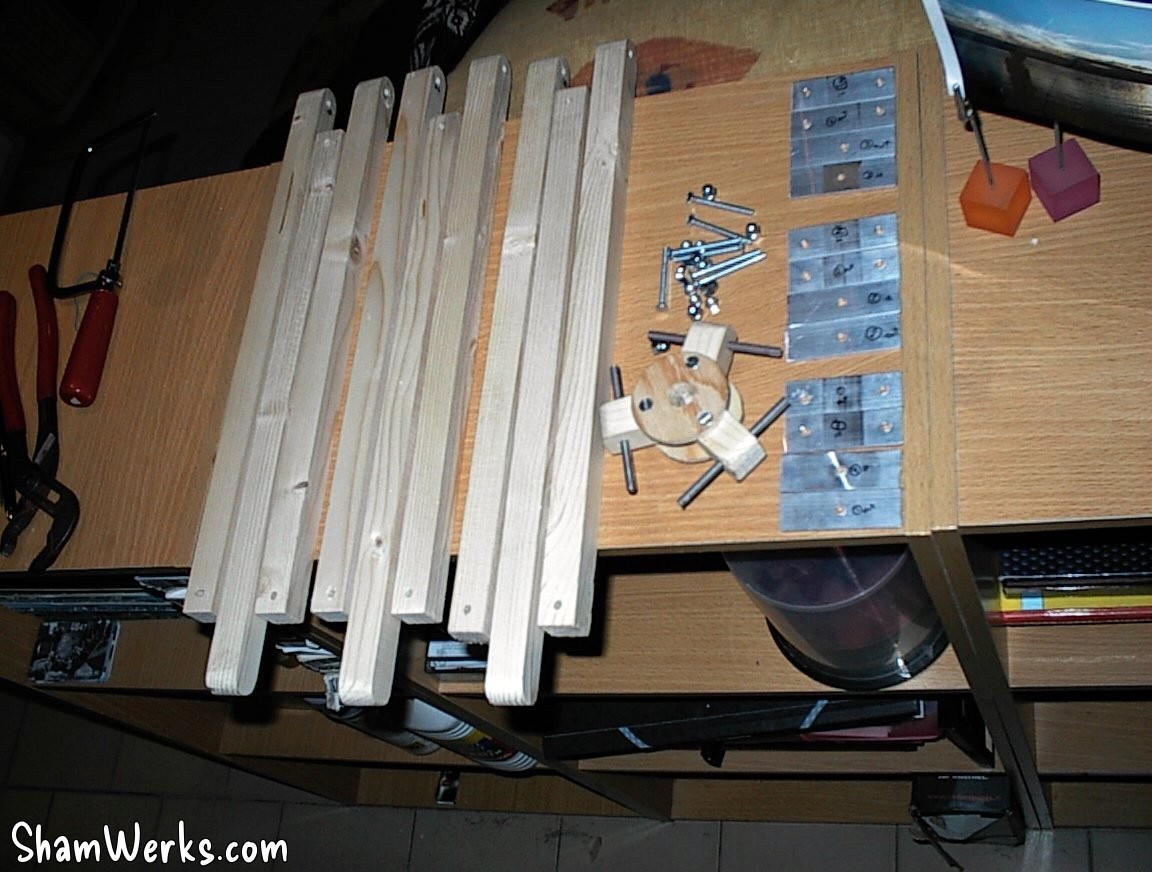
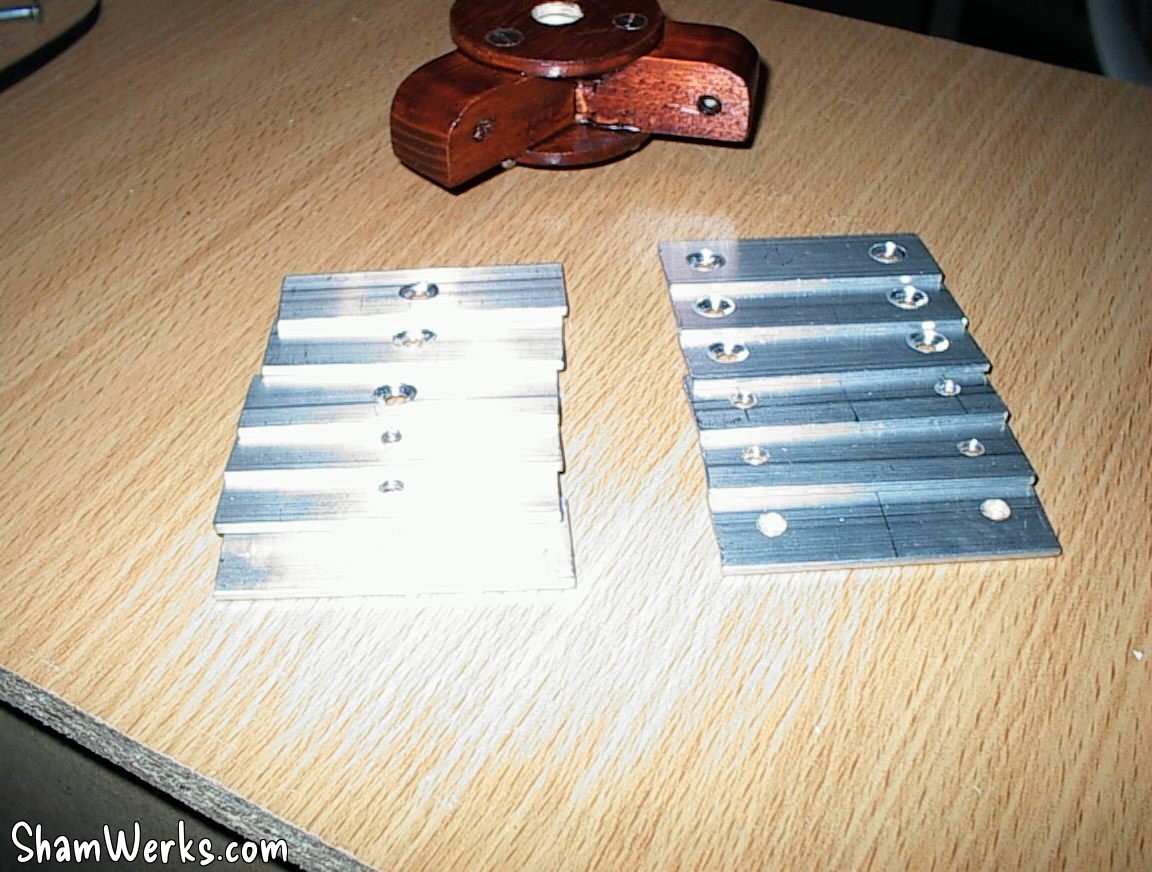
And with that, I have all the parts required to assemble one lamp : the 9 legs parts of pine wood, the tripod head, some screws and bolts... And 12 aluminium plates to cut, grind and drill!
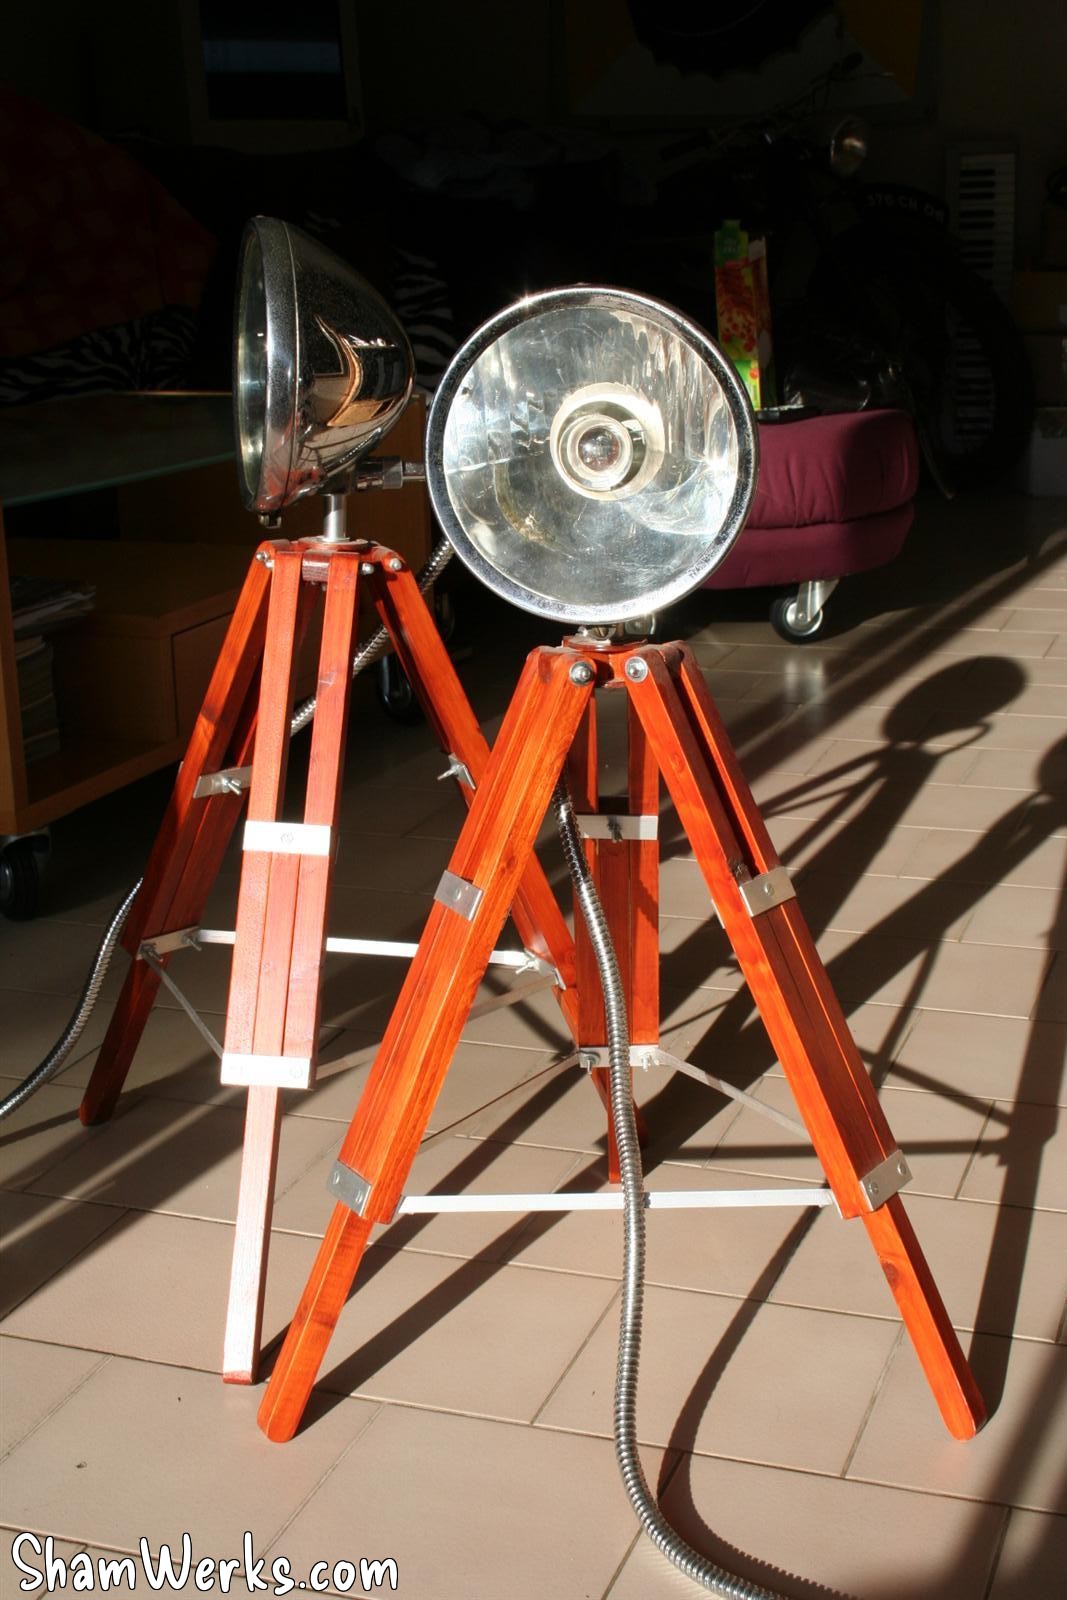
I still have to put some varnish on these babies... I decided to use a mahogany colored varnish which looks nothing but superb. On the other hand, it's bothersome to brush : 3 coats with fine-sanding all the parts (18 parts!) between each layer... It's long and boring, but it's worth it!
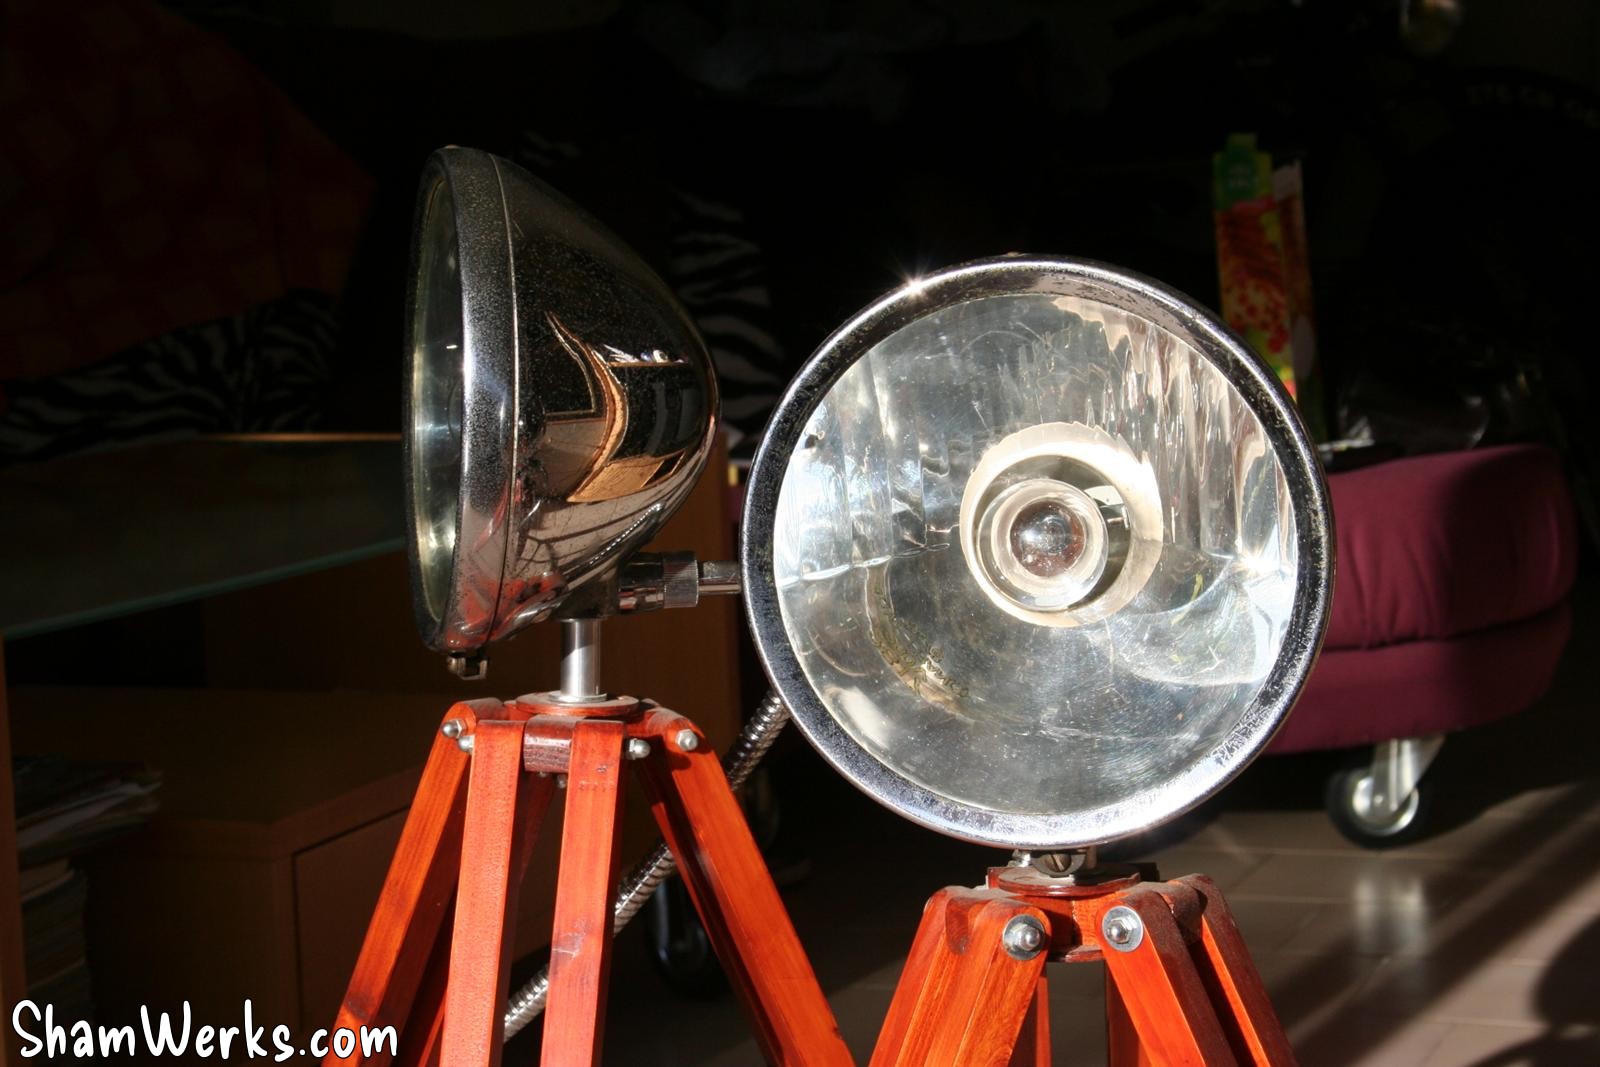
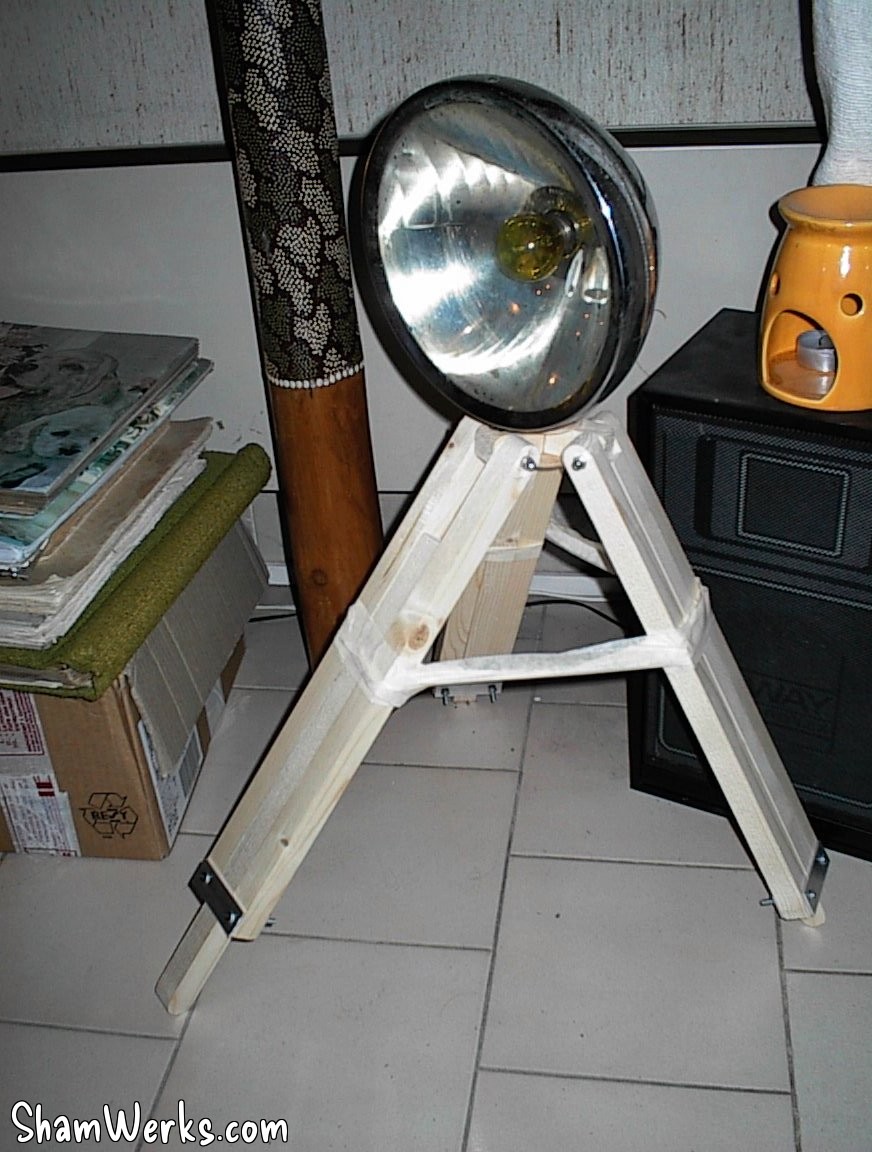
Finally, assembling the first lamp...
I used some shower chromed tube to put around the alimentation cable, which sticks to the vintage overall look...

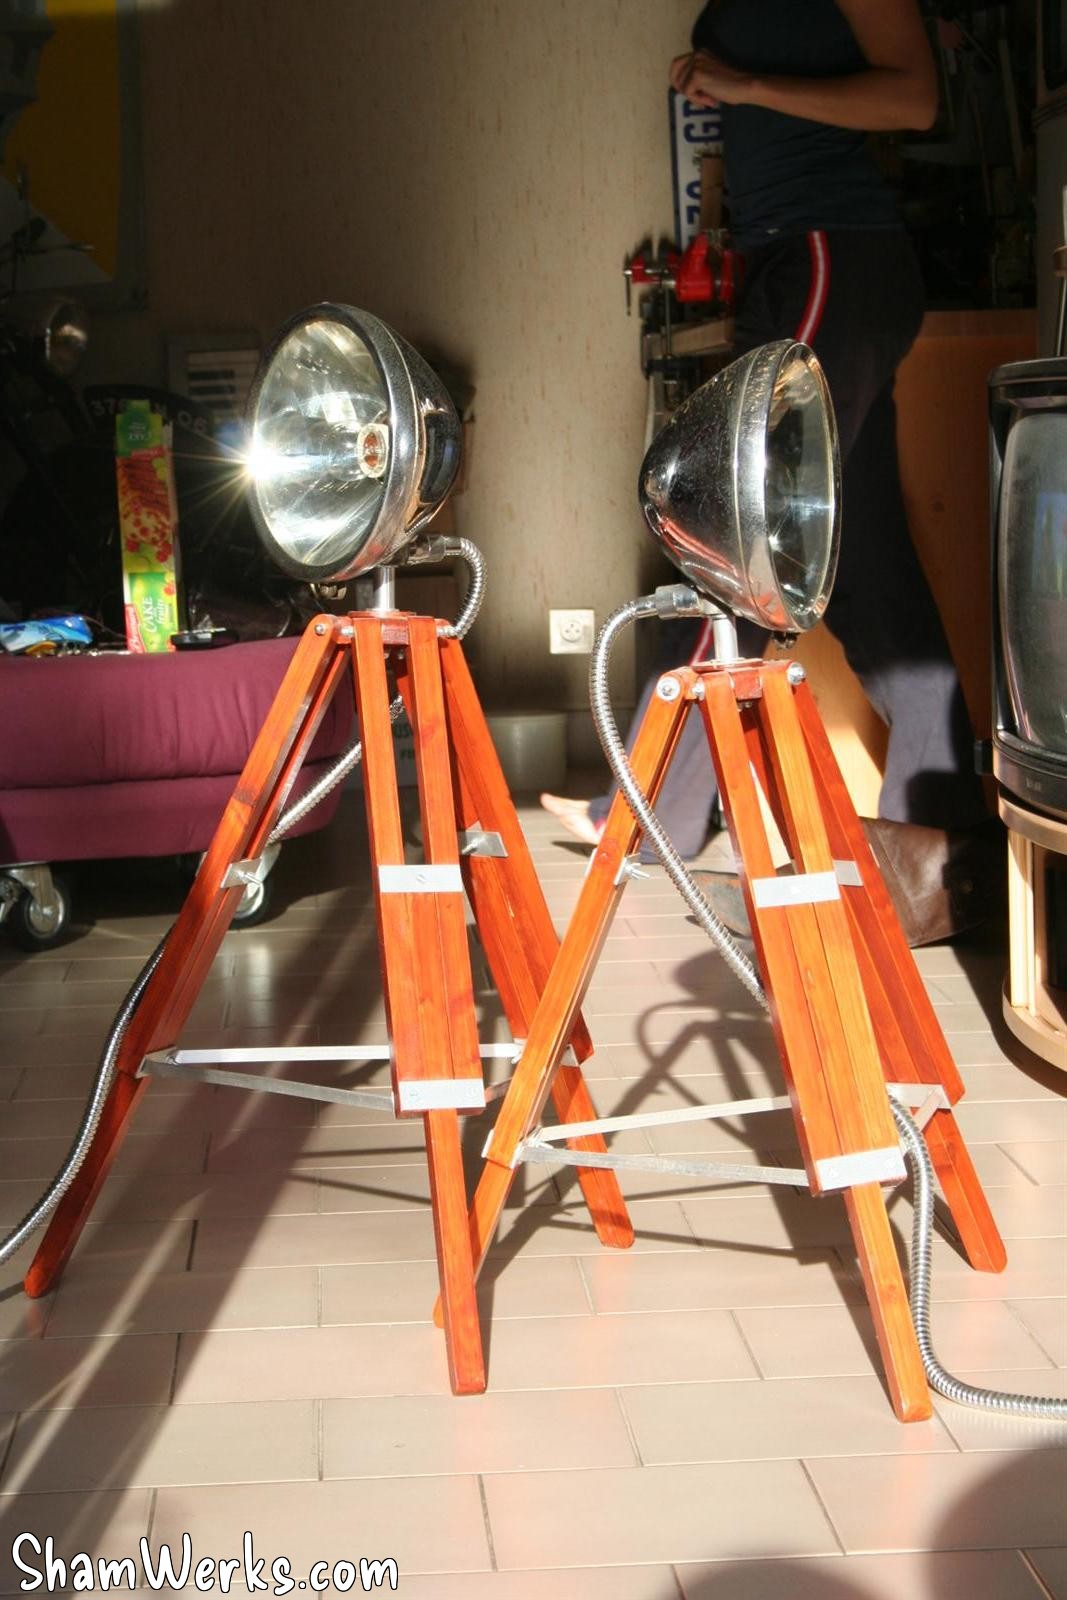
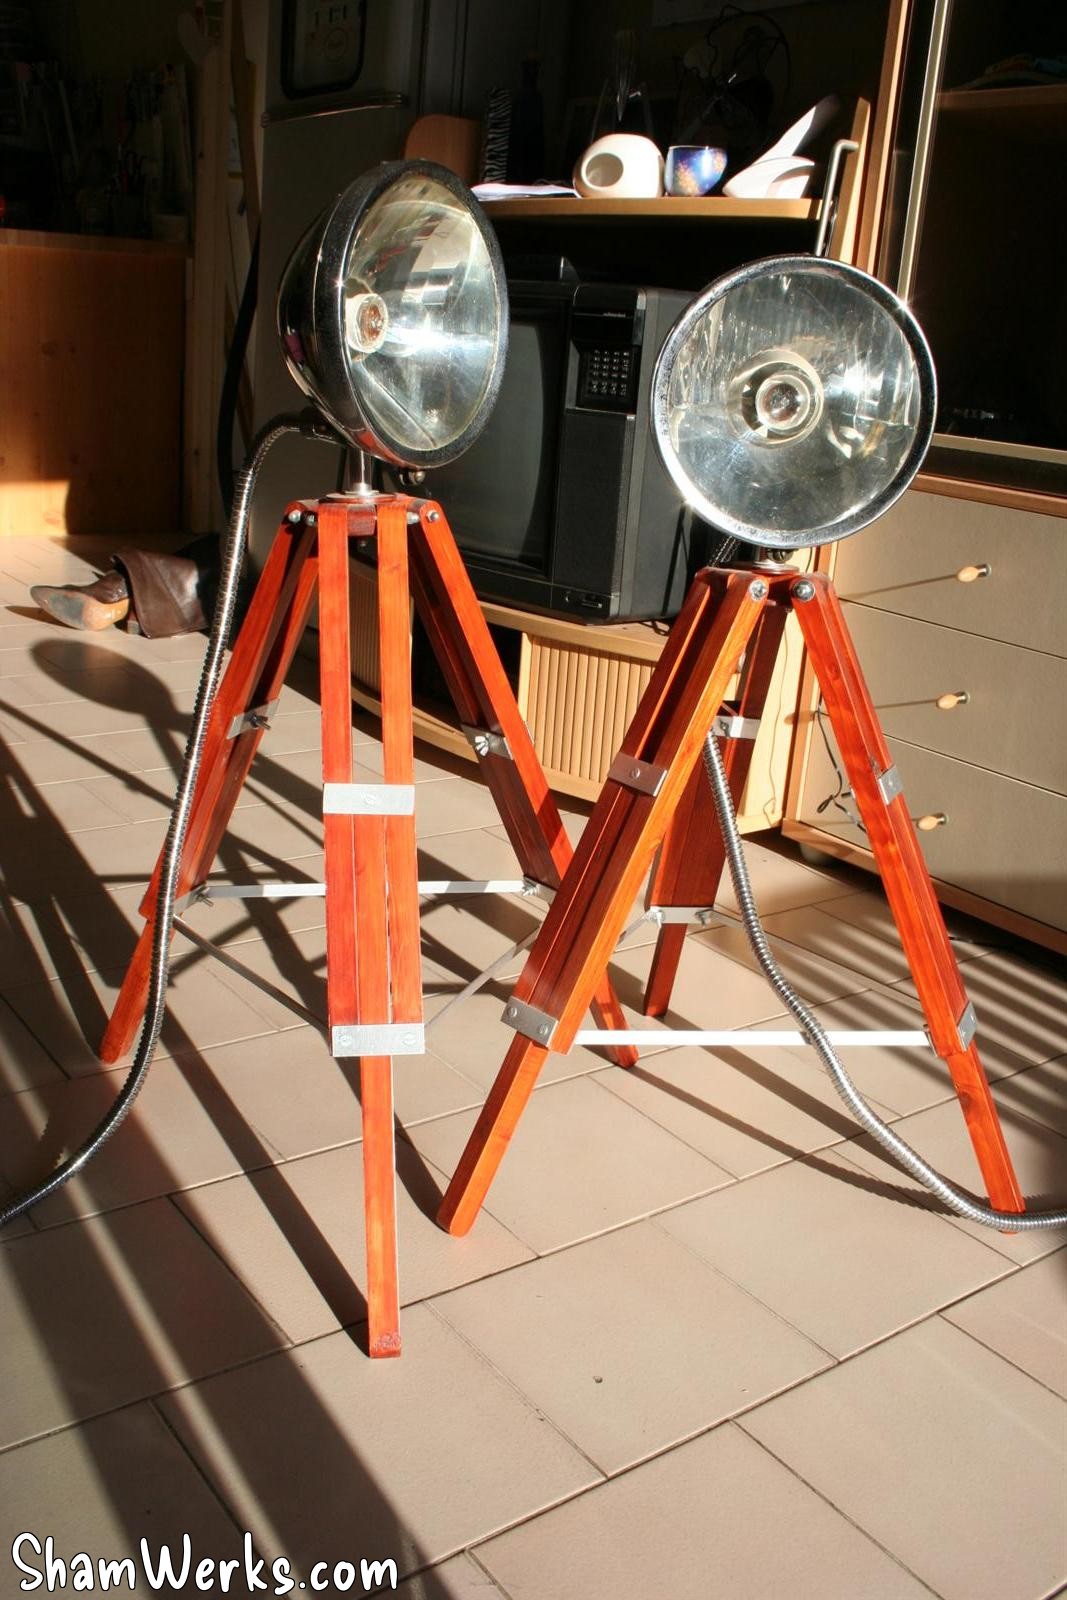
Result
And here is the result! Achieved in a few hours of woodworking, plus some patience, I've got great vintage styled lamps! I Love'em... 😁