Floor Upgrade!
"Small" upgrade of my workshop...
First, I managed to get myself a second garage, next to the first one. Well, not exactly next to, so I can't just remove the wall between'em, but close enough. Not a perfect situation, but better than nothing.
Next, I had an opportunity for bargain priced floor tiles (thanks a lot to my buddy Dangerous for this, and lending me his Type 2 to transport everything!), so here we go : let's tile them garages!
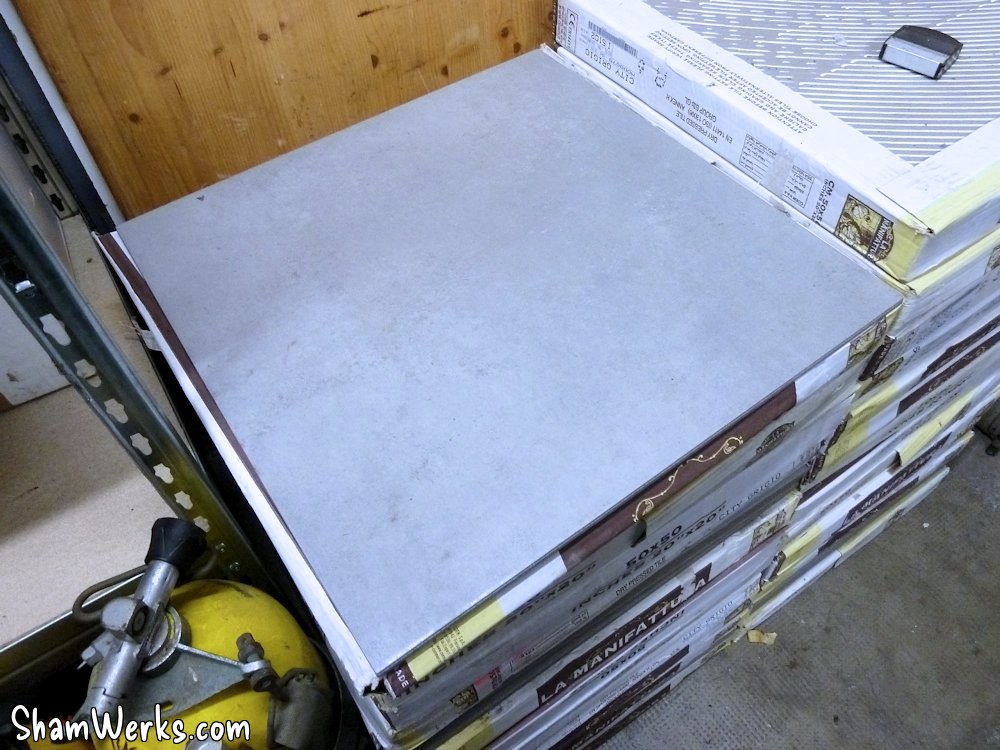
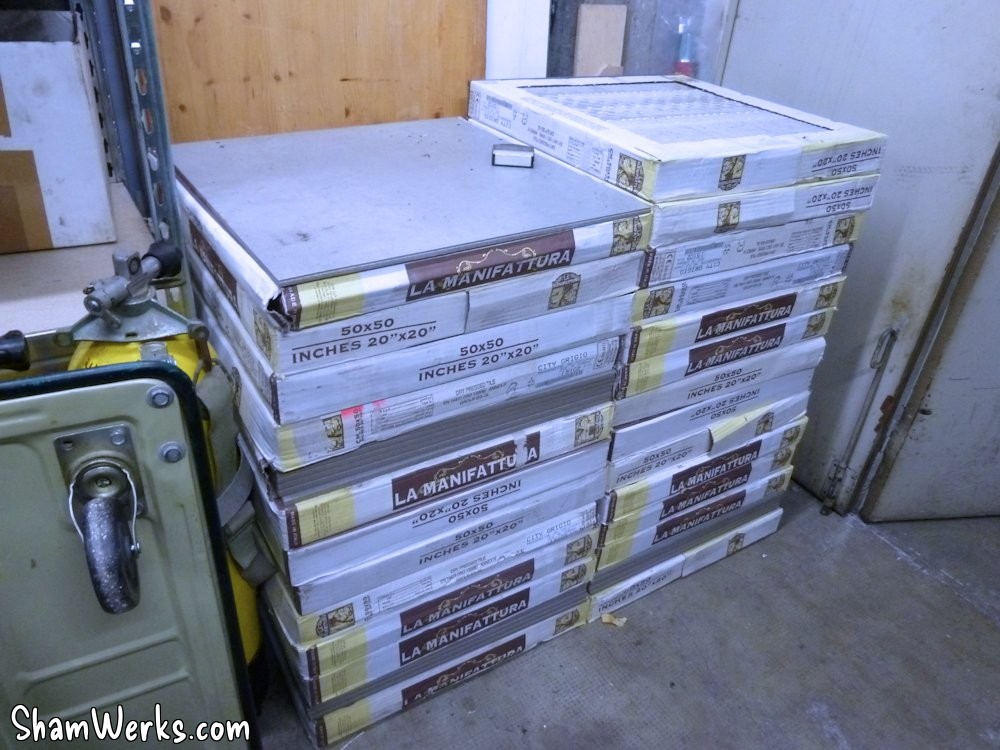
So, I have two garages, 17m² (183ft²) a piece, so a total of 34m² (366 ft²) ; I got myself 40m² (430ft²) worth of tiles, just to have some room to deal with cuts and broken ones.
These tiles are 50x50cm (20"x20"), solid porcelain stoneware, 9.5mm thick, anti-slip texture : 27 packs of them, 27.7kg each, so almost 750kg to move... Meh, I'll just get my spine replaced after this one. 😁😁
Note : for you to imagine the 30km trip with the Bay Window Type 2, packed with 750kg of tiles, in winter, under heavy rain (orange weather forecast flood alert), without any heating (so windows wide open to get rid on the condensation, so in rained an much inside as it did outside!), with a fire extinguisher at my feet "jus in case because I have a leaky fuel pipe", and the obviously vintage braking system, I suggest you watch again the classic movie "The Wages of Fear" (1953). 😁
Why tiles in a garage?
To answer shortly : way easier to clean, a quick sweep and it's clean.I was rather happy about my floor paint, after 3 years of use : it resisted quite well, only a couple of compounds manage to dissolve the paint if let too long in contact (mainly braking fluid and aceton).
But my floor isn't perfectly flat : the concrete slab had originally been indented with a spiked roller to make it non-slip, and even though I had used a concrete grinder to smooth the surface (see this article), it's still full of small holes that keep gather dirt. Impossible to keep it actually clean. 😔
And for those of you who think : "yeah, but if you drop a tool, your tiles gonna break!" : well, I know a tiled car body shop, they have tools falling everyday, and they even hammer form sheet metal on the floor tiles! So, no, I'm not too concerned about solidity! 😁
And if I happened to break a tile, I have quite a few in advance, I'll just replace it with a new one...
First garage
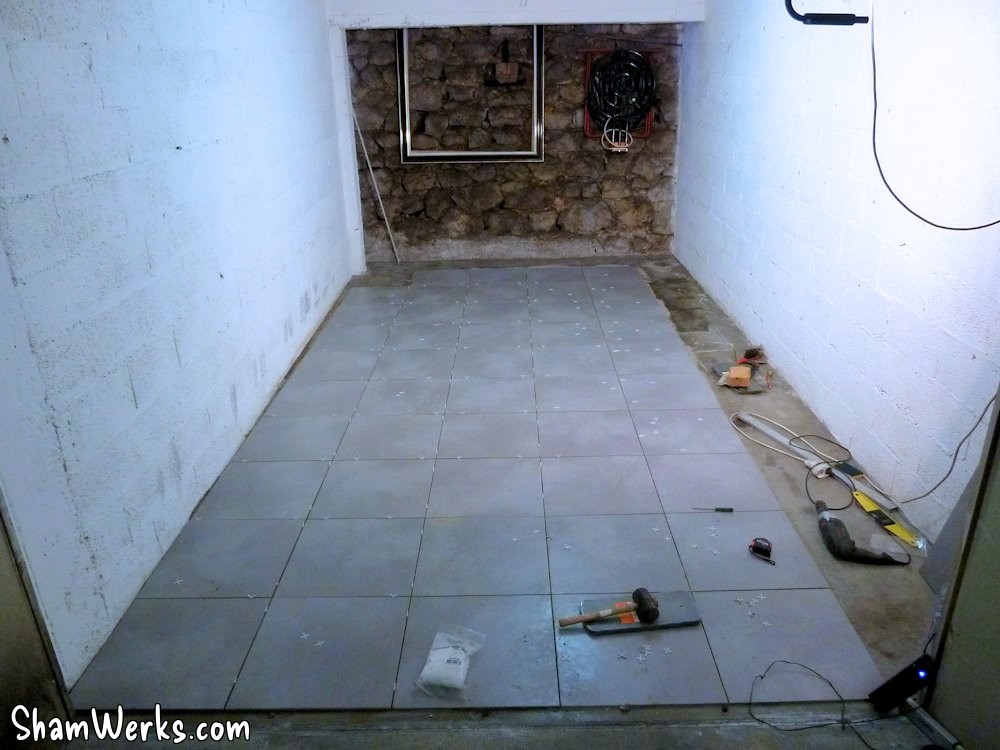
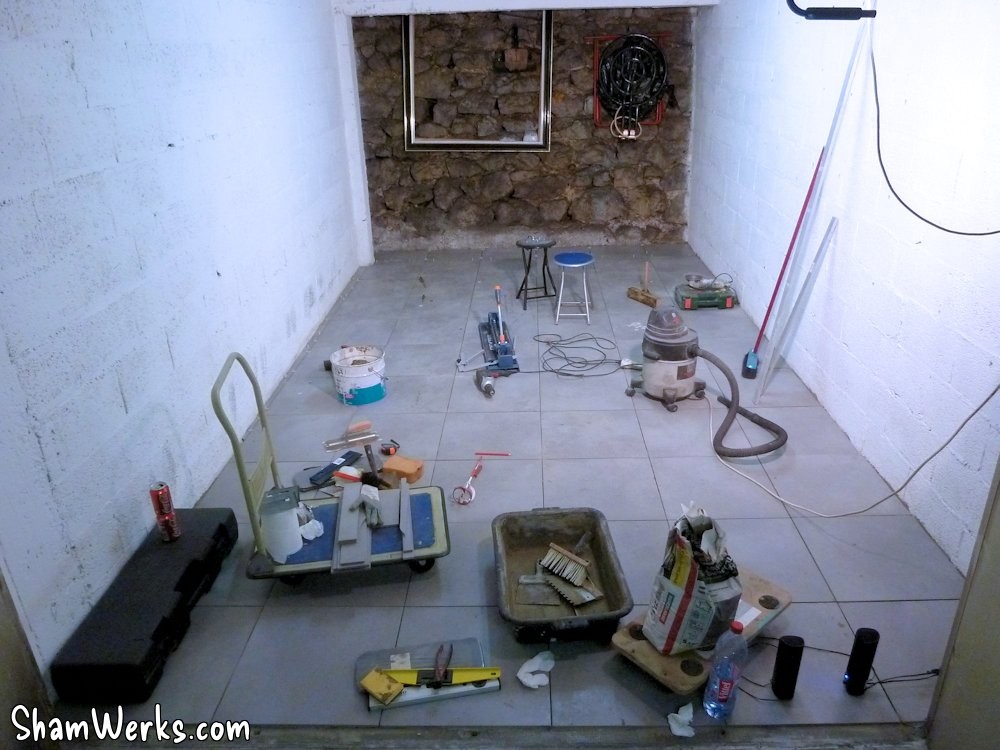
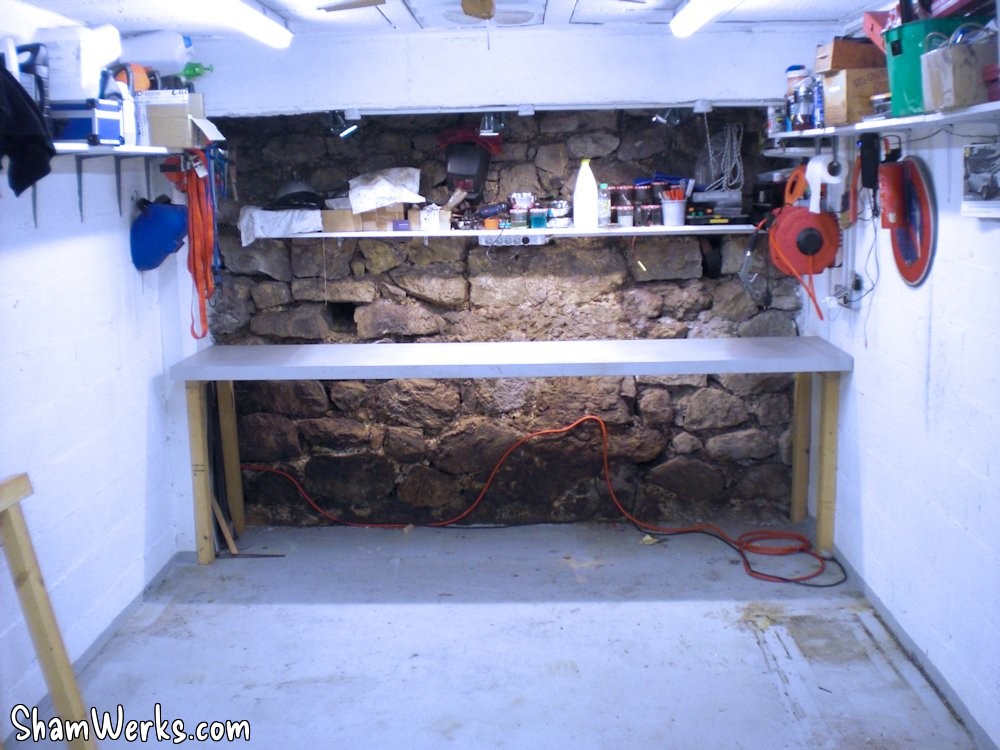
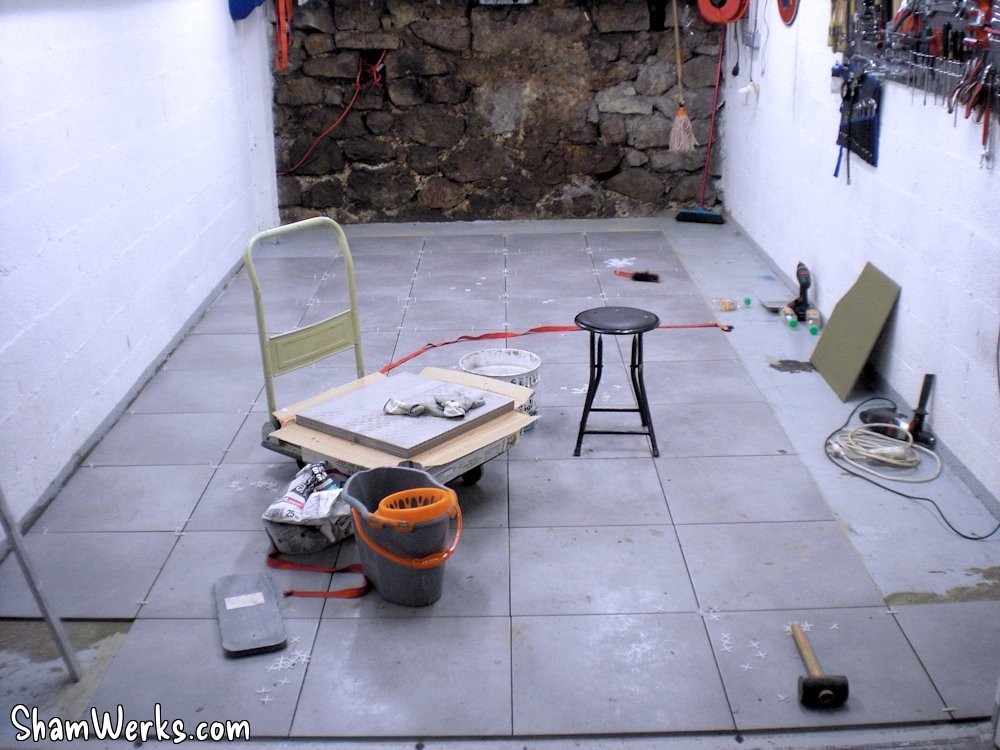
OK, here we go!First step : empty the whole garage to be able to tile : in itself, it's already a heavy project, fitting in one garage what usually fits in two... It's like playing a life-size Tetris.
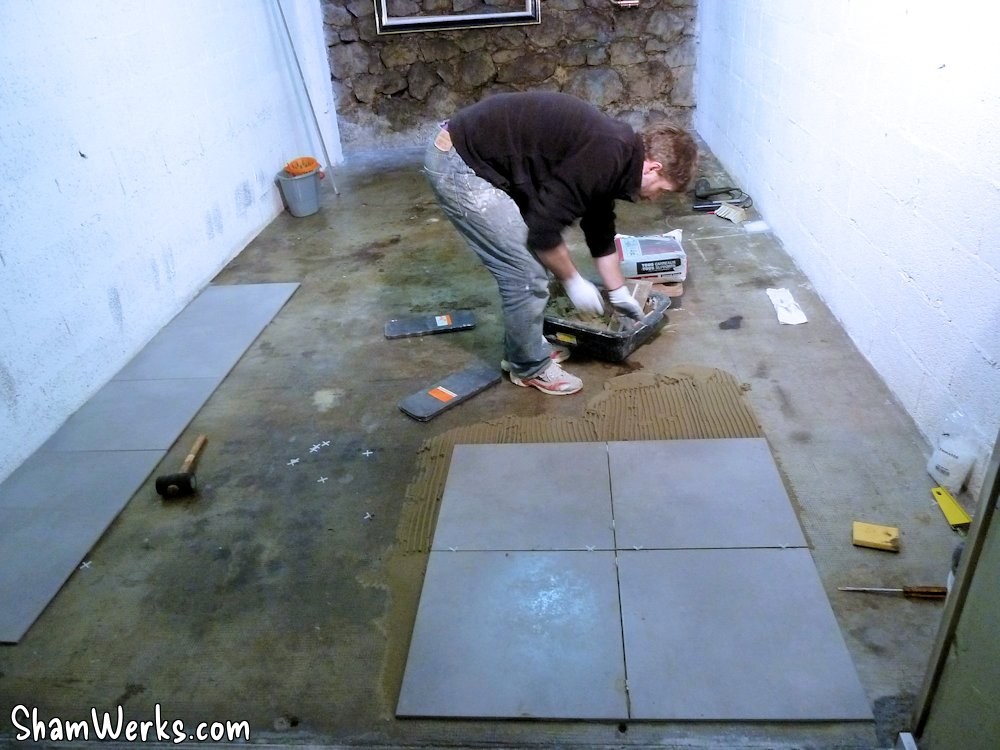
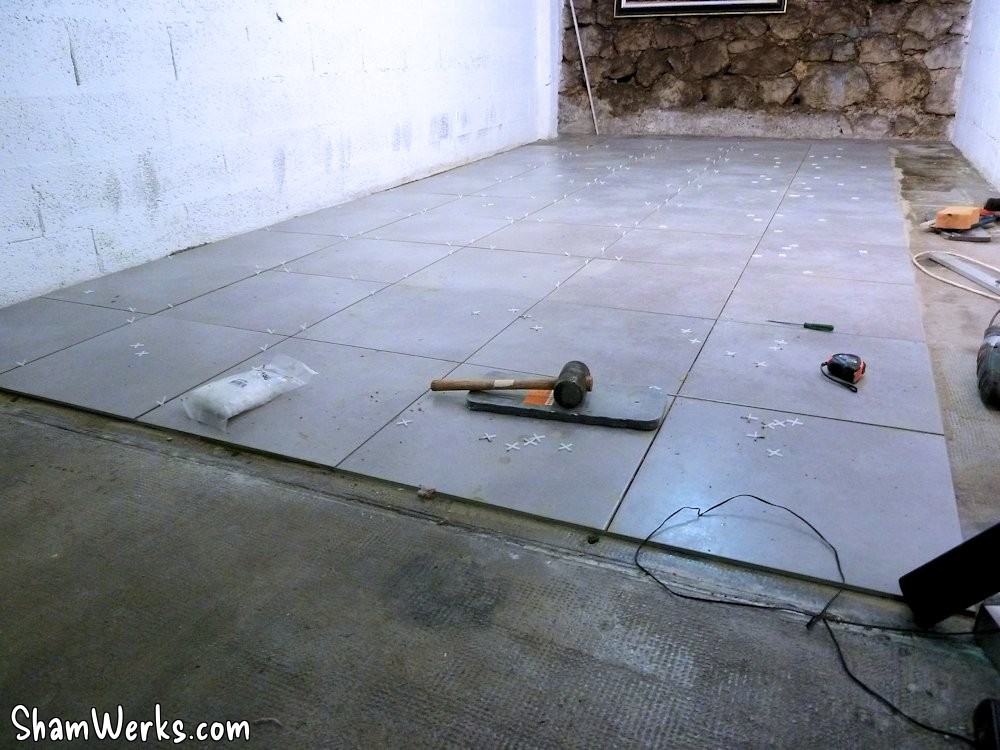
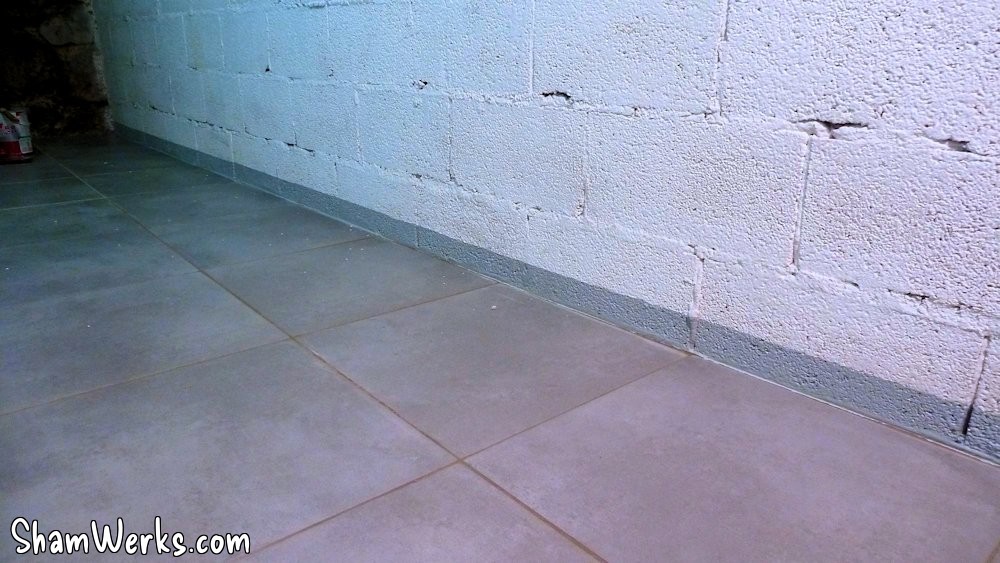
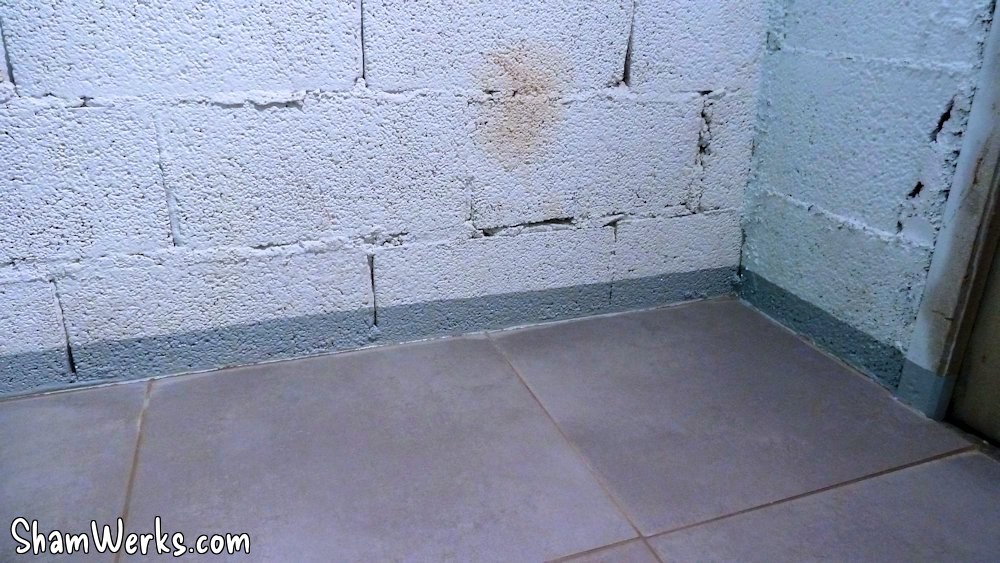
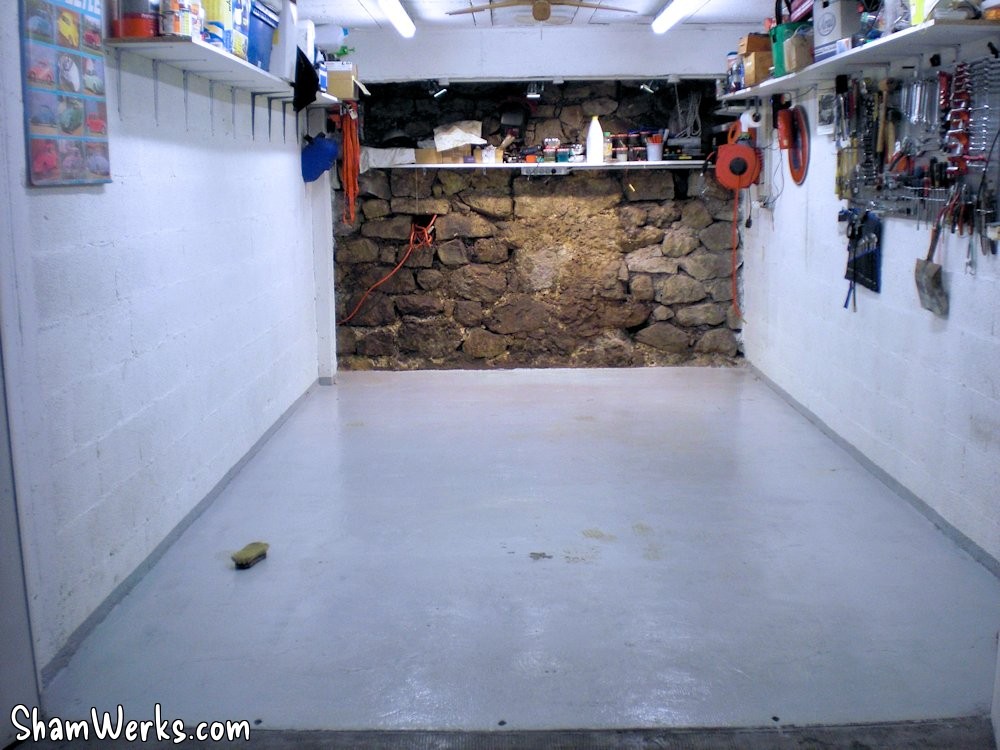
Next, carefully preparing the floor : sweeping, vacuum, complete washing/rincing using "St. Marc" washing soda, and a coat of primer to make sure the tile adhesive sticks to the substrate. Then, tiling using "Parexlanko" tile adhesive (spread with a 9mm toothed applicator, using the double-gluing technique on the back of the tiles, important for solidity), and water-repellent sealing comound from the same brand. Nice products, I would use th same with no hesitation ; a total of almost 3 bags of 25kg of adhesive per garage were used, so it's another 150kg to transport... Plus 25kg of sealing compound for both garages...
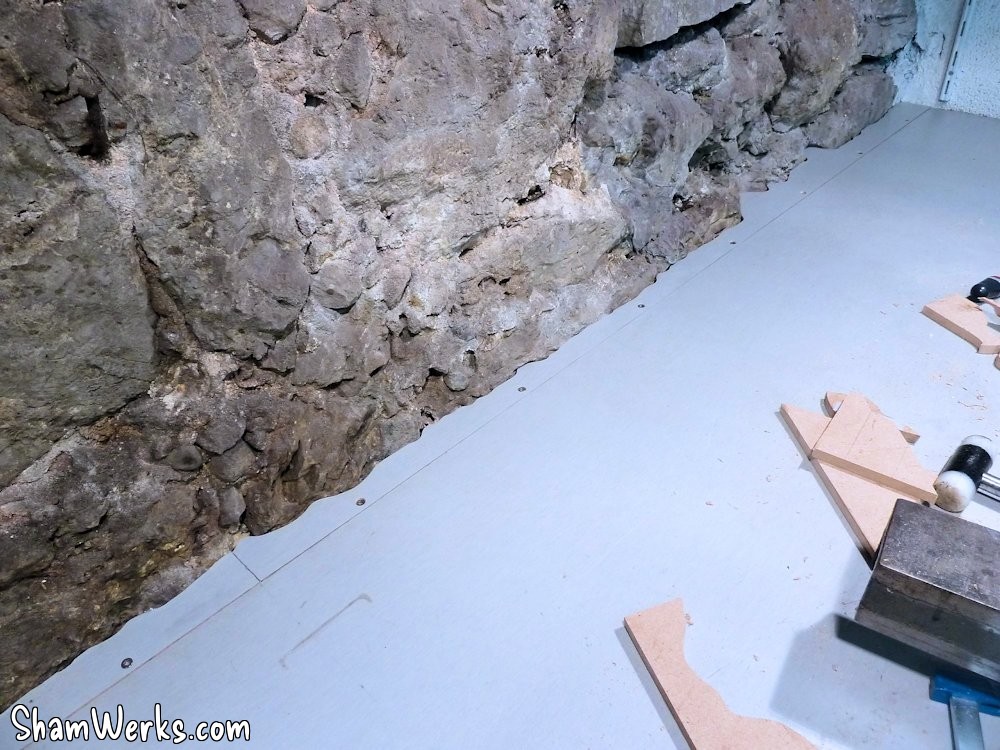
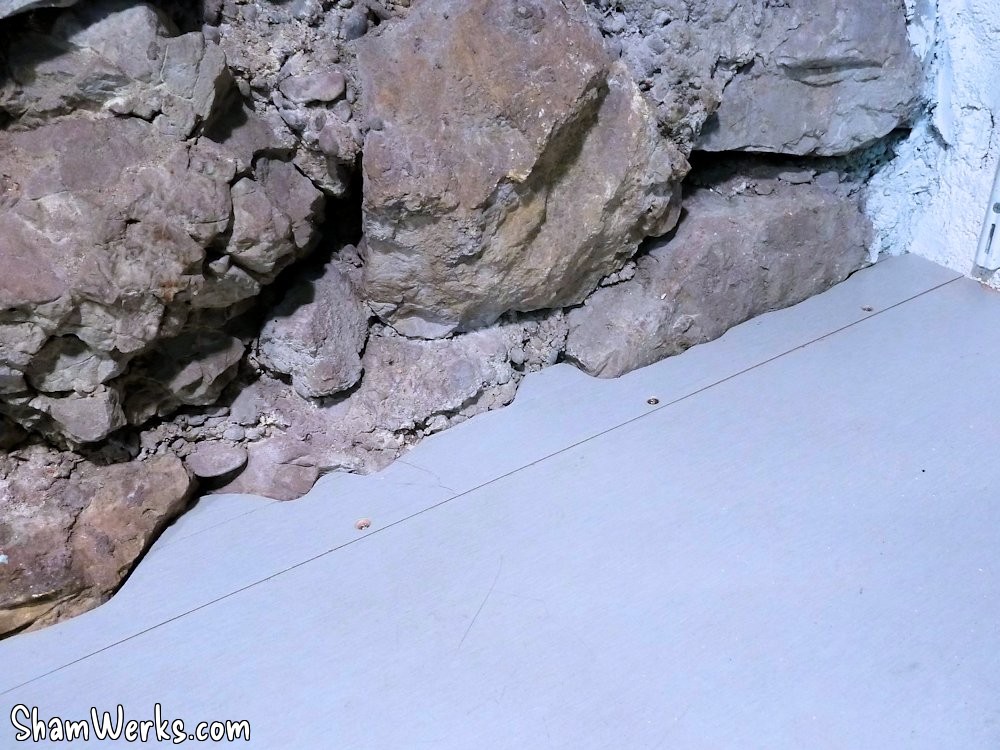
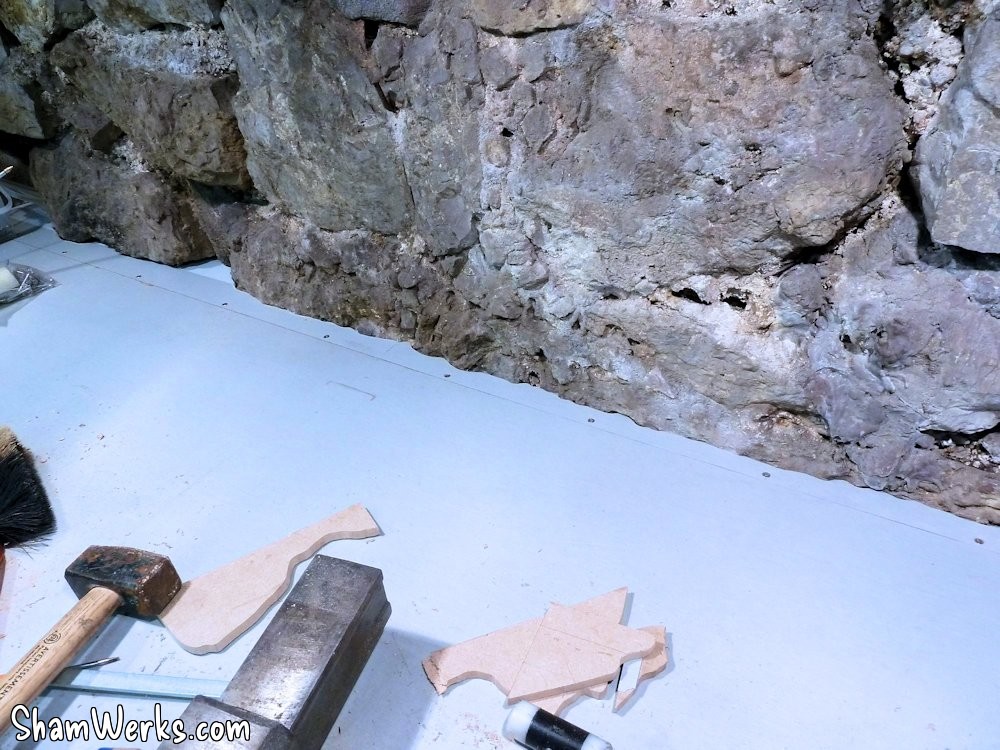
As expected, the walls aren't straight, so I tile everything perpendicular to the garage entrance (if you ever so such a job, take your sweet time at the beginning to make sure you start square, Pythagoras is your friend here!). A world of thanks to my buddy Flo here for lending a hand!
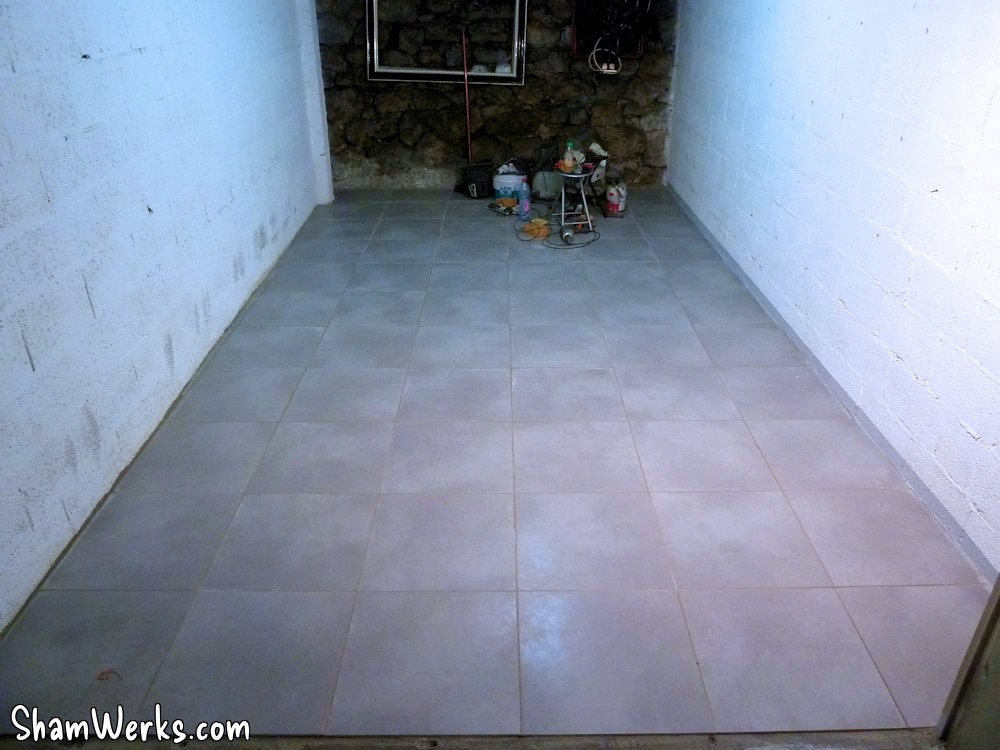
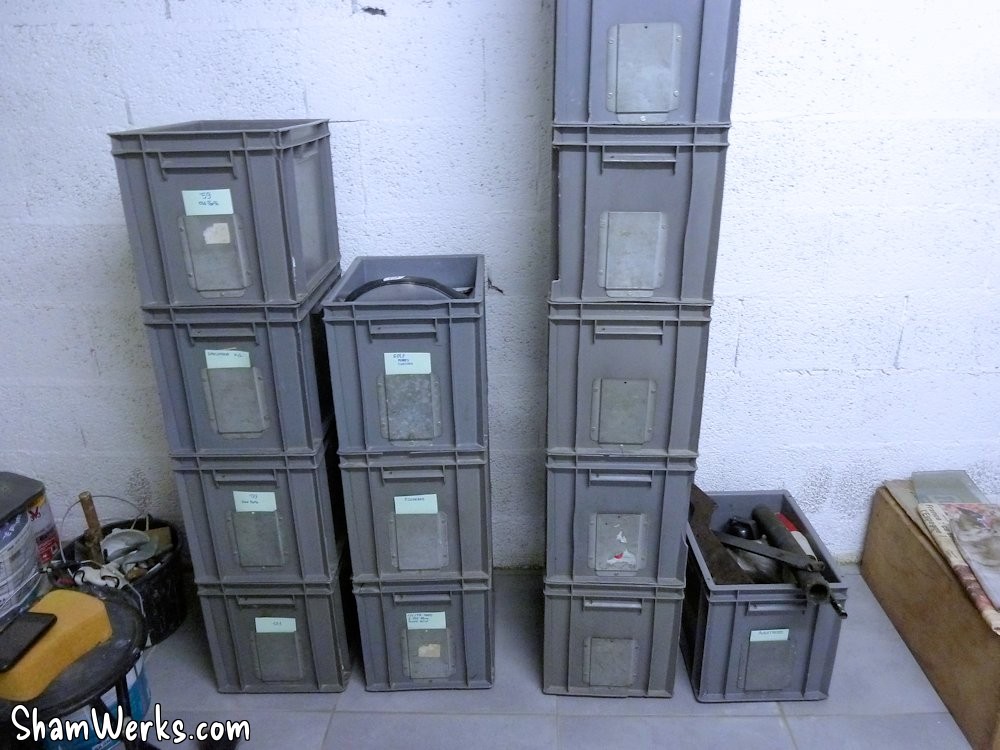
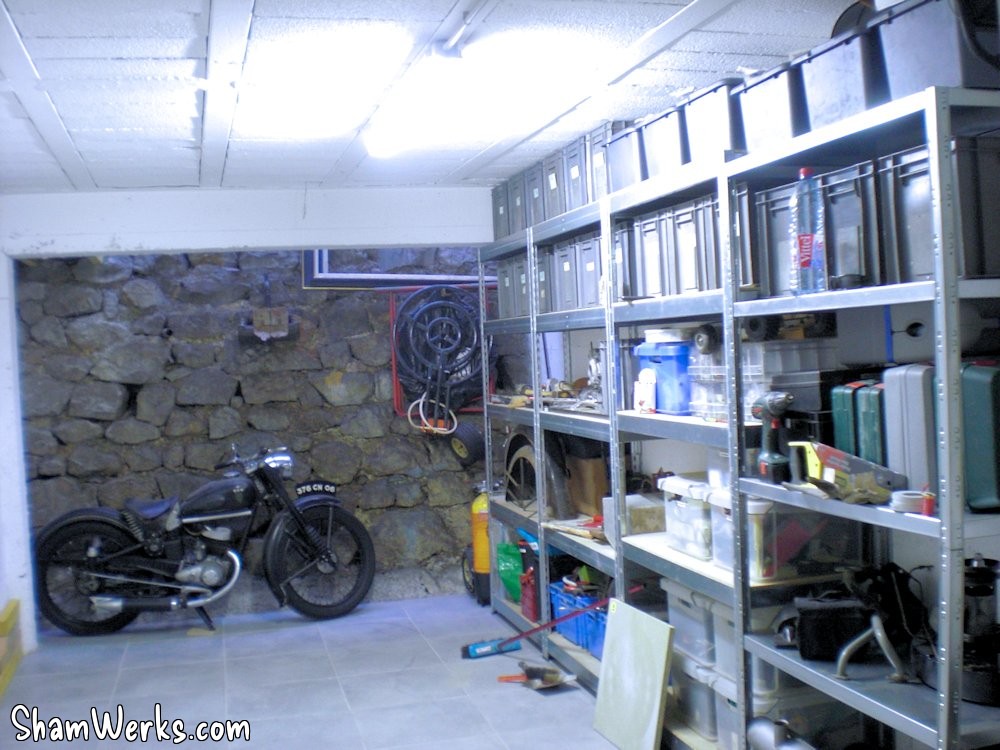
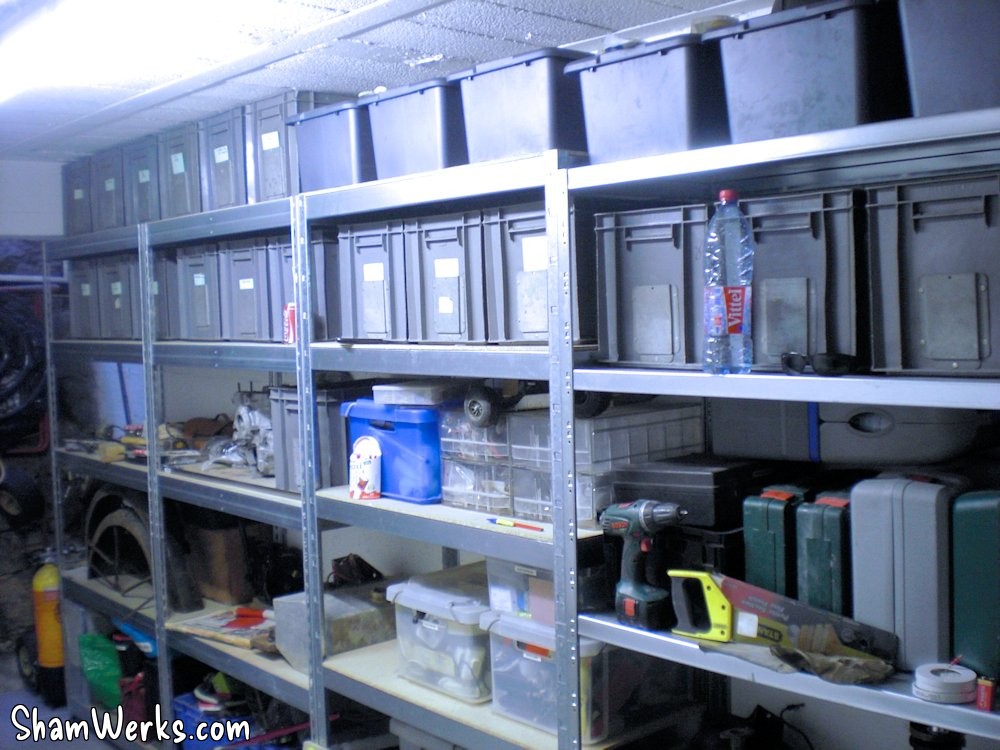
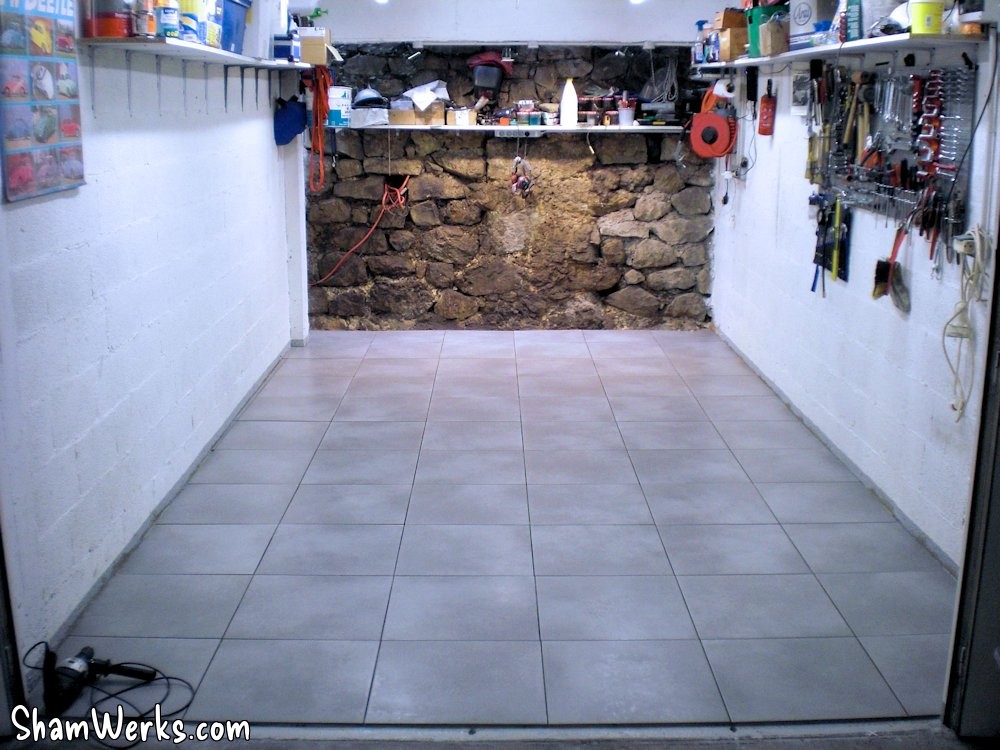
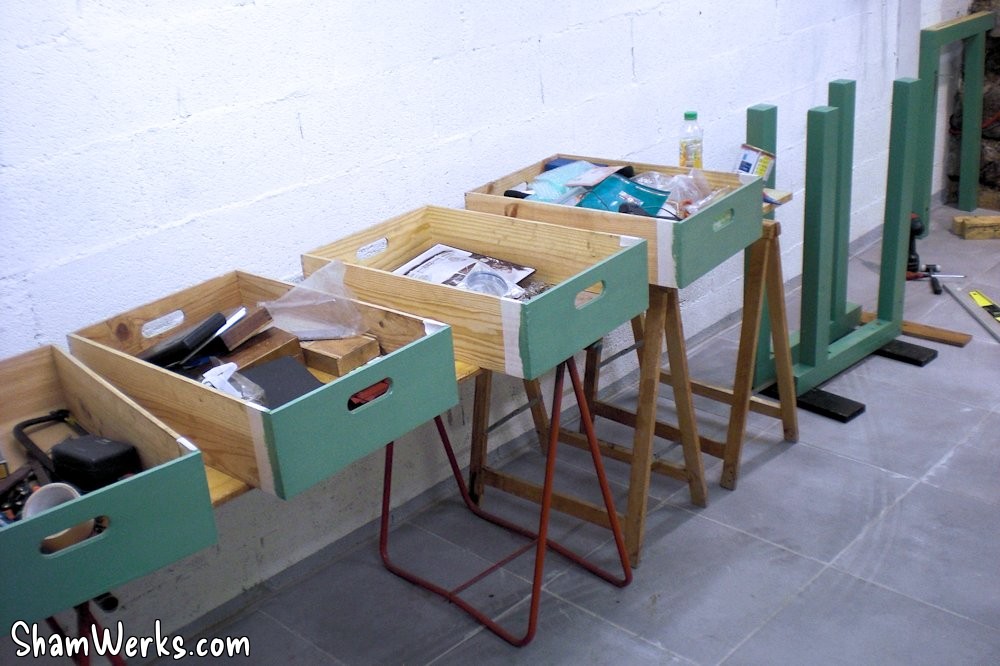
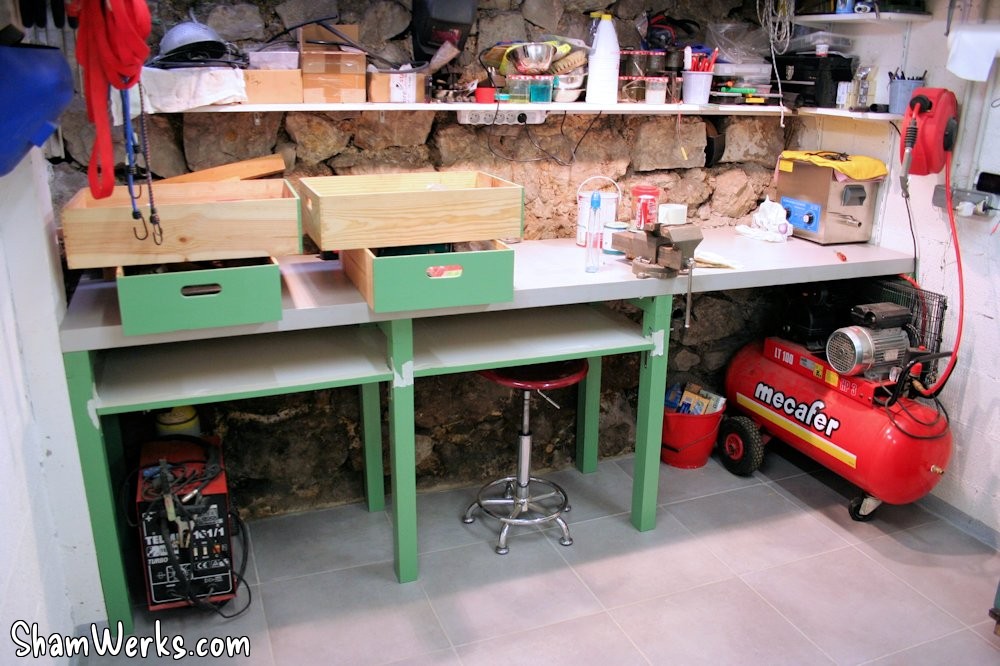
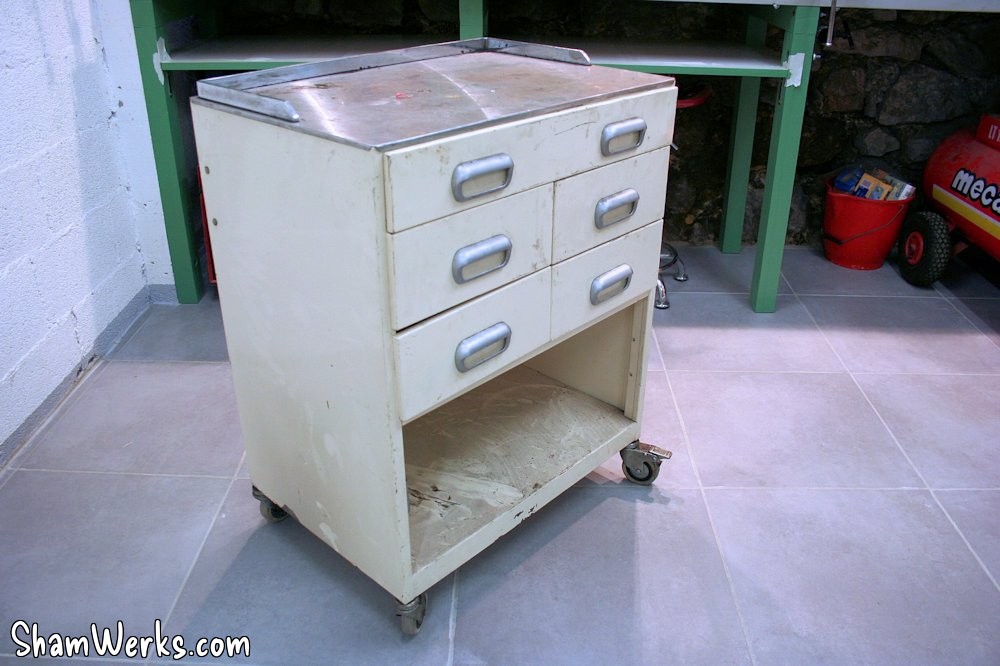
So, first garage done ; this one will be mainly used for storage, so I install there all my shelves. And since I scored on LeBonCoin (the french equivalent of Craig's List - that was a steal!) a set of really sturdy boxes that neatly fit in the shelves, I'll finally be able to sort out my
Second Garage
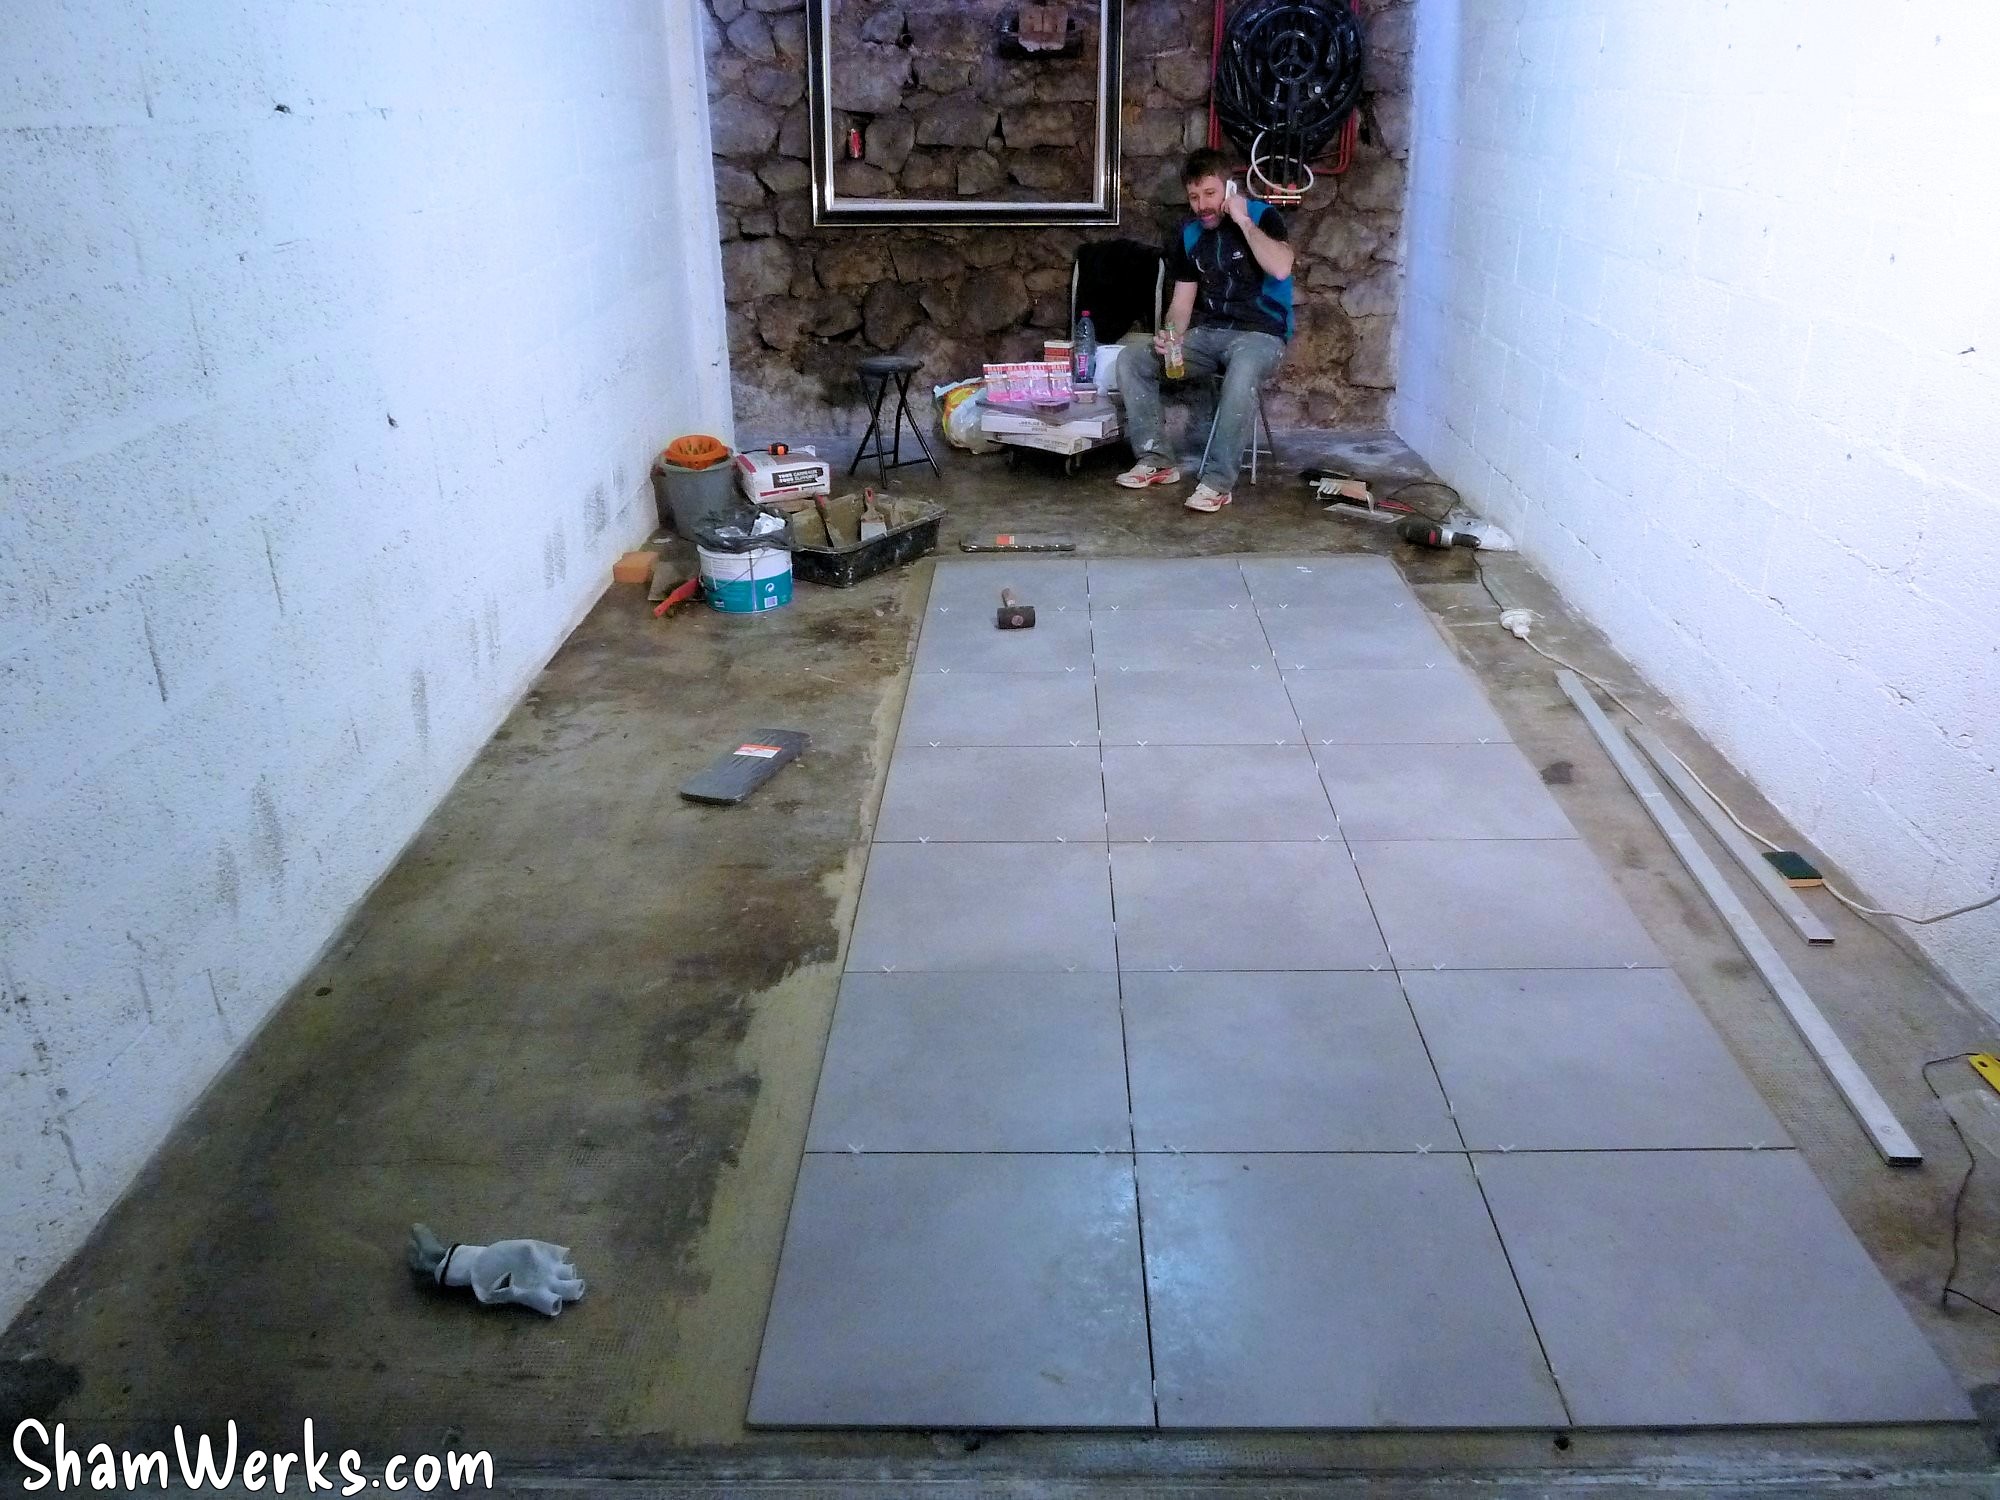
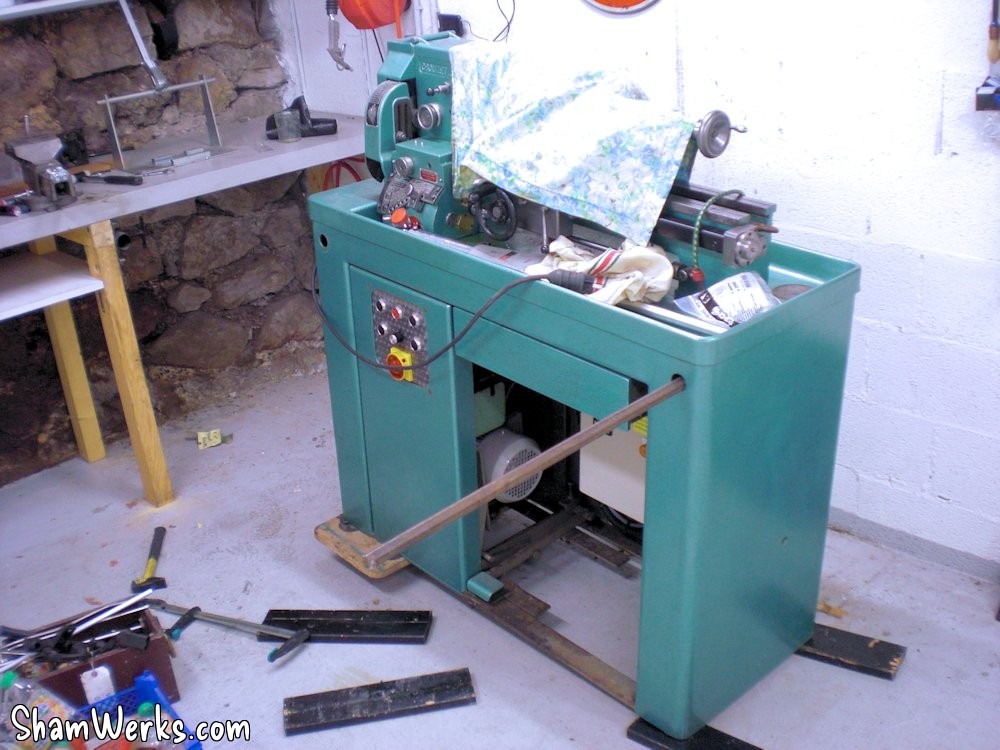
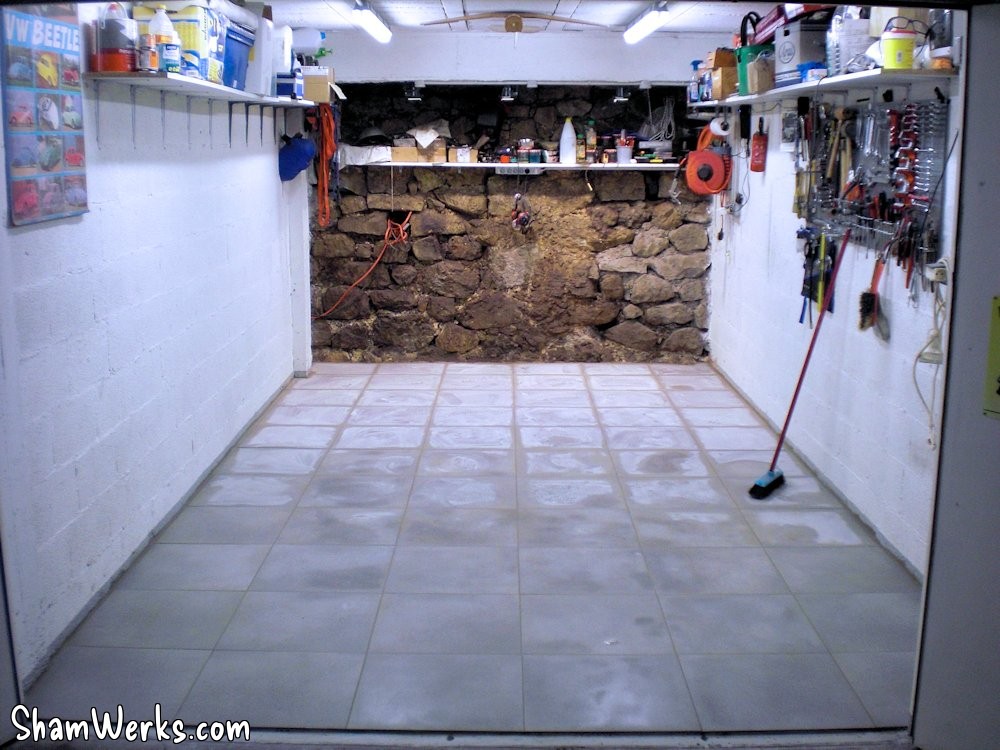
One down, one to go. Heads up, we're only half way!...This one begins with moving the 350kg of my lathe (which almost fell on me this time, thanks Xavier for your help!). 😔
Next is exactly the same procedure as for the first garage, deep cleaning and priming the floor (primer is mandatory to install tiles on a painted floor), and finally tiling :
These small things that make your life easier...
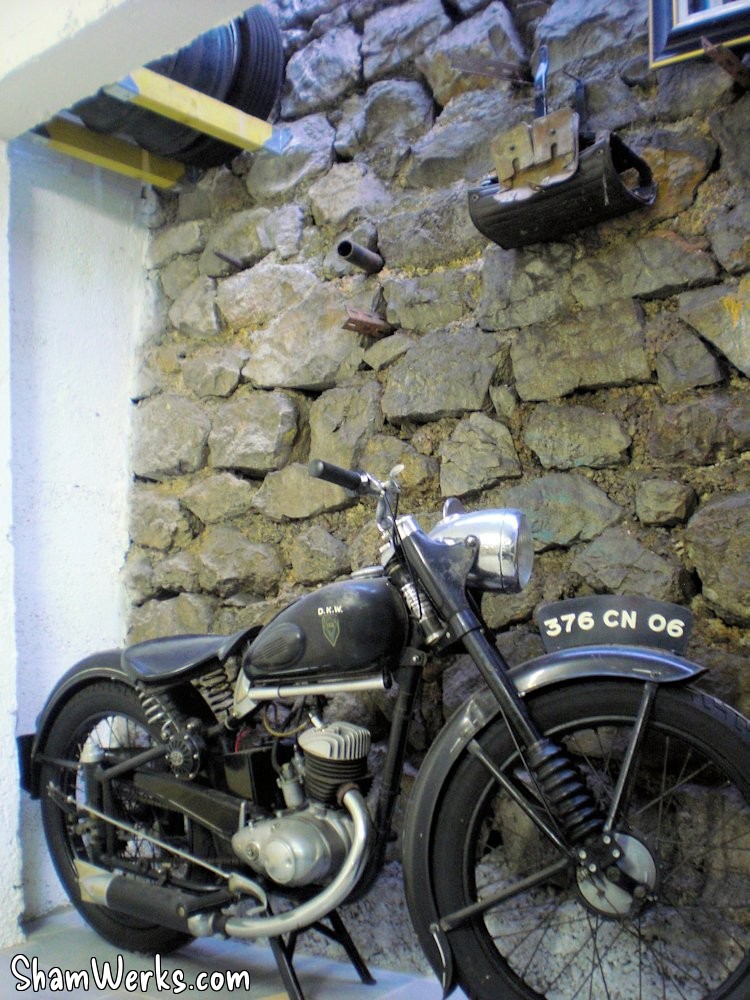
In the first garage, I first install 4 two-by-threes below the glass roof I have at the back of the garage : that will be a tire rack, and that much room saved!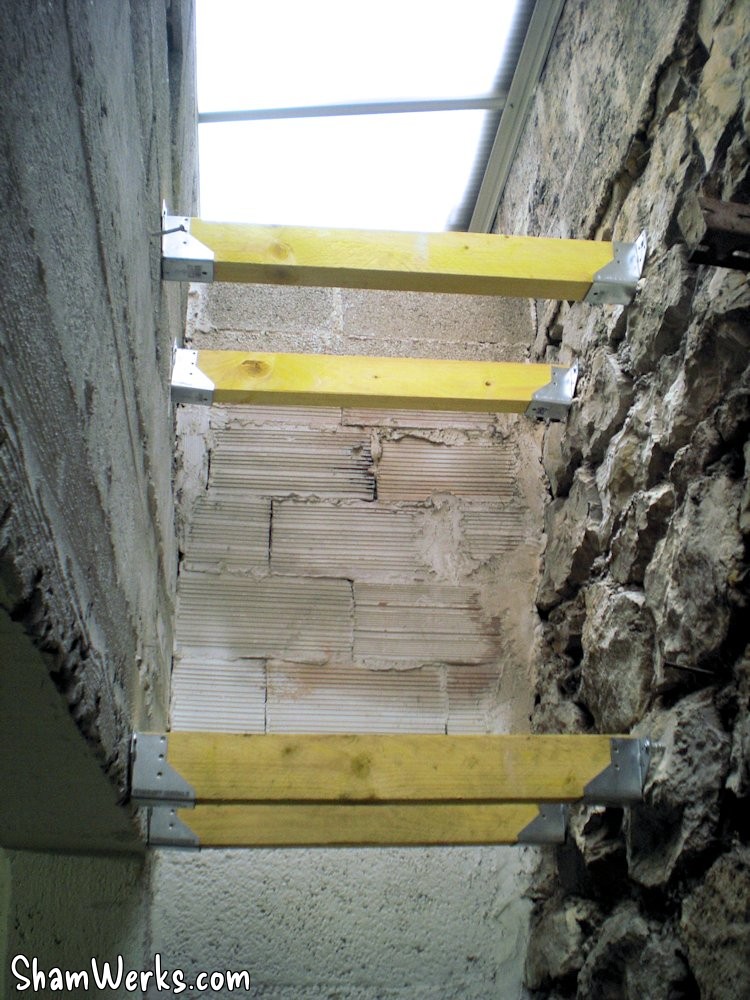
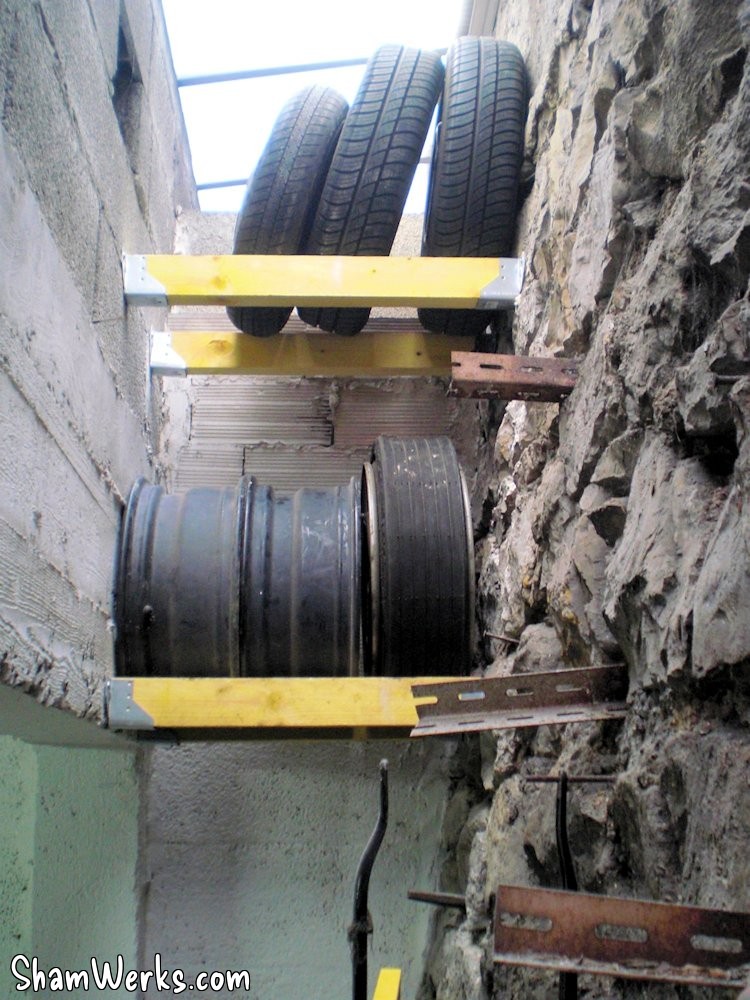
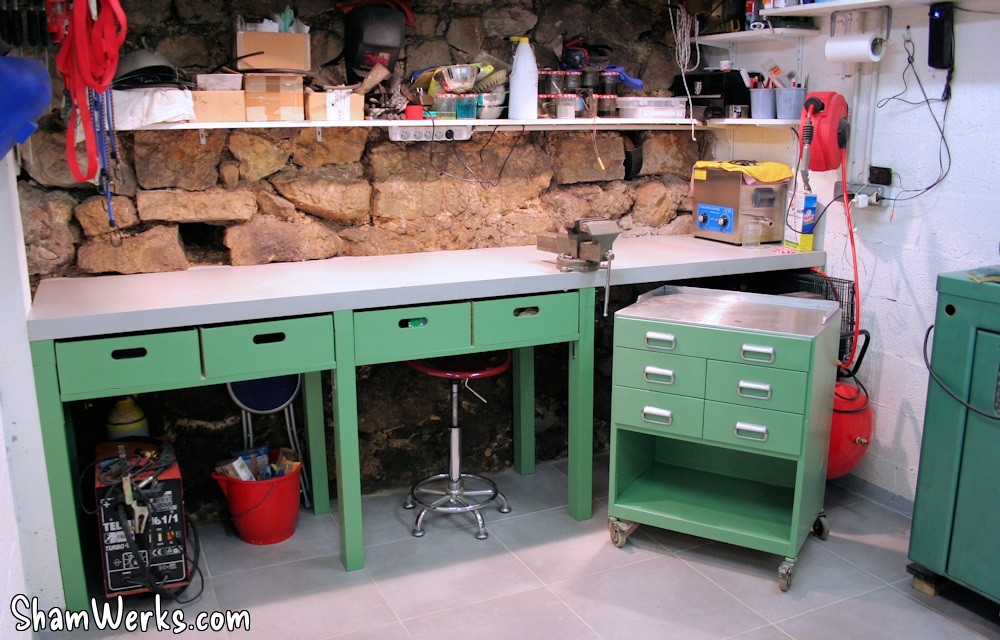
Here's something I should have done 20 years ago, I keep using it all day long!!
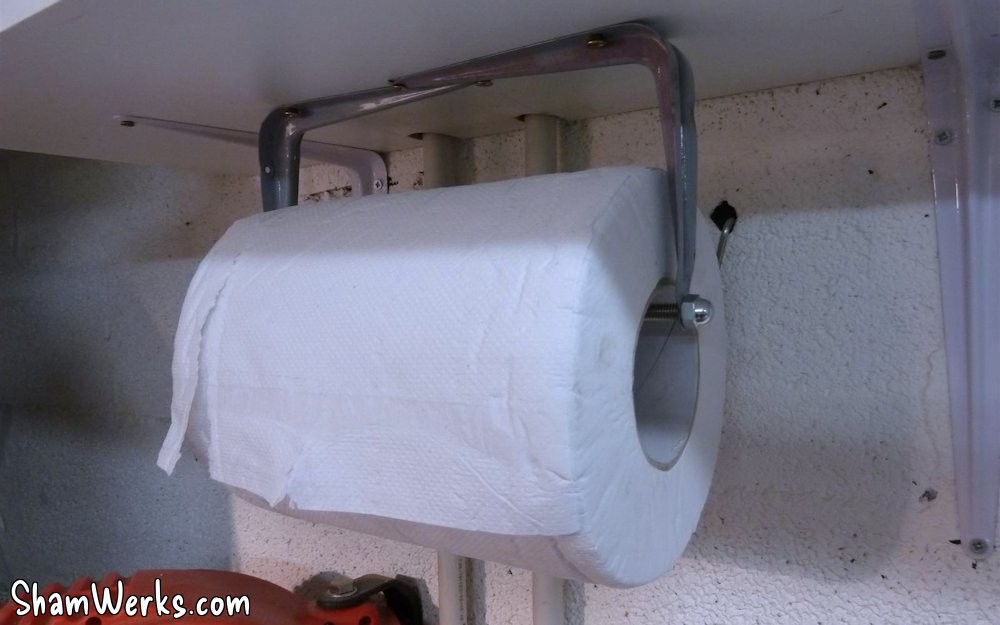
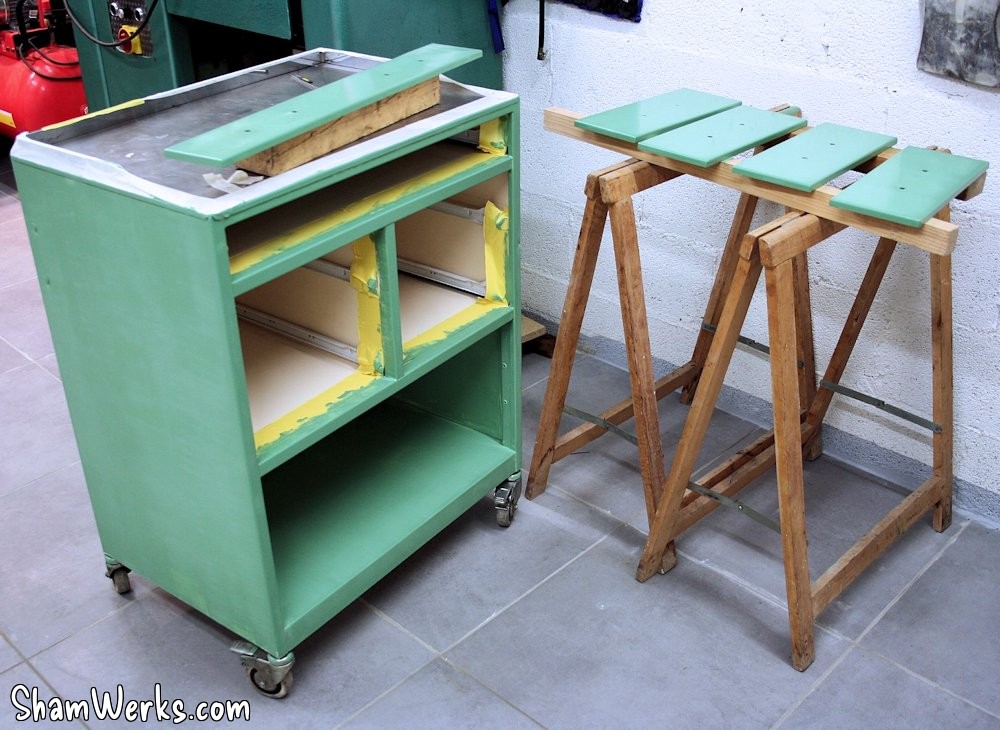
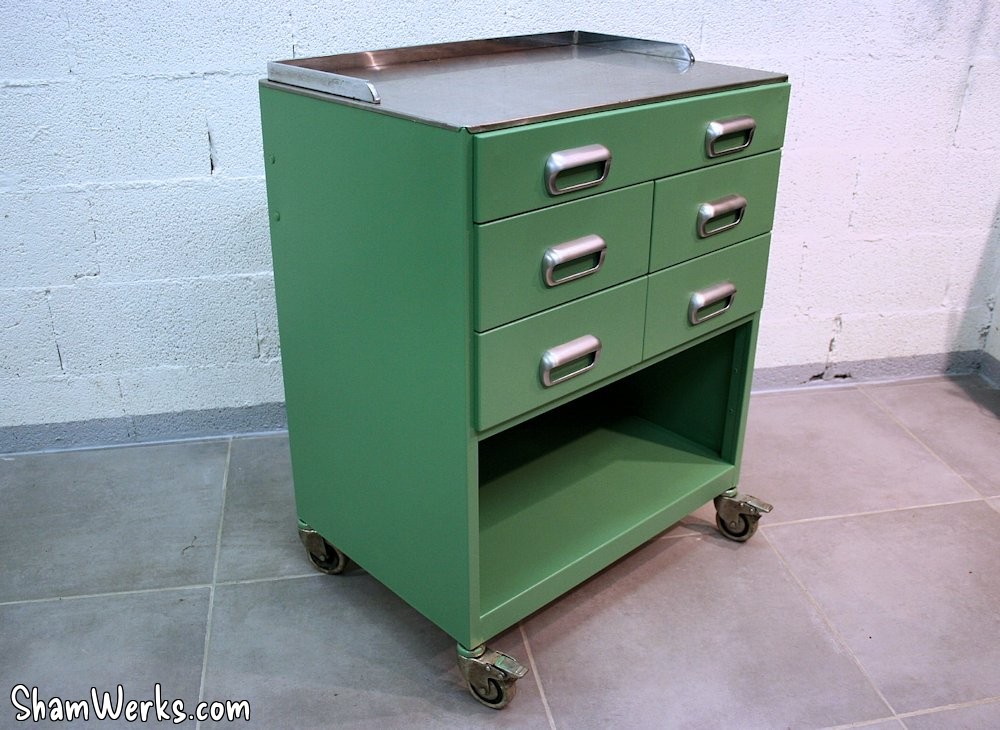
The shade of green is
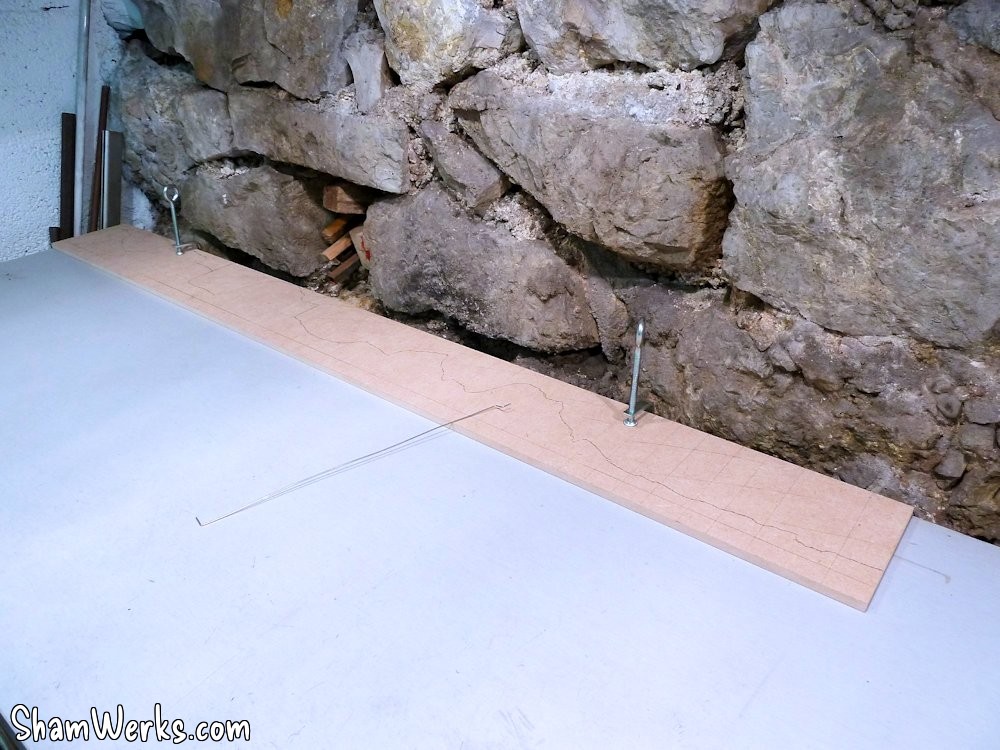
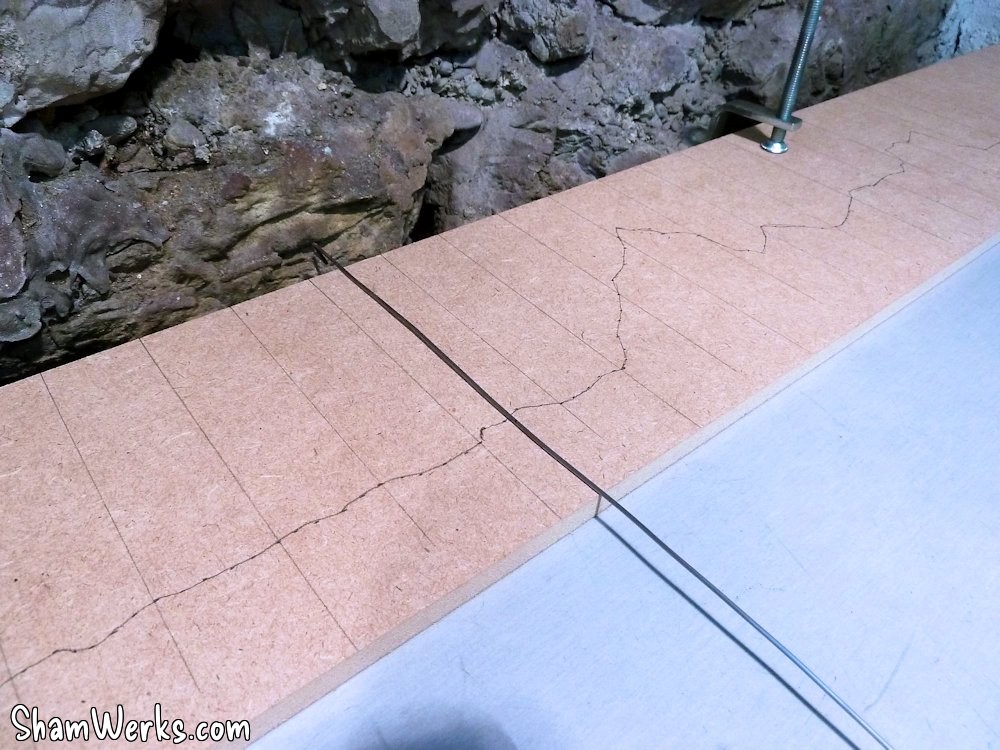
The strip is made of 10mm thick MDF, covered with the edgebanding material that came with the bench top. It's then screwed on top of a 1"x1", itself glued/screwed to the back of the bench top. Neat!
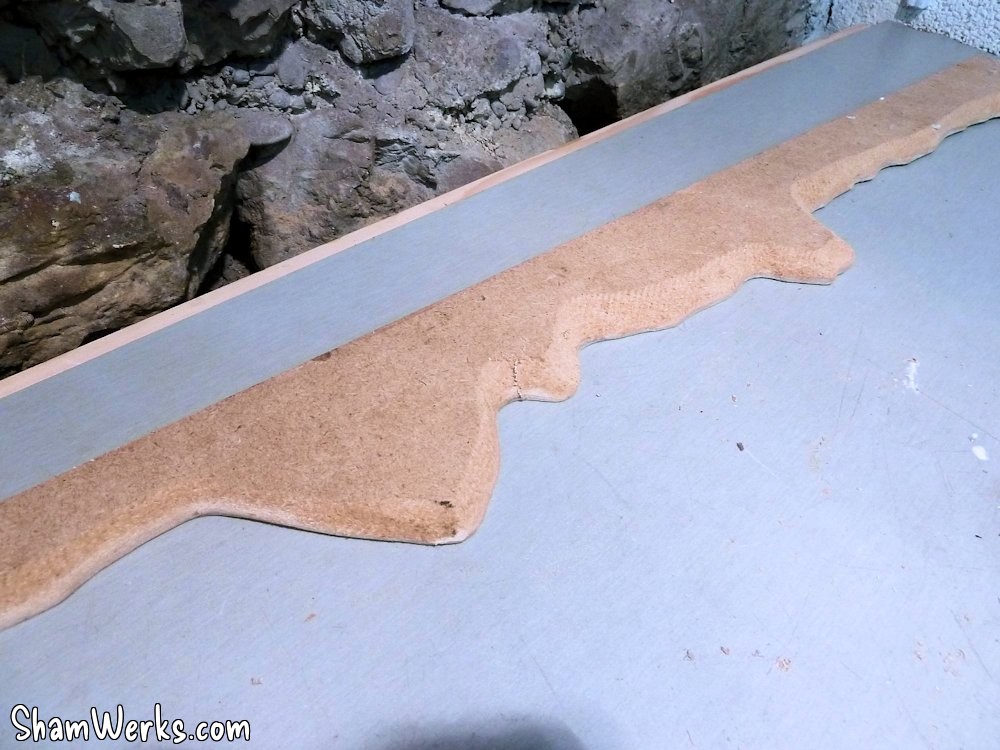
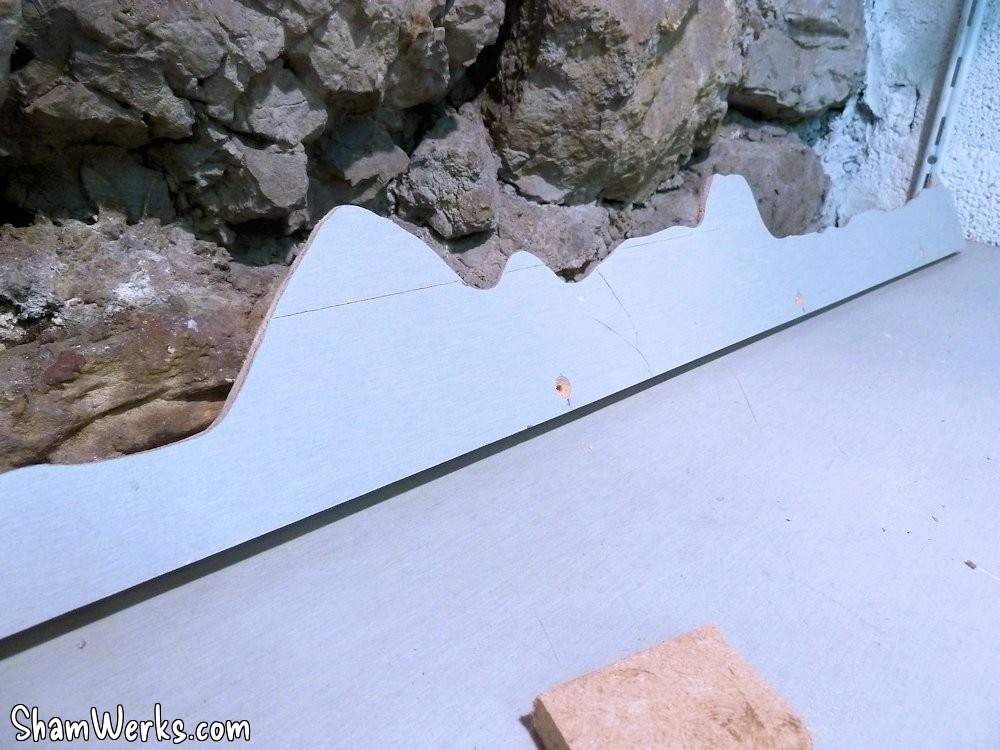
A bit of elbow grease and some paint to match the workbench, and it's perfect!

Back to cruising speed and altitude at the workshop... Over'n'out! Published on 01/04/2014 / 1 commentaires