Garage project, the renovation
Act 1 : walls...
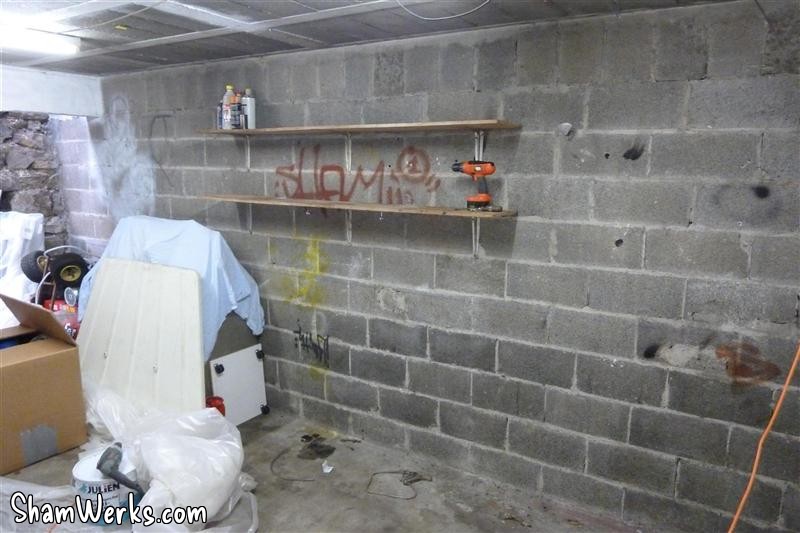
OK, first thing, if you've never tried before, painting concrete blocks is Hell on Earth. Specially after 50 years of dust encrusted in... 😉I've painted the walls using a paint which actually is a primer... But it's way white enough for a garage. Plus, it was on a special offer. 😁
So, white acrylic paint Jullien "Multifond 2" it will be. I sprayed the first coat using an HVLP gun, diluting by 50% (that's border-line for the cohesion of the paint, be it works). The spray-gun is quite handy for the first coat, it gets the paint in every hole/asperity of the blocks, it blows away the dust (still remains lots of it even I thoroughly brushed the wall before - wear a dust mask!) and removes the small loose grit from the surface (these gravels would f*ck up your paint roller in 2 sec. if your try it directly...).
The second coat is applied with a paint roller end blocks the concrete from sucking in more paint. Finally, a third coat to make it shiny white, with the roller loaded to the max with paint (almost like a plaster coating!).
Eventually, 2 and a half 10L paint container will be necessary to cover the surface of 45m² (484 sq ft : walls + ceiling), while each paint pot was supposed to cover 96m² (1033 sq ft)! Didn't I tell you concrete blocks suck paint? (...and suck at painting!)
It's long, very long to paint that bloody thing if you want a bright, pristine white result...
Act 2 : floor...
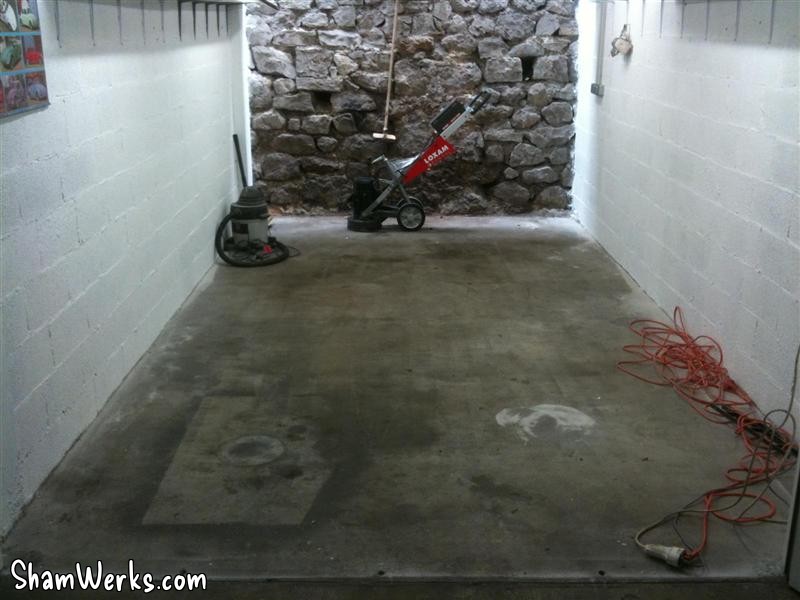
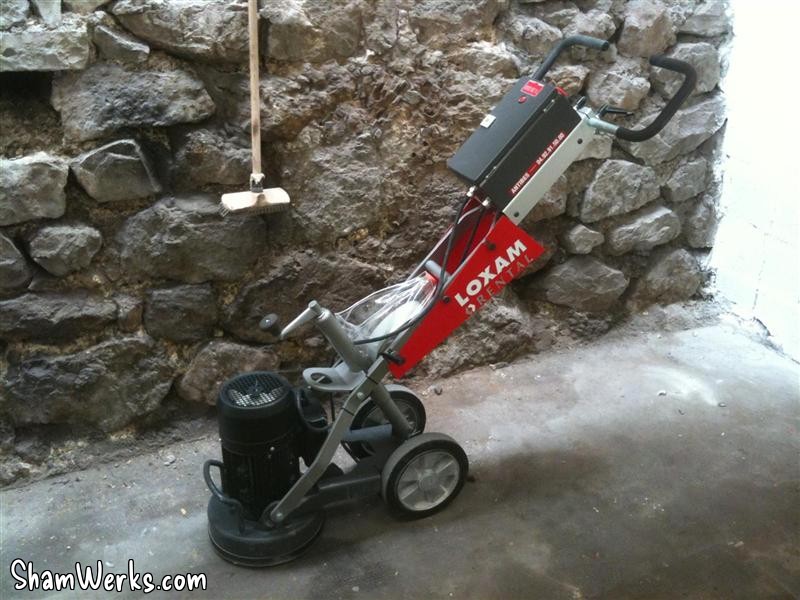
My floor was covered with greasy/oily dirt (see previous article), and I decided to clean it using a concrete grinder. The idea behind this is to remove the top 1mm from the concrete surface to get rid of any oil stuck in... I've rented the machine at "Loxam" (picture below).To be perfectly honest, it was probably not the best solution. You can not imagine the amount of dust that beast will generate : after less than a minute of use, I couldn't see past my elbows! I couldn't even see my hands! Plus, that very fine dust goes everywhere, including the whole building basement and my neighbours garages... Hence heavy complains from them, it was Armageddon! 😁😁😁
And, I discovered that the floor of my garage wasn't perfectly flat, and the grinder can not get into these shallow areas... At the end of the day, I managed to clean 90% of the whole surface. Fair enough, but I'm still unsure it was worth the hassle.
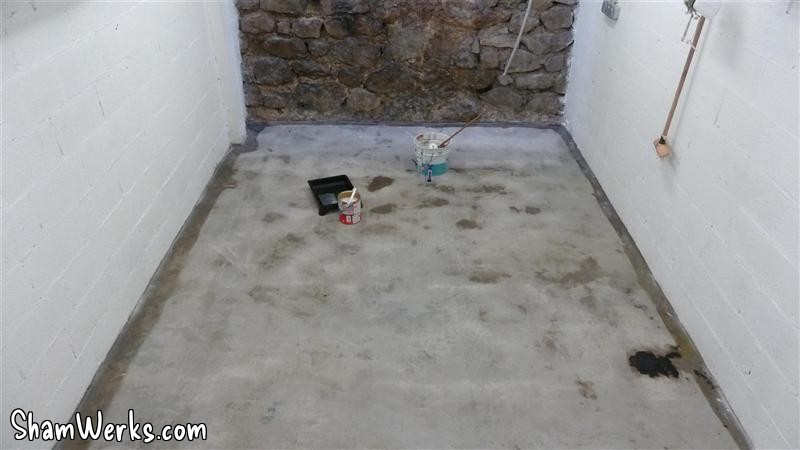
After that, treatment was :
- Acid cleaning ("Shampooing sol ciment/béton V33"), using a floor-cloth.
- Rinsing with floor-cloth too (twice).
- One coat of special primer : "primaire d'adhérence spécial ciment/béton V33".
- Finally, two coats of V33 floor paint : "peinture sol V33 trafic extrême gris clair U133/A".
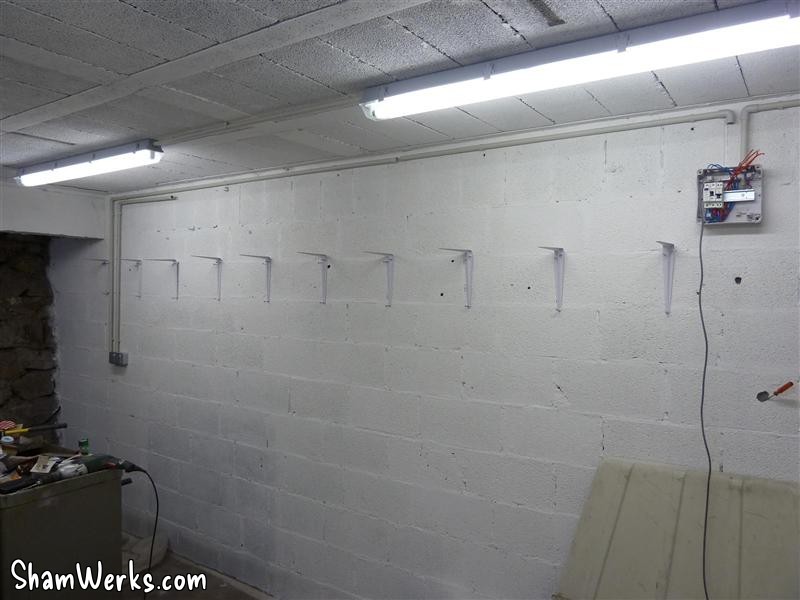
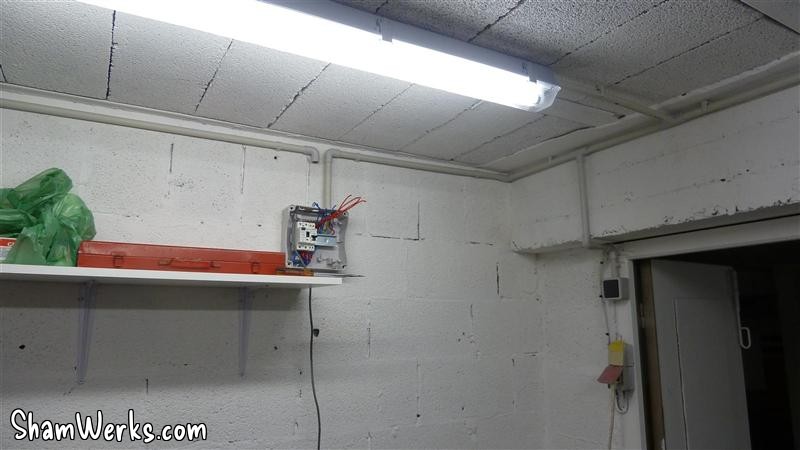
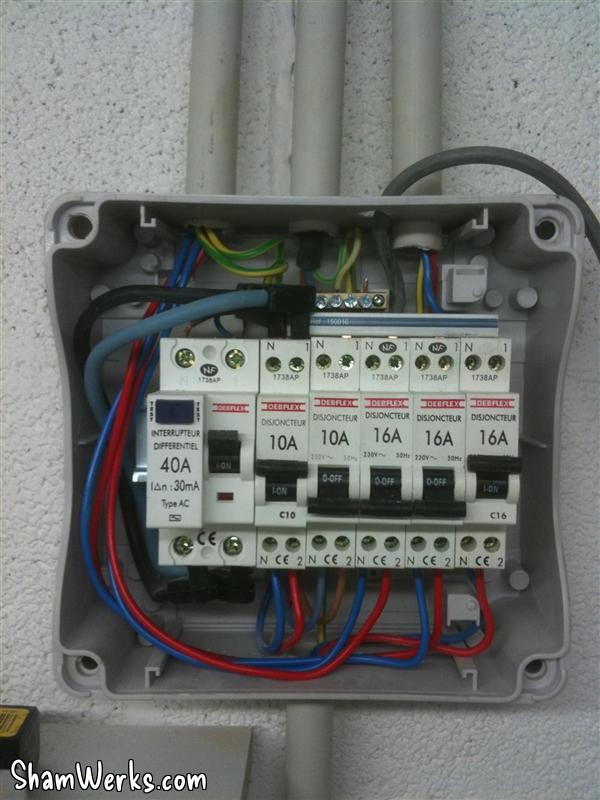
Act 3 : electricity...
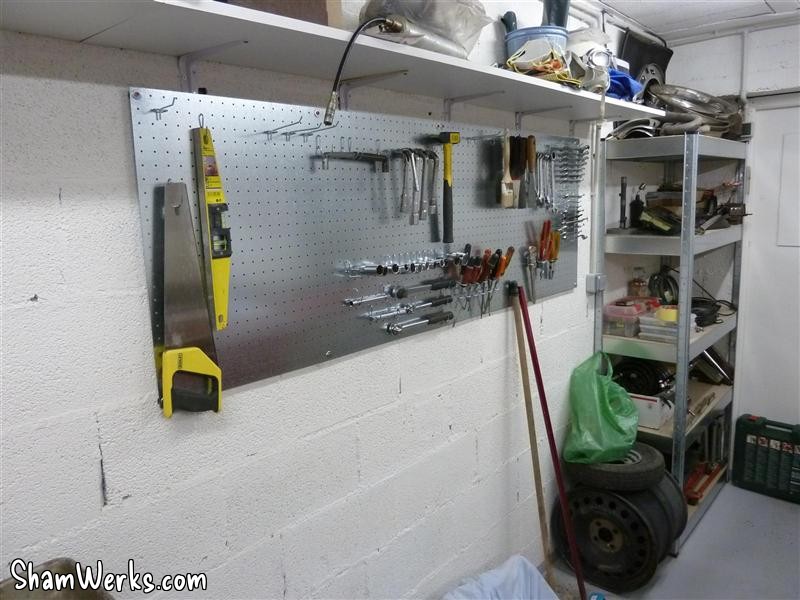
I am not an electrician, but I believe I managed not too bad...4 fluorescent lights on the ceiling, 3 halogens above the workbench, the whole circuit wired with rigid 2.5mm² wire in PVC conduits (with helluvalotta bends and "T"'s!), 3 outlets, 2 switches, and a real electric cabinet with circuit breakers to make it safe.
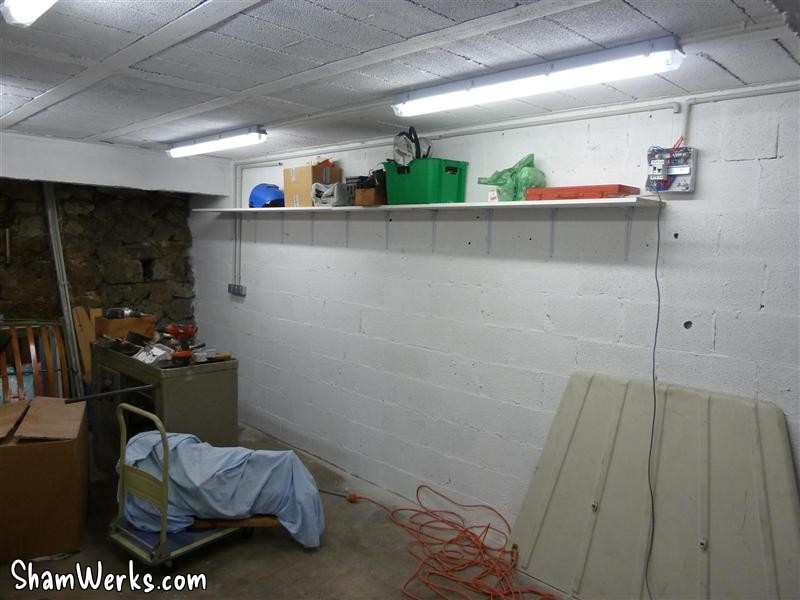
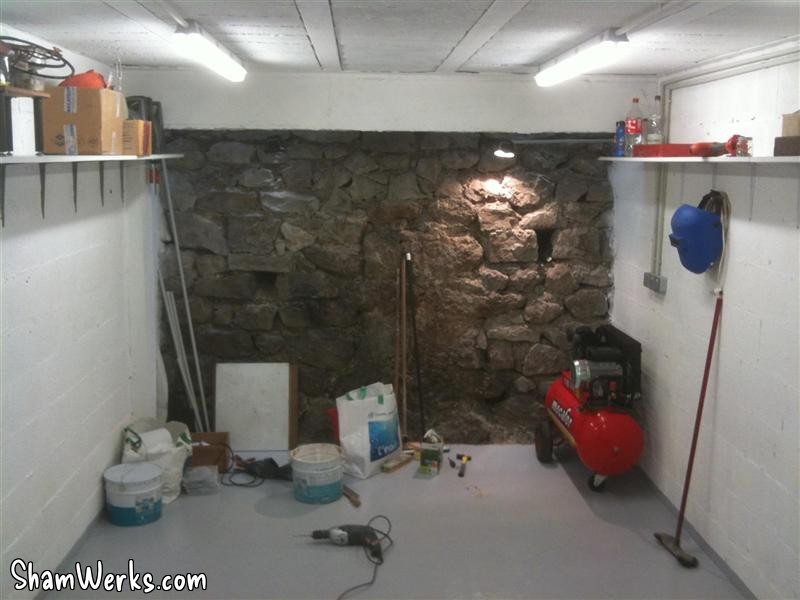
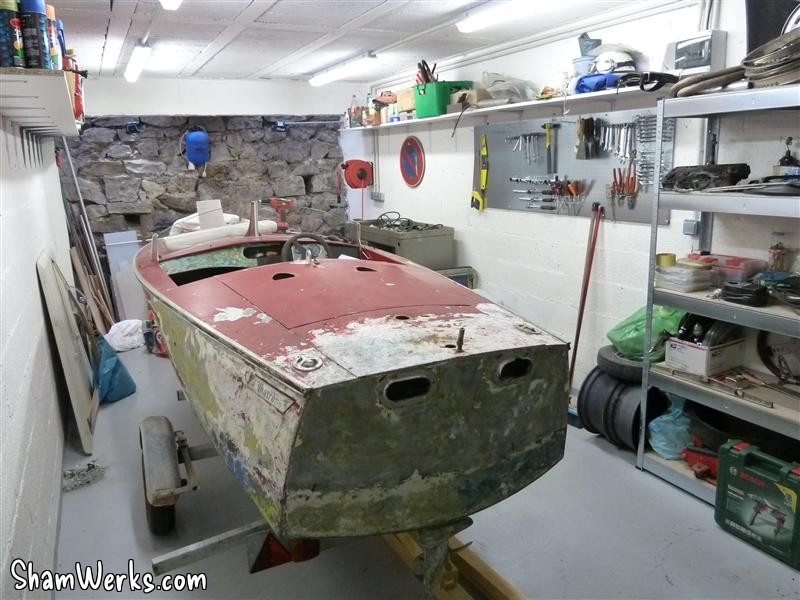
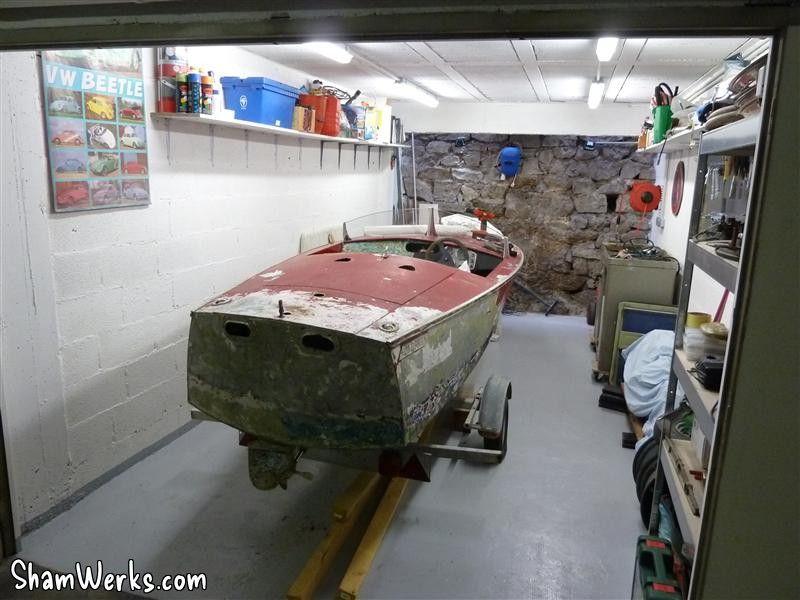
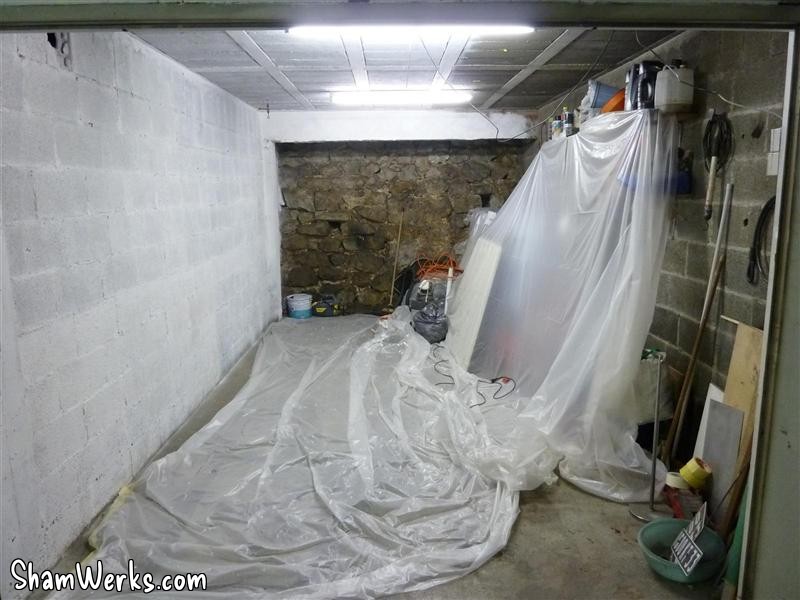
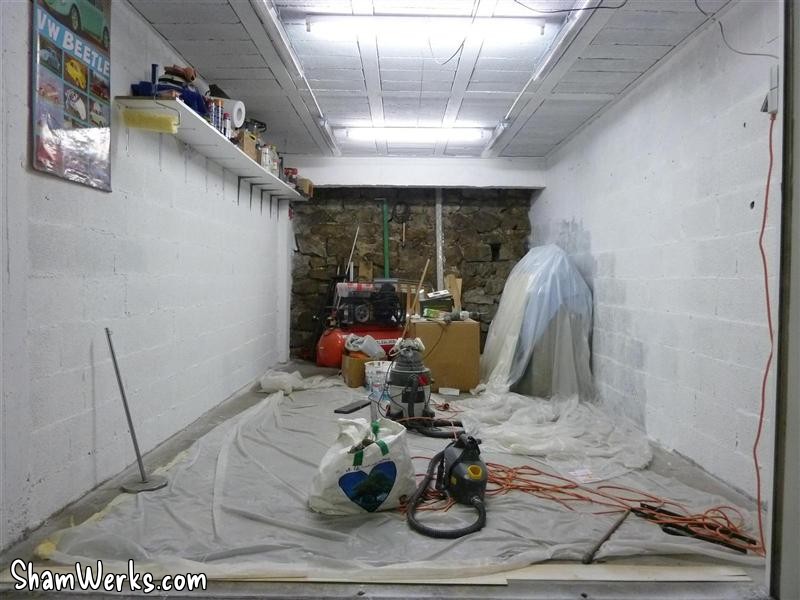
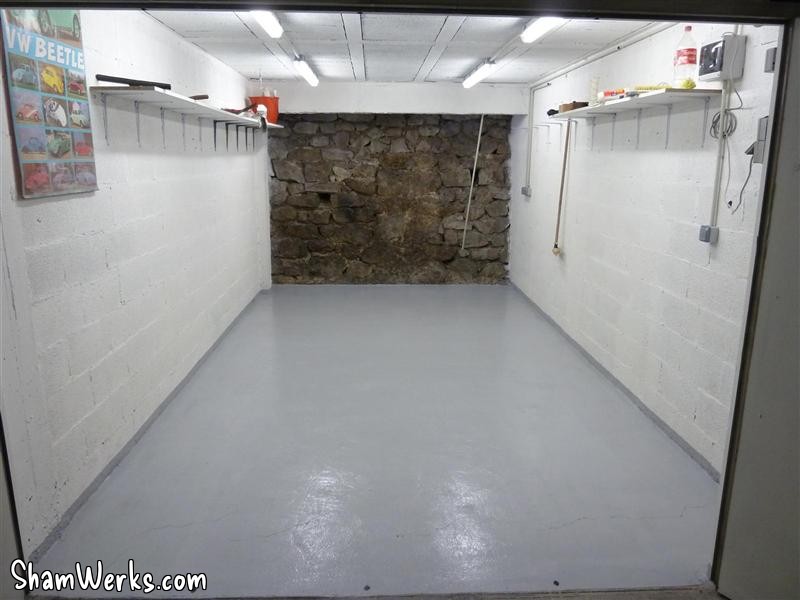
Voilà the current status : that's day and night compared to what it was before! Bright, clean, with plenty of storage space. Still looks a bit messy on the pictures, I didn't have the opportunity to organize everything! 😉
Compared to the original Sketchup plan (see previous article), I've moved the tools panel to the side wall : it's more practical, access is easier this way than if it was above the workbench as originally planned.