Workbench
Last major step in the process of renovating my garage : create a proper workbench.
The specifications were simple : sturdy enough so I can hammer on it, or put a couple of complete engines on it; higher than standard benches since I'm tall and the usual benches just kill my back; precisely adjusted to the space available in the garage (I ain't got much space, so I can't afford to lose any); and obviously... As cheap as possible. 😁
So, this has to be DIY, tailor-made... Moreover, the floor isn't perfectly flat, so every single foot rest of my workbench has a different length...


Once both of these stands are fixed into the walls, I could, using a long aluminium rule (actually, it was two 2 meter rules clamped together) in order to measure the exact length of each stand. Well, have a look at the pictures, you'll understand what I mean. 😁
Stands are assembled using dowels and wood glue. I glue everything up clamping the whole assembly against a spare chipboard : pressing the assembly is done using a ratchet strap, while clamps make sure everything remains square and in the same plan.


On top of it all, a 58mm thick (maximum I could find) melamine chipboard kitchen countertop, and here you go!
I'd prefer a proper counter top made of an assembly of lerge lumber pieces, planed all together... But I don't have the room, nor the time, to go into such a project. That'll wait till I have a real workshop! 😉


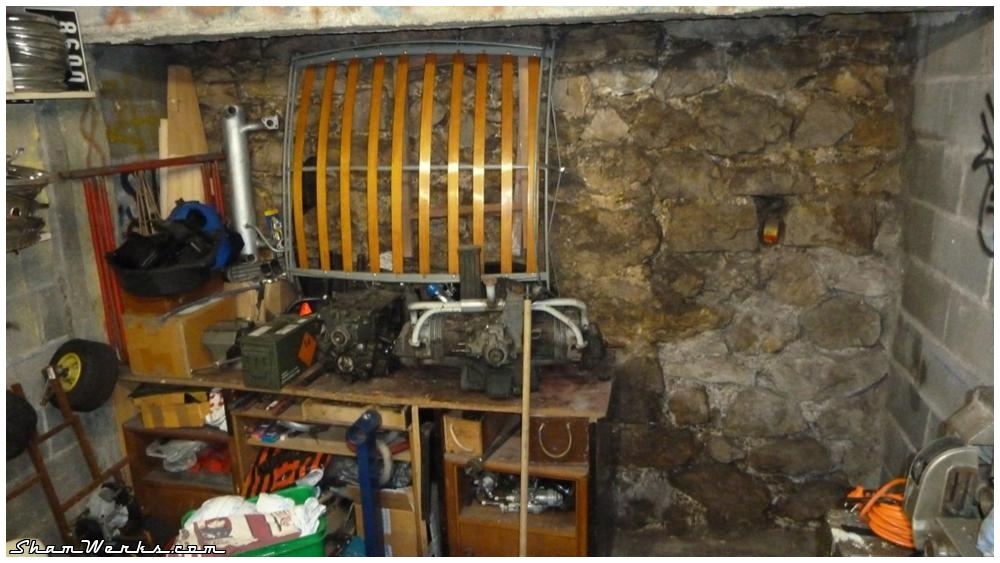
The 4 bottom metal cases I found in the trash bin (seriously, there were 50 of them, brand new!), and luckily they just fit below the drawers. Below the vice, you can see the VW engine support, fixed on the side of the wooden stand.


I know, my garage looks more like a lab now, it's quite far from what it looked like in the beginning (Click here the "workbench" before :
 ), but I like to work in a clean, well ordered environment. Yeah, probably some OCD as well, hmm. 😉
And now finally I'll be able to work on some real projects... Published on 18/10/2011 / 2 commentaires