36hp, episode 9 : Flywheel and Cluch
OK, time to put the flywheel back on... Where is it, by the way? 🫤

I finally came to the conclusion that I possibly had thrown it away by mistake (!), and right before I started looking for another one (they're not easy to come by, them 36hp flywheels), I gave a call to my friend Laurent, to ask if I had not left my flywheel at his workshop when we closed the engine block... I didn't expect much as I thought I remembered him telling me it would be better to keep all the parts together...
But he told me "yes, sure your flywheel is here!!".
GRRAAaaaaRRRGHh!!!! So much time lost! Damn, I could kick myself in the ass! #StupidOfTheYear
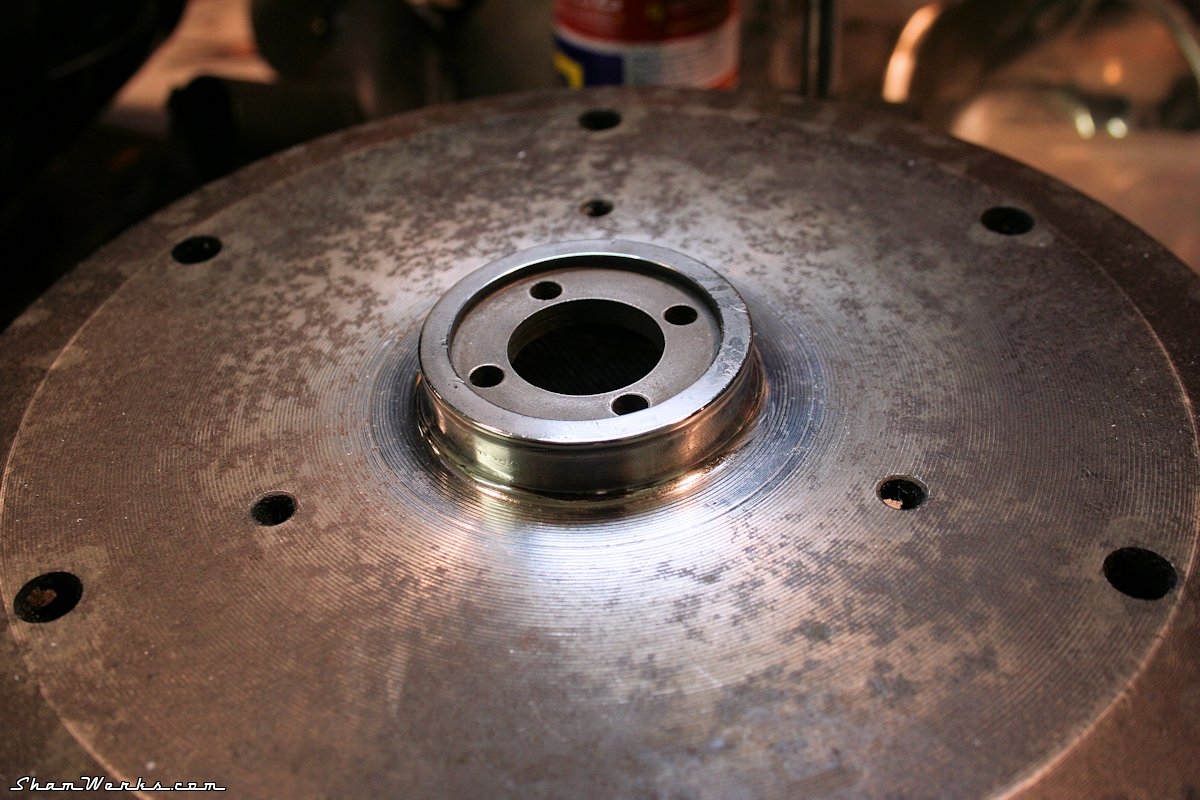
Anywayyyyy... On my flywheel, the oil seal running surface was pretty dull : some pitting, lots of oxydation... In order to avoir any oil leakage from there, I had to do something about it.
So I polished the running surface, starting with dry sandpaper 320 / 400 / 600 grit, then with oil (WD40 is your friend) 800 / 1000 / 1200 / 1500 / 2000 grit. I ultimately use 3 polishing compounds, of increasingly finer grit, applied with a felt wheel on my Dremel tool.
I take this opportunity to ever so slightly round the top angle, to make sure the oil seal won't get damaged when putting everything together.
And Tadaaaa! Shiny-shiny! 😁

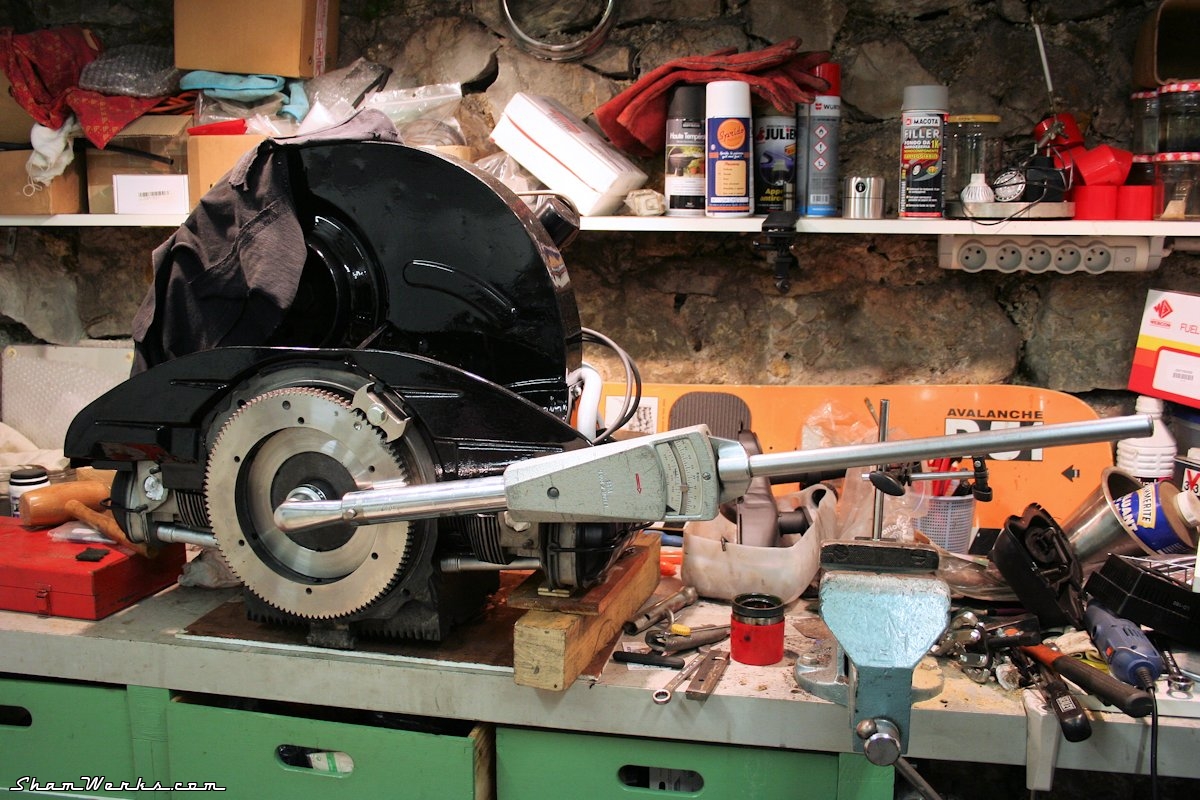
That's the opportunity for me to bring out my BIG torque wrench, the one I use to reach the 35 mKg needed to properly tighten flywheels and rear wheels' central nut. 😊
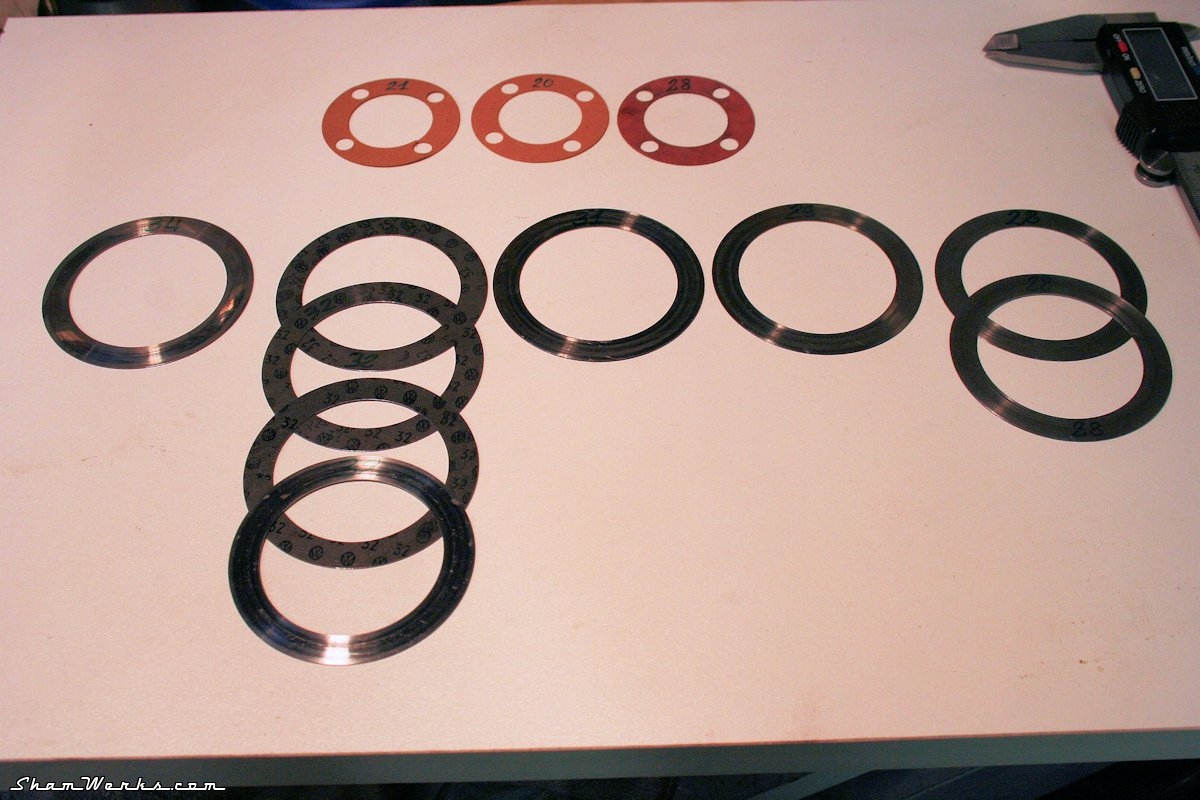
First step, find a set of shims, cuz' as expected, the ones I have don't allow me to adjust the play correctly... And as usual, the 36hp shims aren't the same as Type 1's, and much harder to source!
Long story short, I buy a couple of 0.32mm shims from VW Classic Parts, take out the ones in my original engine, and I end up with a pretty good assortment of shims in various thicknesses, plus 3 paper gaskets of various thicknesses.
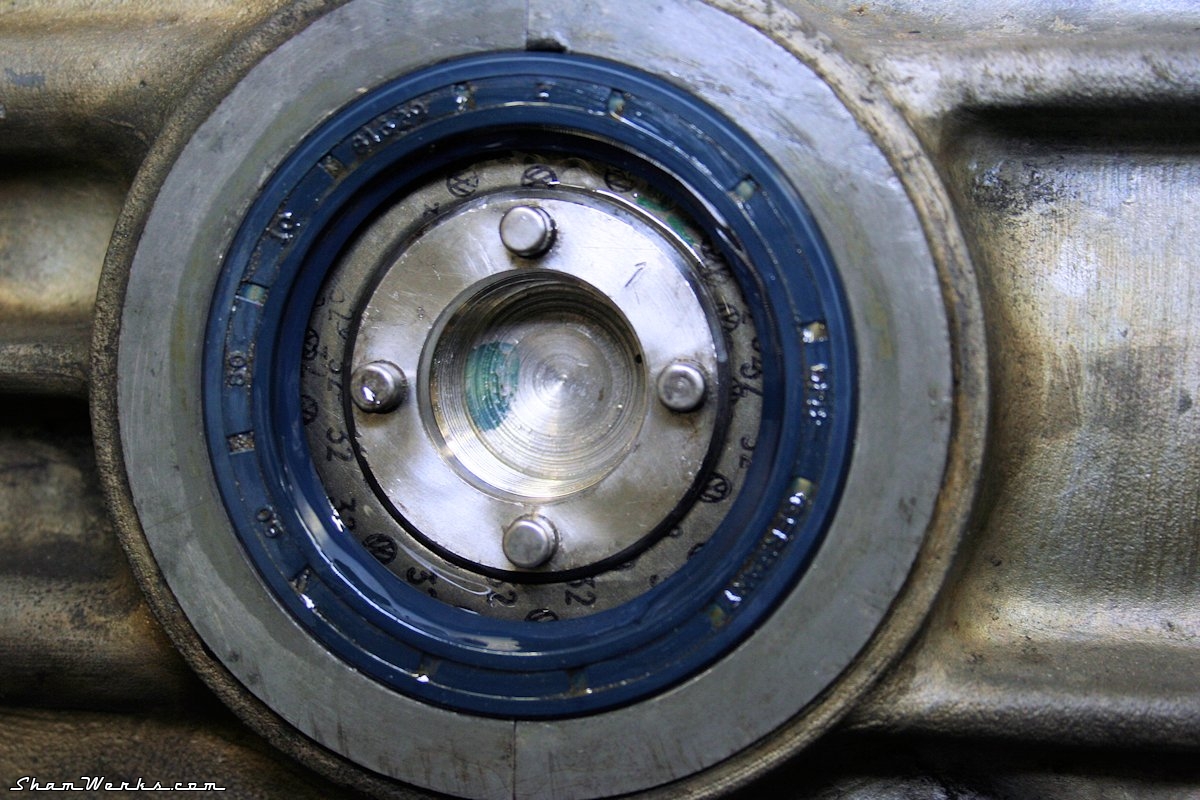
Without the paper gasket between the flywheel and the crankshaft, I get a little over 0.03mm of end play, measured with a dial indicator. After 4 assembly/torquing/disassembly sessions, I manage to find the right set of 3 shims (always install 3 of them, for relative rotation speed reasons) to get 0.10mm of end play with the paper gasket on. I would have prefered it to be a tiny bit tighter, like 0.08mm, but it will do. I give the oil seal a good dose of lubricant, put the flywheel on, and torque the central nut (with a drop of blue Loctite medium threadlocker).

- 111 105 281 : 0.24 mm
- 111 105 283 : 0.30 mm
- 111 105 285 : 0.32 mm
- 111 105 287 : 0.34 mm
- 111 105 289 : 0.36 mm
The flywheel had been re-surfaced and balanced with the crank and clutch assy (work done by Slide Perf in March 2012!! It's really high time for me to finish this engine! 😔🫤).
A "1" mark had been stamped to make sure the flywheel is in the same position as it was balanced ; same for the clutch assembly, with a "0" mark. At least, the bloody thing shouldn't wobble around. 😉

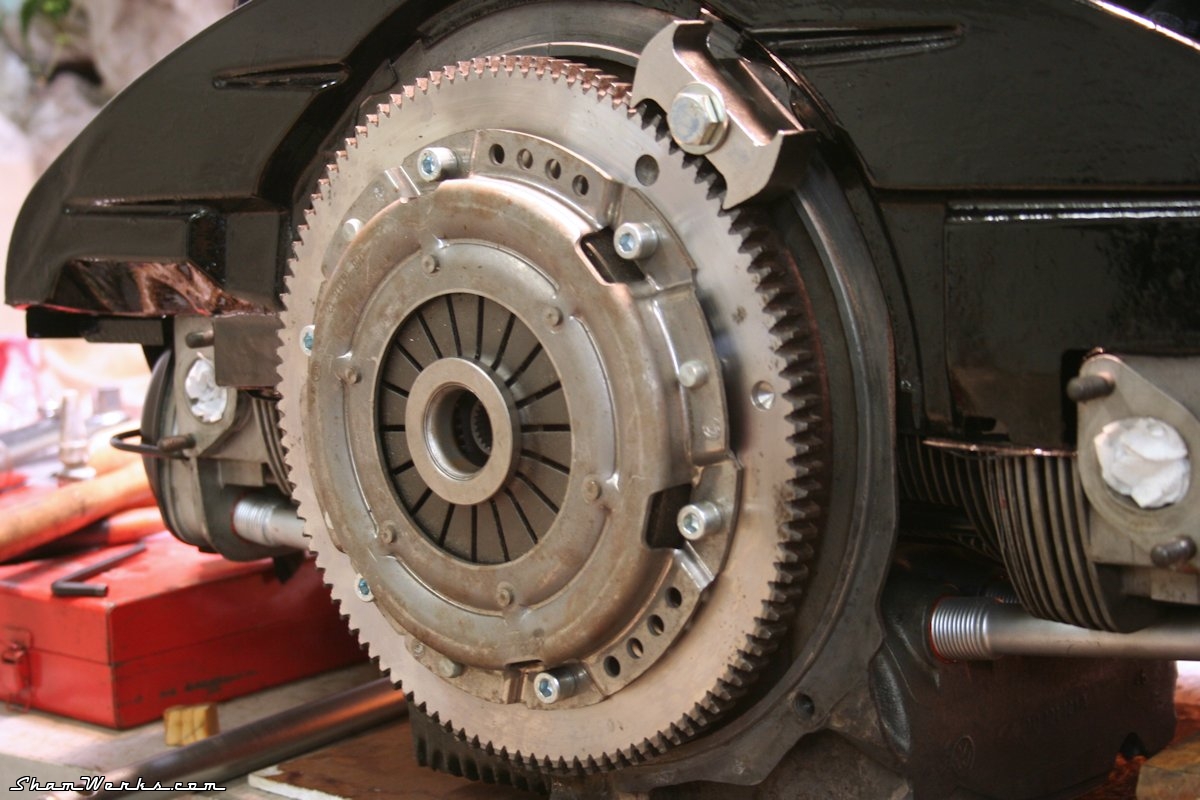
The clutch assy screws are torqued (2.5 mKg) and secured with the usual drop of Loctite.
That's it for today! Yet another checkbox ticked out! 😁
Hopefully this engine should run in no time now! (wishfull thinking...) Published on 18/08/2017 / 1 commentaires