Posted on 22/03/2012 at 23:04
Elvira : Rebuilding the 36hp, part 2 : parts, parts, parts...
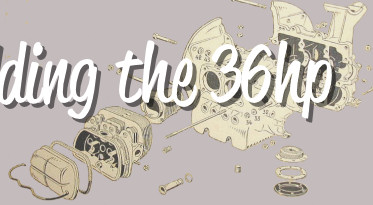

part 2 : parts, parts, parts
Step 2, bits and pieces :
The main issue when you start rebuilding a 36hp, is obviously the availability of parts...Well, I must admit that the situation did evolve in a good way those past few years, you can finally get few parts directly from your usual dealer. But that's only reproduction, with only one reference available (i.e. you can't choose between Berg/CB/CSP/Scat/etc as you would on a type 1 engine), and I have doubts about the actual quality of these parts.
Anyway, it's been a long and bumpy road, but I finally found everything I needed to rebuilt my engine! One definitely needs to be patient with a 36hp... in the workshop as well as on the road!
What's next :
No old-speed preparation on this engine : parts prices are just way out of my league, for limited performances, and as soon as you modify anything on this block you must make other modifications to get a coherent, somehow reliable engine.I hesitated a while about investing into a Wolfsburg West Okrasa Kit, but as long as they keep this ugly heads casting issue, I'll stick to the original heads. One day, maybe...
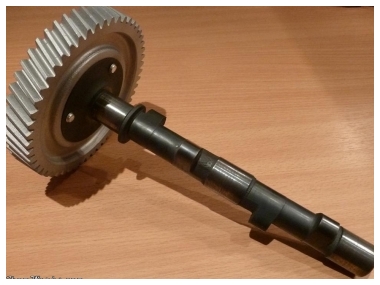
So, the only "perf" part will be the camshaft, the "Okrasa" camshaft from Joe Ruiz, even if I know Okrasa never produced camshafts for VW. It's actually a re-grinded shaft using the same admission diagrams as the early 356 (I've read somewhere Webcam takes care of the grinding). This will just help my engine make a better use of nowadays fuel evolution.
Then, I'll do my best to optimise the engine to make sure I don't loose any of the original 36hp :
- Crankshaft, flywheel and clutch mechanism balanced.
- Connecting rods and pistons weights balanced.
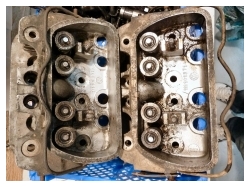
- Cylinder heads : combustion chambers and exhaust duct polished, intake duct smoothed (probably overkill on a small 36p, but I can mabe grab a couple of free hp here and there), valve guide checked, valves lapped.
Got parts?
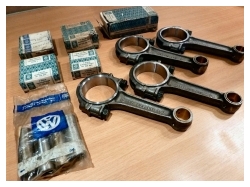
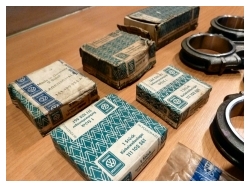
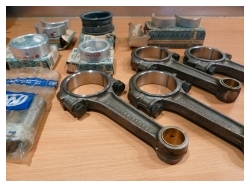
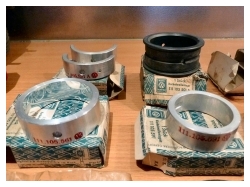
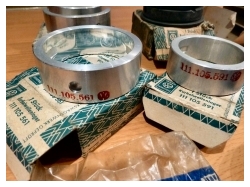
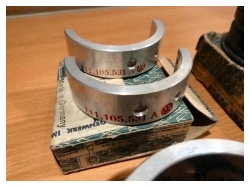
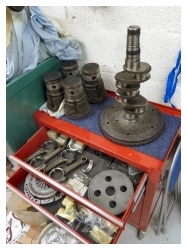
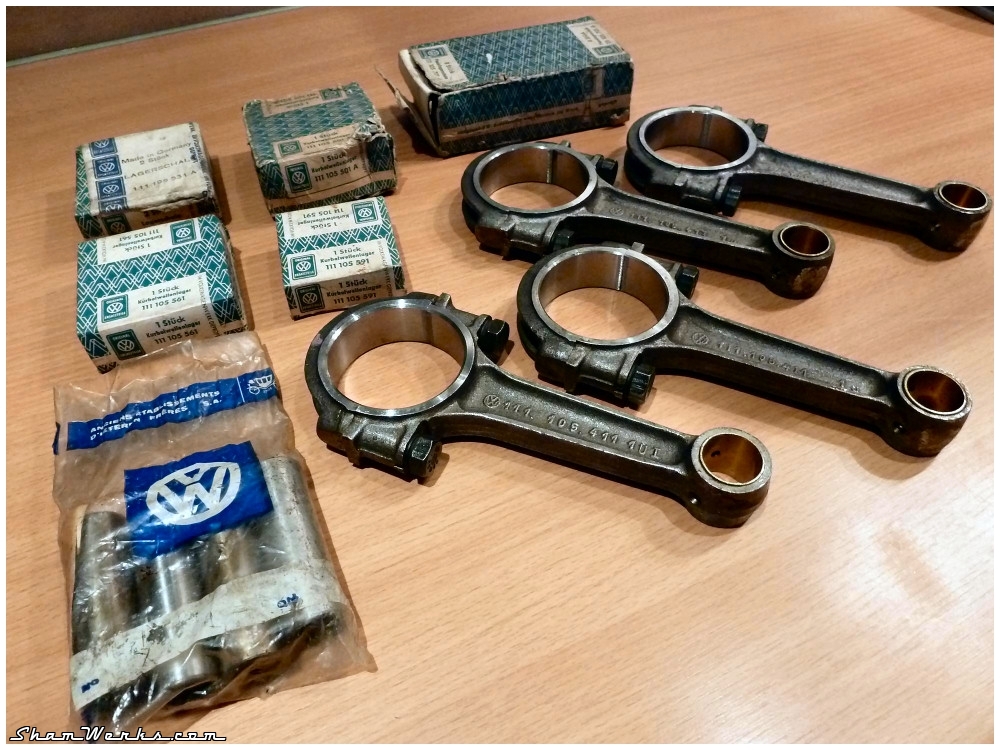
So here's the result of years (literally!) of parts hunting!Well, actually, only part of it, I'll keep adding the rest along the way...
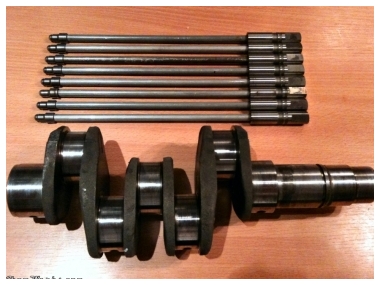
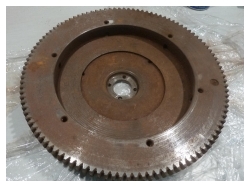
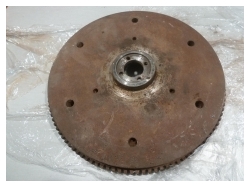
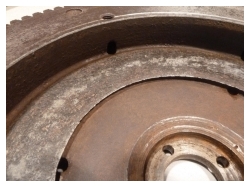
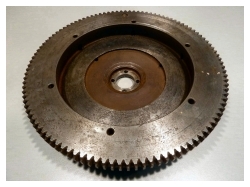
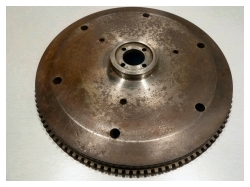
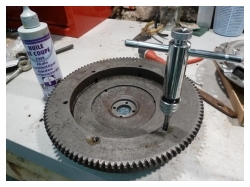
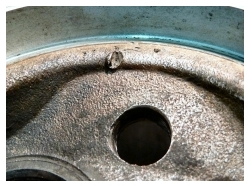
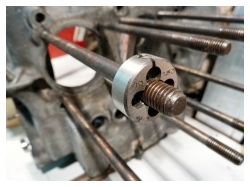
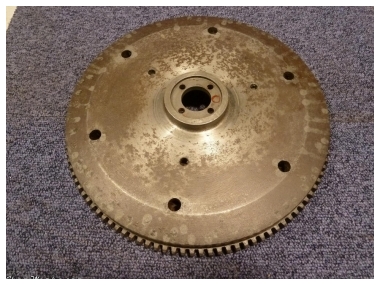
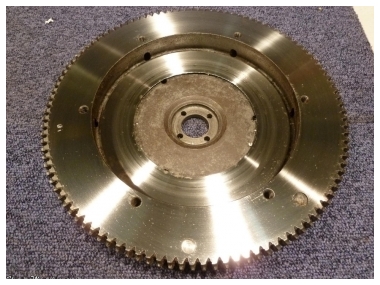
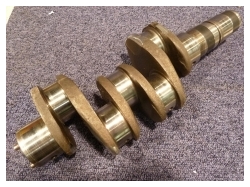
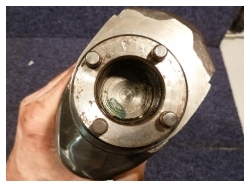
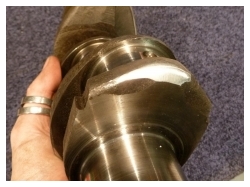
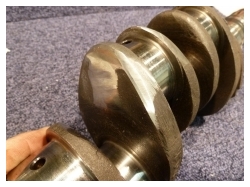
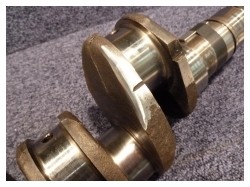
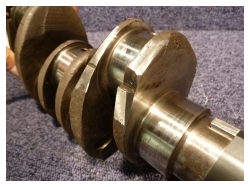
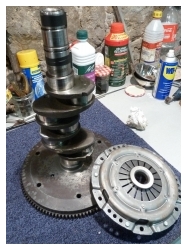
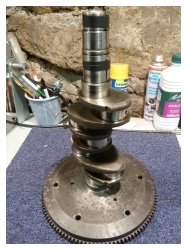
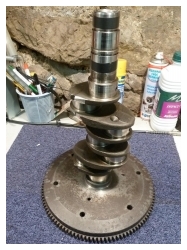
On the left, a used crankshaft, not NOS but double checked and within tolerances ; coming with it, a set of push rods used as well, but checked and fine. On the right, the Joe Ruiz Okrasa camshaft. My flywheel was in a pretty bad shape, so I had to find a replacement : here it is, a bit rusty, it'll will need to be grinded. But the dowels holes are perfect. After a quick cleaning with steel wood, it looks better all of the sudden. I re-tap the clutch assembly threads : it was impossible to put in the screws because of the rust and threadlocker paste... VW NOS connecting rods, NOS crank main bearings, NOS pistons shafts. Any real vintage enthusiast will have a boner looking at these pictures!
Yeah, this cost me a kidney, but at least I can reassemble the engine knowing that these parts are perfect... and come on, I had 2 kidneys anyway.
Spring cleaning :
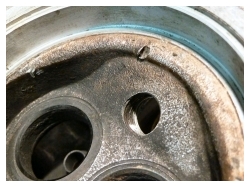
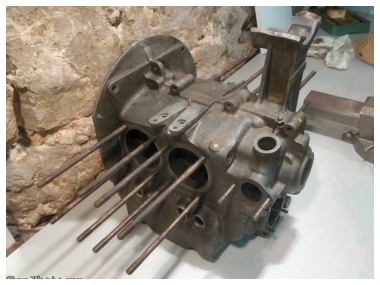
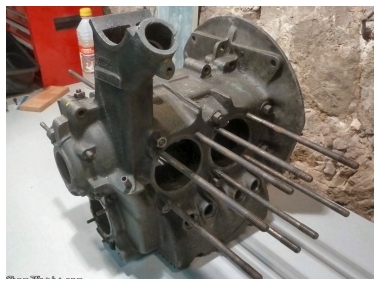
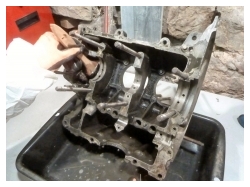
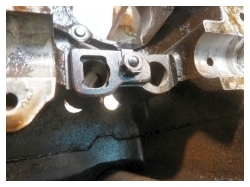
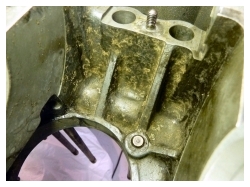
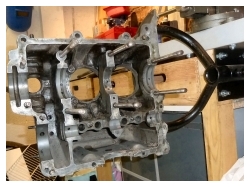
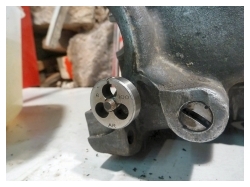
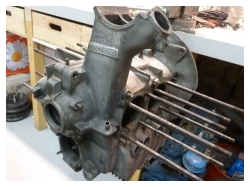
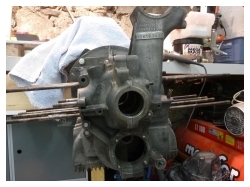
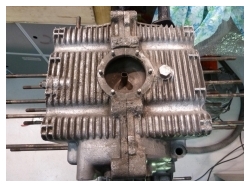
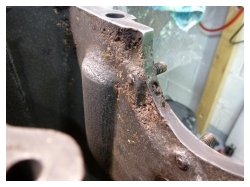
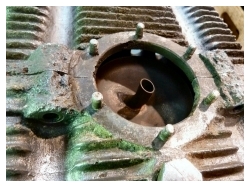
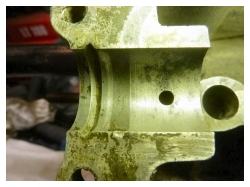
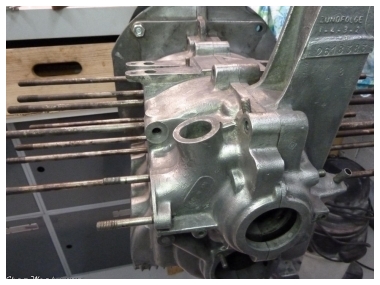
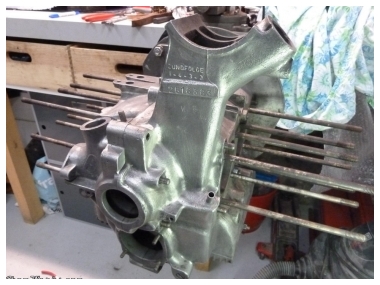
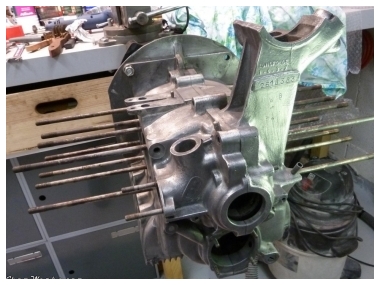
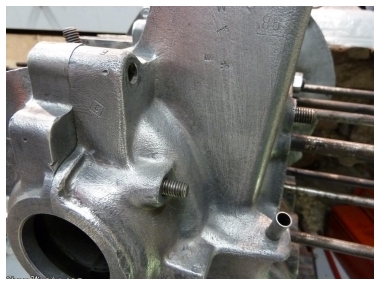
In order to work on a proper base, I've started with the inside-out cleaning of the carter.Tray, brush, toothbrush, Scotch Brite pad, WD40 to begin, then liquid degreaser (the one from our local Home Depot equivalent used to be great, but the new formula is crap!), kerosene, hot water pressure washer (local car cleaning booth), and finally some brake cleaning spray to dry out the metal. All oil galleries are flushed with brake cleaning fluid, then blown with compressed air, several times to make sure they're clean. A few bad news uncovered by the process : the carter is badly corroded on the underside. That will not affect the oil tightness, so it will remain this way. The last camshaft's bearing (which is the carter itself, there's no actual, separate camshaft bearings on 36hp engines) on the flywheel side has some corrosion spots. Nothing too serious, and the previous camshaft didn't have any marks, so I'll leave it as is. Outside finish : I first wanted to bead blast the whole thing, but I've read numerous times this wasn't a good idea since the glass bead are then very difficult to remove from oil galleries and all the little corners inside the carter. And if these beads start wandering around in the oil circuit, it's a recipe for disaster, so I won't take the chance...
On the other hand, I've tried using a drill-mounted nylon rotating brush (blue ones from Home Depot, for soft polishing of wood), and I'm quite happy with the result! It sure ill tarnish a bit, but it's good enough to me. Last news before I close this article... My crankshat/flywheel/clutch assembly just came back from balancing at Slide Performance. I recommend their service, great work, they've been very helpful and very nice contact on the phone. I've wok again with them in the future!
The flywheel has been resurfaced at the same time ; just compare the the previous "before" pictures, they're as different as chalk and cheese.
So! Finally I see the re-assembly time coming! Stay tuned!
1


