Posted on 30/06/2007 at 02:25
3 month later...

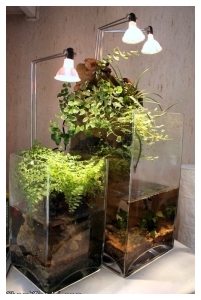
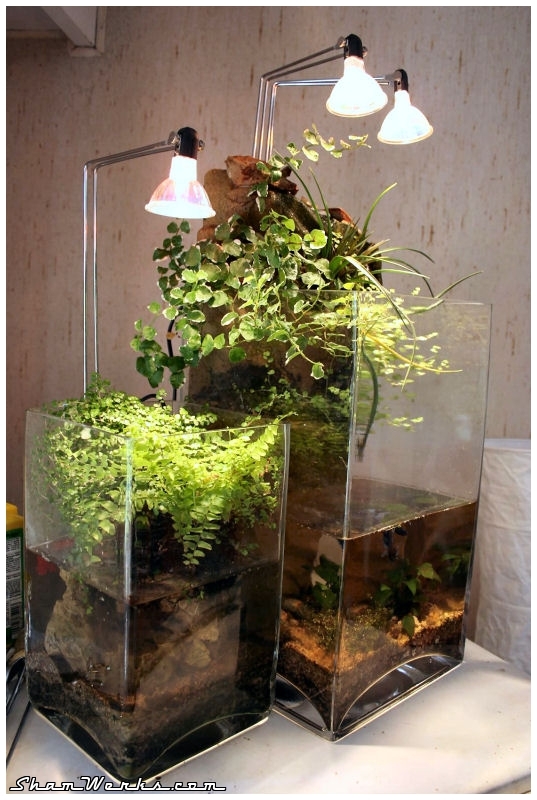
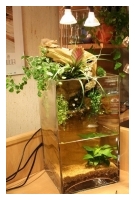
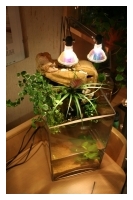
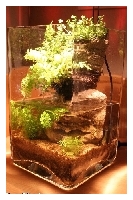
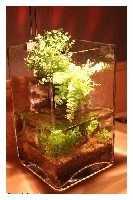
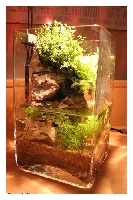
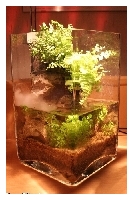
Small update about my paludariums, 3 months after their setup...
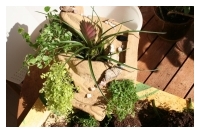
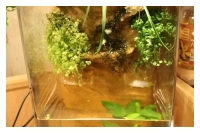
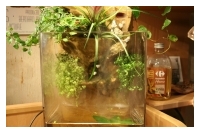
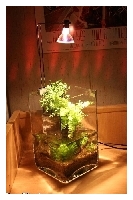
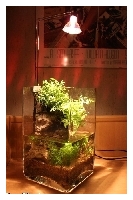
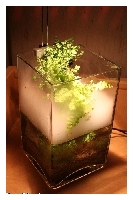
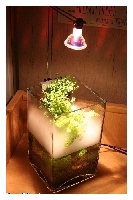
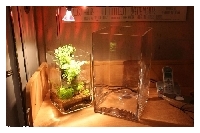
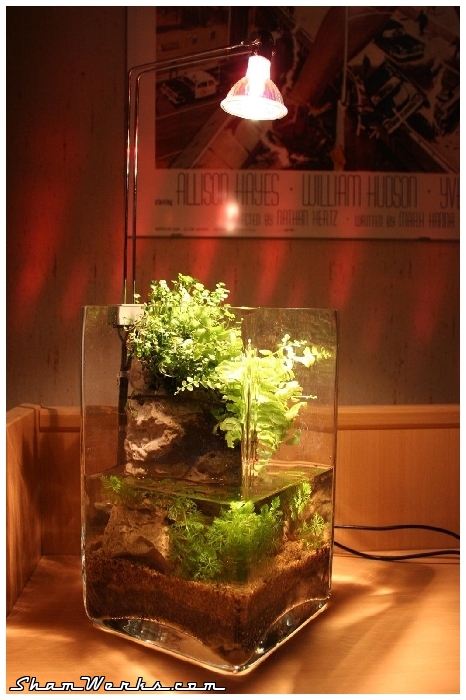
The first one is stable, both the helexine and the fern (néphrolépis boston) grow great, entirely covering the stone underneath...
In the other hand, the little aquatic plant and the duckweed (lemna minor) did not tolerate the lack of light due to the development of the plants above...
The result is very realistic to me, less "artificial" than it originally was, I feel like I've got a small piece of the Gravona, my river in Corsica...
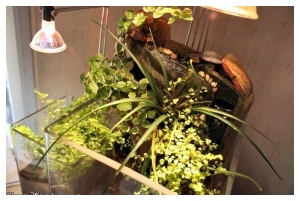
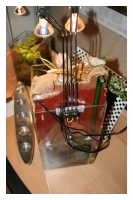
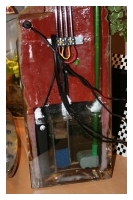
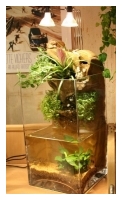
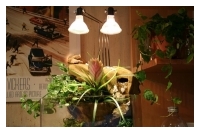
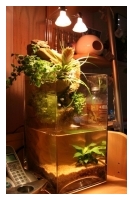
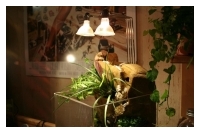
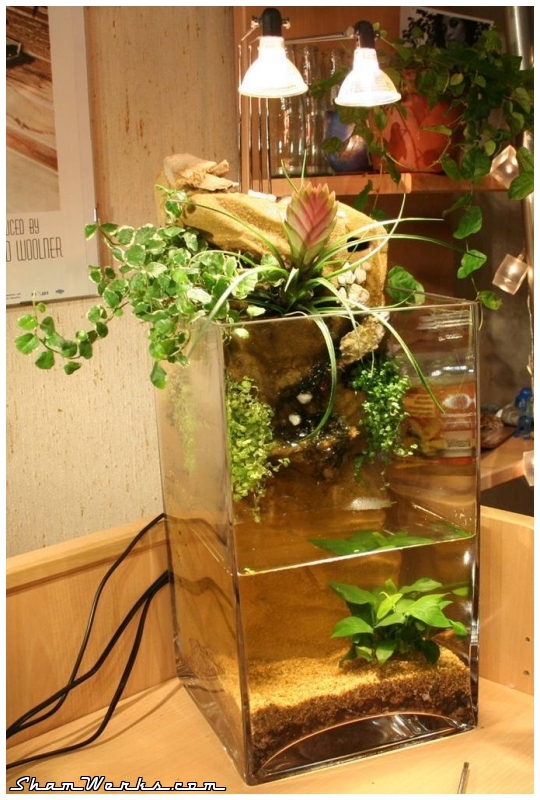
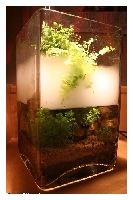
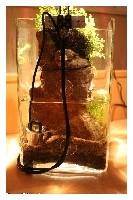
The paludarium V2, as well, developed very well (compare with before - complete article here). The right helexine has literally exploded, as well as the top-left ficus white sunny. This one even hangs onto the surface like ivy, and its roots go though the evacuation tube down to the pump, behind!
For these two plants, I have to play with a pair of scissors pretty often, unless the poor betta would end up in the dark...
The left helexine did not last ; I replaced it with a Selaginella Apoda (a fern with such little leaves, it looks like a moss...), which didn't last either. The slot is empty right now...
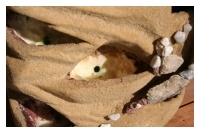
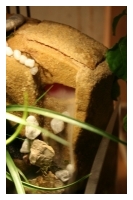
Well, not entirely empty : I've discovered it was inhabited by a cute earthworm!
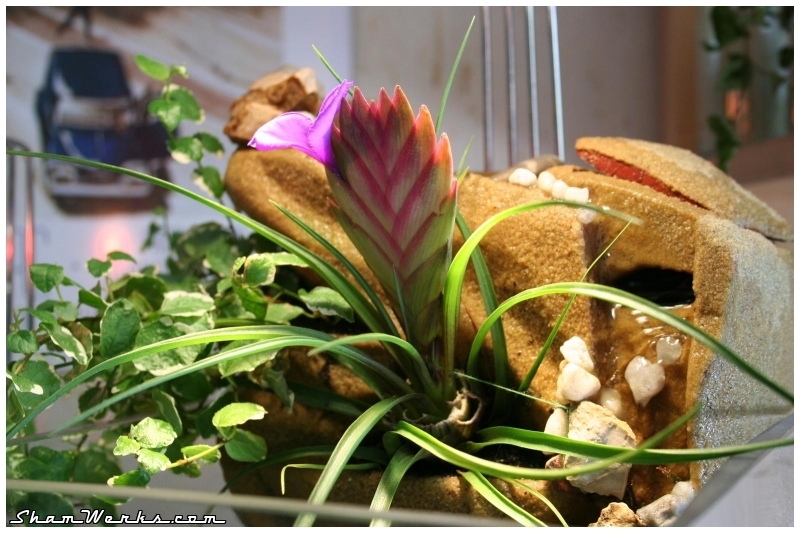
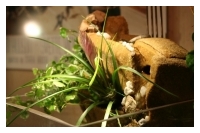
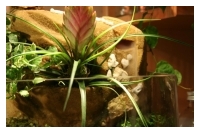
The inflorescence of the Tillandsia is gone, but the plant still goes well, giving more and more tillers...
Well, not entirely empty : I've discovered it was inhabited by a cute earthworm!
The inflorescence of the Tillandsia is gone, but the plant still goes well, giving more and more tillers...
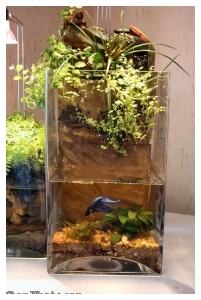
Down in the water, the anubia goes barely fine, no more... But the HC Cuba is slowly collapsing, not enough oxygen probably ; I'll try adding a bubbling device behind, in the technical area. It might prevent the formation of green algae on the glass walls as well...
The shrimps did not last more than a month : one after another, they all died after... their escape! Climbing the "rock" wall, they all ended dried up outside of the tank!
Bettadyne, on the other hand, goes very well!
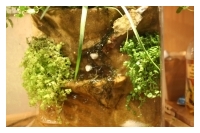
The whole thing looks more and more natural. The Java Moss (Vesicularia Dubyana) totally colonized the water fall. The structure has a nice patina look, some moss partly covers it... Everyday it looks different, the gentle water noise changes with the plants grow and the snails peregrinations over the structure...
I try to interfere as less as I can, leaving the nature do its job, the plants growing chaotically...
Rendez-vous in 3 months from now to follow the evolution!
End of the story : 27/07/2008
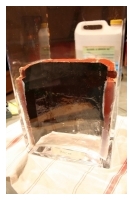
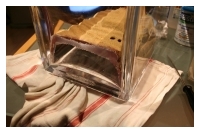
I found the tank almost empty this morning, while I did check the water level yesterday (I usually have to adjust it weekly due to evaporation)... And I found it was sitting in a pool of water.I first thought a plant could have grown so much that it created a way for the water out of the tank (it did happen once)... But no : the tank has a crack at the bottom : a large, horizontal crack, all the way accross one of the faces.
Nevertheless there's been no shock, whether physical of thermal. I do not understand, I suppose there was some tension in the glass when it was fabricated, which finally liberated itself. Well, "Shit happens", I guess...
Unfortunately, it would be very difficult to repair, and if so it would be ugly. And I wouldn't be surprised it the crack kept growing anyway...
So, I have to officially declare this tank dead. I'm disappointed because it was really pretty, but in the end that's only a good occasion to make an even nicer one! And I actually I have been having some ideas about that for a while now...
So, my paludarium lasted 16 month since I put water in it. It had grown a beautiful patina, it was great to watch it evolve.
I guess the technique is fine, the result looked very natural : more than once, at first glance people refused to acknowledge this was an artificial realization!
Even though I'm disappointed, I think about it as a first try! The next one will be bigger, to have more inertia against chemical and thermal variations. And probably a "desert island" look... And definitely plants only, no more animals!
Posted on 29/03/2007 at 01:00
Tillandsia Cyanea
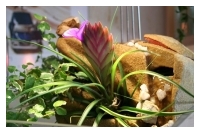
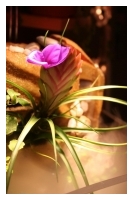
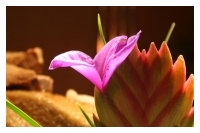
 My Tillandsia Cyanea made me a nice surprise this morning...
I actually totally ignored that this plant could produce such flowers!
Yeah, yeah, I know, I get excited for nothing ; but I still find that beautiful... It was worth sharing a few pictures, no?
 Flower Power inside...
Posted on 22/03/2007 at 00:30
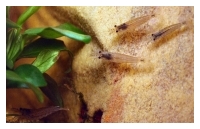
Bettadyne and the Four Samuraïs
 Sounds logical : after the creation of the mineral part of the paludarium, followed by the implantation of the vegetable life form... It was necessary to bring some animal life to this micro-world! Well, in addition to the snails already present, against my willingness...
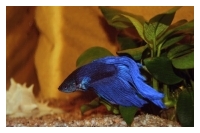
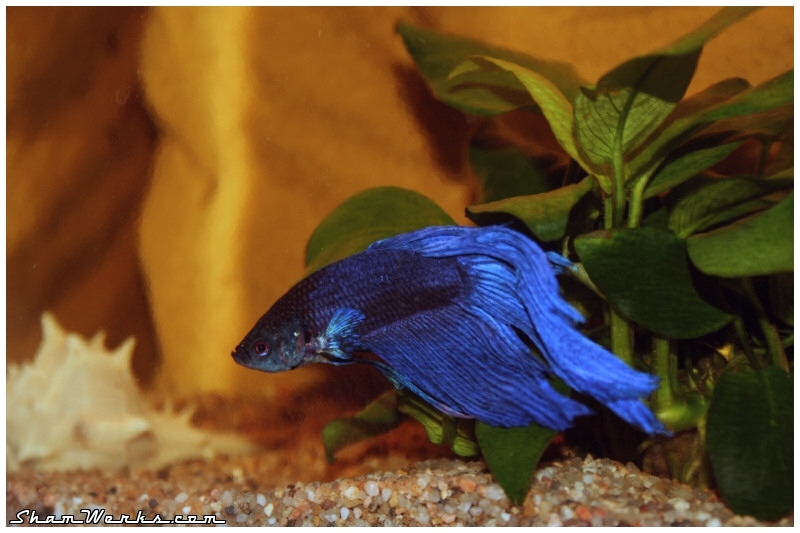
 So, this is a Betta, named Bettadyne
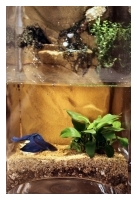
As you can see on the middle picture, one of the helexines died ; I'll replace it with a Boston Fern later (Nephrolepis Bostoniensis), which I already used in my first tank, and does really well...
Posted on 14/03/2007 at 13:29
Nano Paludarium V2 : Going live !
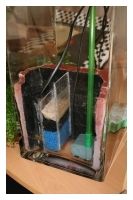
 OK, now the structure is done, it's high time to stick it into the tank, silicon-gluing the bottom part. I've made 2 plexiglas walls for the decanting system. A 10 watts Newattino thermostat will keep the water at 25°C.
Since the earliest tests, I found that some water from the waterfall is going where it was not expected to... So that the 4 containers for the plants were flooded...
I fixed the issue in two steps : first, I epoxy-glued little stones to keep the water flow as planned. And aesthetically, I feel like it looks even better this way!
But unfortunately, the little stones did not fix 100% of the issue. So, I've epoxy glued into each of the four plant containers, a plastic tubing "drainage pipe" (to avoid contact between water and polystyrene), that evacuates the water from the bottom of the plant holes, to the bottom (or the back) of the structure. This will prevent the roots from beings flooded by water, and rot... Well, actually, just like on any flower pot.
To install those tubes, I used a brass tube which I file-sharpened on one end, and used it like a die cutter. Then you just have to glue a plastic tube of corresponding diameter in the hole you've just made:
Planting :
I followed my original plan :- Top left, I've put a Ficus White Sunny, that "pours" outside of the tank.
- Right in the middle, a Tillandsia Cyanea, for which I had to cheat a little bit, using some sewing thread to hold its flower, which was too heavy to stand still...
- Bottom two containers receive Helexines, of two different shades of green.
- The "waterfall" in the middle gets invaded by some Java moss, which appreciate this kind of places.
- I've got some Lemna Minor (duck weed) on the water surface, but I will probably remove them, they just keep on dirtying my filter...
- Last but not least, I've put an Anubia Nana down in the water, which hides the water intake.
Lighting :
Same system as on my previous tank, but using 2 lamps this time. Aesthetically, that's brilliant, but I'm affraid my plants get a bit too hot... I'll have to keep an eye opened on that.Pictures of the result...
Here is the result! Looks cool, hum?Now I've to wait for things to settle, for the water to get clear, for the moss to invade everything... Life, you know.
I already have a couple of snails in the tank (I probably introduced them with the Anubia), one of them has climbed through the waterfall up to the fogger's tank!
Coming next :
- Modify the fogger's tank cap : this one isn't high enough, and prevents the fogger from making as much fog as it could. The new cap could be an additional plant container...
- Add Hemianthus Callitrichoides Cuba in the sand, like the Takashi Amano tanks... And maybe change the sand to black one as well, for increased contrast...
- Introduce a Betta fish...
Posted on 09/02/2007 at 17:35
Nano Paludarium V2 : building the background
 My first nano-paludarium (femto would be more correct) being quite successful, I'm building another one, a little bit more complex... I definitely like this idea of "bonsaï paludarium"!
 The main idea is to make it just a little bit bigger, while still keeping it aesthetic. Here are the specifications for this baby :
- Background made of extruded polystyrene foam (like Styrodur©, or Styrofoam©) with a waterfall,
- Pump and filter integrated into the background,
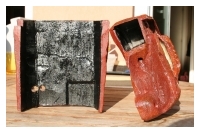
- Allow background disassembly for easier pump/filter maintenance,
- Fogger integrated into the background,
- Not a single visible wire.
The pump is obviously necessary for the waterfall, but by adding a filtering system, I should keep the water clean... So I expect I'll be able to add some fauna : one or two shrimps, maybe a Betta... Well, this will be a much later concern!
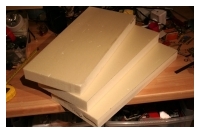
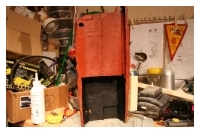
Here we go, first step, building the background. I've made a test with some spray-can expansive foam, but the result was just crap (intern structure way too heterogeneous)... Grand cleaning of the tank, and starting again from scratch using several polyurethane isolating 40mm thick panes glued together:
Sculpture :
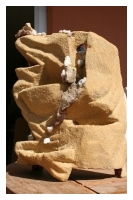
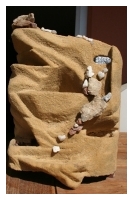
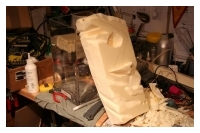
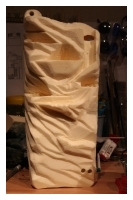
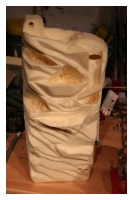
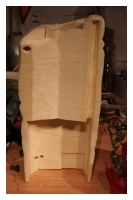
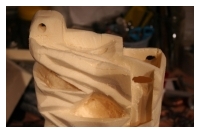
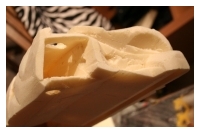
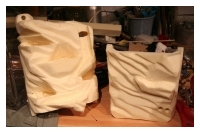
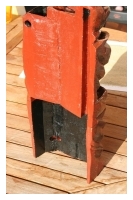
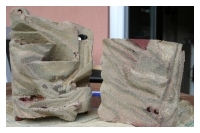
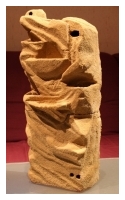
The tough job, you guessed it, is carving the form out of the extruded polystyrene foam, making it as realistic as possible.I've tried using several different tools, but looks like only two of them actually do work fine : first, a cutter with a brand new blade (important), second, a piece of aluminium tubing on which I filed sharp one end, using it as a die cutter. This is very efficient to make round holes (for cabling, water input/outputs, etc...), but as well to dig the larger holes for the plants.
Beside the littles pieces of foam sticking to you fingers because of static, this is a pretty pleasant to work with material, it even gave me a lot of ideas for future projects...
Whatever the method you use, the final objective is to get a natural aspect, i.e. a chaotic surface, without any flat part from the original polystyrene pane left... In my case, this process took me more than 4 hours of work! Don't hesitate gluing more blocks onto your background, adding more relief to it, making the whole thing more irregular and natural..
Paint job :
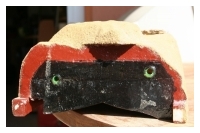
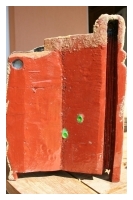
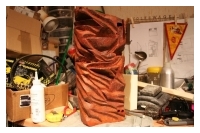
Now that the form is carved out, let's paint it. It allows having a background color, and making the whole thing "cleaner"... Acrylic paint, a brush, and go!Well, on my side, I over-did it : reflections, highlights, shadows, etc... But finally all this will disappear with the final step!
Resining :
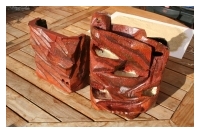
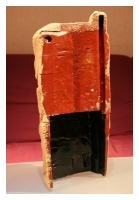
Next step is resining : the whole form is coated with epoxy resin (do not use polyester resin, the extruded polystyrene foam would melt). Three to four coats of resin will be necessary to avoid water from getting in contact with the foam : indeed, when in presence of water, this later releases styrene, a toxic compound for fauna and flora in the tank...Sanding :
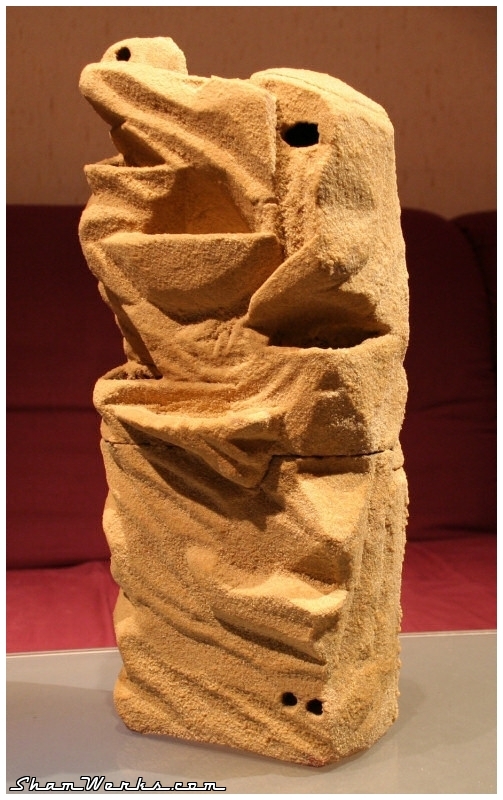
Last step : sanding.When I brush the latest coat of resin, and before this is dry, I cover it up with sand. It will stick to the resin, the sand giving a "natural stone" look to the realization.
I did two successive sandings, as I was not satisfied with the result after the first one. I sift my sand for the second sanding process, in order to keep only fine sand. Then, you let everything dry, and here it is :
Result :
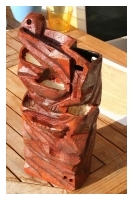
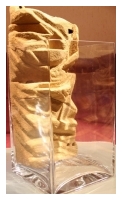
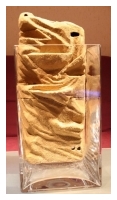
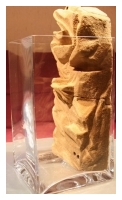
Here is the final result, dropped into its tank... Phew, looks nice, I did not screw everything!Well, now, let's wait a few days for the resin to deeply dry, so that there's no toxic fumes getting out of it... Next, let's integrate all this into the tank, silicon gluing the lower part, building the dividers for the filter...
More to see on next episode!
Posted on 14/01/2007 at 23:43
Nano-Paludarium

A Nano Paludarium... What the hell is that??
A paludarium, from the latin Palus (swamp), is also named aquaterrarium. This is a tank with an aquatic part, and a terrestrial part, aiming at reproducing a whole ecosystem.
I discovered paludariums when I found the "écosculptures" of Paul-Louis Duranton (make sure you don't miss the "Vulcan Island").
Most of the paludariums reproduce a tropical ecosystem, or mangrove swamp like. It allows growing plants that require lots of humidity and heat (orchids, mosses, ferns, epiphytes...), and eventually associate to them the related fauna : fishes, amphibians (tritons, salamanders), invertebrates (crabs, shrimps), batrachians (dendrobates)... In brief, some kind of a small bit of jungle at home!
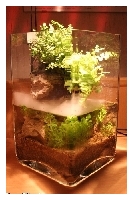
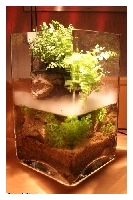
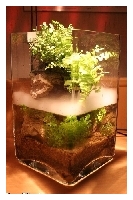
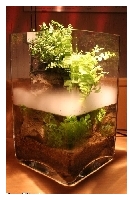
I've got in mind some "serious" tank for a while... But just for fun, I made a planted nano-tank (well, due to its size, I should probably say pico-paludarium, or even femto-paludarium!), and I'm pretty happy with the result! The tank is a vase (25x15x15cm) bought at the local superstore... The stone, I found it 3 years ago while walking around the Cap d'Antibes (already thinking about such a usage!)... 2 cm of river sand and loam to feed the aquatic plants, 2 more centimeters of bigger sand for the aspect...
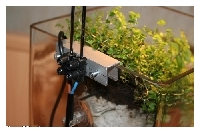
For the look and hygronometry, I added an ultrasonic fogger. It's the little chromed cylinder hidden behind the stone... It automatically starts every 4 hours, and during 15 minutes. Beyond the aesthetics, it increases the hygrométry in the tank, as well as the water temperature (the fogger heats up while running).
Isn't it lovely? Lighting is done with a low tension halogen lamp, mounted on an homemade aluminium U shape, clamped on the tank's side...
Here we are... I'm really happy with the overall look of it, and for now it looks like the plants like it as well... Some Java moss (Vesicularia dubyana), and some duckweed (lemna minor) will come later to finalize it...
Next step? Hummmm, well, I'm not sure yet, I could have something more complex in mind...


