Posted on 18/10/2013 at 16:32
Kitty Injection : Hardware

INJECTION
HARDWARE
Intake :
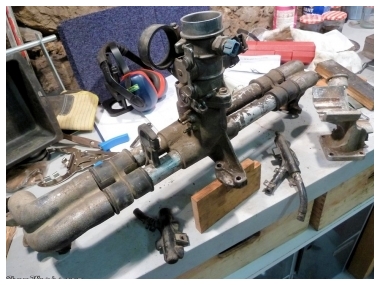
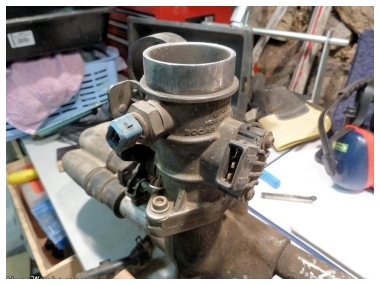
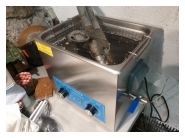
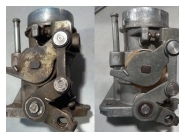
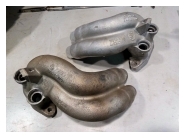
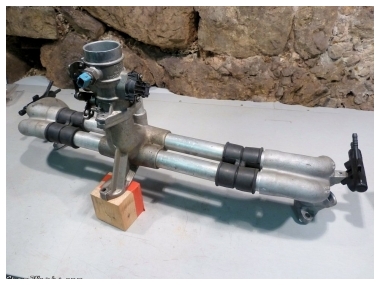
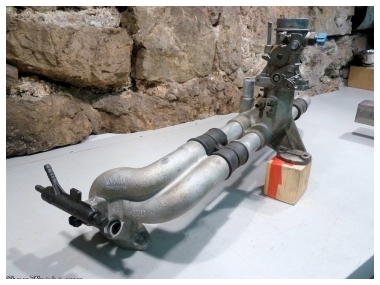
On the intake side, I'm using parts from the 1600i engines that were installed on the last Mexican Beetles : complete intake manifold/plenum, throttle body, and alternator stand. (thanks Laurent!)A thorough cleaning (beadblasting or ultrasound bath, depending on the parts), a couple of new gaskets, and it's ready to go!
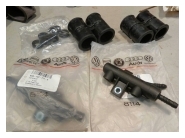
I've ordered a few new parts directly from Mexico (fuel rails, manifold boots and injector gaskets), via a vendor on TheSamba (Antonio Trejo, very good contact!). On the other hand I'm not gonna use the original fuel pump, regulator, injector or ECU from the Mex beetle : technology has progressed a lot since then, let's use something more up-to-date!
Injectors :
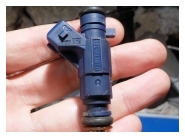
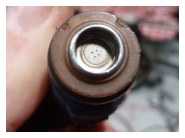
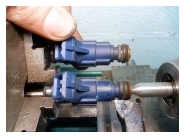
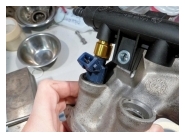
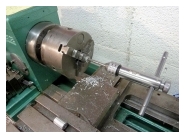
The original Mex injector were "EV1", an old generation of injectors, which output flow looks like one of a supersoaker water gun (single hole output)... I wanted to switch to EV6 (multiple holes output) to get a better air-fuel mix (see this video to understand the flow between these two generations).Not that easy to find from smaller engines. Finally, I ended up adapting injectors from a Citroën Saxo VTR (Bosch ref.0280155794, 135cc @3bar) which look pretty good to me, and you can find used ones for cheap. I lathe them down a bit to adjust'em, and I can install them via a small adapter (see here).
Fuel System:
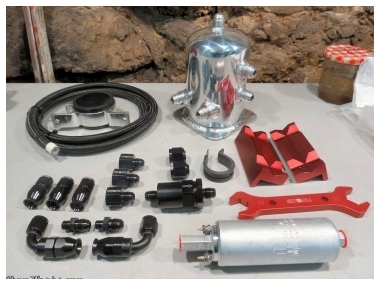
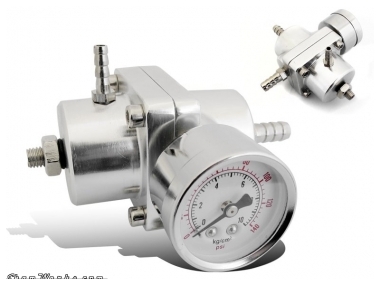
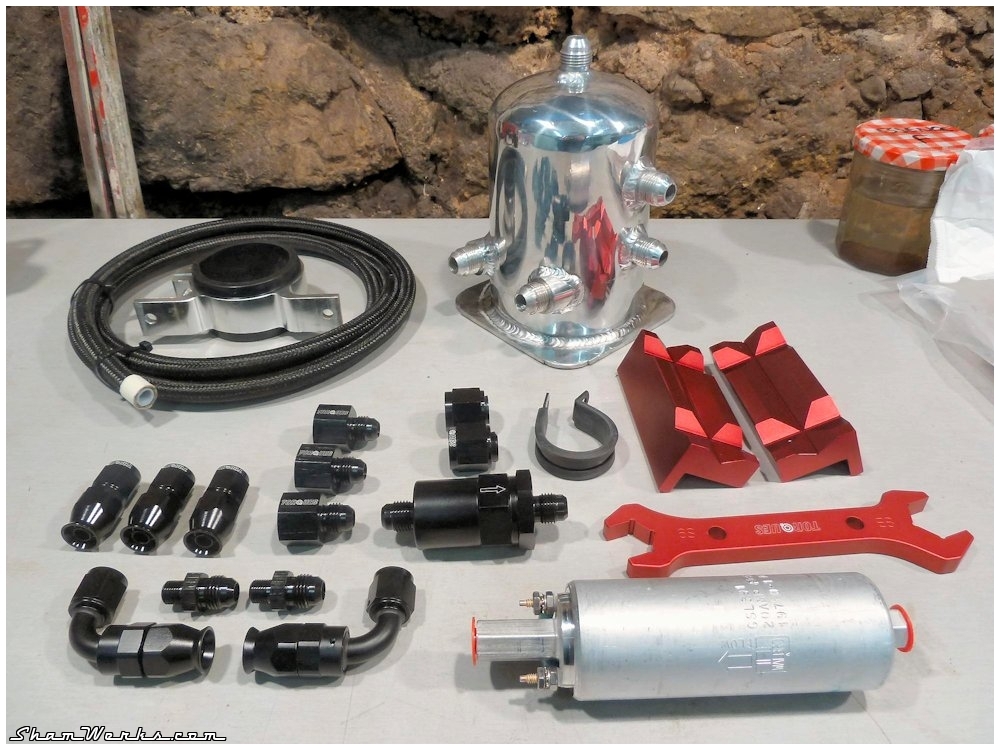
The injection pump is a Walbro, weel known brand : GSL391 model, 190l/h, way more than necessary for my small 1600.The mandatory fuel pressure regulator is a cheap generic model (40€ from VA MotorSports, or on eBay UK). I have friends who use it on a daily basis without any issue, but I'll keep an eye on it nonetheless...
I wanted to avoid having to drill/weld my fuel tank for the return line, so I went for a 1 liter surge tank (swirl pot), installed right below my fuel tank, and gravity fed (found on eBay UK at Demon Motorsports, for something like 40€). It should avoid the pump from sucking air in sharp turns when fuel tank level is getting low. Well I guess I'll see how it turns out in driving conditions...
I've ordered all the N-6 fittings, and the high-pressure fuel filter on eBay UK, from Torques UK : nice prices (well, compared to others, 'cuz these fittings will keep costing you an arm and a leg at the end!), fast delivery, and a very complete offer. Keep that address. I'll detail the fuel system installation in the dedicated post later.
TDC sensor :
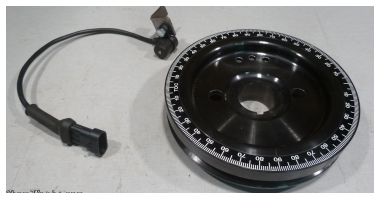
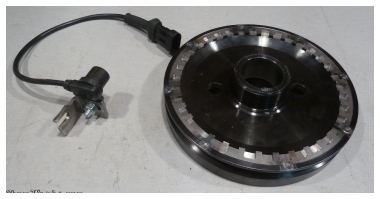
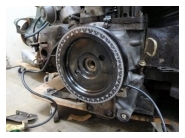
One of the tricky points of the whole install is the having an accurate, reliable (and possibly stealth) TCD sensor.I went with TheDubShop's solution (excellent contact with Mario Velotta), with the damper pulley (Black Equalizer 2.6kg/5.5lb) that I got balanced (Feller Service). It's installed with a longer screw from Gene Berg.
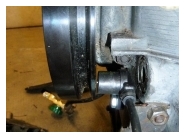
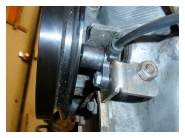
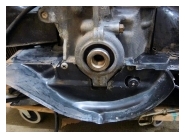
The VR sensor is tightly bolted on the case, hidden behind the pulley, you just need to drill a hole in the tin for the sensor to peek through. Pretty clean solution...
I just replaced the original connector with a more widely, waterproof model : it connects on the shielded cable running to the MS box. Before I went on and install the pulley on the engine, I wanted to make sure everything worked fine, test the sensitivity of the sensor, its wiring, etc... So I mounted the pulley and sensor on my lathe to give it a spin, via a DB37 I made for this purpose, with only power and sensor input welded on (and yes, I'm listening to BBC News in my garage!) : Result : everything works just fine, I get a clean reading from 30 RPM, even with several millimeters between the toothed wheel and the sensor. Ready o go on the engine!
O2 sensor :
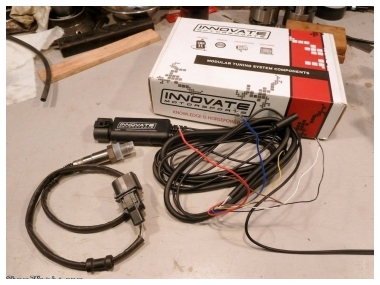
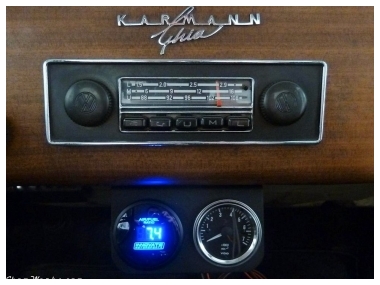
To be able to control my air/fuel ratio, and properly tune the VE tables on my MS, I install a wideband O2 sensor : Innovate LC1, ith its tach below the dashboard to keep an eye on it. The electronic box of the LC1 will go in the engine compartment, inside the right fender. First tests are pretty positive, I just hope it's stay like that since I've recently read many bad feedbacks from users of this products.Ignition :
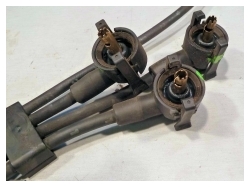
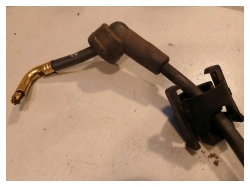
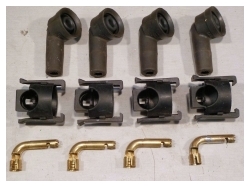
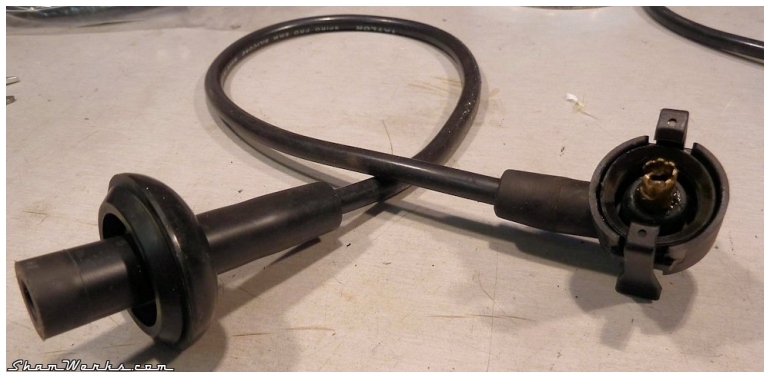
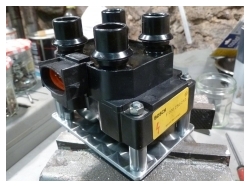
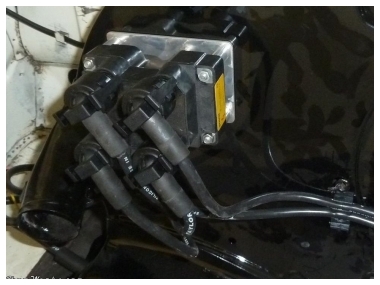
My ignition will rely on a dual-coil (wasted spark), directly controled by the MS : no Ford EDIS module in the middle, so that I can control the Dwell from my MS... And more important, no more distributor!I use a Ford dual coil (originally installed in Fiesta/Escort models, ref. Bosch F000ZS0212), but it needs specific clips to fit the wires on it... So I make a set of lead wires by taking a set of clips from Ford Fiesta wires, and grafting them on a VW Taylor 8mm set of wires.
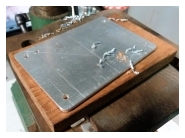
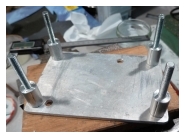
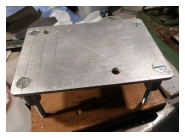
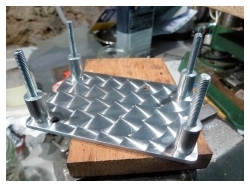
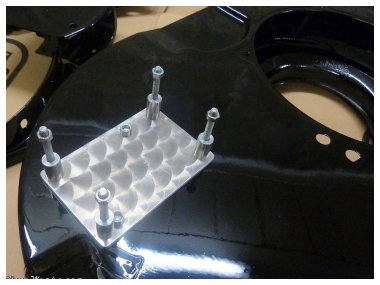
Be extra carefull when taking apart the Ford clips, they're pretty fragile... I broke one, but managed to silver-weld it back together. Finally, to install the dual coil on the engine, I needed a proper stand : a couple of aluminum scrap, and here you go... Too much?
Yep, maybe, but I like it! I made the machine-turning finish with the template I made a few month ago for the lathe, so it did not take more than a couple of minutes to achieve.
The spark plugs will now be NGK models, spark gap set at 0.8mm, but I should be able to push it a bit more : since the Dwell is doubled with the dual coil, I get a big fat spark!
That's it for the hardware... Now let's install/plug all of that in the car!
1


