Head lights, Tail lights, and new Shoes
Headlights
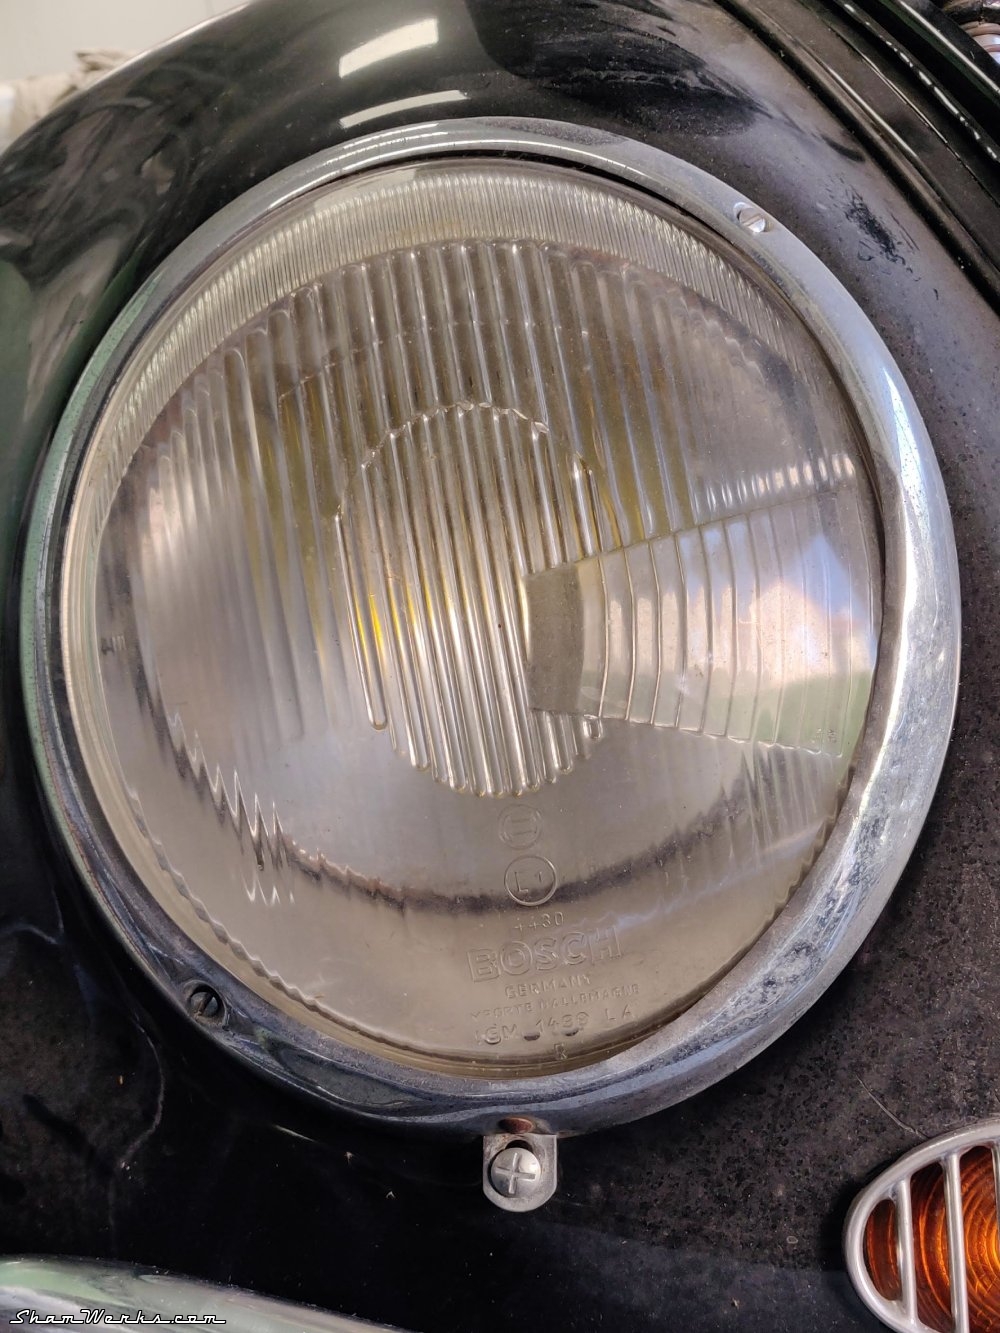
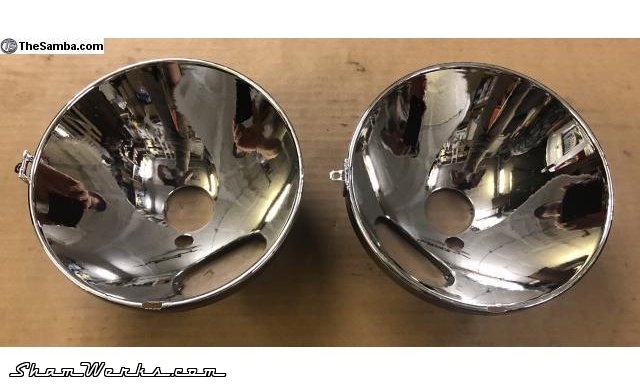
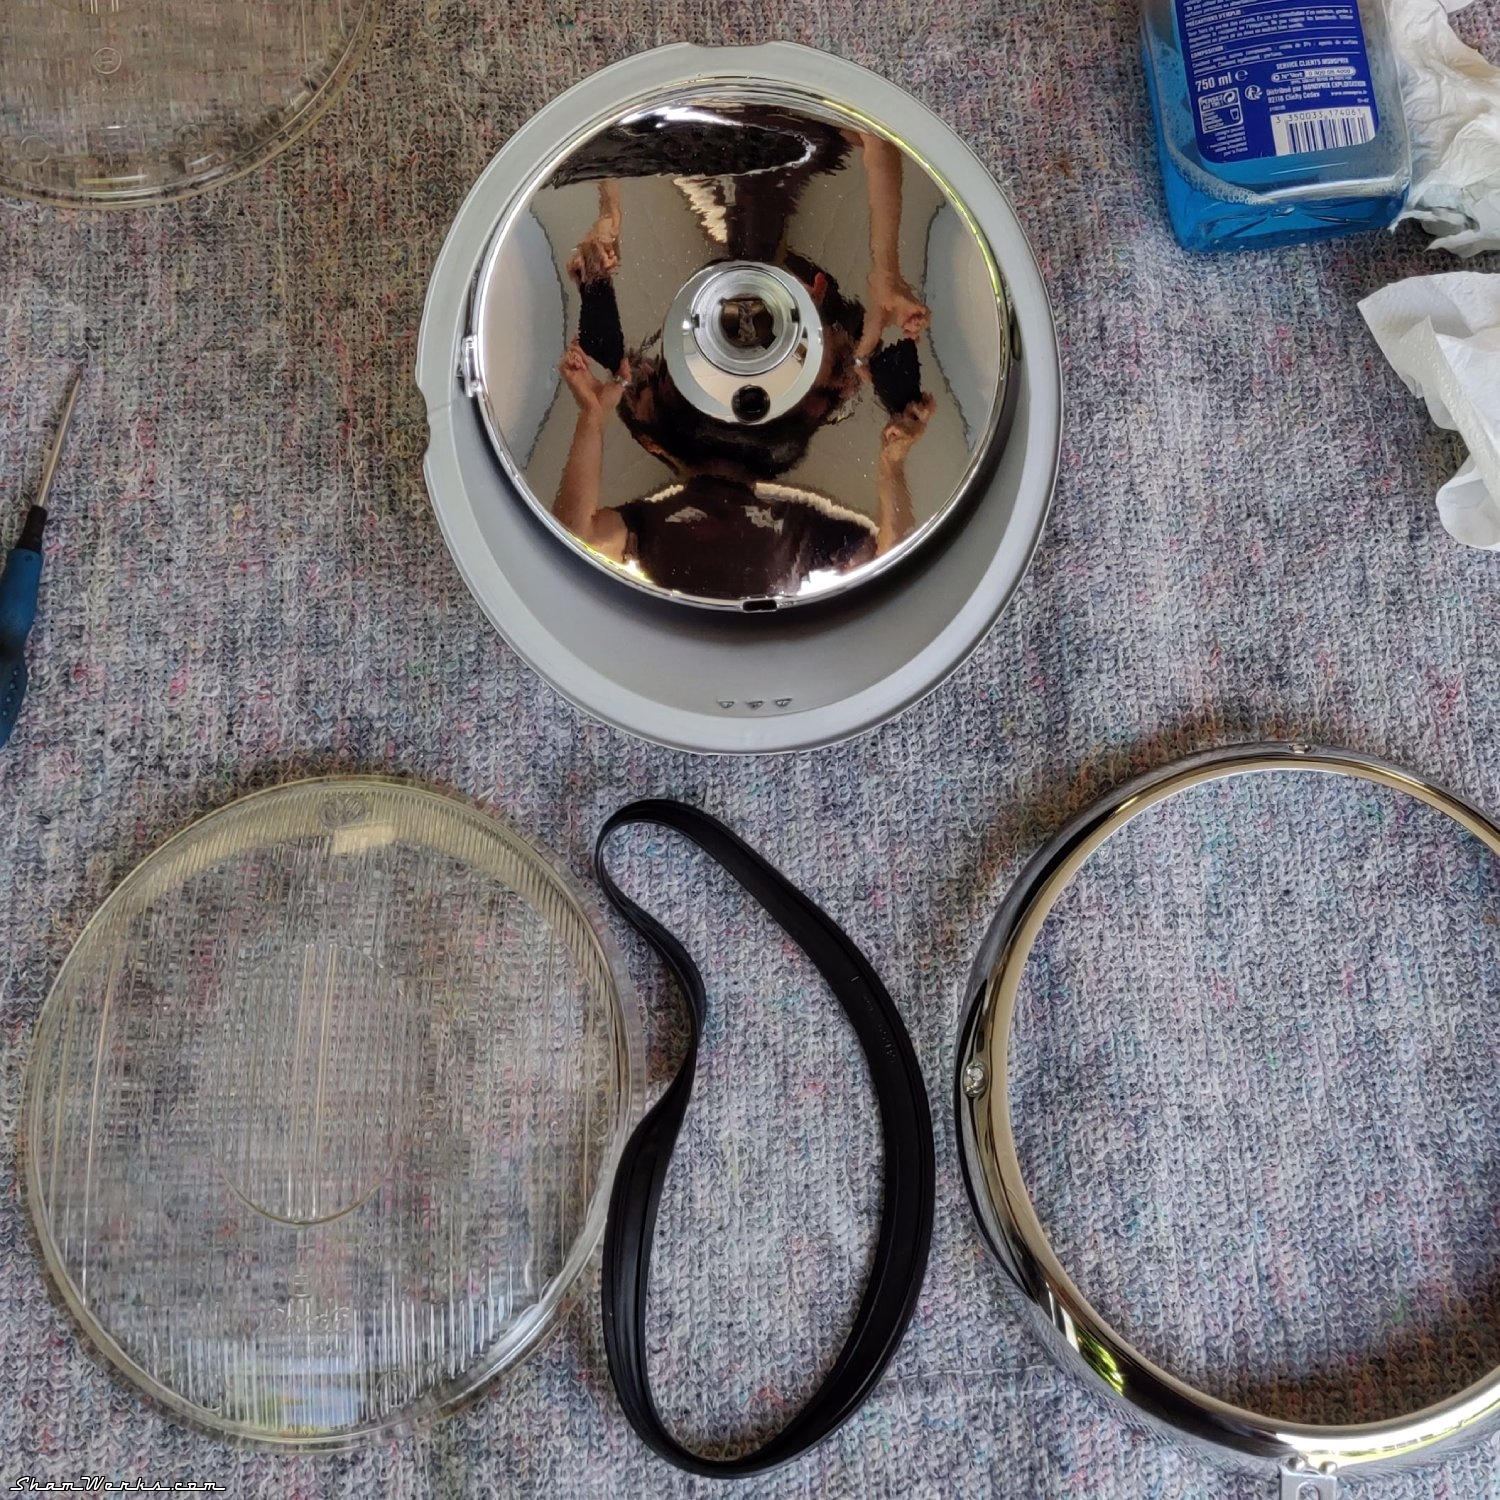
My headlights were not in great shape: pitted reflectors, damaged rims, difficult adjustment because everything was shaking around... They were long due for some improvement.

I started by taking out all the parts that I had put aside for almost 30 years: I had several bowls, supports, various strappings... There's plenty to organize a set of decent headlights in there No??
Well actually, no. I don't have what it takes to make a complete & coherent pair...😔
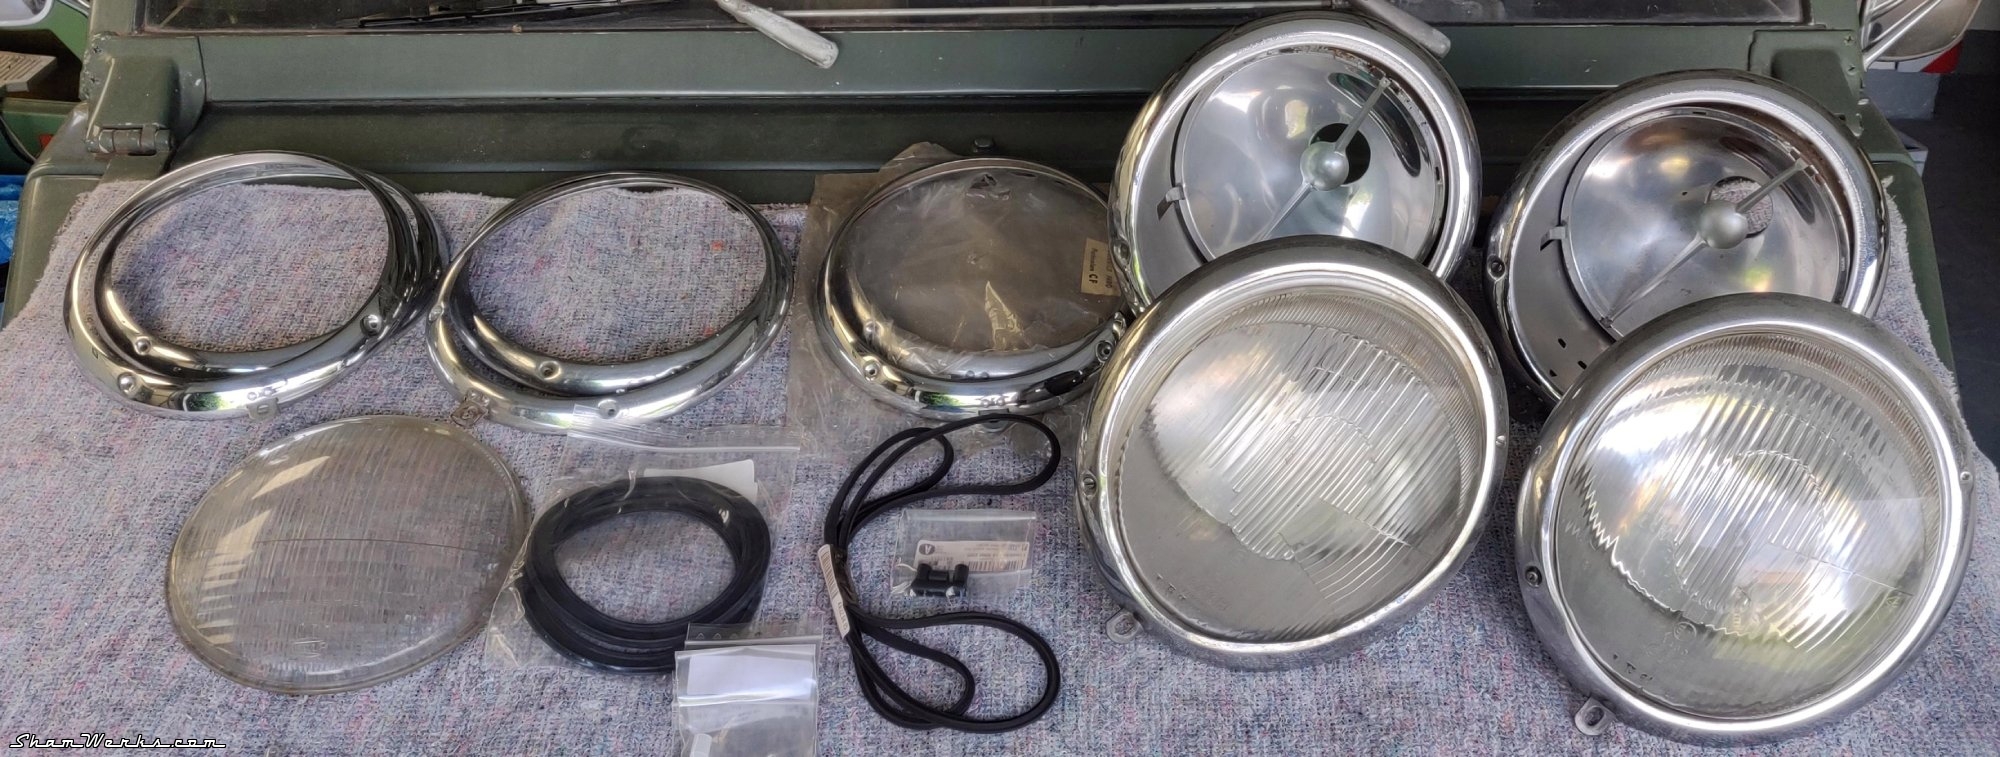
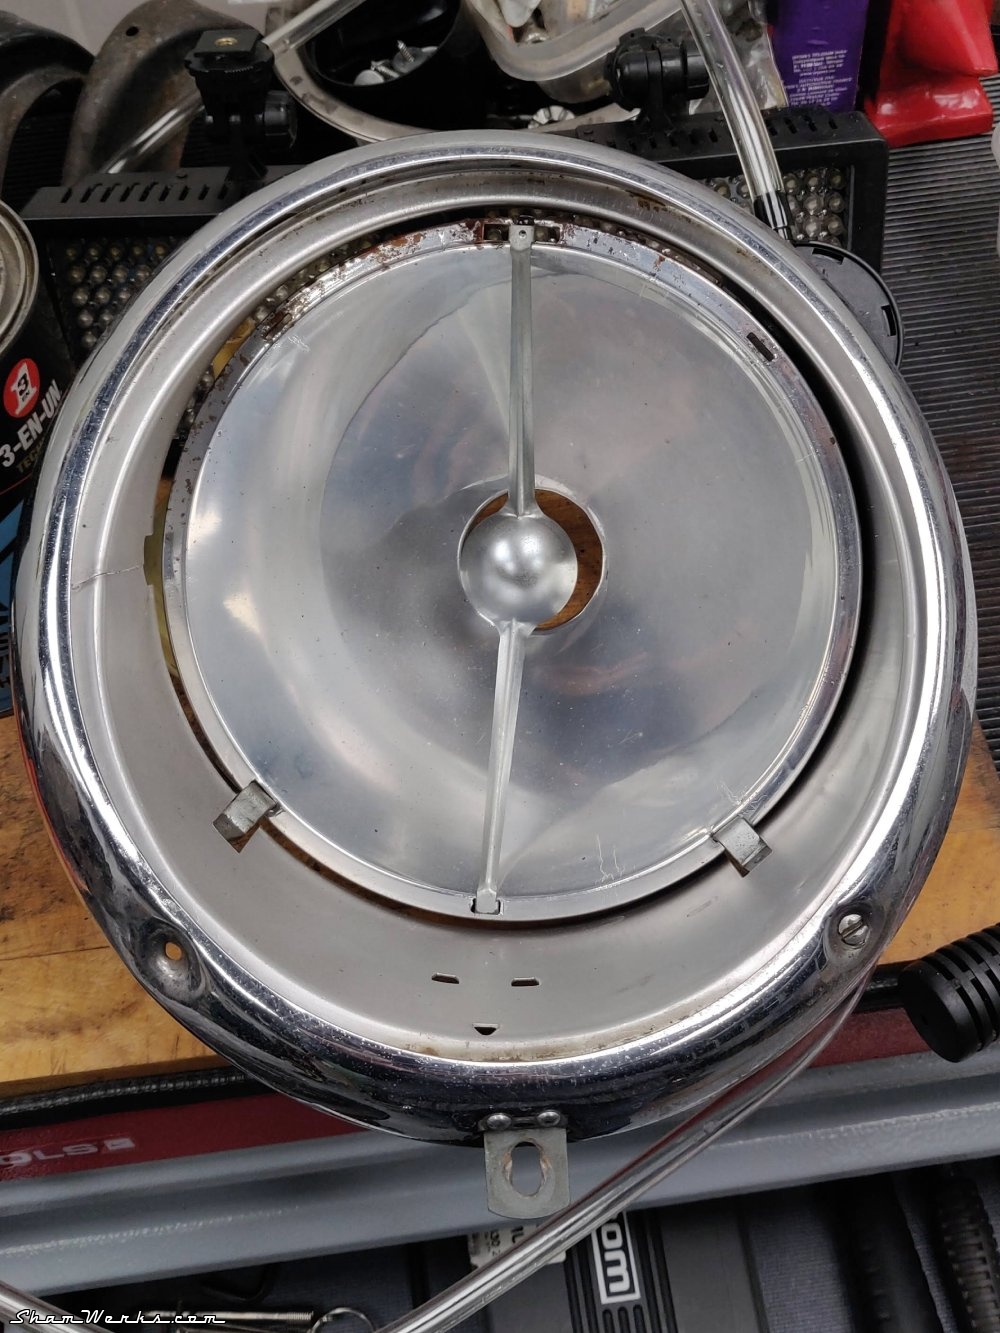
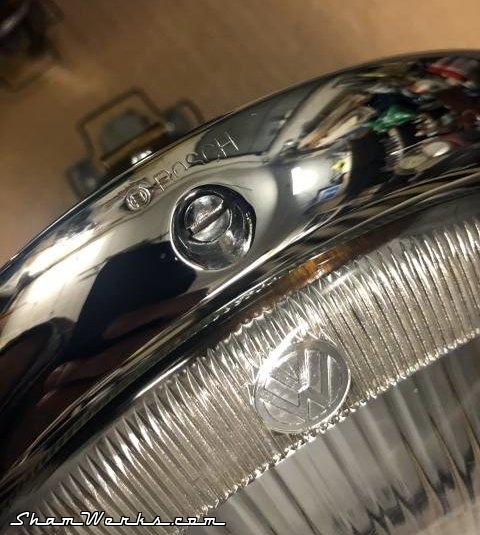
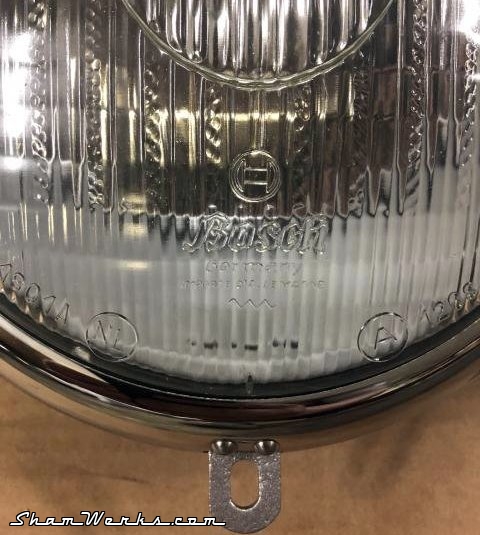
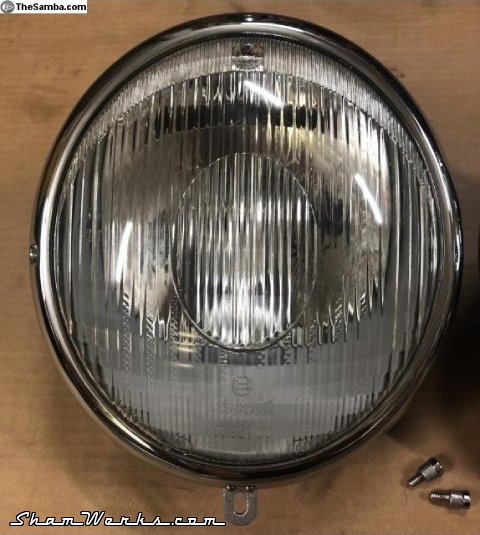
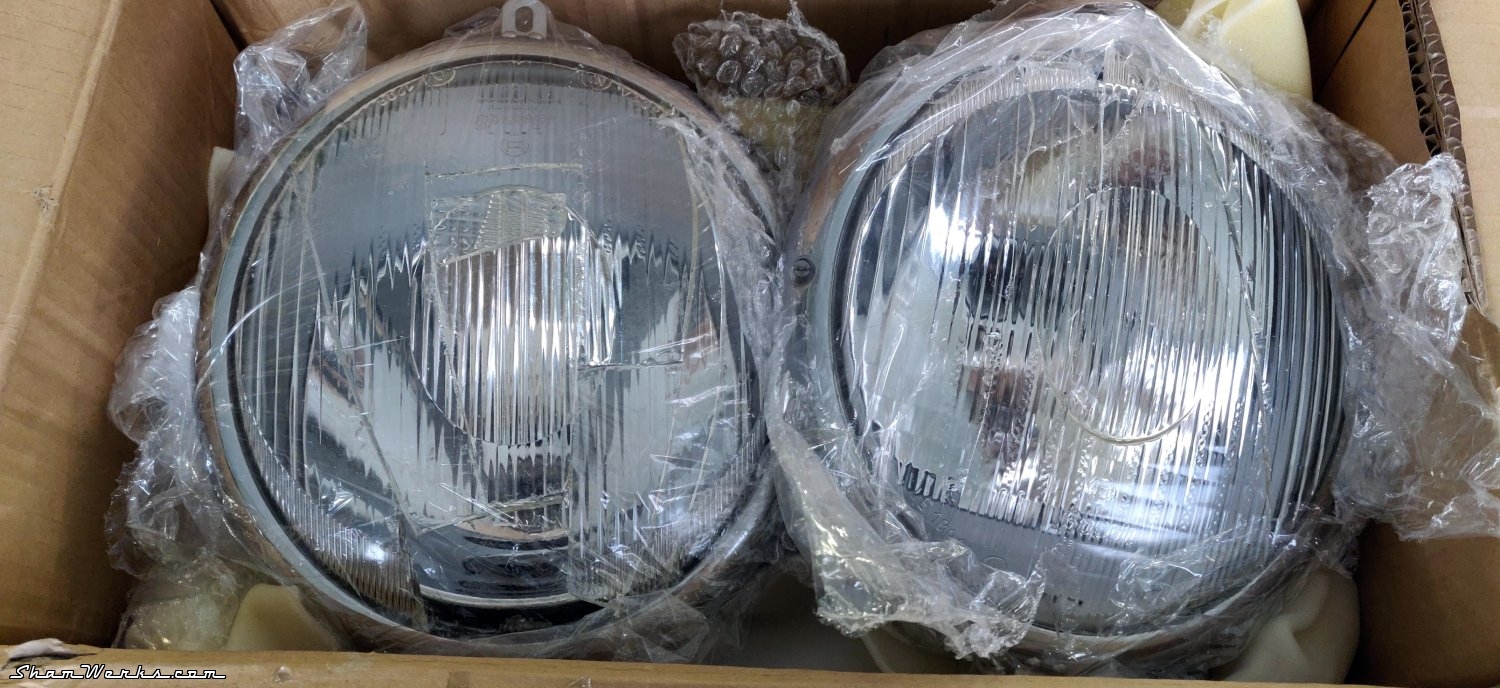
So I ended up falling for a pair of complete "correct period" headlights bought at high price in Hungary, from a specialist who restores them to perfection (akomjathy, see his ads on TheSamba ): supports sandblasted and epoxied, buckets mediablasted and powdercoated to silver, zinc-plated hardware, new seals, re-chromed rims... Beautiful, gorgeous parts, cf. photos from TheSamba ad below:
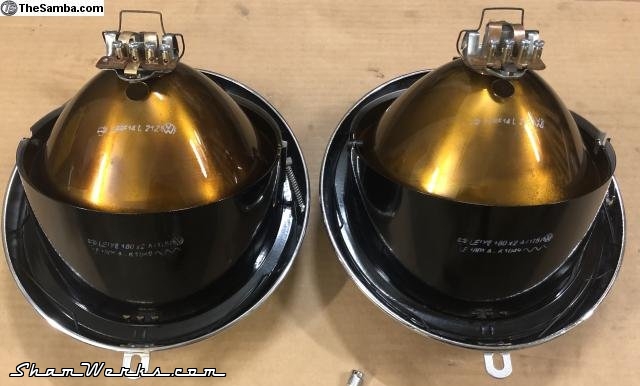
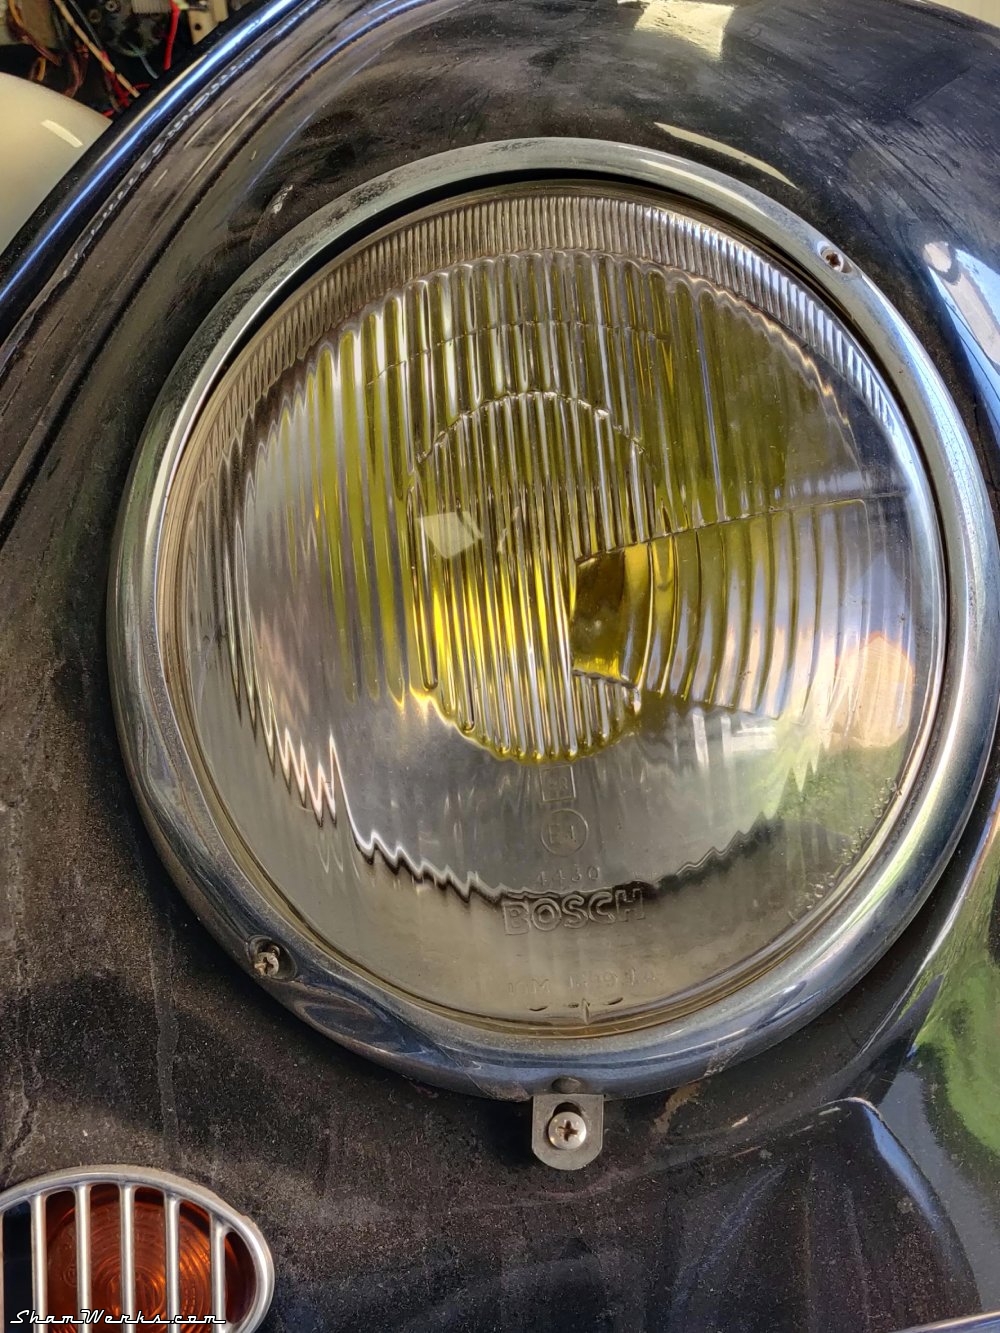
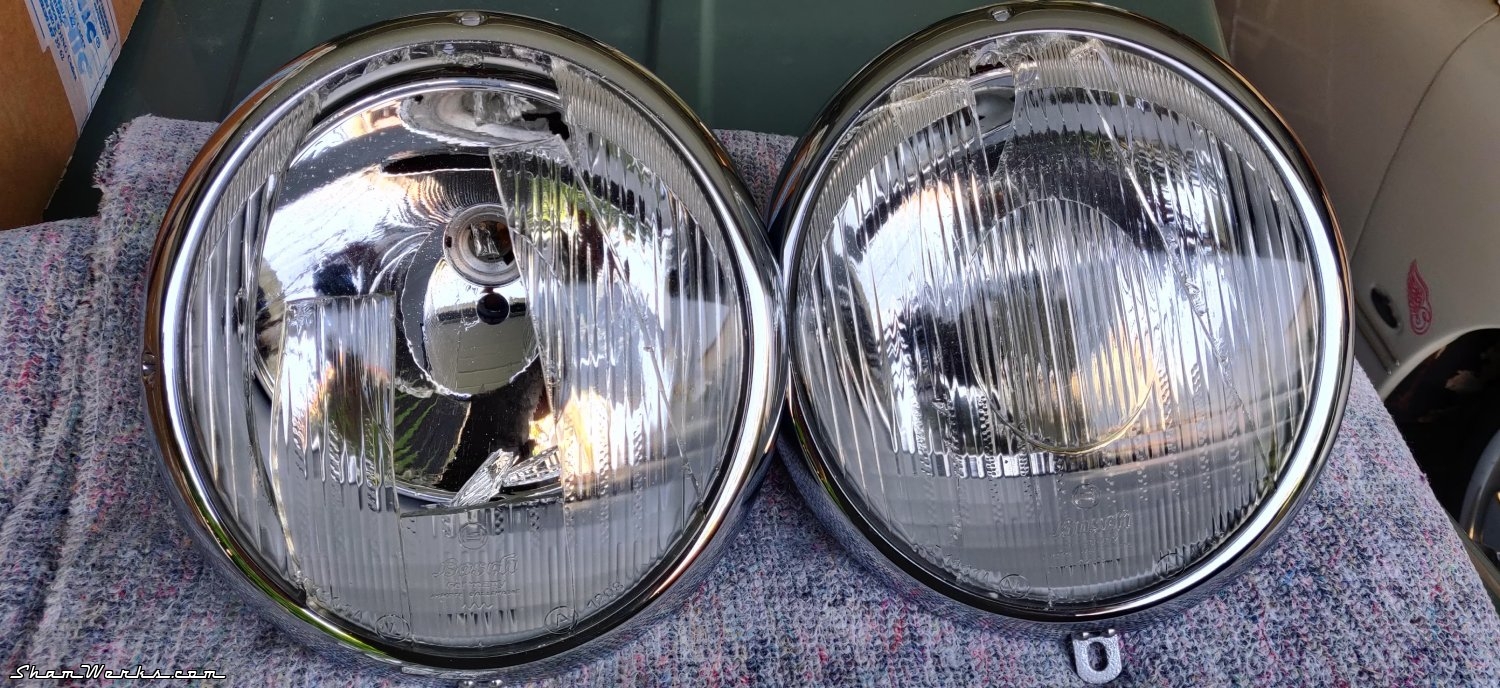
Well, beautiful parts until the f'ing delivery postman opted to throw the package over my gate. Despite the great packaging by the sender, it didn't withstand a 2 meter fall onto concrete: the result was two broken lenses... It's not as if it hadn't said "FRAGILE" in big red letters on it eh? 😡😭😭
I of course opened a claim to La Poste , but I might as well have pissed in the wind. No follow-up, and when I asked for the status of my request, I was told "your complaint is not admissible, the request is closed and you cannot appeal the decision".
I'll allow myself a rant here, you'll excuse me: Dear La Poste, I hope you'll read this: I believe that you are at best a bunch of incompetents, at worst a company with dubious legal methods, whose lack of "customer service" reminds of the interstellar vaccum. I have no doubt that I share this opinion with others (including people who work at La Poste and have confirmed the internal disaster to me). #Fthemallthewaytothemoonandback 🤬🤬🤬
Long story short, I had to sell my last kidney to buy 2 replacement lenses... And again, I was lucky that only the lenses were damaged, no impact on the chrome or the reflector.
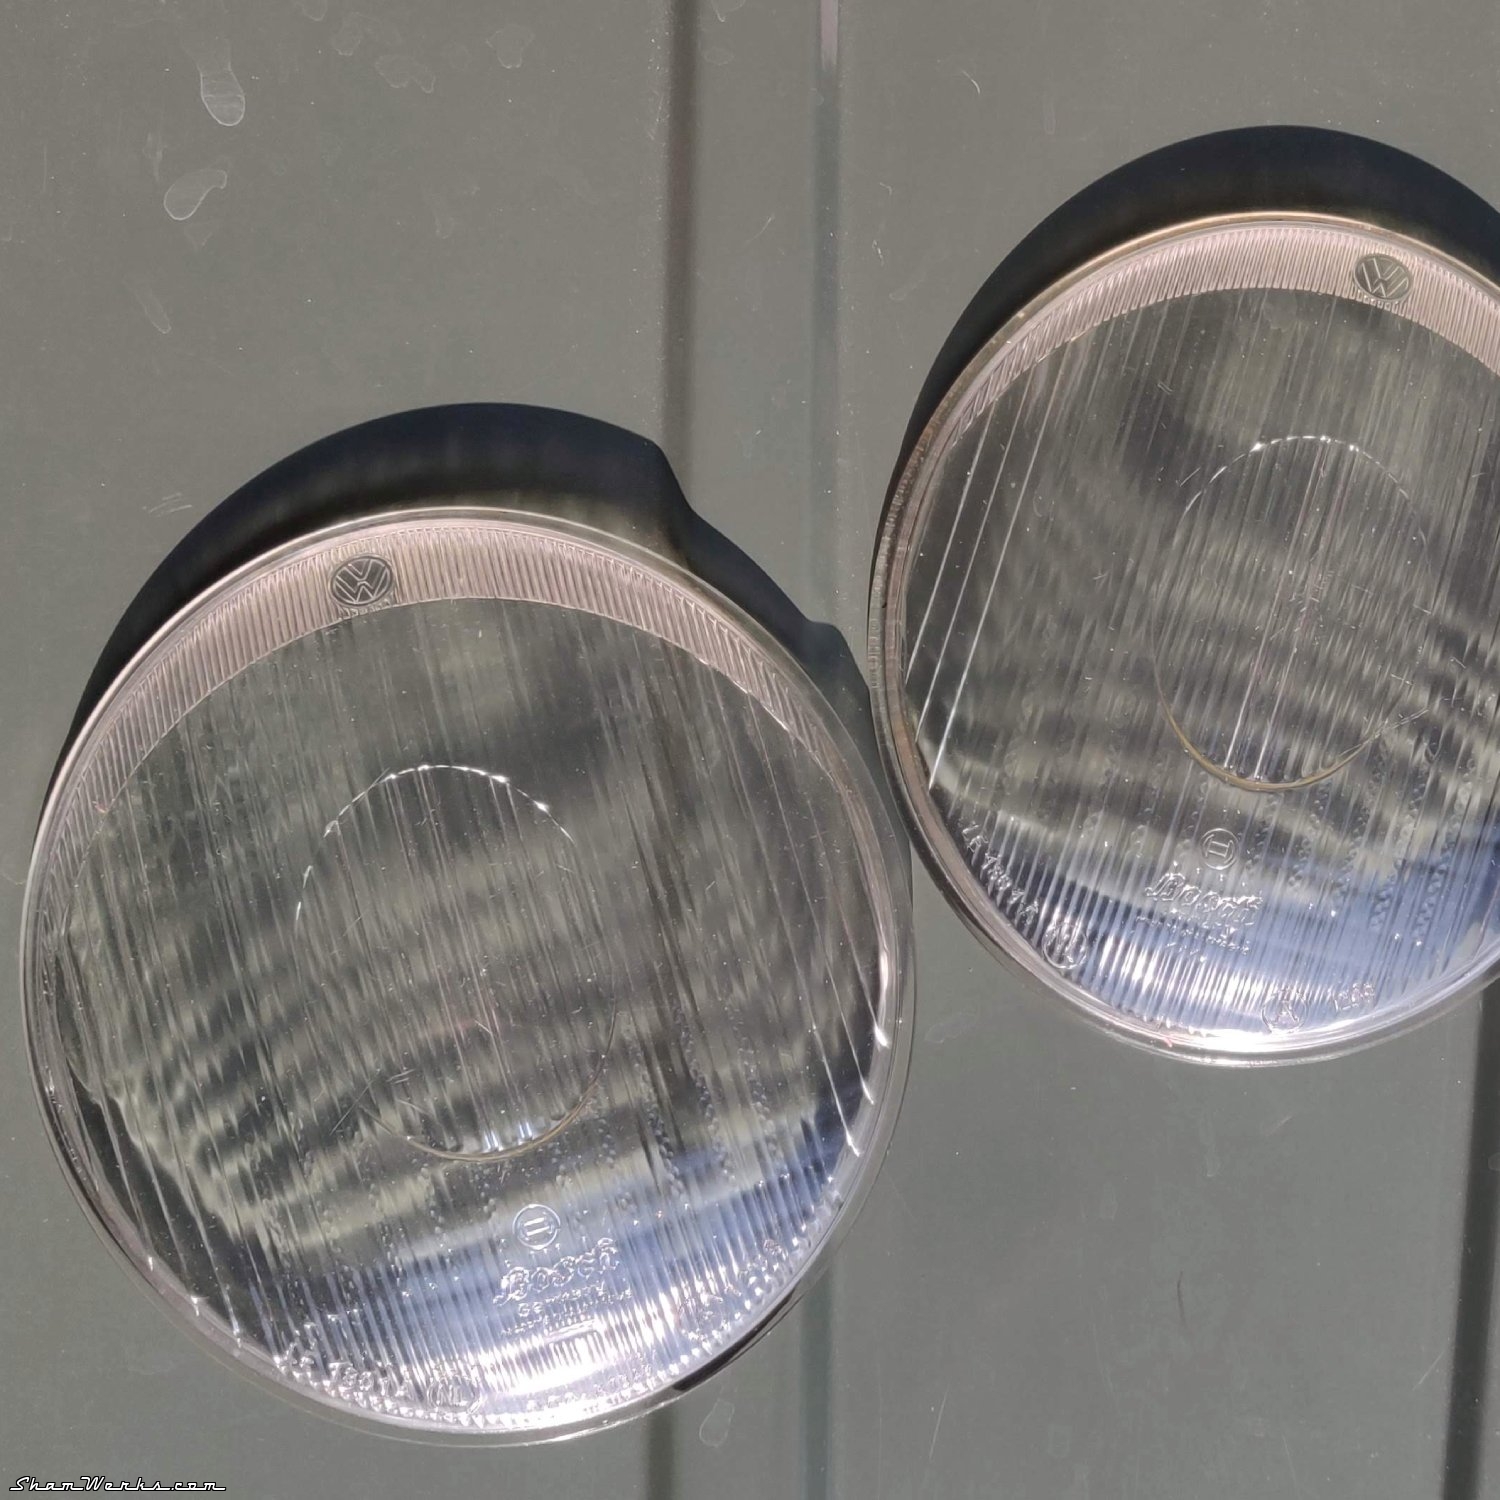
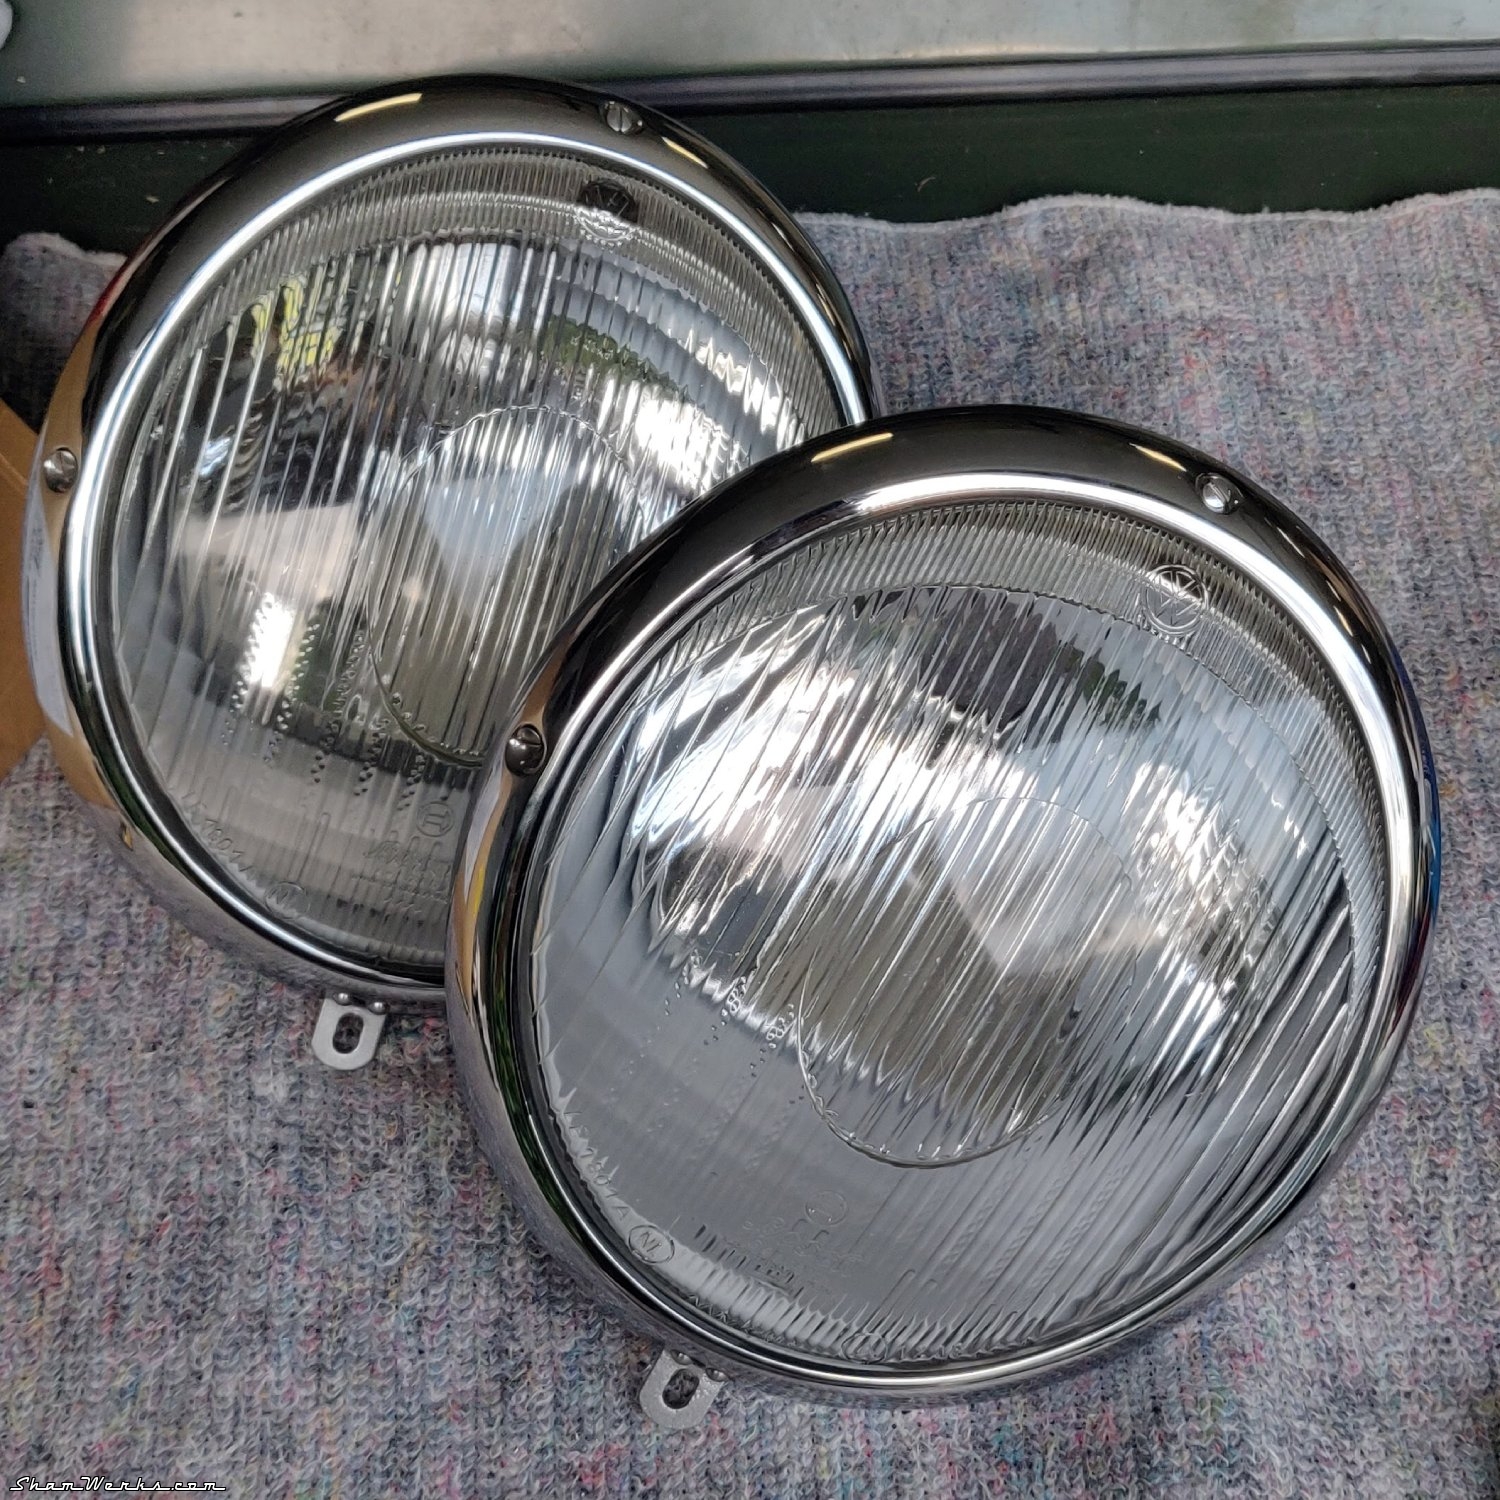
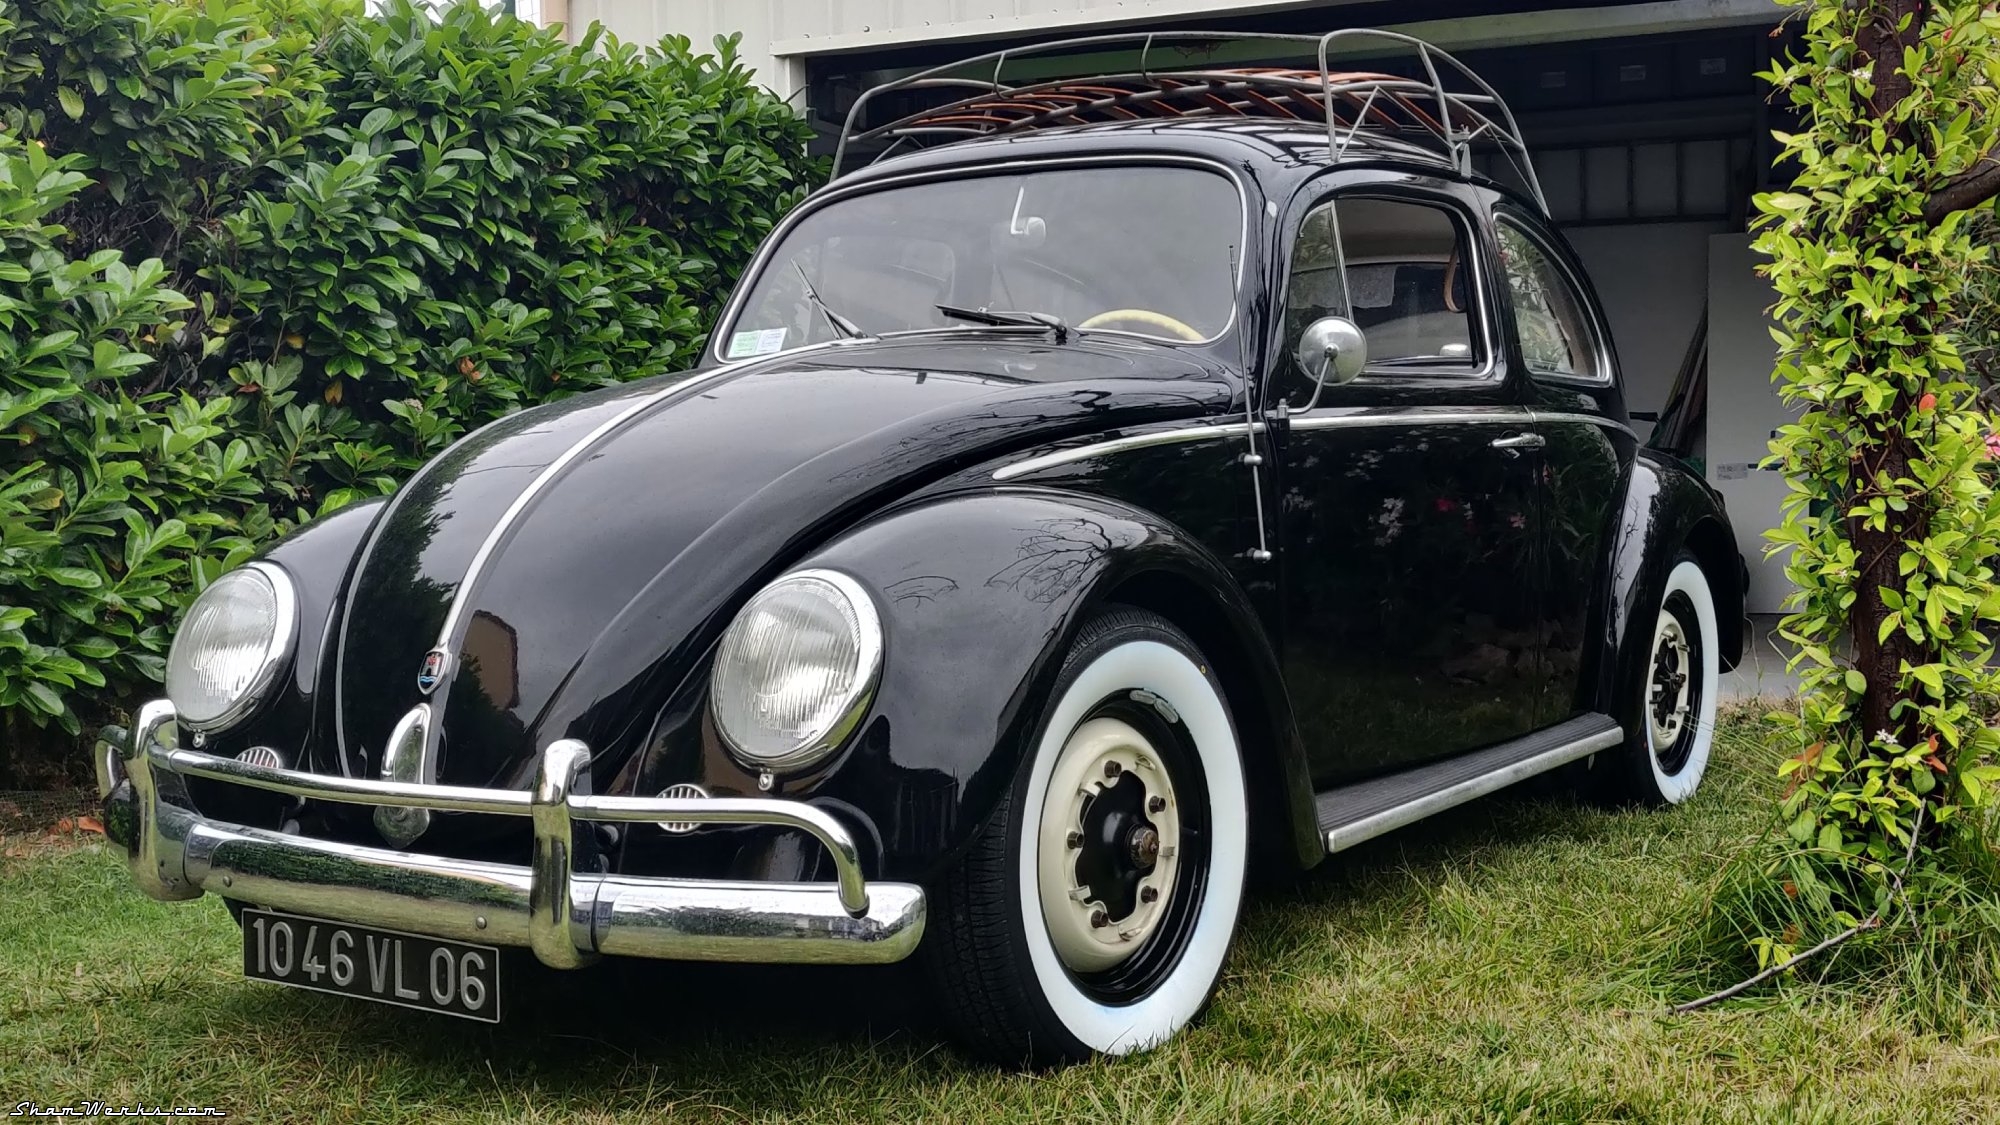
Anywayyyyyyy... This misadventure leaves a bitter taste in my mouth, but now my headlights are great. I fitted them with LED lamps, they shine brightly and now I can drive at night with confidently!
Rear lights
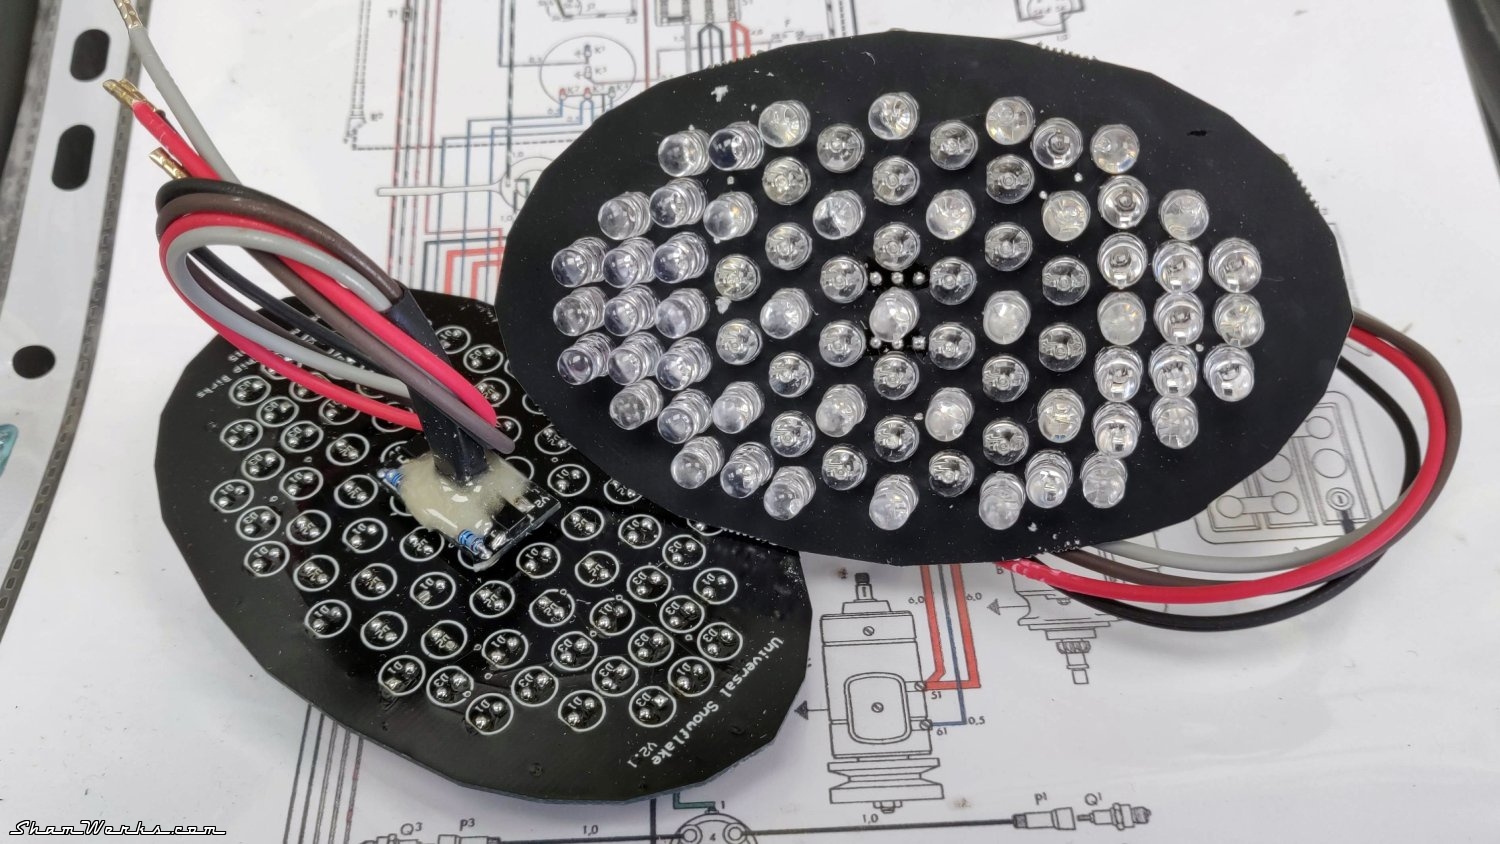
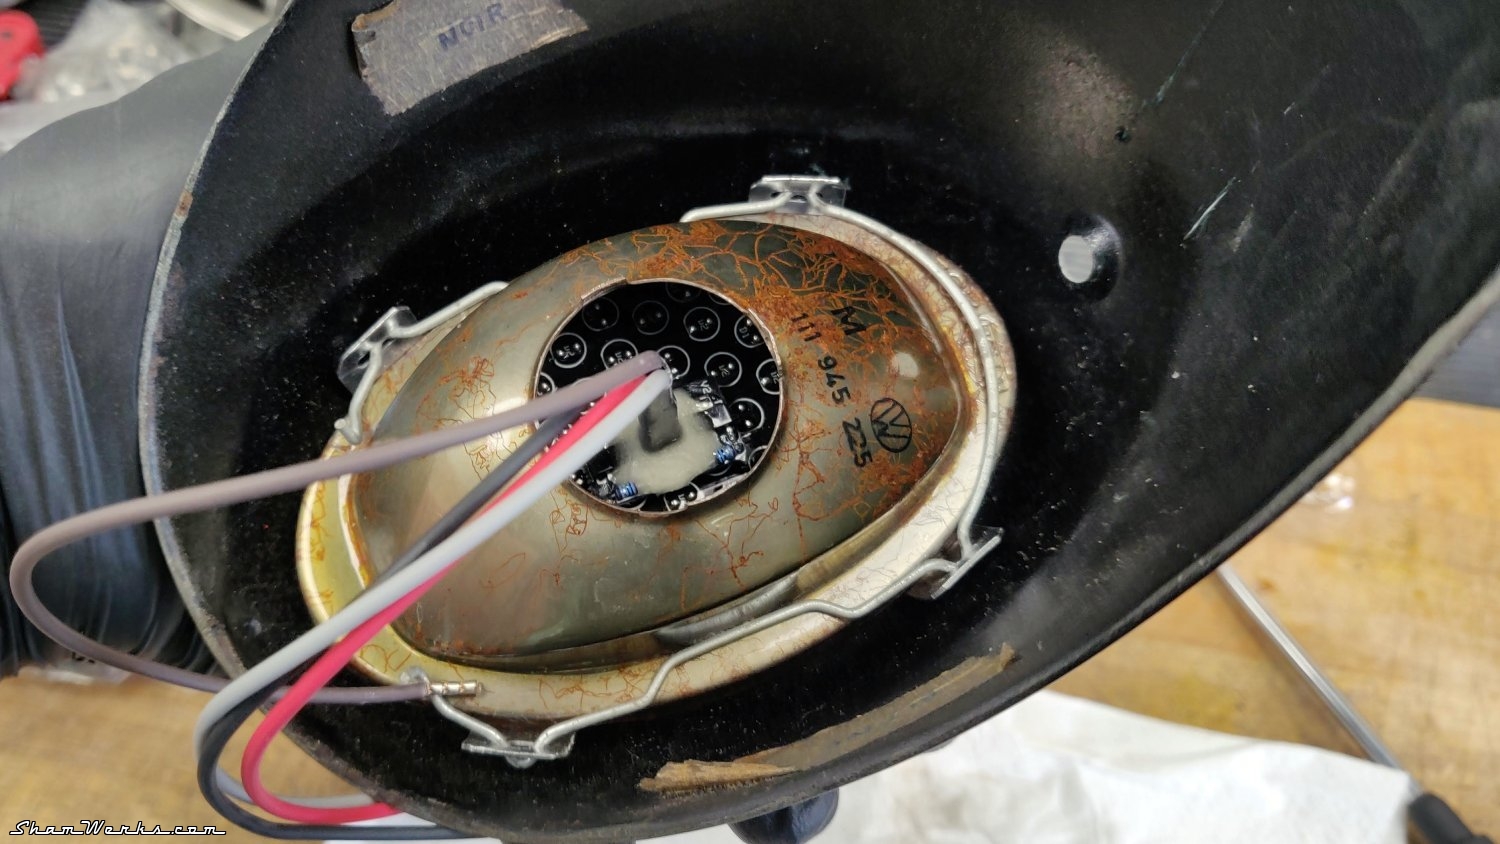
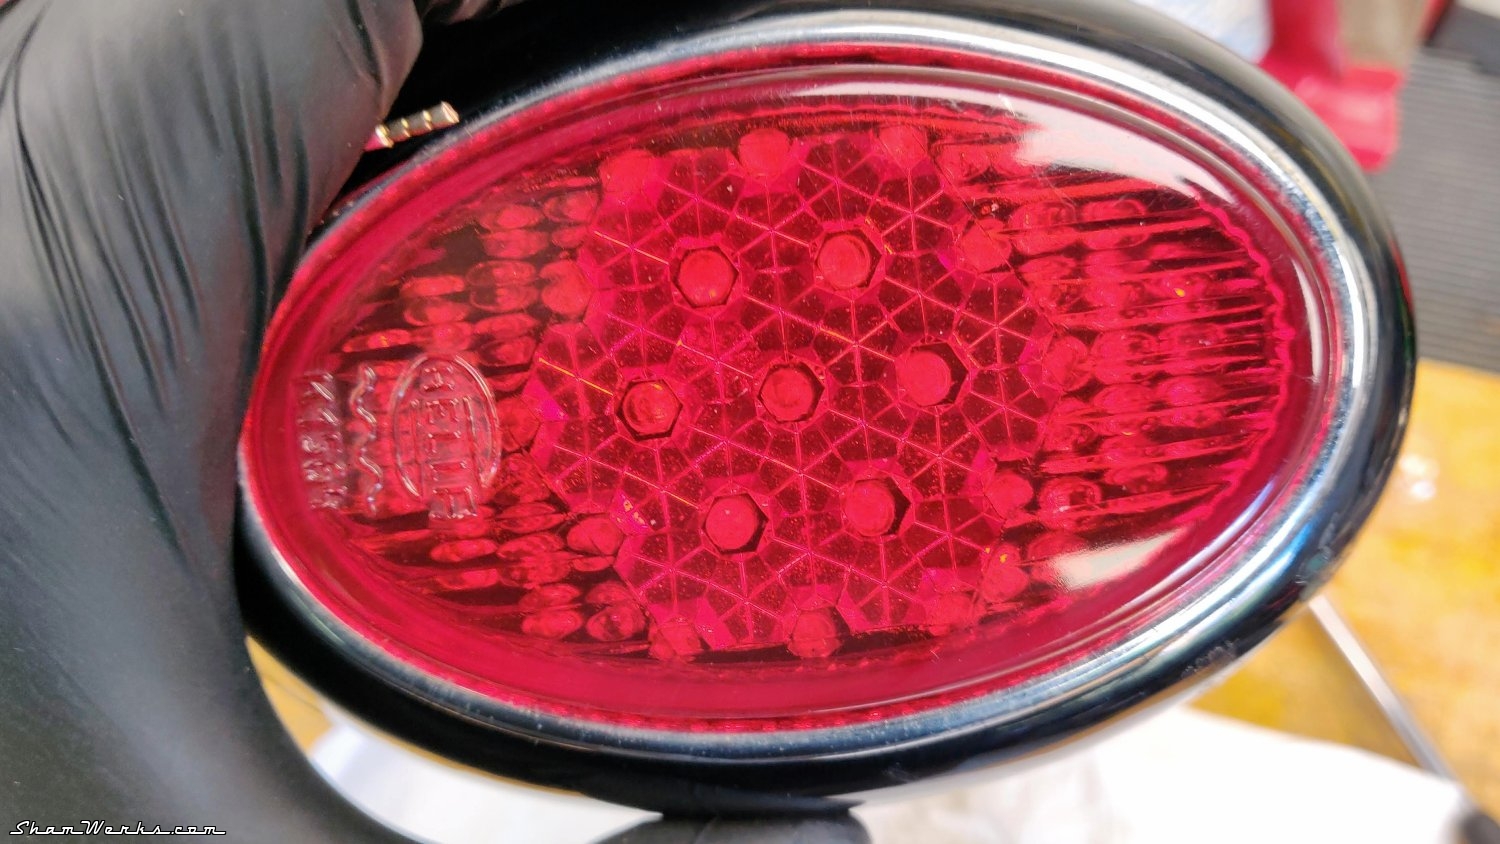
The original rear brake lights are not very visible, I wanted to improve safety... So I converted the lights to LEDs instead.
I bought a pair of LED boards from Chip on TheSamba (see his ad here ). These boards include position lights, brake lights, and turn indicators. The original Elvira only had its semaphores, no flashing indicators, which is unsafe in today's traffic.
The flasher relay is replaced by one that is LED compatible, and in the process I add a motorcycle turn signal indicator ("beep")... Because otherwise I can ride indefinitely with the turn signals flashing!
I'll have to get back to it for the semaphores, which are currently completely disabled. But that will be the occasion for another article! 😁
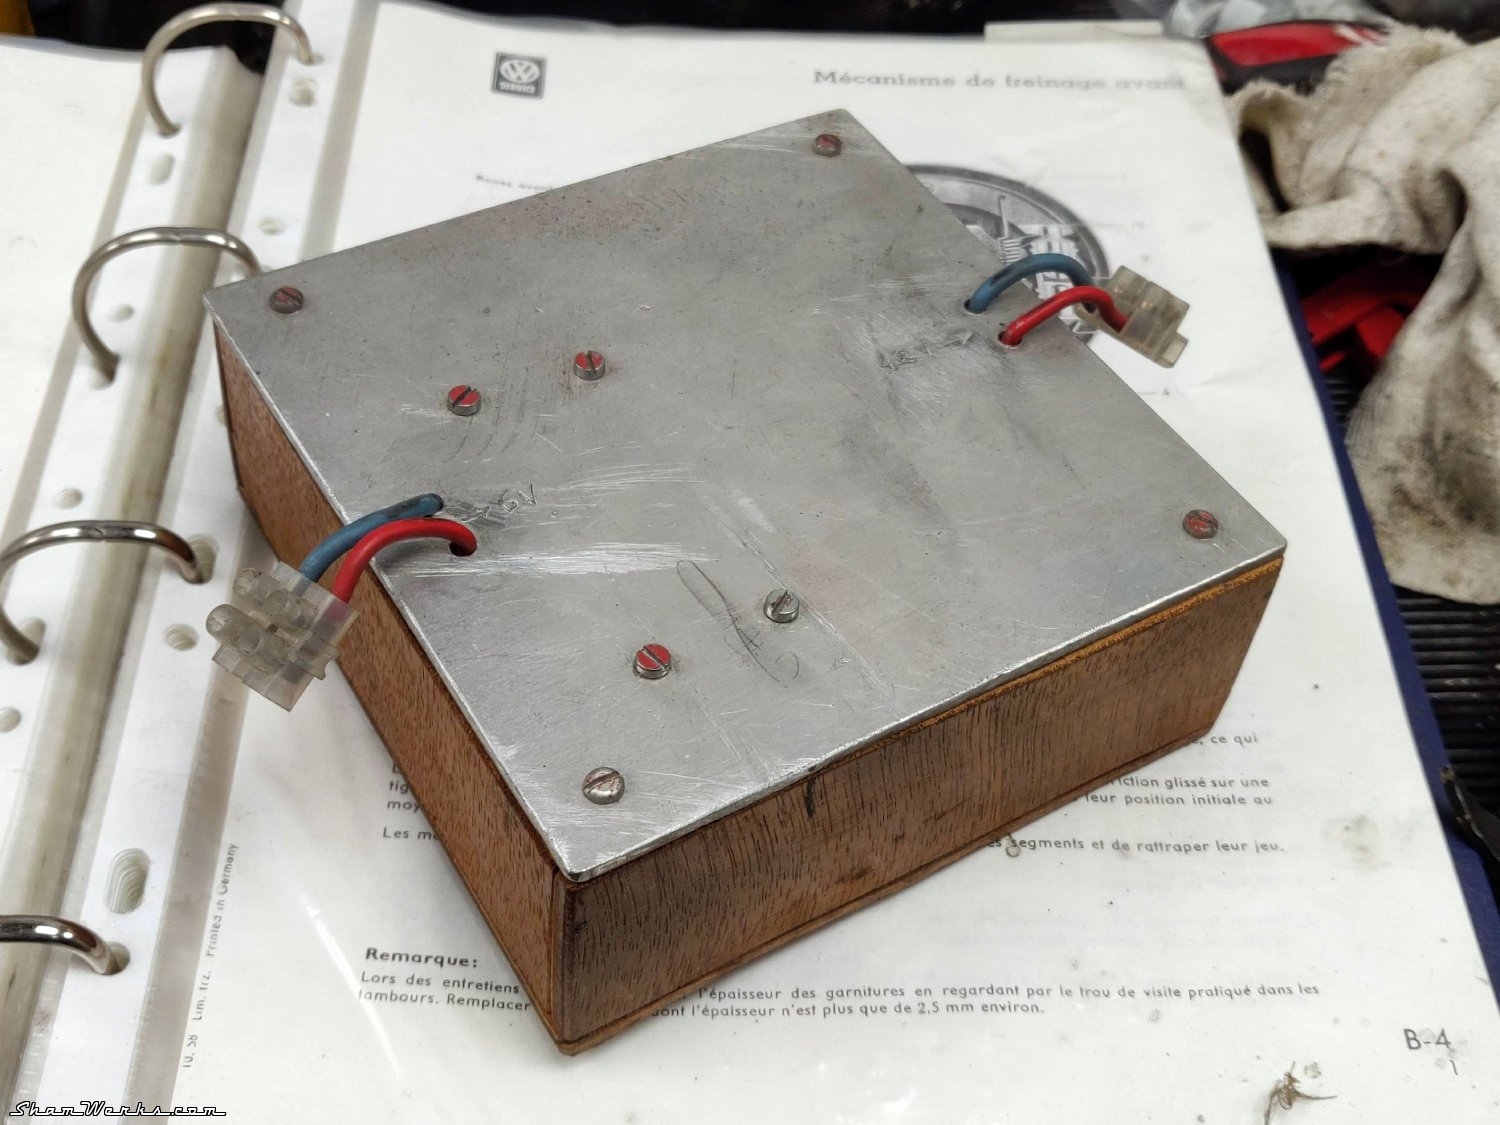
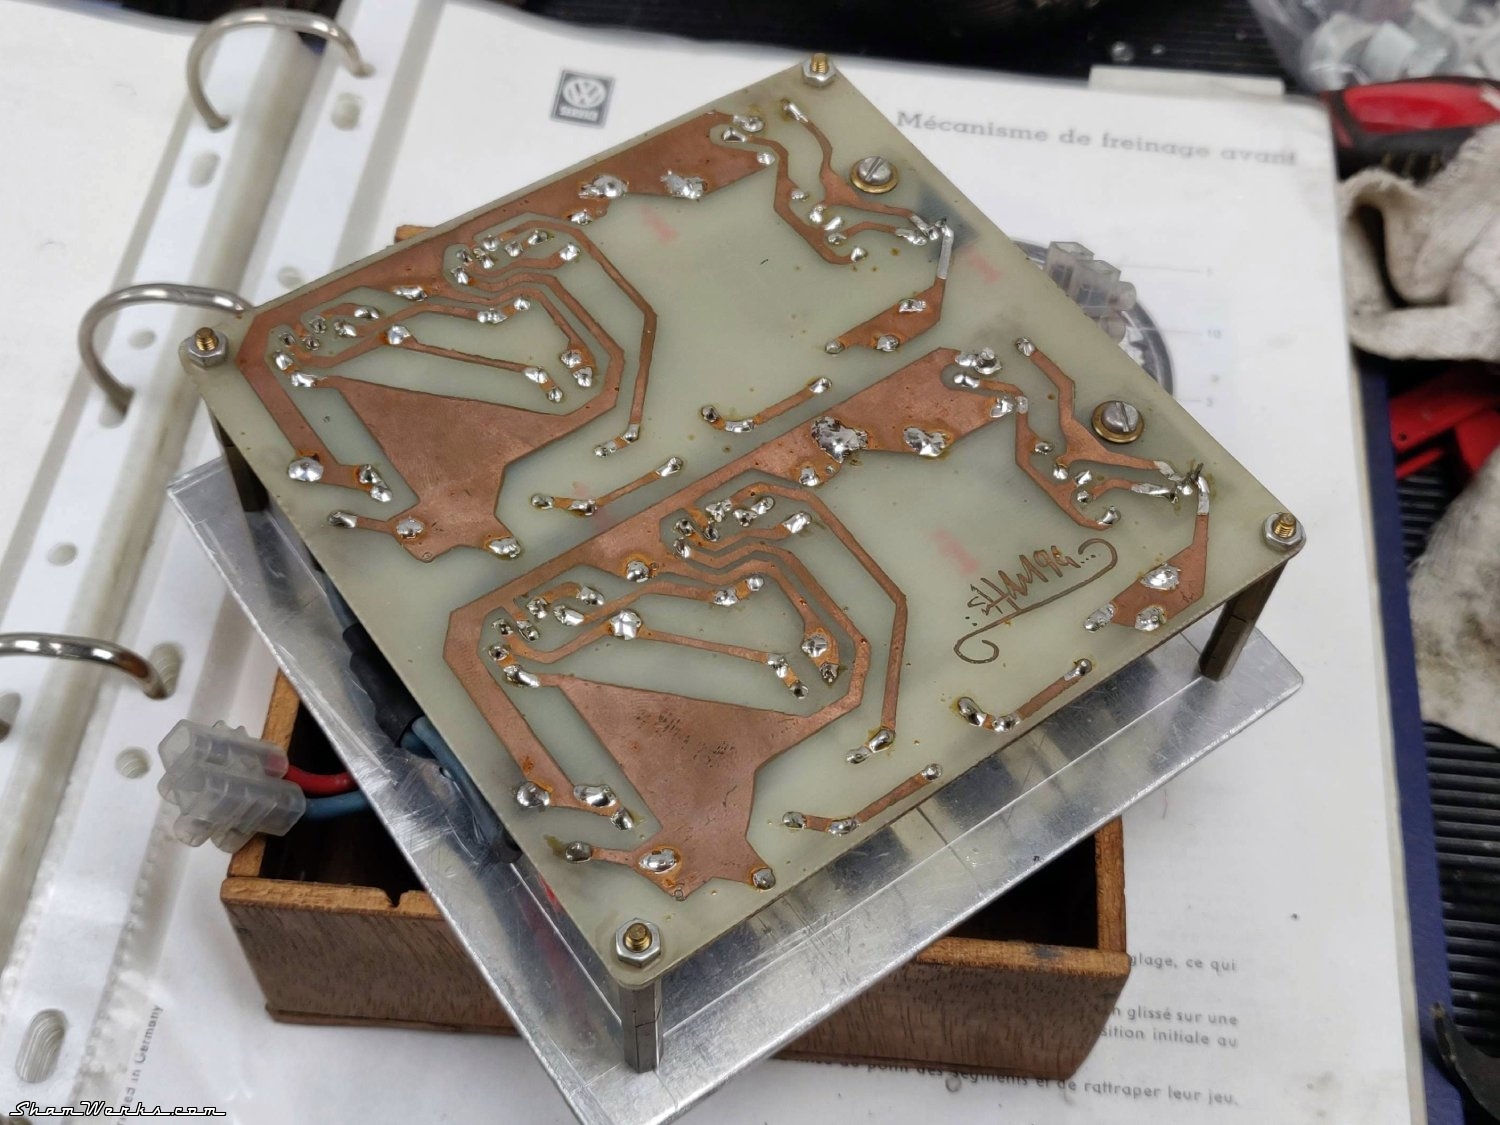
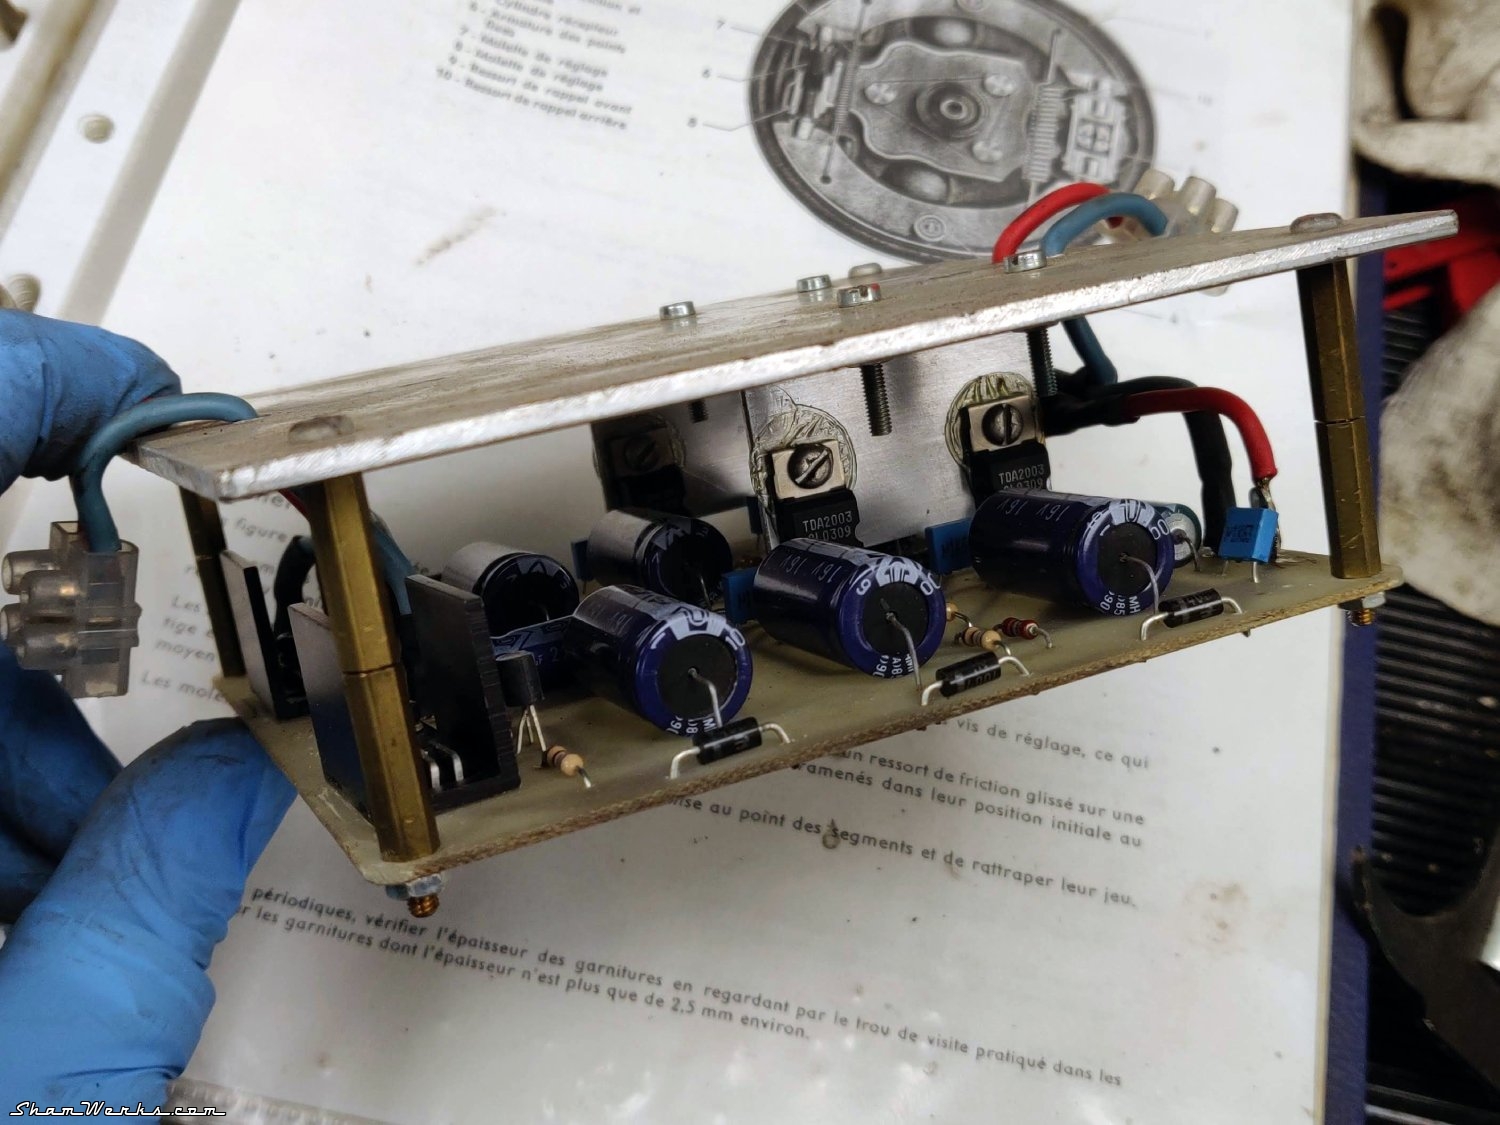
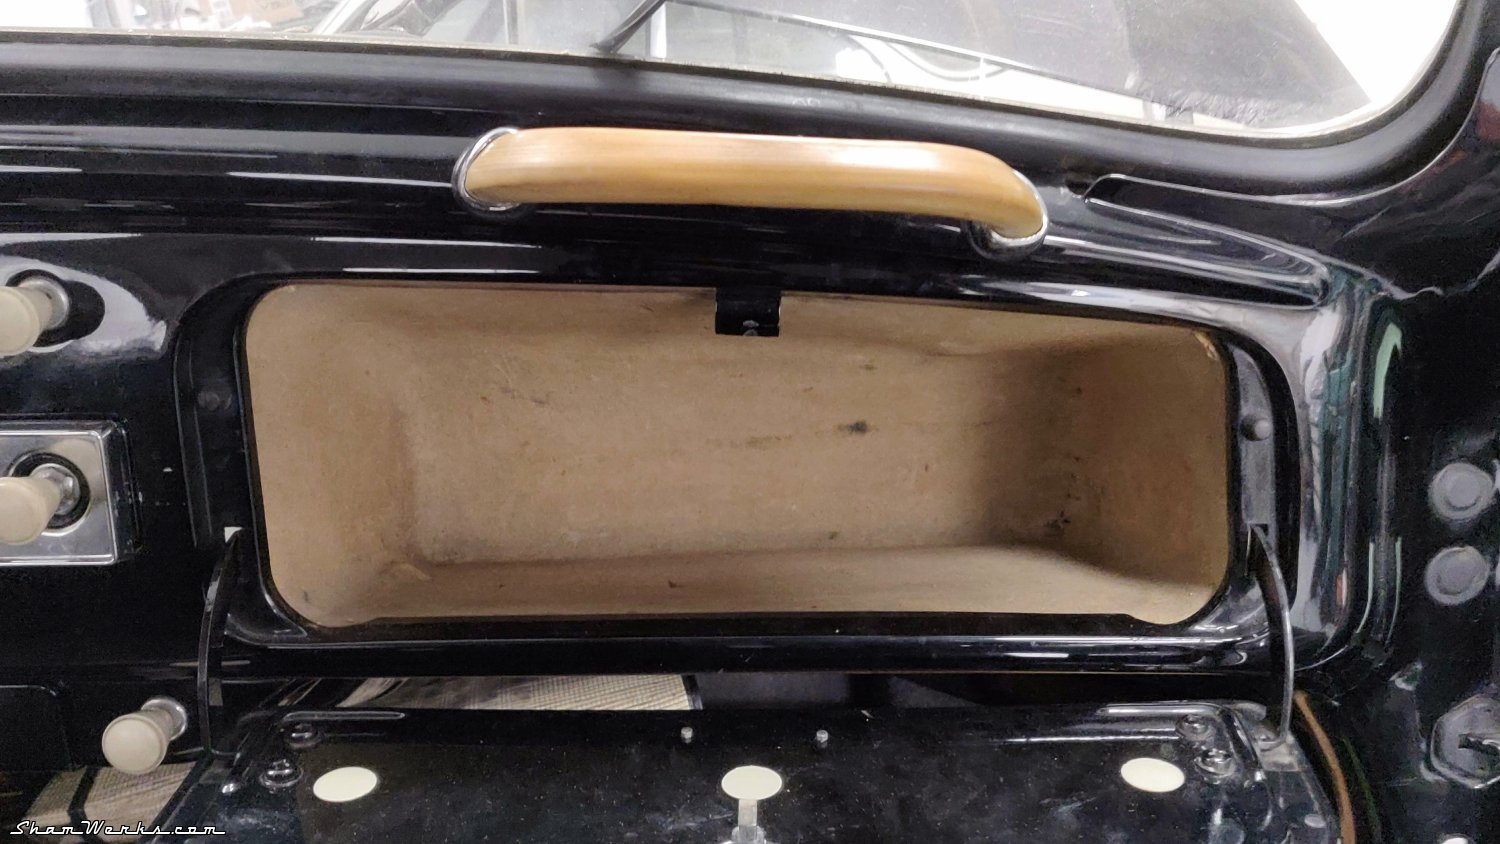
Since I had my hands in the electricity: when I got this car back in '94 I installed an autoradio in the glove box; ruining in the process the original cardboard glove box... Oh hey, don't judge me, I was young and this car was my daily ride to go to university! 😁
In short, to go back to the origin, I removed the autoradio, as well as the 6-12V converter that I had built at the time (dated 1994! With its homemade plywood case, we're talking real vintage there!). And I replaced the cardboard glove box with one from the same year, in very good condition. Lookin' better!

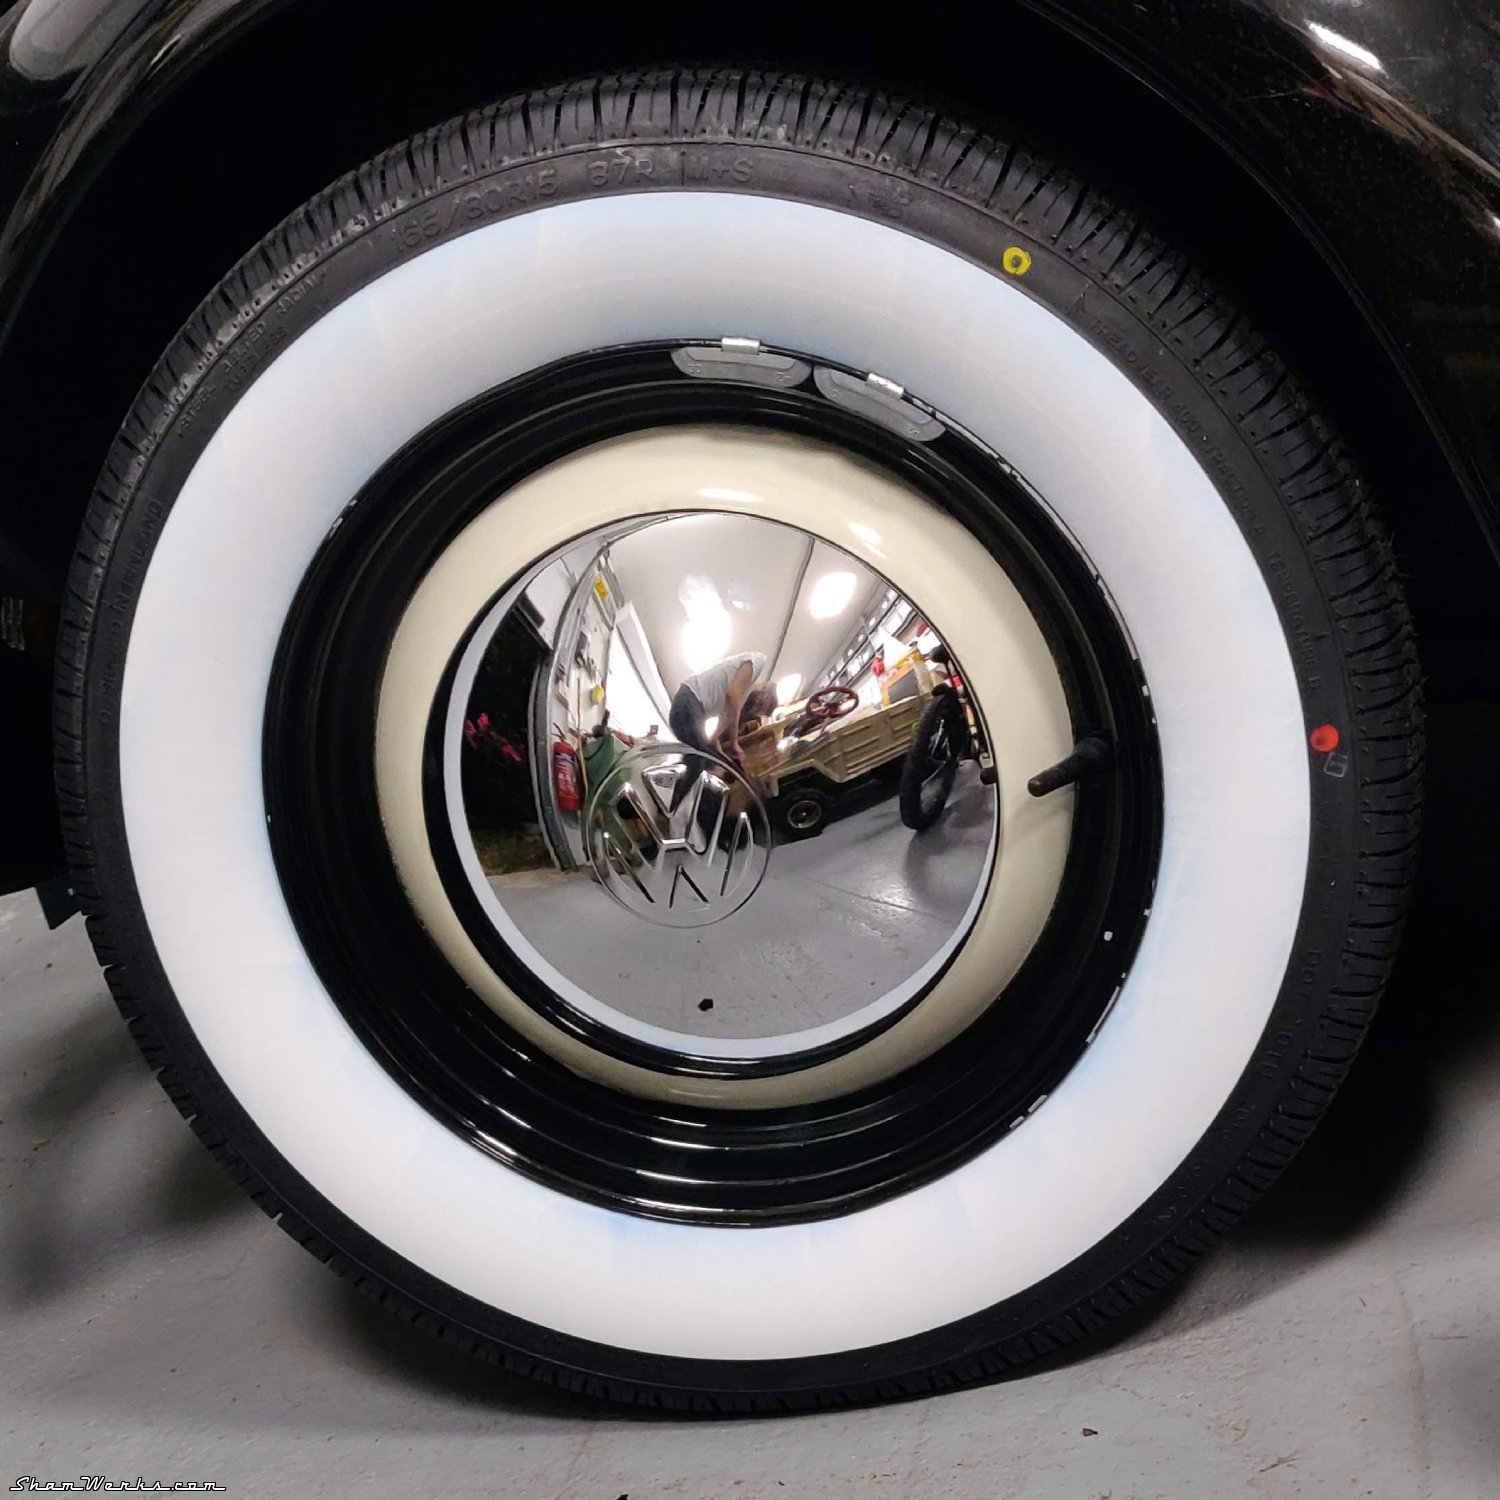
Tires and Baby Moons
Elvira was riding on Firestone F560 155R15, with portawall inserts. They were still good from a wear point of view, but... I had them installed 19 years ago! The rubber was dry and as soon as the road was slightly wet it became blurry while driving. It was time to sort this out.
I wanted to go for real whitewalls, and after many comparisons of the few options available on the market (European Classics, Autobahn, Firestone, Coker...), I decided to go with Kontio (Finnish brand) "WhitePaw Classic" in 165/80R15, featuring a 64mm white sidewall, a radial structure, and an acceptable price (167€/piece, where some brands exceed 330€...). The European Classics are a bit cheaper, but the specialist I wanted to buy them from strongly advised against them!
Front wheels alignment was done right after tires where intalled : front axle happened to have 1.5° of toe out... Suffice to say that driving is much, much more reassuring now!
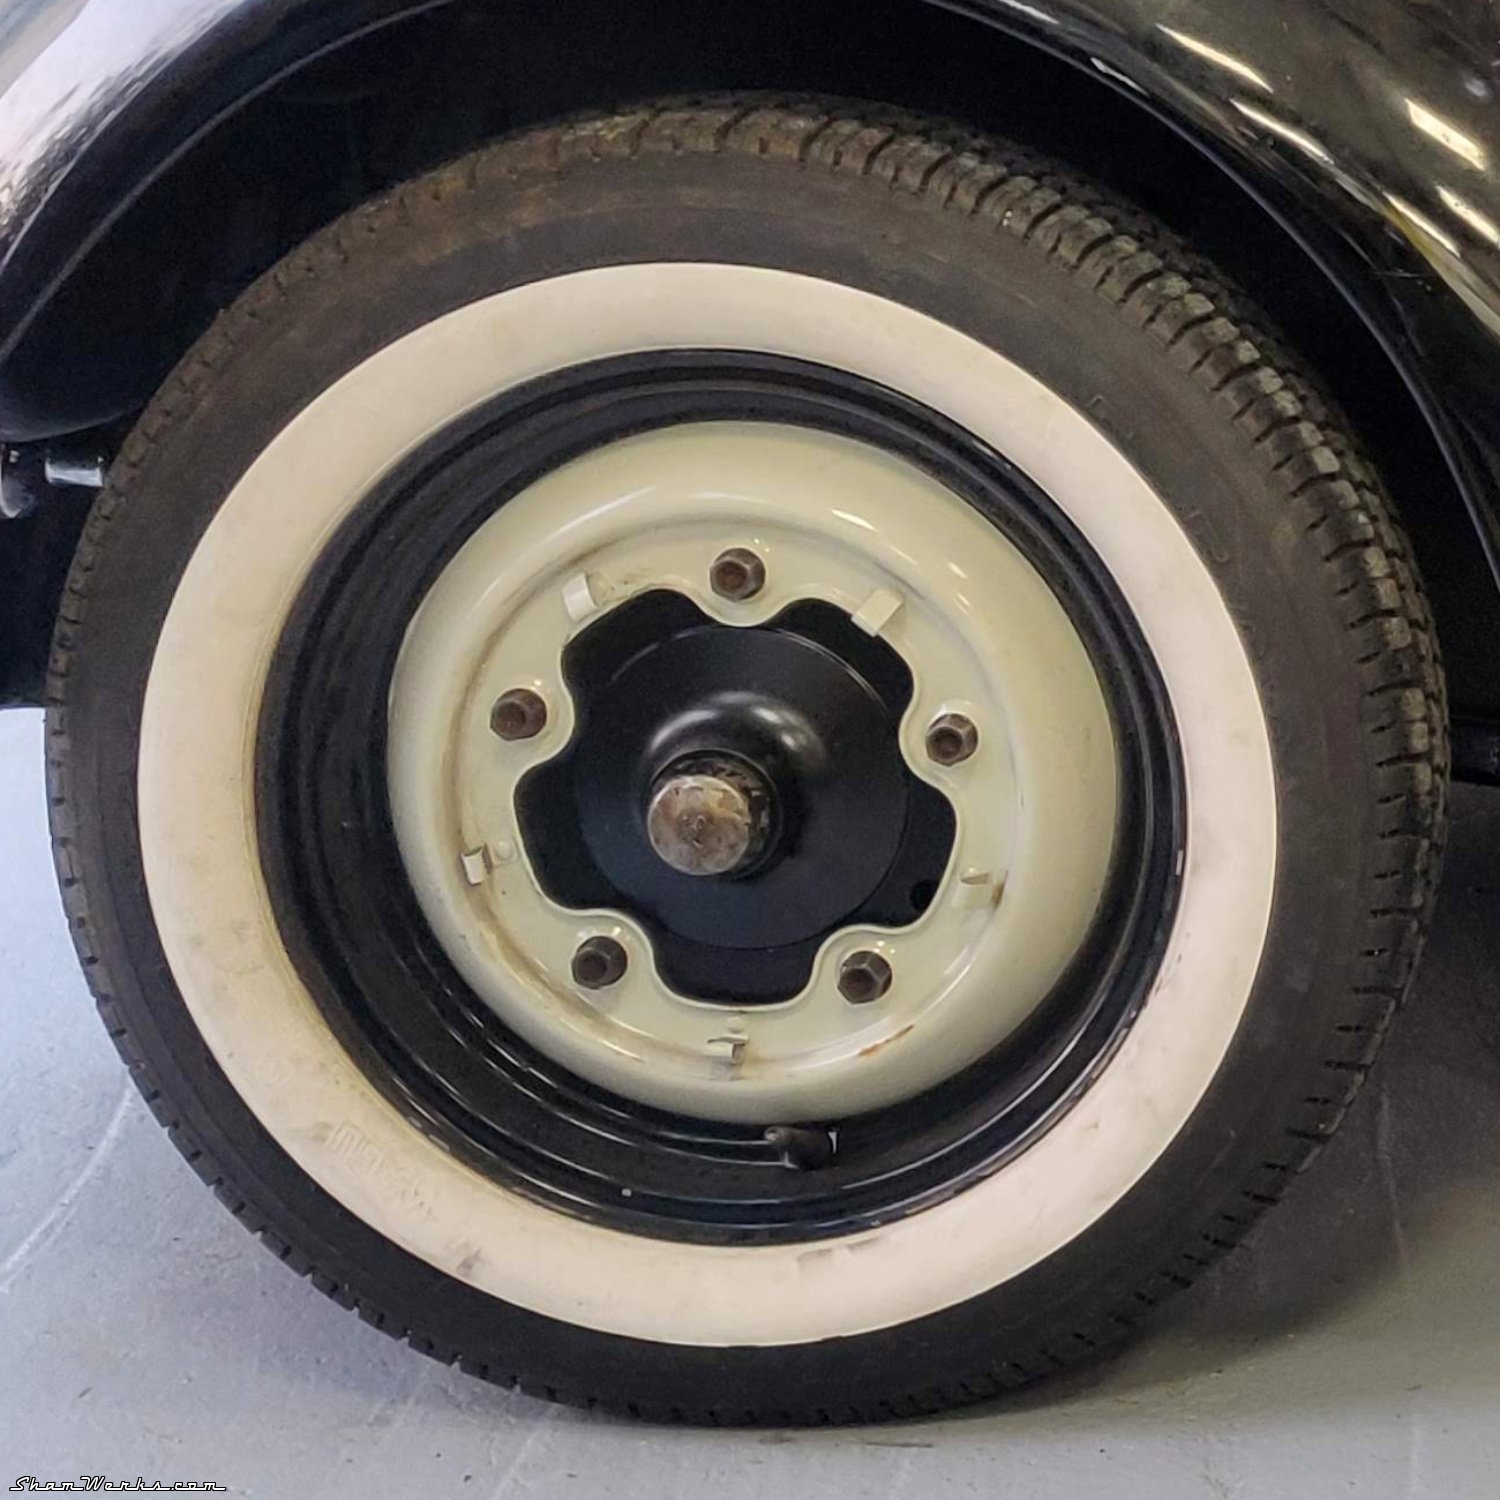
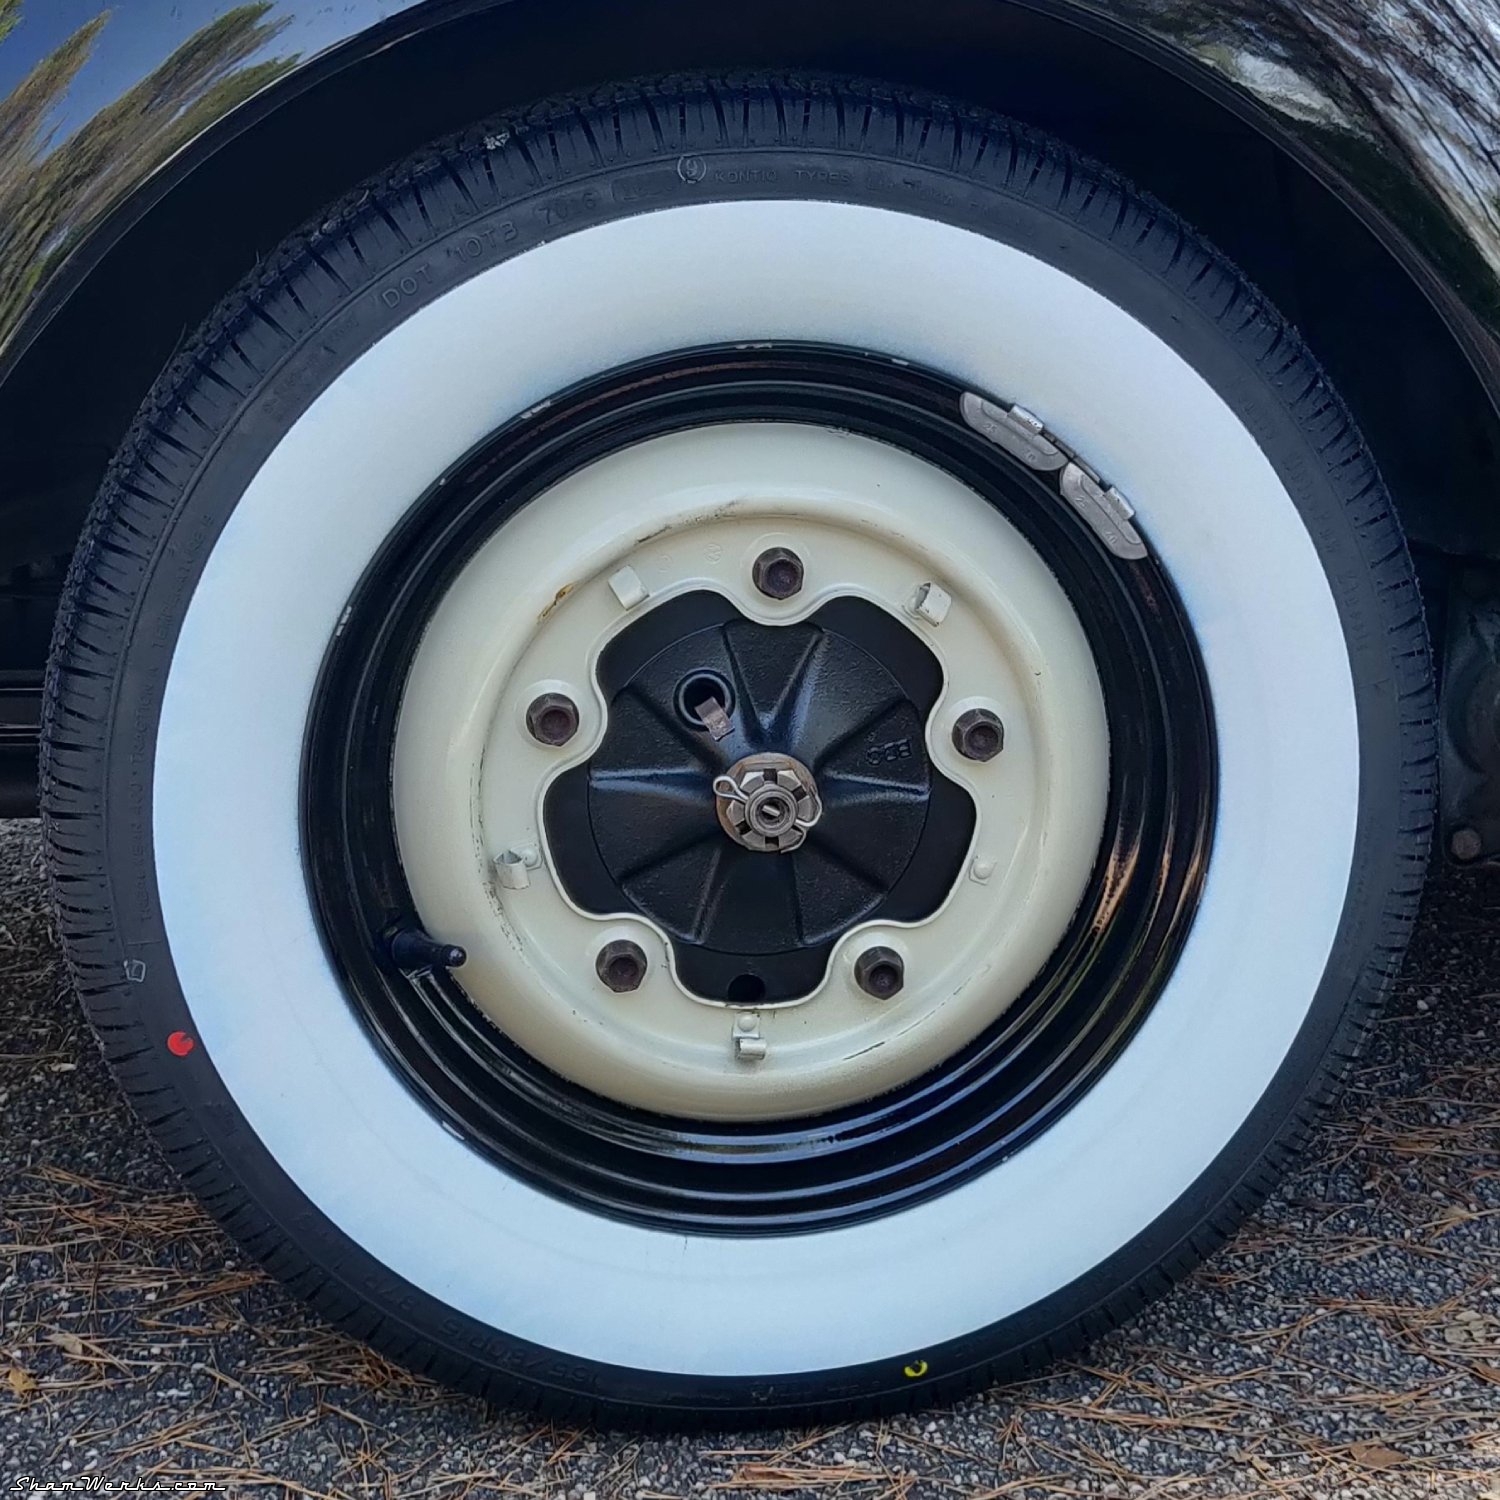
Unfortunately the fitter who balanced my tires installed the weights on the outside... My fault, I should have clarified.
As it's visually terrible, so I replace them with equivalent weights glued on the inside, in the same places as those of the fitter...
Incidentally, the edge of the rim suffered from removing the clamped weights, I touch that up with a small paintbrush and glossy black lacquer...
As for the hubcaps, I had smooth baby moons for almost 30 years, but they were starting to show rust, and above all I wanted to return to a more "stock" look. So I bought the official VW reproductions with the stamped logo, pretty expensive sh*t but really nice product: thick sheet metal, stamped in logo and not (stamped out), deep chrome, protective paint on the interior...
I wanted the VW logos painted black like they were originally. I did so using the "spray & swipe" method:
- Acetone cleaning
- Light sanding inside the VW logo to help the paint stick (I go for 600 grit on my fingertip)
- Re-cleaning with acetone
- Glossy black spray paint (Motip), in a single fairly thick coat, using cardboard with a cut-out circle to limit overspray...
- 5-10 minutes later, when the paint has started pulling, I wipe off most of the paint with a cloth soaked in acetone, wrapped around the tip of my finger (you can probably skip that step, I'm not sure it's necessary).
- Finally, the magic trick: a cloth lightly soaked in acetone, wrapped tightly on a flat block of plywood (or a sanding block), and passed flat, in straight lines, over the logo to remove the surplus.
The result is clean, with well-defined lines. I considered using stickers (you can find them on TheSamba), but ultimately this method works quite well, it takes 10 minutes per hubcap. I only messed up and had to start again once.
... ...and a nice little accessory. 😉
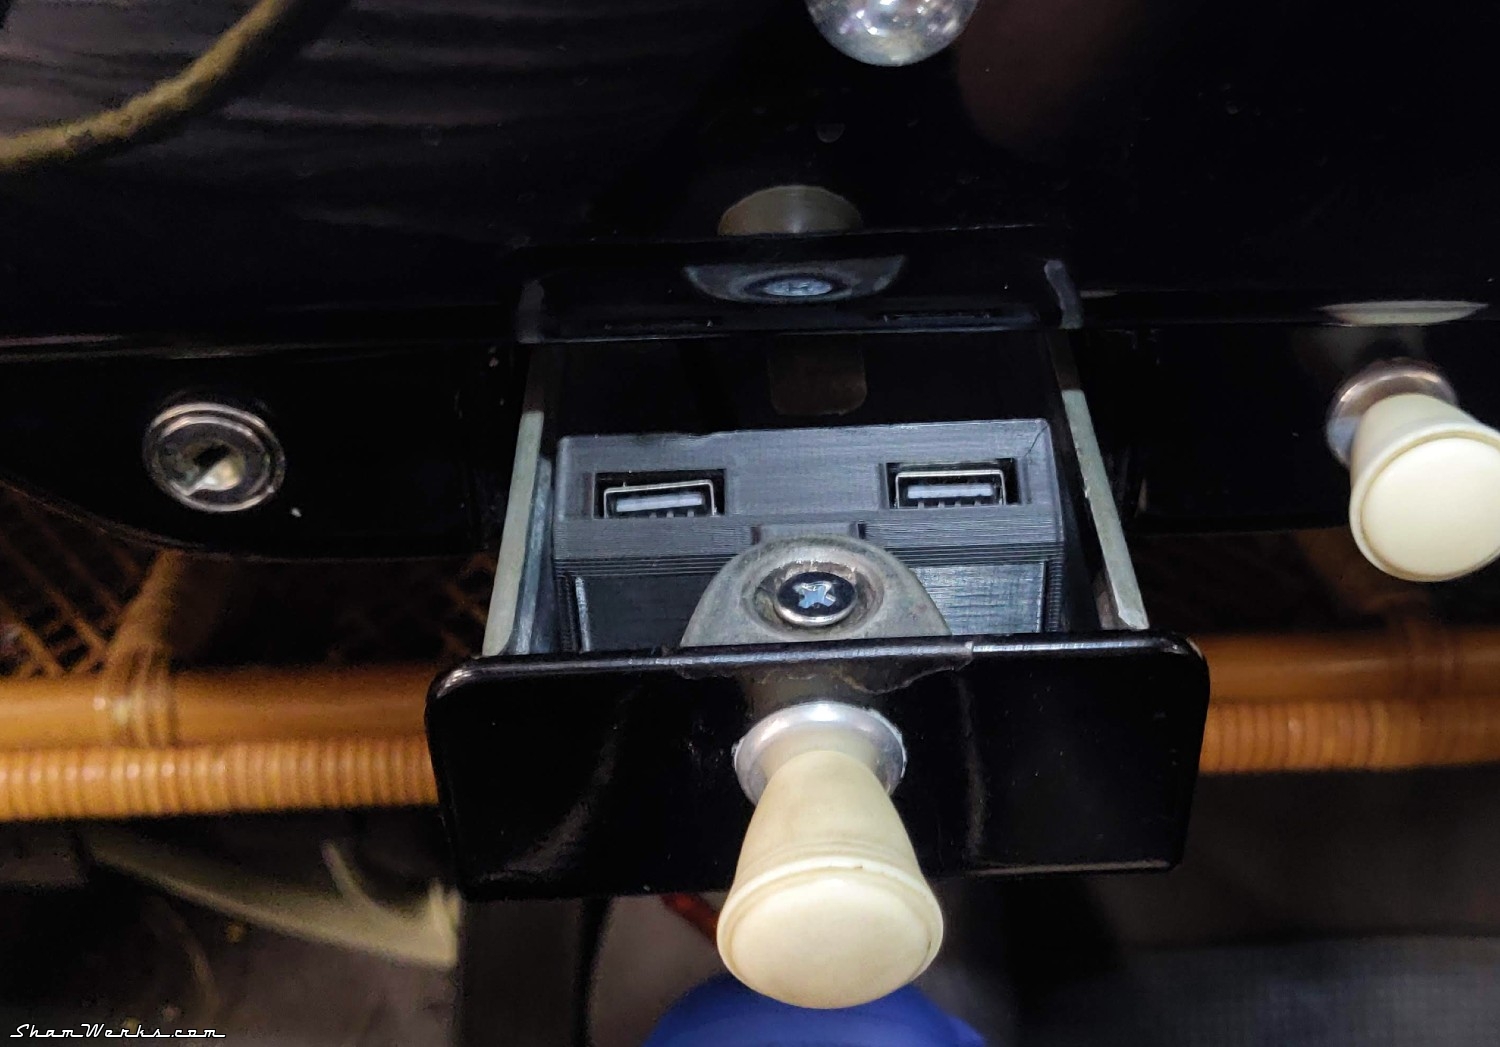
A very practical little accessory, I added this USB charger hidden in the ashtray.
Installation requires drilling a hole in the ashtray support, and one in the drawer, well aligned so that the power cable can slide when opening/closing.
Good to know: a touch of vaseline on the cable allows it to slide more easily.
This charger allows me to have a Bluetooth speaker on long journeys without worrying about its battery running out...
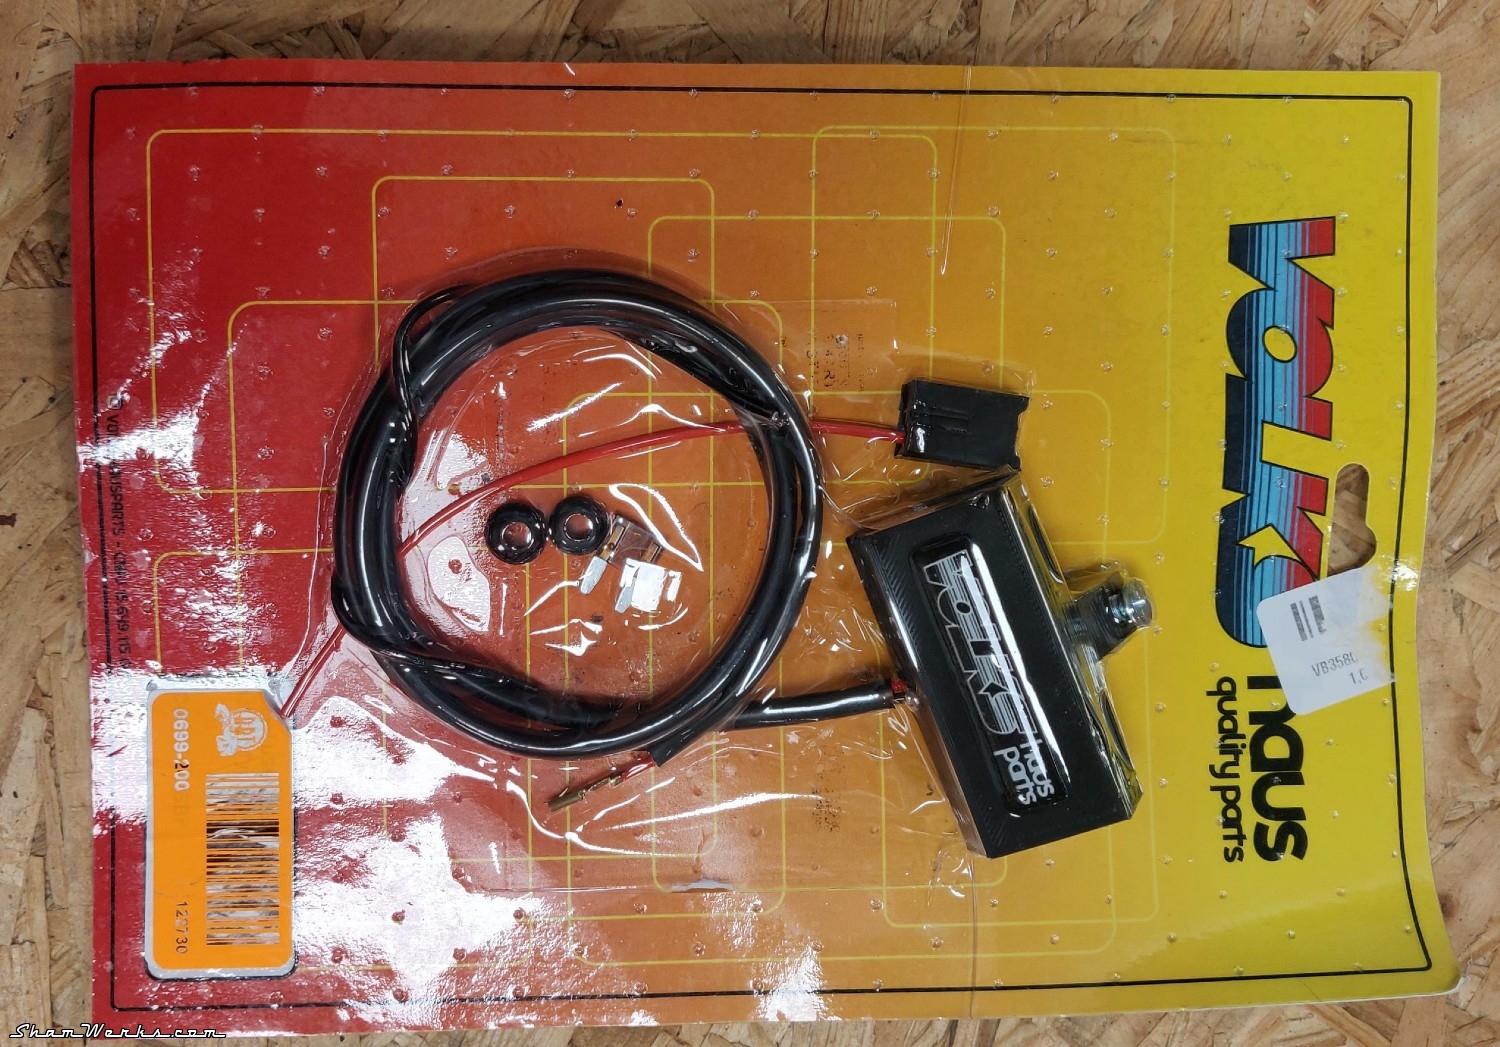
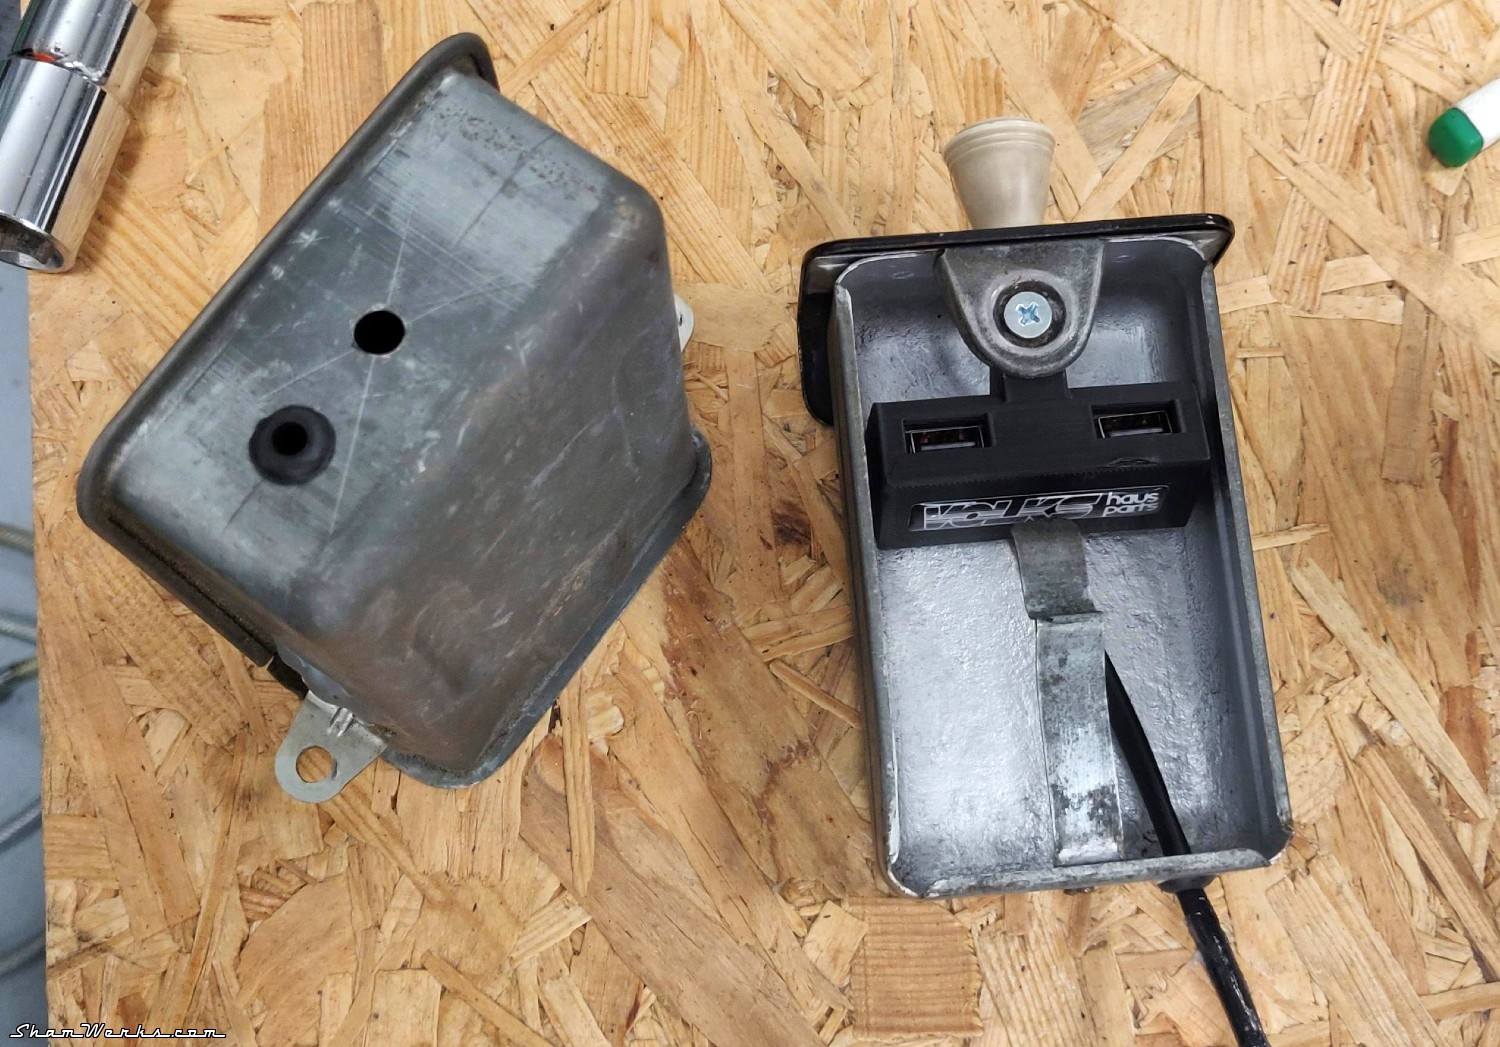
This charger is produced by a Brazilian company, fits well, but in France its retail price is pretty high for what it is (3D printed support with average finishes...). I broke the CB because I wanted to have it for an upcoming VW outing... But I'm sure there is a way to DIY an equivalent at a lower cost by getting the parts on AliExpress. 😉 *Spoiler Alert*
On the road again
With all that I have an almost pristine MOT inspection (just a little corrosion under the floor...), it's time to go cruising now!