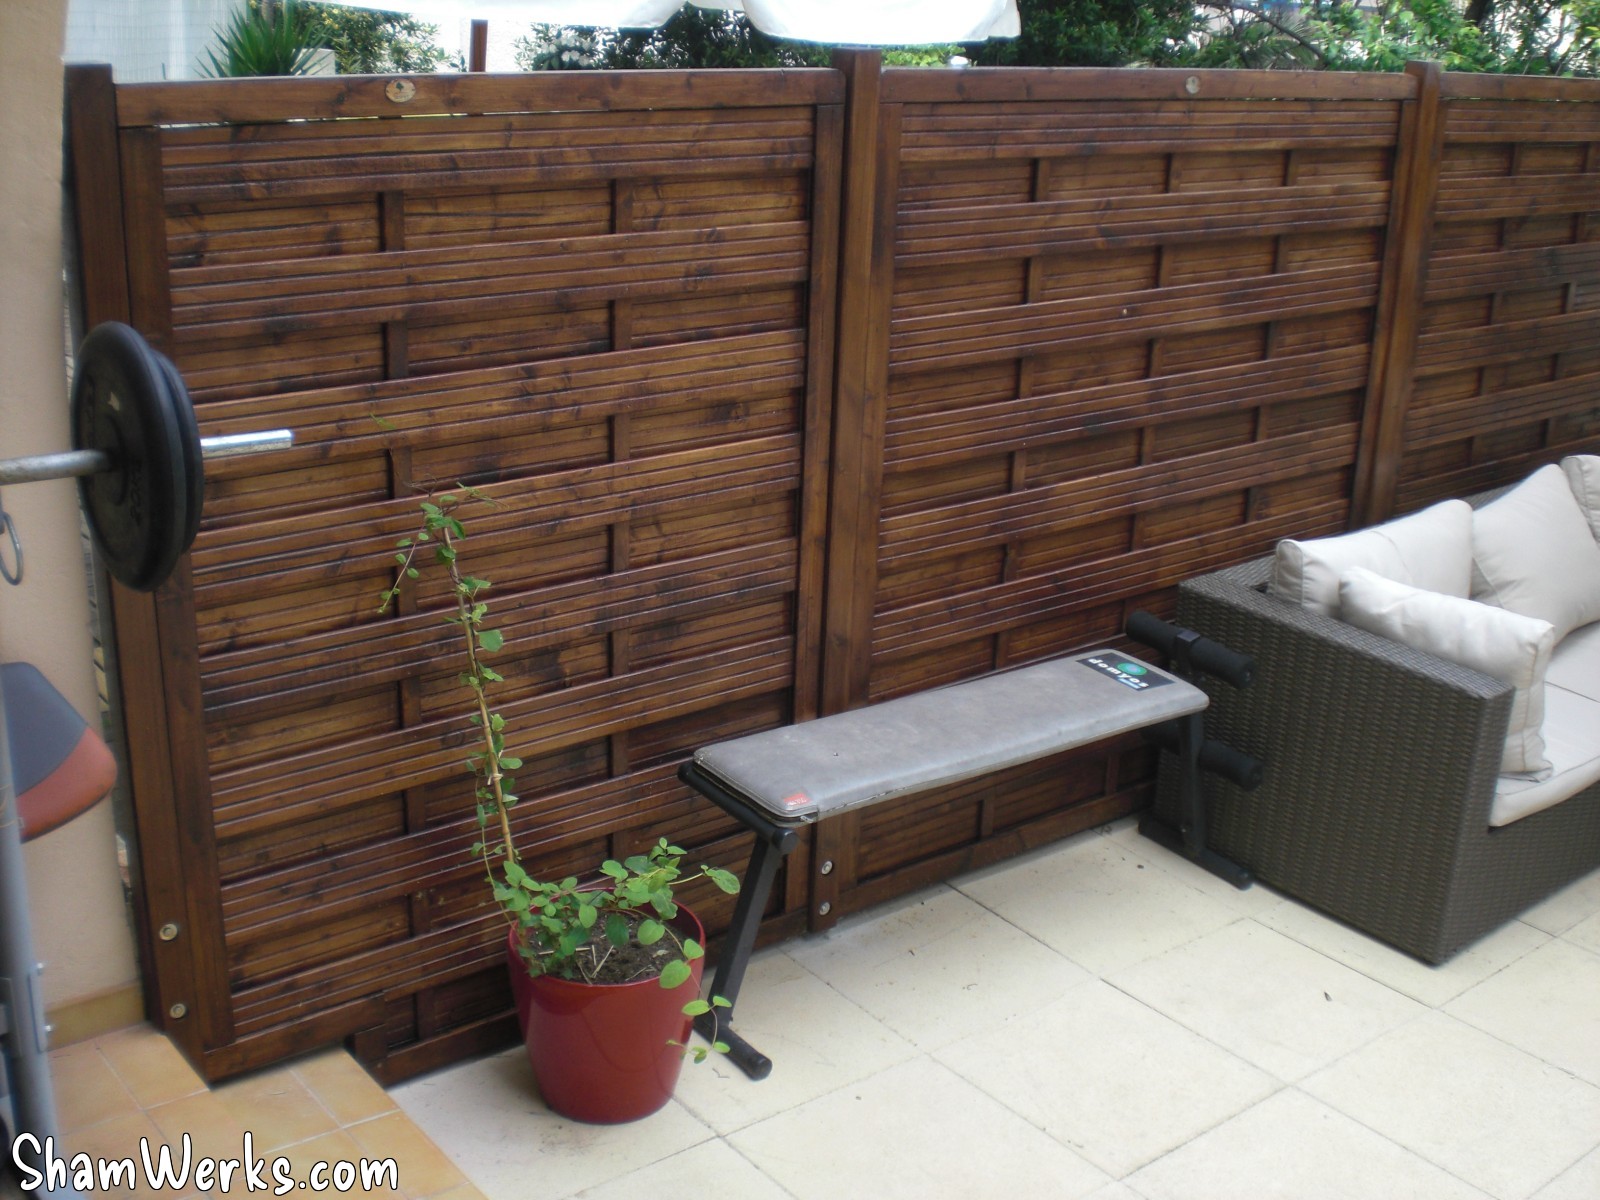
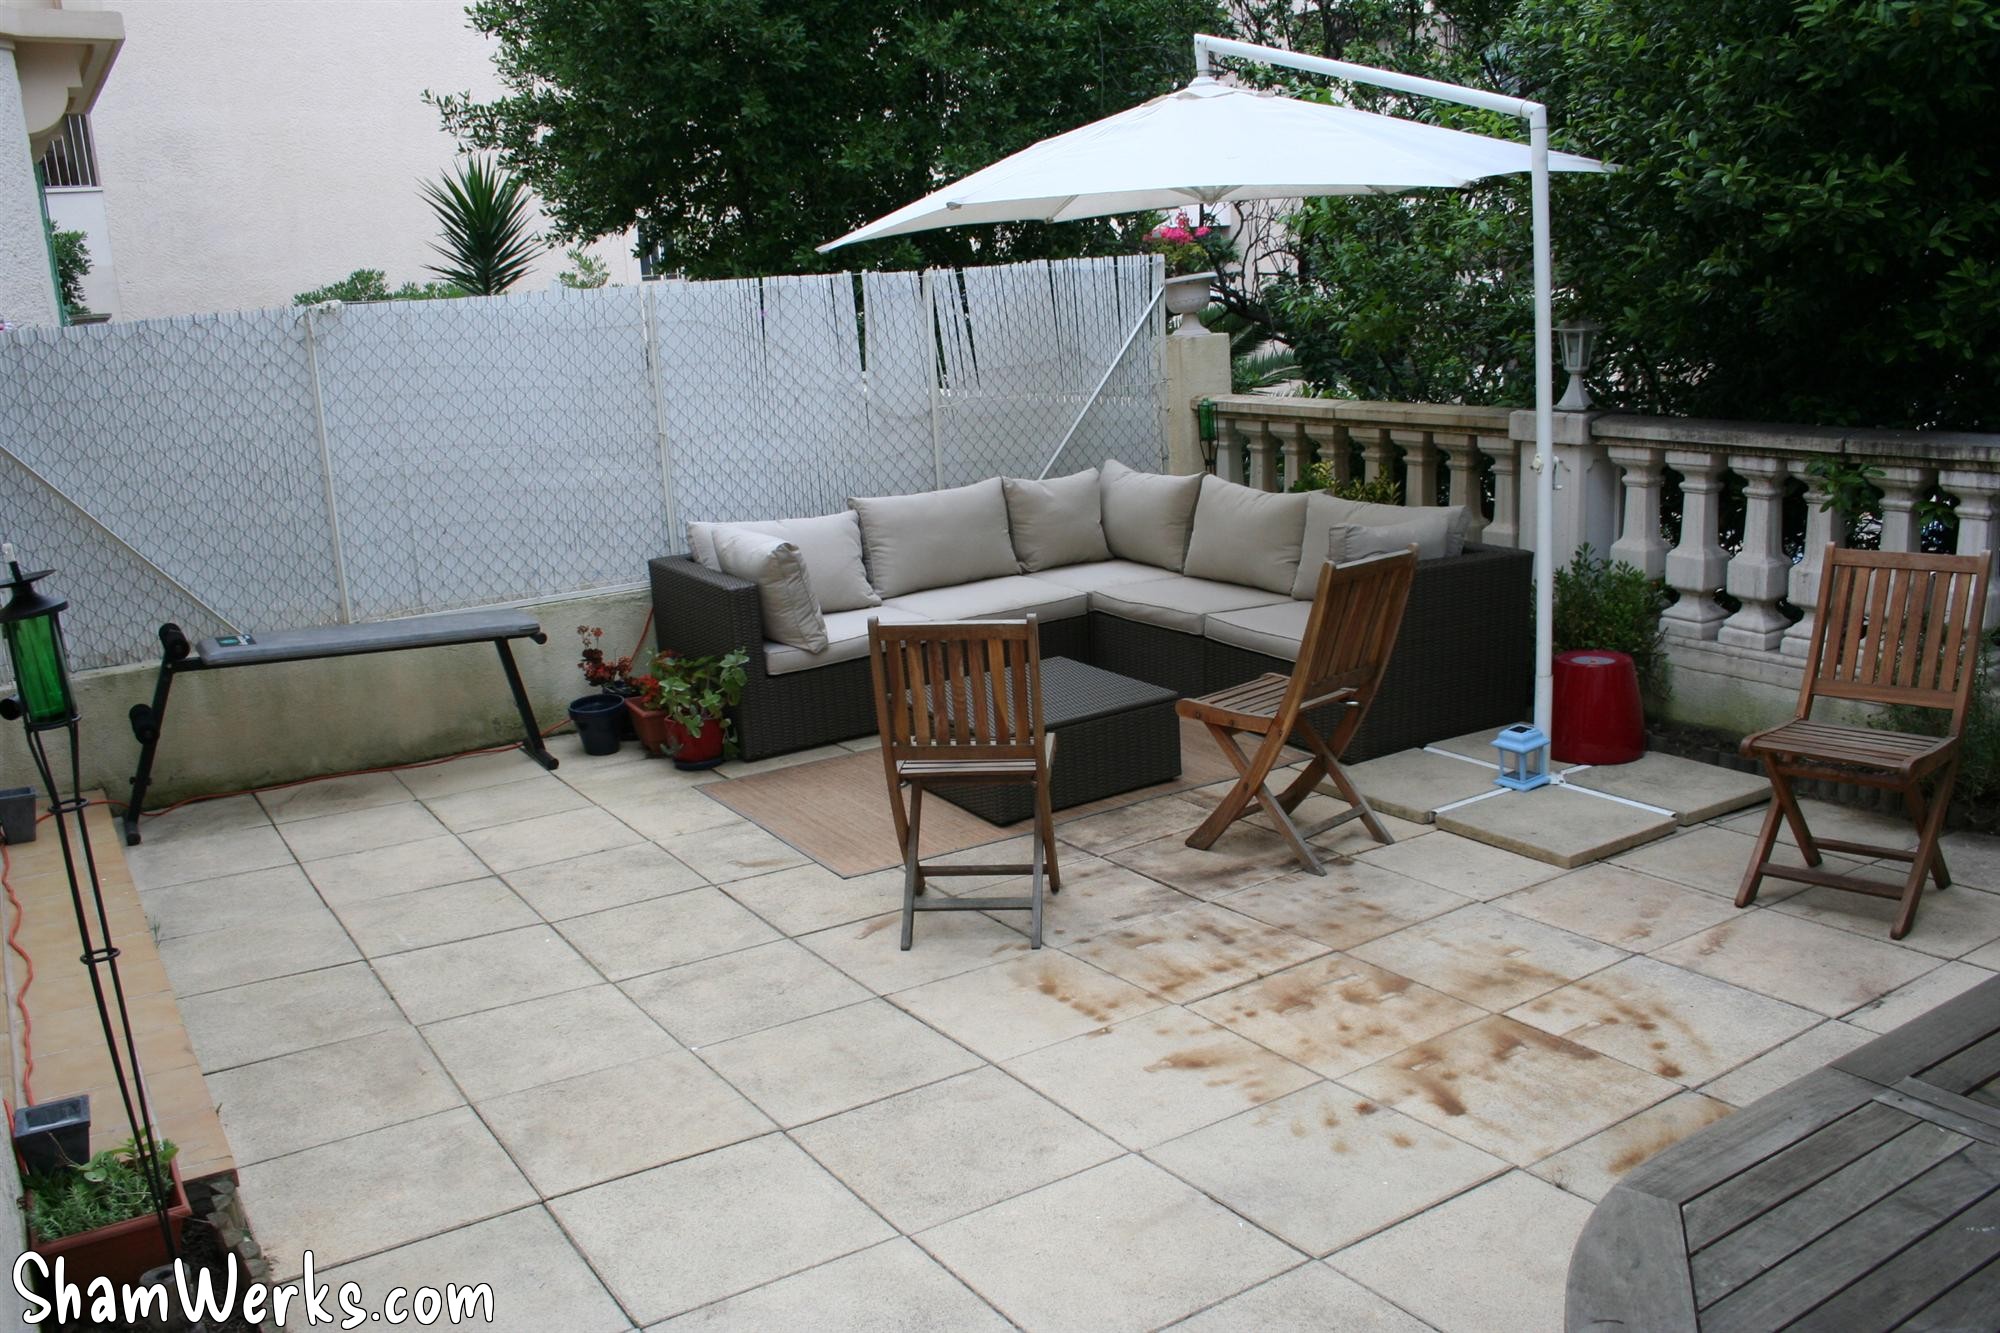
Wooden fence
Here we go, May 2009, building the wooden fence...
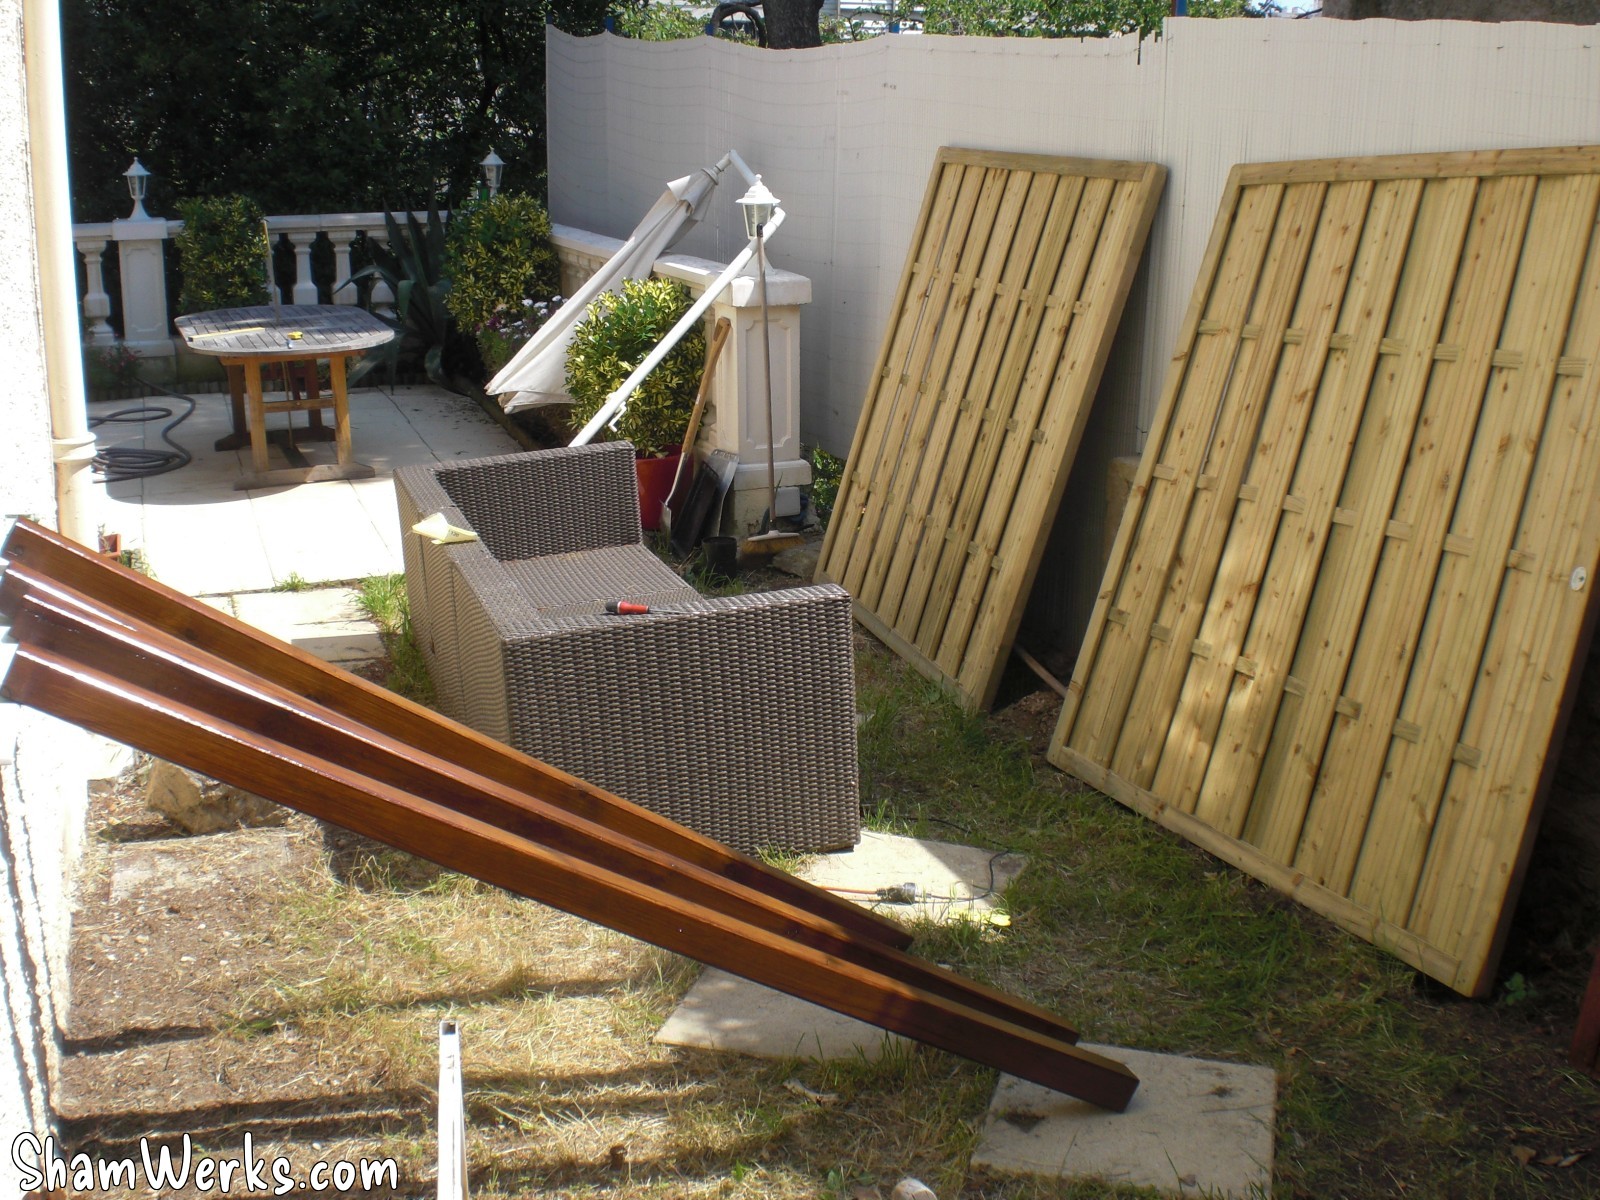
I've used 180x180cm panels made of autoclaved pine, found at the DIY superstore ; these are thick, with a solid a assembly and stainless screws, while the el cheapo models wouldn't resist more than a week...
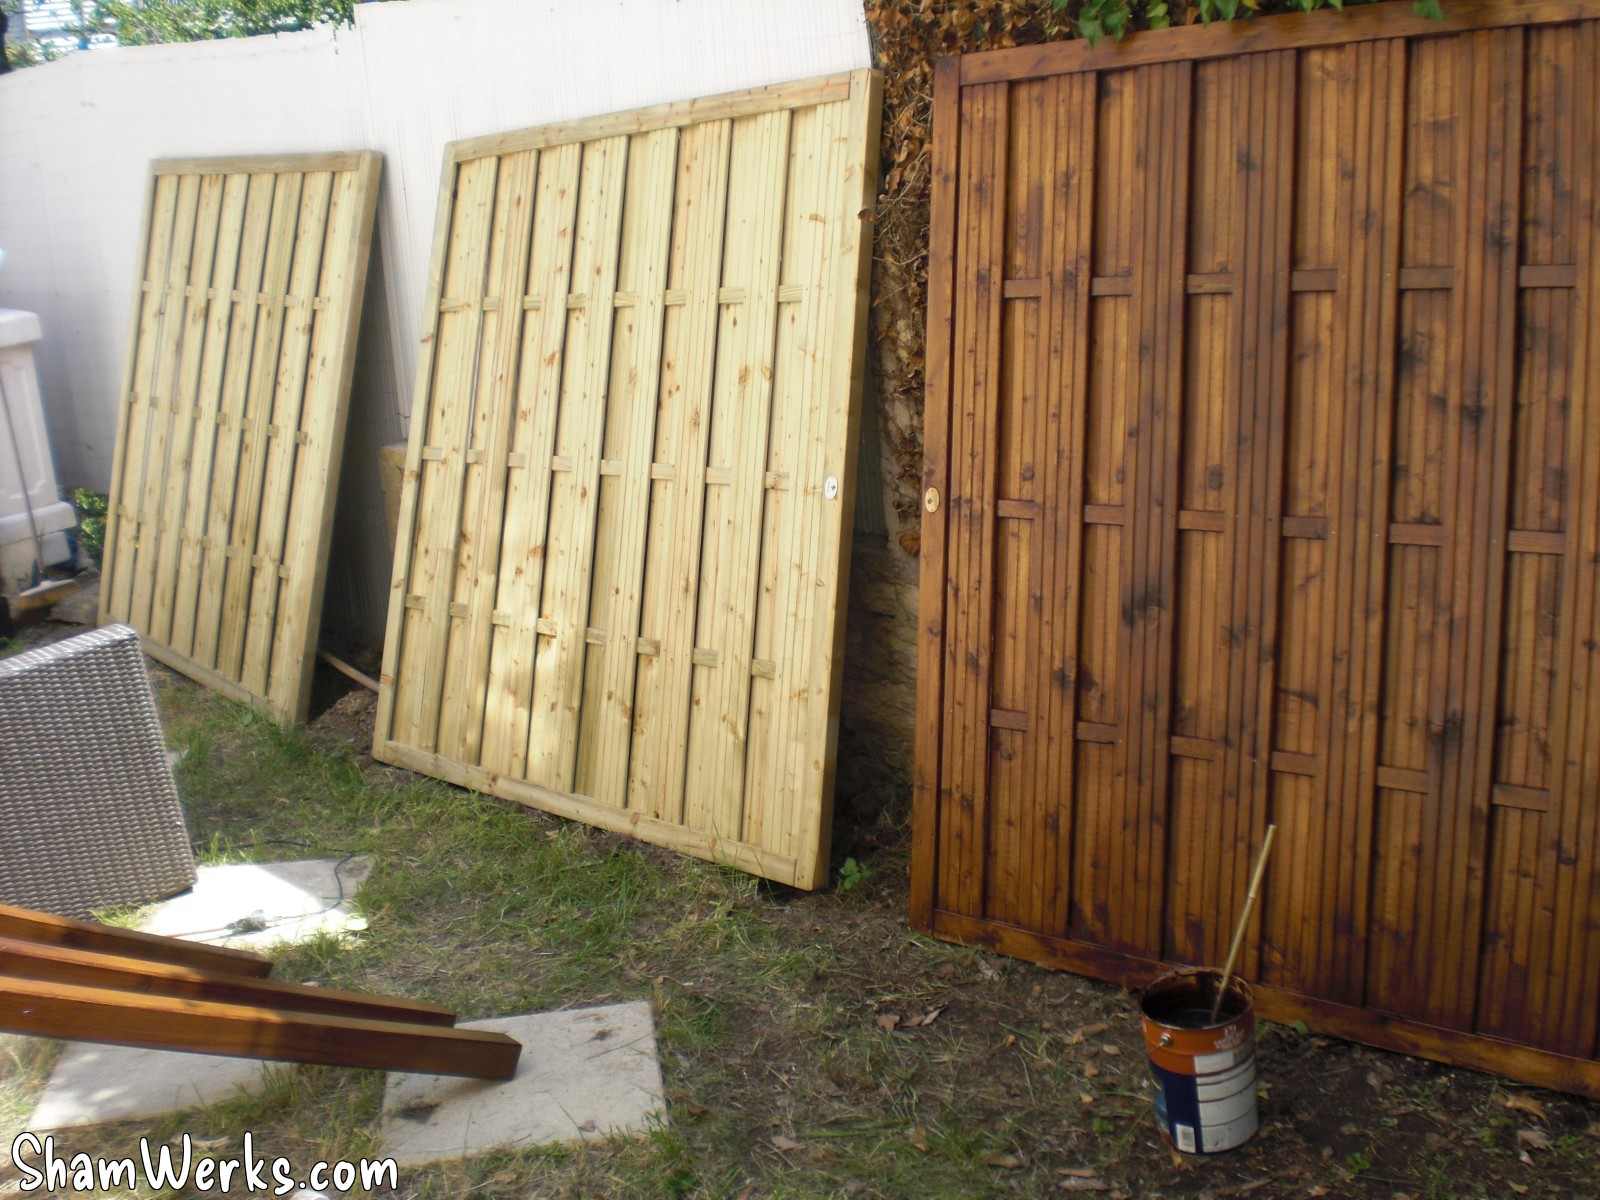
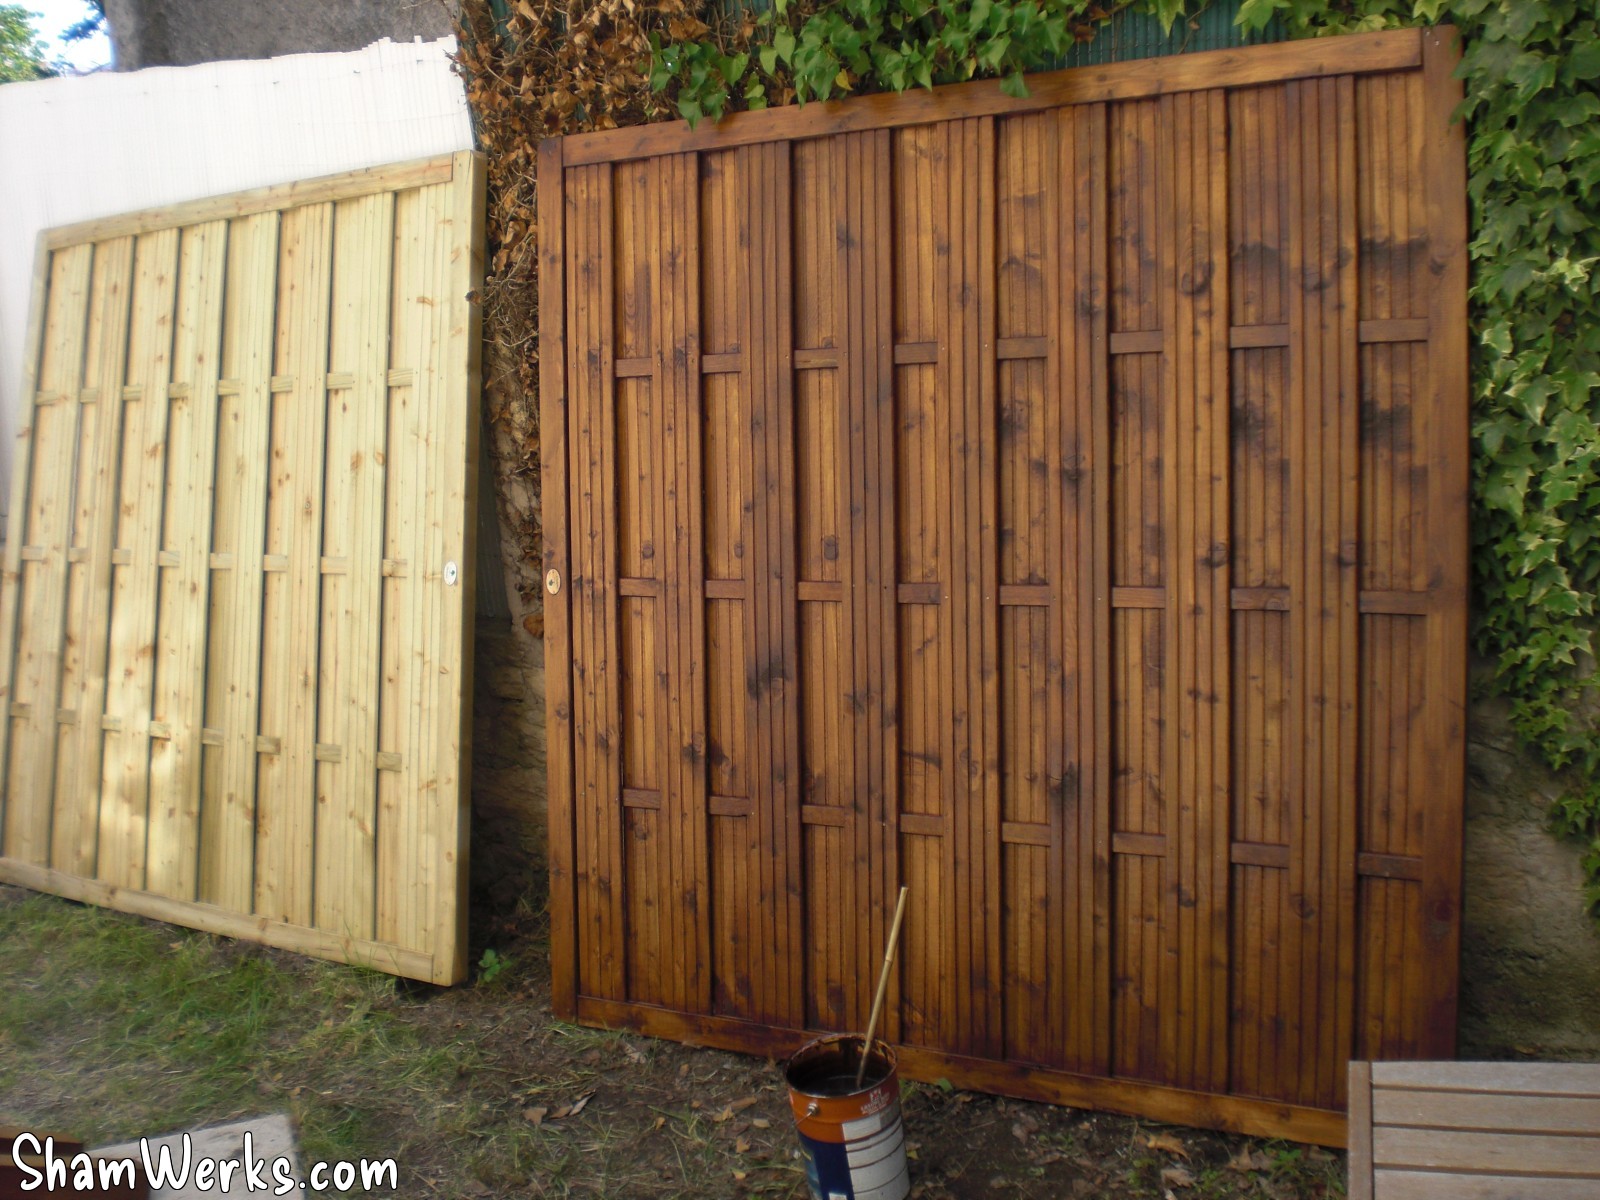
The first (and so tedious!) step is to brush two layers of wood surface coating (both sides). Autoclaved or not, pine wood outside wouldn't make it through winter without it (even I live in sunny French Riviera). I'm using V33 coating, said to be guaranteed 8 years. That's free advertising, I'm happy with it for now, we'll see later how it turns out.
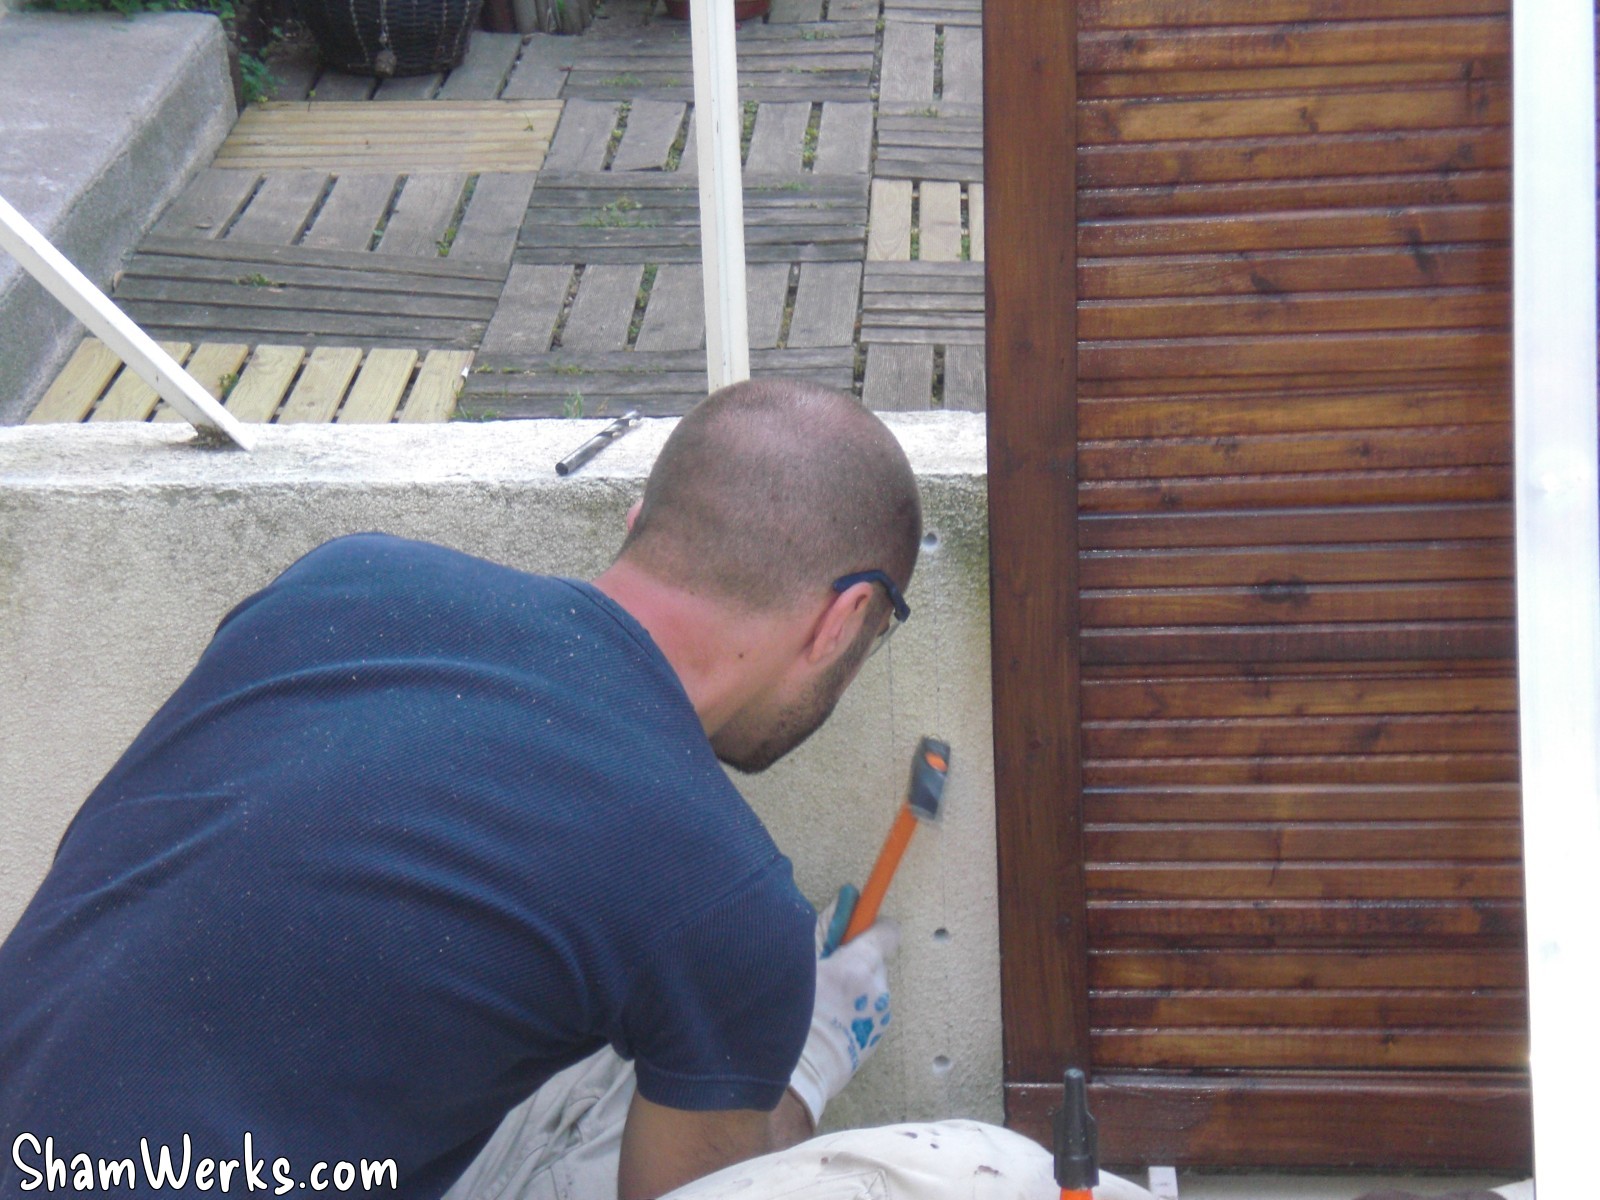
As a small 50cm wall was there, I fixed my posts on it, using four 120mm long bolts ; the leftmost and rightmost posts have an additional long bolt at their top, to fix them on their side wall. Sometimes the are some strong winds at my place, I wanted to be sure nothing would move... And, well, I believe this could take an earthquake.
I don't have a lot of pictures of the assembly process, but here on the bottom left, you can see the column drill I used to drill down perfectly square into the posts ; in the corner, you can see the bottom of one of the posts, drilled, with its four long bolts in place.

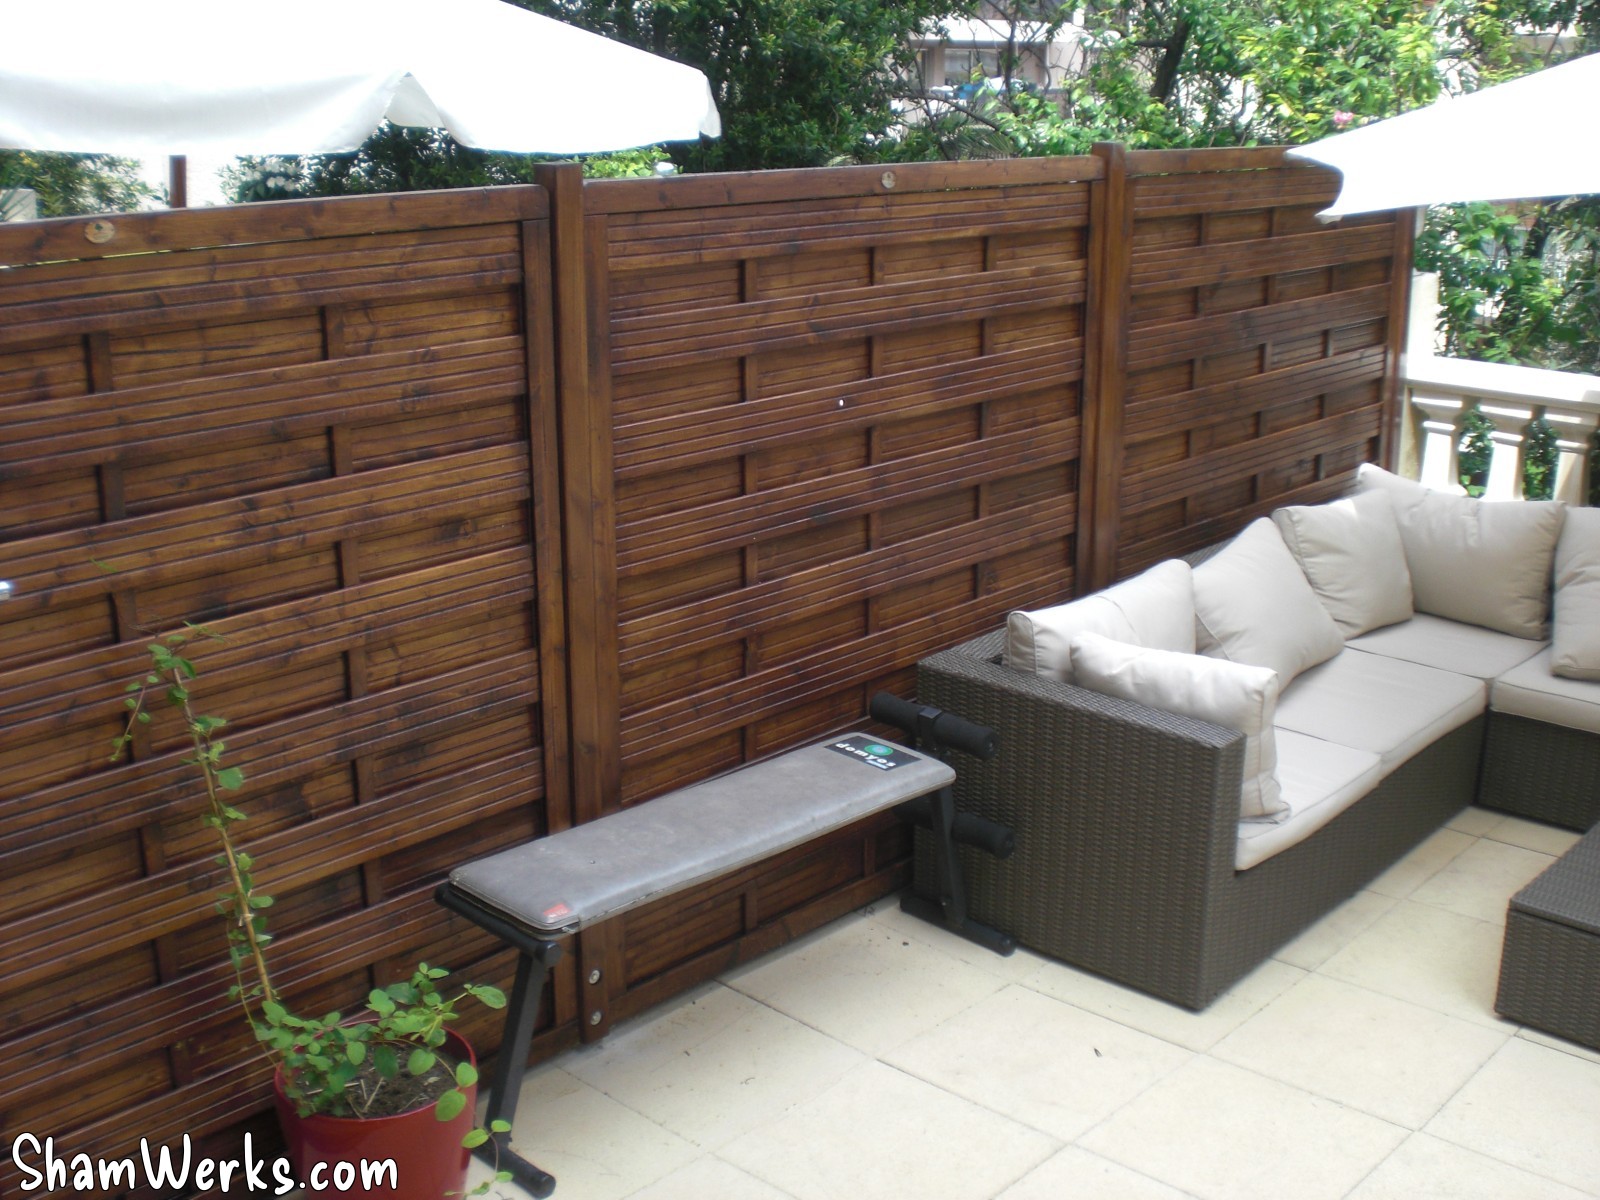
Here we are! It took me way longer than expected, but I really wanted to make sure it would last long. And some details take a looooong time to achieve, like the modification of the left panel : narrowing and notching to deal with the step...