

Posted on 09/02/2007 at 17:35
Nano Paludarium V2 : building the background
 My first nano-paludarium (femto would be more correct) being quite successful, I'm building another one, a little bit more complex... I definitely like this idea of "bonsaï paludarium"!
 The main idea is to make it just a little bit bigger, while still keeping it aesthetic. Here are the specifications for this baby :
- Background made of extruded polystyrene foam (like Styrodur©, or Styrofoam©) with a waterfall,
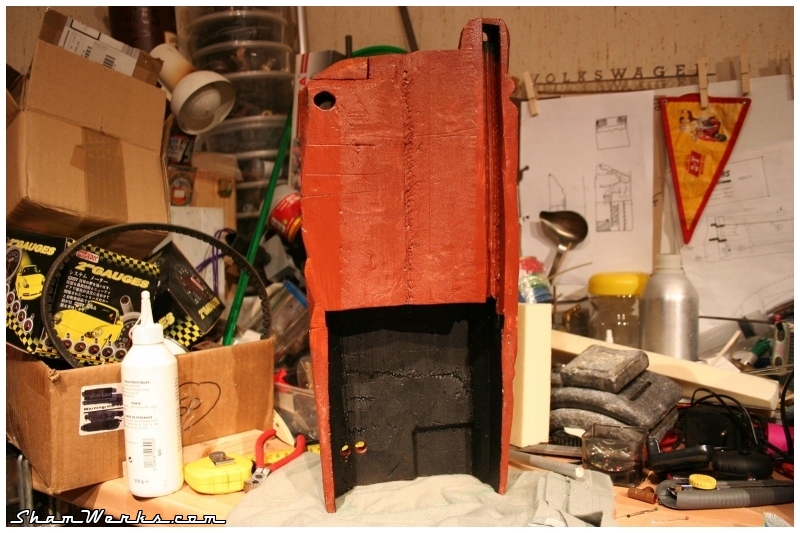
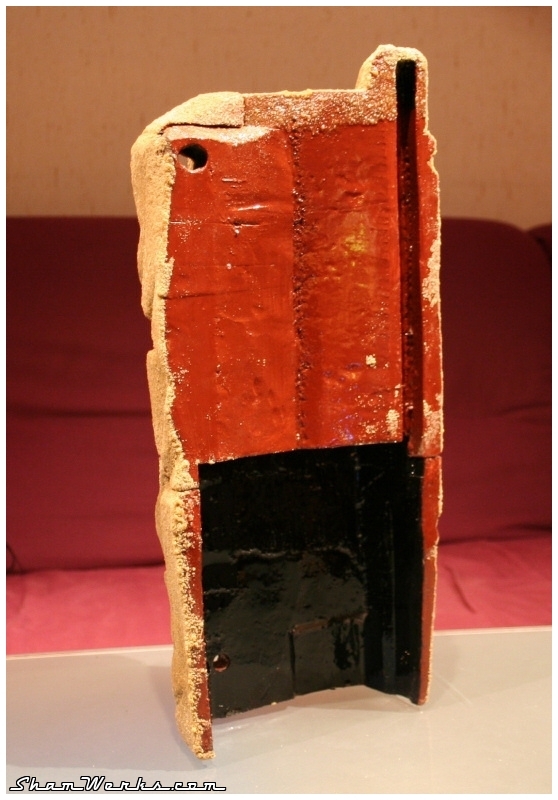
- Pump and filter integrated into the background,
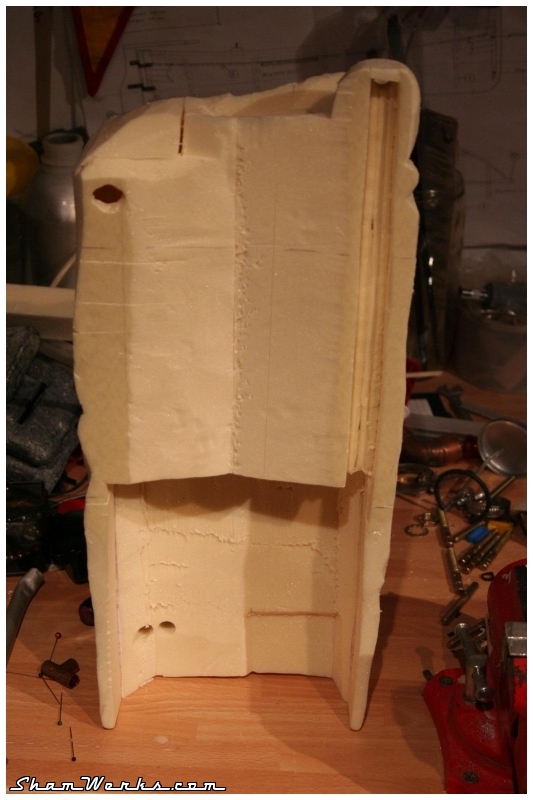
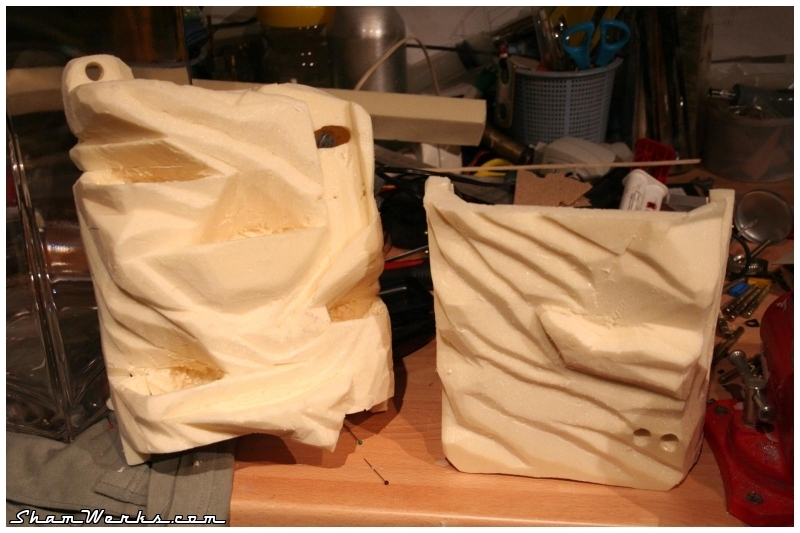
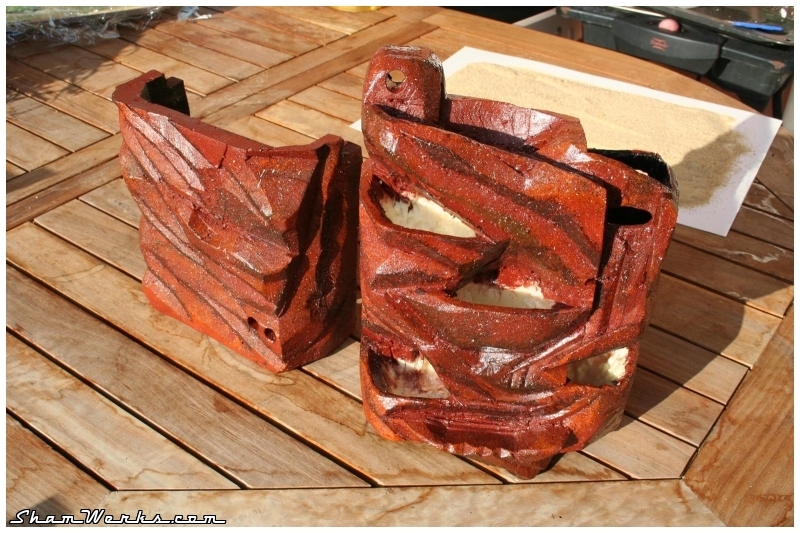
- Allow background disassembly for easier pump/filter maintenance,
- Fogger integrated into the background,
- Not a single visible wire.
The pump is obviously necessary for the waterfall, but by adding a filtering system, I should keep the water clean... So I expect I'll be able to add some fauna : one or two shrimps, maybe a Betta... Well, this will be a much later concern!
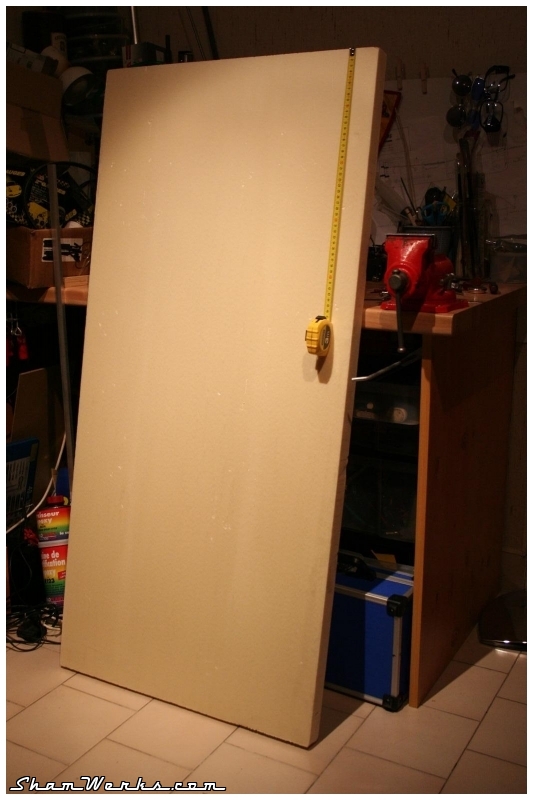
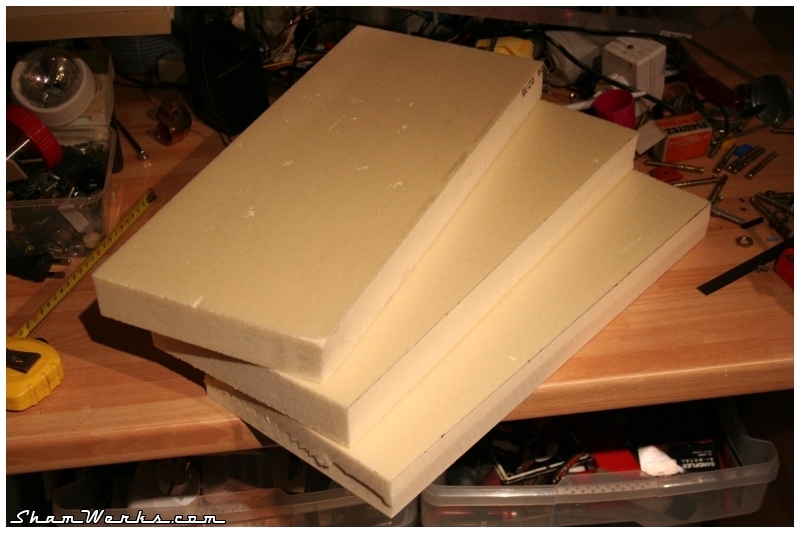
Here we go, first step, building the background. I've made a test with some spray-can expansive foam, but the result was just crap (intern structure way too heterogeneous)... Grand cleaning of the tank, and starting again from scratch using several polyurethane isolating 40mm thick panes glued together:
 |
 |
 |
 |
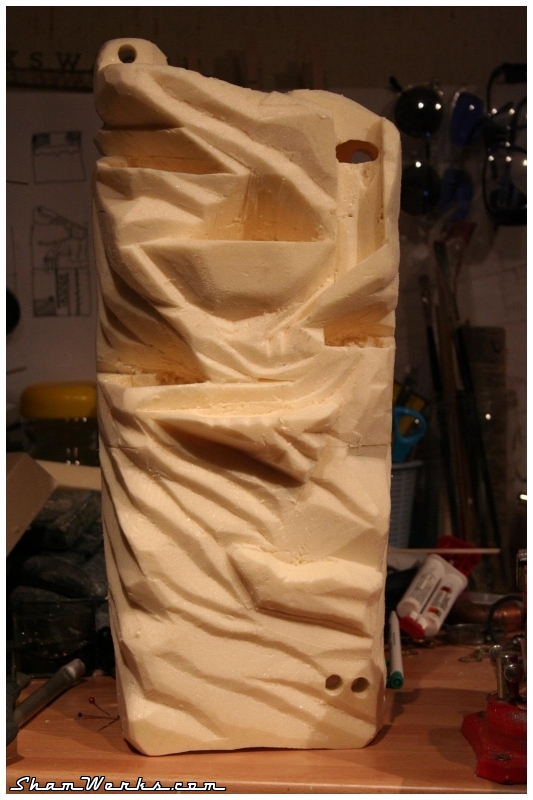
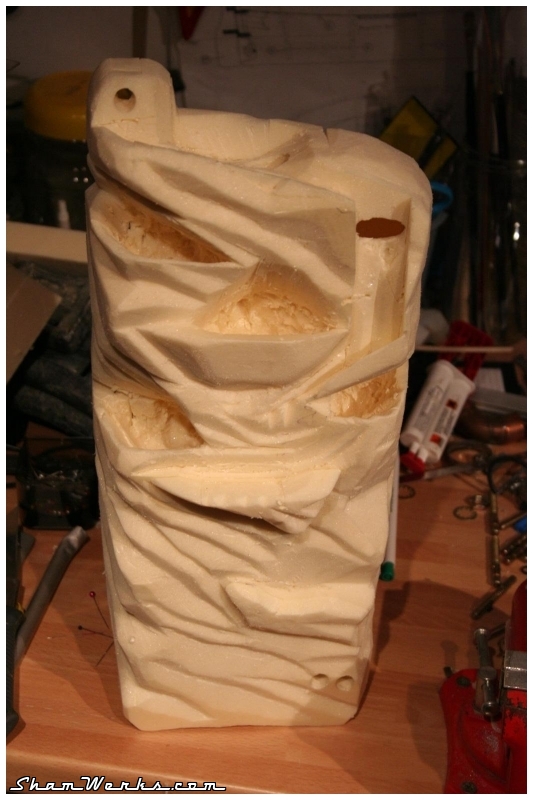
Sculpture :
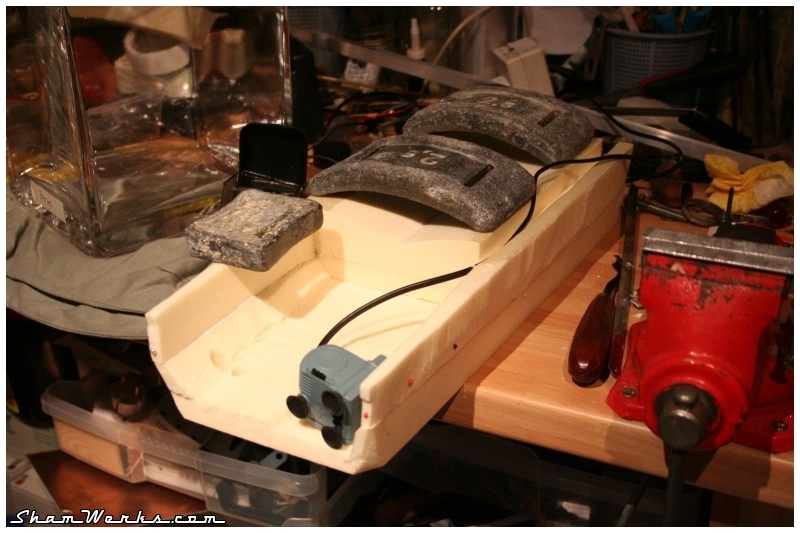
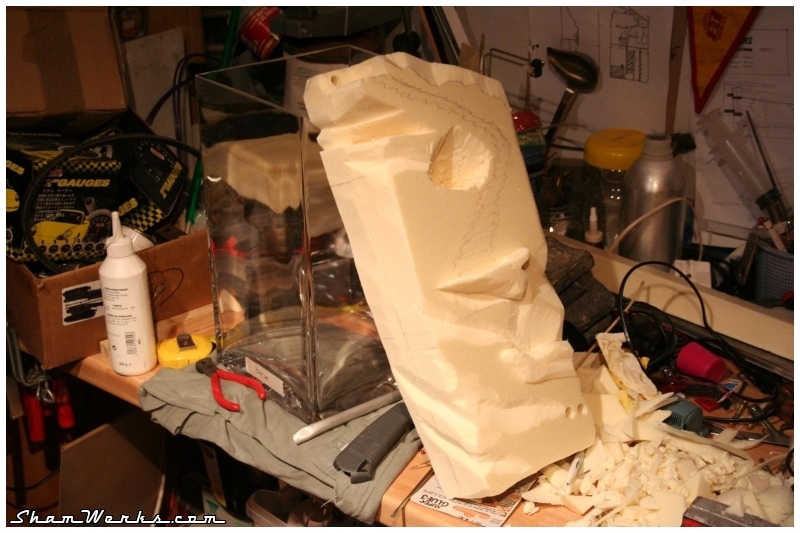
The tough job, you guessed it, is carving the form out of the extruded polystyrene foam, making it as realistic as possible.I've tried using several different tools, but looks like only two of them actually do work fine : first, a cutter with a brand new blade (important), second, a piece of aluminium tubing on which I filed sharp one end, using it as a die cutter. This is very efficient to make round holes (for cabling, water input/outputs, etc...), but as well to dig the larger holes for the plants.
Beside the littles pieces of foam sticking to you fingers because of static, this is a pretty pleasant to work with material, it even gave me a lot of ideas for future projects...
Whatever the method you use, the final objective is to get a natural aspect, i.e. a chaotic surface, without any flat part from the original polystyrene pane left... In my case, this process took me more than 4 hours of work! Don't hesitate gluing more blocks onto your background, adding more relief to it, making the whole thing more irregular and natural..
 |
 |
 |
 |
 |
 |
Paint job :
Now that the form is carved out, let's paint it. It allows having a background color, and making the whole thing "cleaner"... Acrylic paint, a brush, and go!Well, on my side, I over-did it : reflections, highlights, shadows, etc... But finally all this will disappear with the final step!
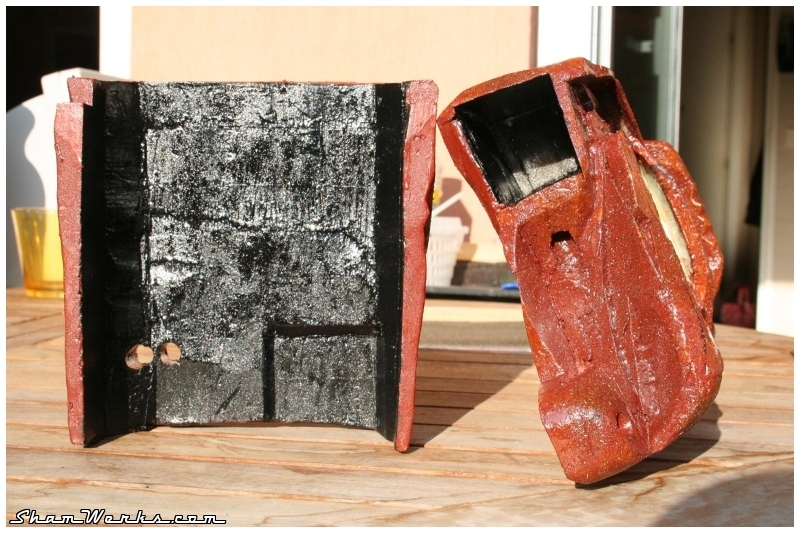
Resining :
Next step is resining : the whole form is coated with epoxy resin (do not use polyester resin, the extruded polystyrene foam would melt). Three to four coats of resin will be necessary to avoid water from getting in contact with the foam : indeed, when in presence of water, this later releases styrene, a toxic compound for fauna and flora in the tank...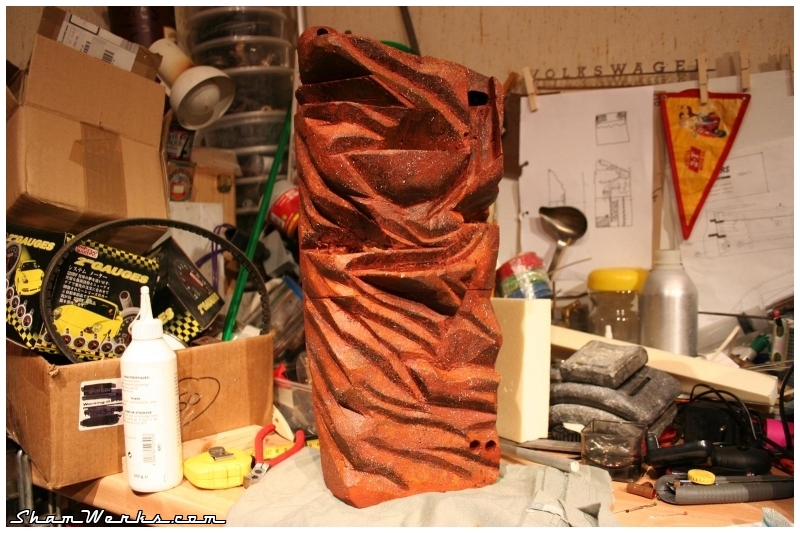 |
 |
 |
 |
 |
 |
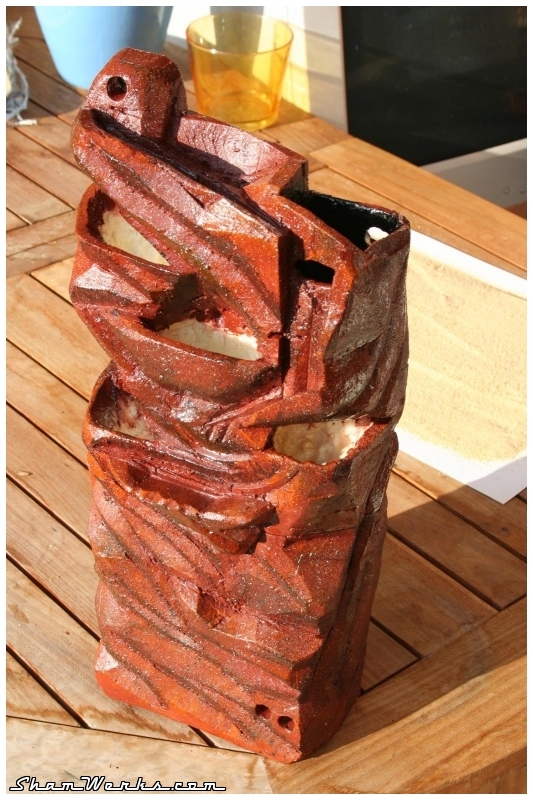
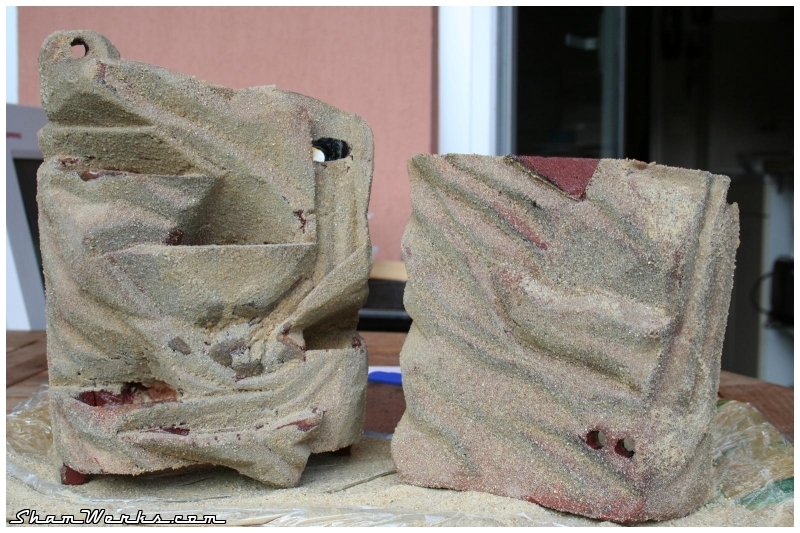
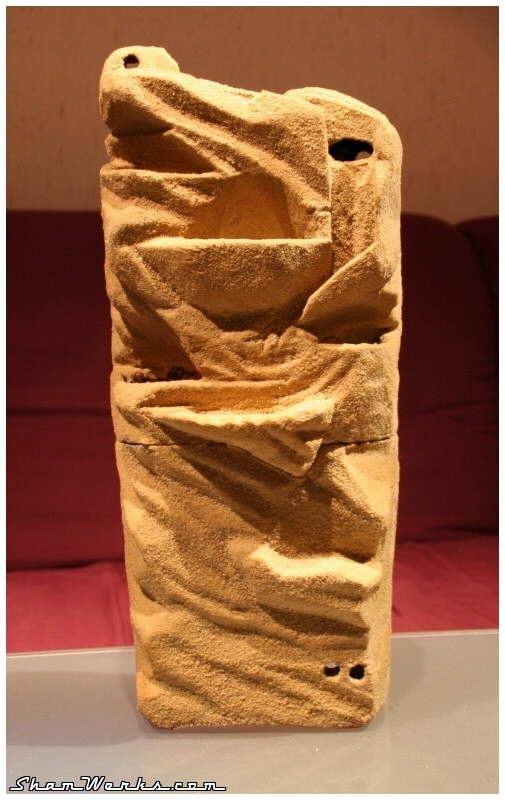
Sanding :
Last step : sanding.When I brush the latest coat of resin, and before this is dry, I cover it up with sand. It will stick to the resin, the sand giving a "natural stone" look to the realization.
I did two successive sandings, as I was not satisfied with the result after the first one. I sift my sand for the second sanding process, in order to keep only fine sand. Then, you let everything dry, and here it is :
 |
 |
||
 |
 |
 |
 |
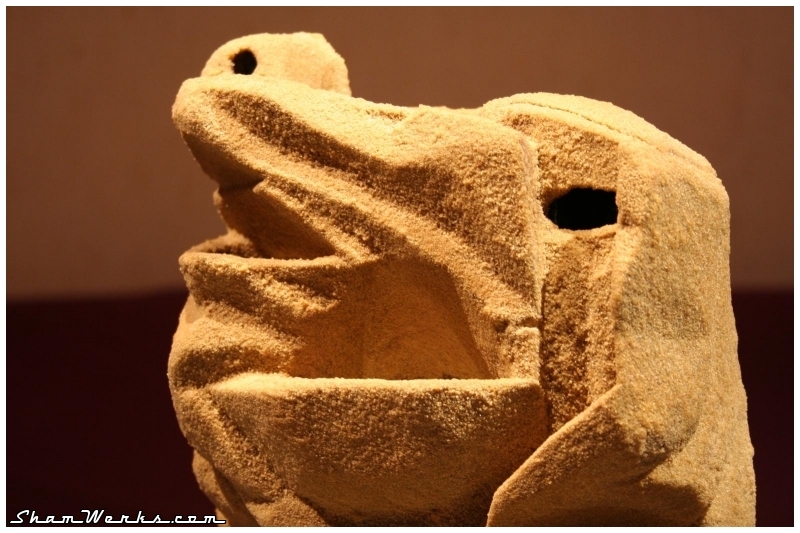
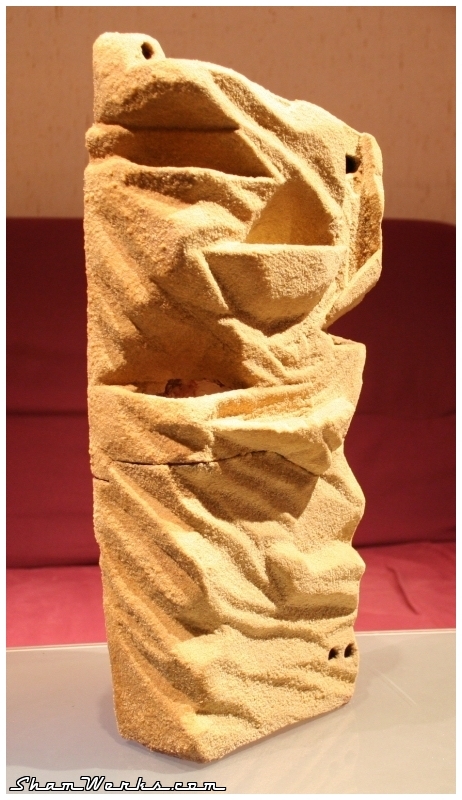
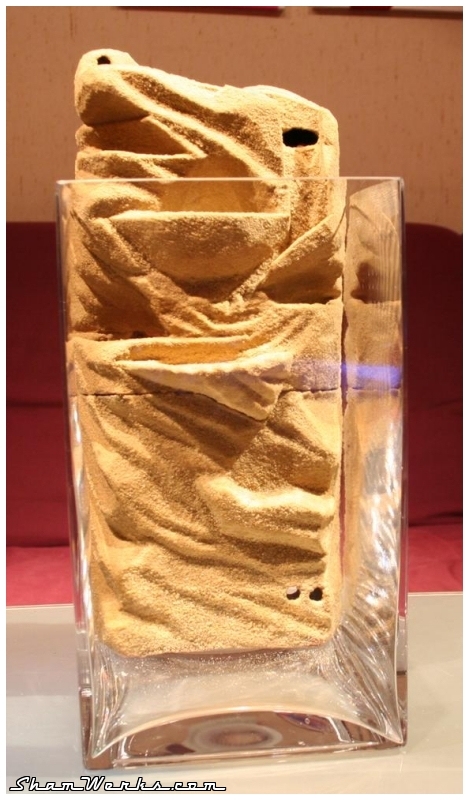
Result :
Here is the final result, dropped into its tank... Phew, looks nice, I did not screw everything! |
 |
 |
Well, now, let's wait a few days for the resin to deeply dry, so that there's no toxic fumes getting out of it... Next, let's integrate all this into the tank, silicon gluing the lower part, building the dividers for the filter...
More to see on next episode!
1