Posted on 21/09/2005 at 10:51
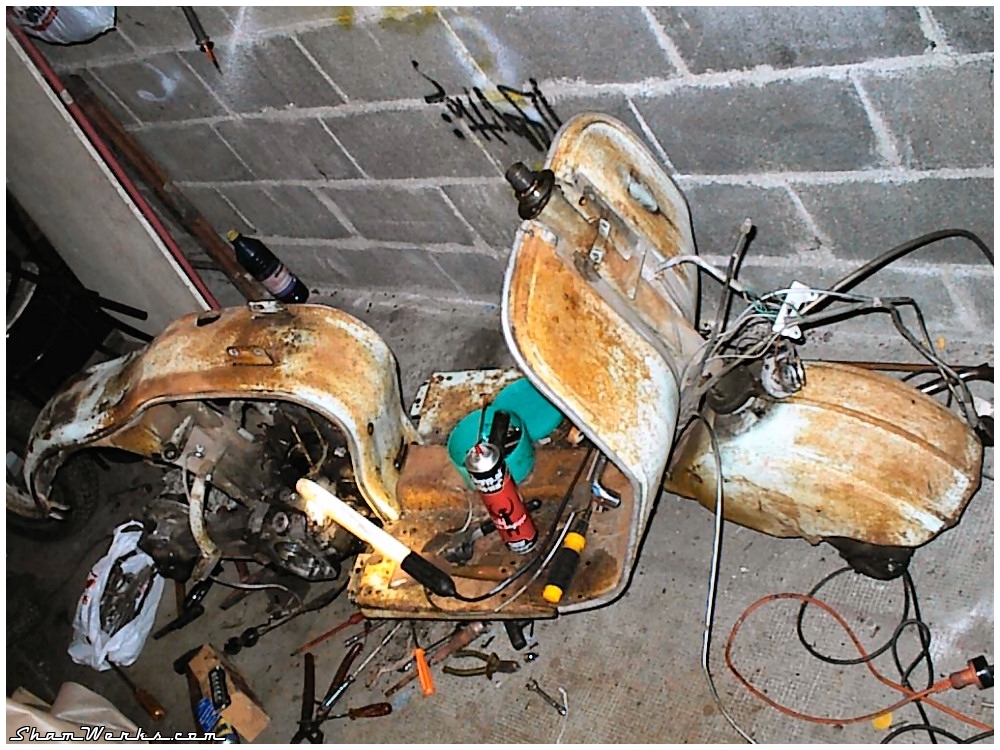
Restoring the frame and the body...

Restoring the frame and the body...
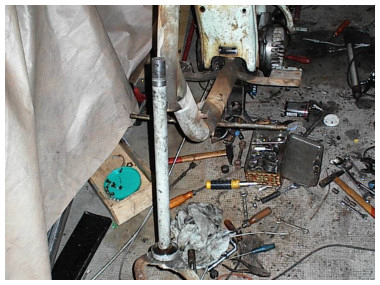
WARNING hen disassembling the fork : there's a ball bearing at the bottom (23 big balls), and a smaller one at the top (31 smaller balls). But all those balls are free, so be careful when opening not to throw them everywhere!
Interesting, the front end is suspended but without any shock absorber (click here to see schema). The rear end has a shock absorber, but this is a feature available only on GL models. On the others, you just keep bouncing...
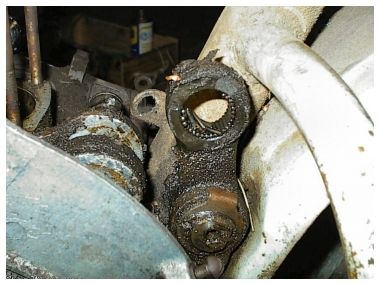
Actually, the rear suspension works on a torsion bar. An arm comes onto it, and an articulation links it to the engine case. Here it is one of those two axis that I've removed...
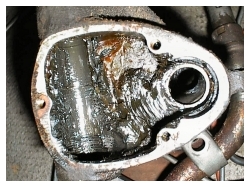
AND THEN! Surprise! As I remove the axis, a bunch of small rolls jump around! Look at the picture (yeah, yeah, behind the greasy stuff, dust and pine needles...) : yes, a cage-less roll bearing! Same joke as with the 2 fork bearings... I manage to find back all of the rolls, but if you have to do this operation, be more careful than I was!
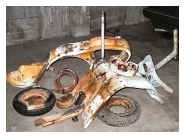
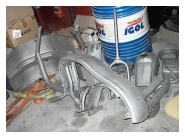
The sandblaster uses tungsten shots, as you can guess, the rust doesn't resist a long time to such a treatment...
Back from sandblasting, all the parts go to the body shop. It's very important not to wait between sandblasting and painting (or at least primering), as the bare metal gets rusty within two/three days (depending on air humidity levels).
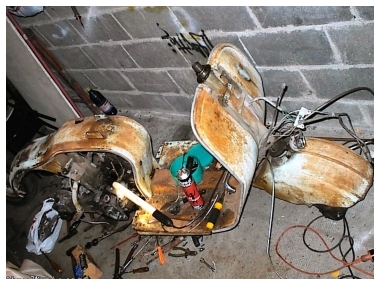
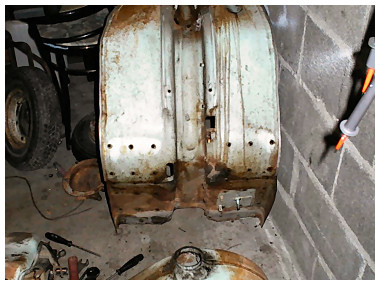
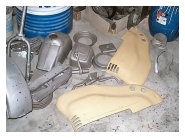
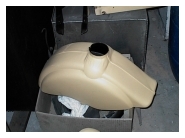
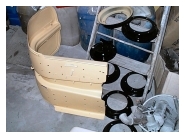
You can see on the pictures the two fenders I bought. They are beige-orange, as they were primered to prevent rust formation.
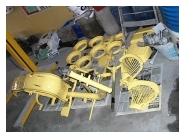
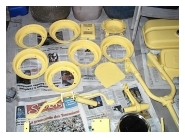
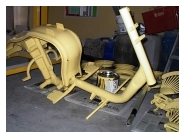
Saturday May 20th, at least, I get back the painted body! That's a Glasurit referenced Yellow (I've got the reference 2L 18CTS 1x030 written on the paint pot, but I'm unsure weither it's related to the actual color shade or not...). Superb... Front fork details / front suspension : before and after.
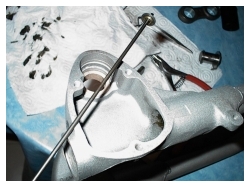
On the left, the suspension box, with the spring, axis and arm removed. The grease is 44 years old, and the tungsten shots from the sandblaster got stuck into it... So I had to make a tool (piano wire with a washer welded onto it) to be able to remove the crappy grease from the fork... Do you think I should make a patent for it?...
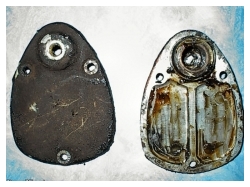
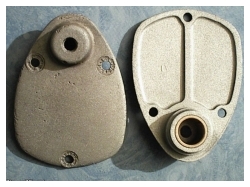
In the middle, the aluminium cover plates. During the 50's, this was the place for funny accessories : logos, etc... I decided to get them chrome plated.
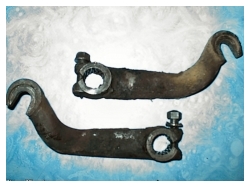
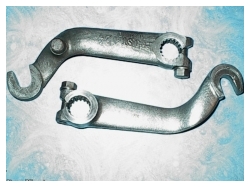
On the right, the two suspension arms. Made of casted aluminium, I polished them!
1


