Rebuilding brakes and pedal assembly
It's all good and well that I've rebuilt the 36HP engine, but hey, I've owned this car for over 25 years now and I've never rebuilt the braking system... 😔
Ok, I'll give you I've not driven that much in the meantime, but anyway, I don't feel secure driving not knowing what I got behind the middle pedal - especially with my almost 4yo son who can't wait to go for a ride! Additionally, the (much too) long immobilization of the car caused troubles, I already had the brakes locking while I was hand-pushing the car around the workshop.
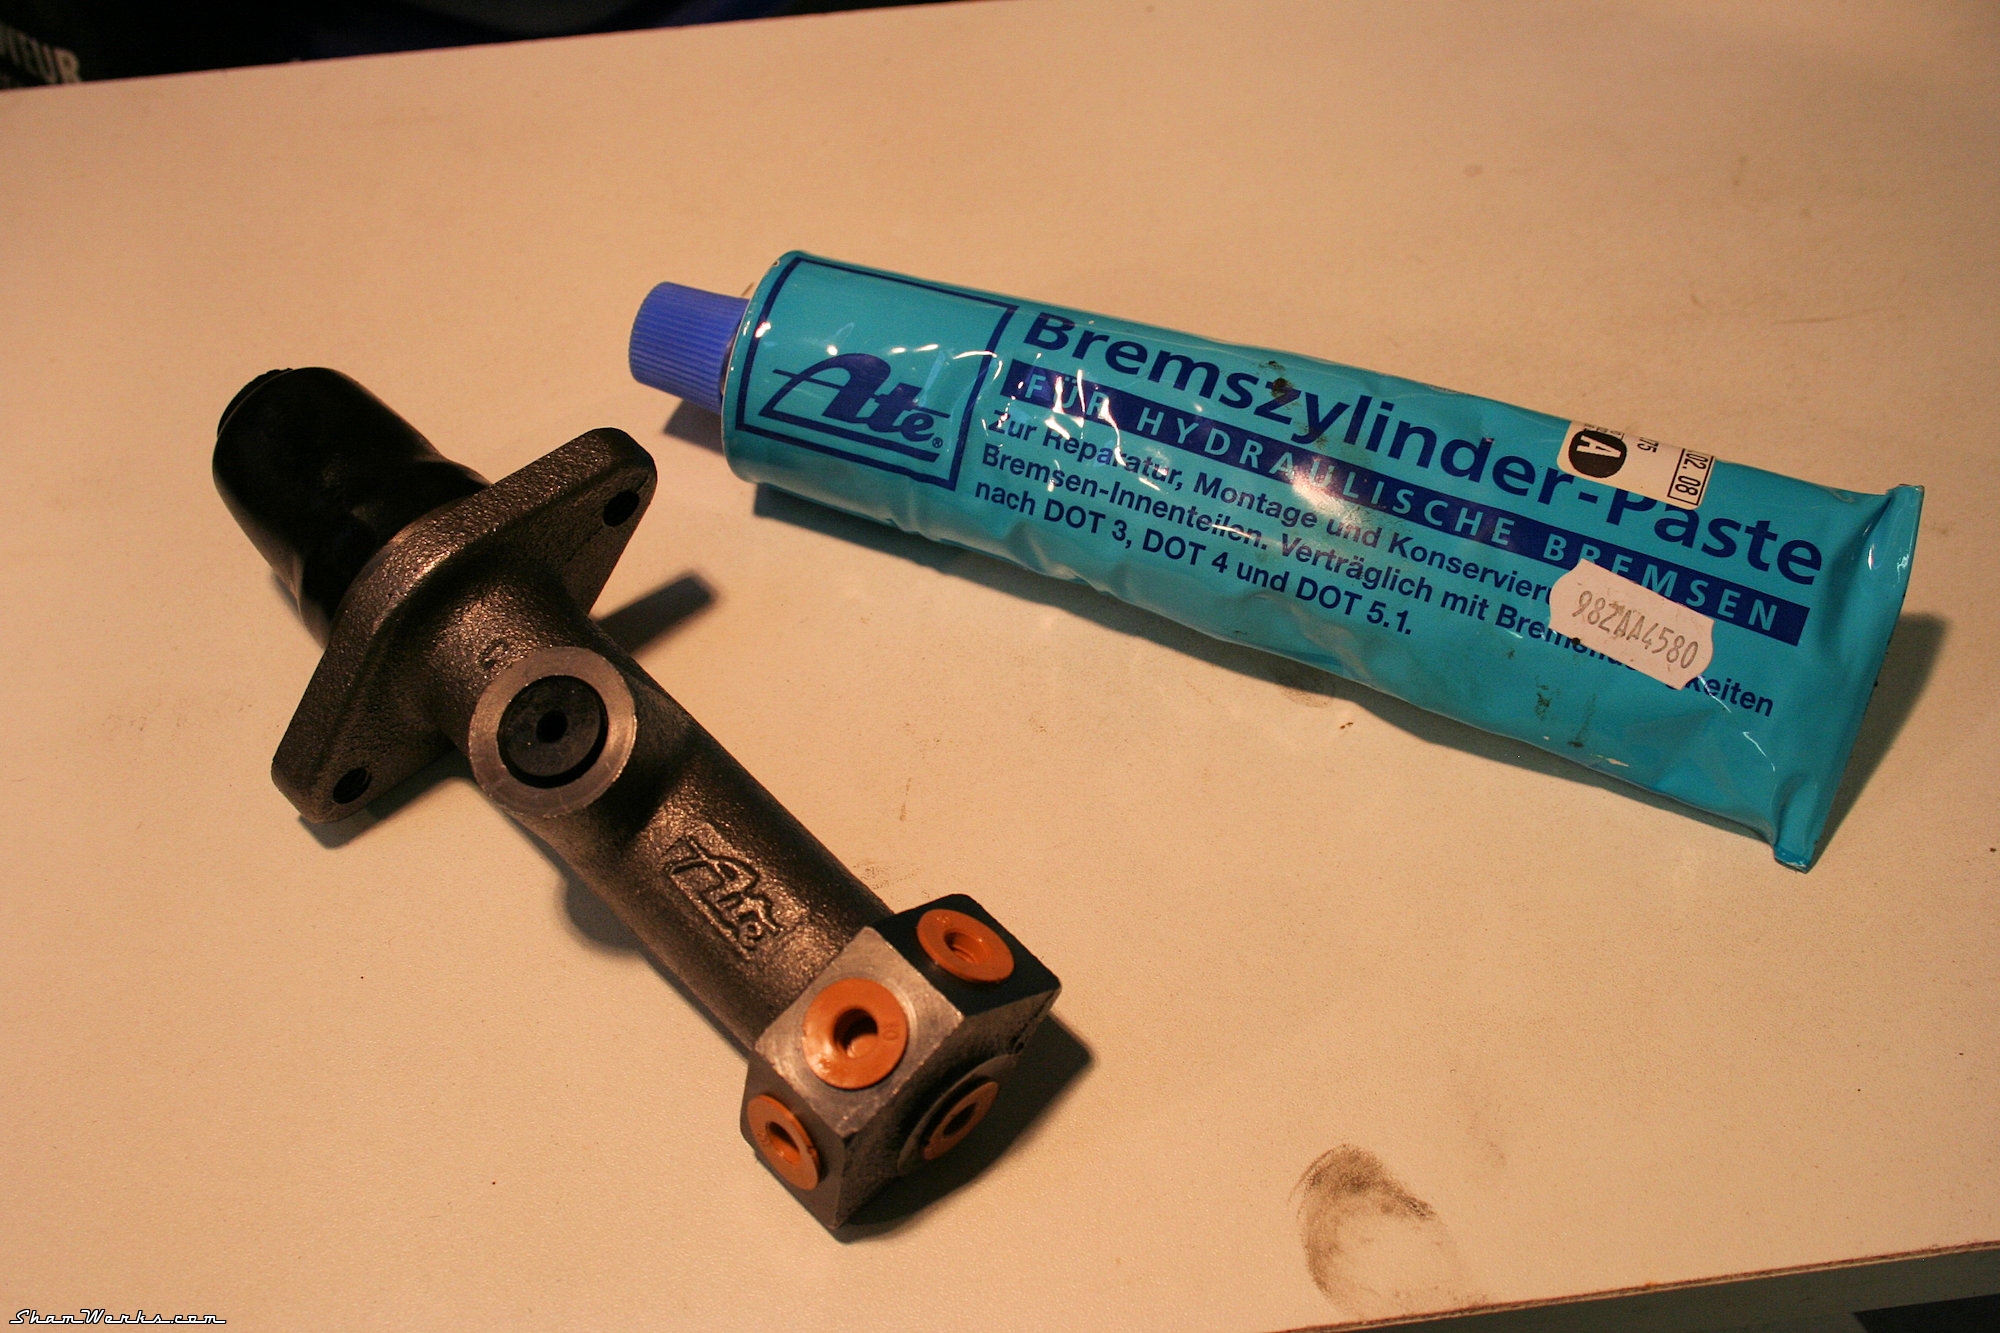
So, here we go, the full Monty, let's rebuild everything new : master cylinder, wheel cylinders, drums, flexibles, shoes, springs... And while we're at it, bearings, and seals.
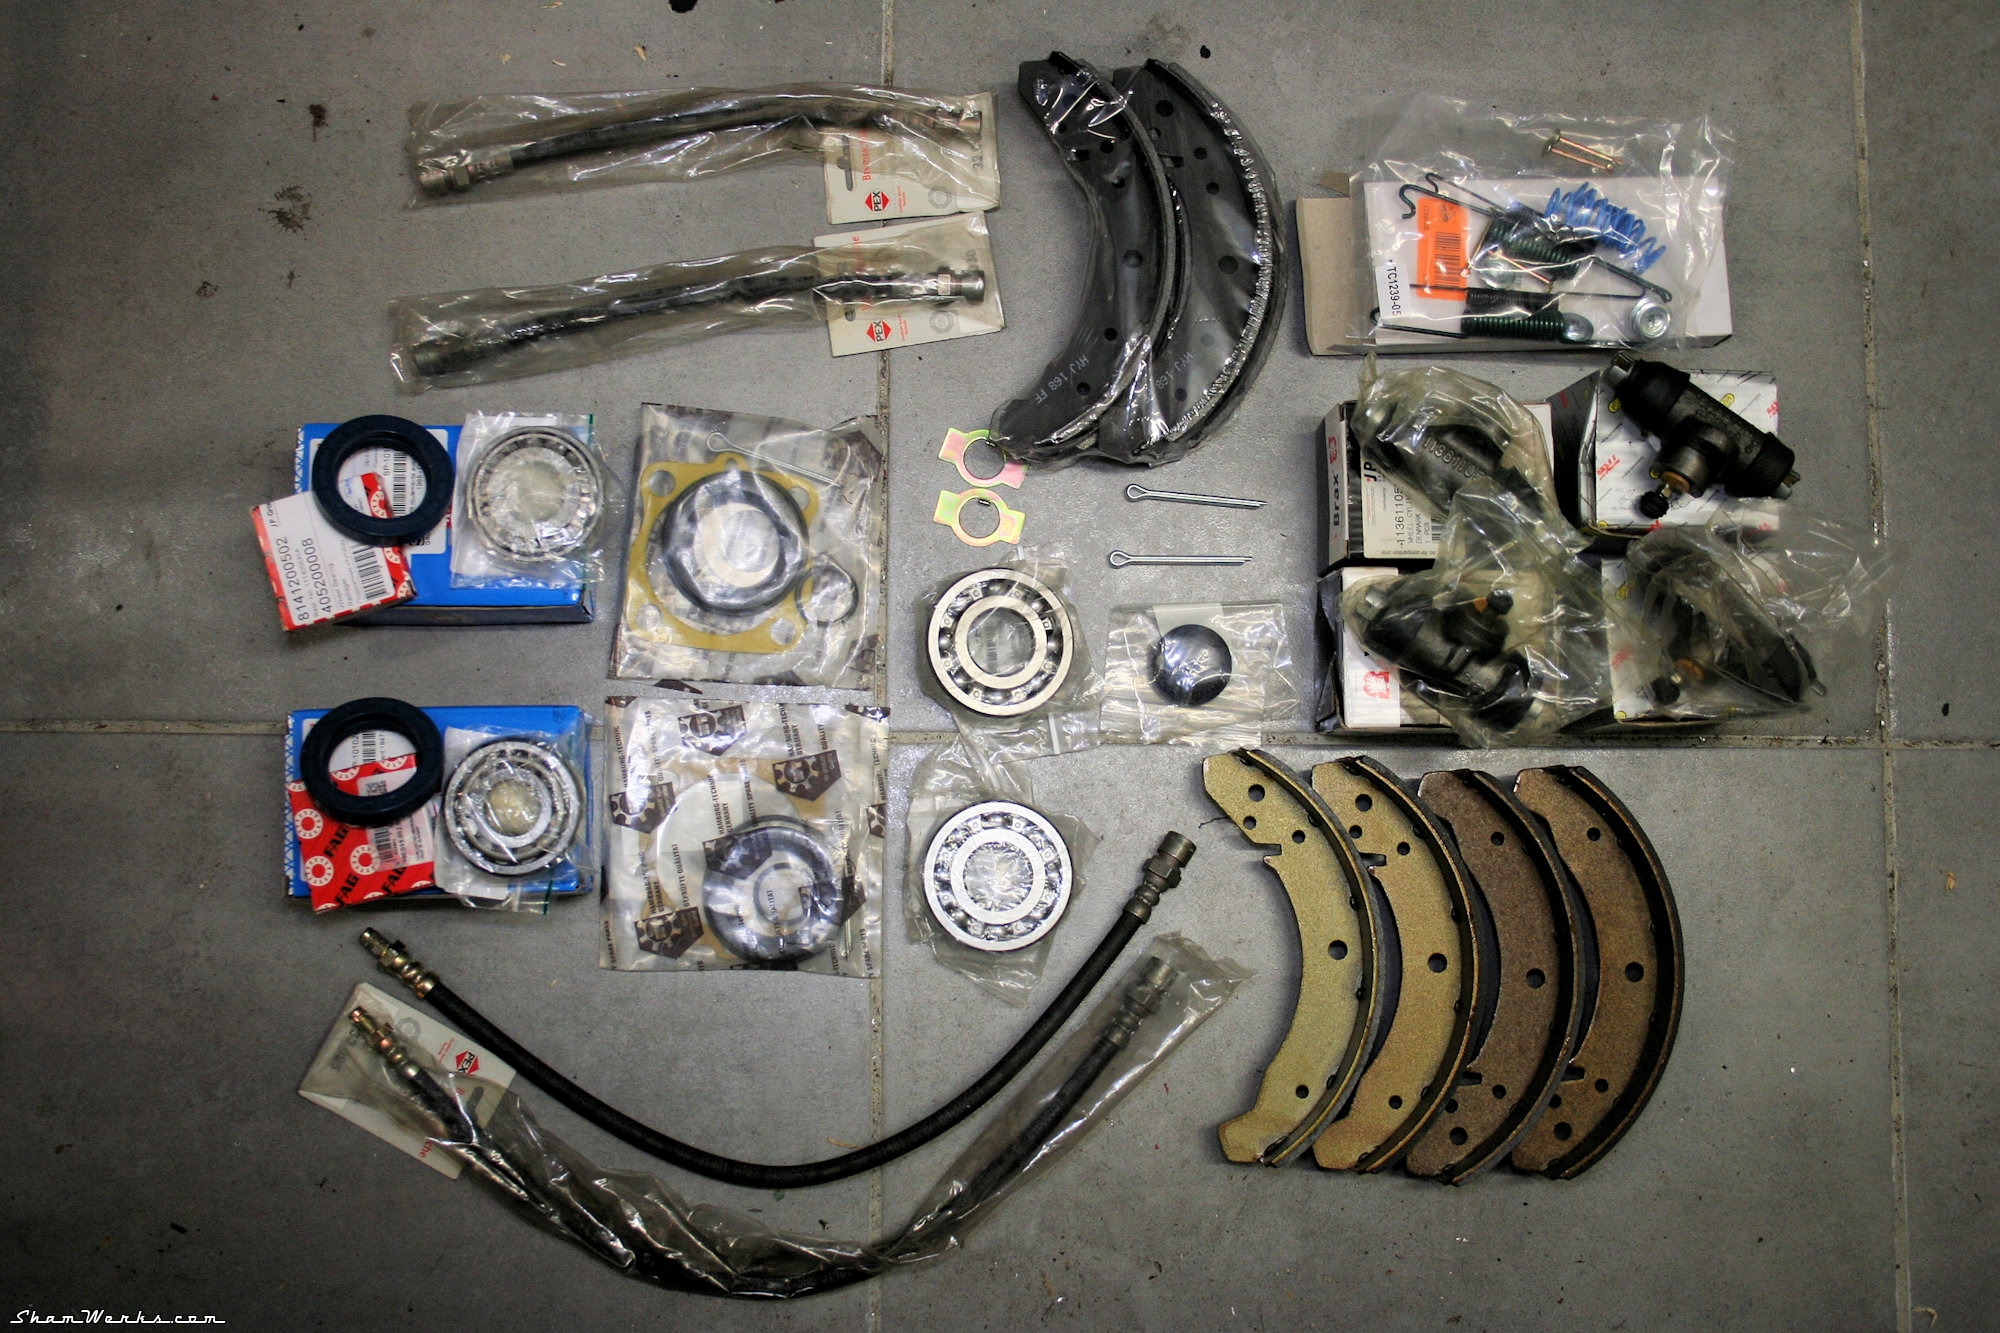
This important as these parts, when stocked for long periods of time, can get "sticky", and not work properly. So yes, that one additional step, but the difference in the smoothness of operation is really worth it.
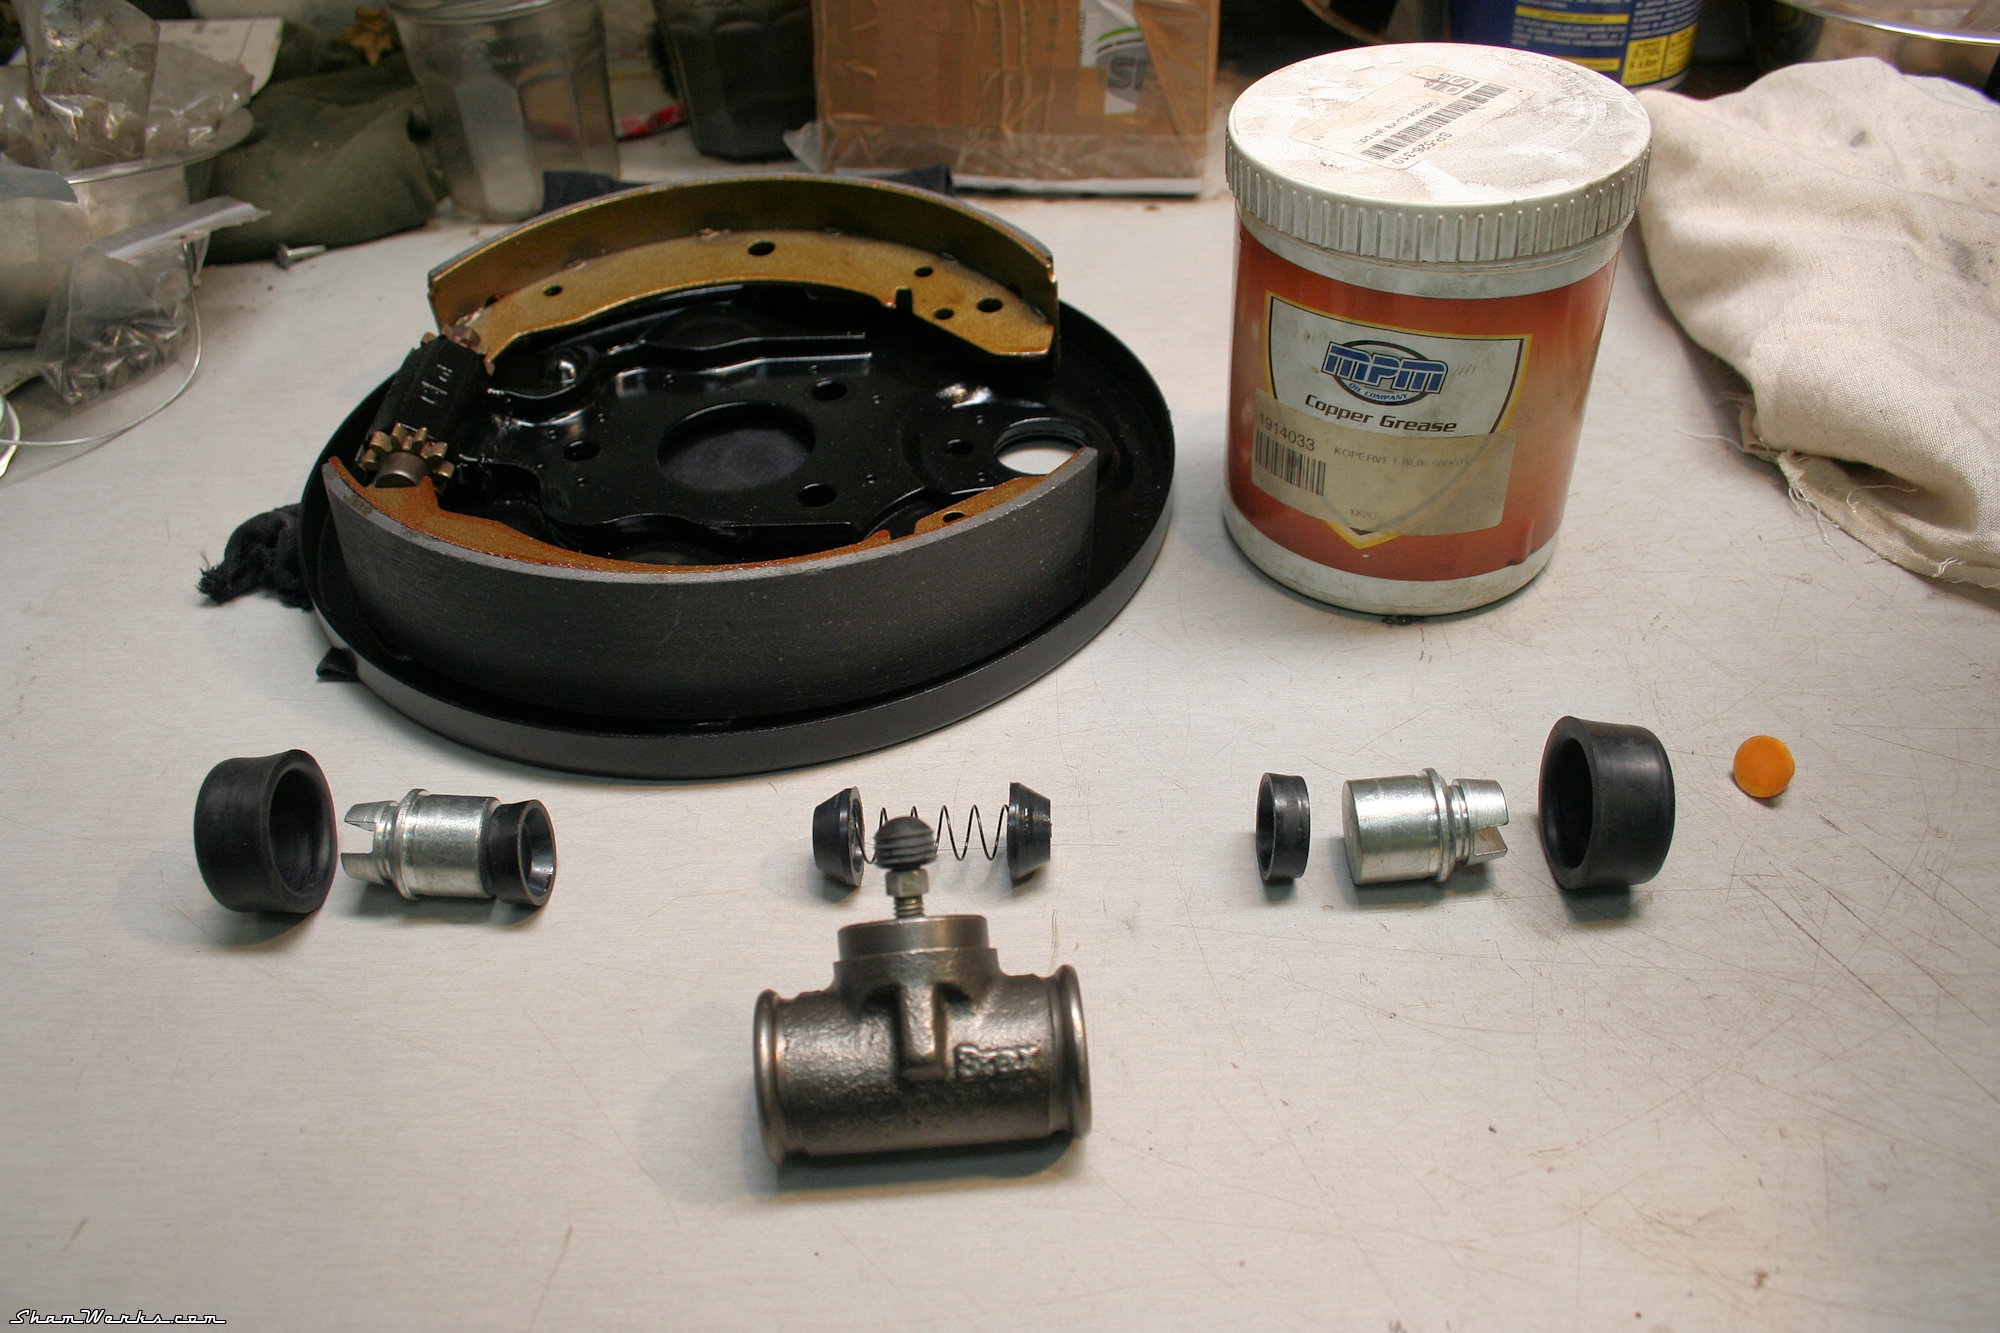
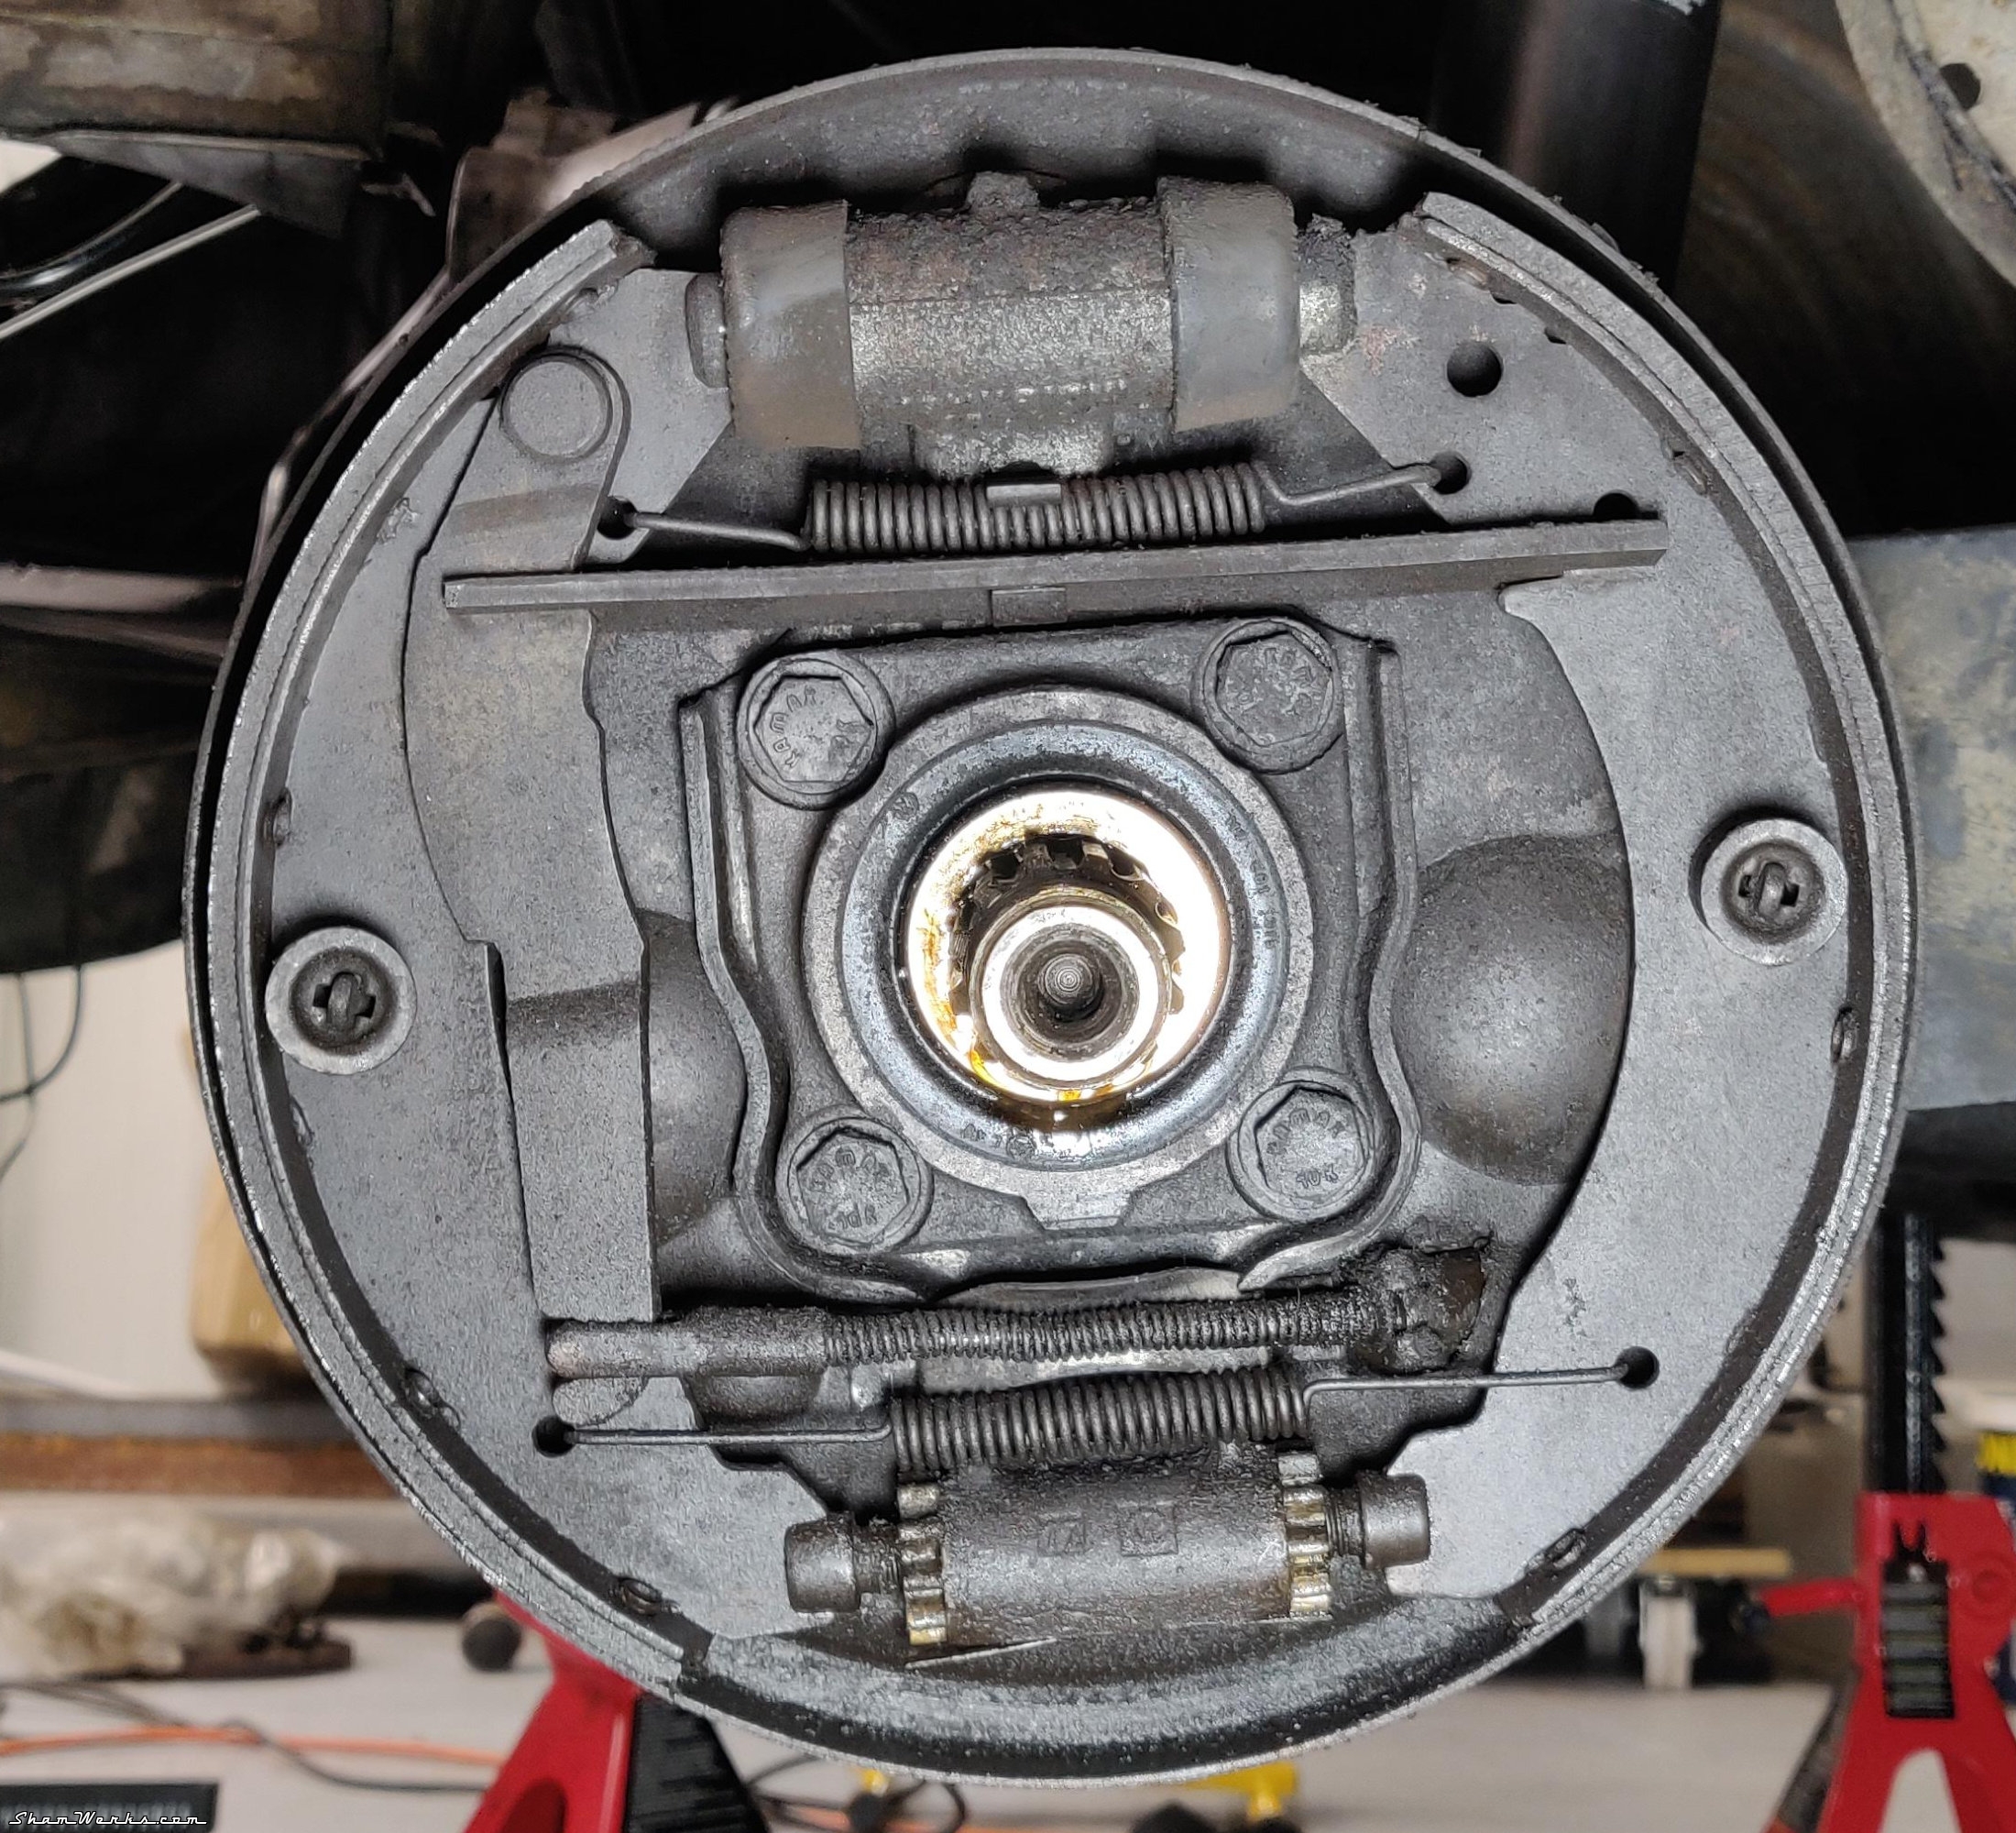
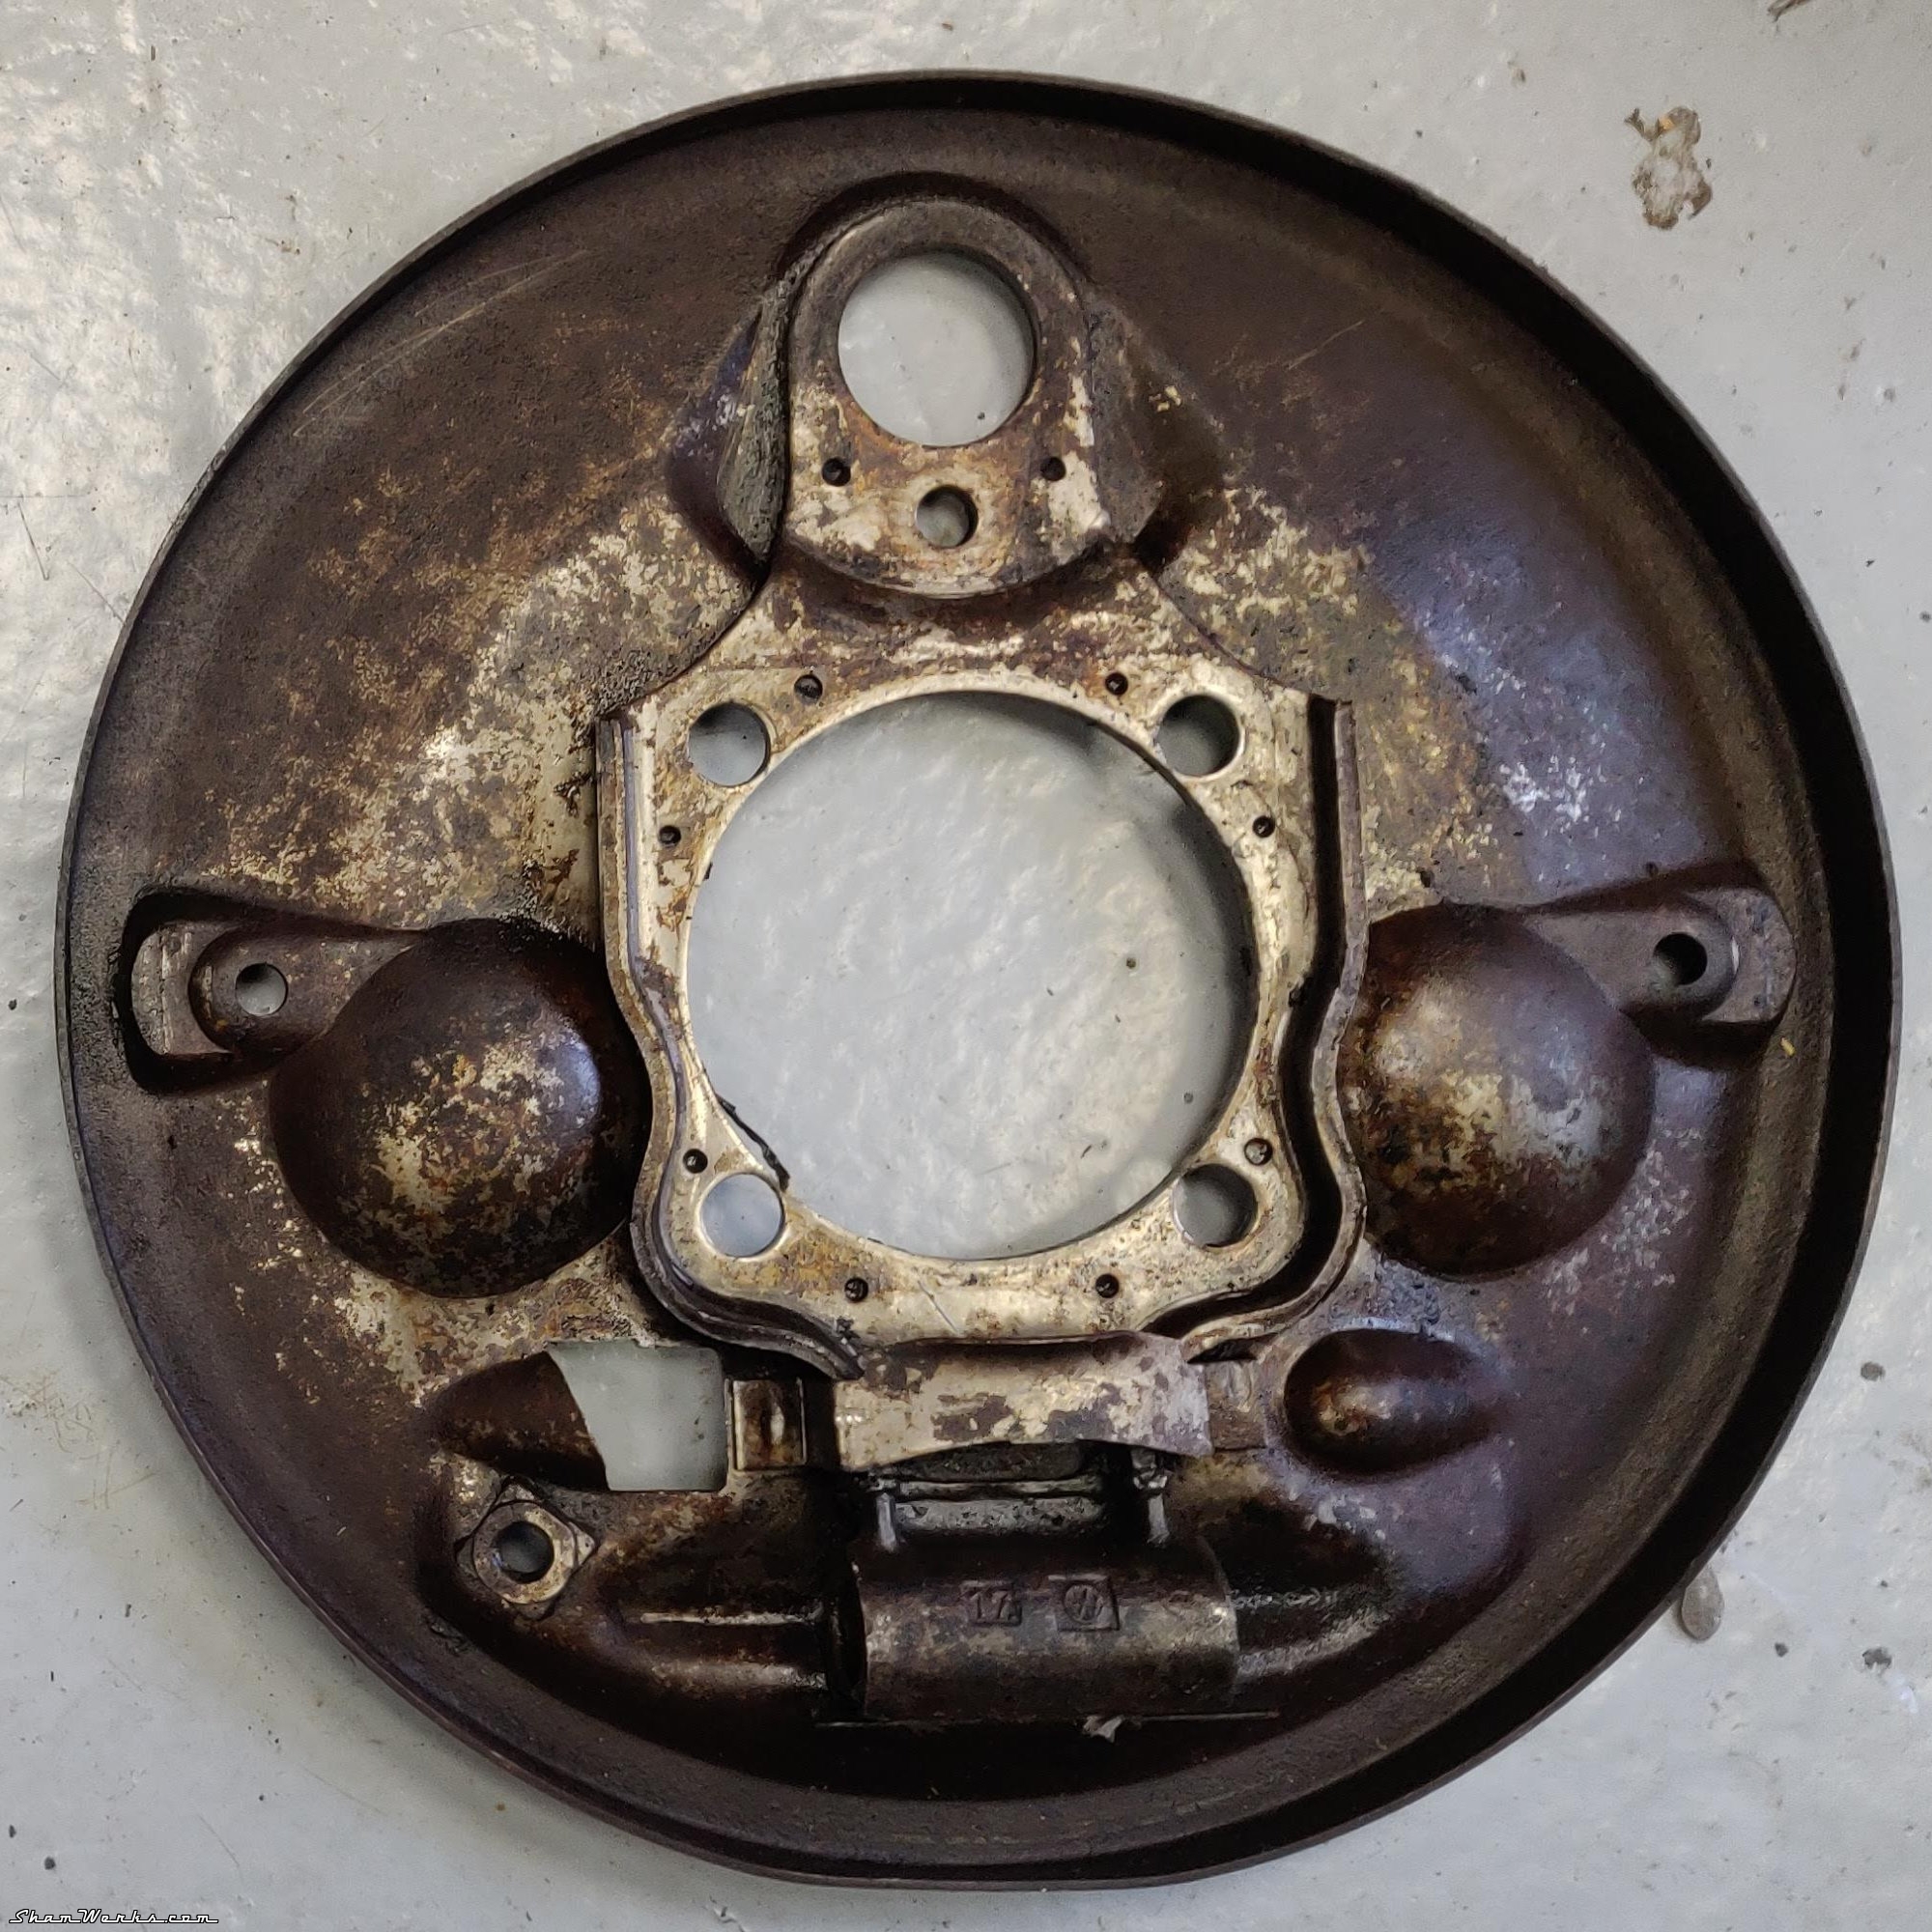
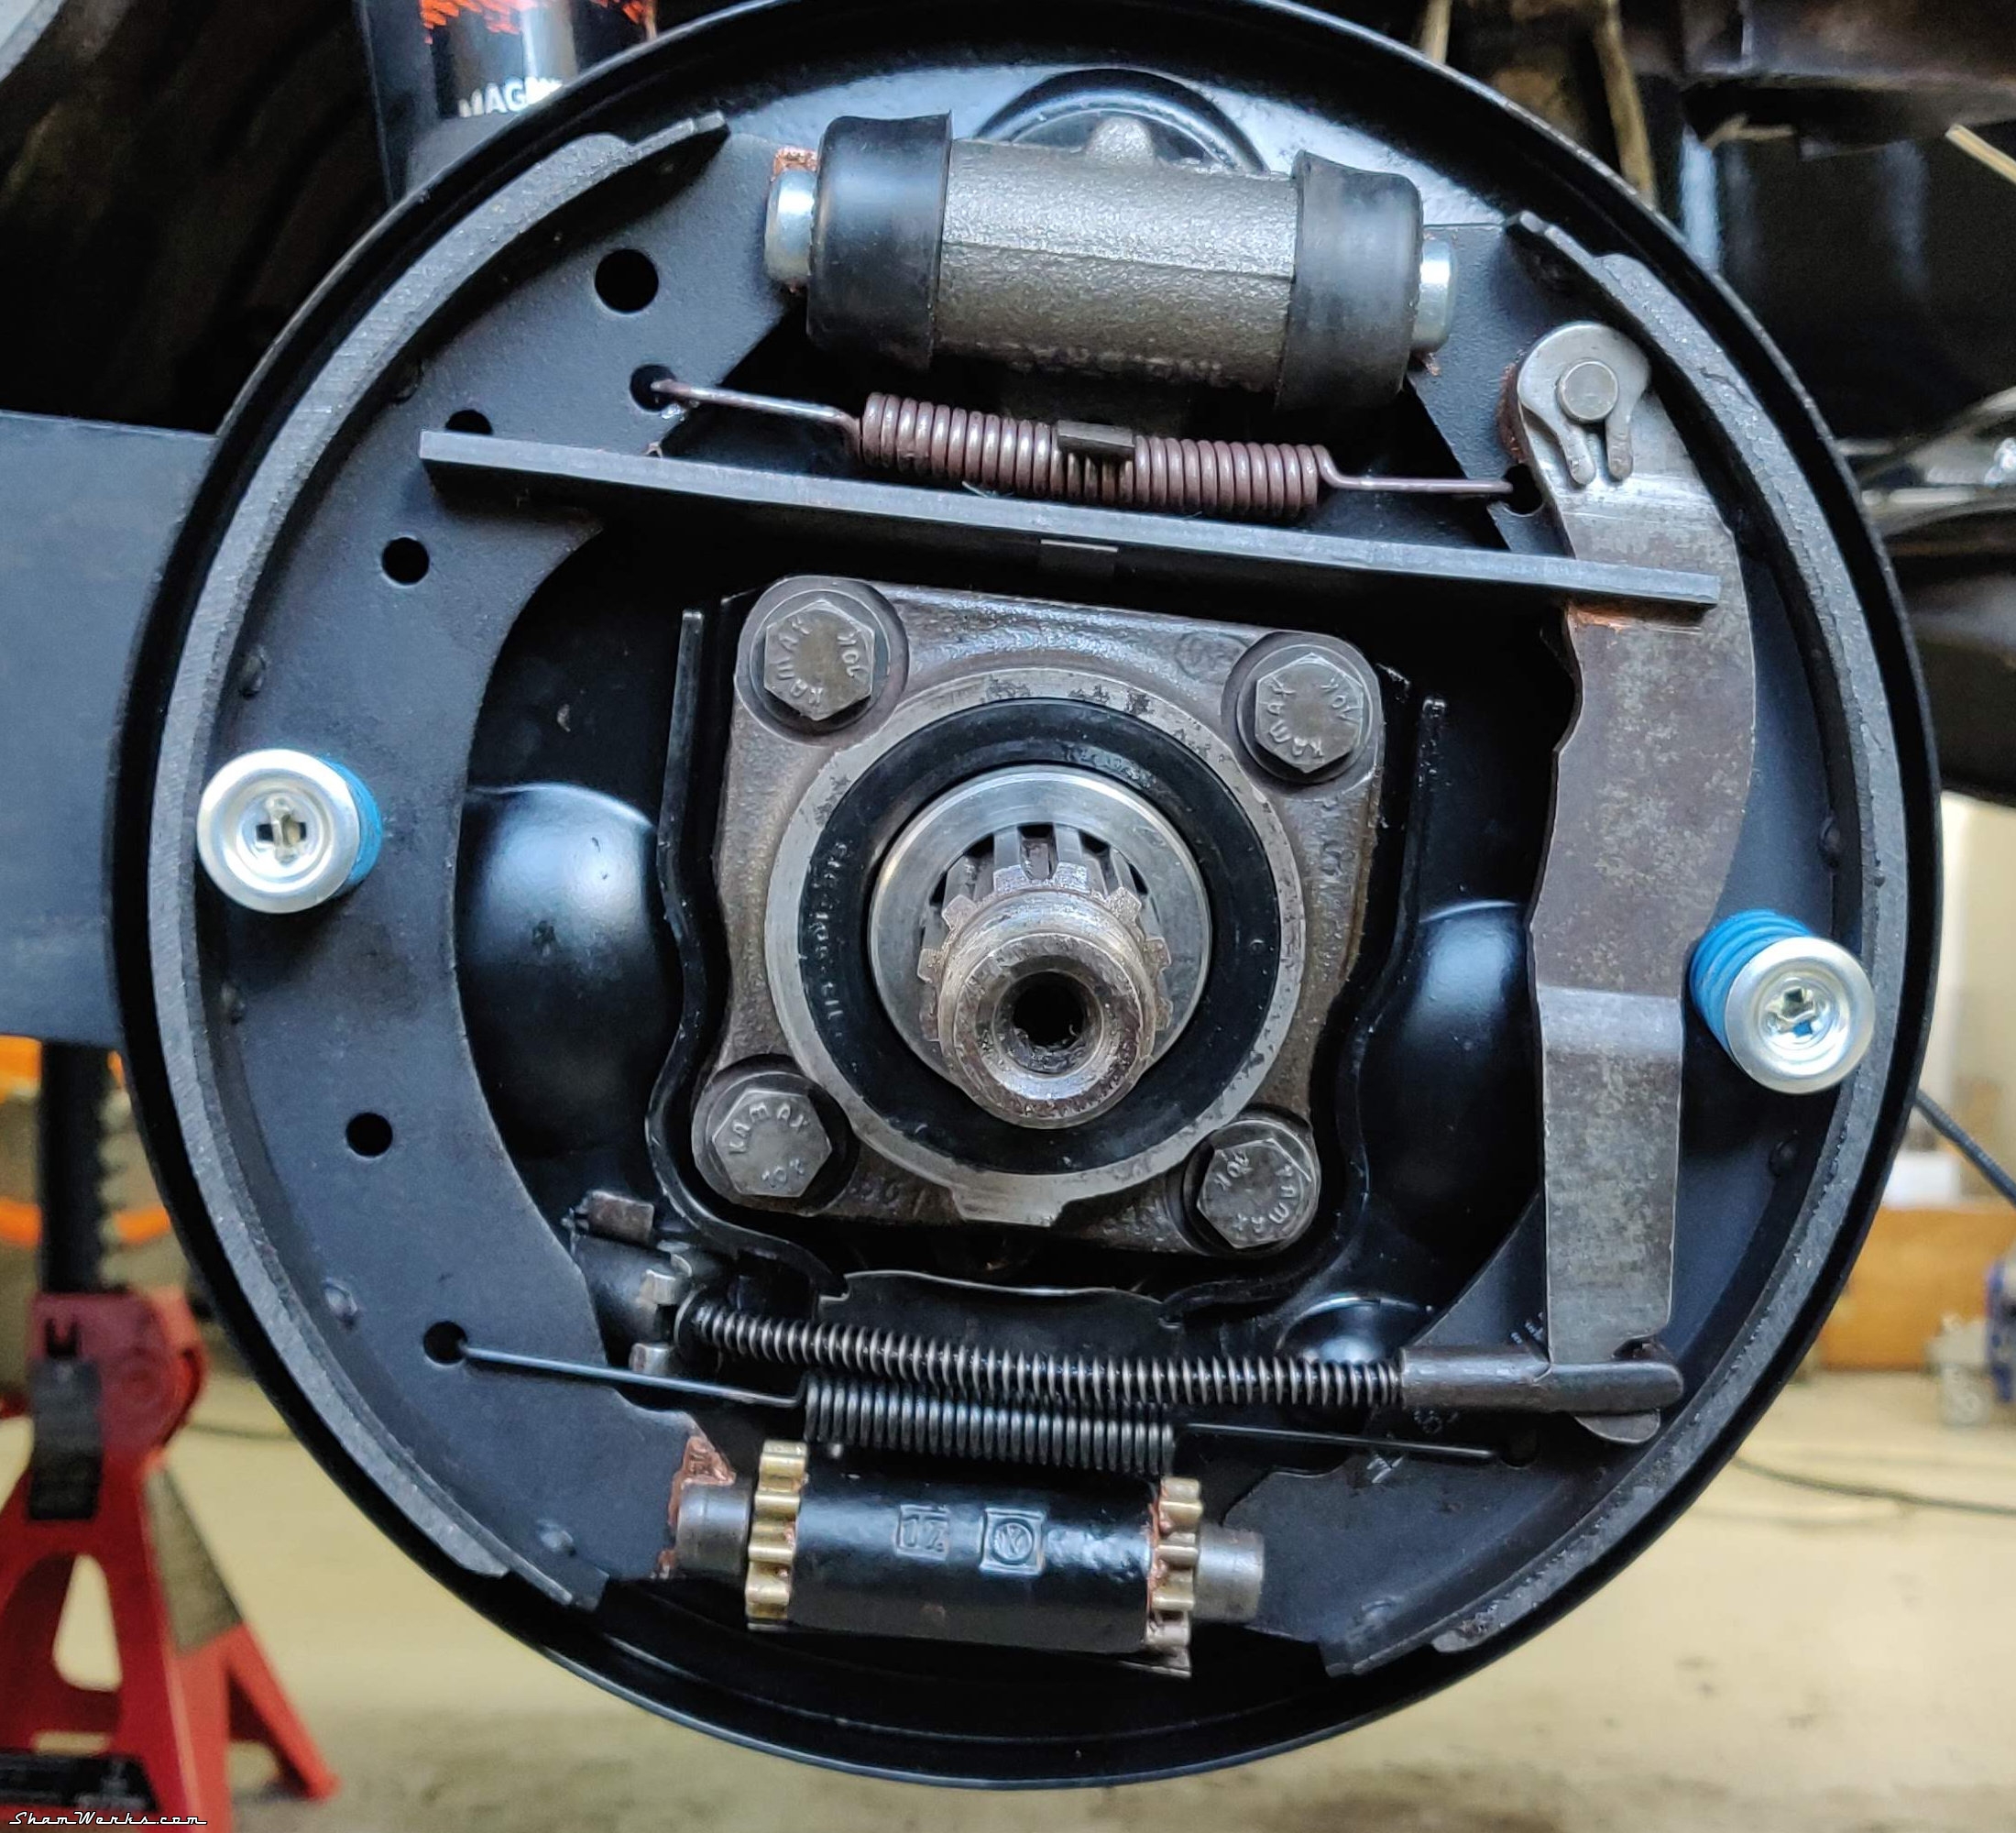
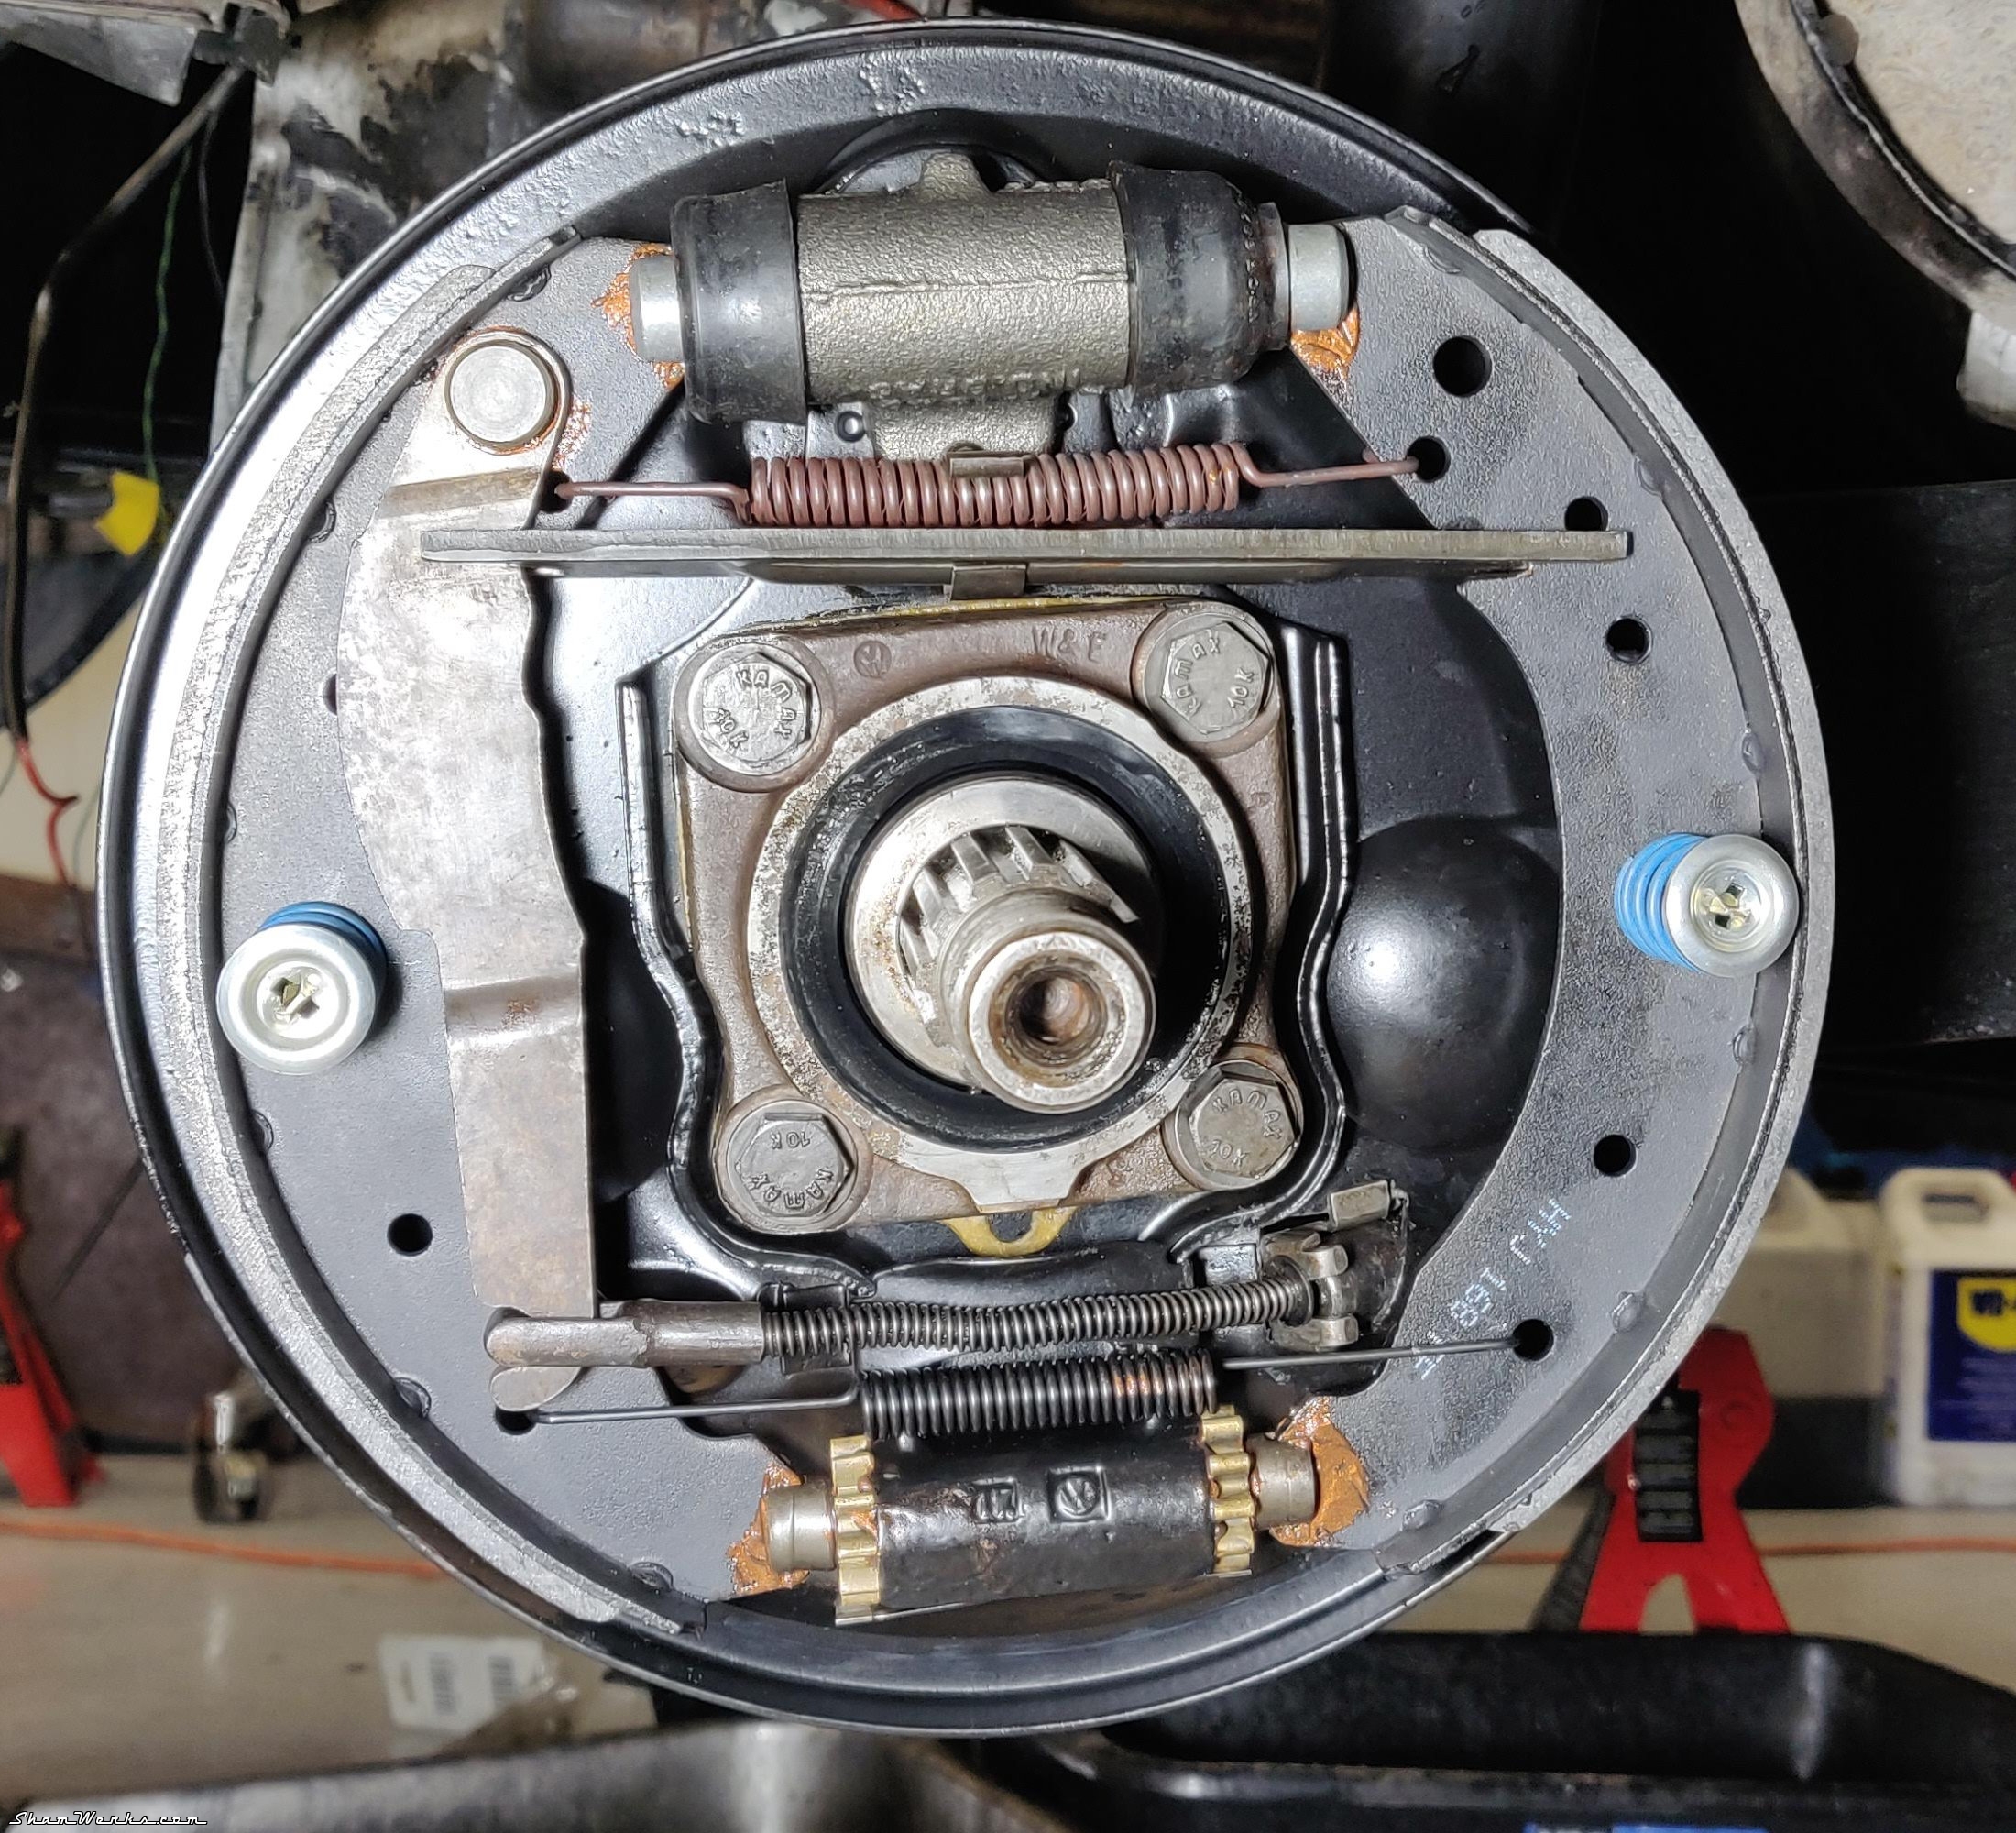
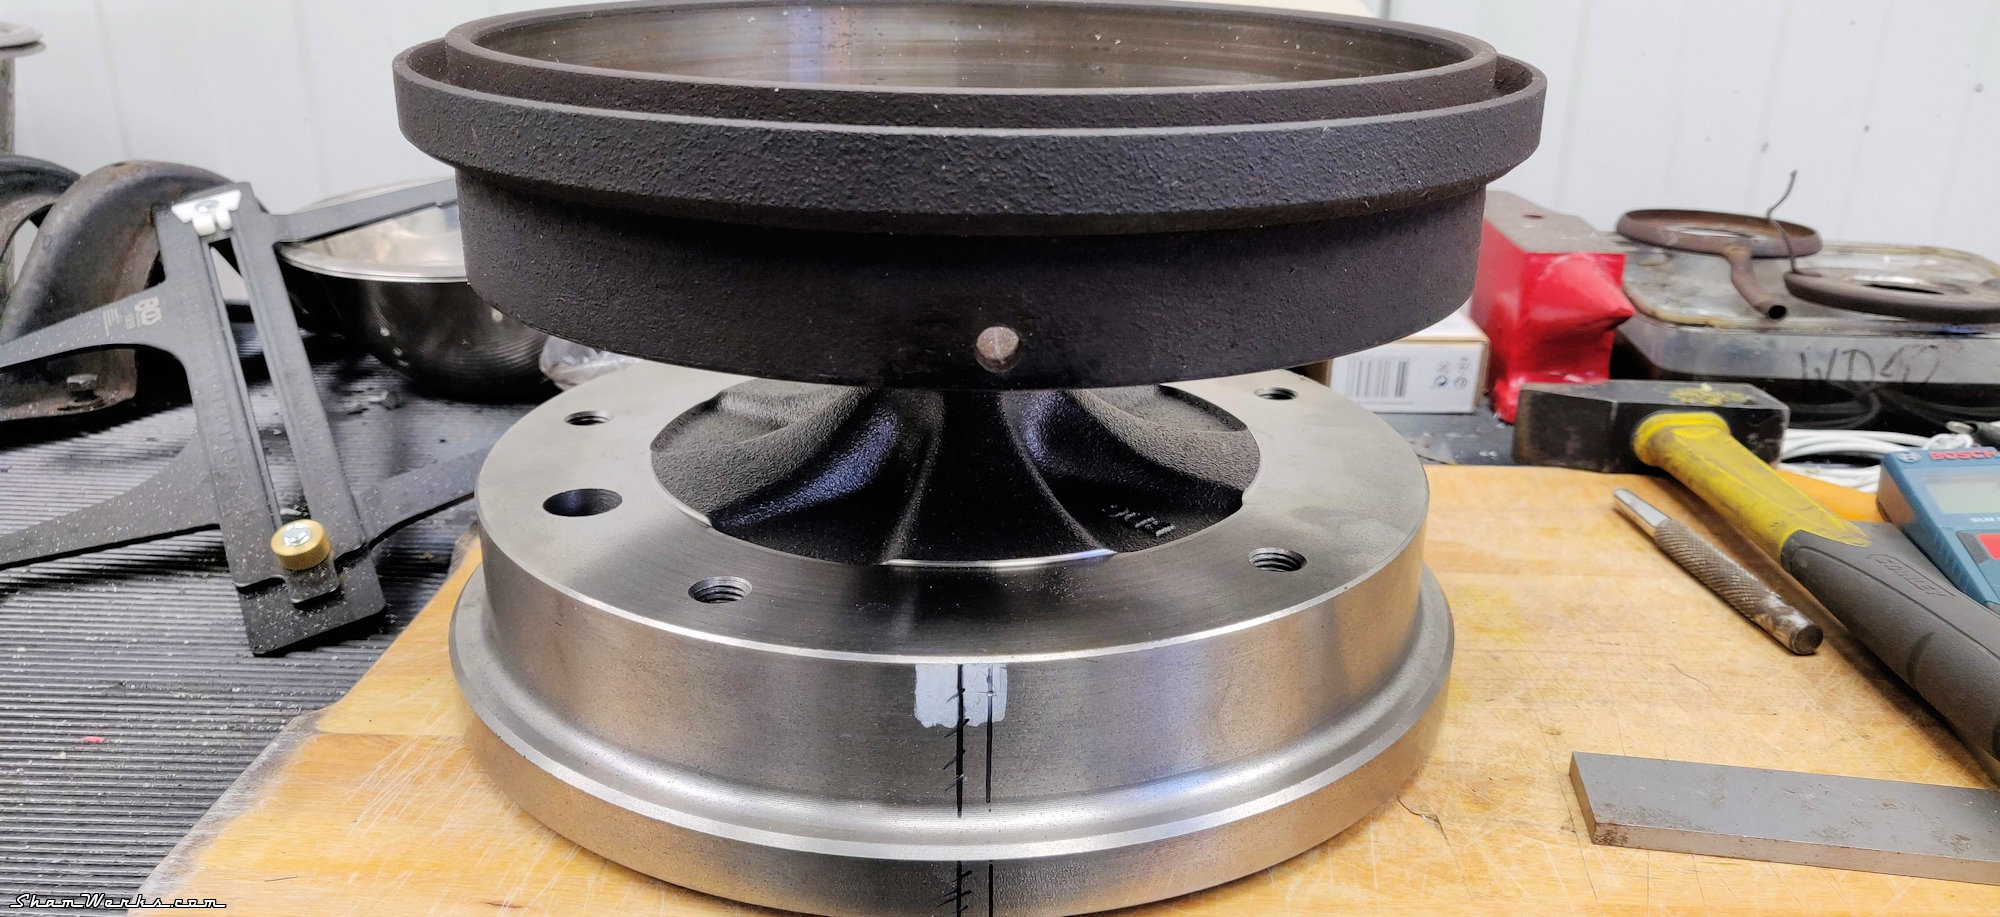
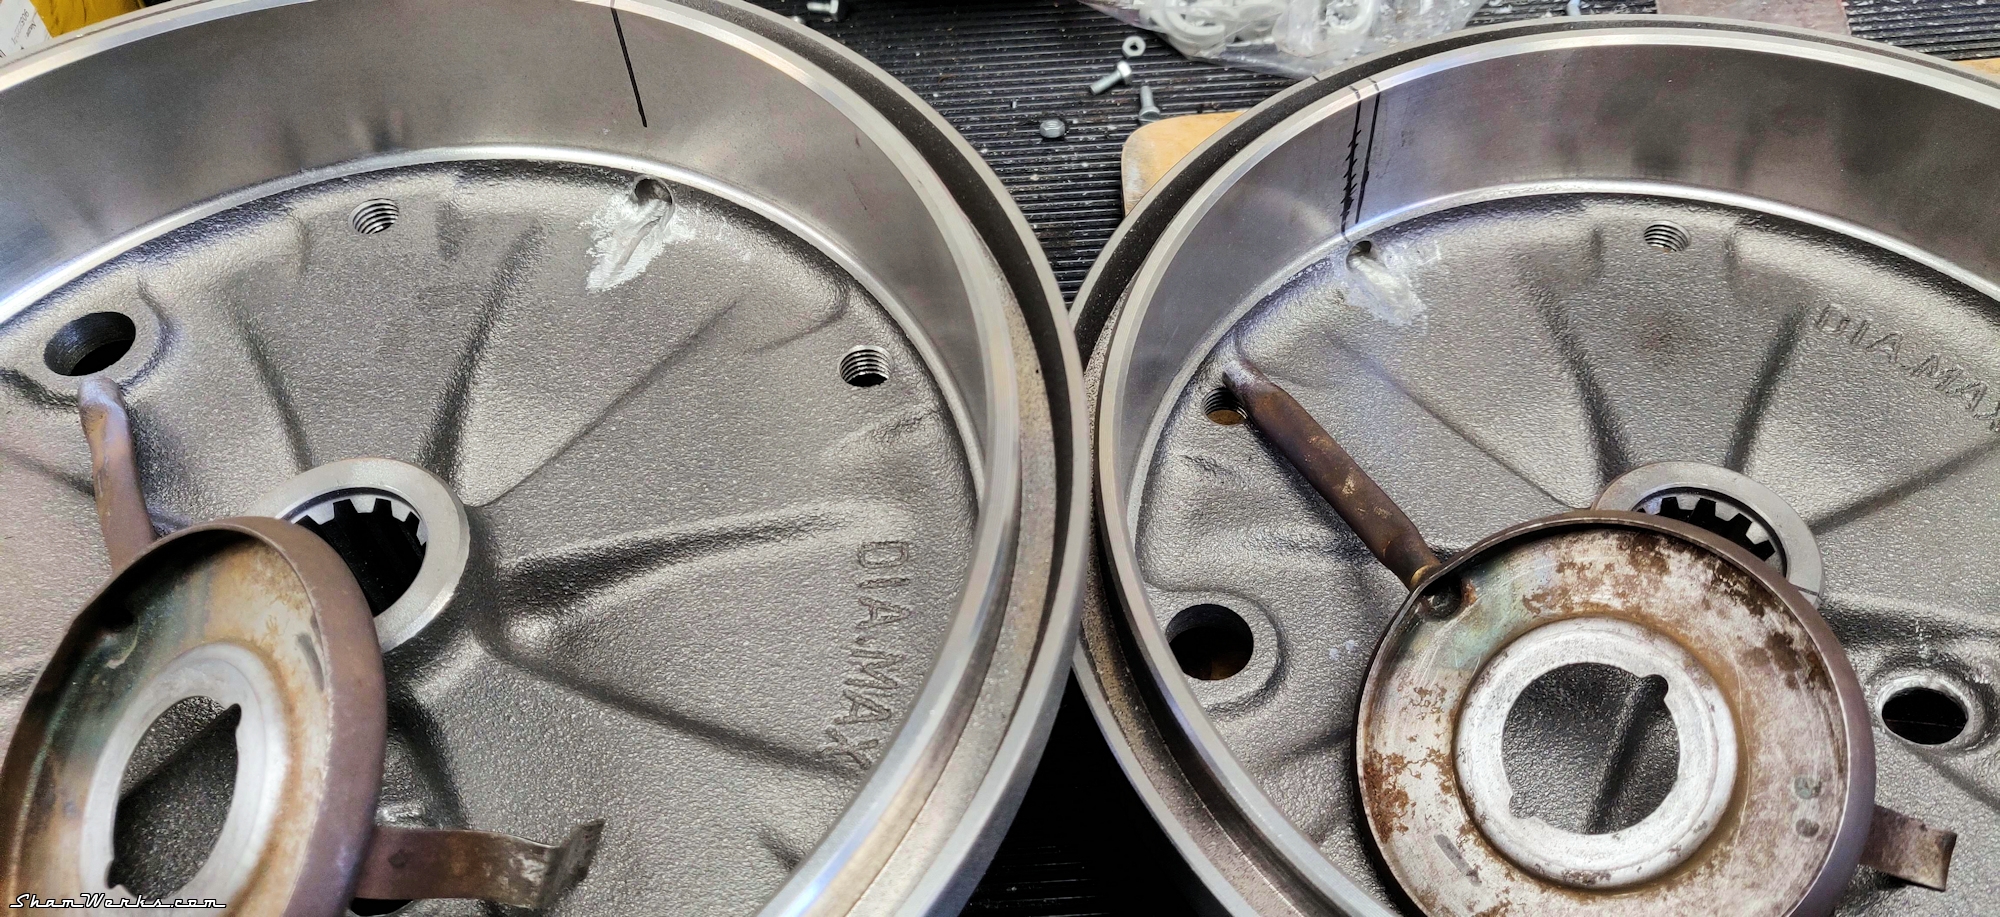
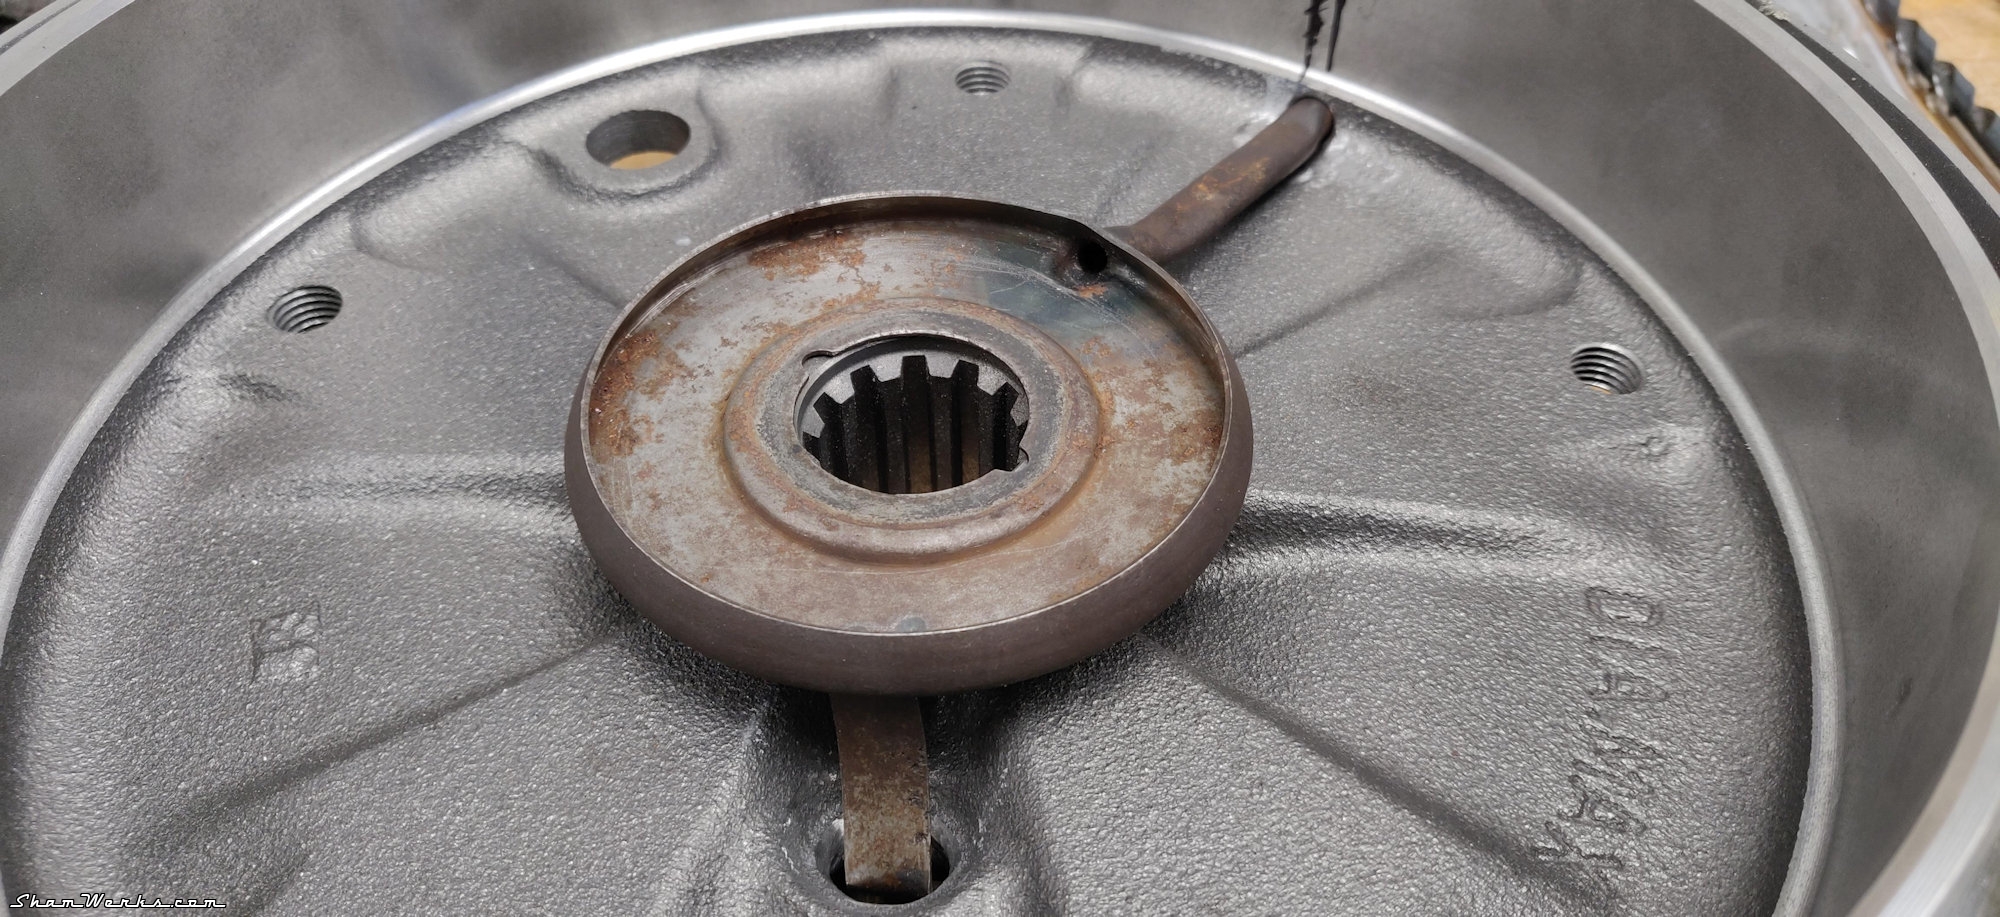
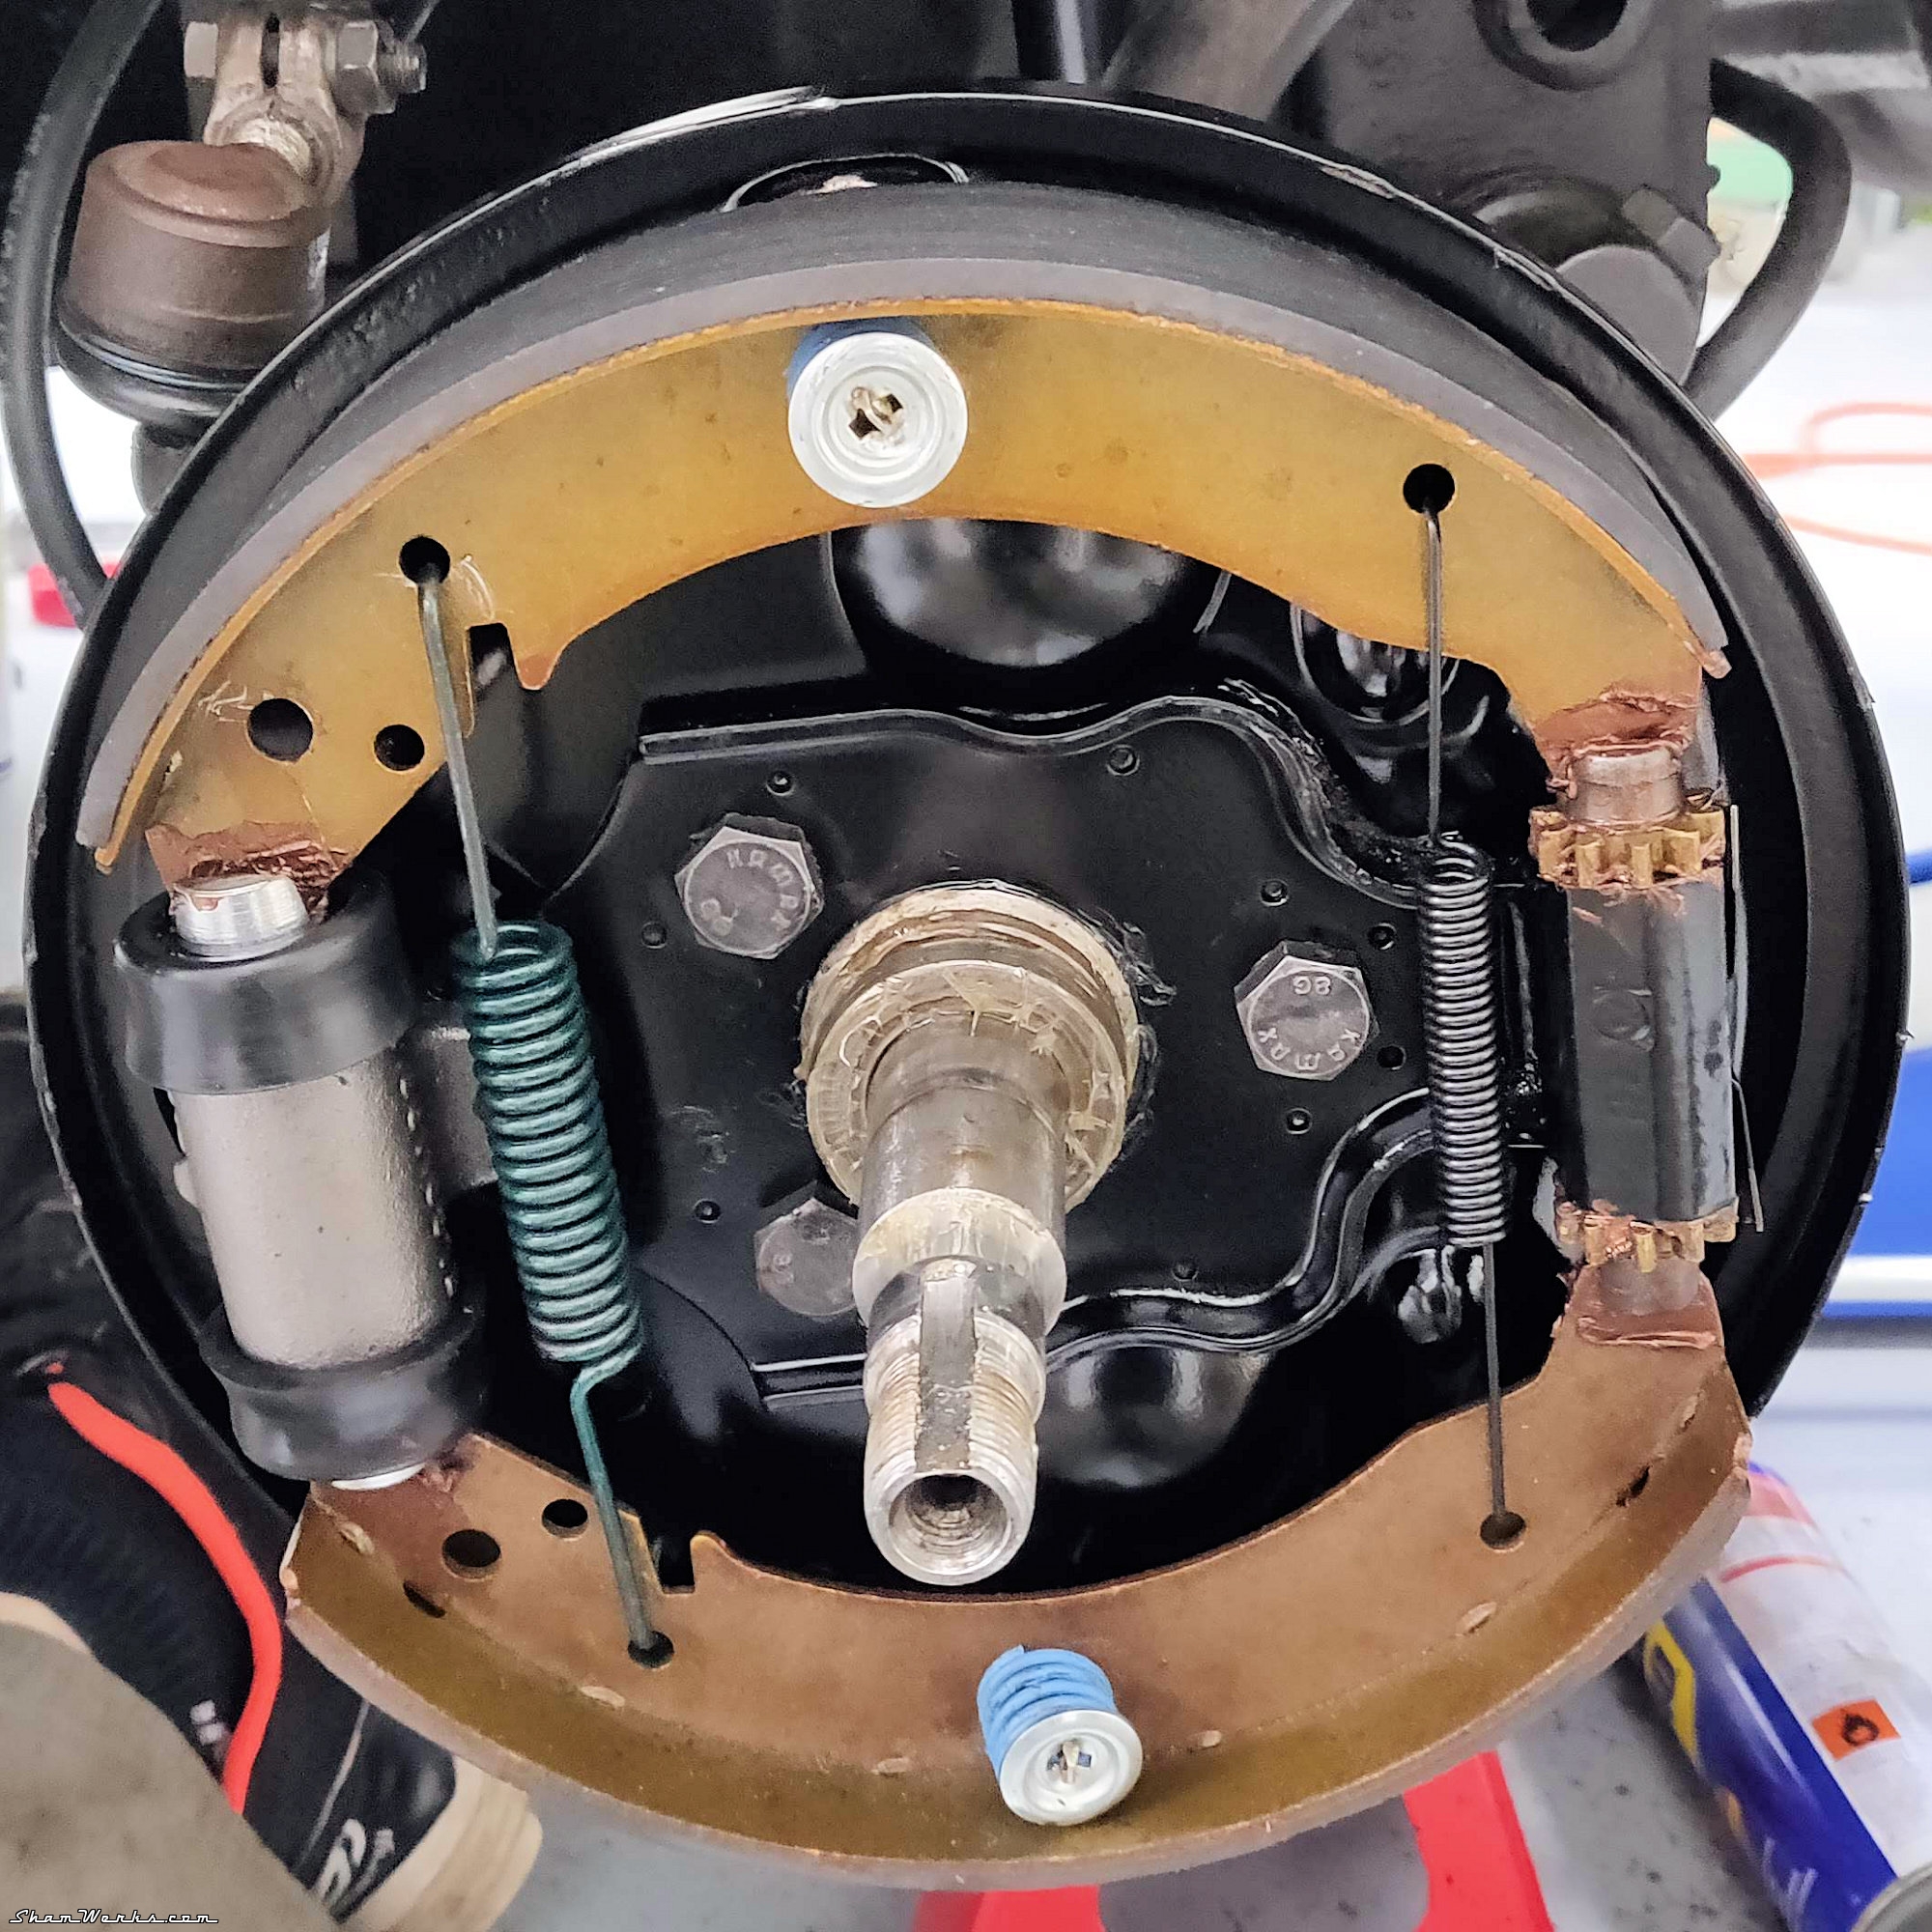
Rear brakes
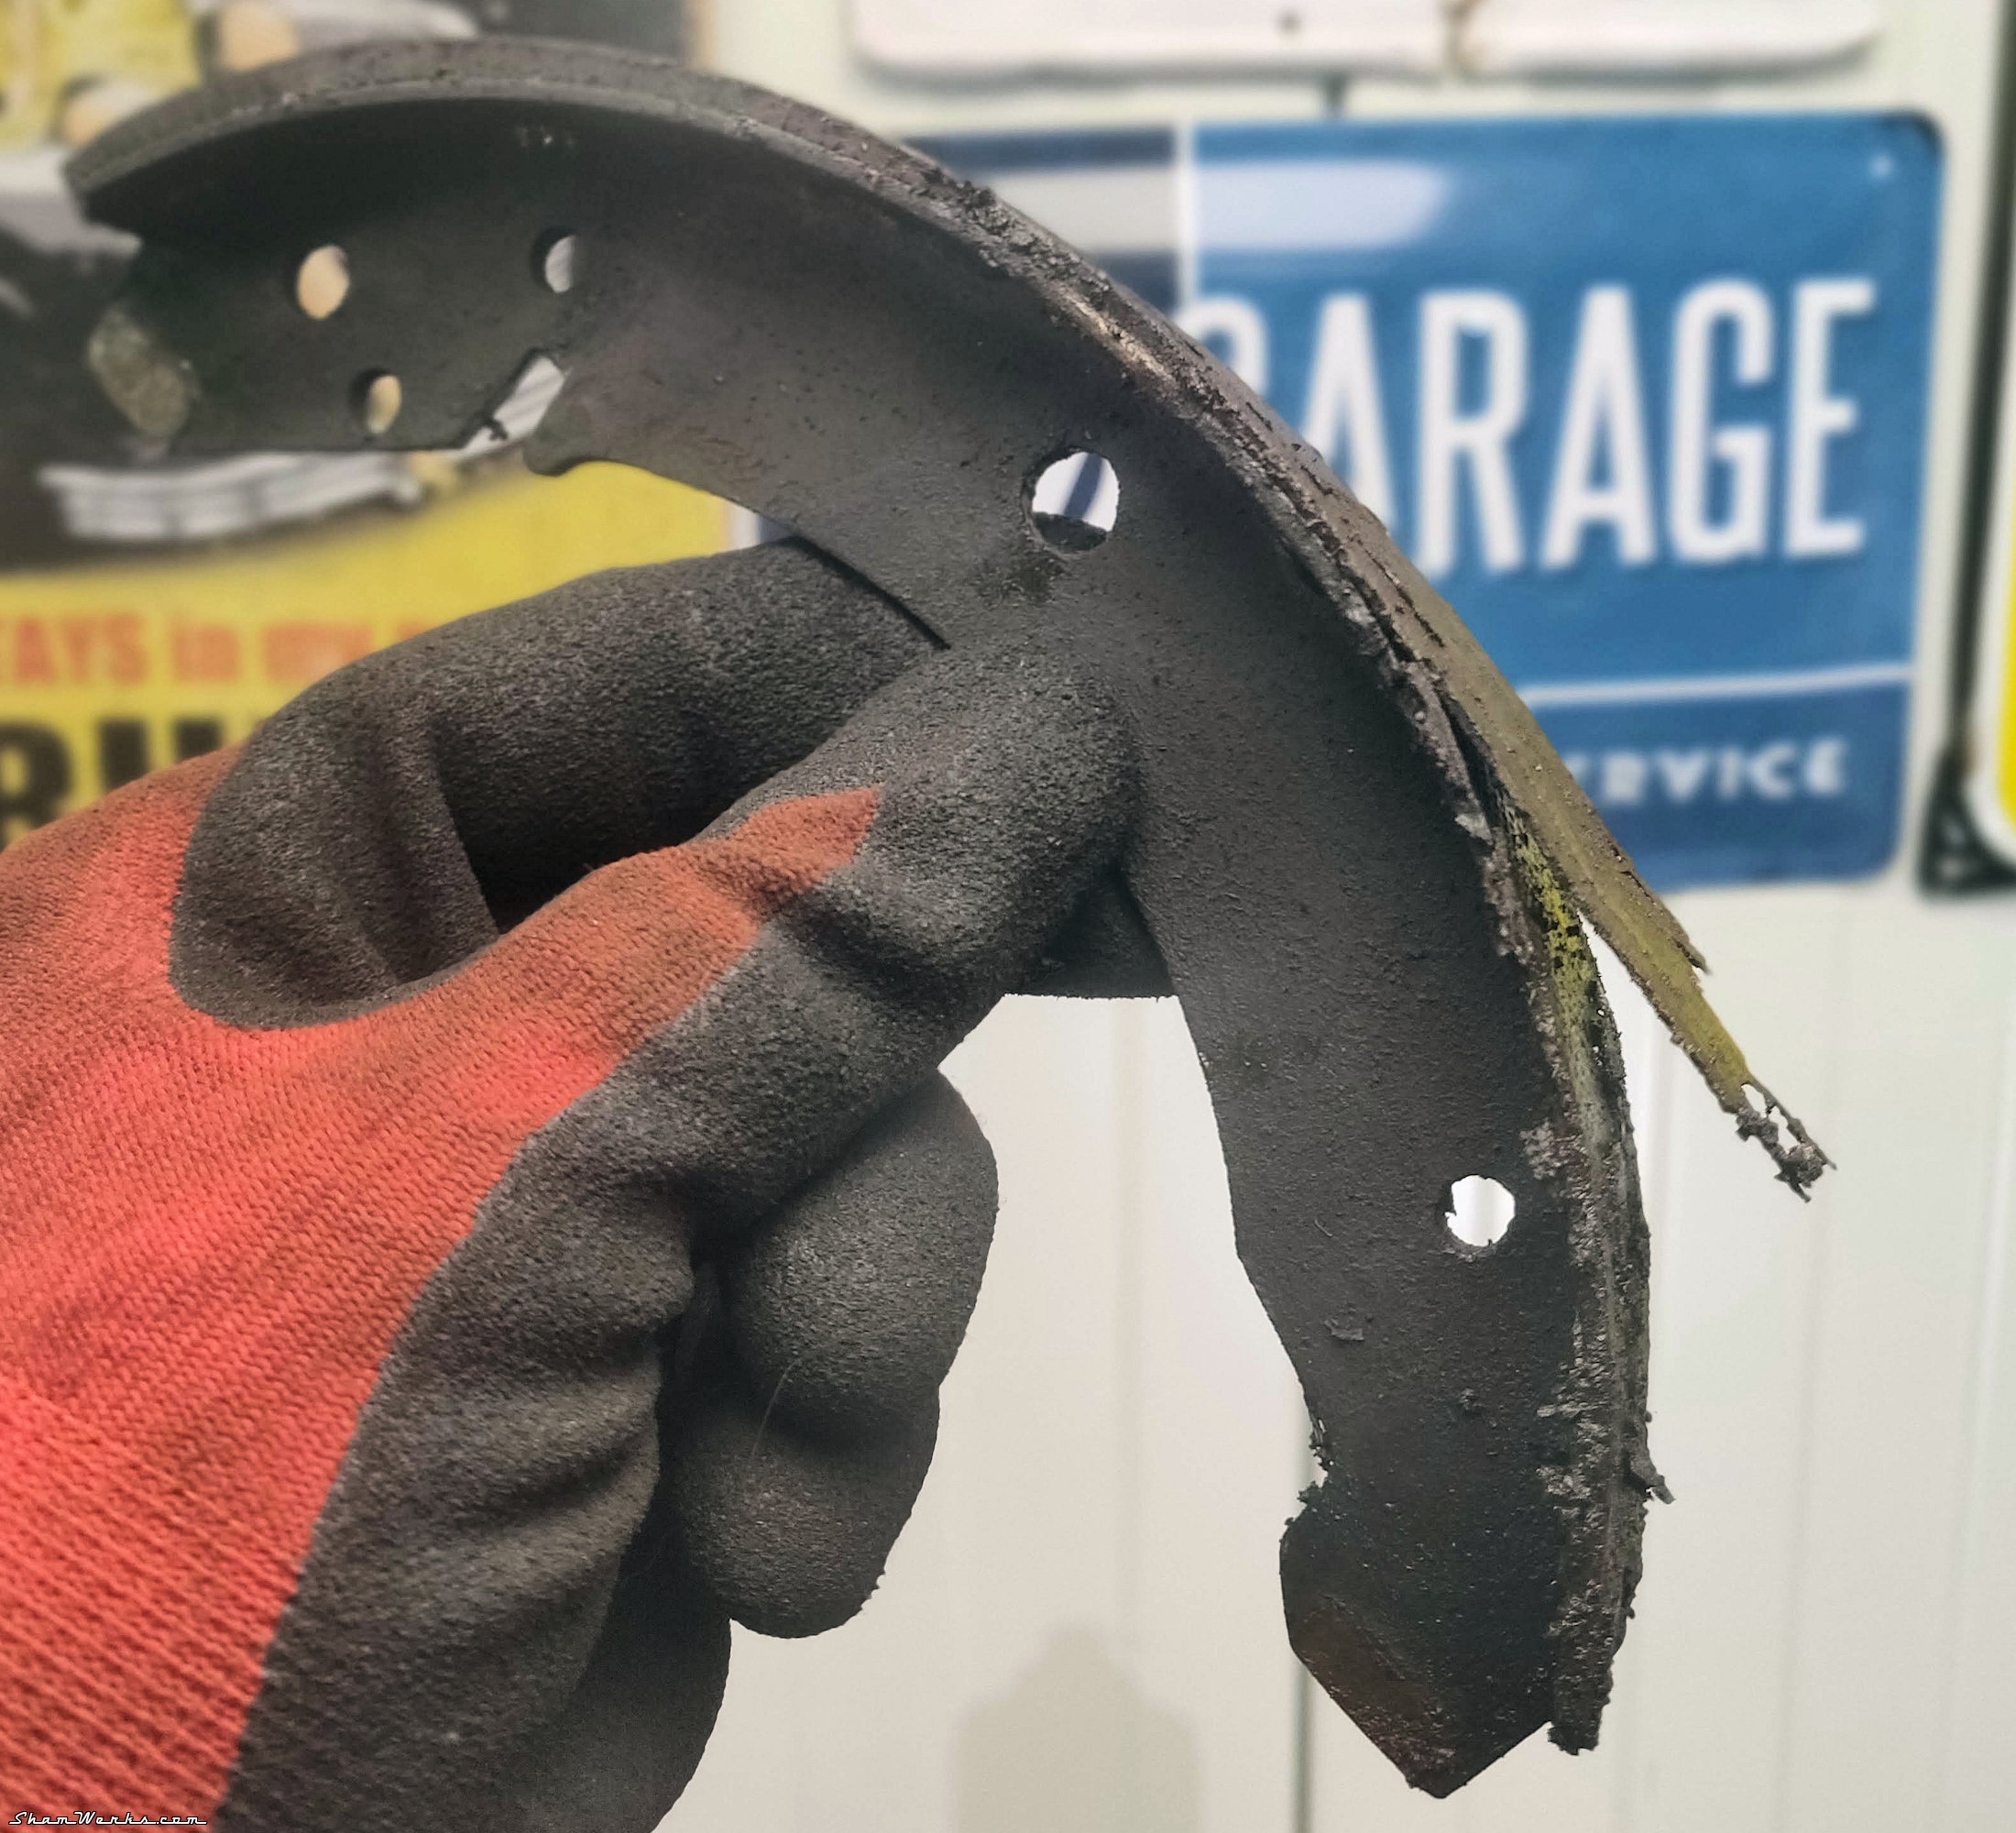
Here we go, let's disassemble everything, it looks pretty oily... T'was high time to replace the brake shoes, don't you think? 😁😁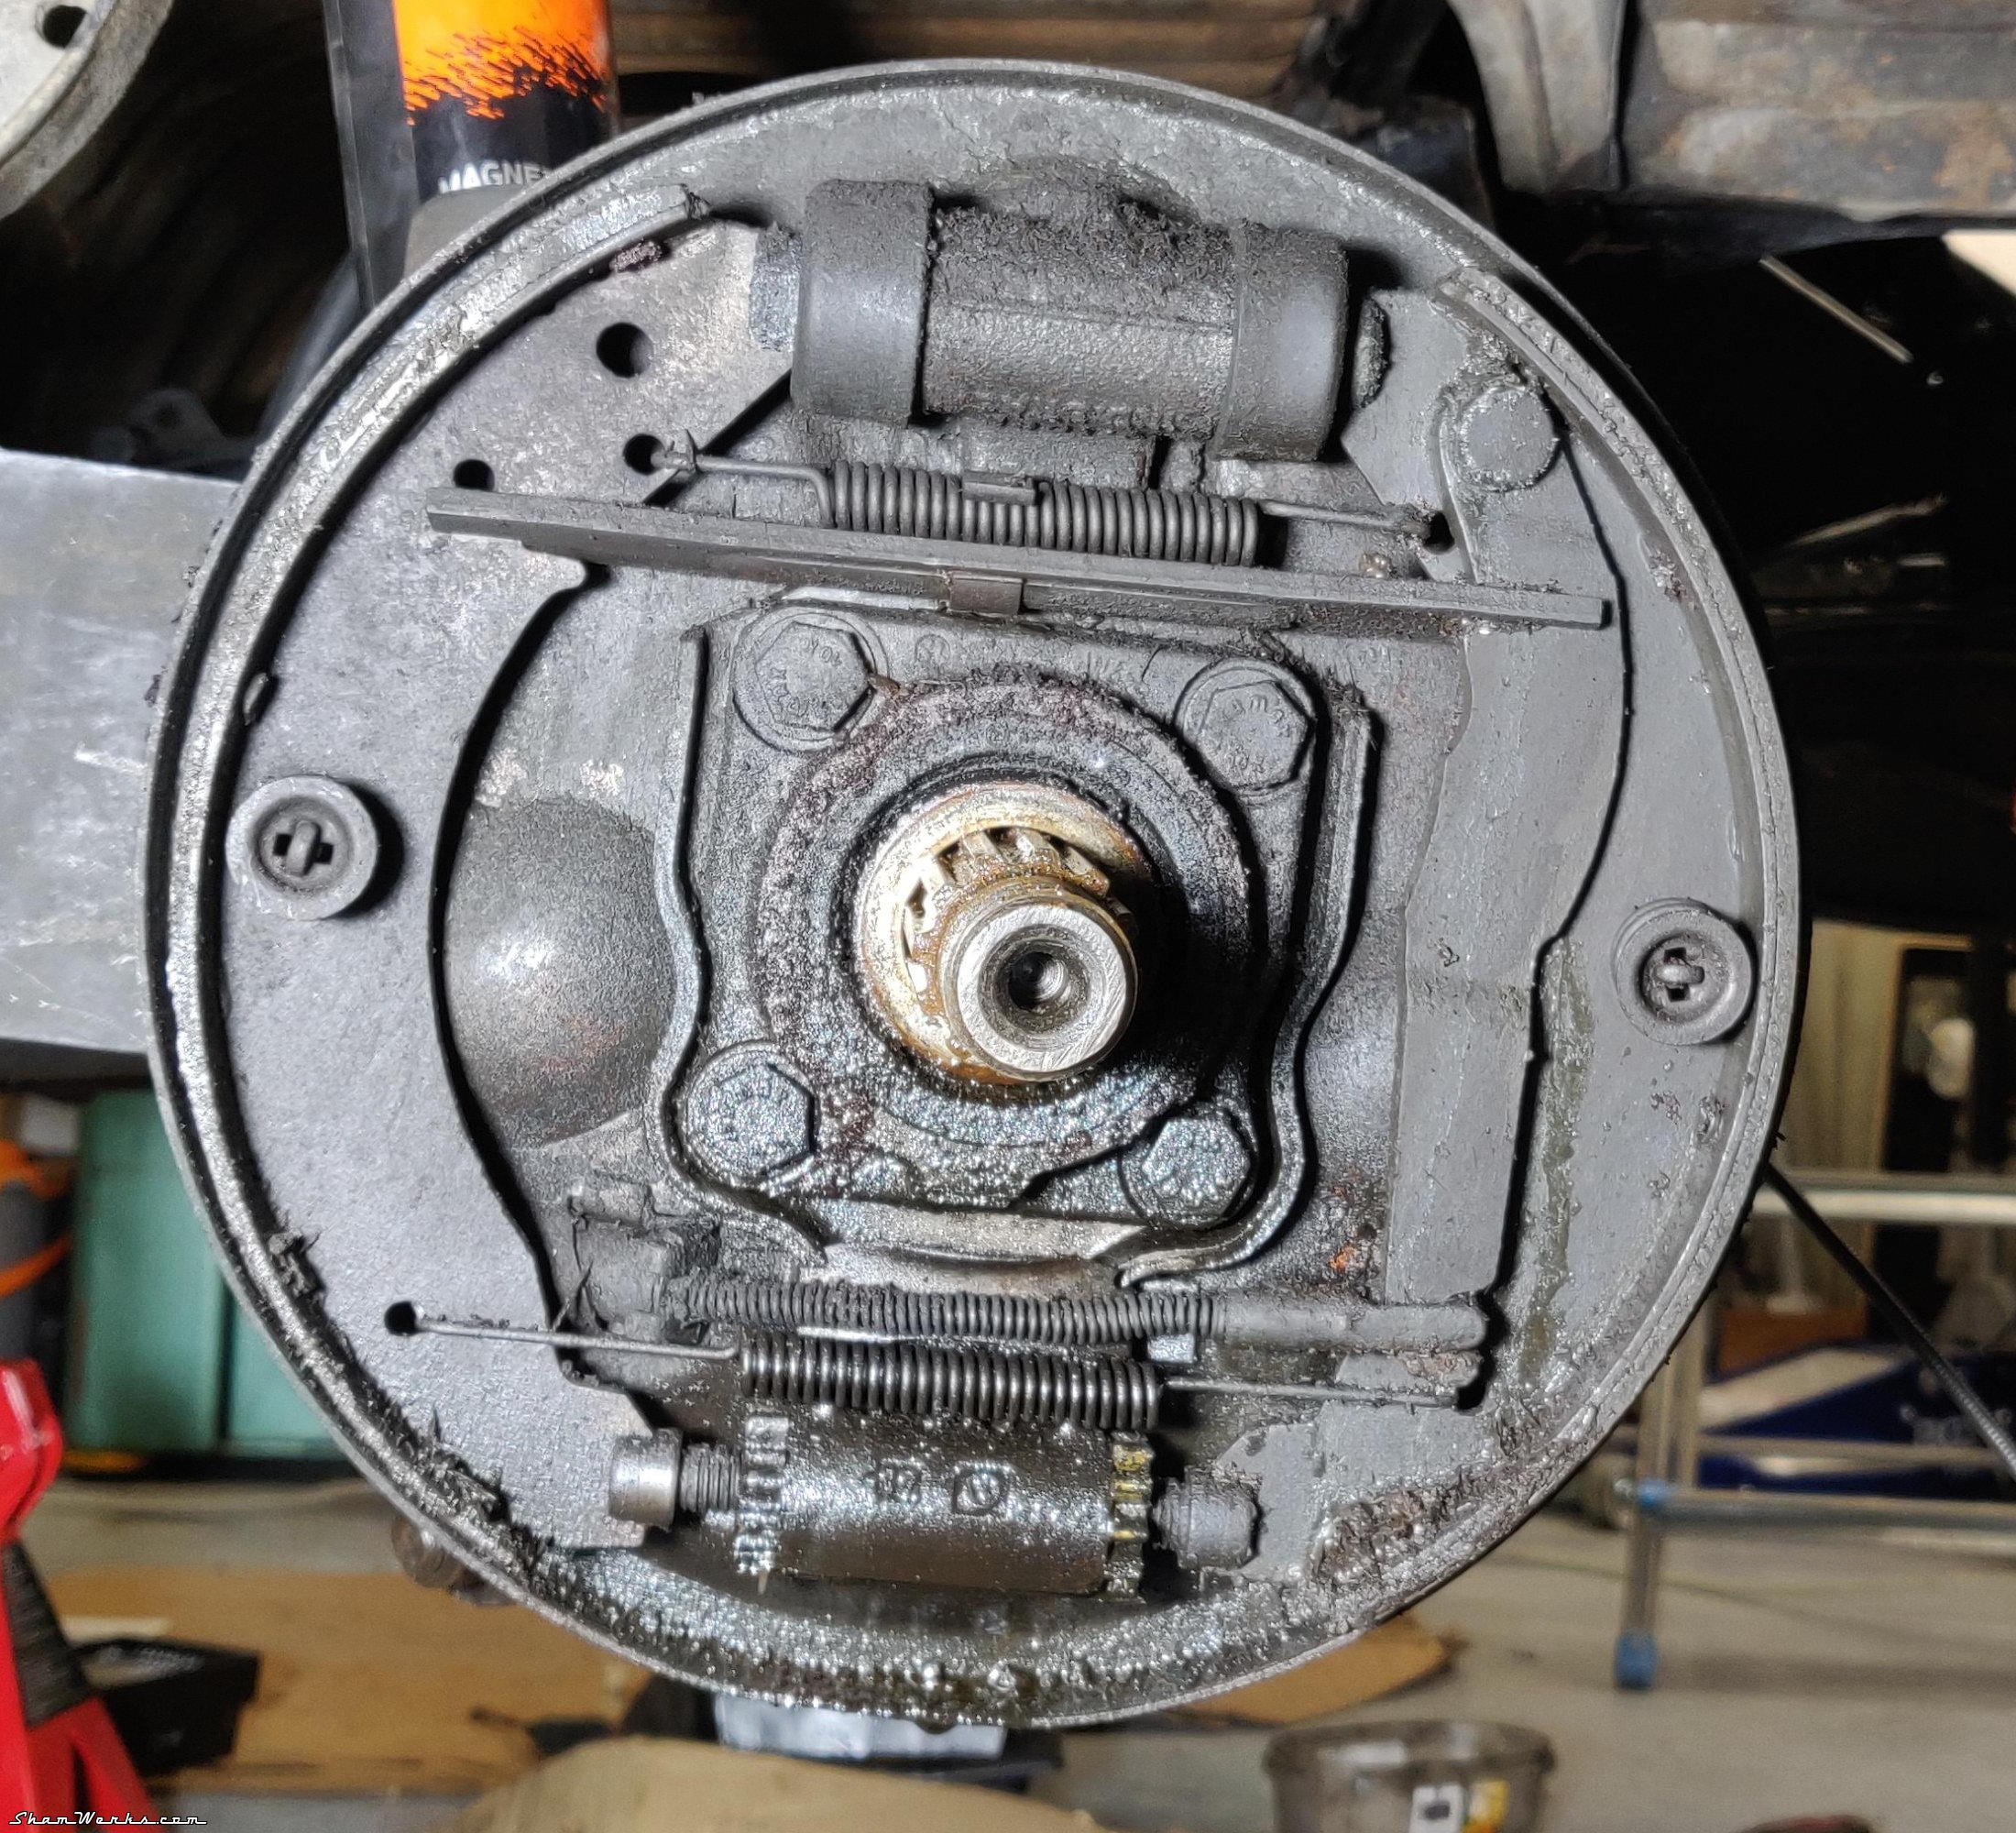
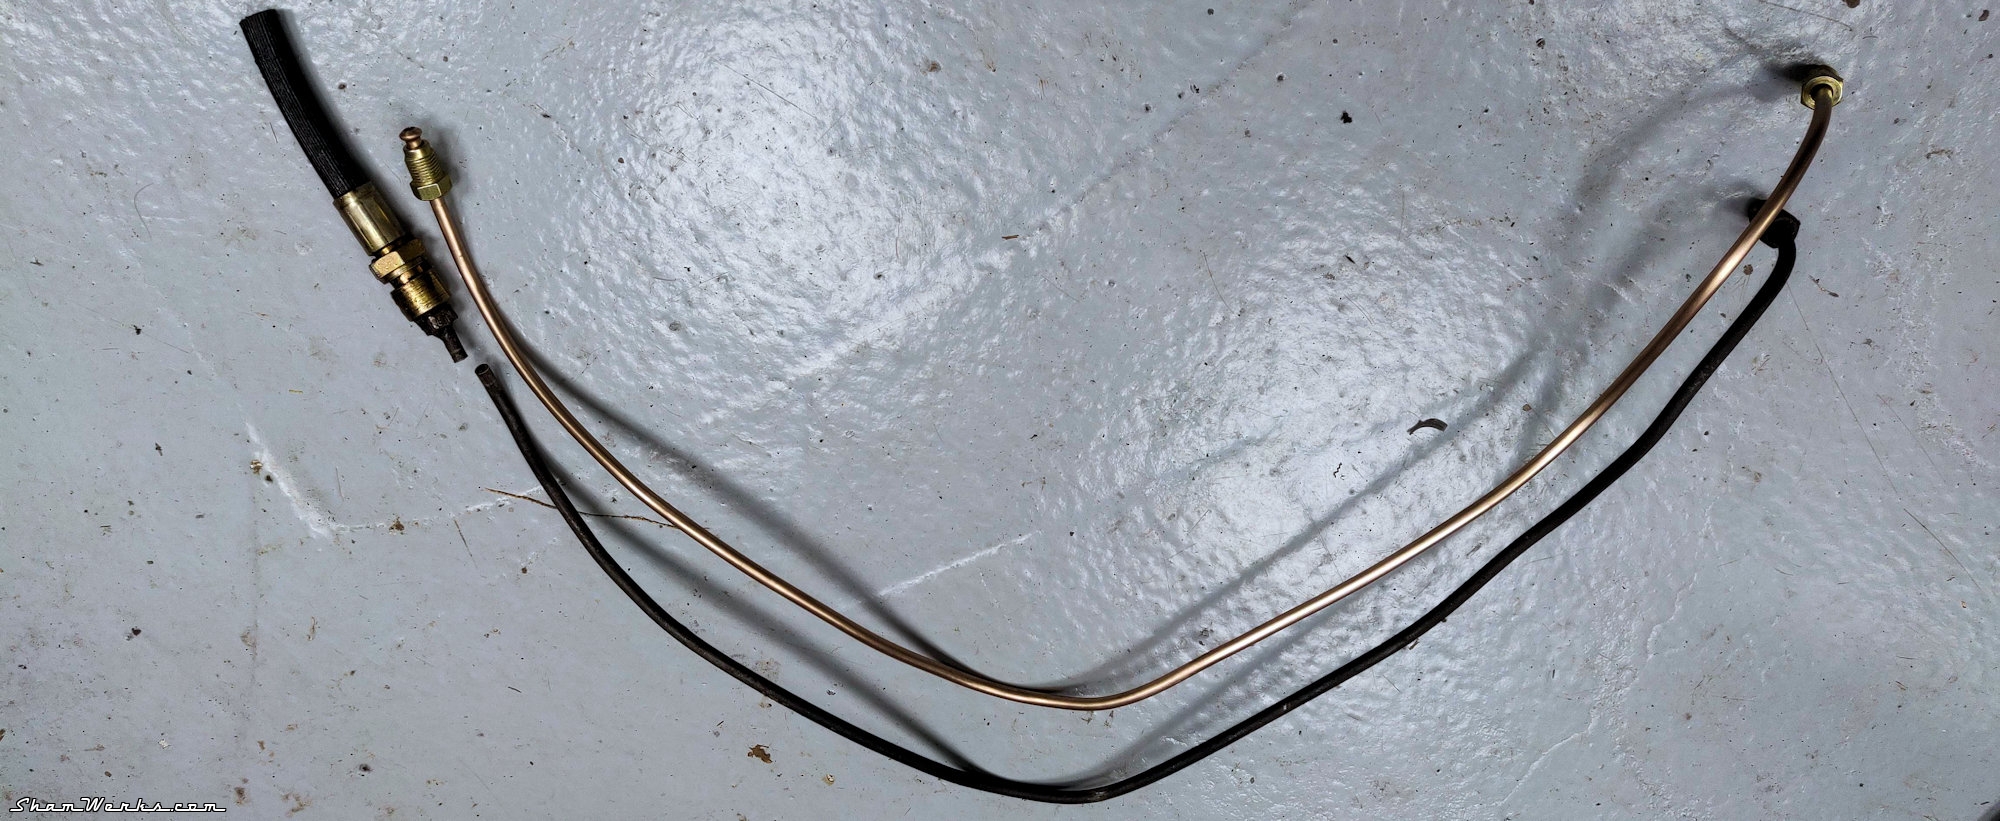
One bad surprise when taking down the right side, the flexible brake line was so tight I haven't been able to disassemble it (even after trying all the tricks in the book, heat, penetrating oil, vise grip on the brake line wrench...). I finally had to cut it and remake two rigid lines from scratch.


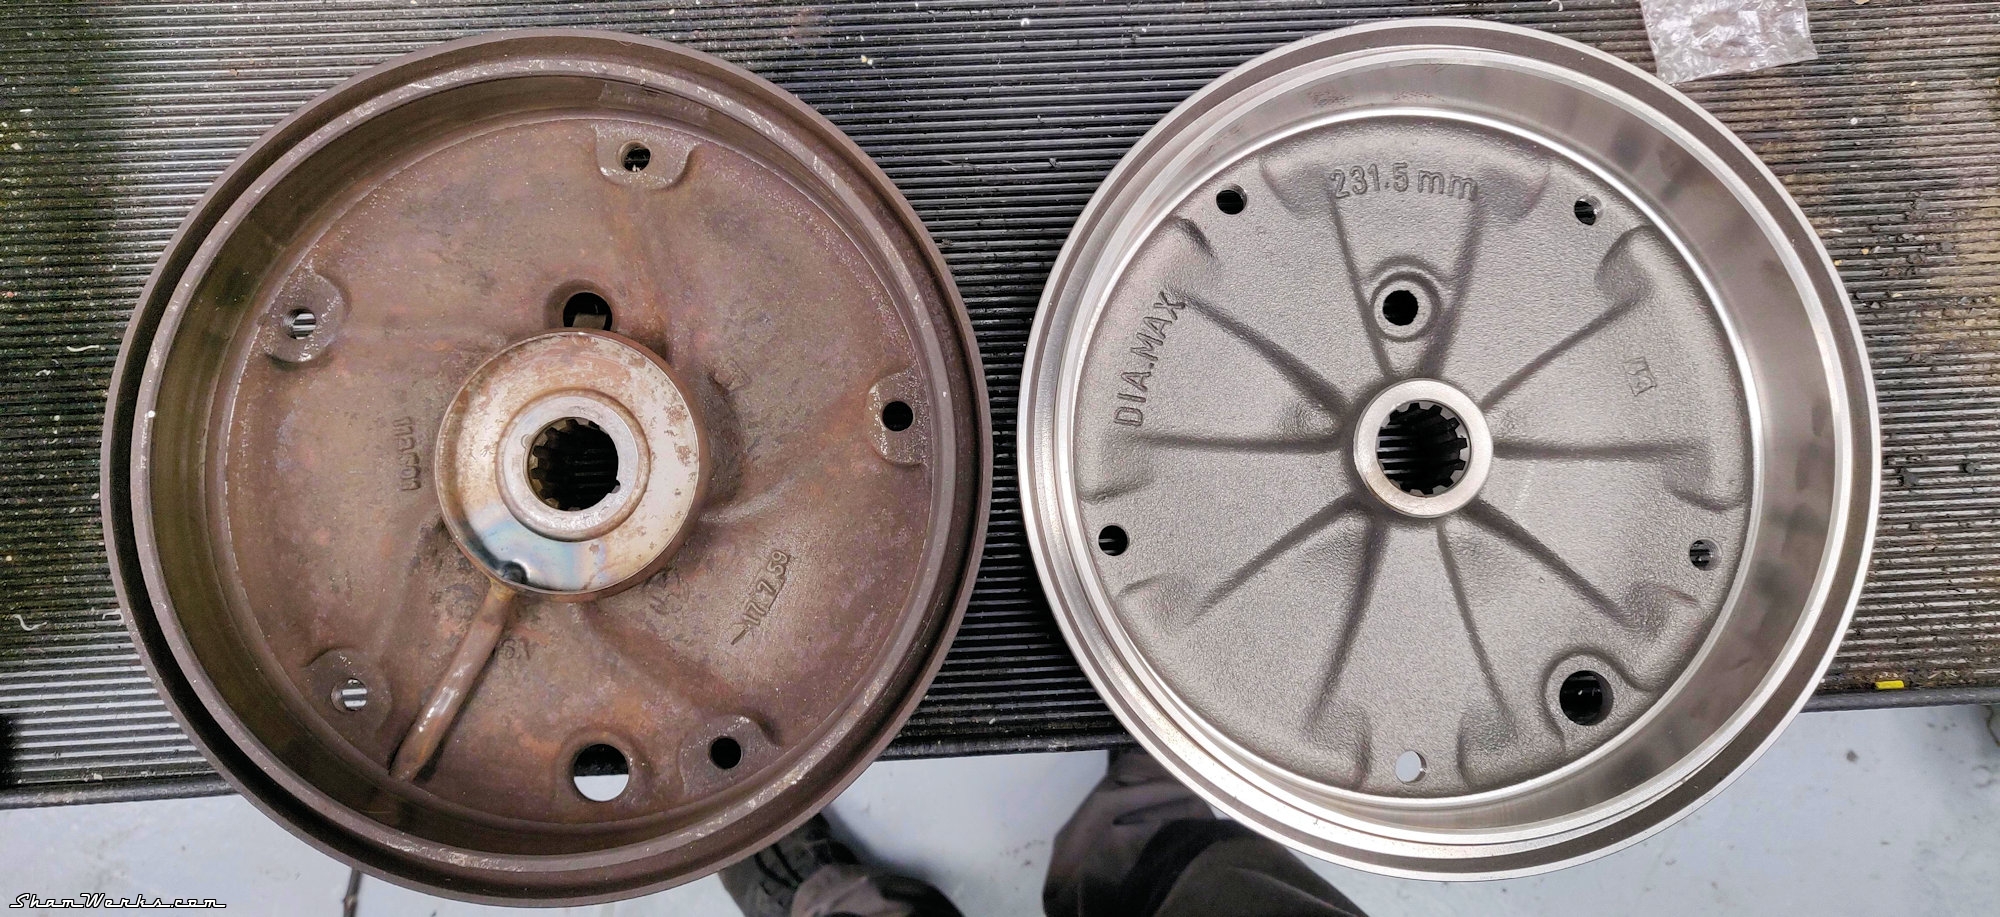
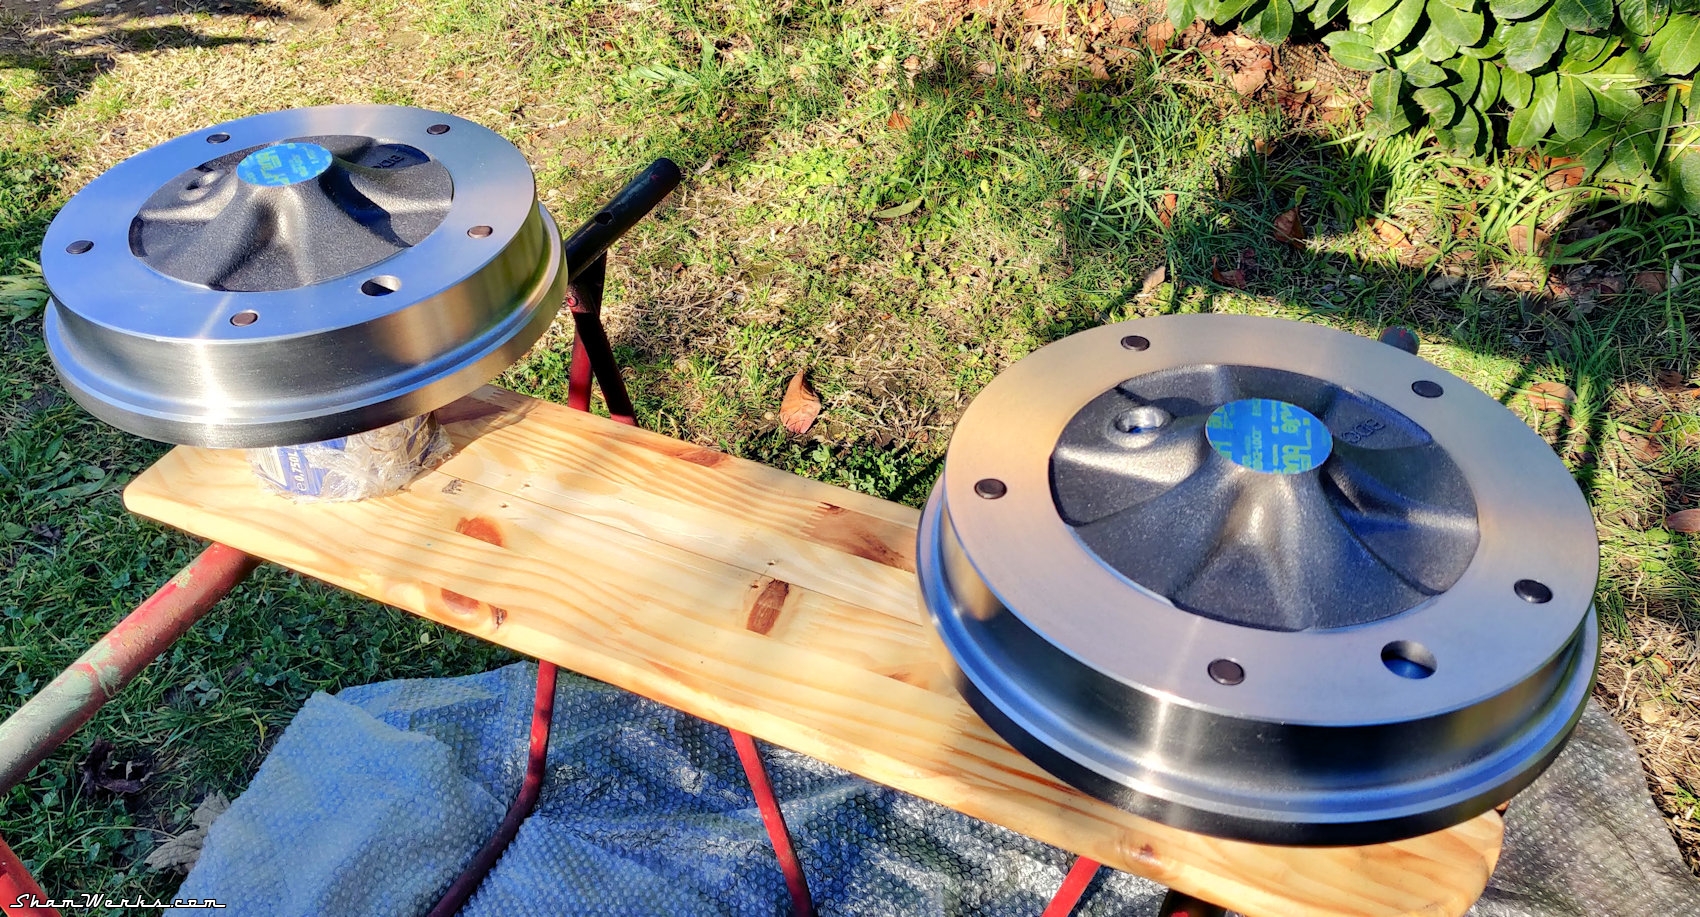
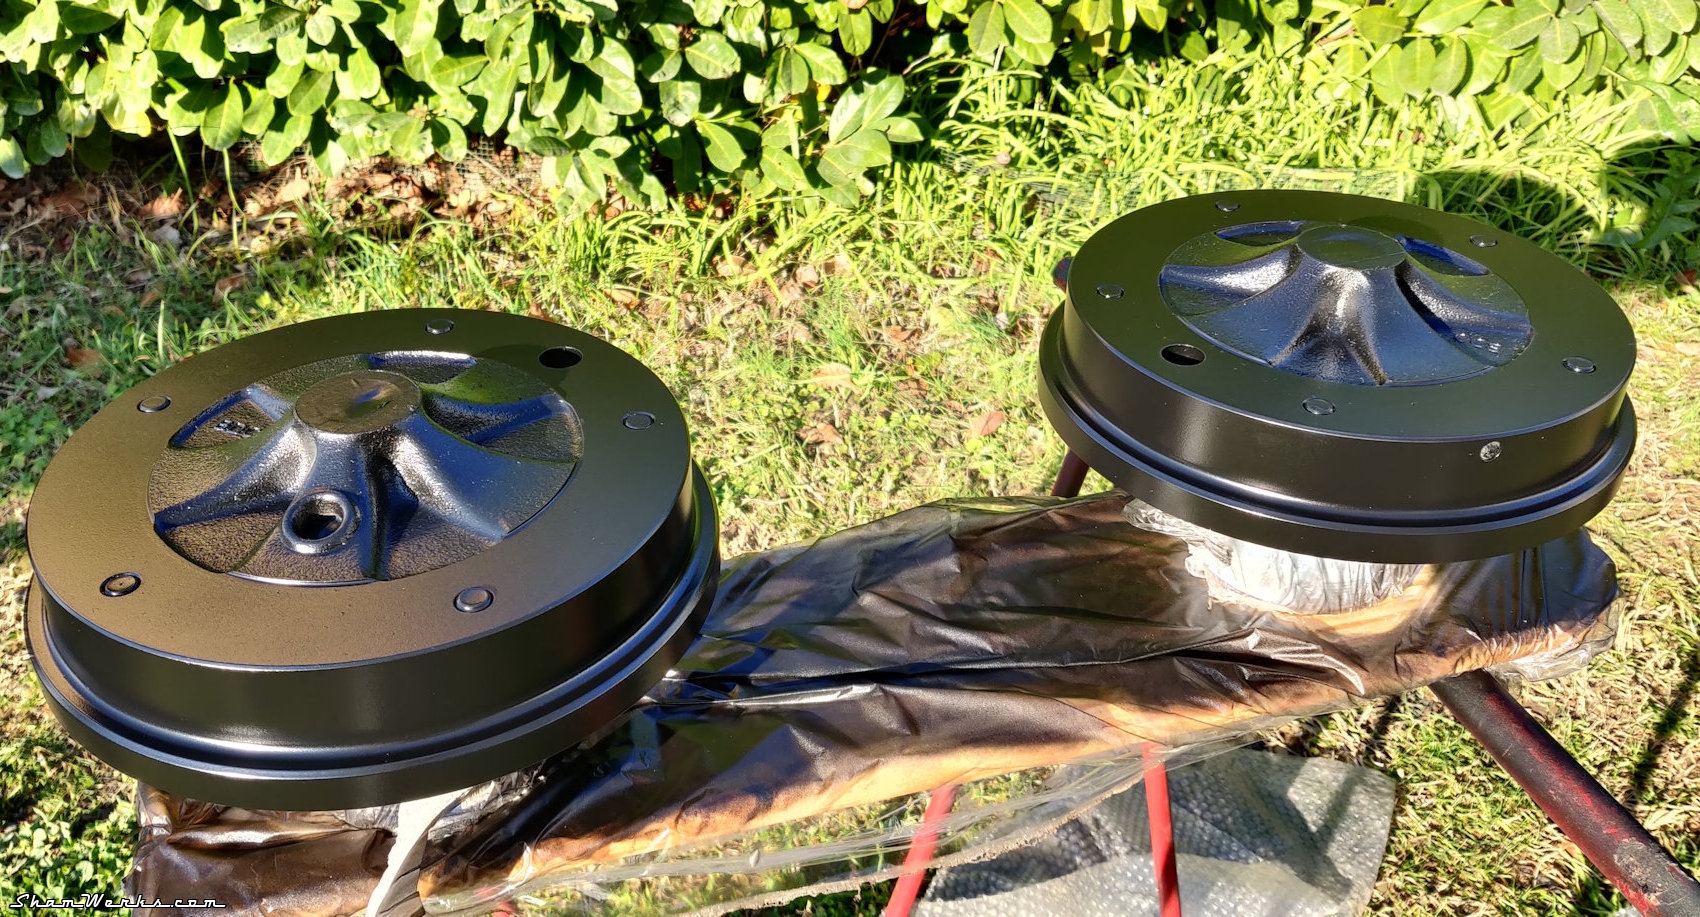
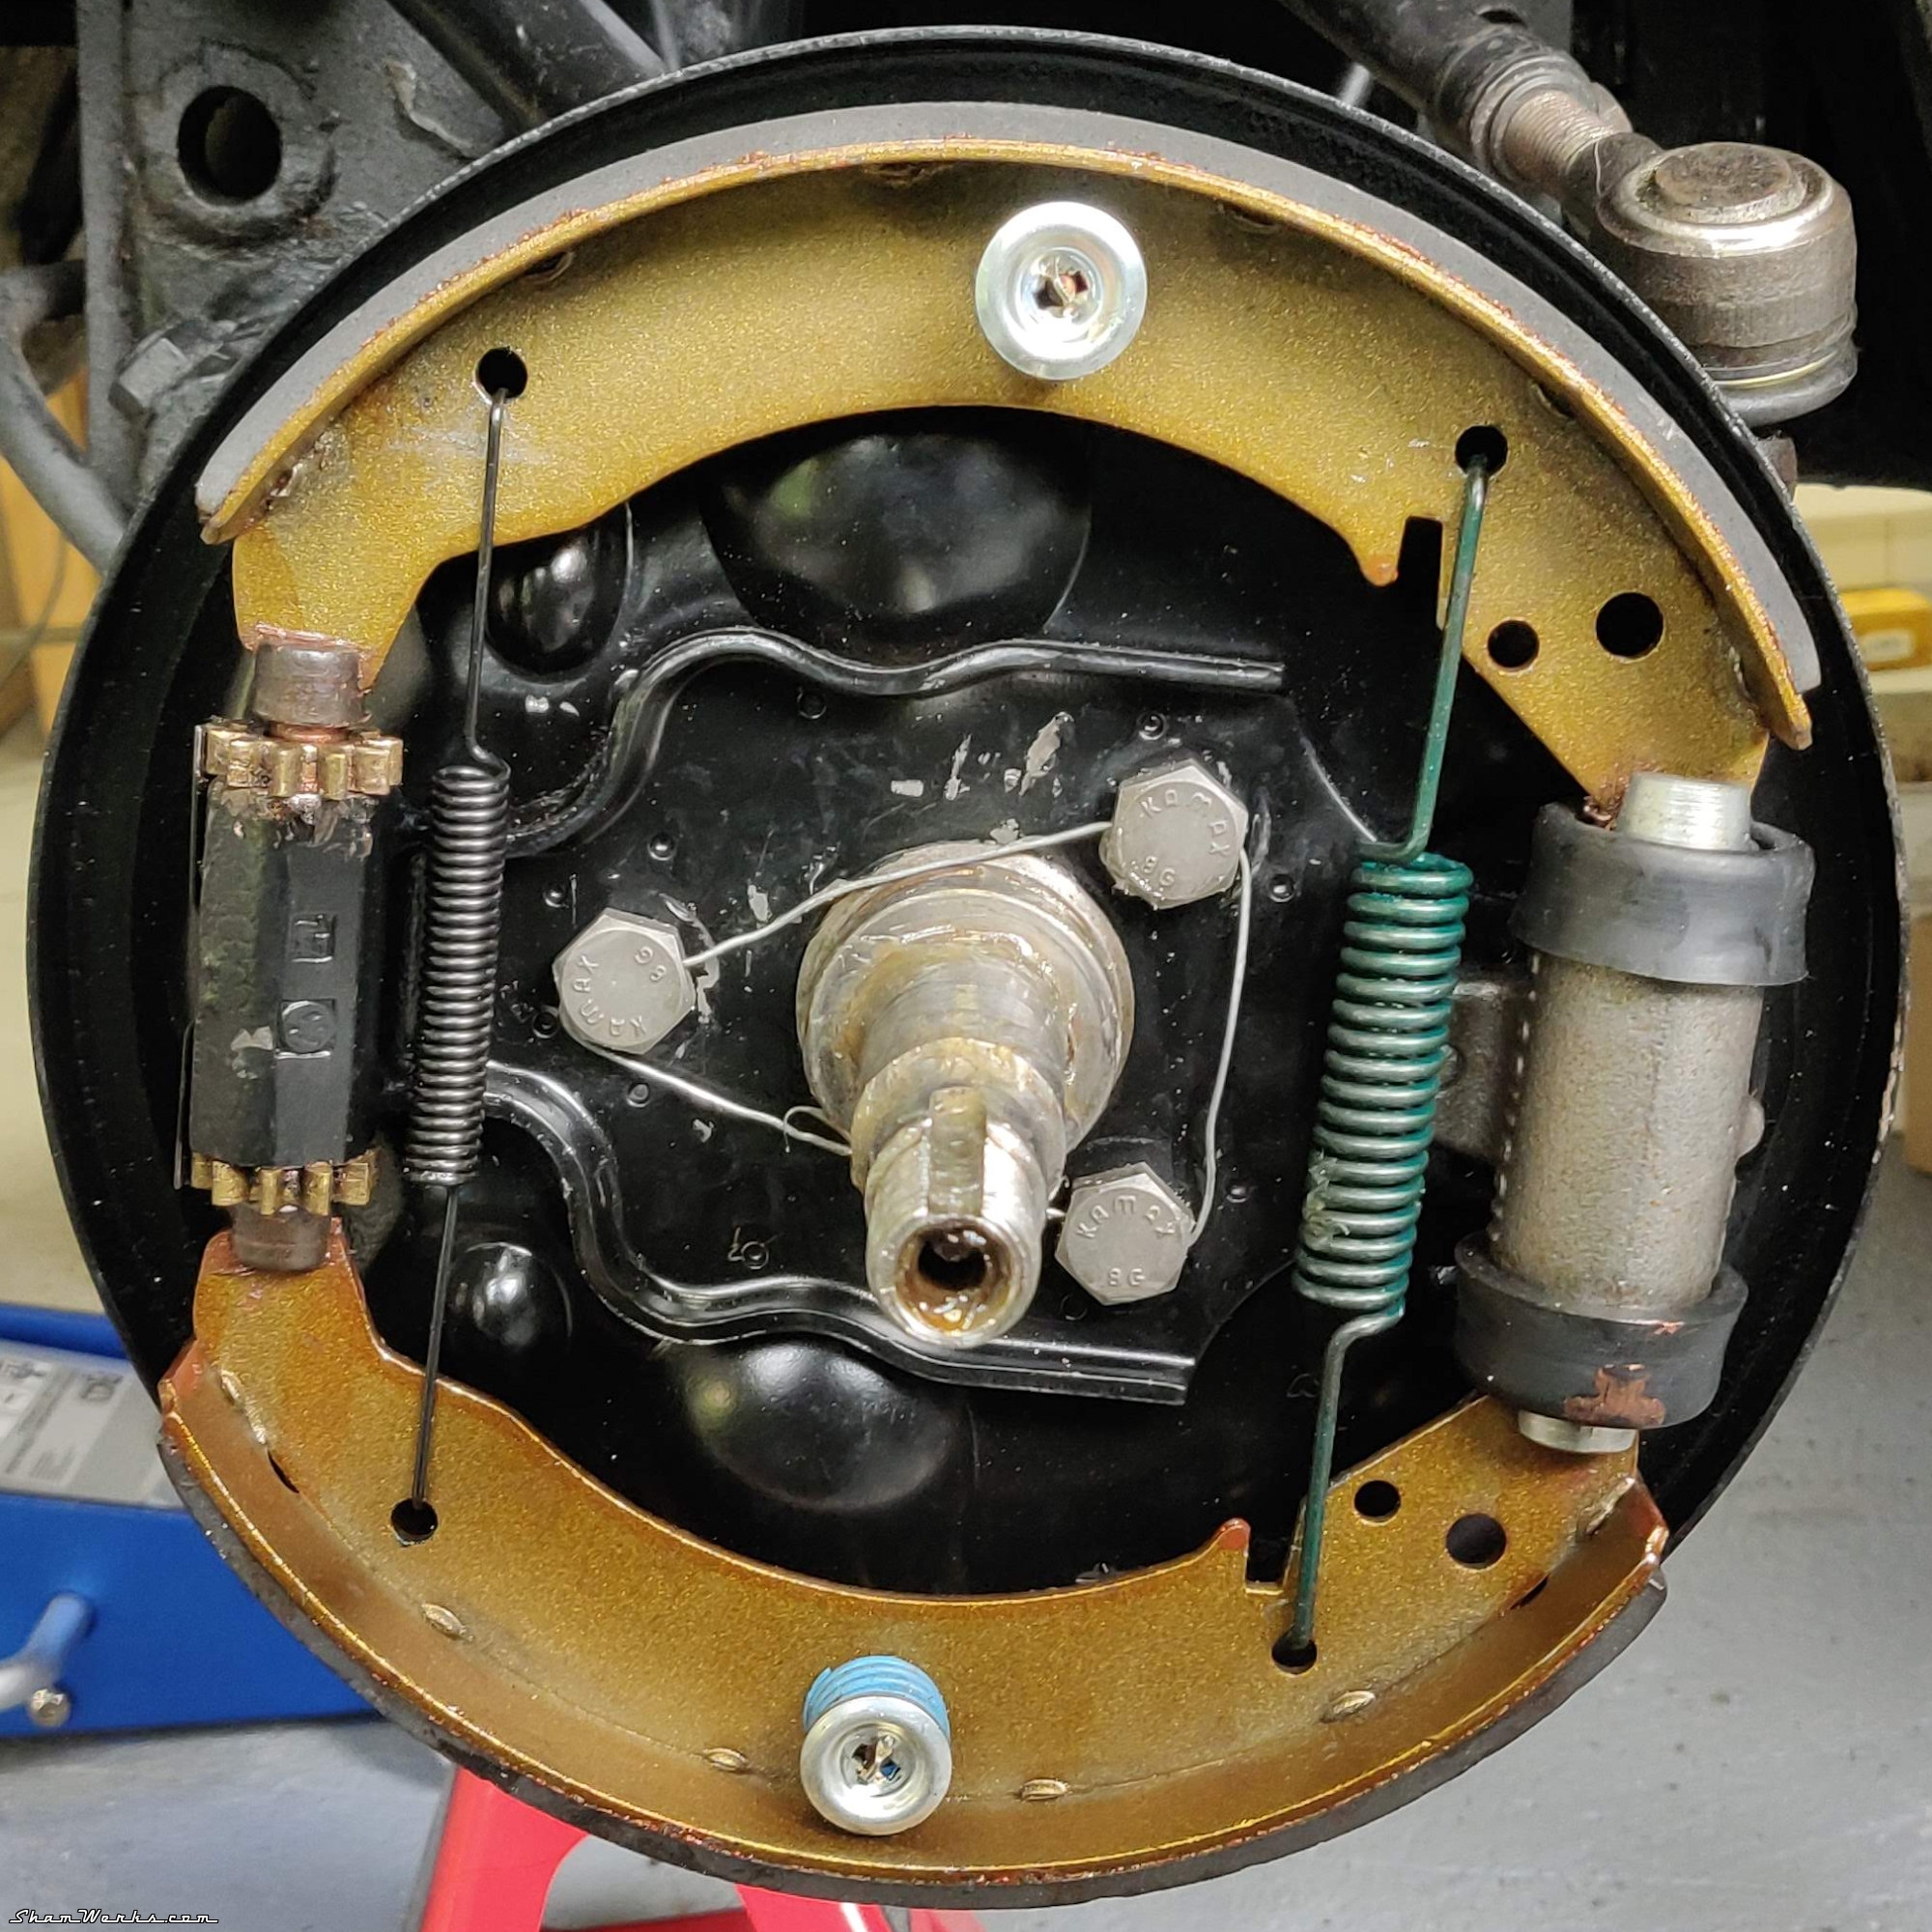
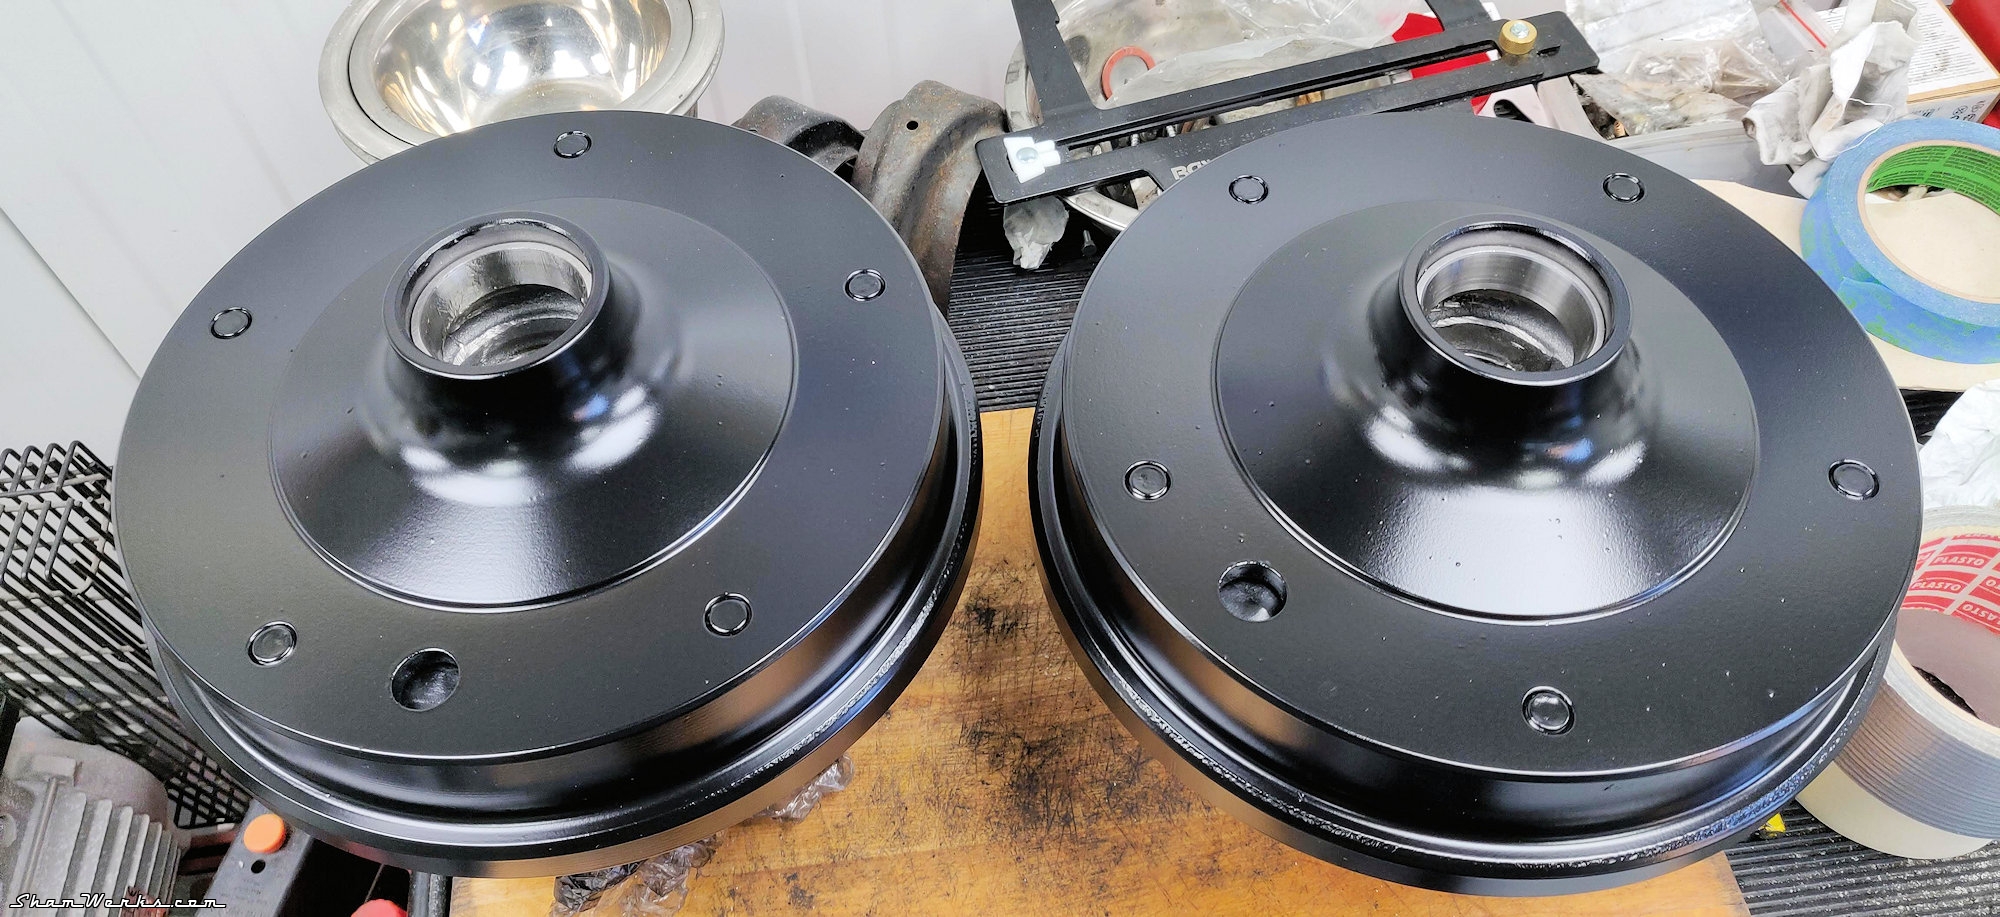
The reproduction rear drum don't feature the original oil slinger hole, so I measure 12 times (you know the drill - pun intended - c'mon, I'm a dad now, I get a pass for dad jokes), and drill a Ø8mm hole on each. A bit of grinding/filing, and the oil slingers can go back in.
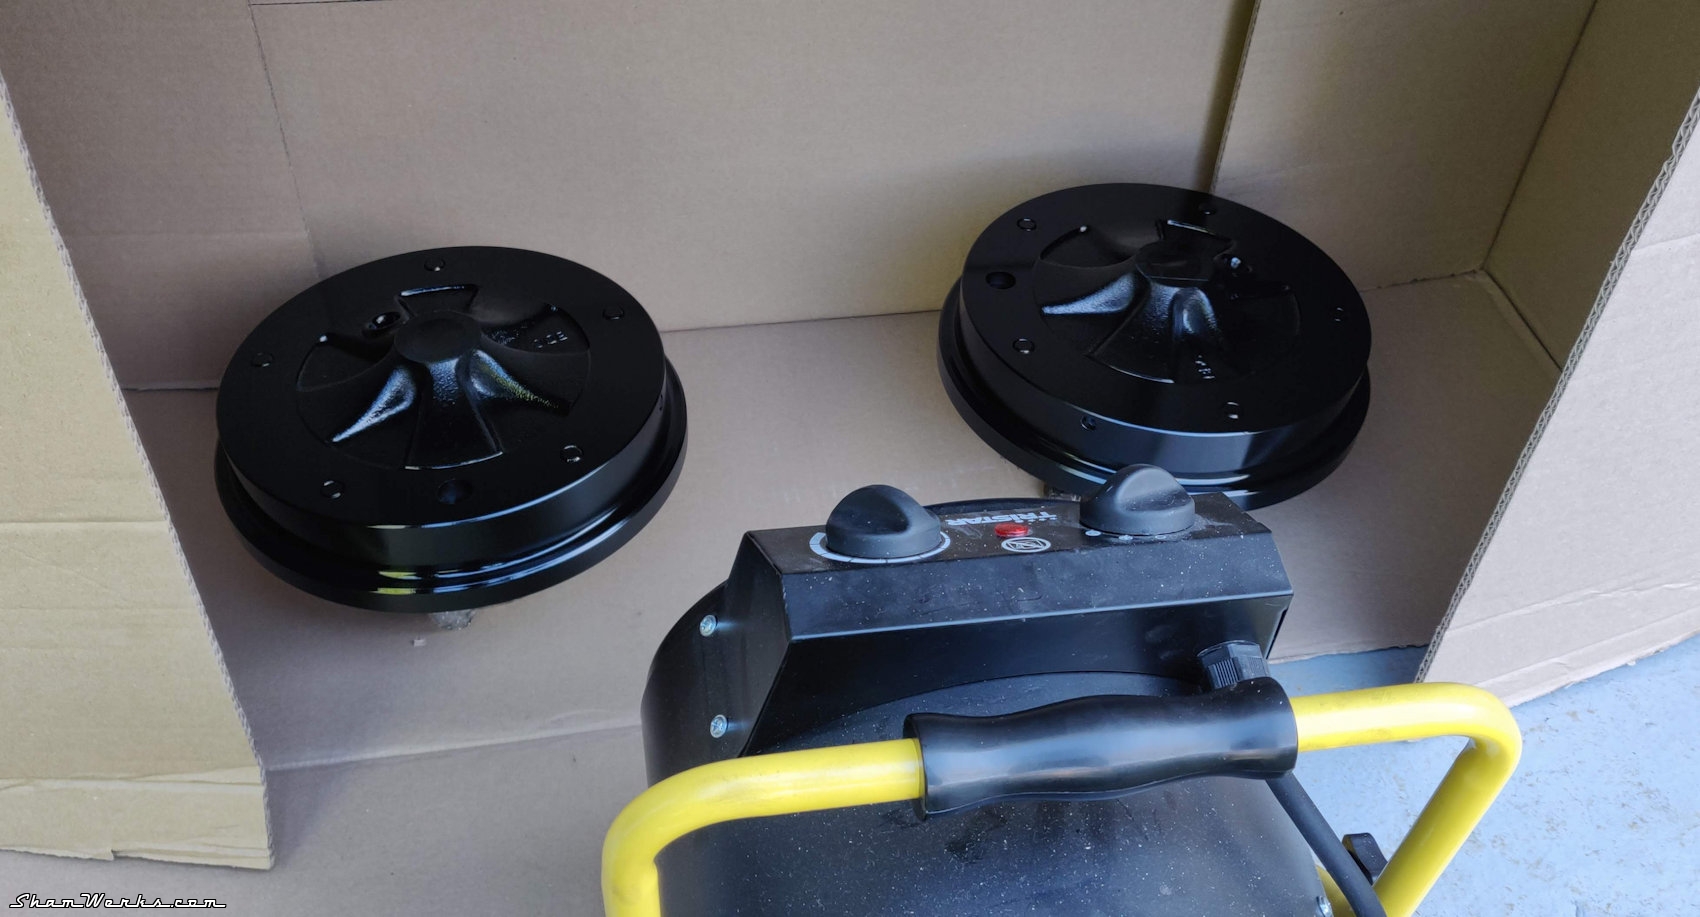
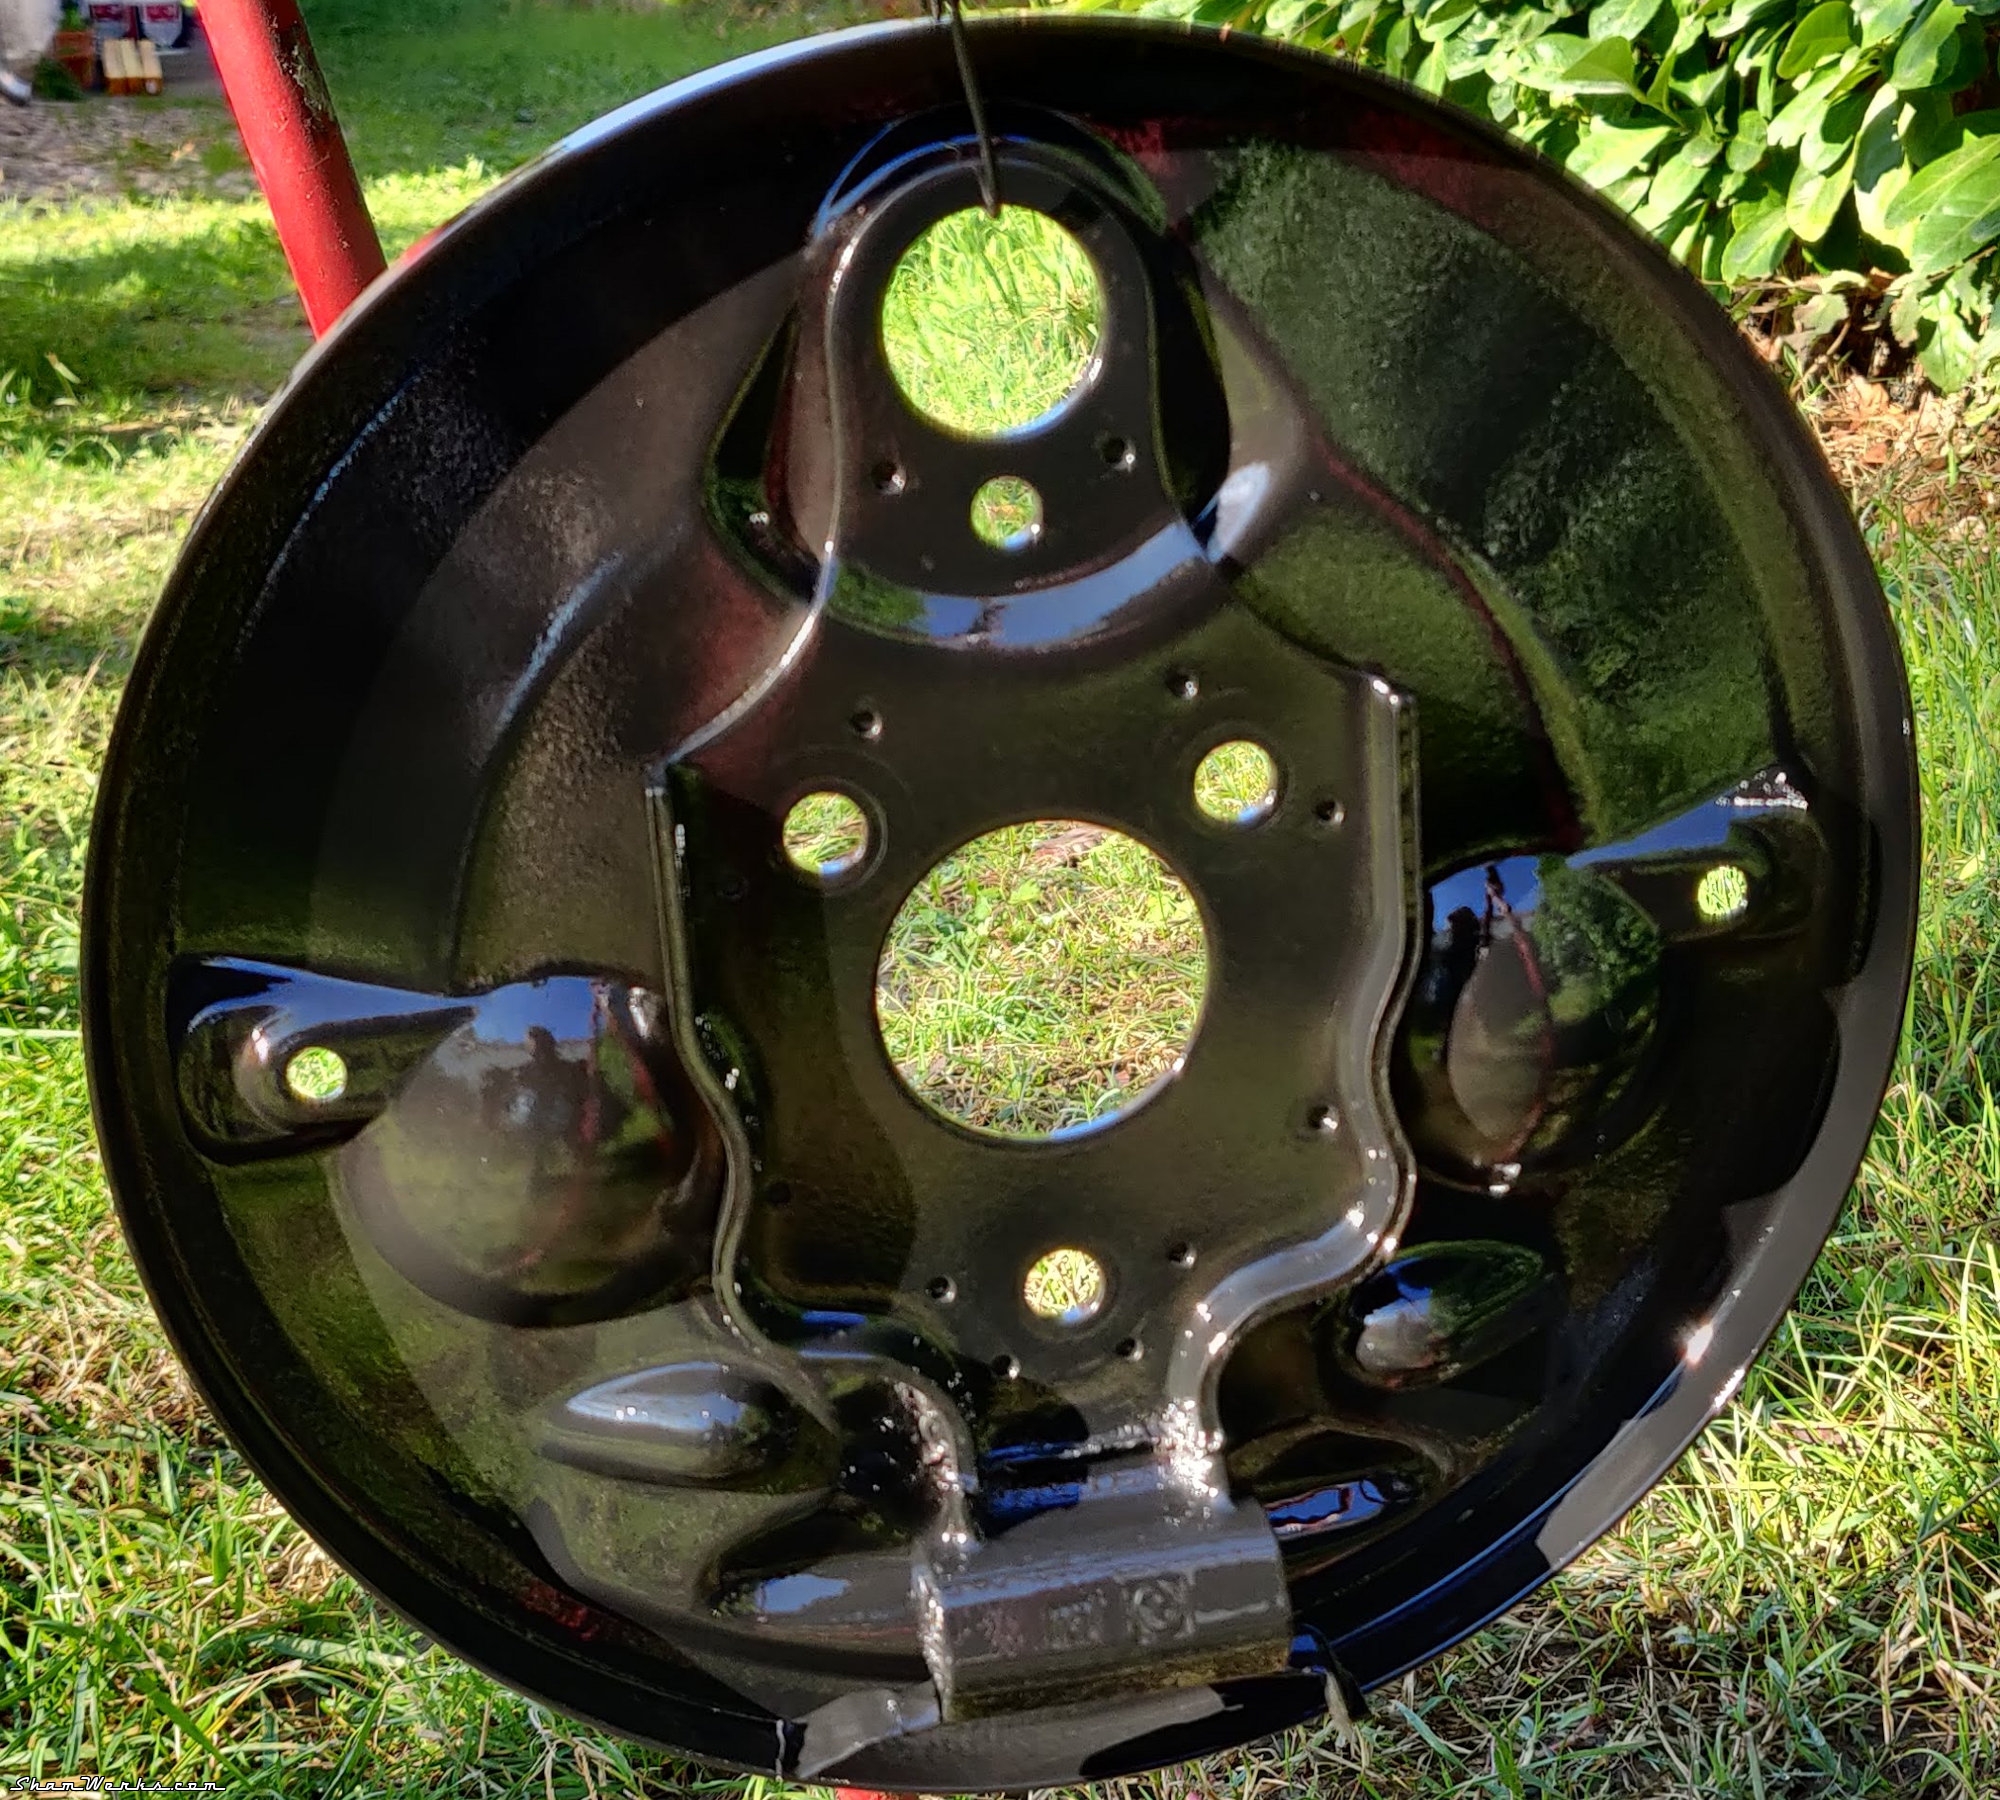
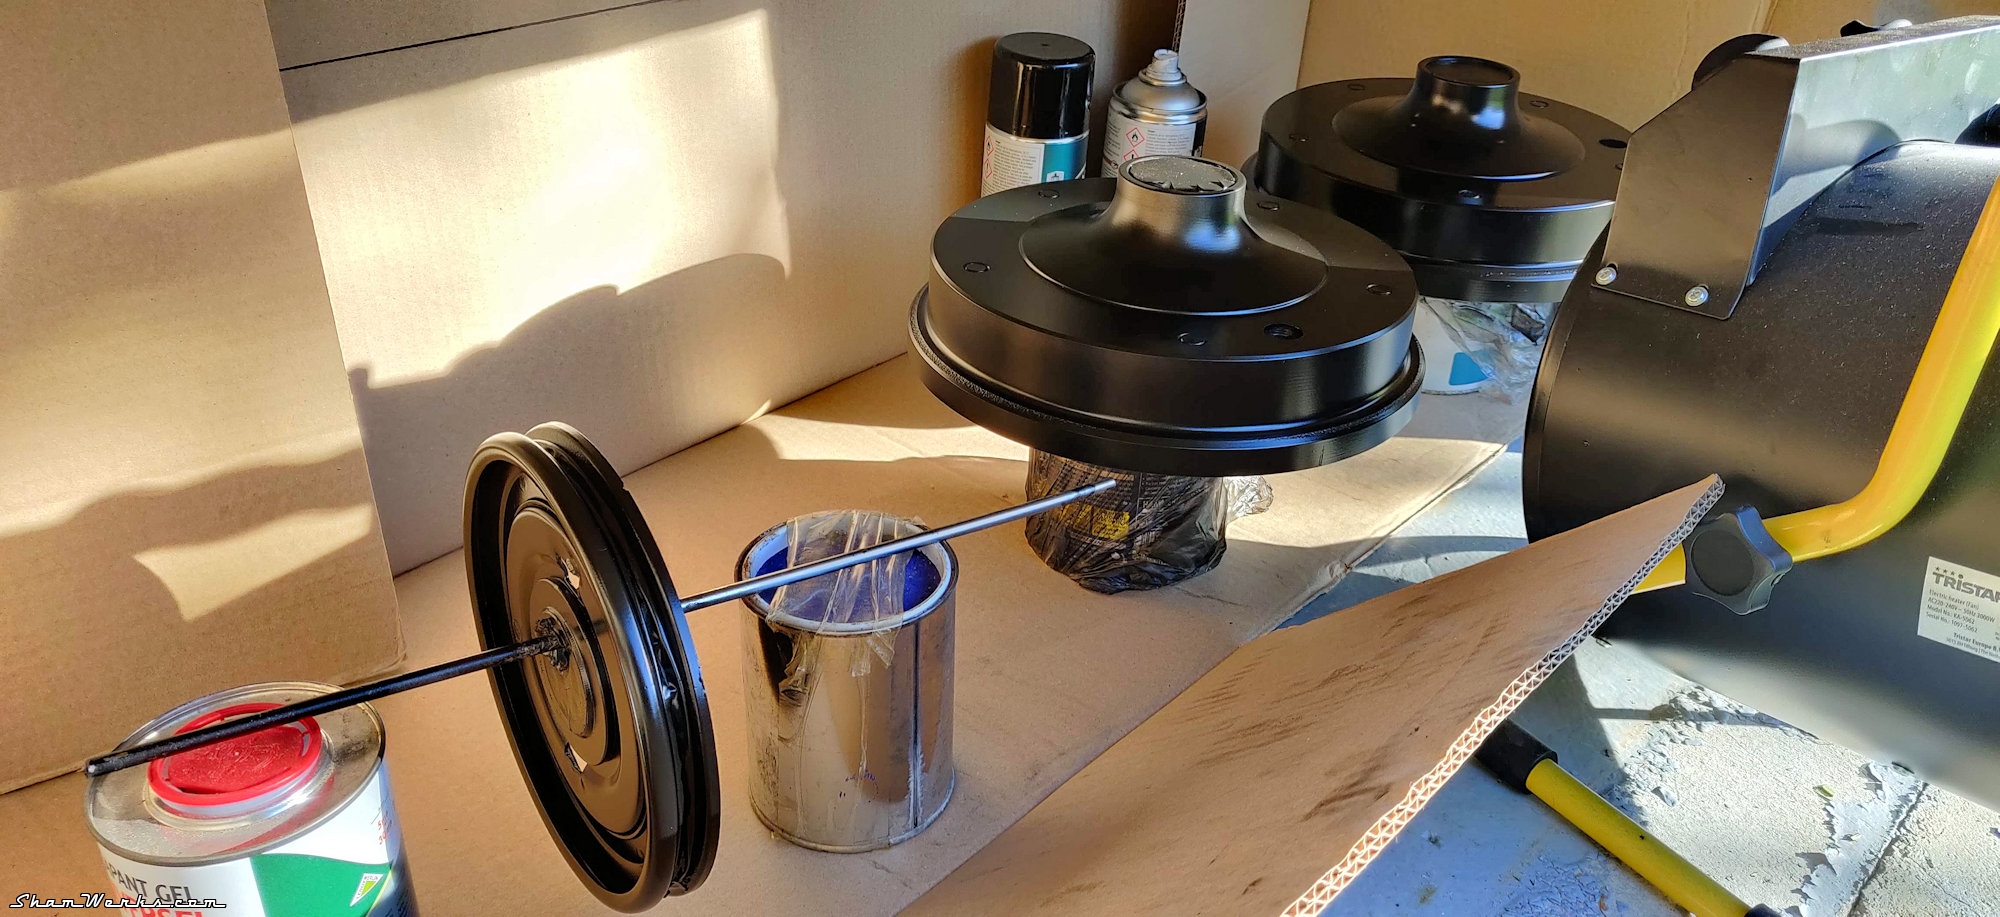
One trick when painting in winter : I'm putting all the parts in a large cardboard box, with a shop heater blowing in front of it. .. This way everything's at the right temperature for the paint to dry correctly. I actually even put parts before the first coat also, to prevent them from being too cold, possibly creating a condensation effect ; the paint spray itself goes in too, to get the paint inside more fluid before spraying.


Front brakes
Same treatment for the front brake plates, except I had to wire-brush them instead of blasting, as being in between workshops, I did not have my air compressor and blasting cabinet at hand.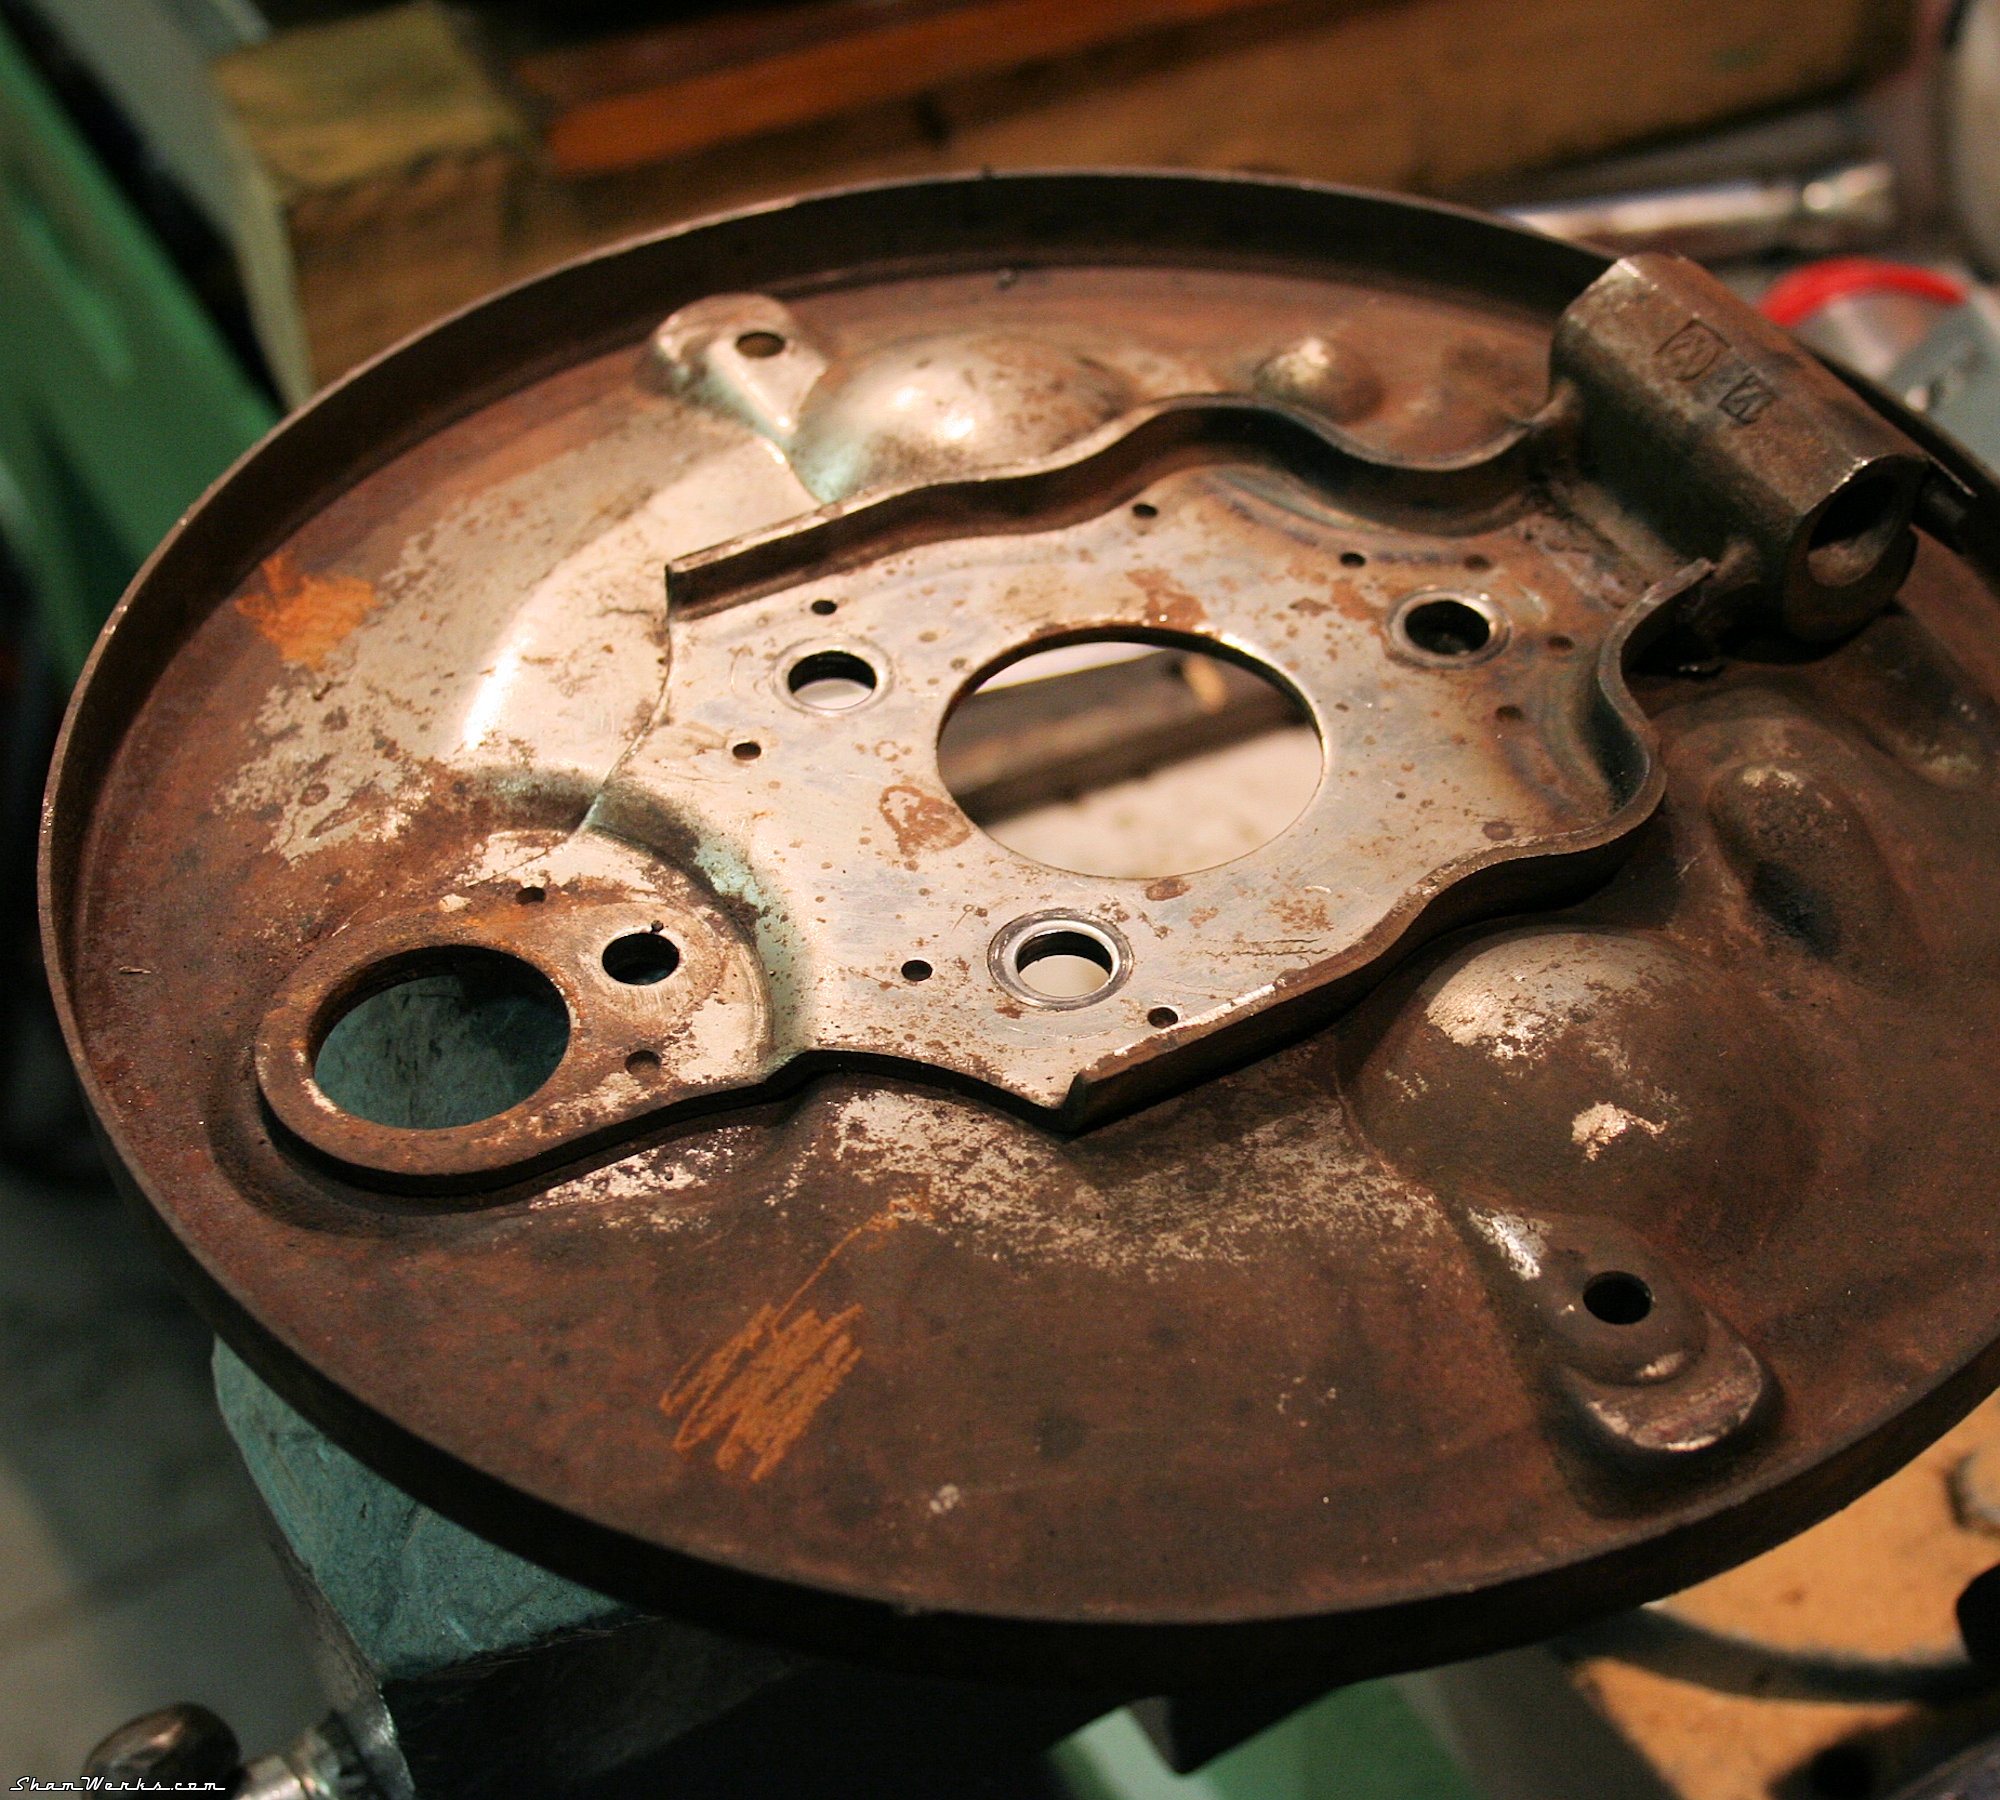

Behind, same thing as in the rear, I had to make a new brake line on the right hand side, the original one being way too crusty.

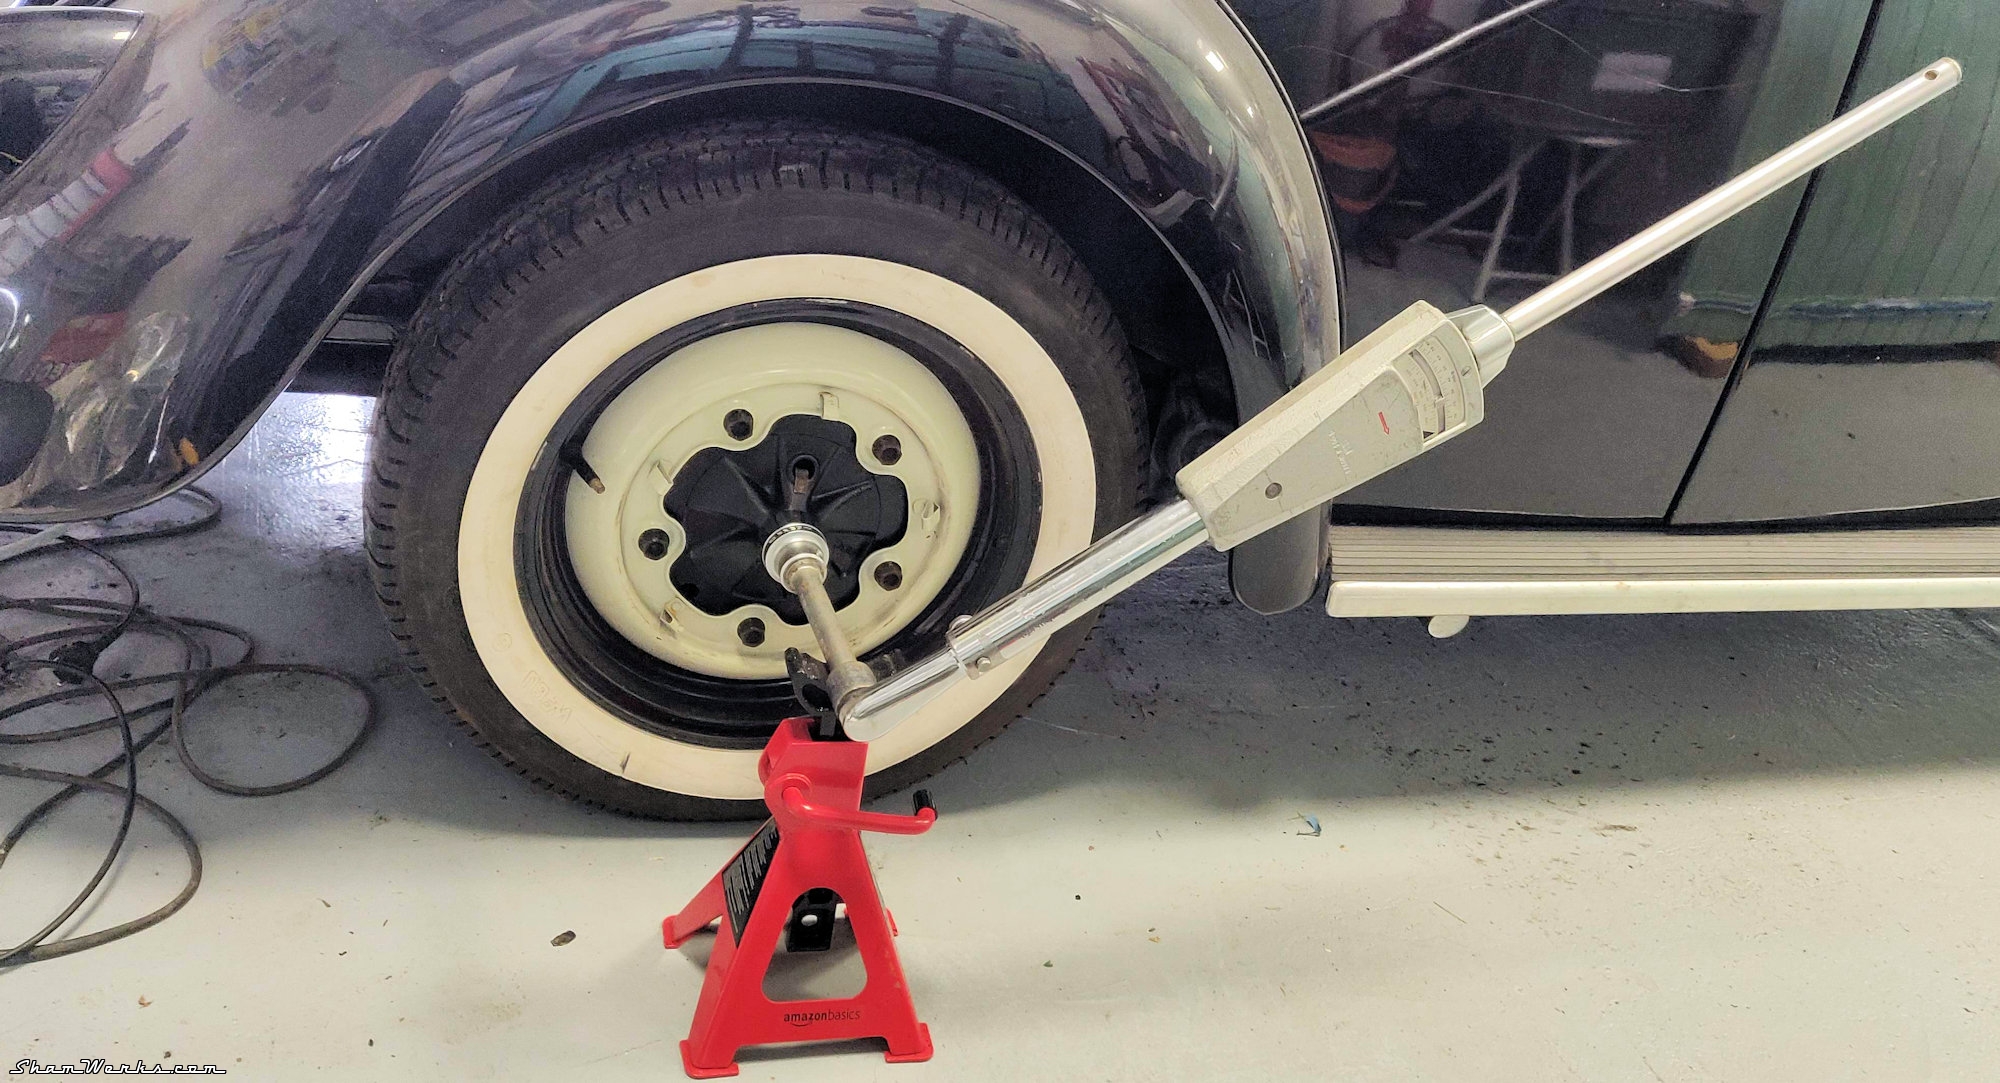
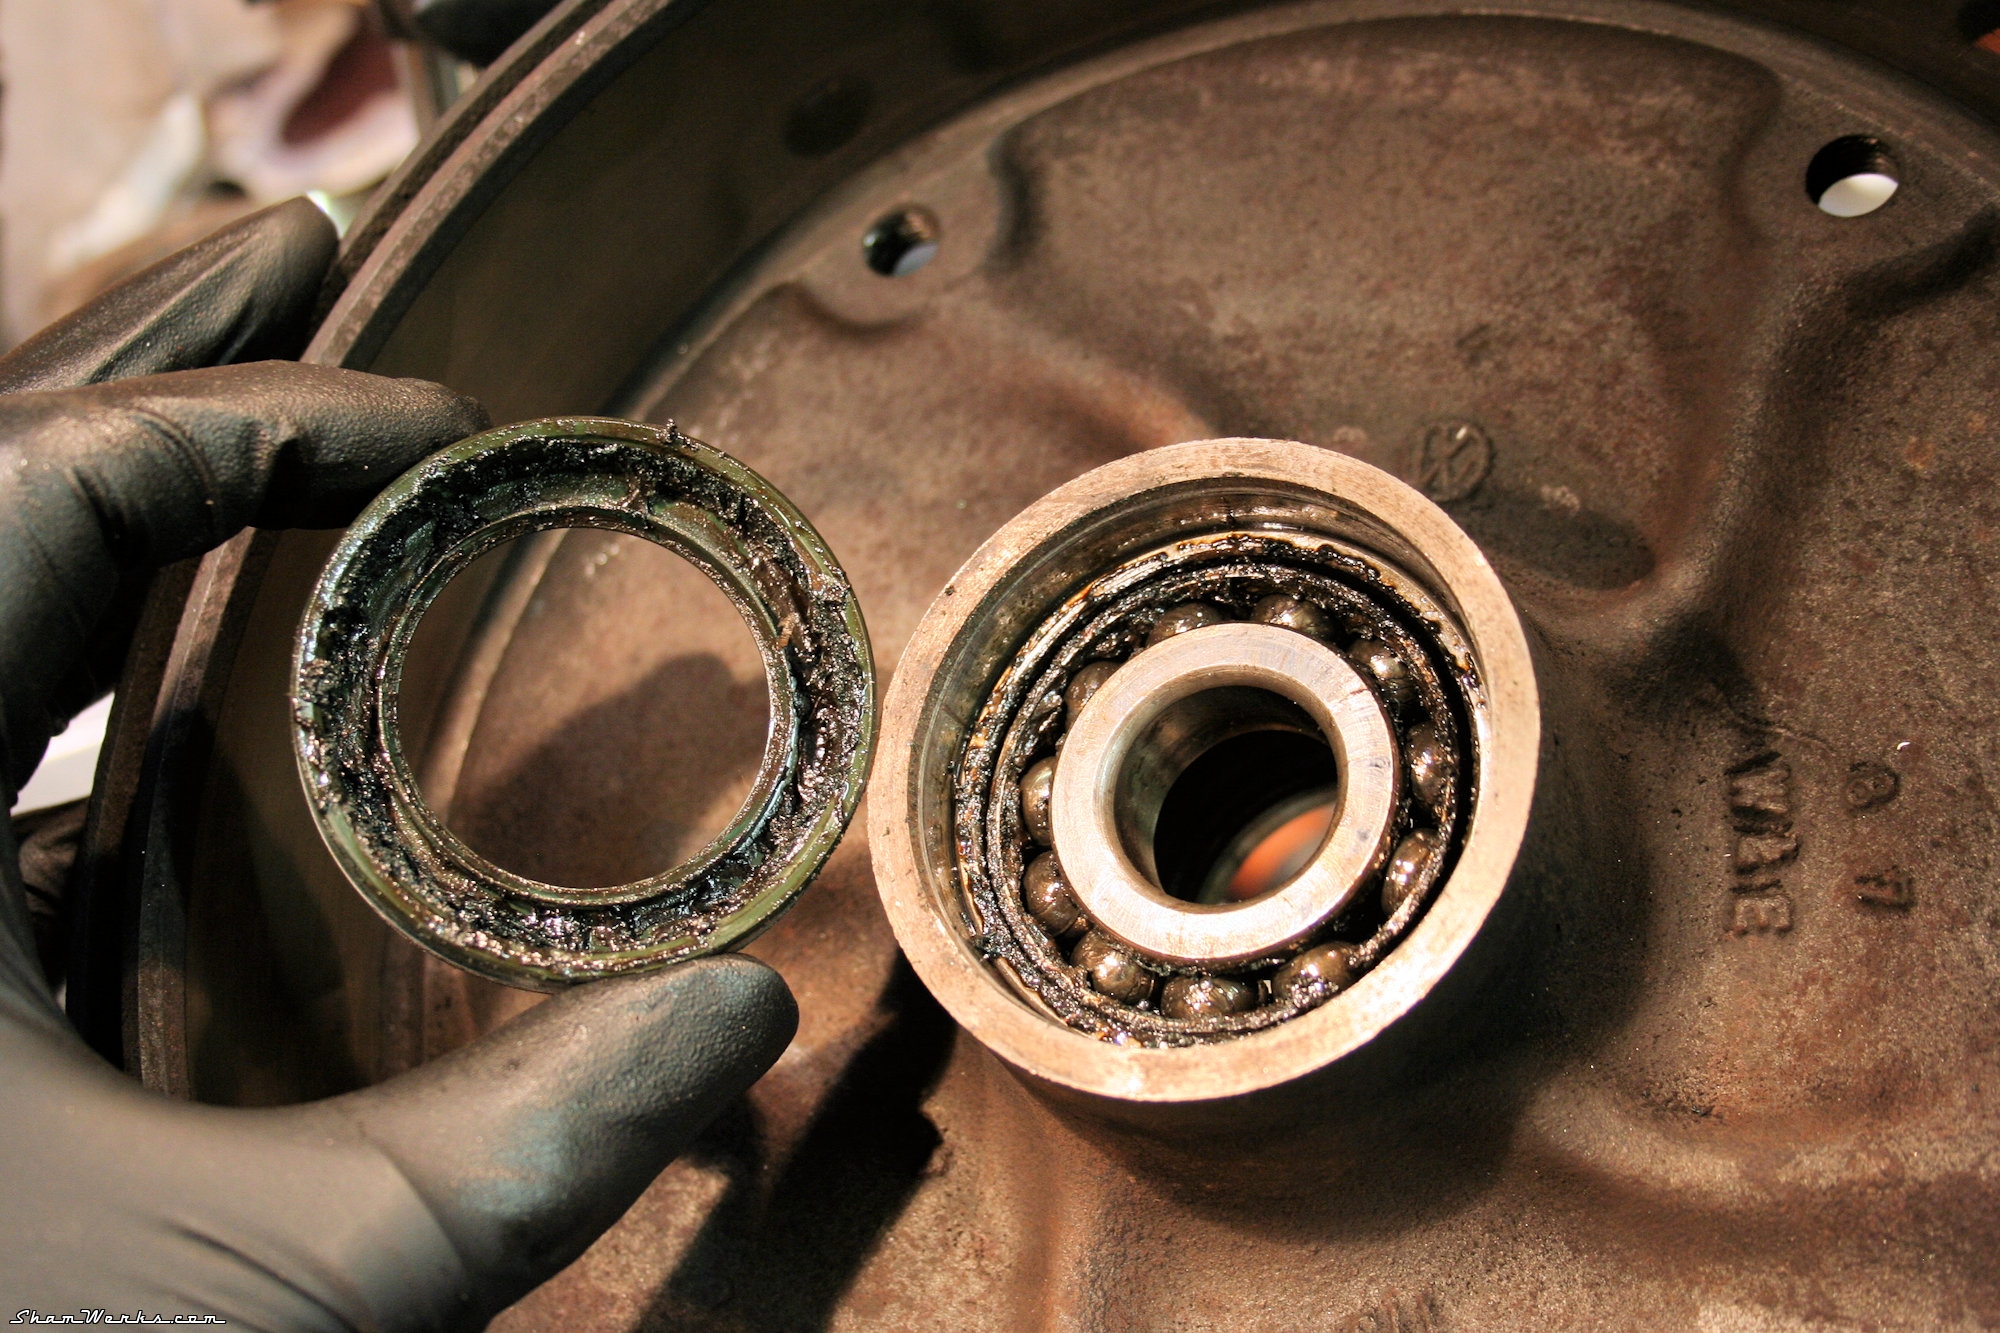
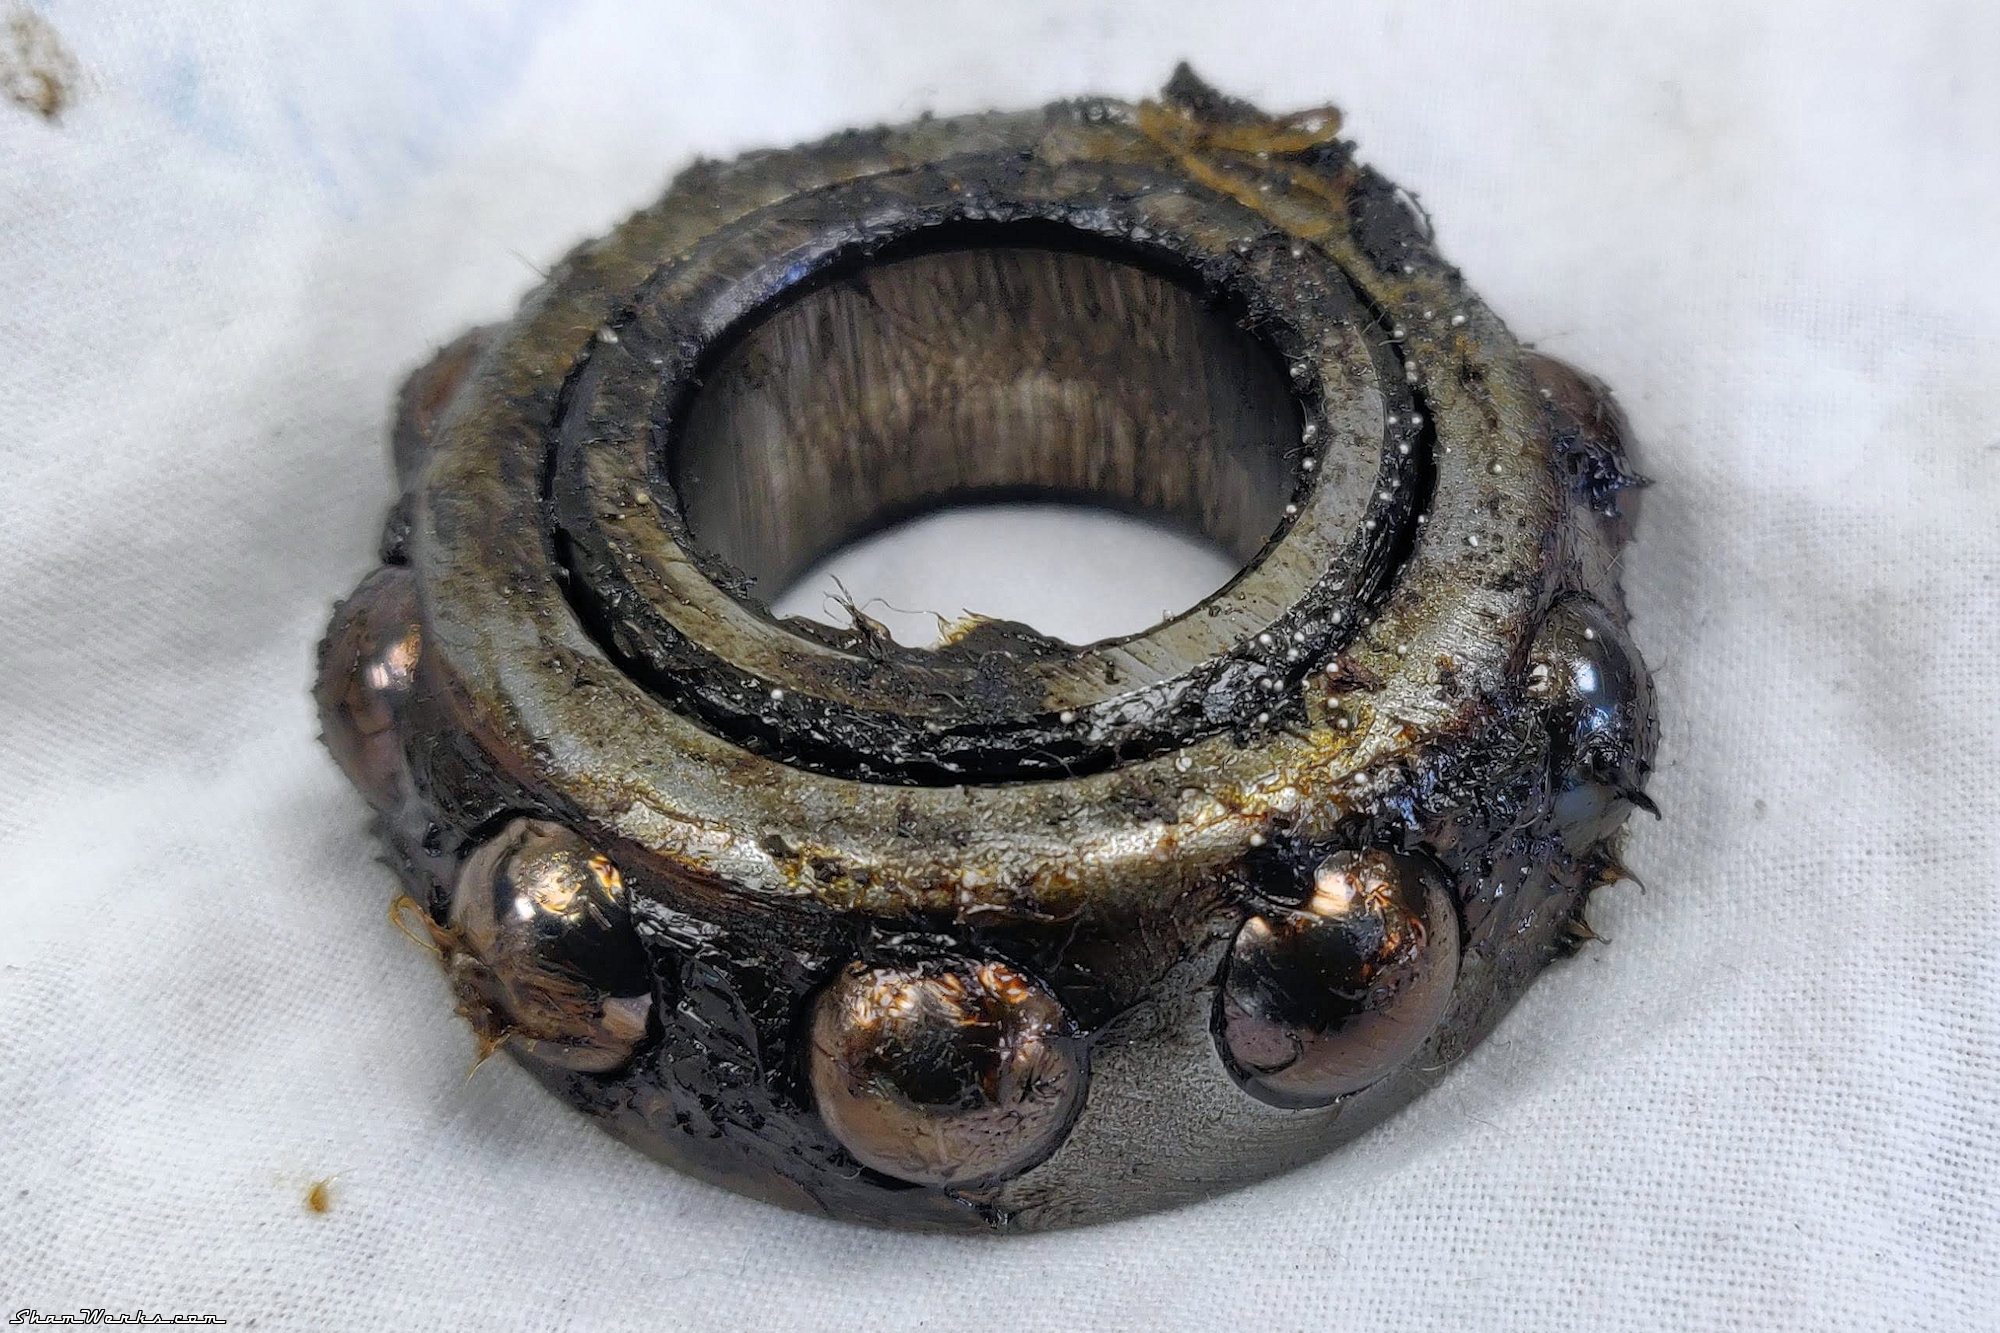
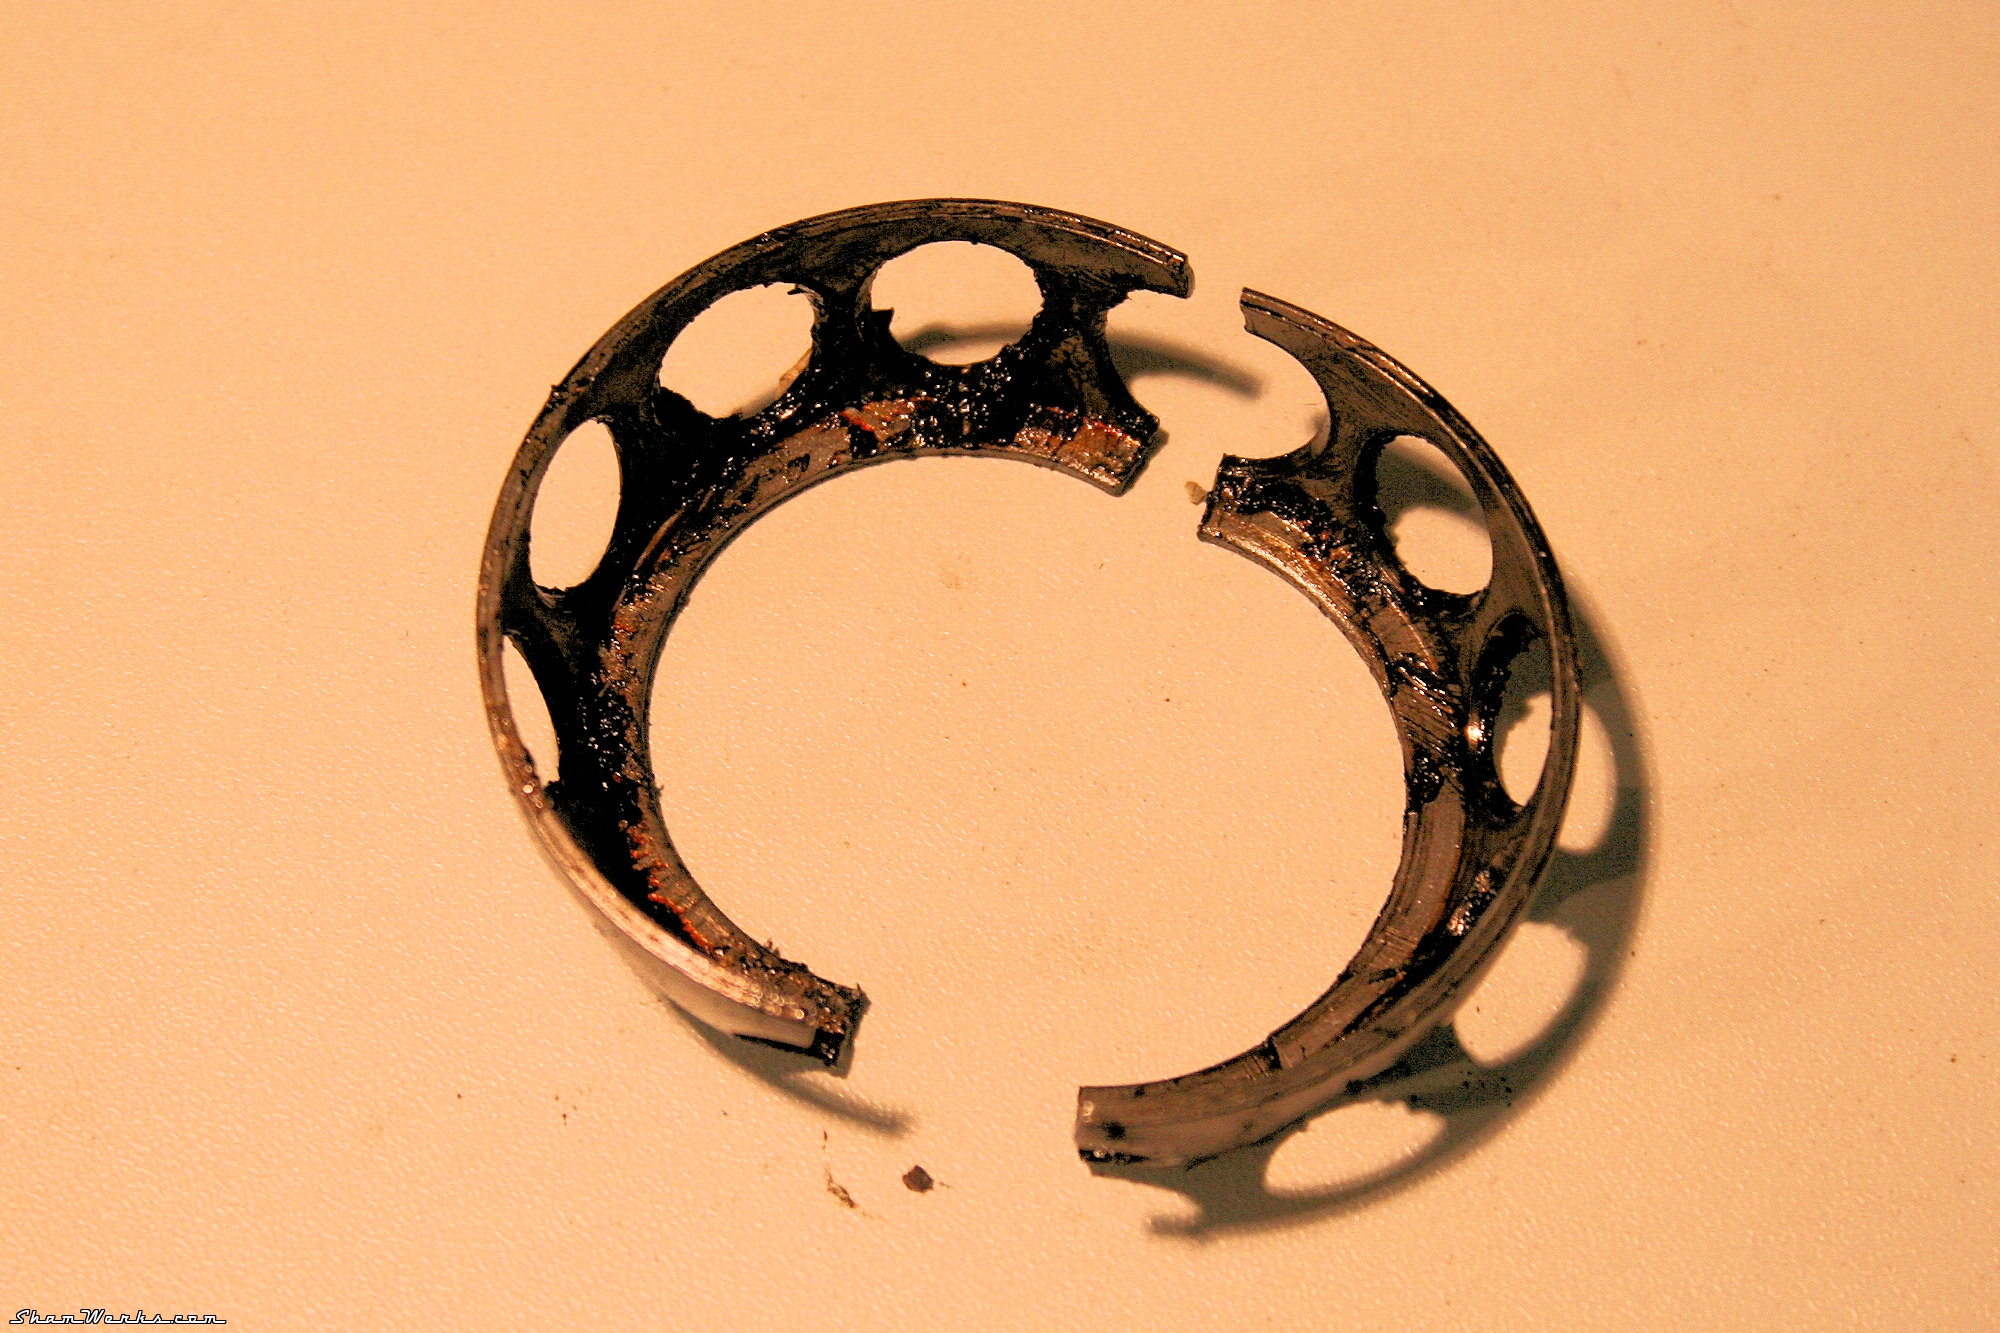
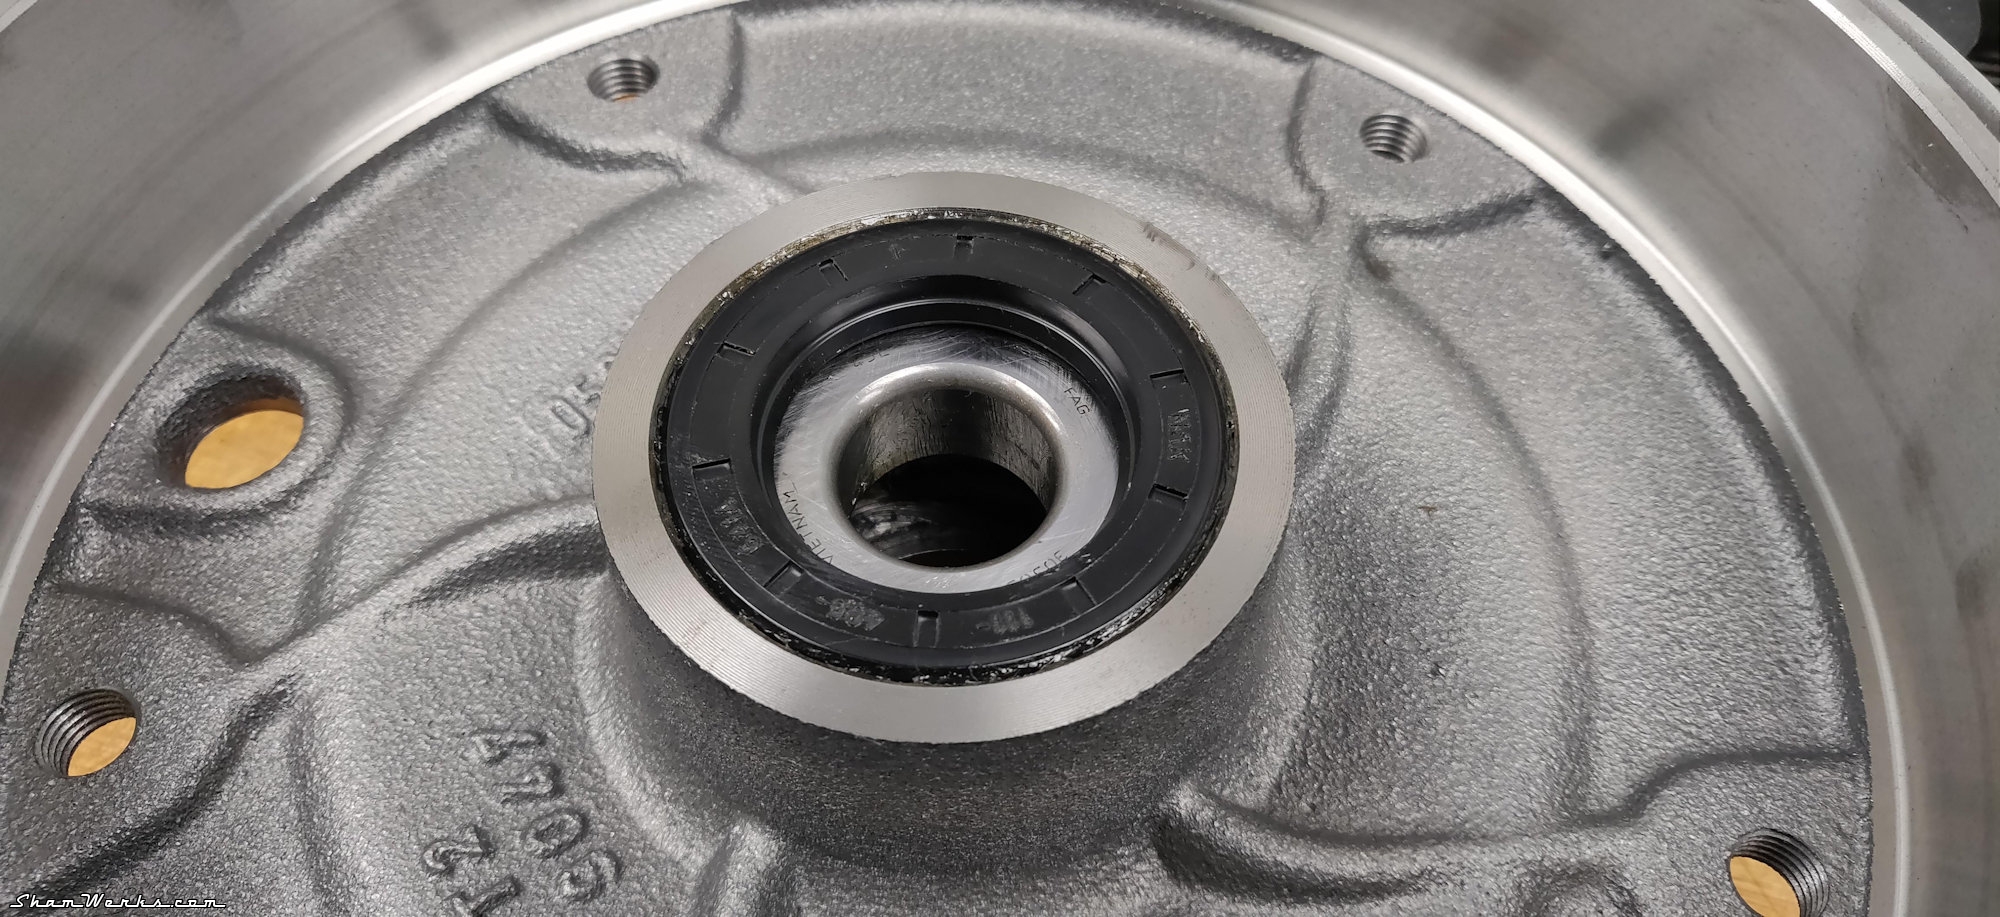
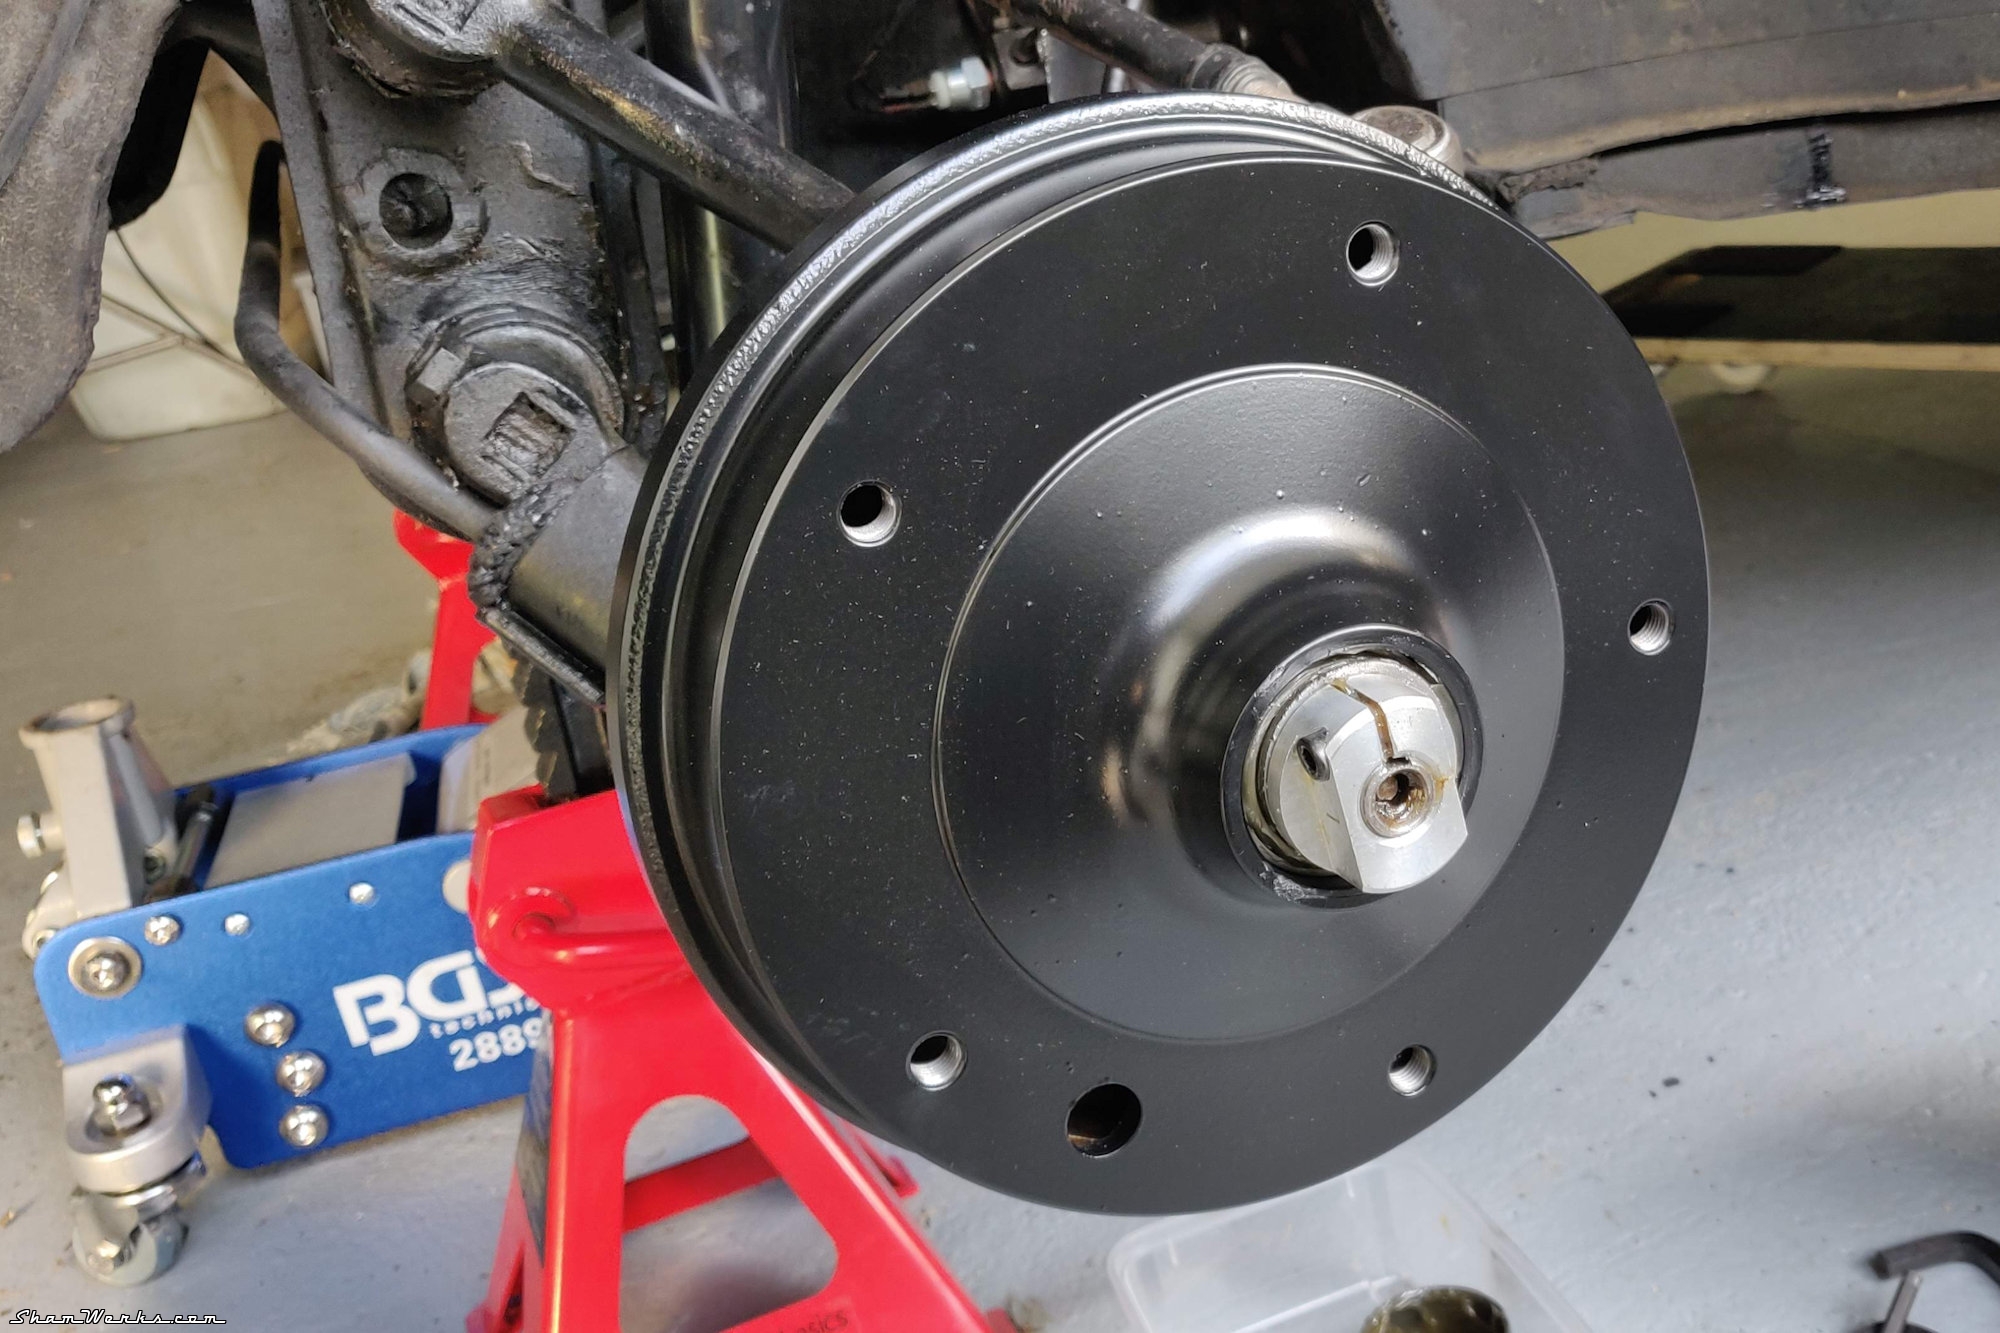
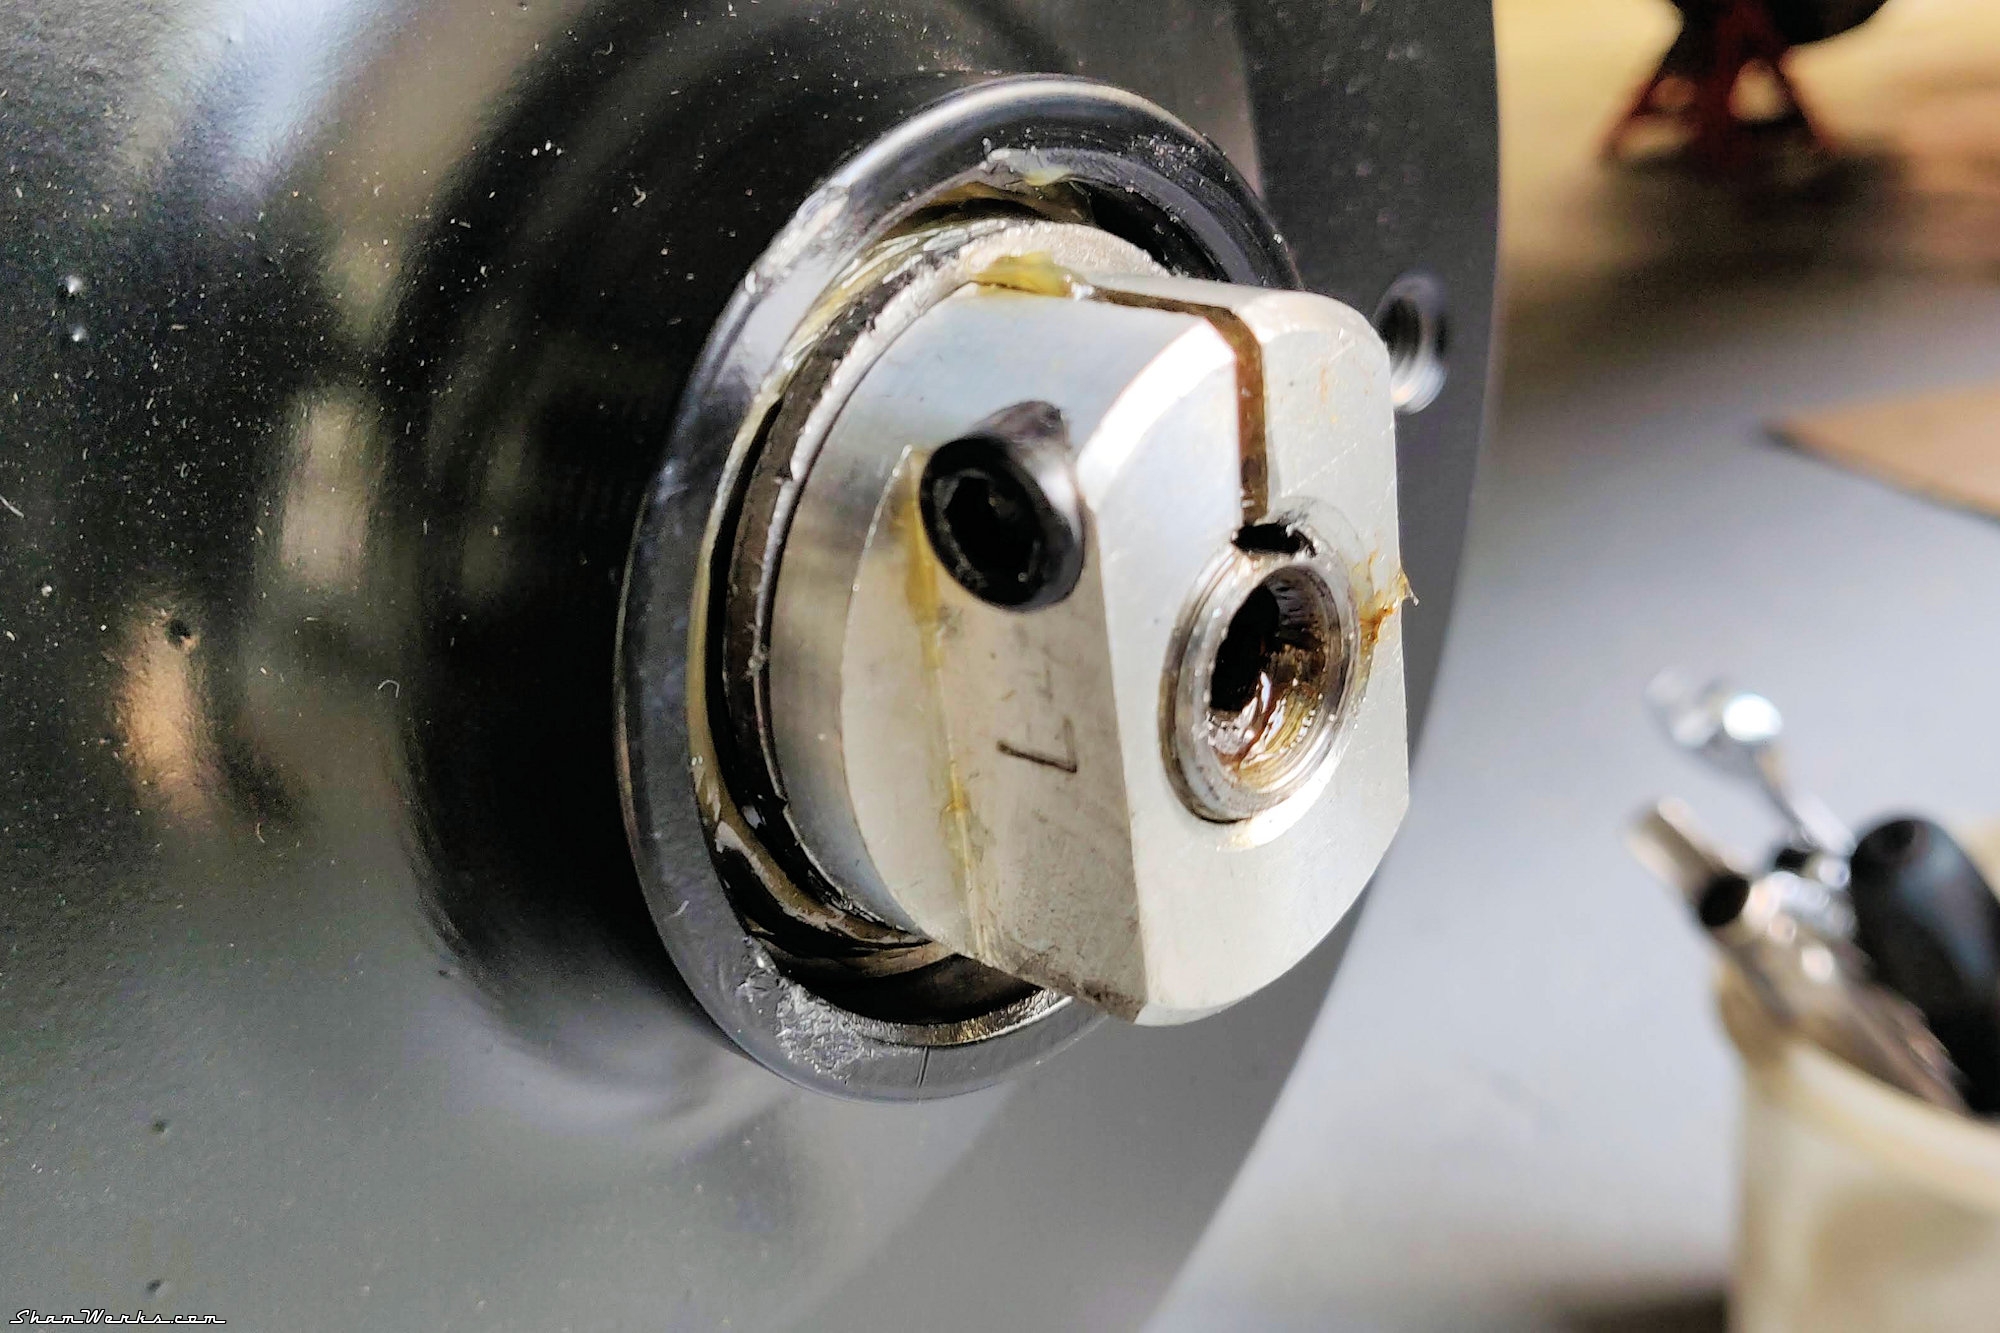
The bearings were cooked : broken cage, balls falling away, steel filling in the grease... It was time to get them replaced. Those I mount instead feature conical rollers, which looks more "mechanical" to me than the original ball bearings.
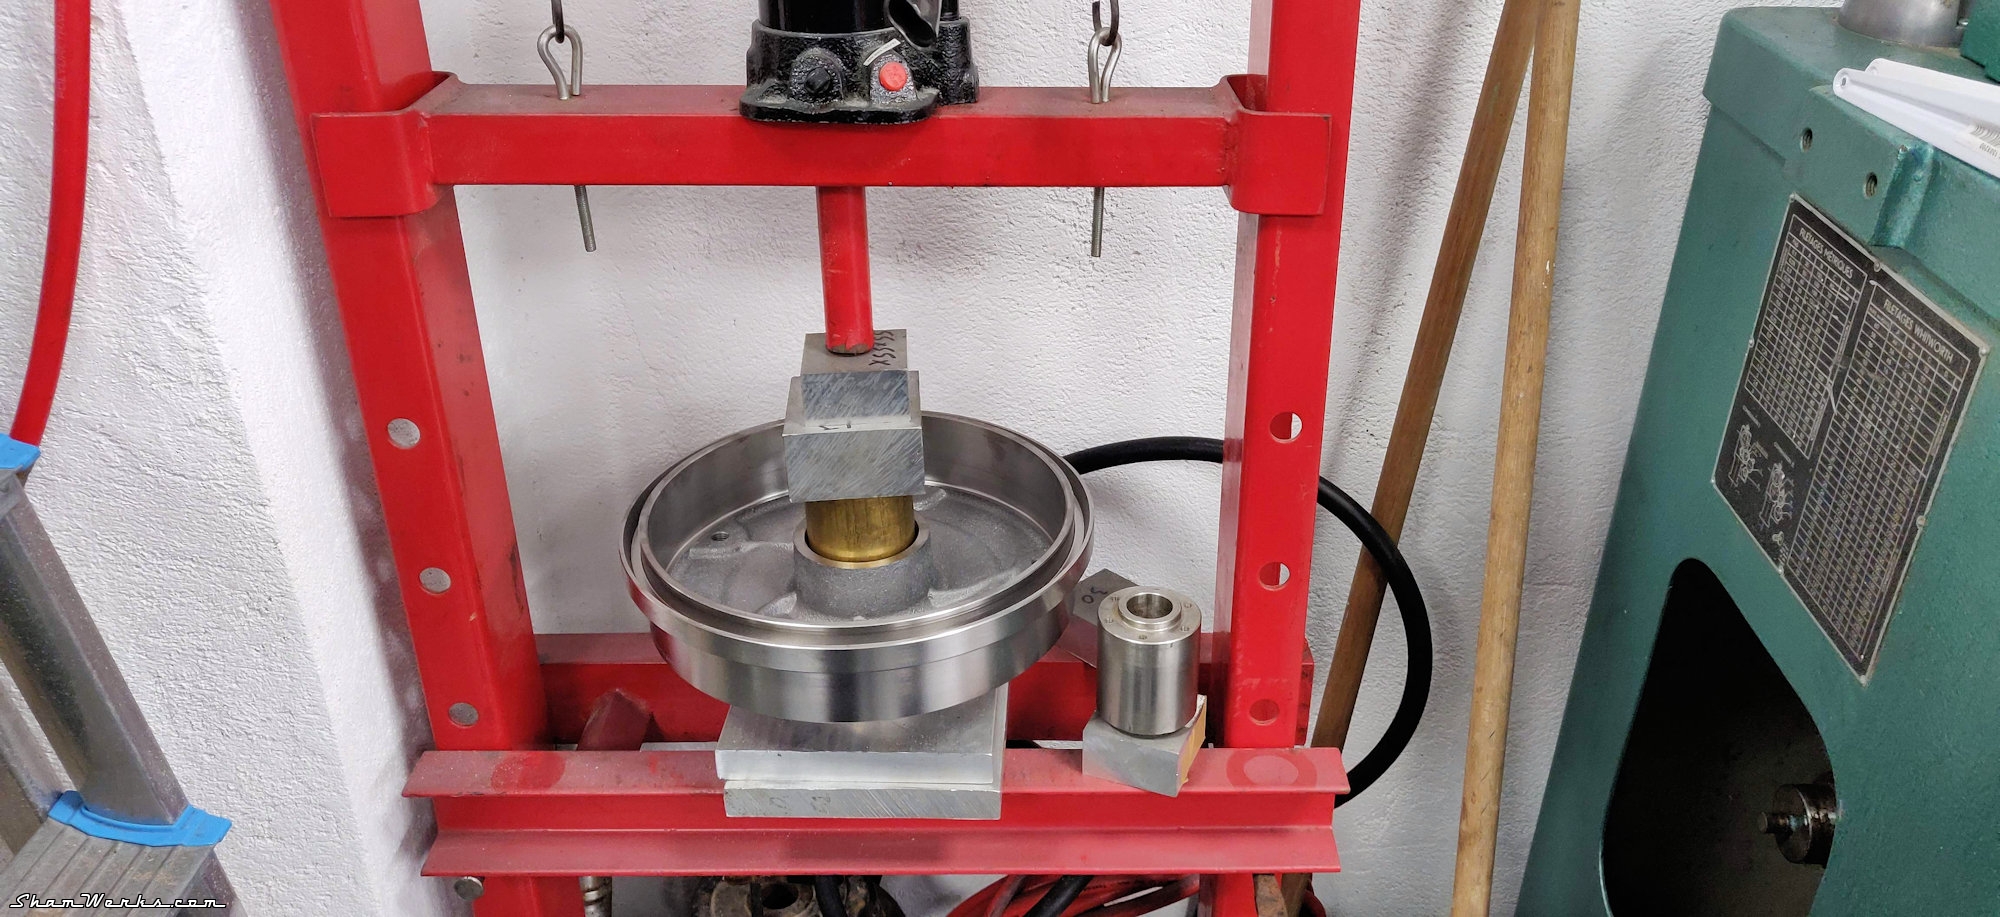
I remove and re-install the bearings with the hydraulic press I found throw away on the curb - it's always worth having a look there, one man's trash being another's treasure and all this. 😁😁

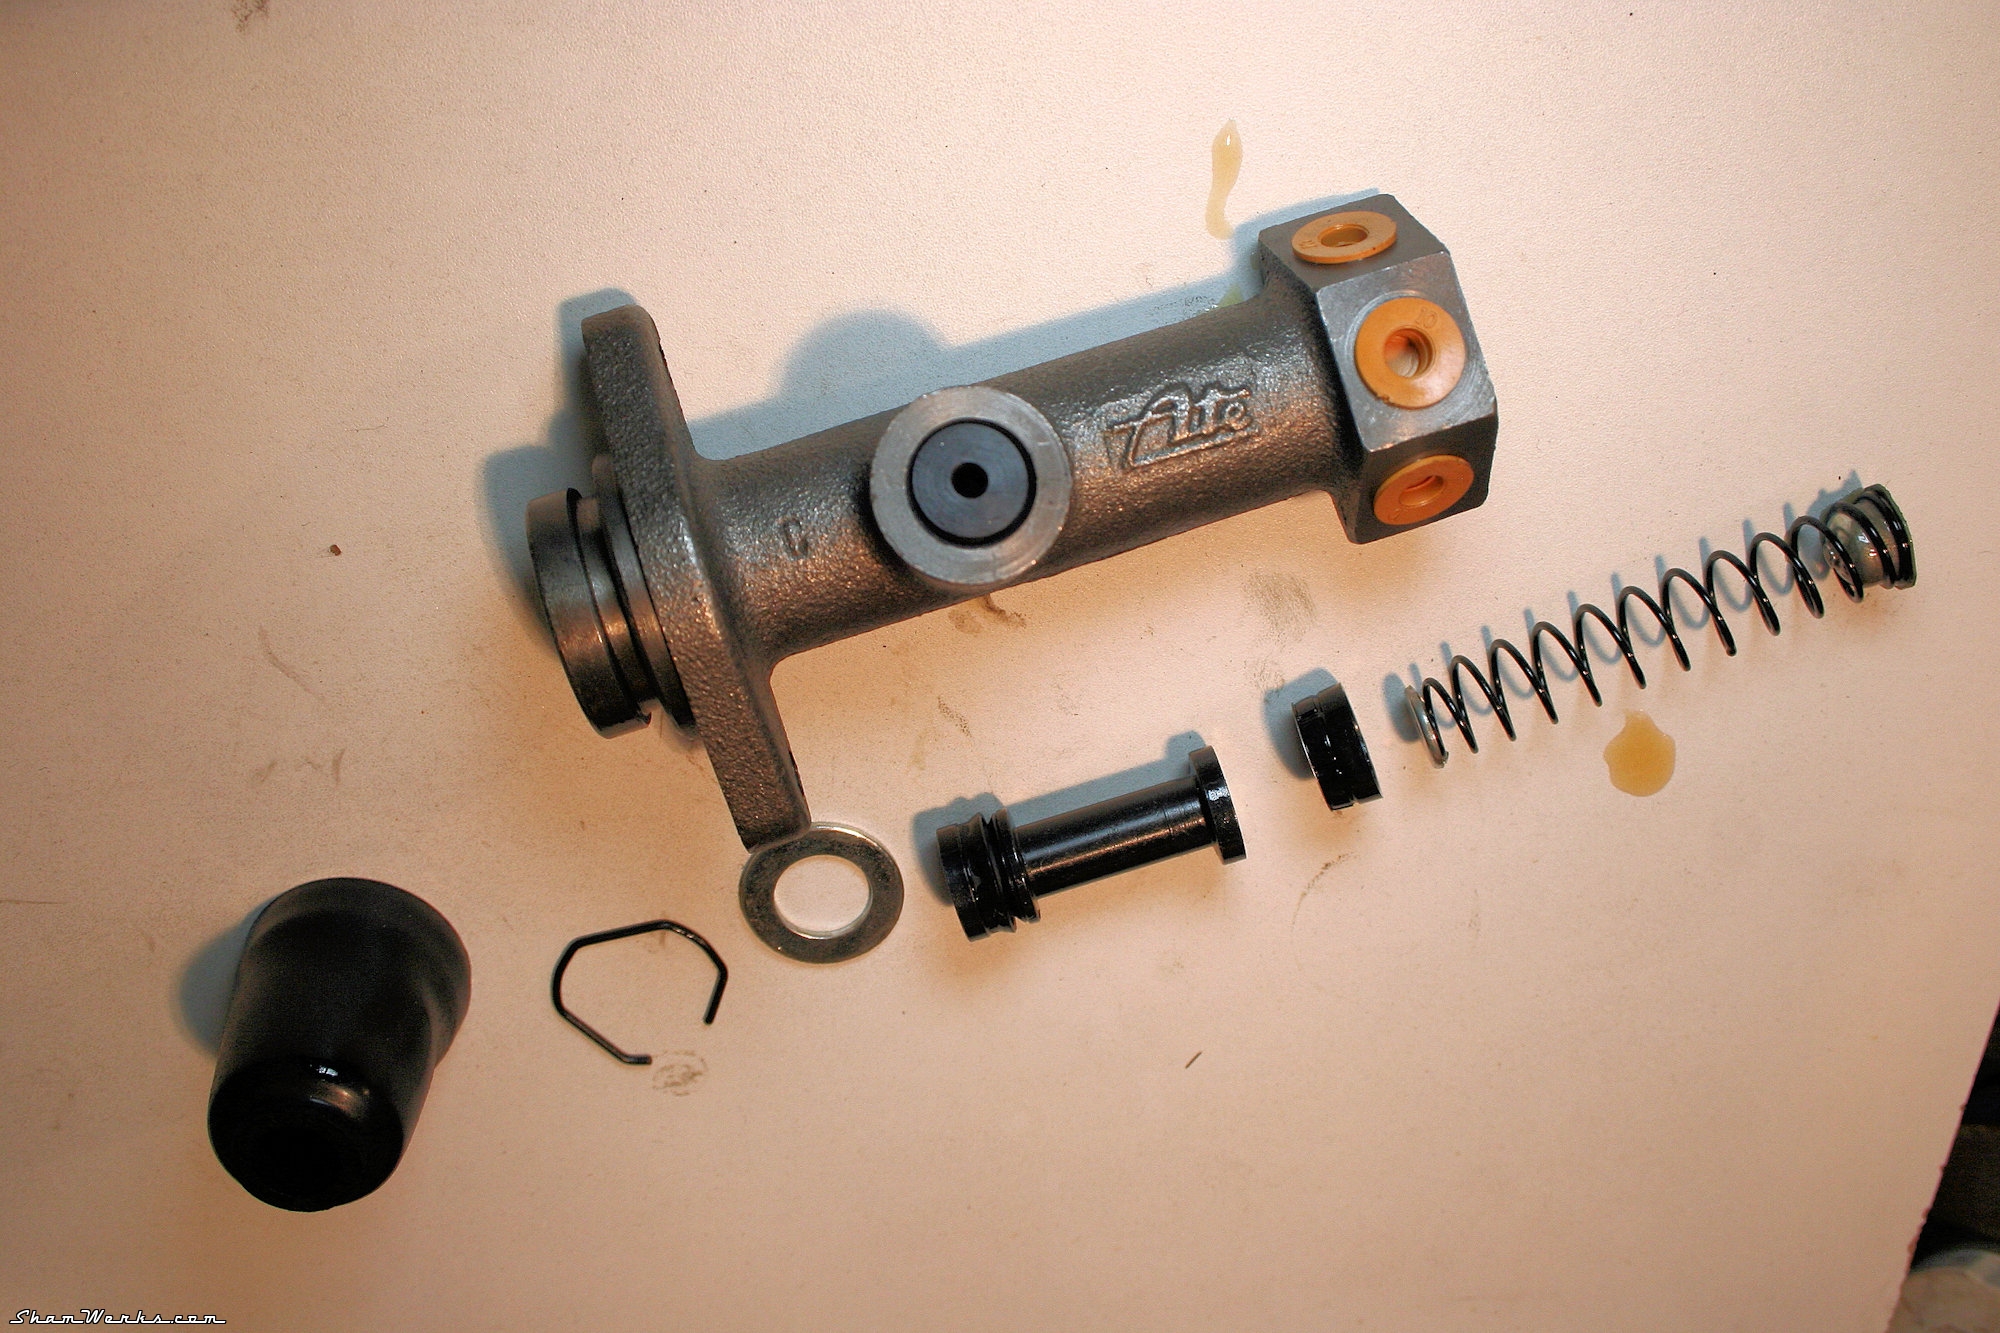
Pedals assembly
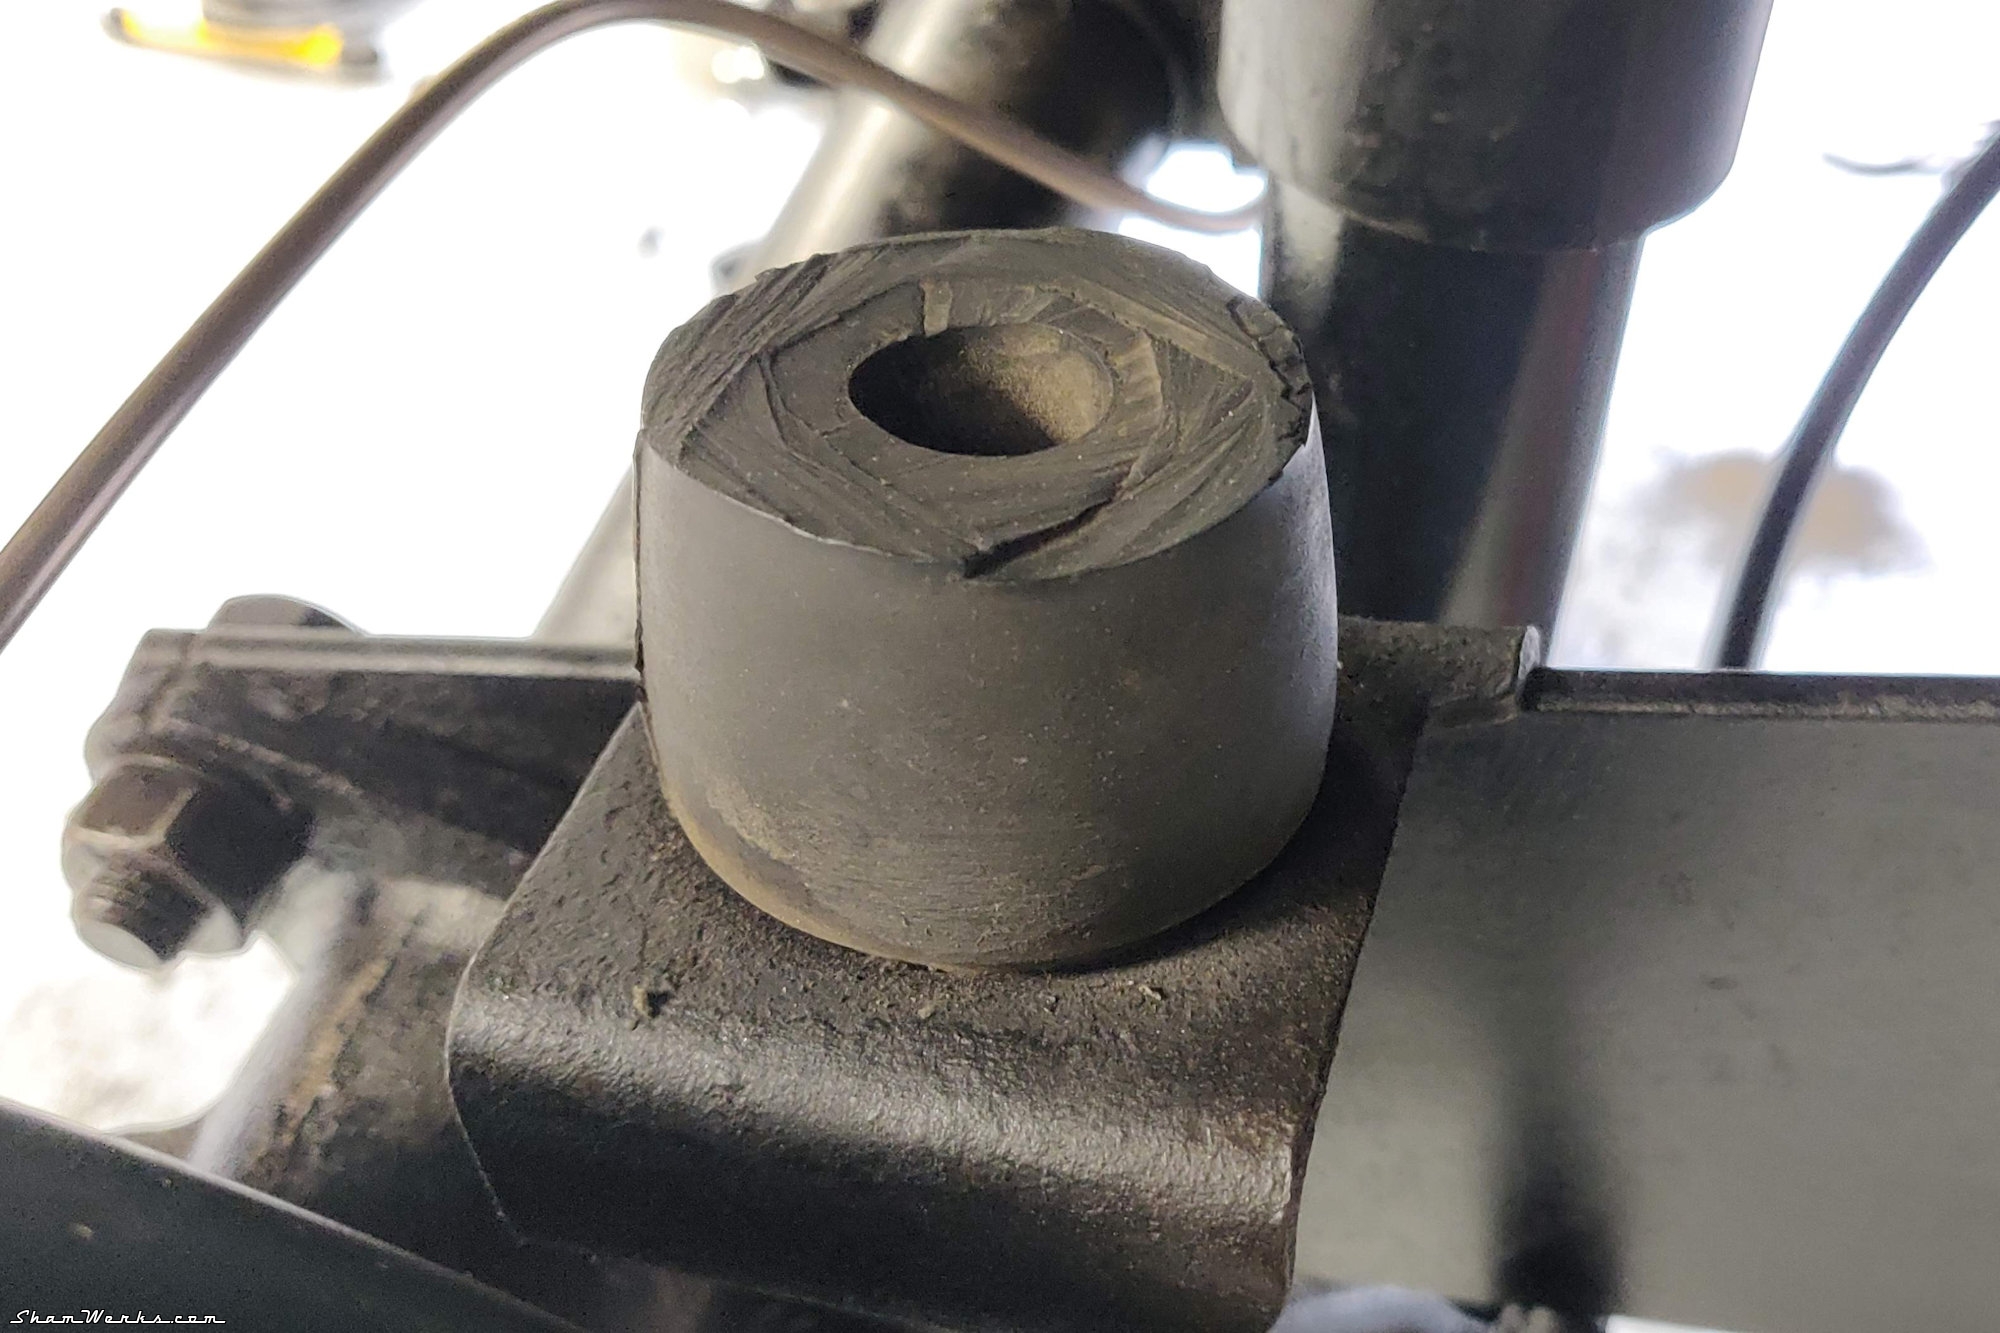
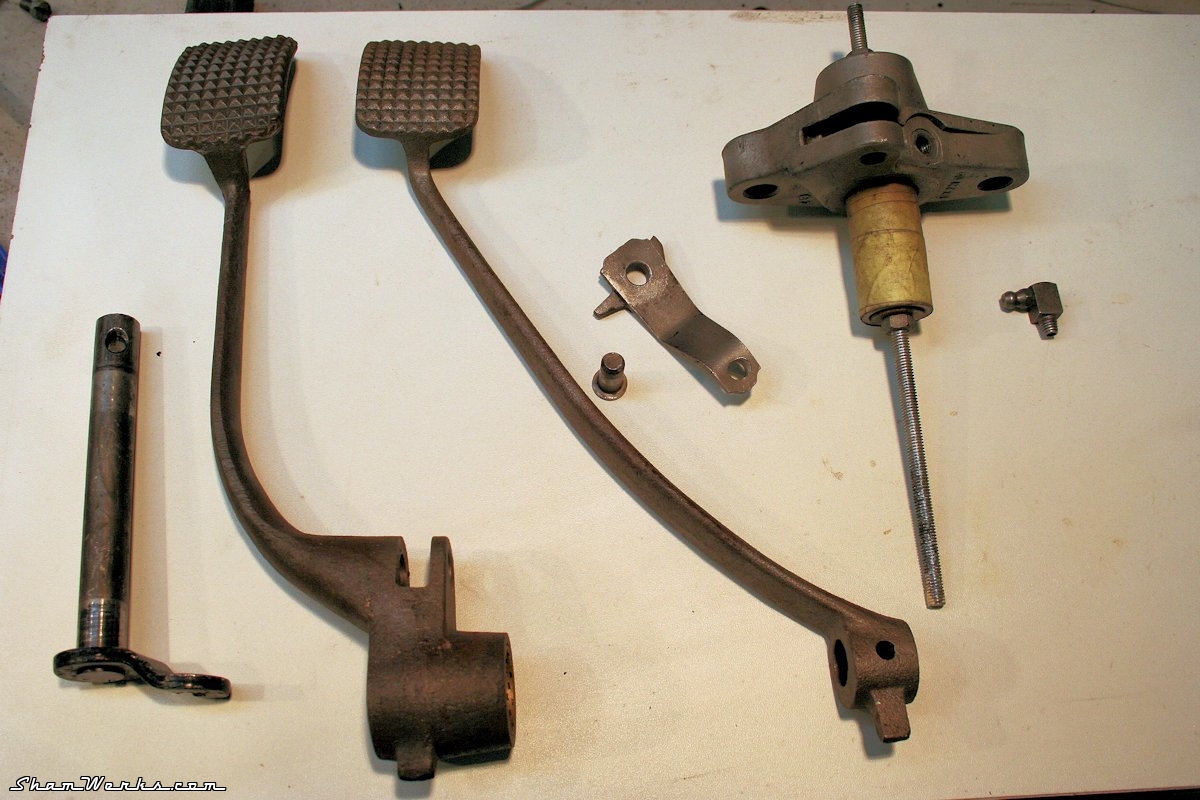
In for a penny, in for a pound (make it cent & dollar if you're a yankee) : let's rebuilt the pedals assembly while I'm at it. The previous owner of this car repainted some parts with this ugly "vanilla-yellowish" color that I cannot stand anymore. So I repaint the whole pedal assembly, in L87 PearlWeiss, just like the wheels. Paint stripper, blasting, primer, 3 coats of paint : much better. 😉I'm using a rattle spray can L87 from Sprido, priced at 18.50€. Result looks clean, I'll probably use the same on the steering wheel when I get there.
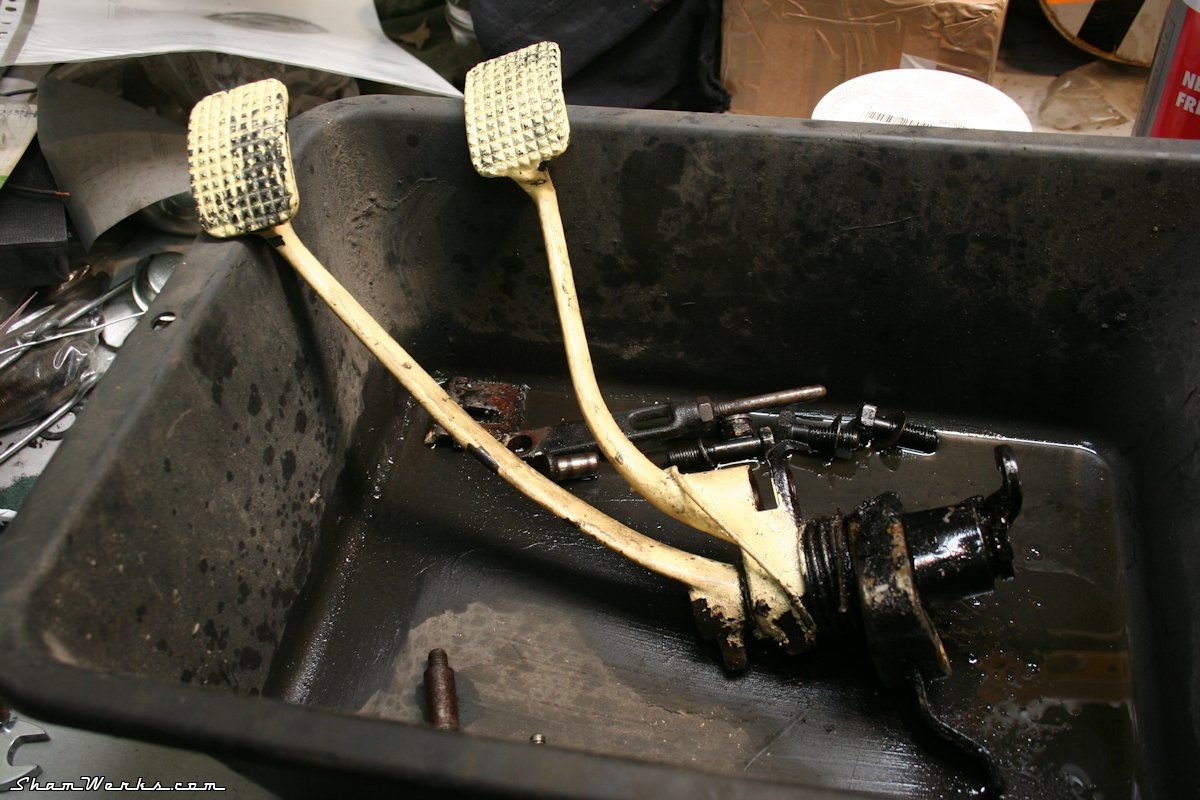
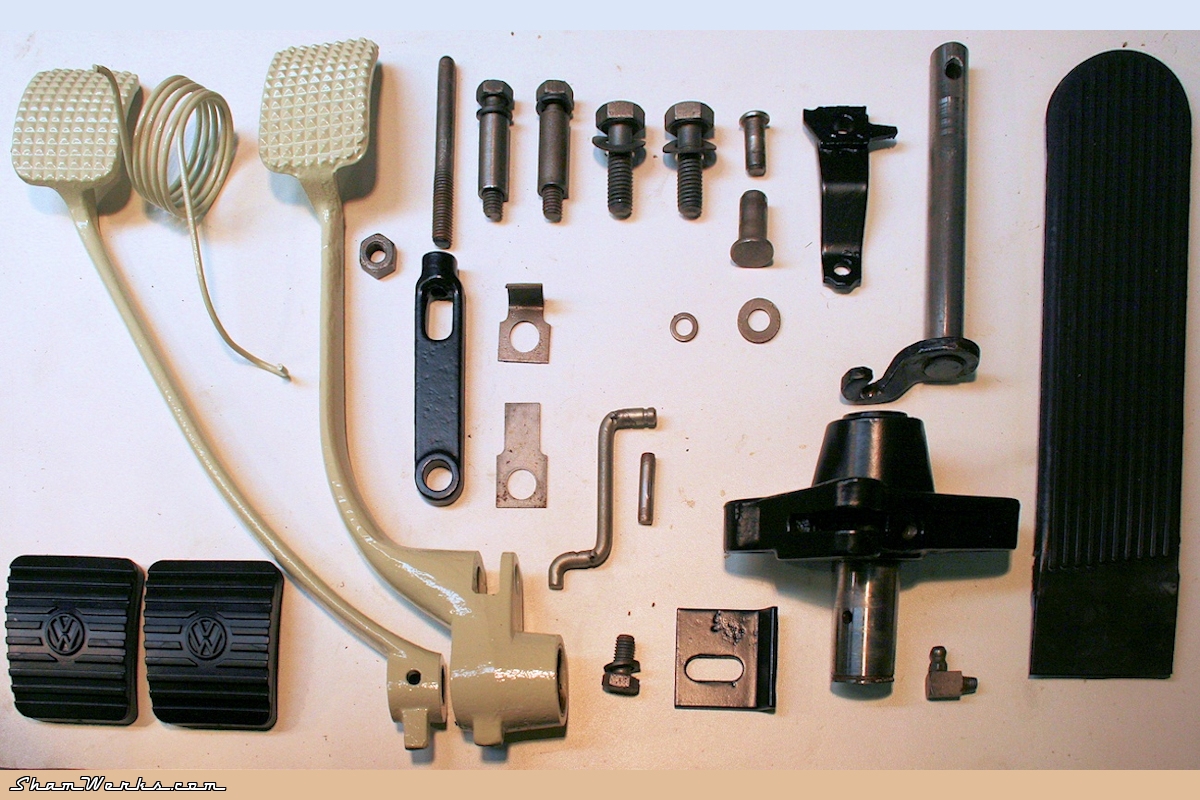
This yellowish horror had already been repainted on the hand brake lever, gear selector and wheels, back when I had given the whole exterior a lick of paint... in 1998! 😁

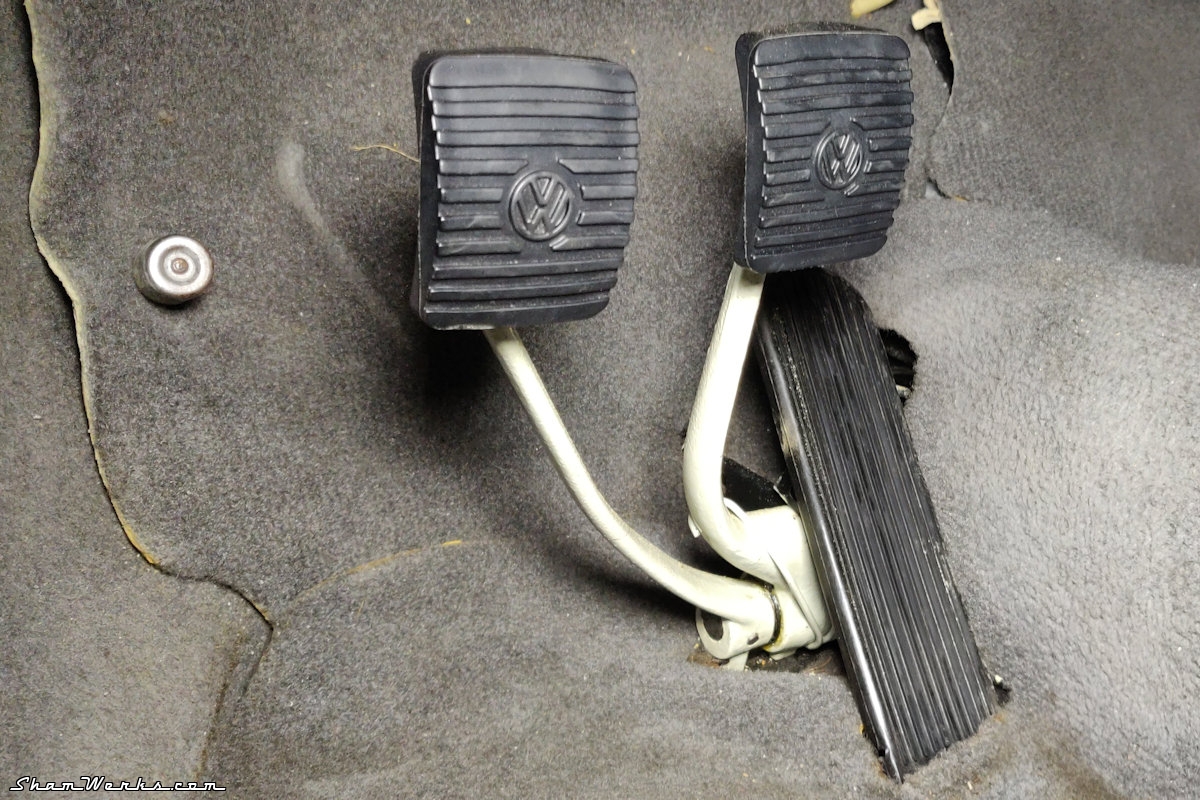
But nothing being simple ever, the clutch cable wasn't the right model, too short, and the throttle one was kinda sticky... Anyway, after I took everything out, replaced the clutch cable, it finally works perfectly. Pumped some grease in the pedal assembly, and the feeling/touch of the pedals is completely different, much smoother. We'll see when driving!
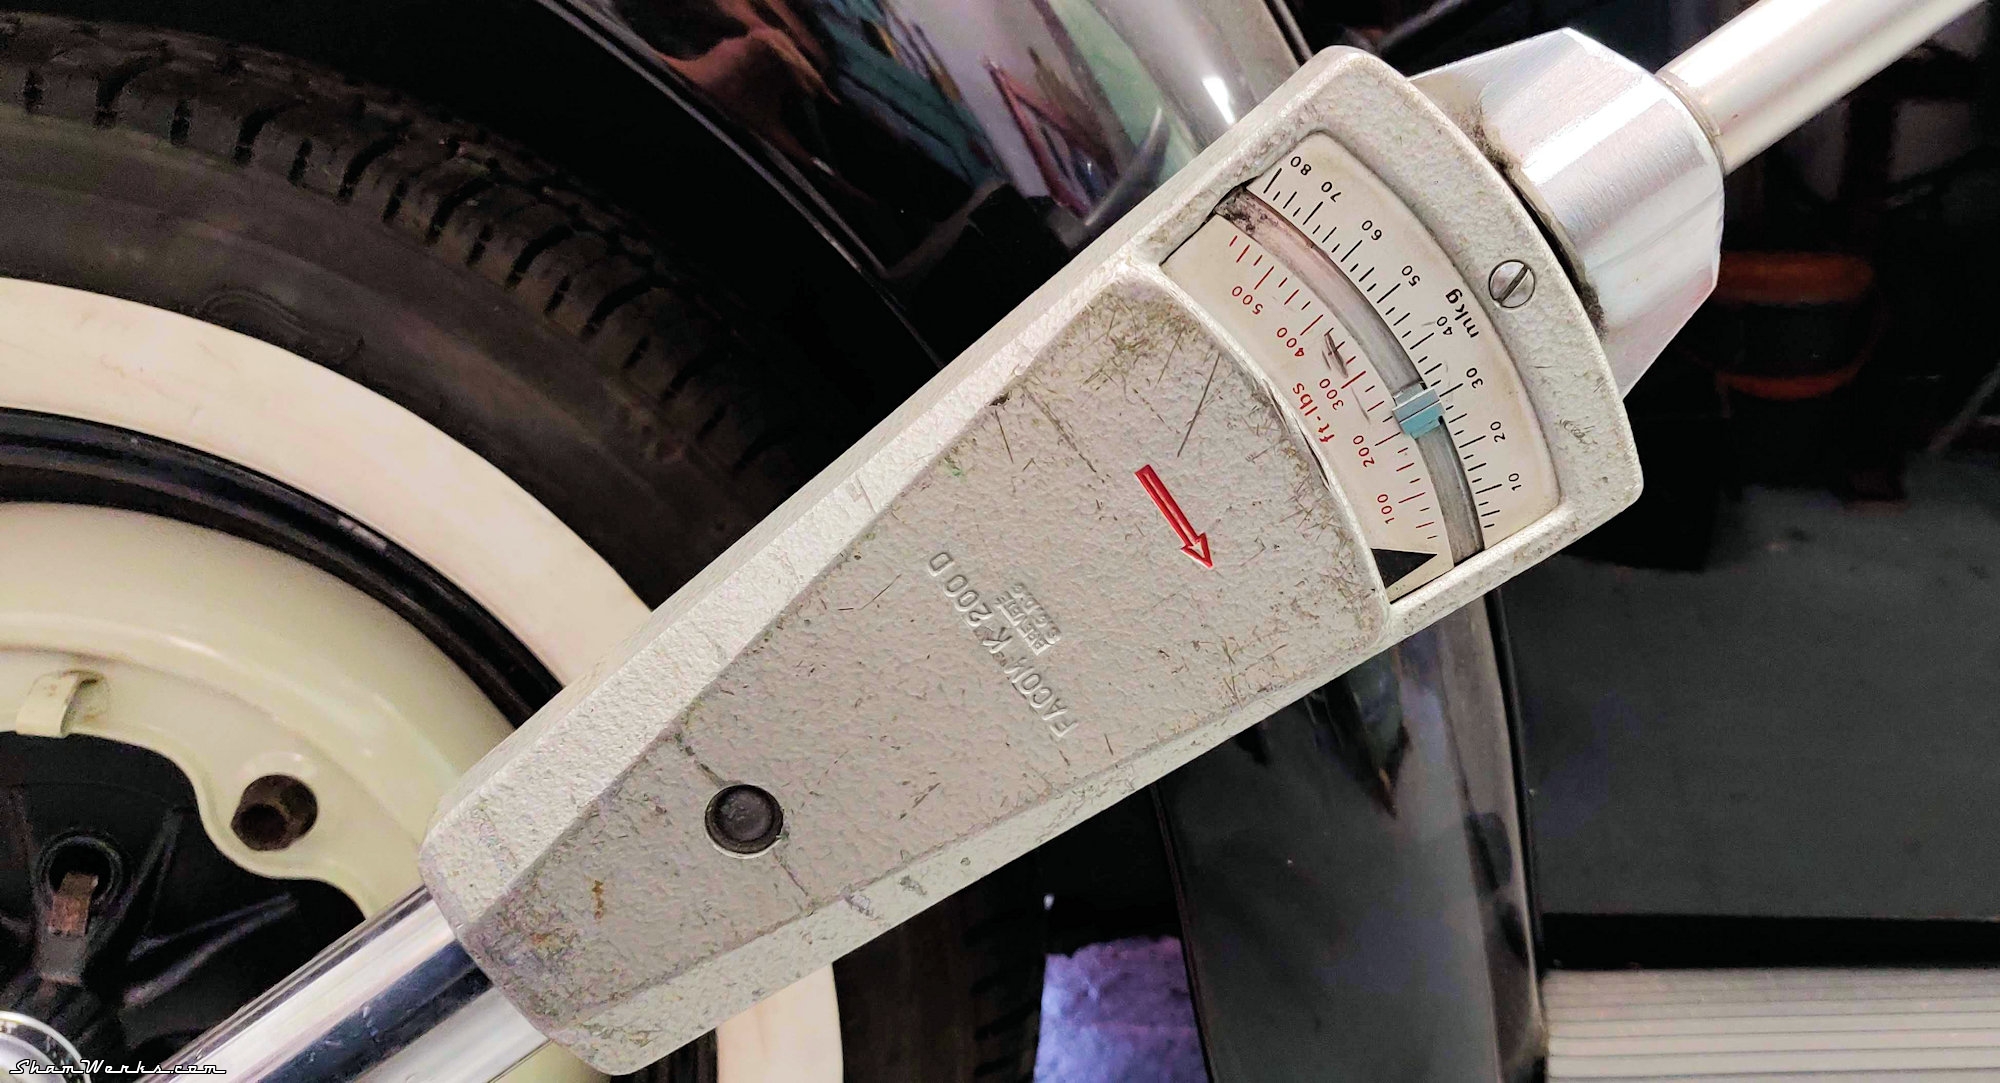
OK, let's bleed the whole thing and we'll have enough to stop in security, enough for today... Safe trip everyone! 😉 Published on 09/09/2021 / 1 commentaires