36hp, episode 10 : Heater Boxes
I've never had any heating in this ride, which kinda limits its usage in winter (yes, even on the French Riviera!).. Even though I've owned it for over 25 years! It's high time I do something about it!
Heater boxes
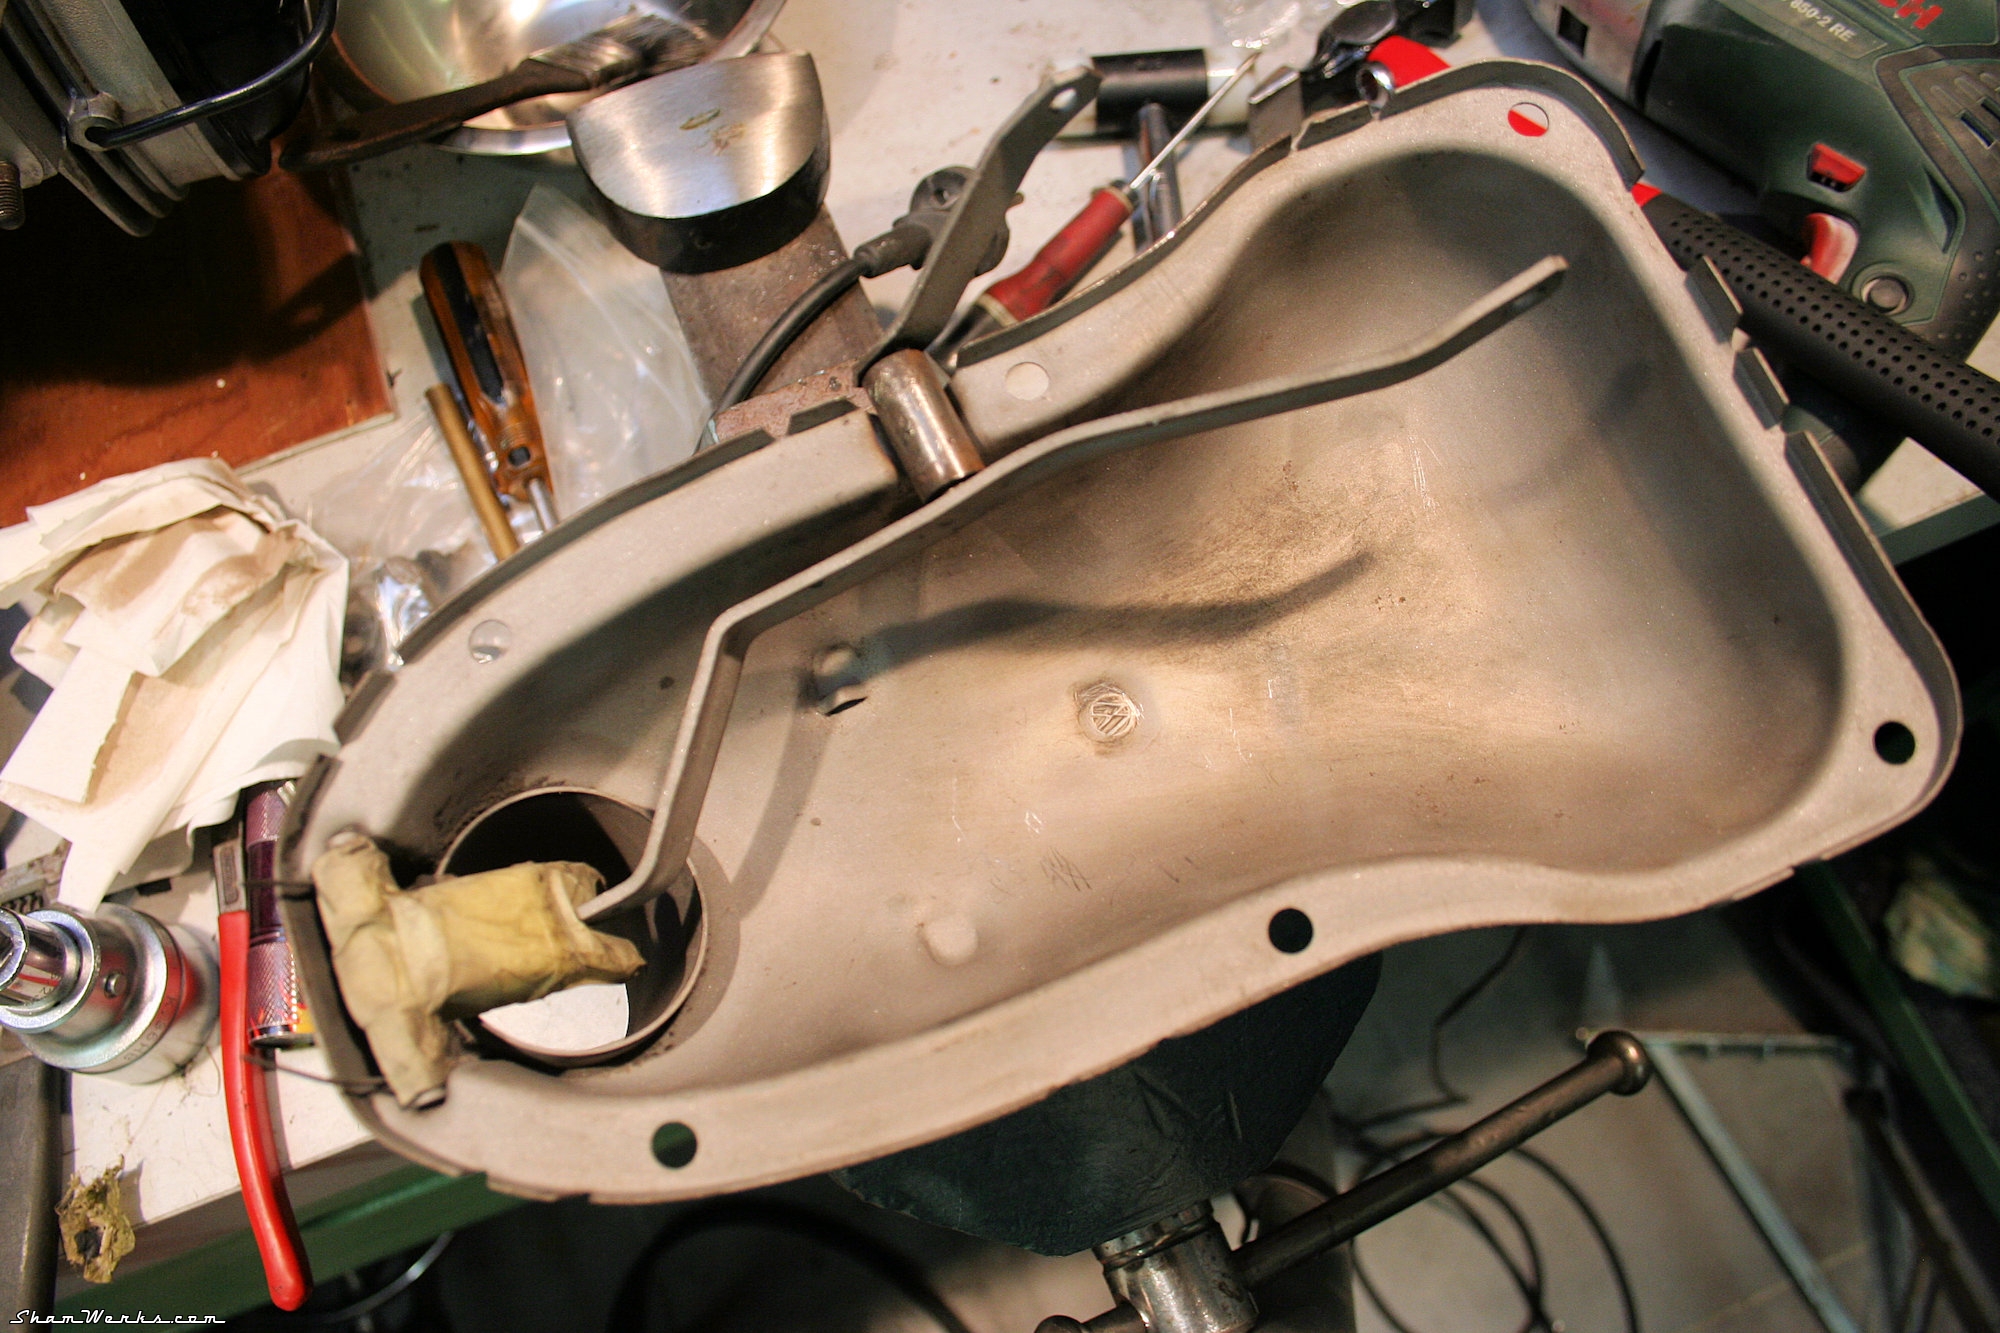
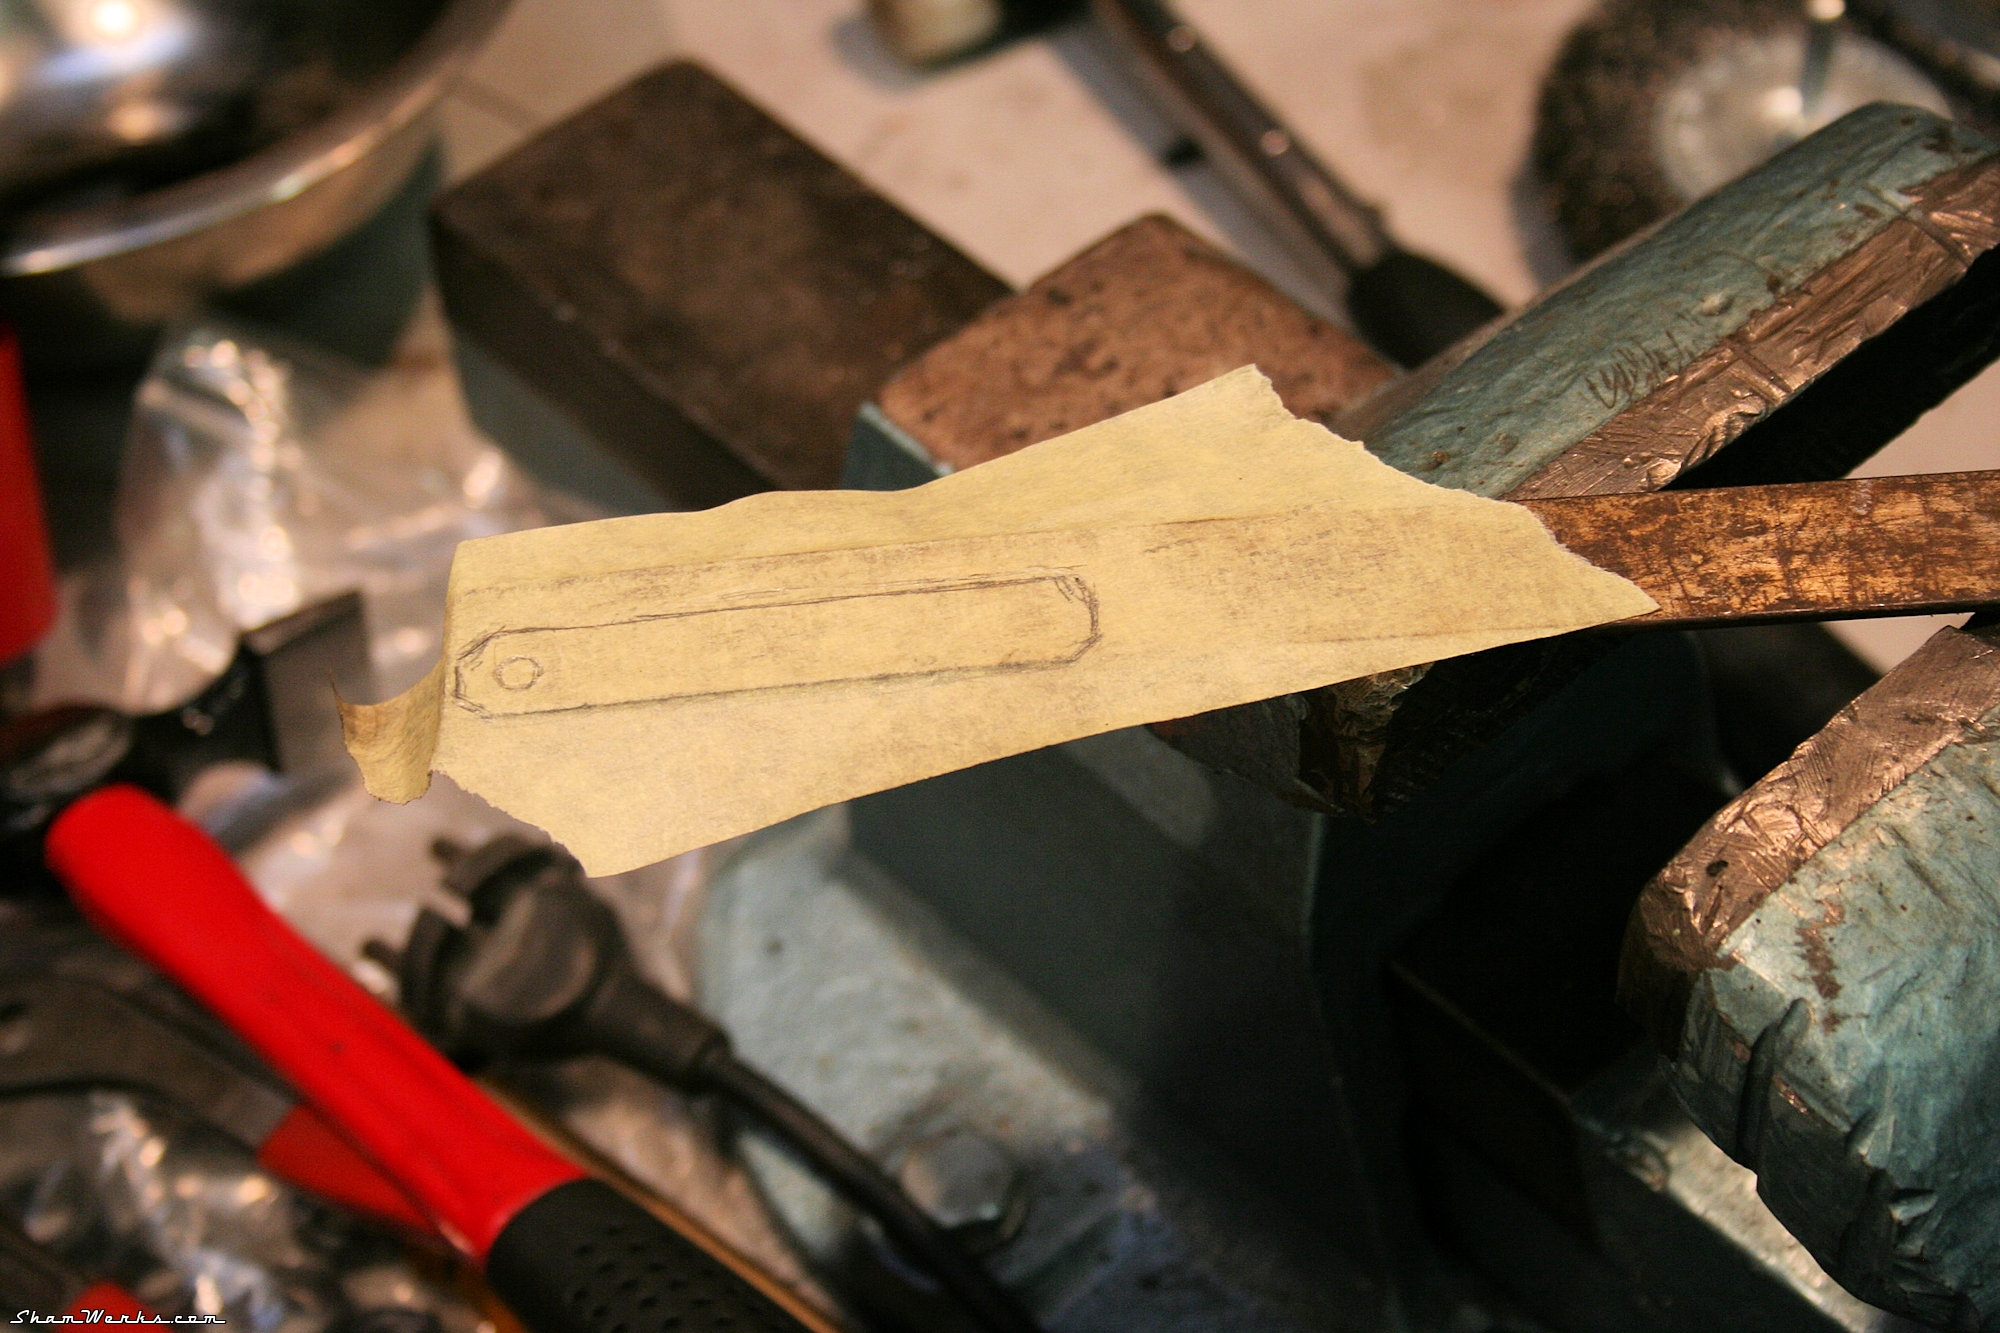
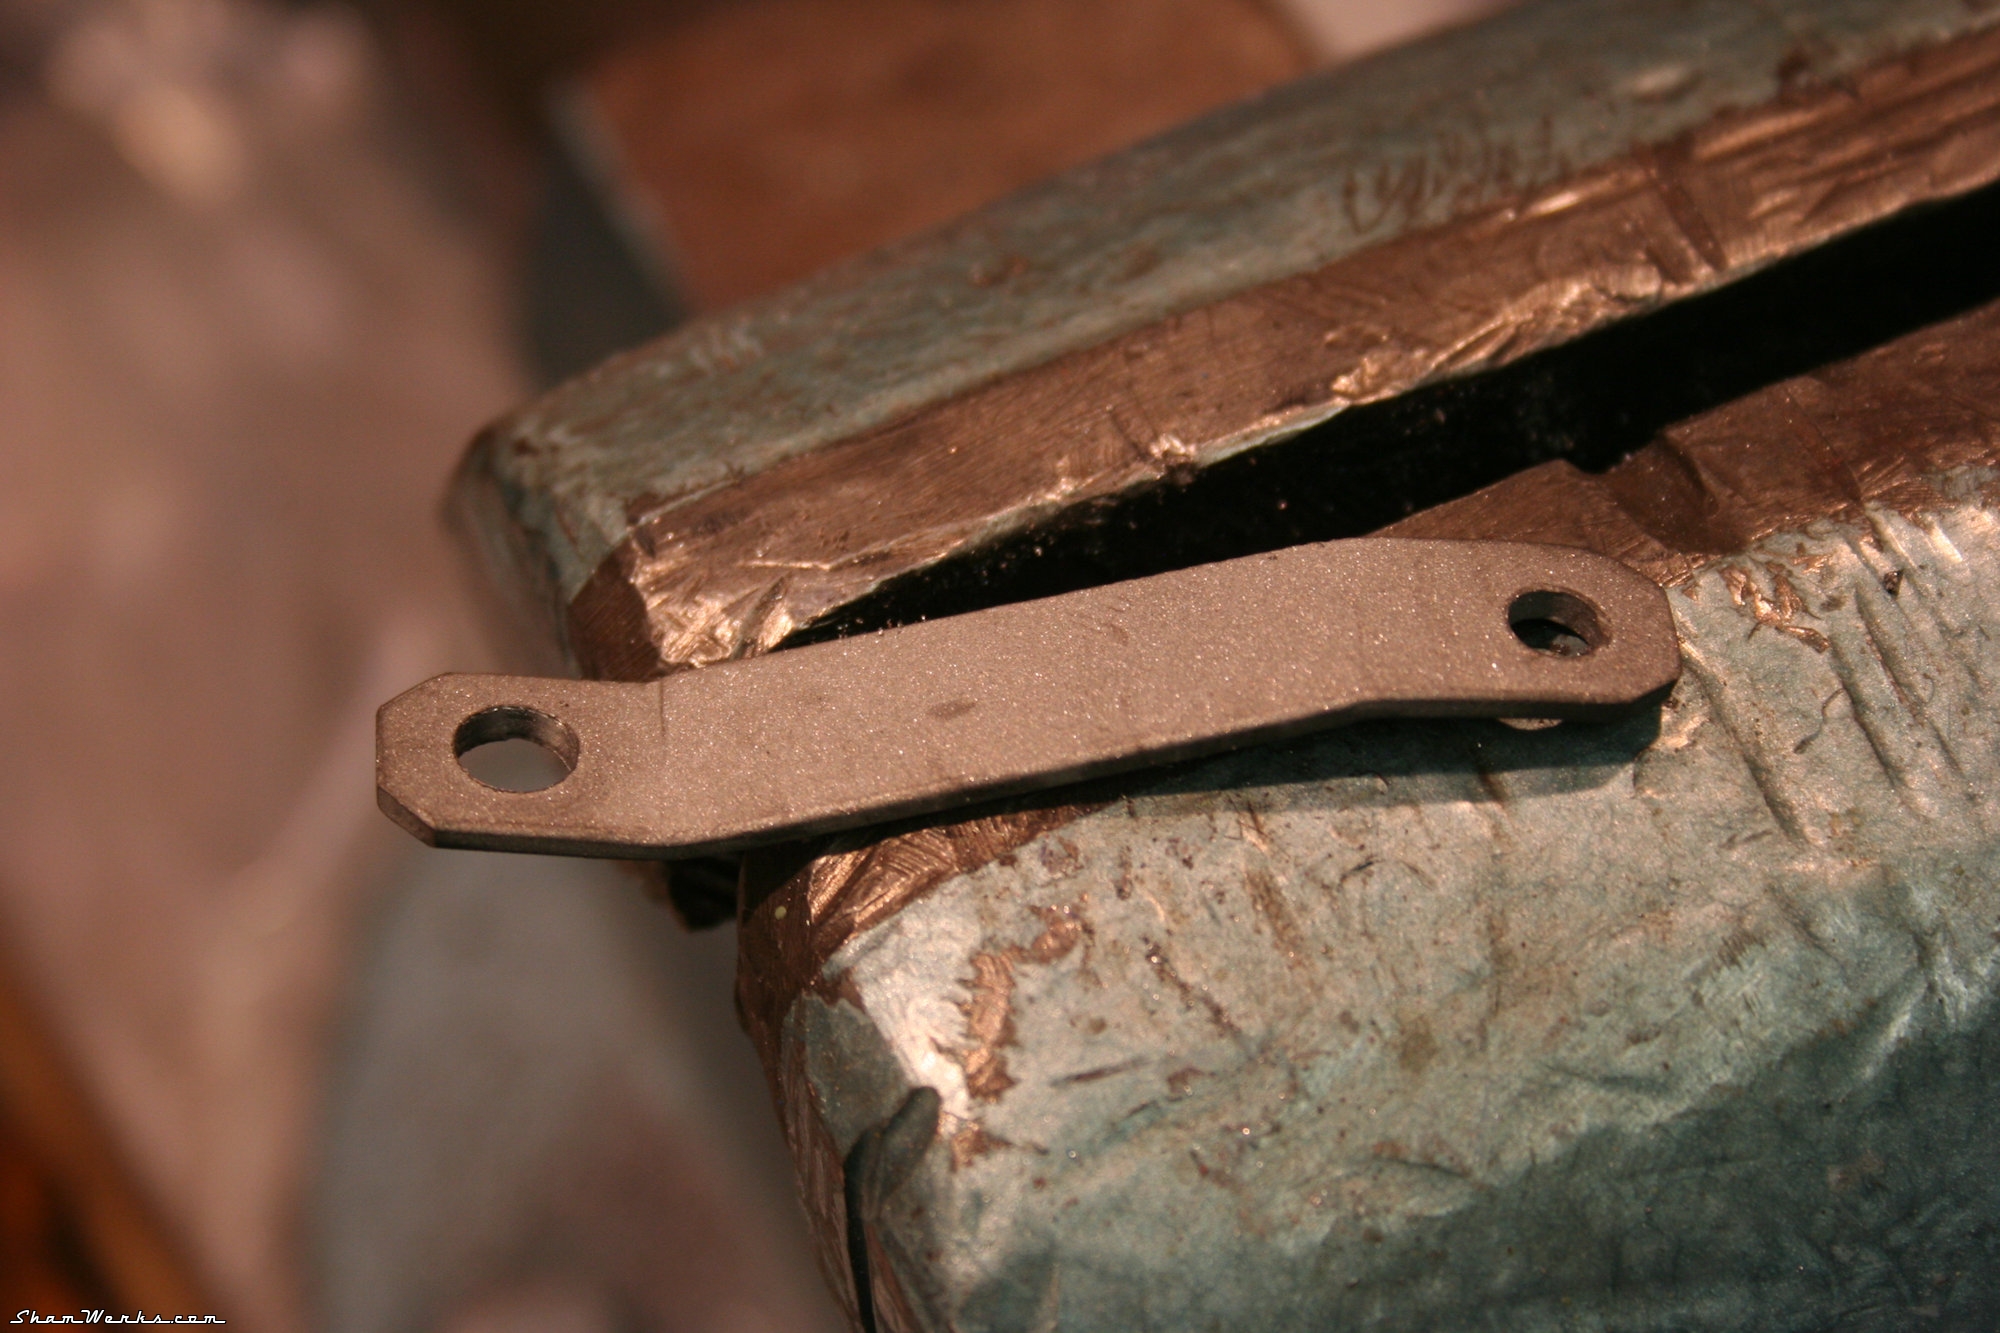
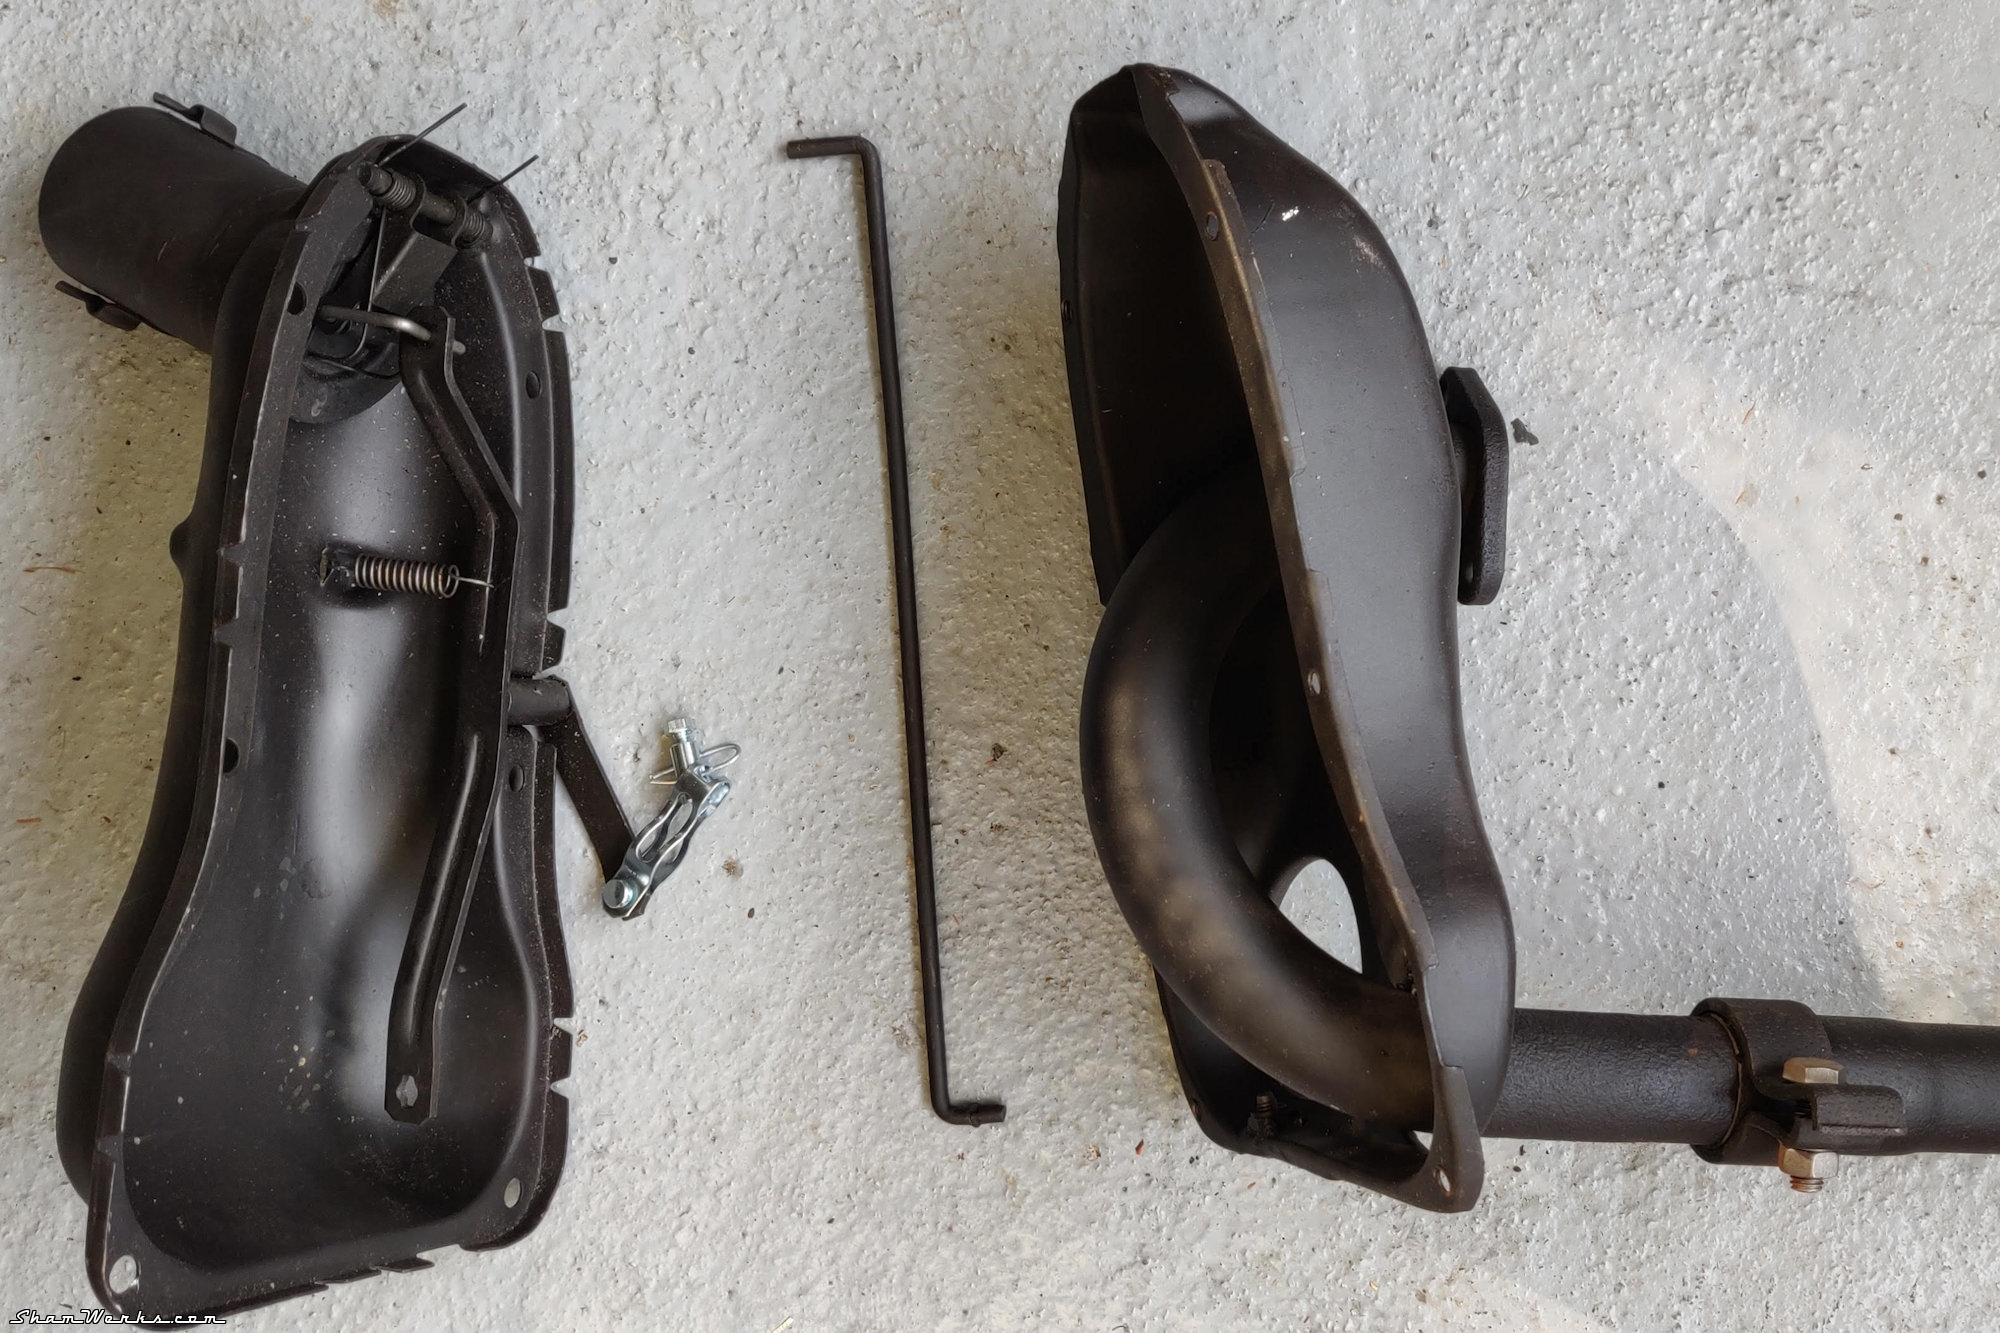
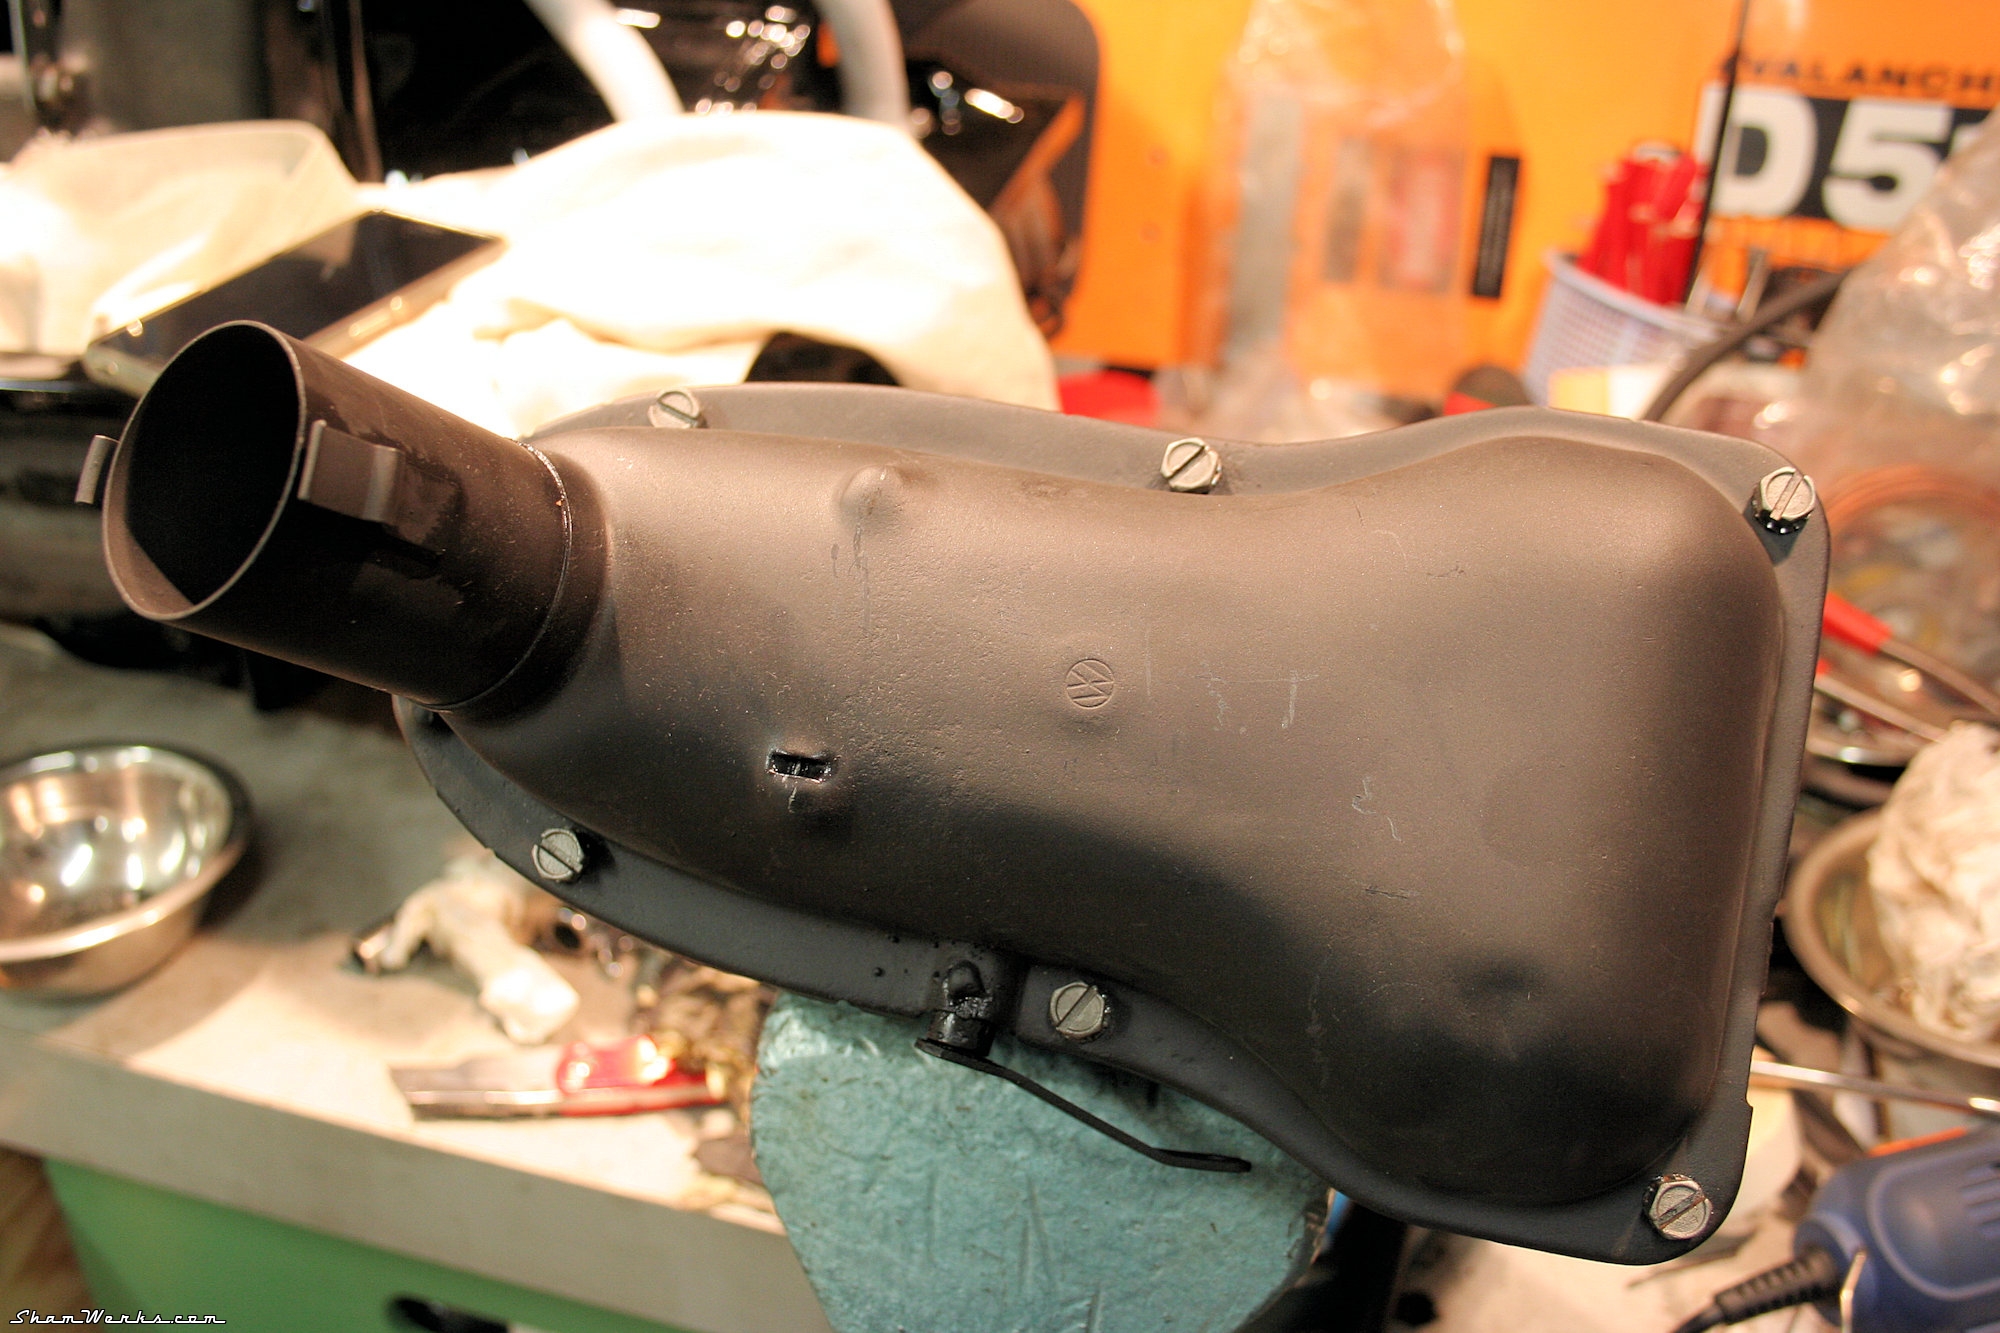
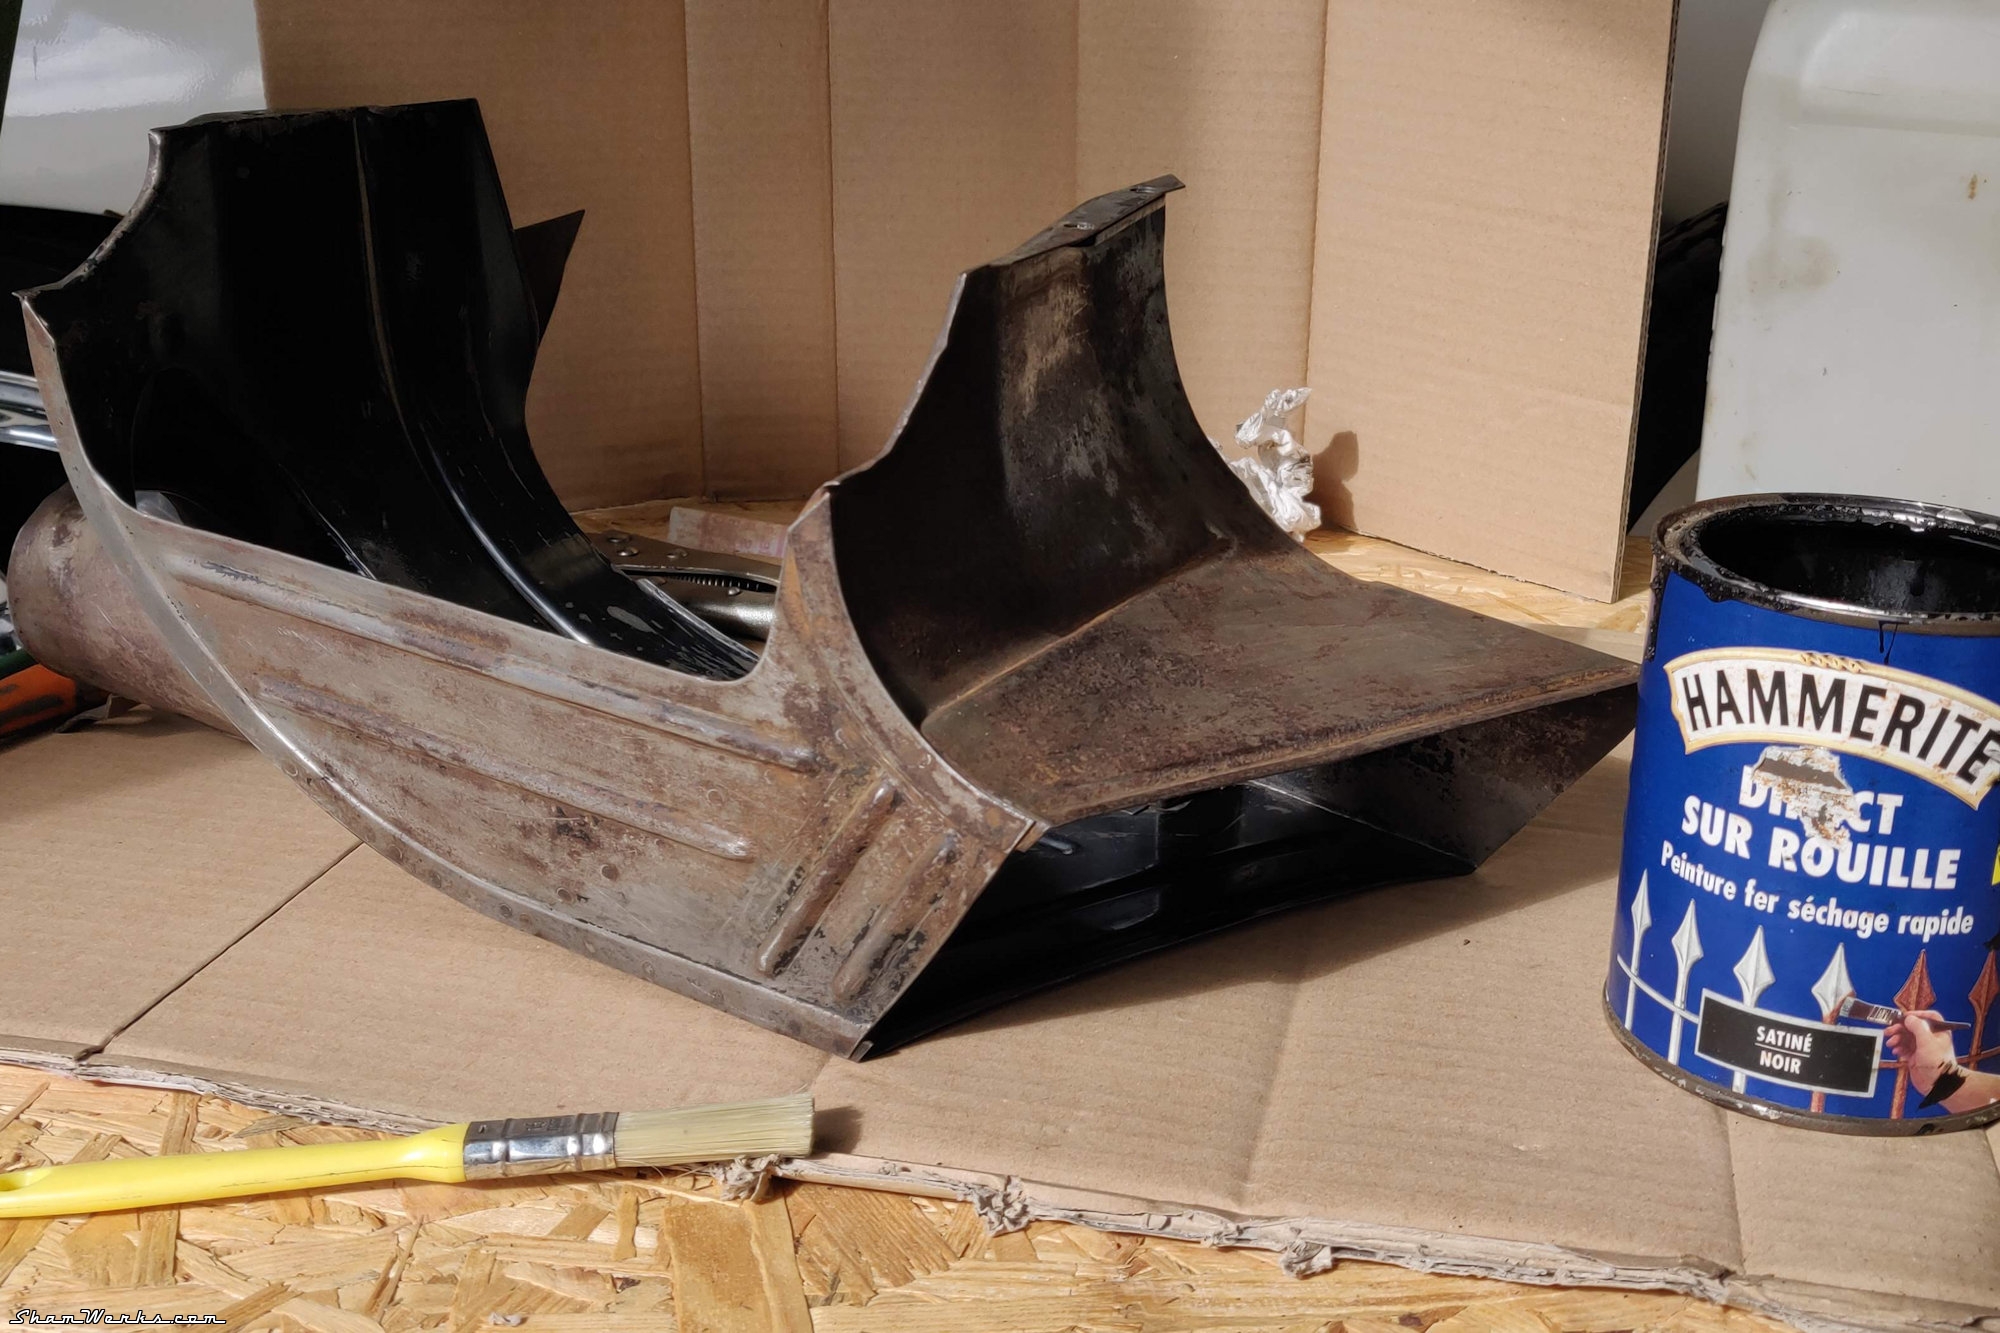
I initially only had J-Tubes on my engine ; so I started by sourcing a pair of used heater boxes. A bit of rust, a couple of dents and holes, a locked mechanism and a missing lever... But nothing patience, WD40 and a MIG can't fix. 😉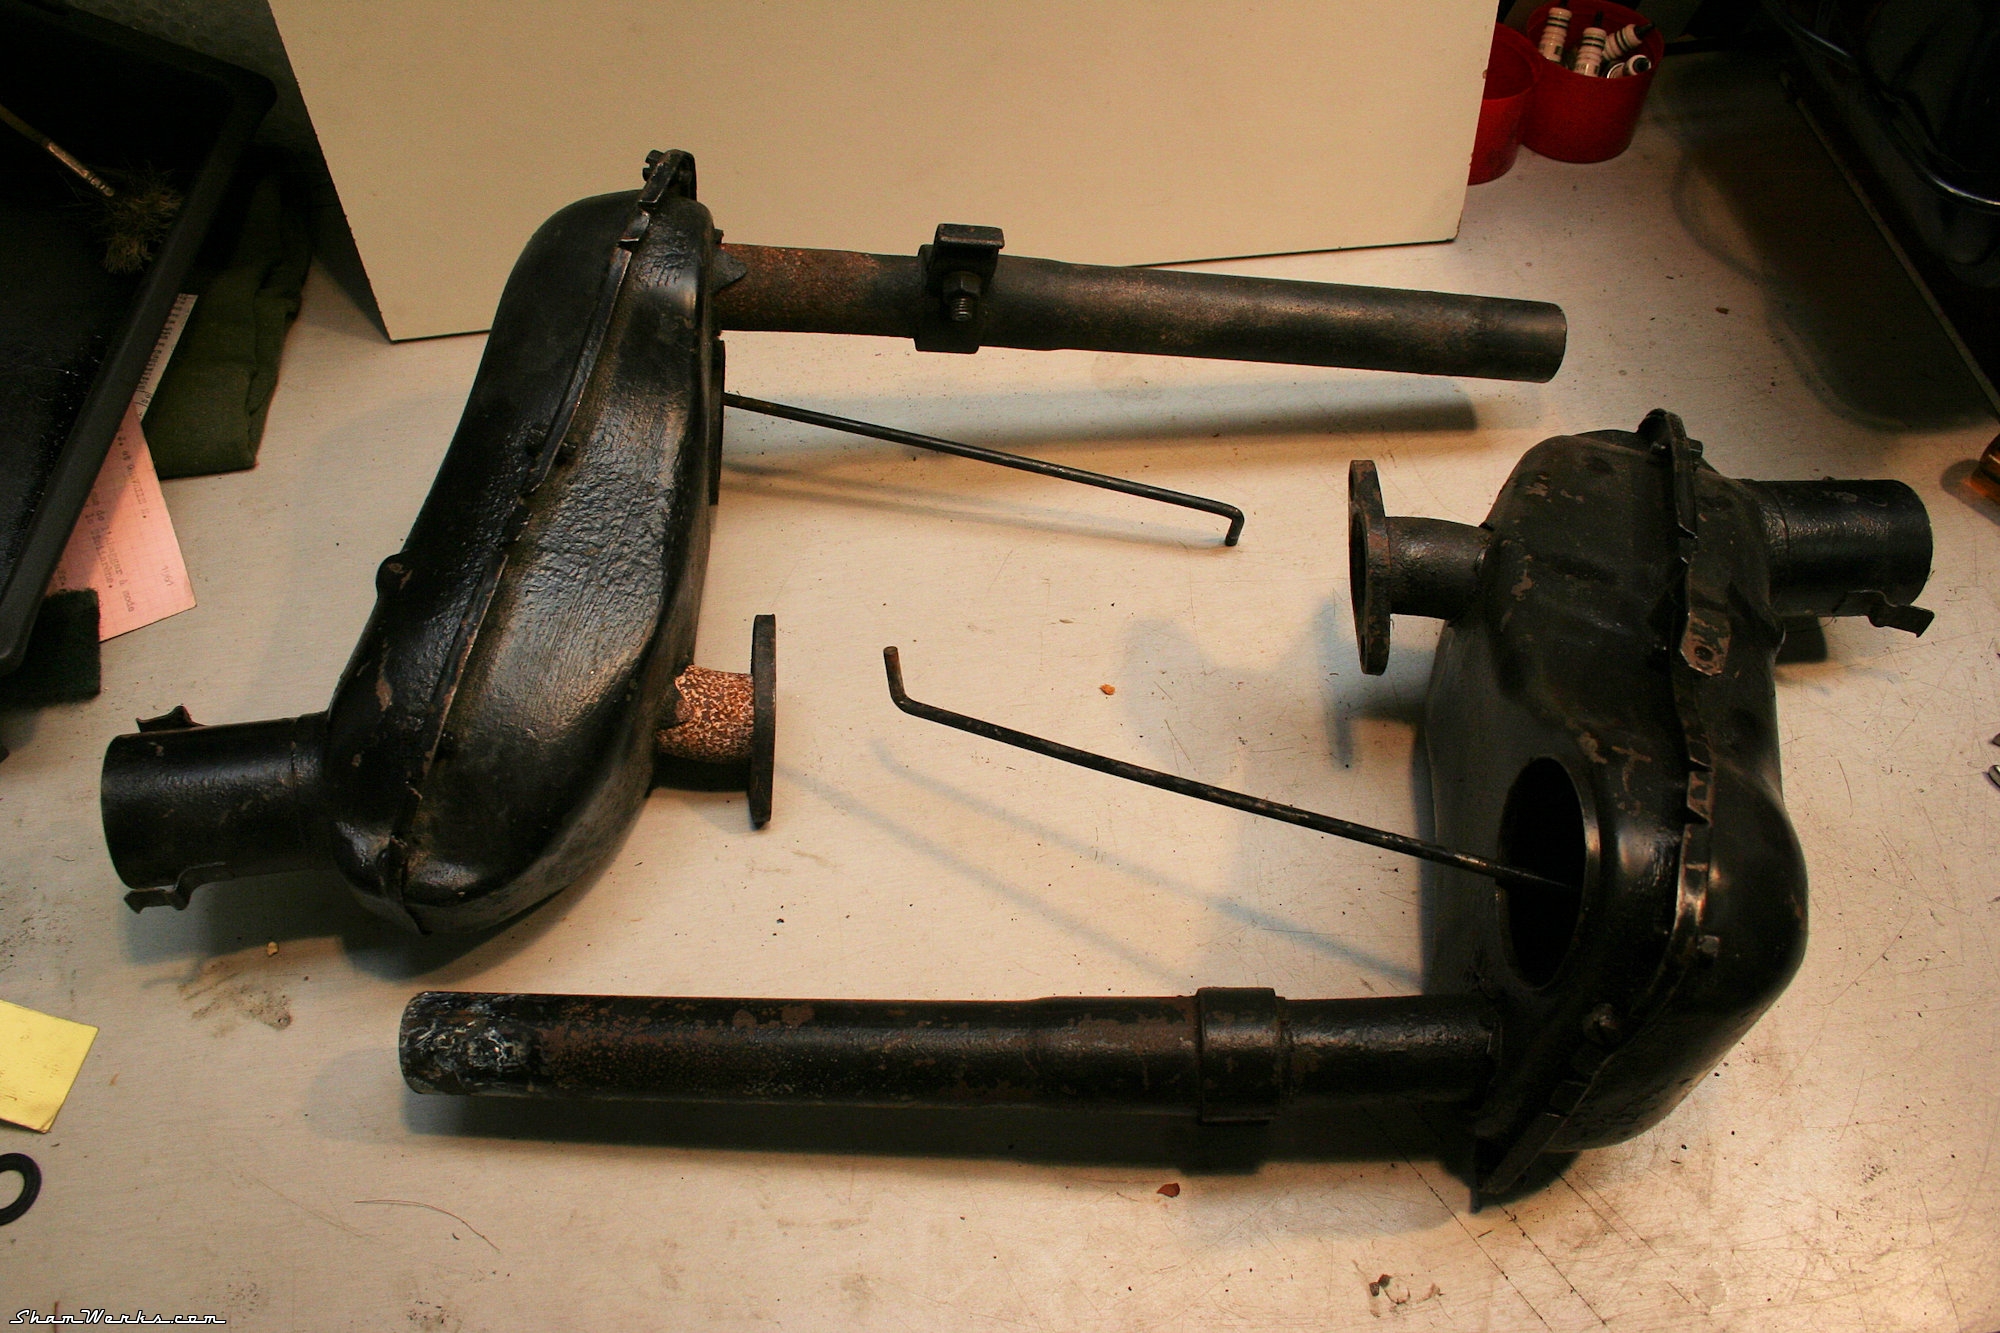
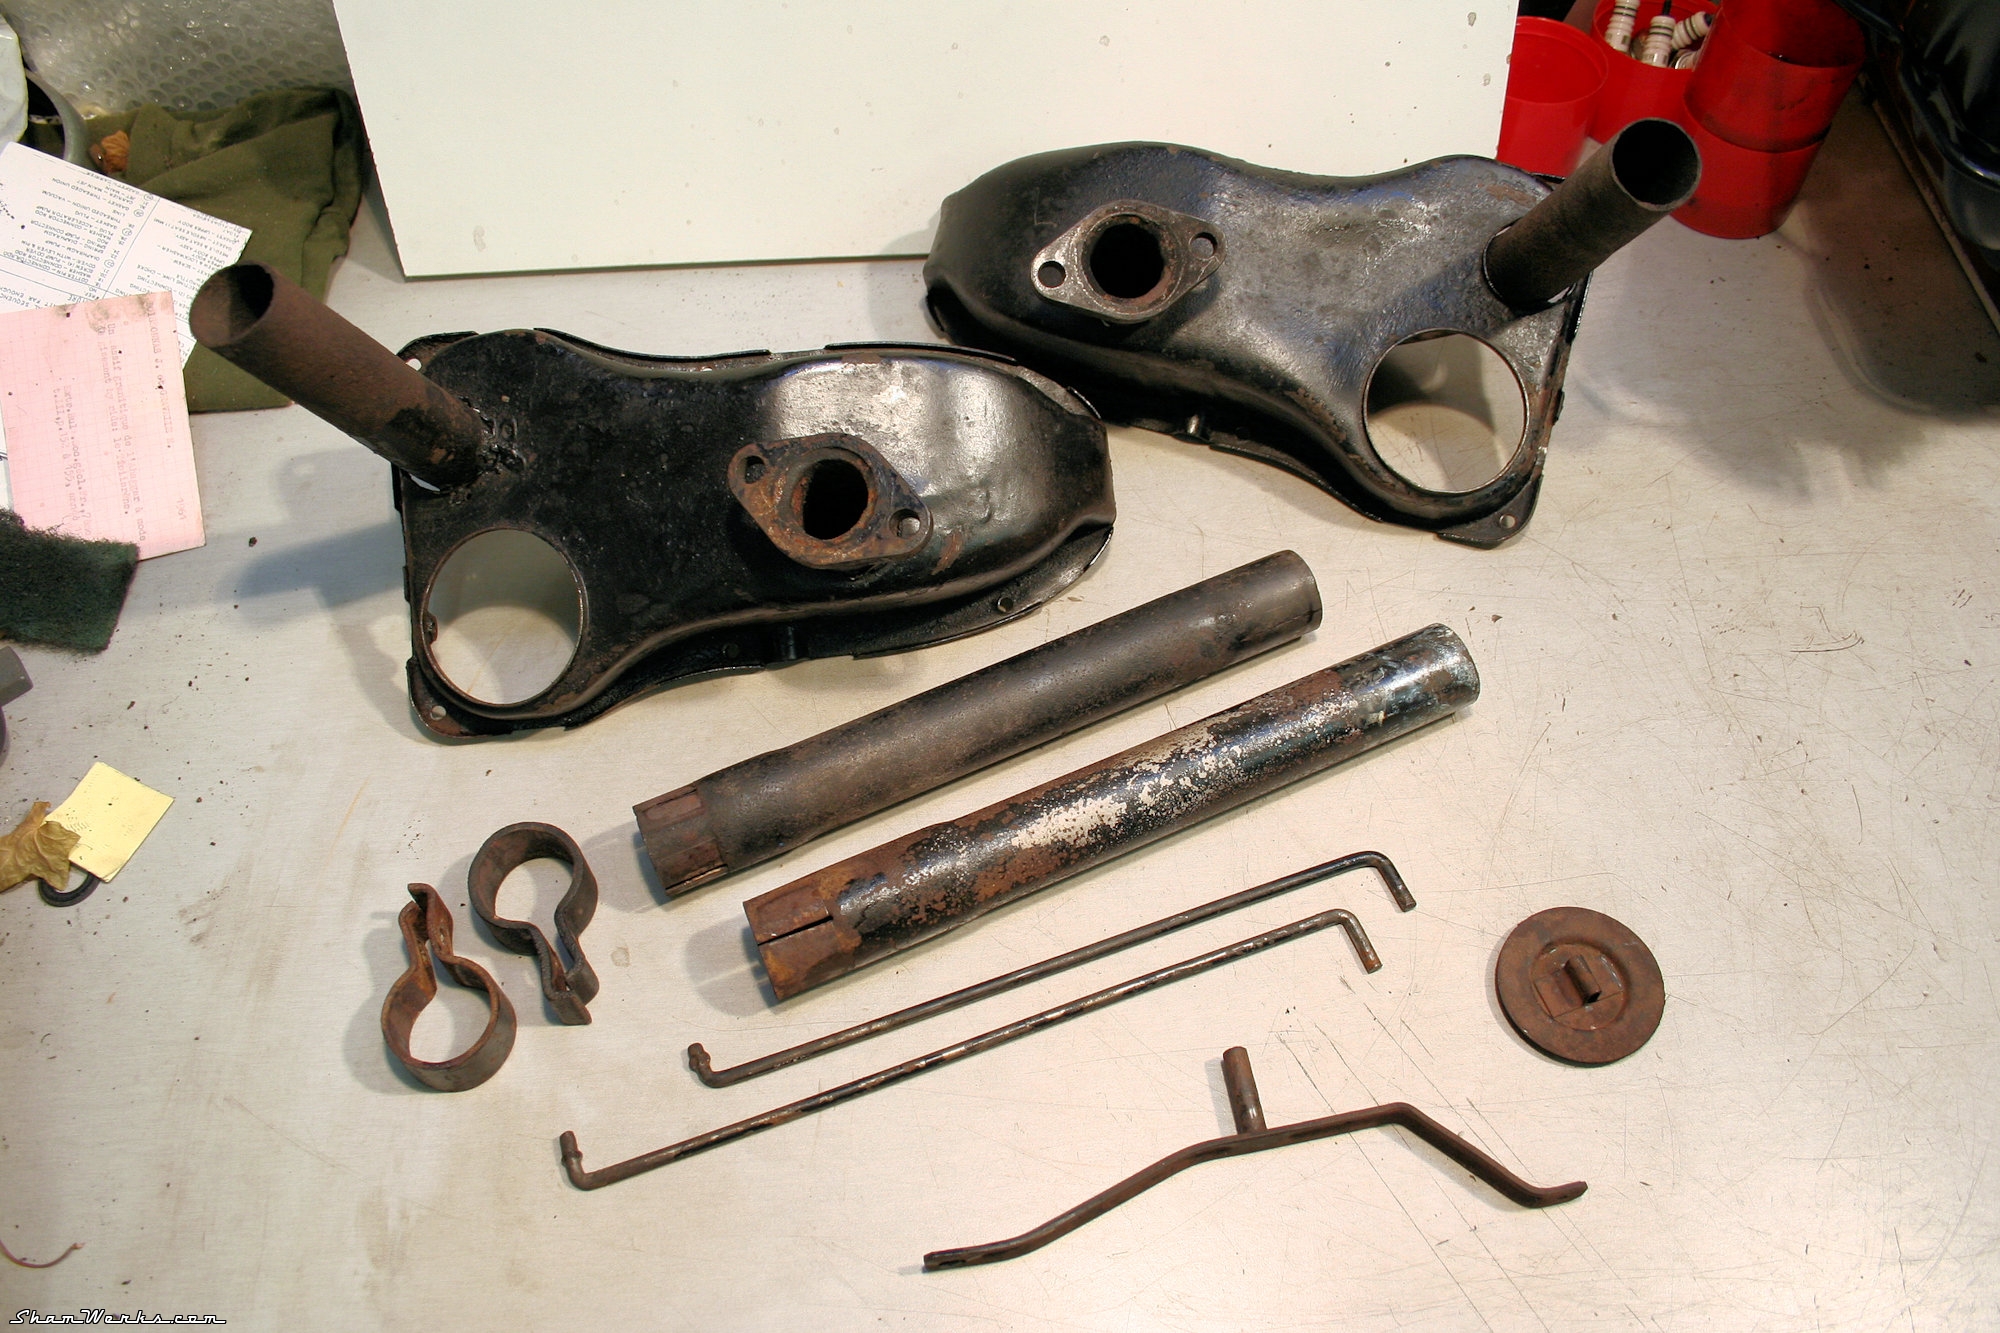
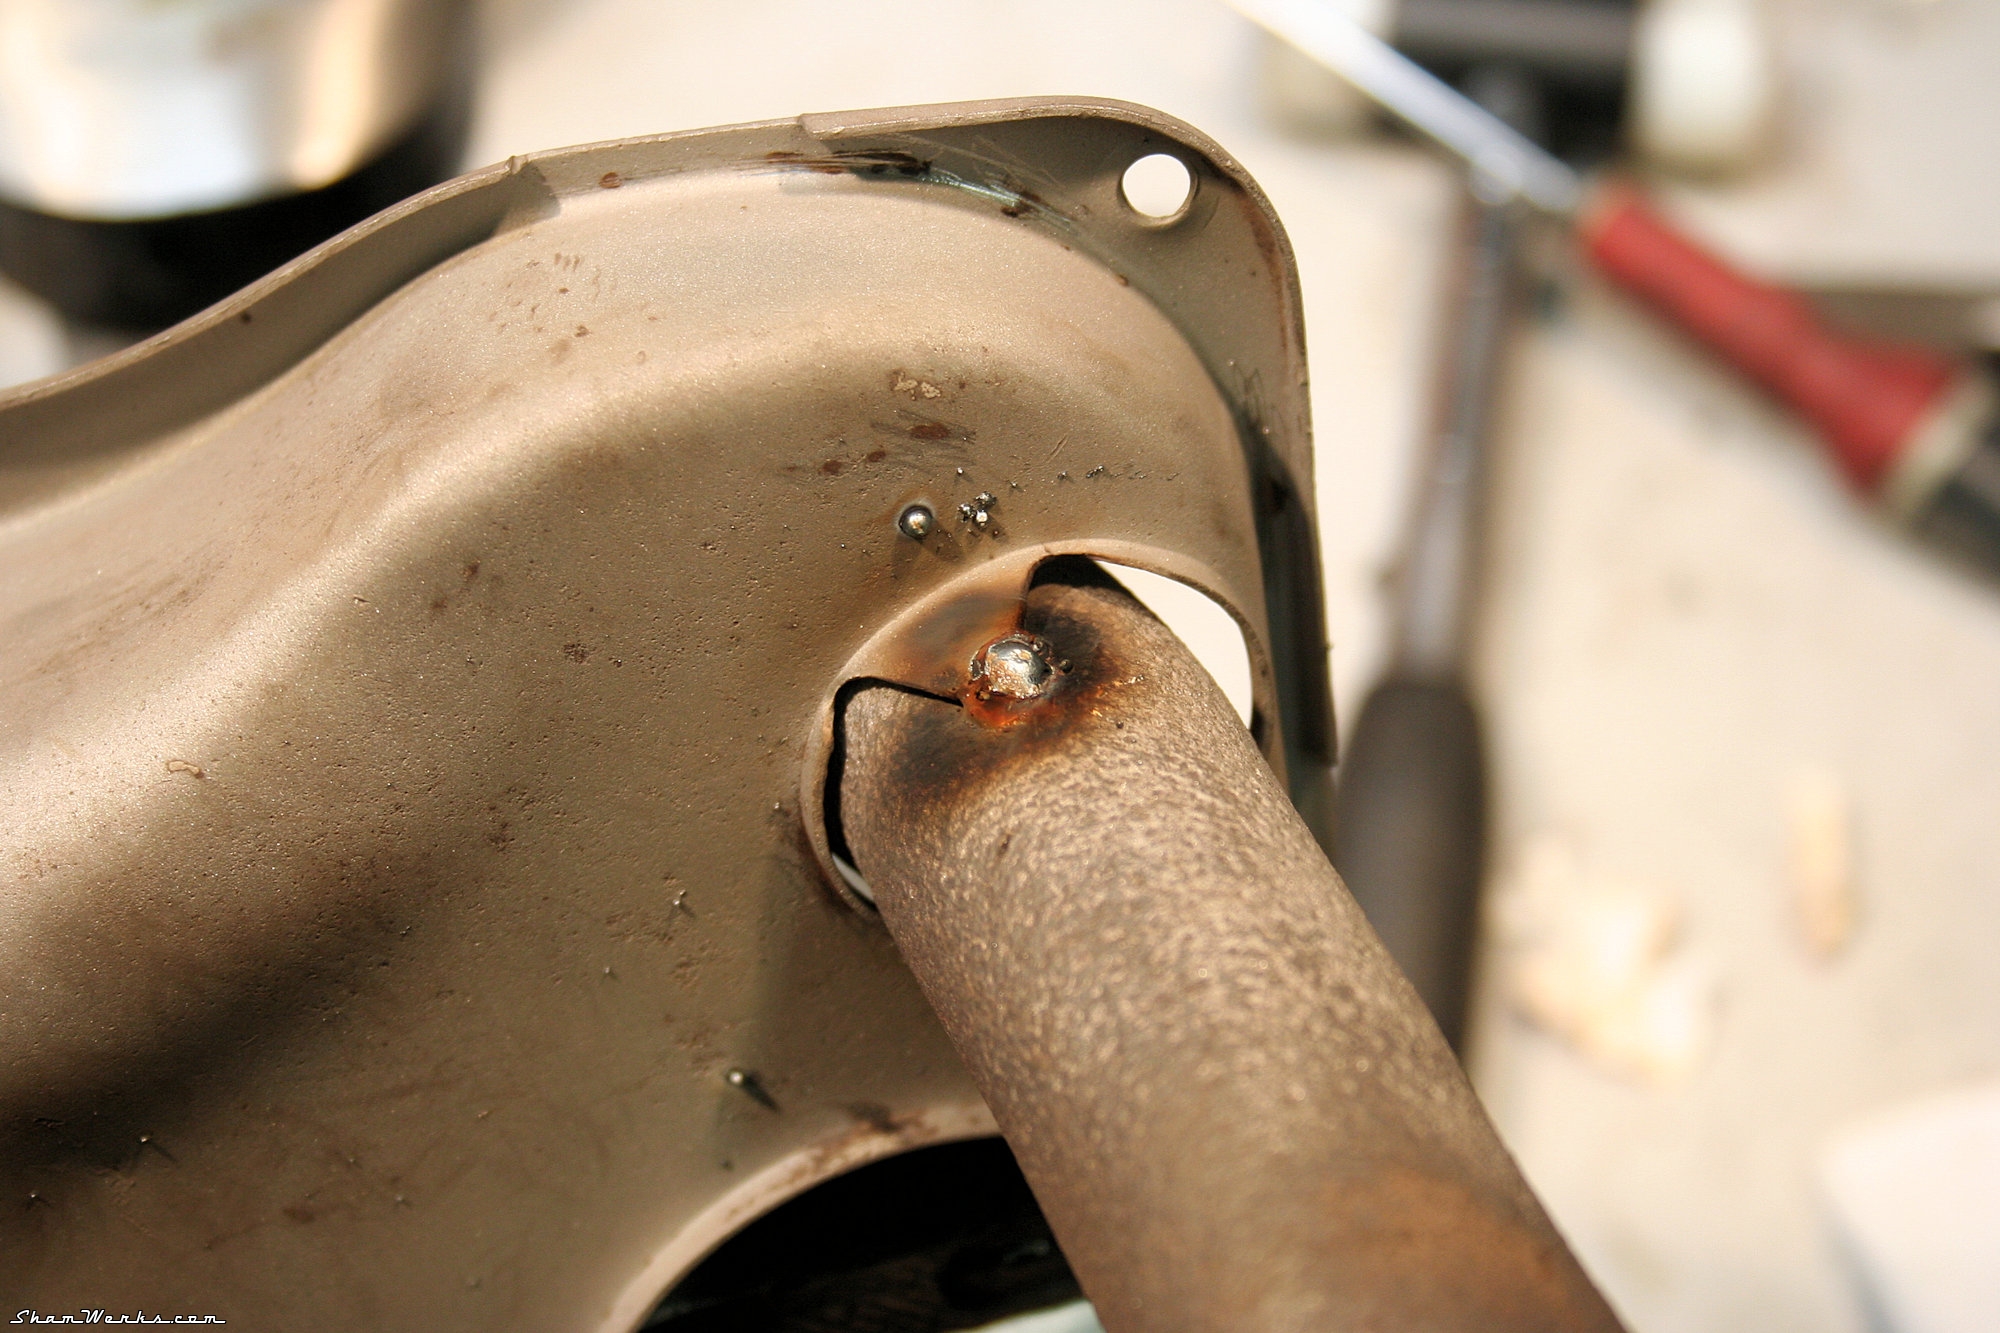
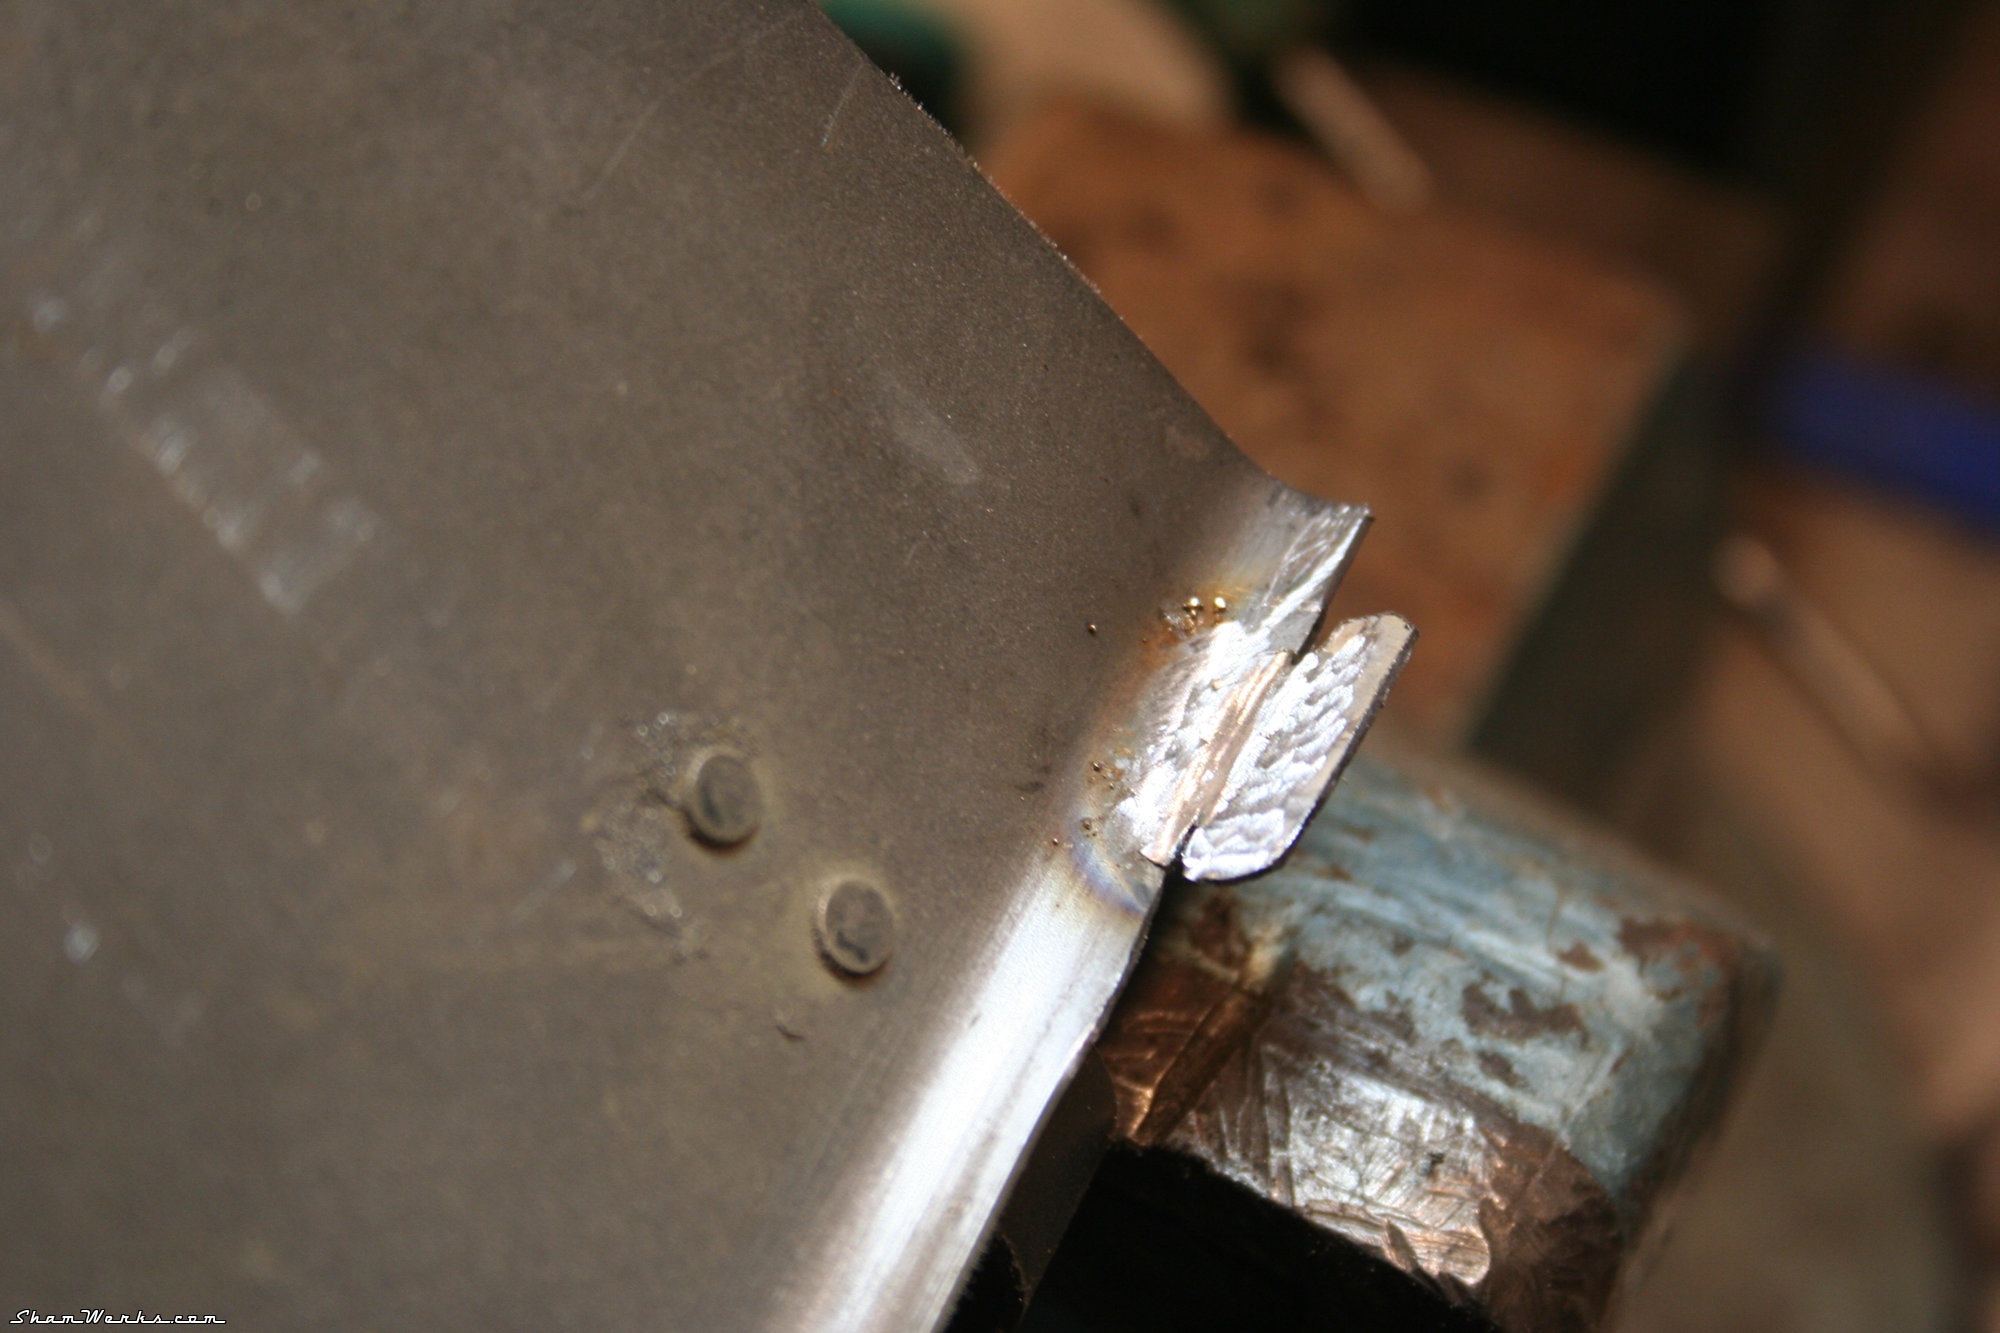
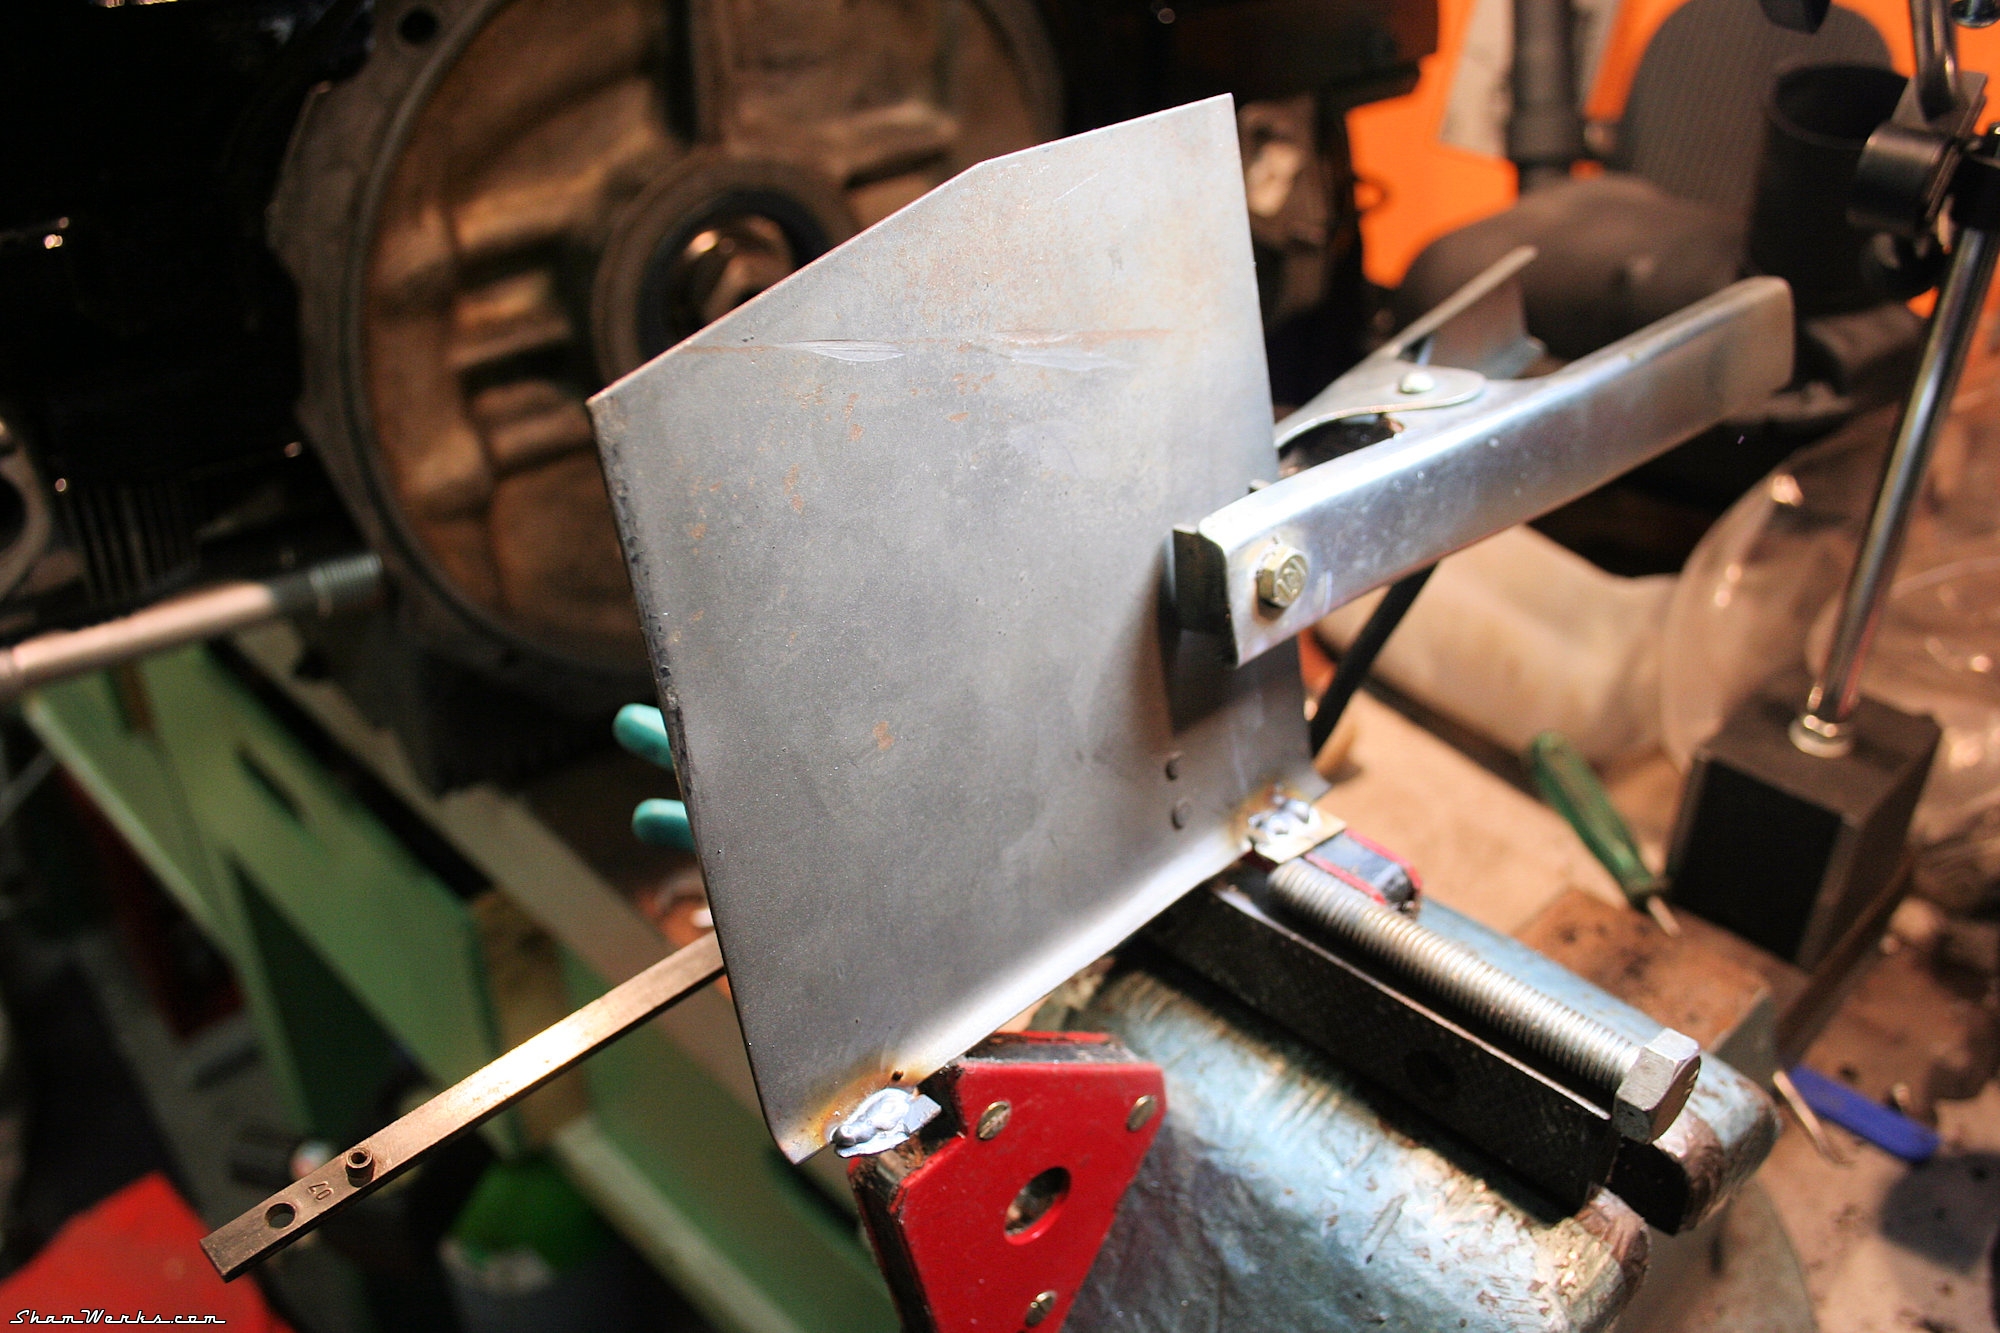
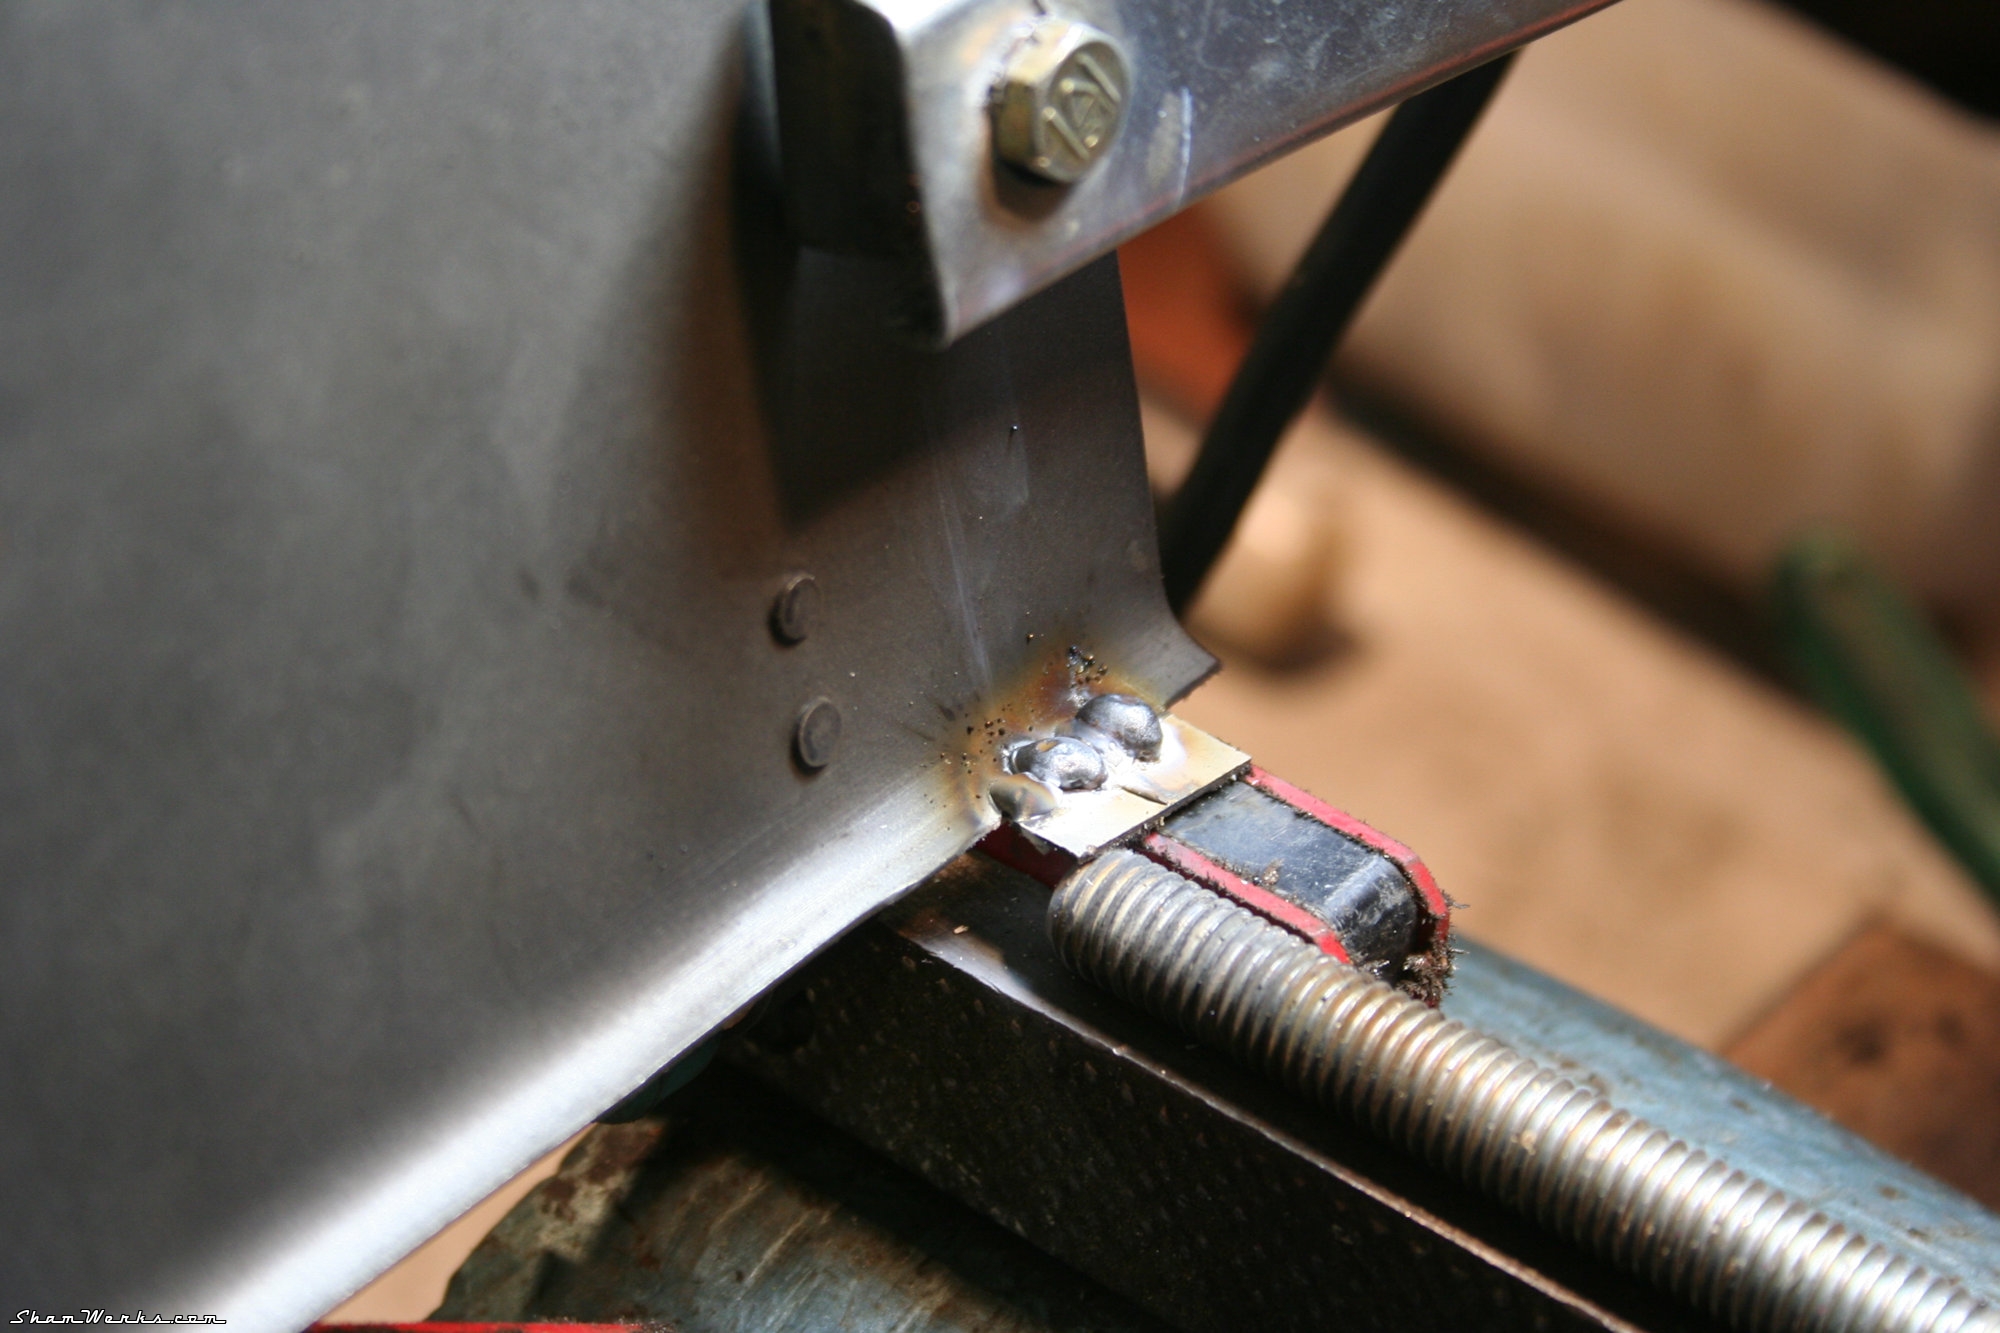
One of the mechanisms is seized by rust (articulated lever) ; WD40 doesn't help, and the bearing finally ripped off as I was trying to free the lever. I finally managed to persuade it to move after clamping it in the vise, so I plug-welded it back on. Done.
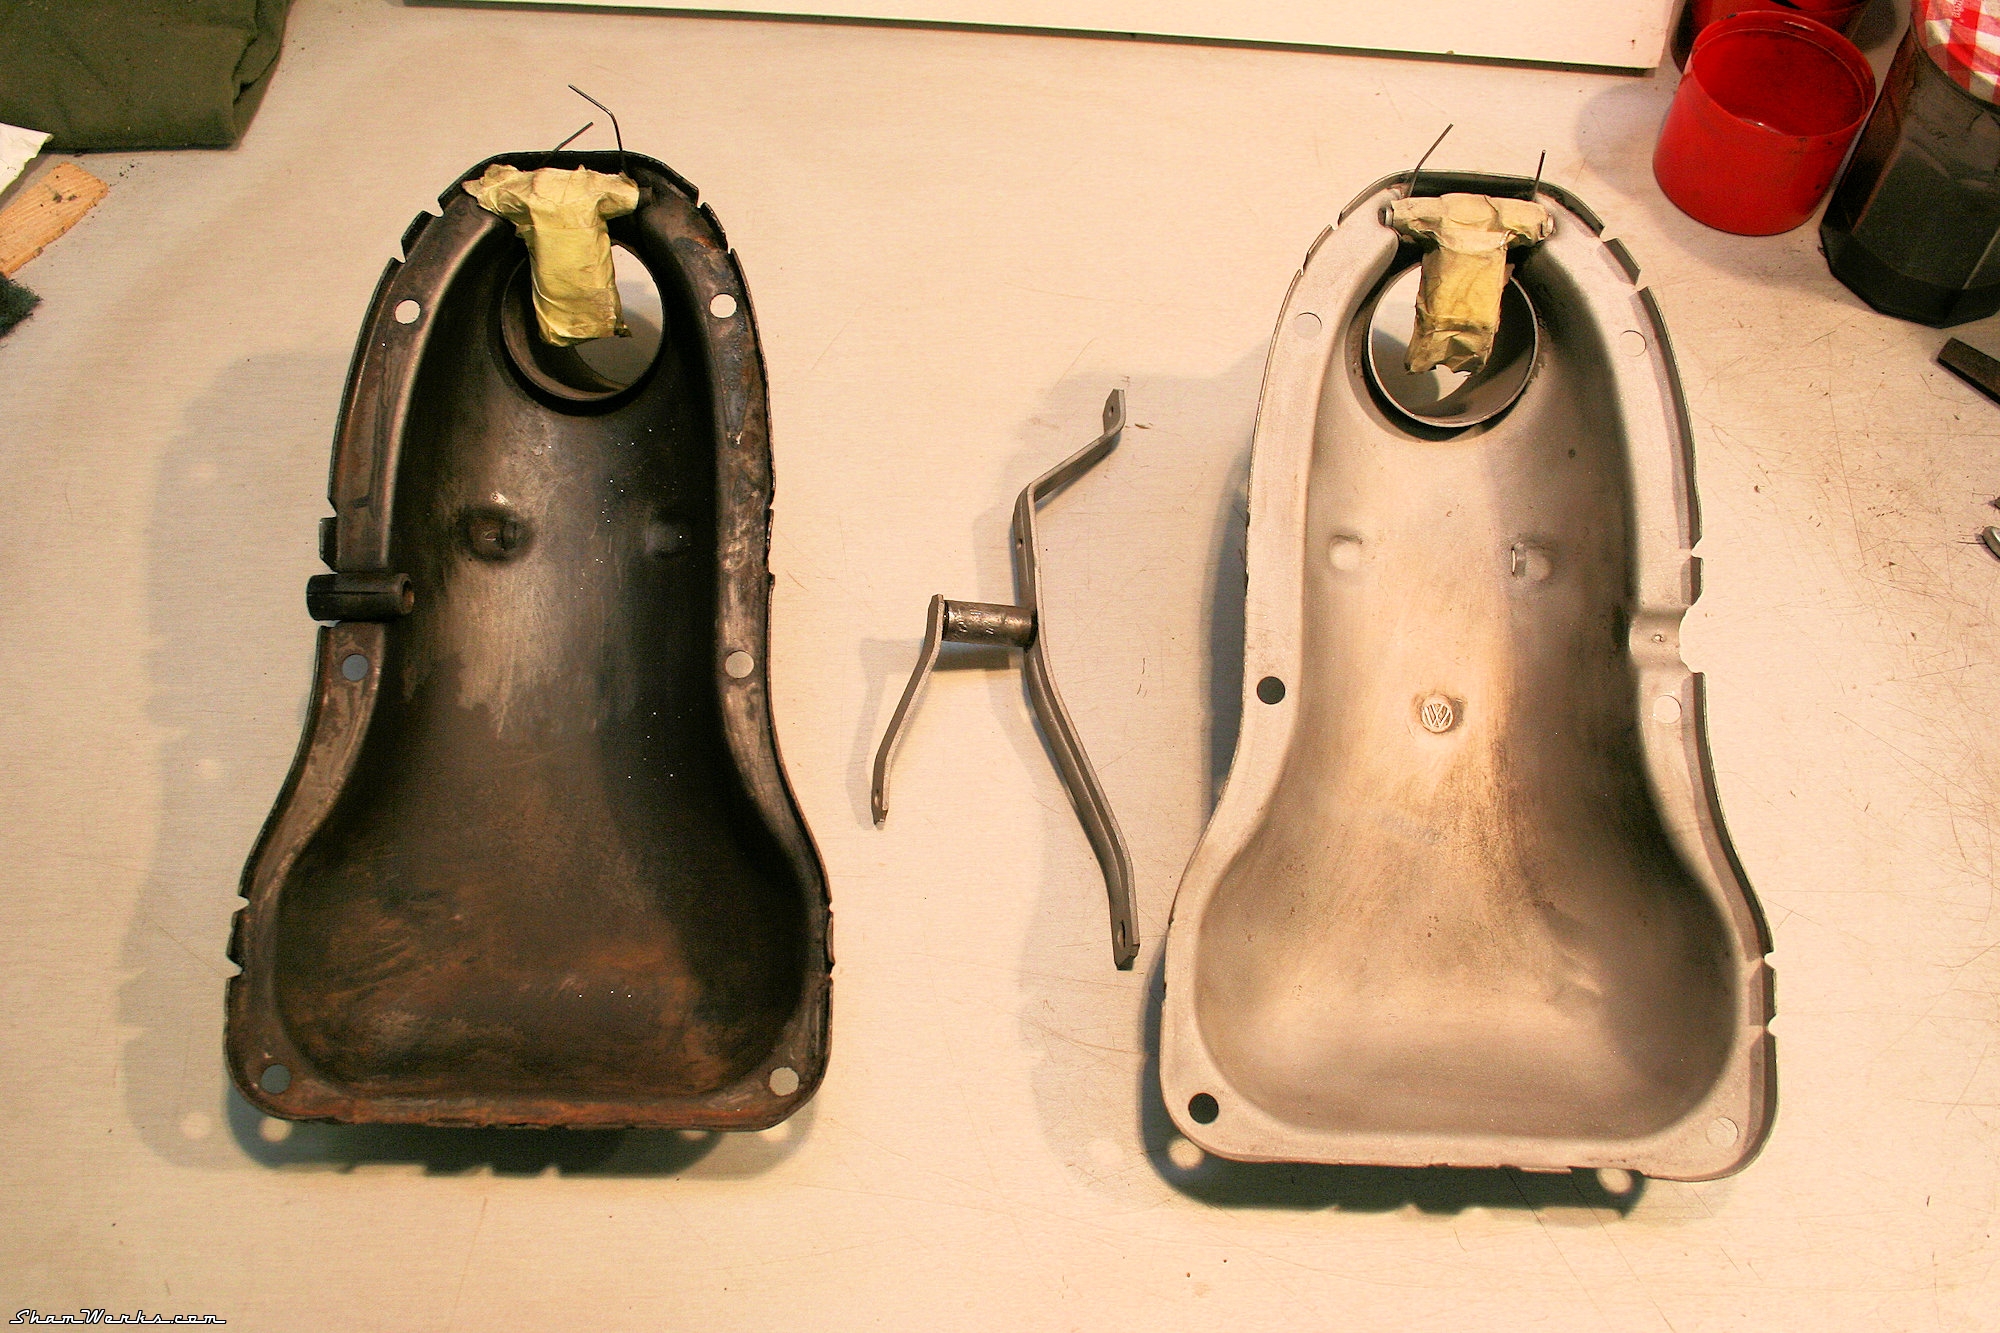
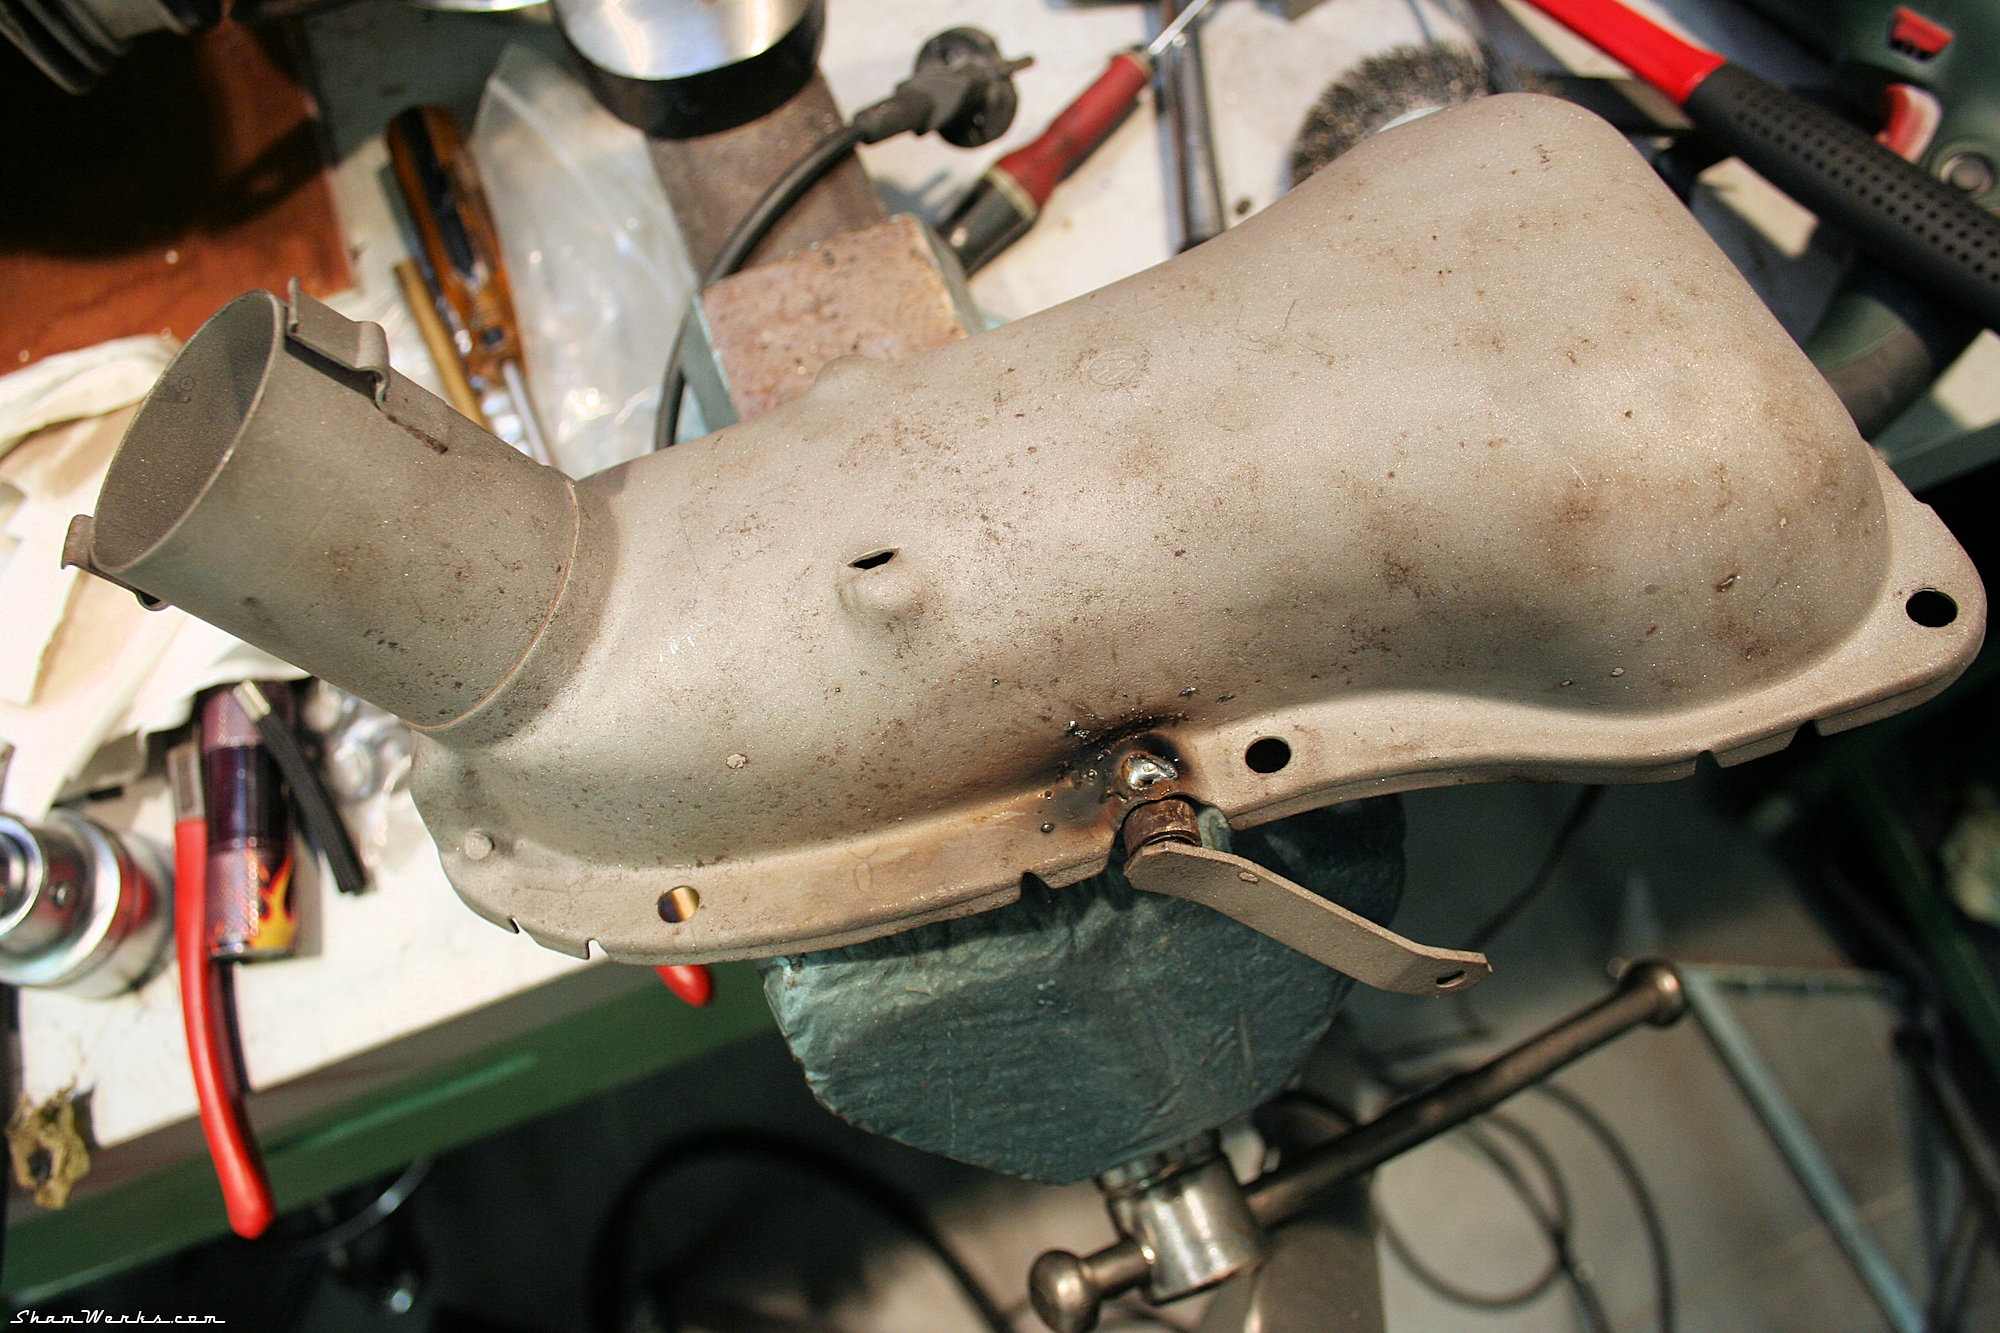
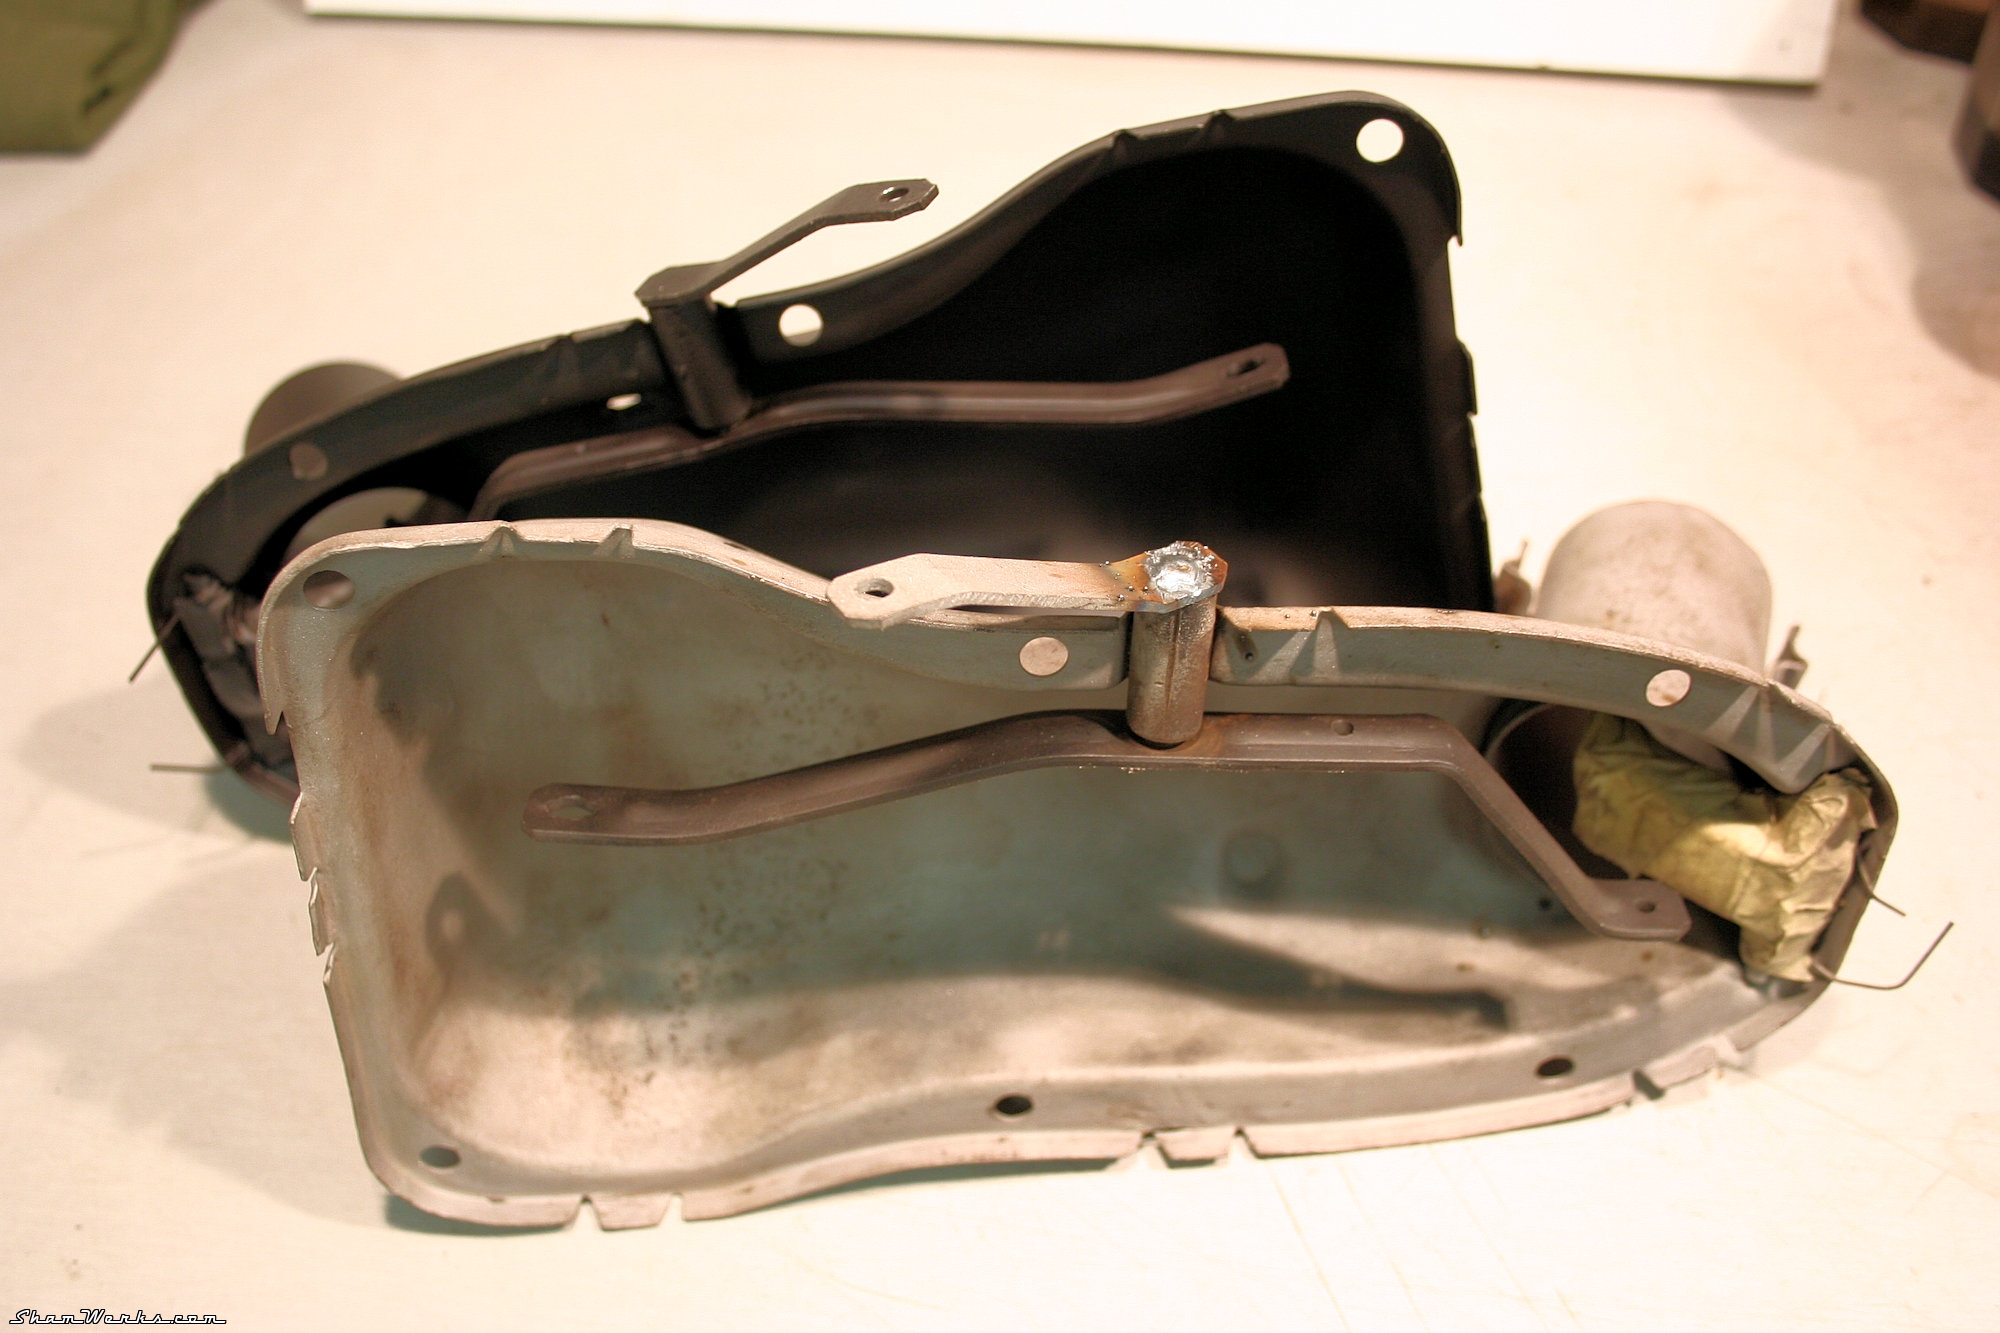
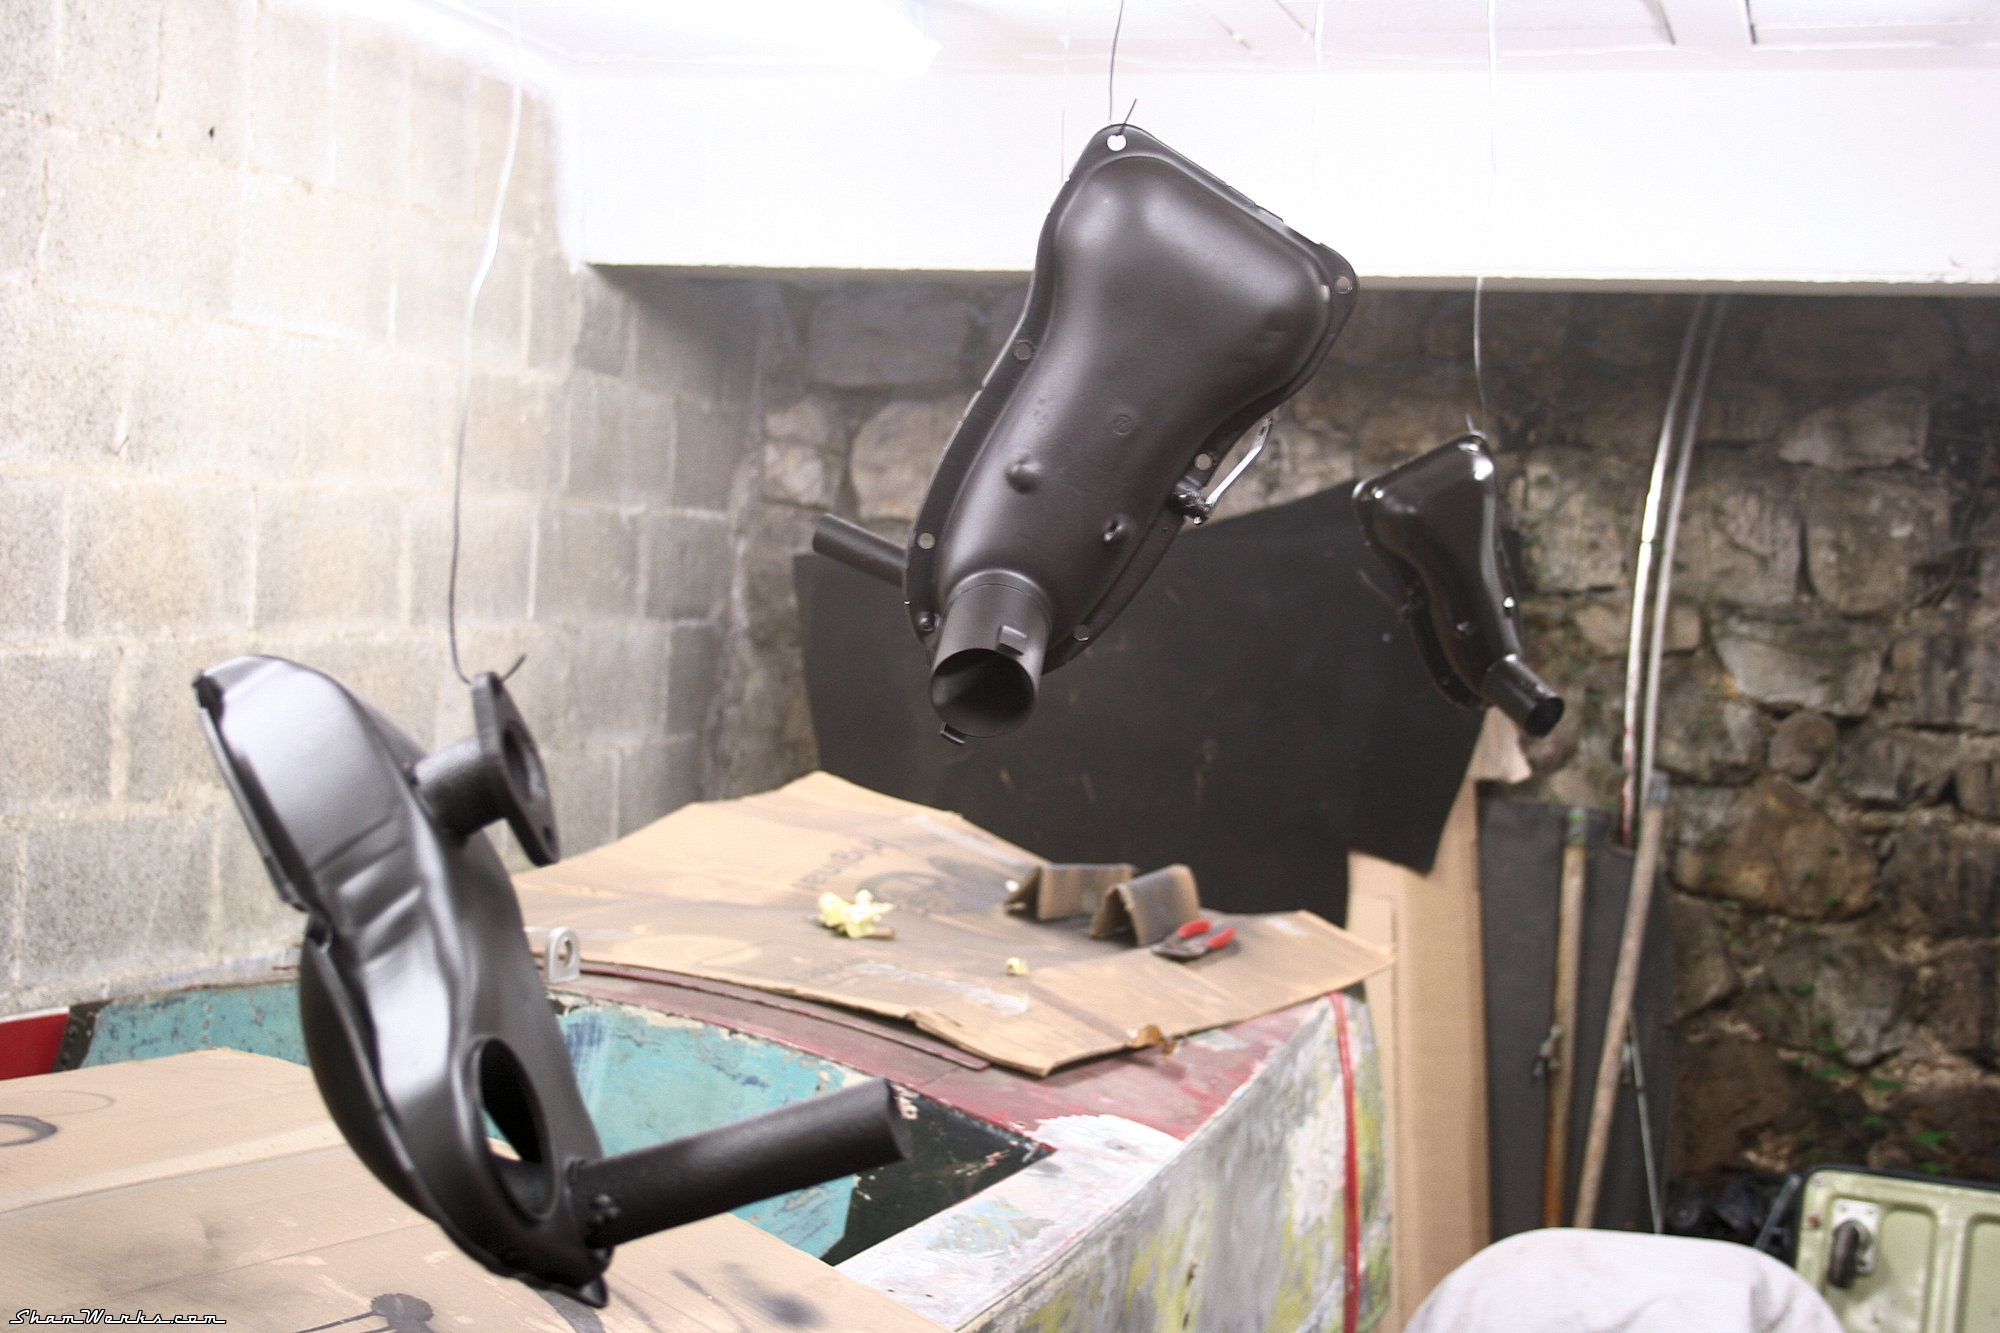


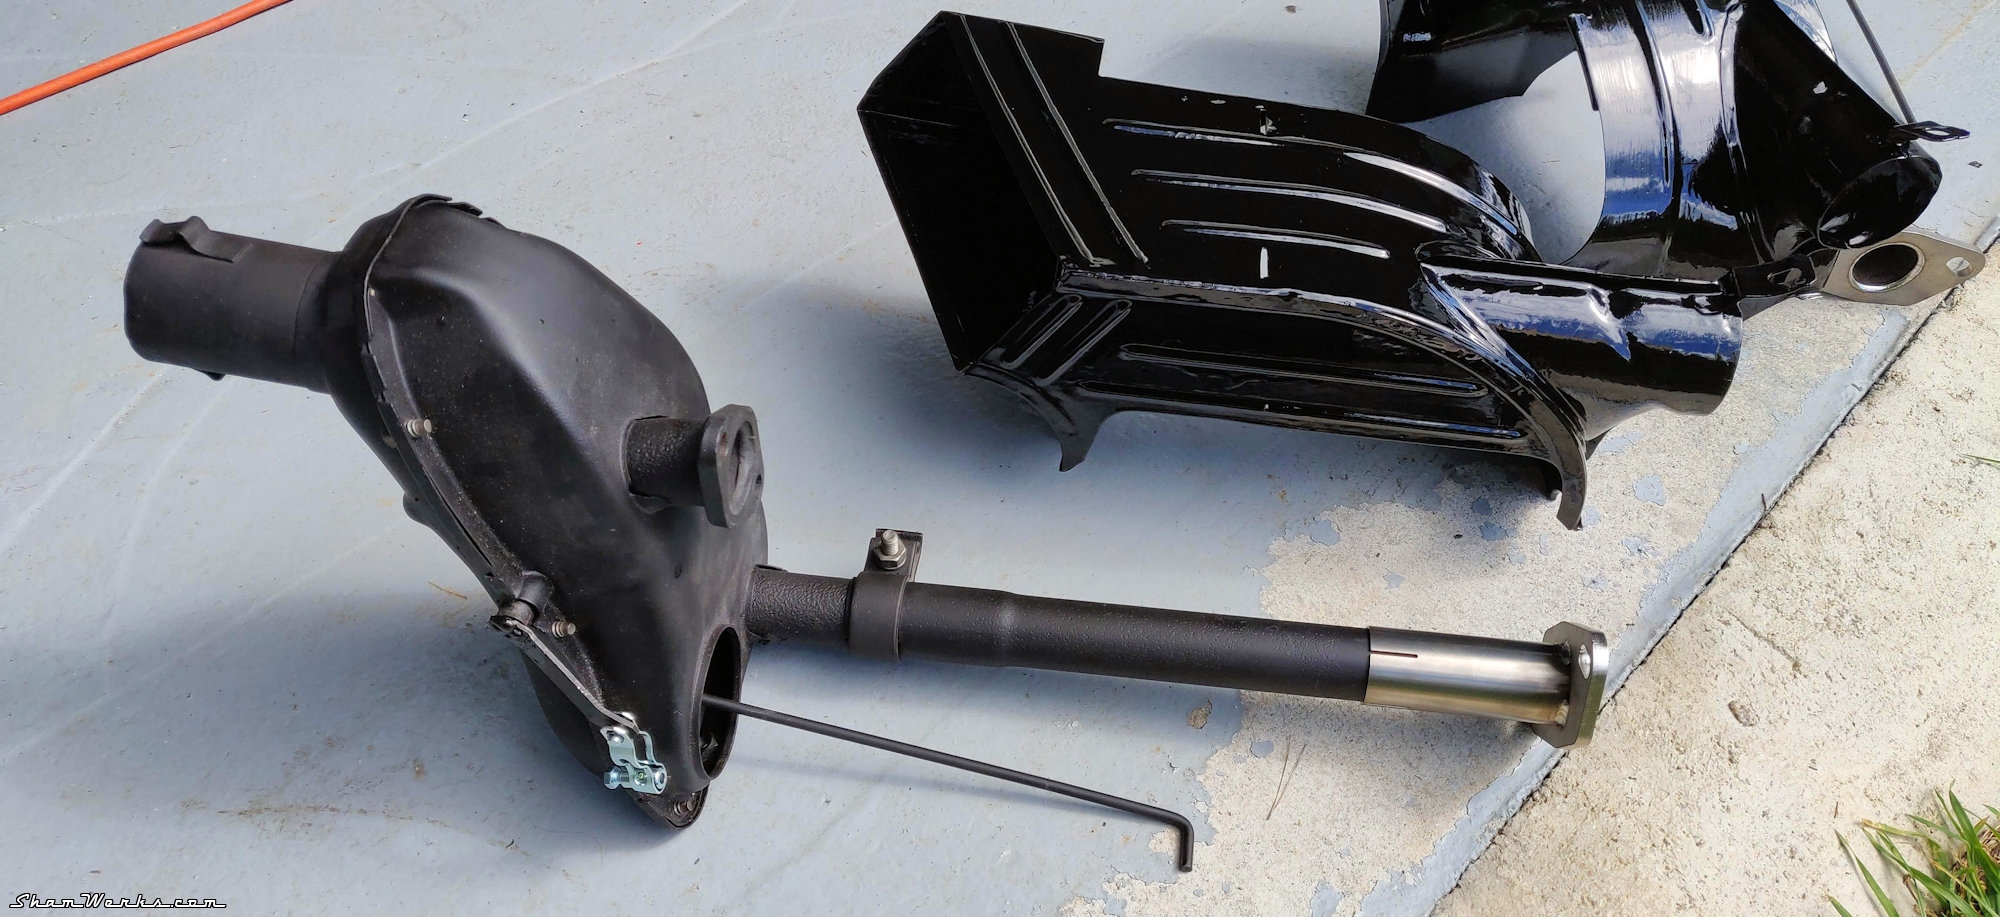
Engine tins
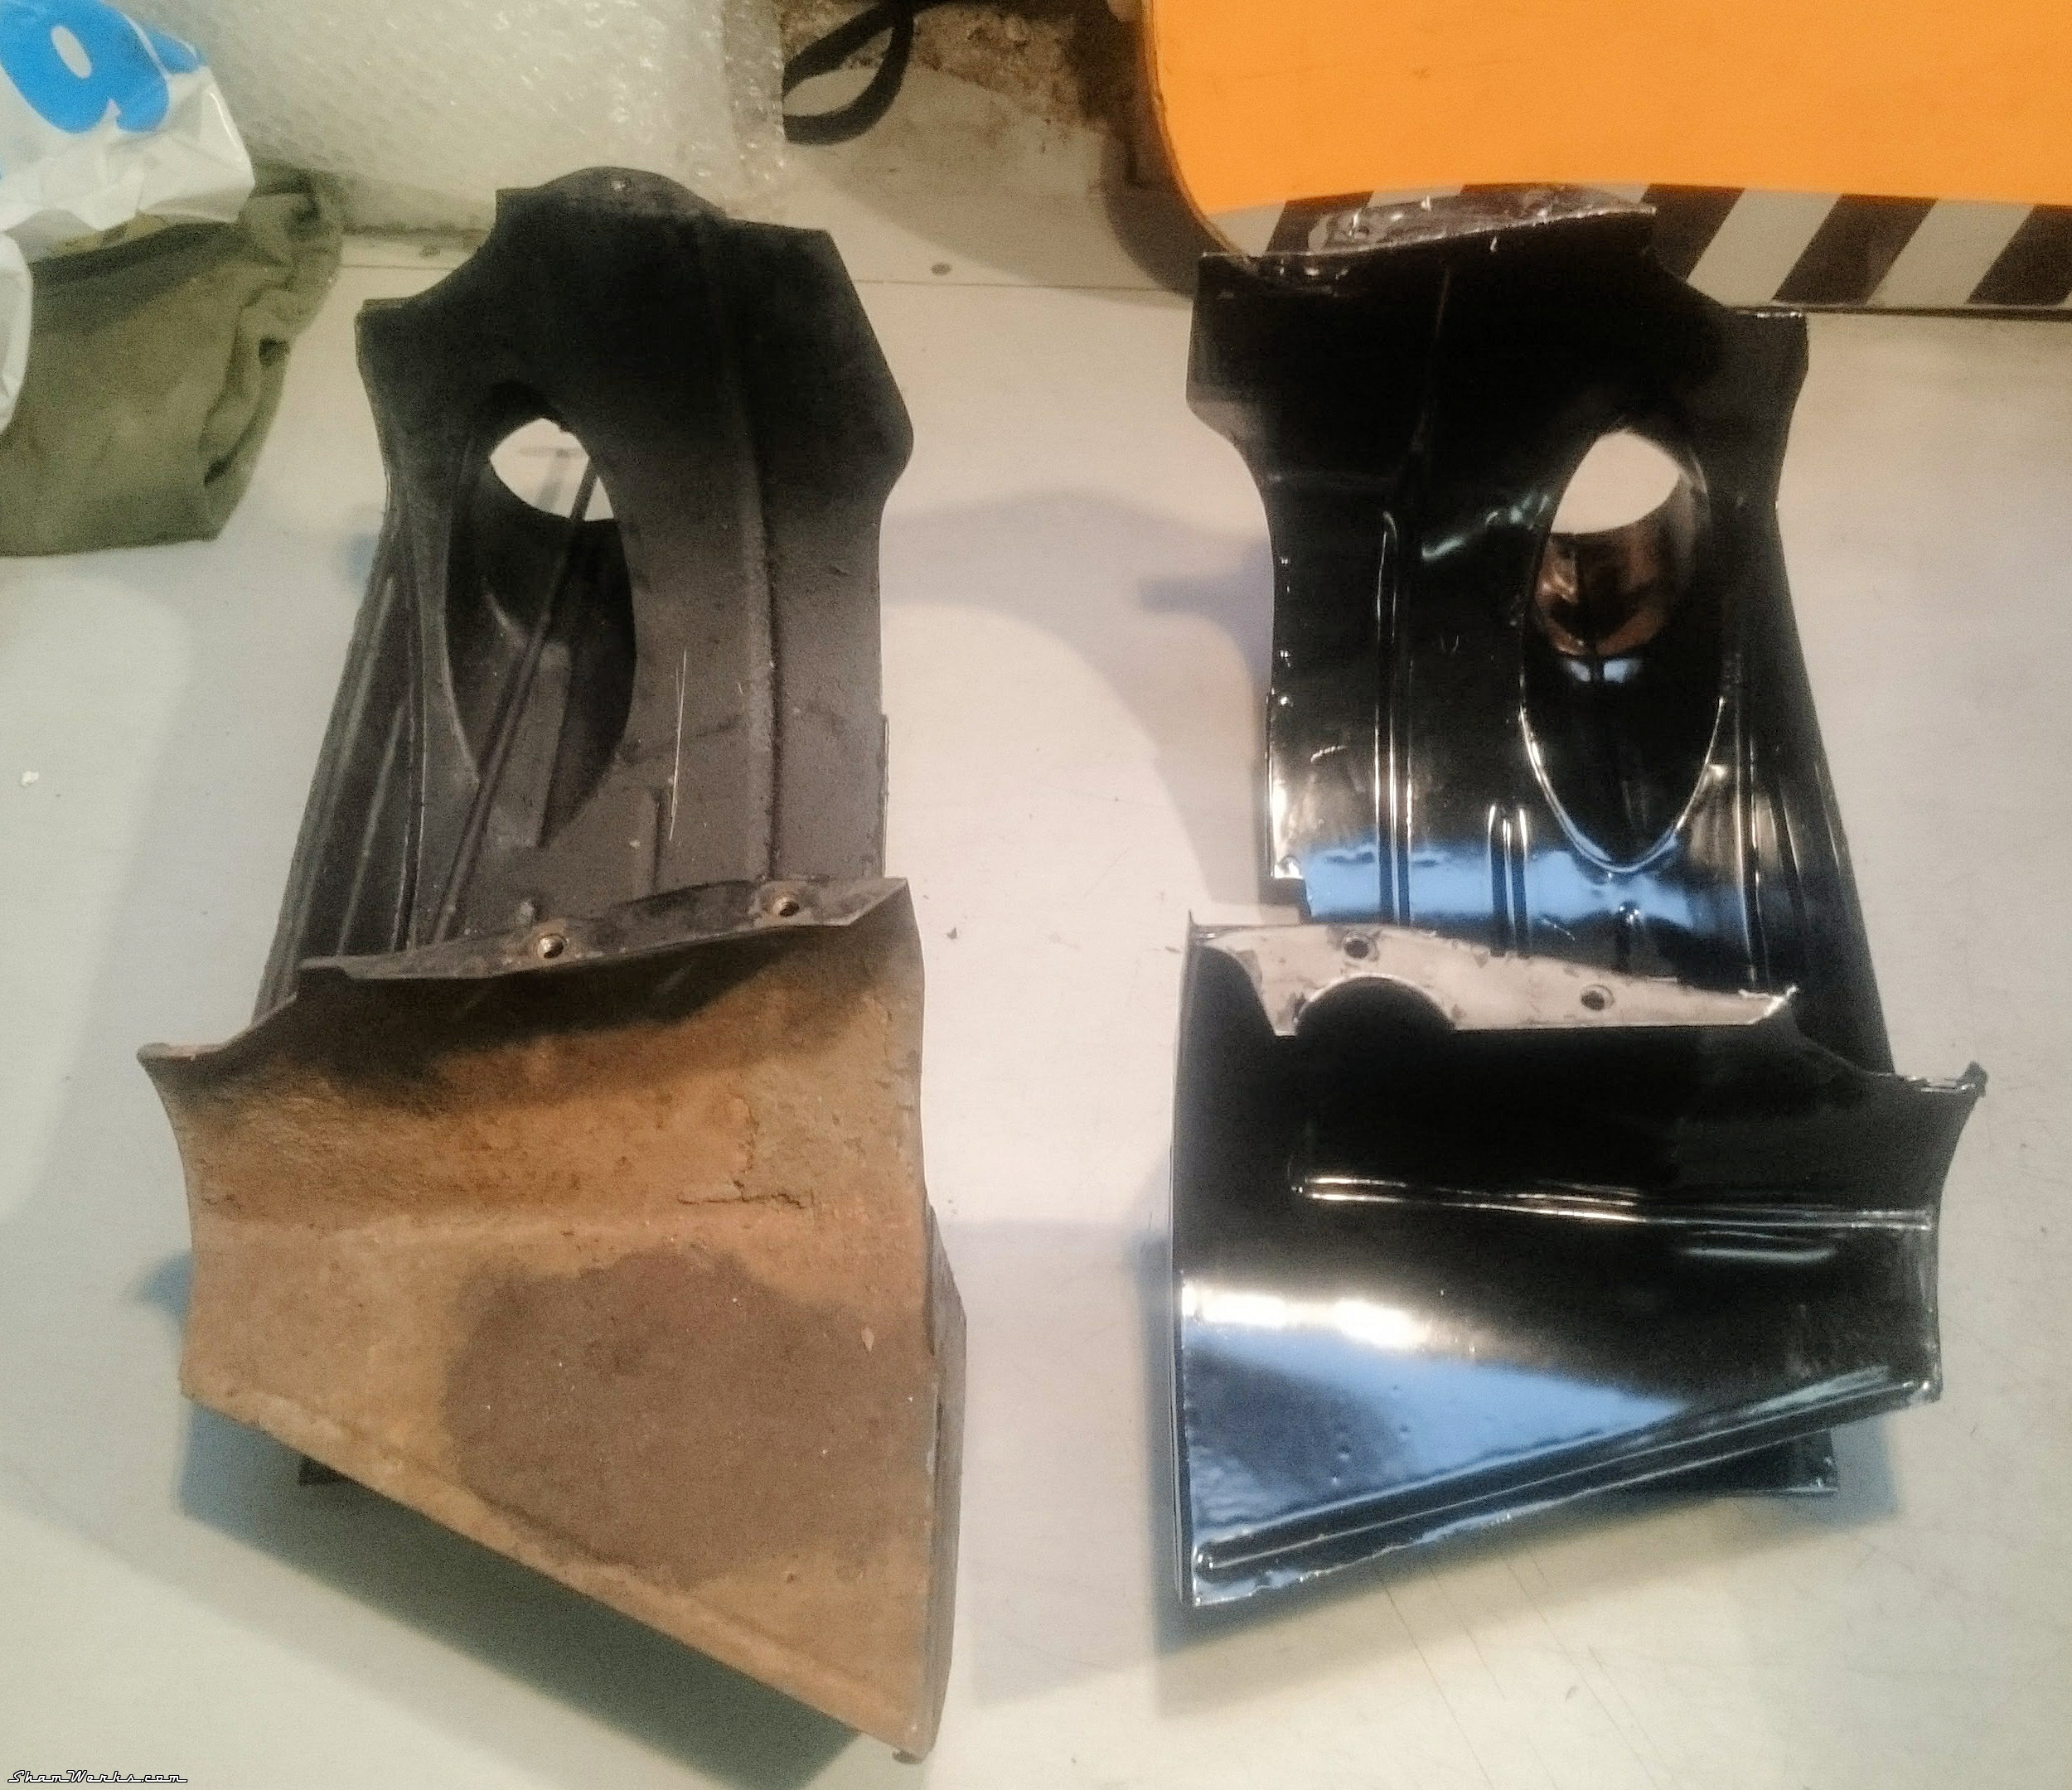
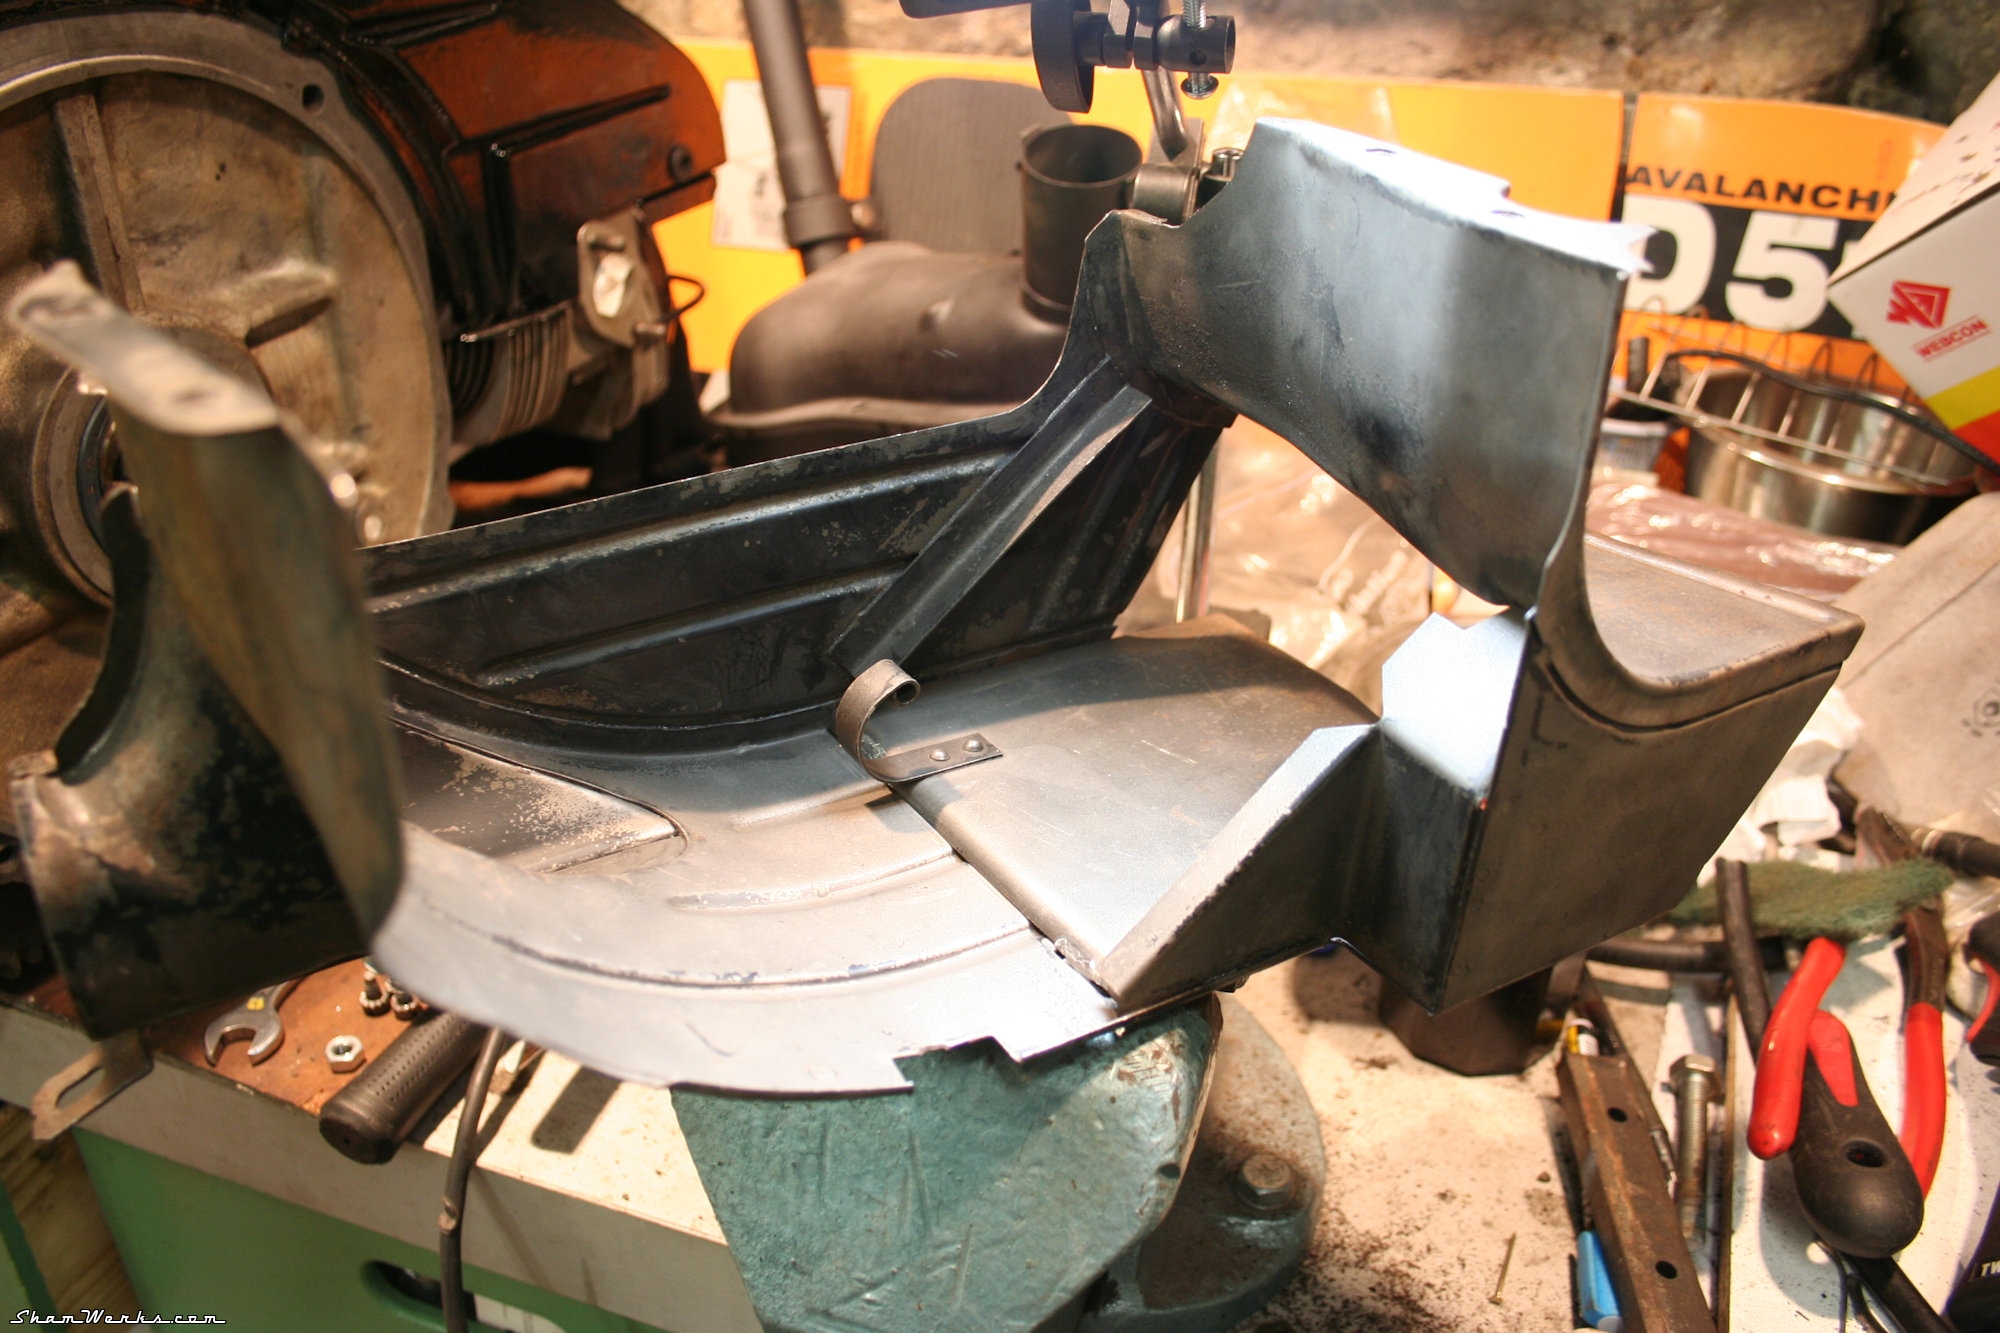
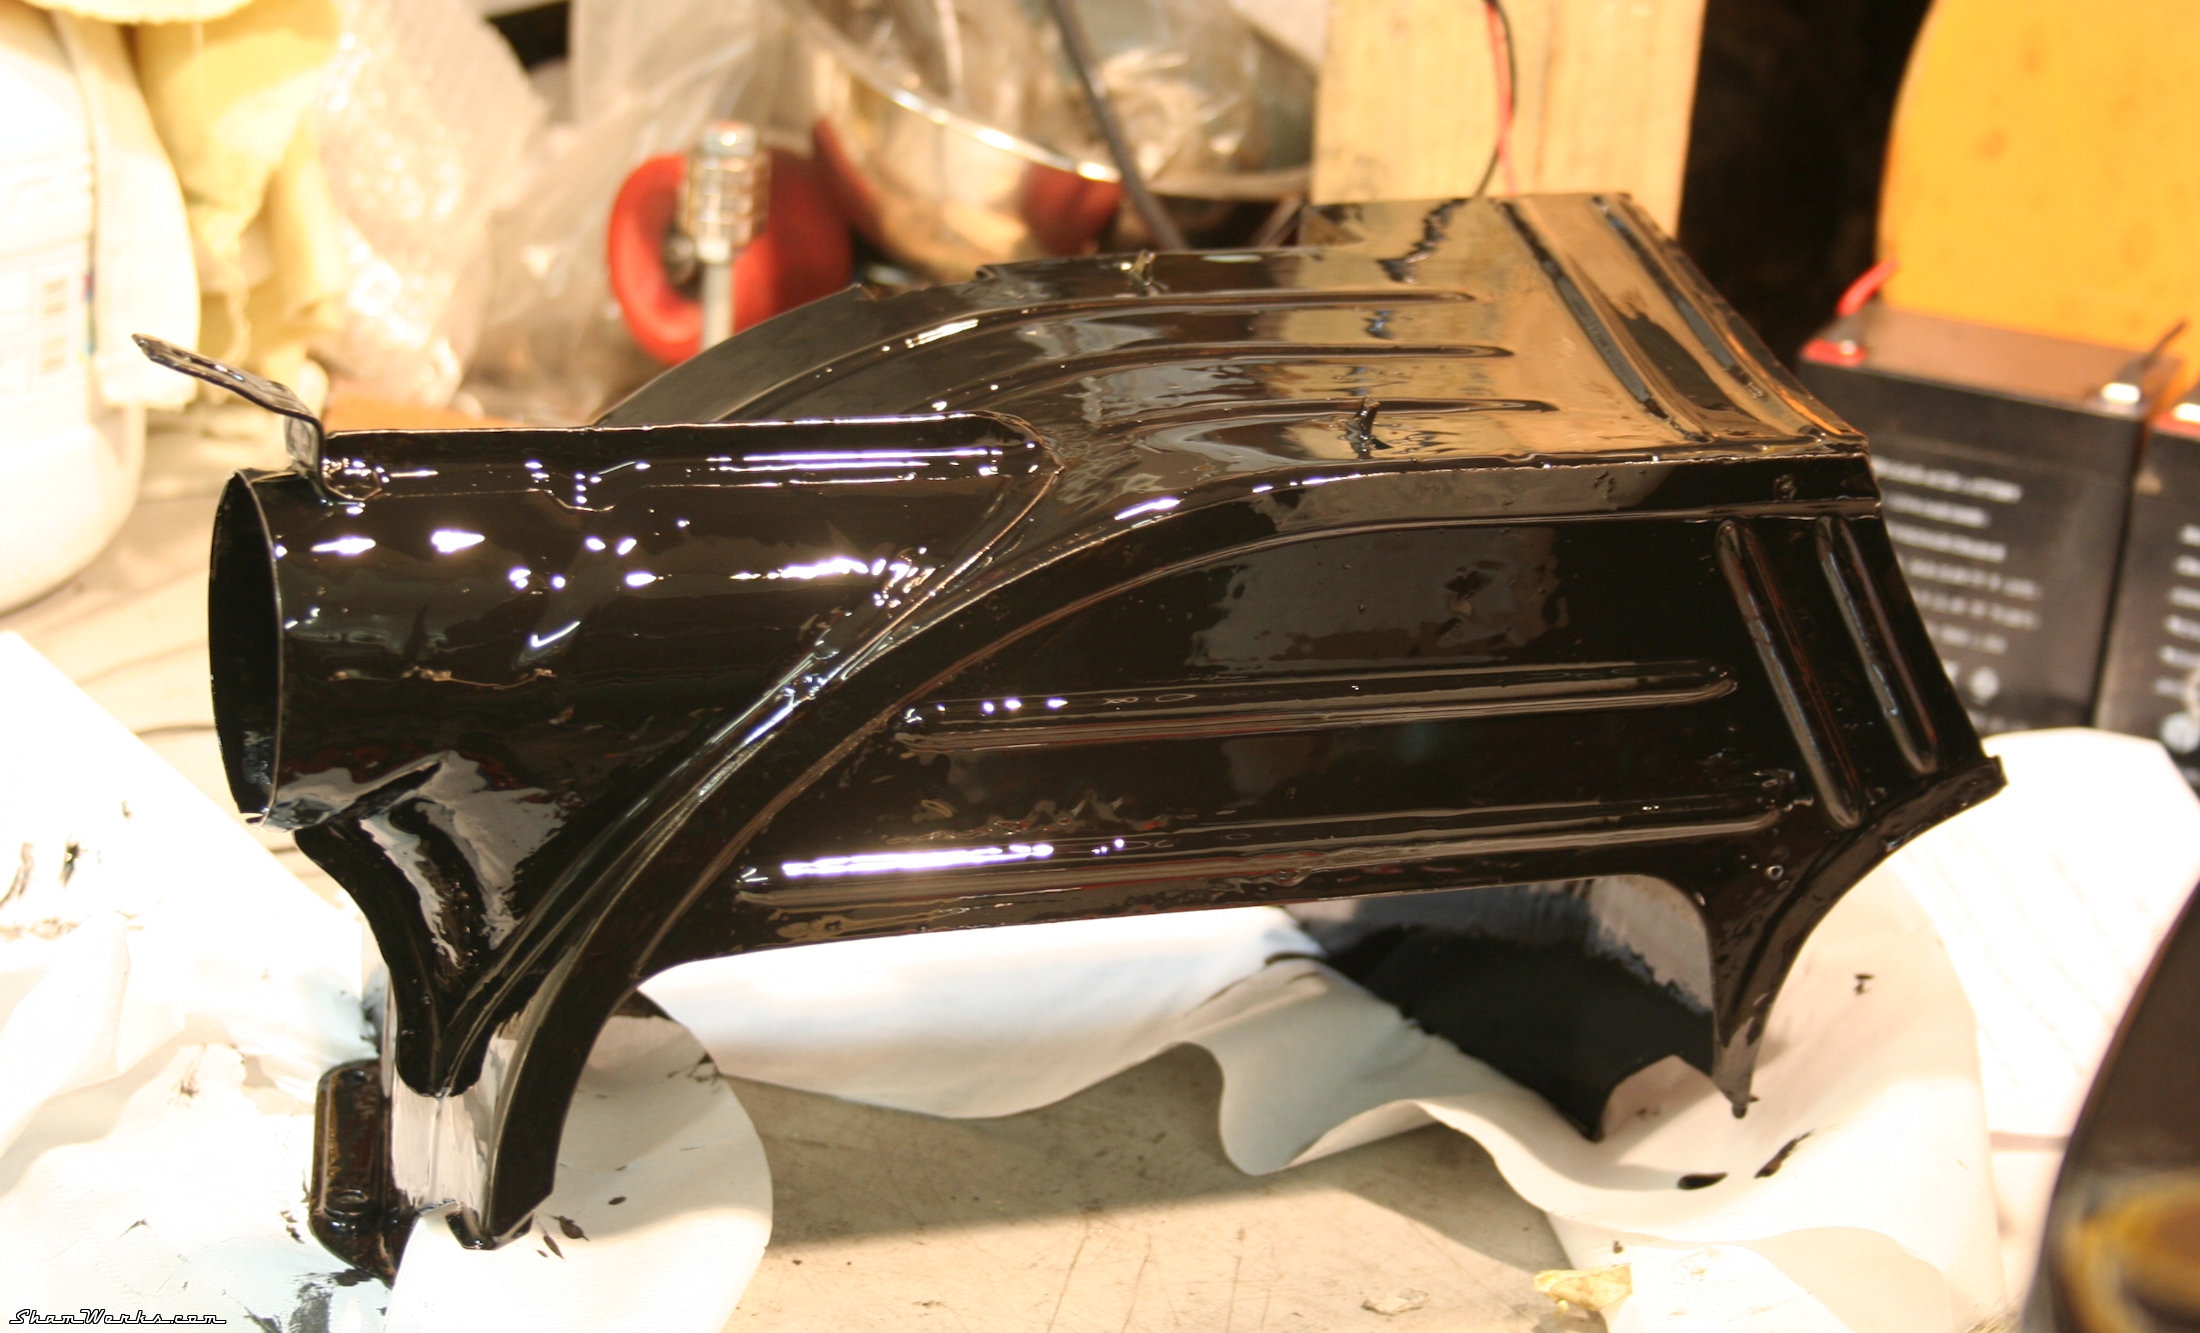
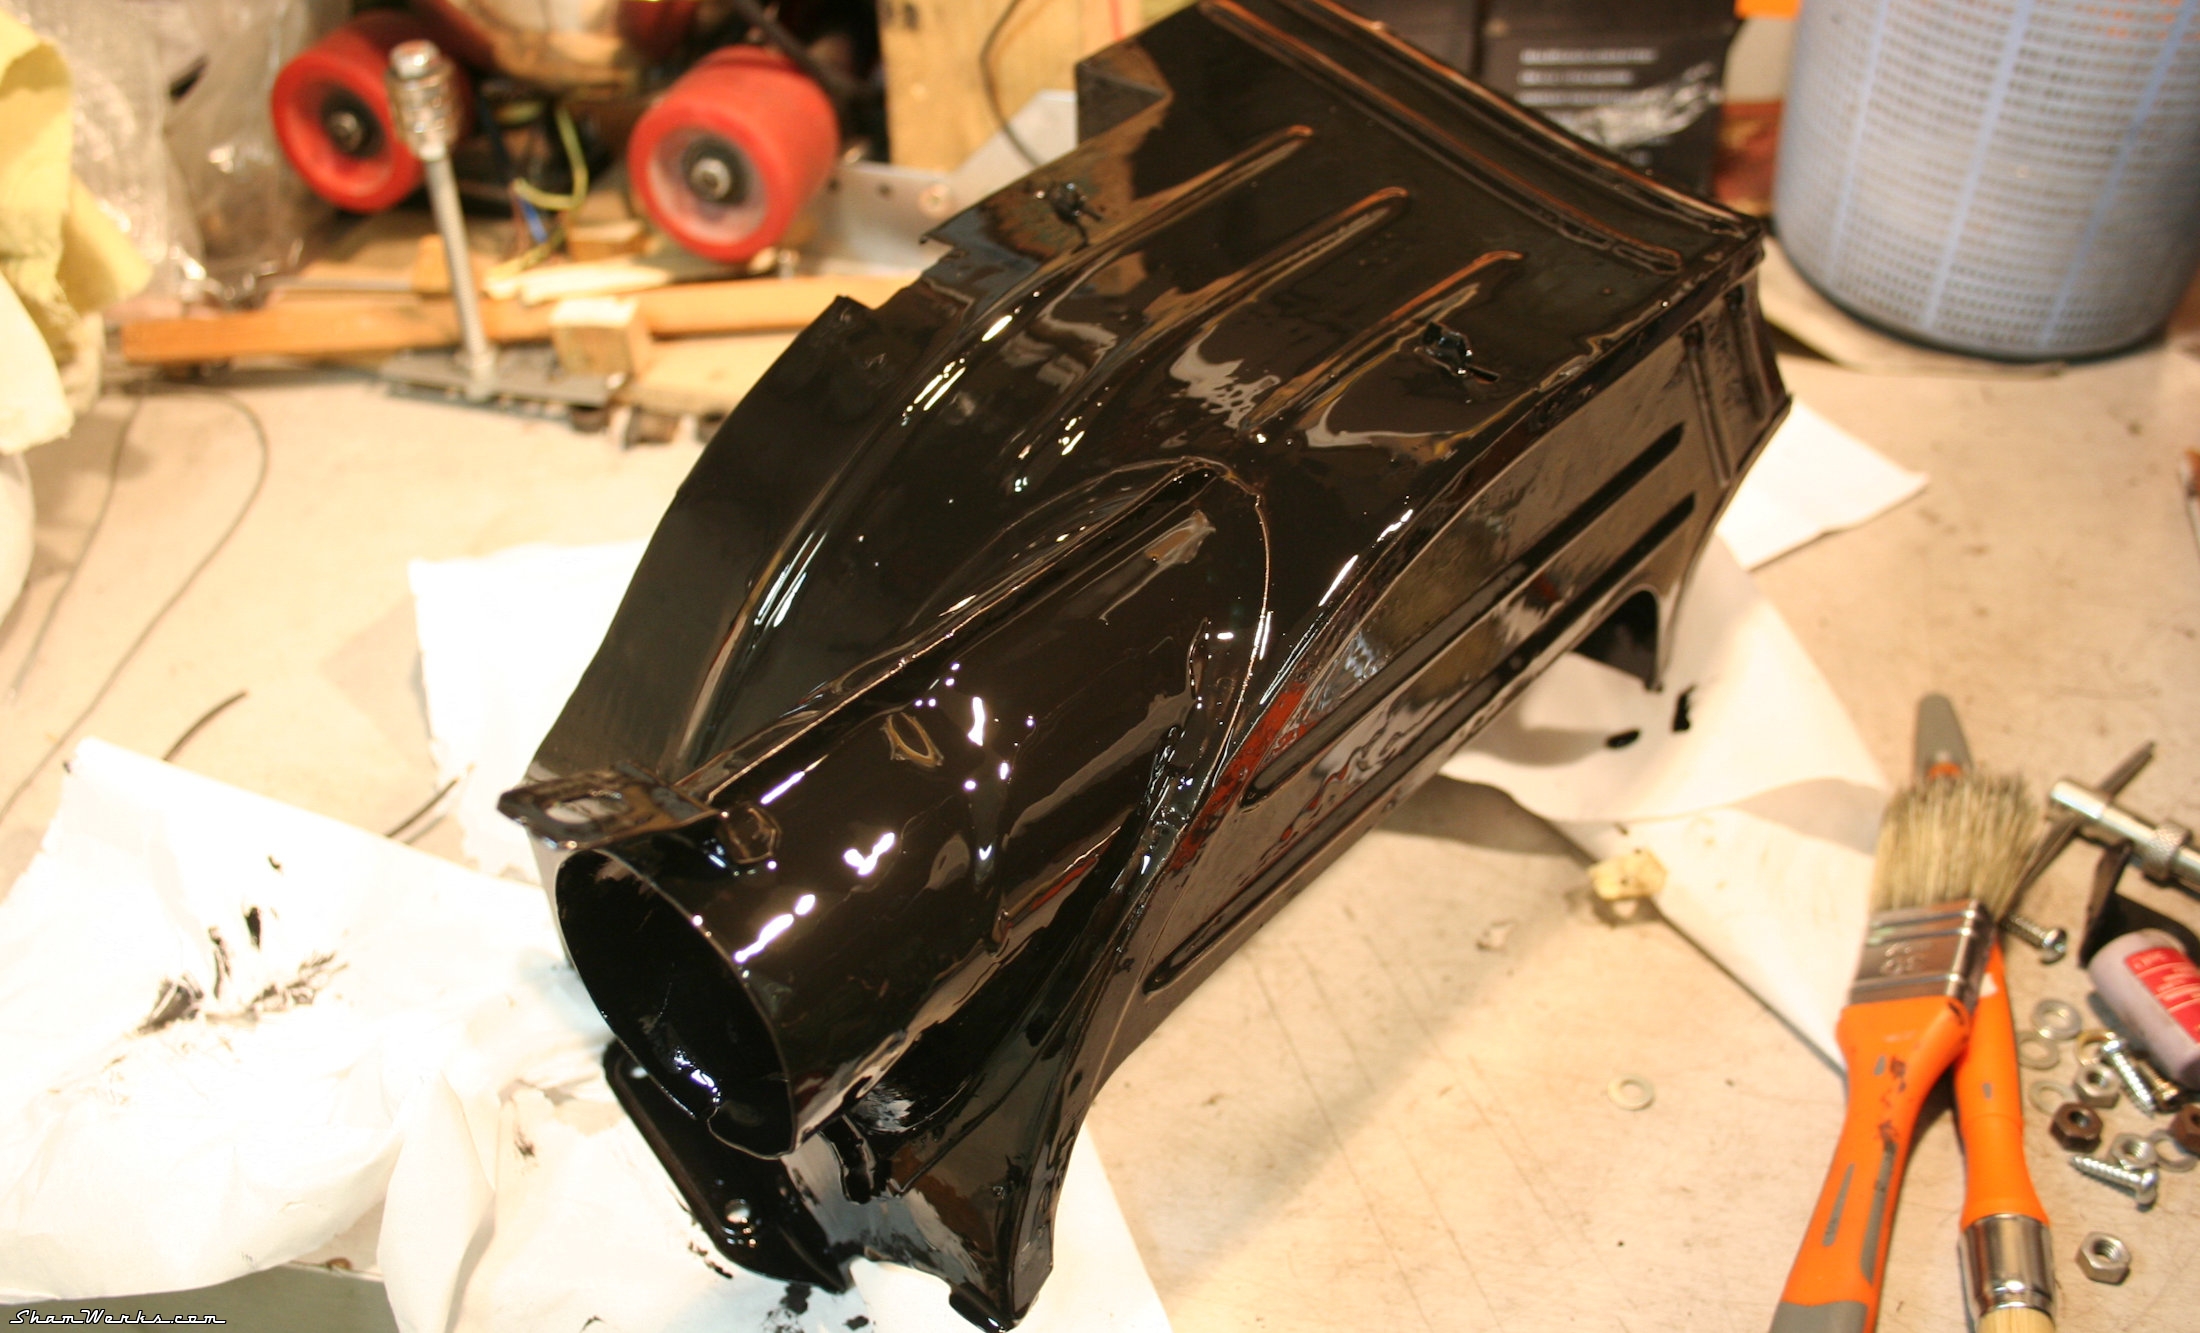
For the whole system to work properly, and for the heated air to be actually forced into the passenger compartment, it requires the under engine tins to be present with their moving flap to redirect the airflow. I did not have those tins on my original engine, and they are getting harder to find (and never built as reproductions). But with some patience, regularly checking online ads, and some bucks, I finally found a pair.The ones I got were in an ok state, with just a little tab broken on one of the moving flaps. Thorough clean up with naphtha and brake cleaning fluid, then bead blasting to get rid of the flaking paint. And since those are below engine tins,exposed to road gravels, I brush two coats of Hammerite, as it will protect them better than any body paint. Here you can see the left on in its original state, and the right one after full treatment :


But this will have to wait until the next episode! 😉😁 Published on 22/09/2021 / 2 commentaires