Posted on 15/05/2016 at 23:20
Elvira : Rebuilding the 36hp, part 4 : Solex 28 PCI


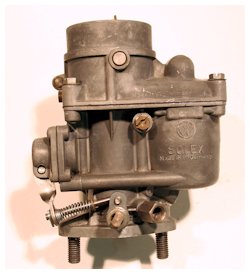
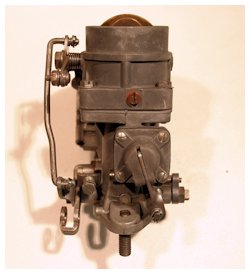
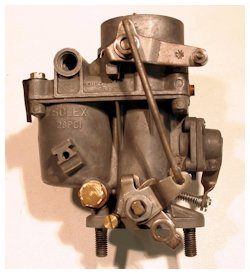
episode 4 : Solex 28 PCI Carburetor
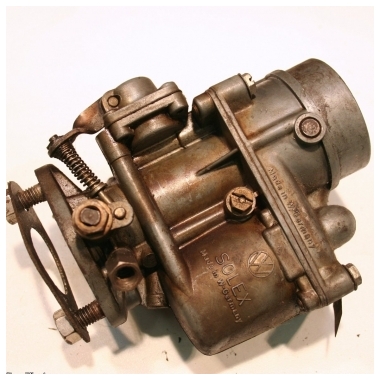
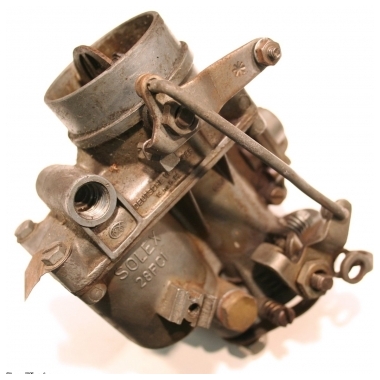
After 57 years, it was long overdue for a rebuild... Actually, I just found out about a cleaning method on a vintage motorbikes forum : they clean their carbies by putting their parts in boiling lemon juice, directly in a sauce pan! And I have to say, I was pretty amazed by the results!
So I tried the same approach, but using my ultrasound tank, filled up with 6 bottles of lemon juice, heated all the way up to 80°C!
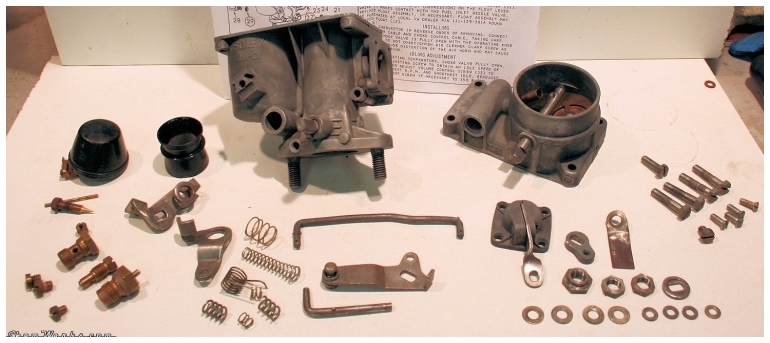
So after I disassembled the Solex, I let it soak in for 3 ultrasonic rounds of 20 minutes, after which I rince everything in clean water (ideally it'd have to be warm to avoid thermal shock) in order to remove any remaining acidity left by the lemon juice... Then a quick blow dry. I immediatly lube the rotating parts to avoid any oxidization... And the result is pretty neat!
I think the ultrasound are pretty useless here, being dampened by the particles in suspension in the lemon juice ; but they still help agitating the whole thing, and it probably helps.
I reassemble the carb with a renovation kit - all the gaskets were dry, the accelerator pump diaphragm completely rigid... It was time to do something about it.
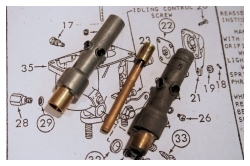
But obvisously, everything was going fine. Too fine. So as I was reinstallint the jet on the emulsion tube, lightly tightening it as I know it a fragile part... Crack. F*ck me.
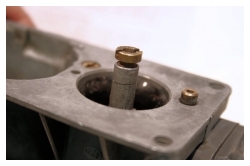
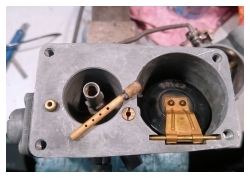
Fortunately, this emulsion tube can be bought NOS online on eBay in Italy... So 10 days later, here we go again, I replace the cracked tube... (note : there's an alternative to the NOS tube : one can buy a brass made replica at Bob Services : thanks SebCore for the info!)
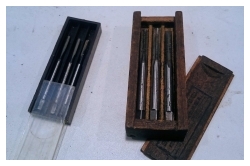
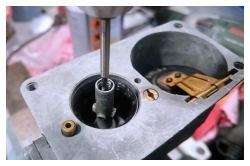
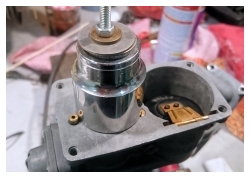
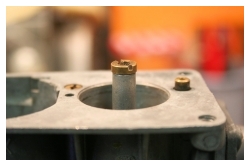
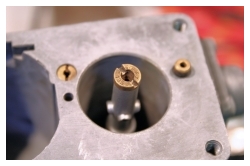
To extract the tube, I first tap it with an M3 tap, pull.... But only the brass part comes. Second try, I tap the remaining tube with an M5 tap, pull it... And this time it's out. Yes!
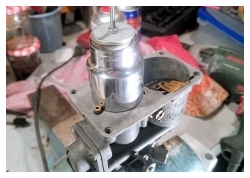
The new tube is inserted after heating the carb body with a heat gun (on "low", be gentle!). The tube itself is cooled down with a couple of squirts of brake cleaner fluid + compressed air blow. It's not settling in that easy, so it took some convincing with a small hammer and a drift punch, the carb being held in the vice. Again, gently! Now I only had to put everything back together with new gaskets, replacing as well the small metal pins on the linkage, with were prone to breaking due to their age.
And there you go, a new-ish carb!
It directly goes into a plastic bag, waiting for the holy day it will make my engine come back to life...
1


