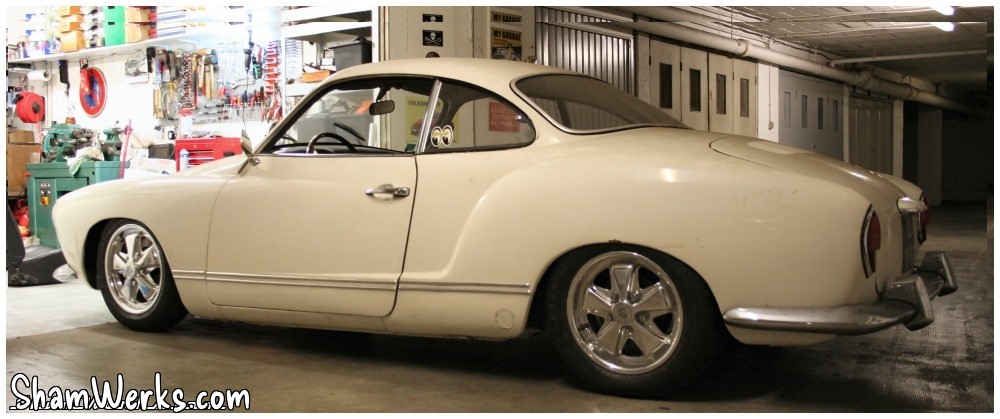
Kitty Upgrade : Short Swing Axle Swap
OK, so, on the rear things are a tiny bit more complex. The deep 6" Fuchs won't fit, their 36mm offset isn't enough, the tires hit the fenders.
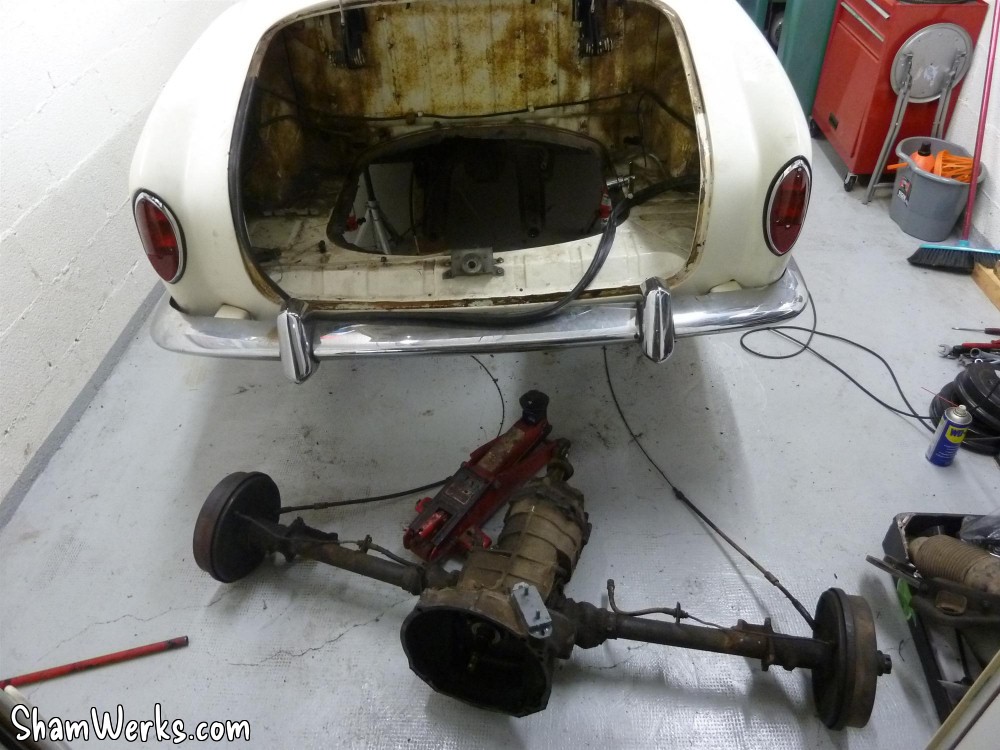
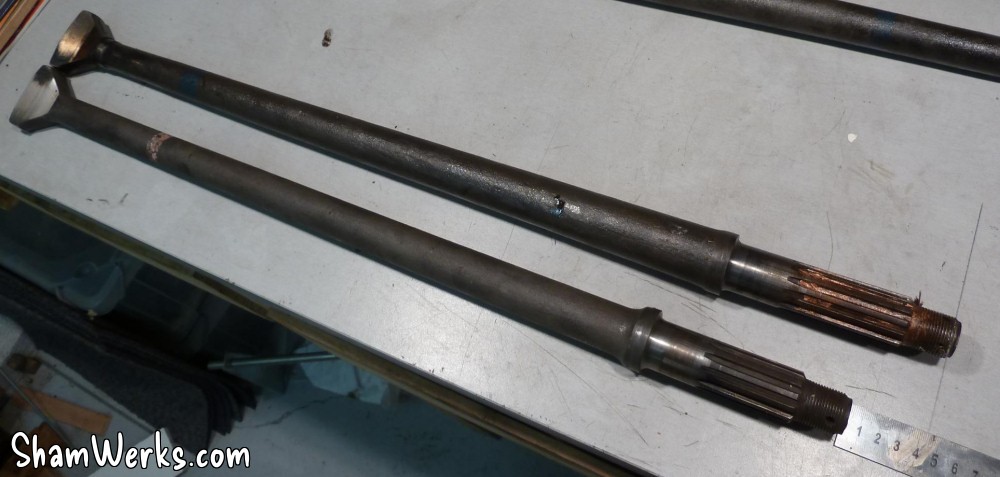
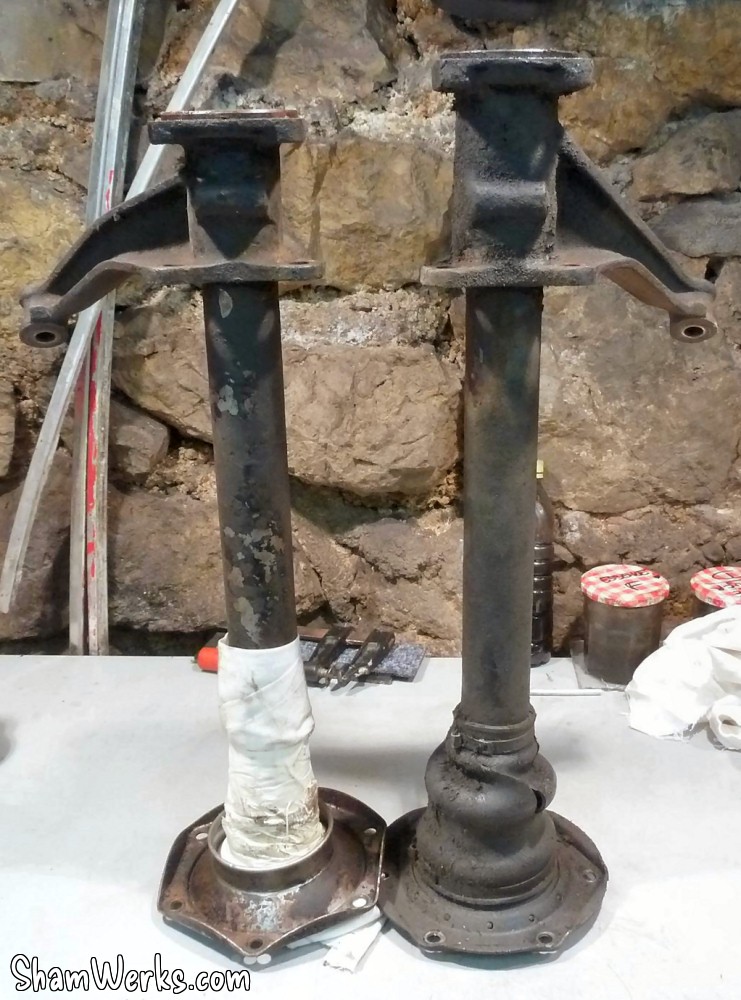
My Ghia being a '68 model, it features the late "wide" rear axle ; by switching it for a narrow version, I'd get around 3cm on each side... So here I go, I hunt a set of narrow axles and I'm good to go!
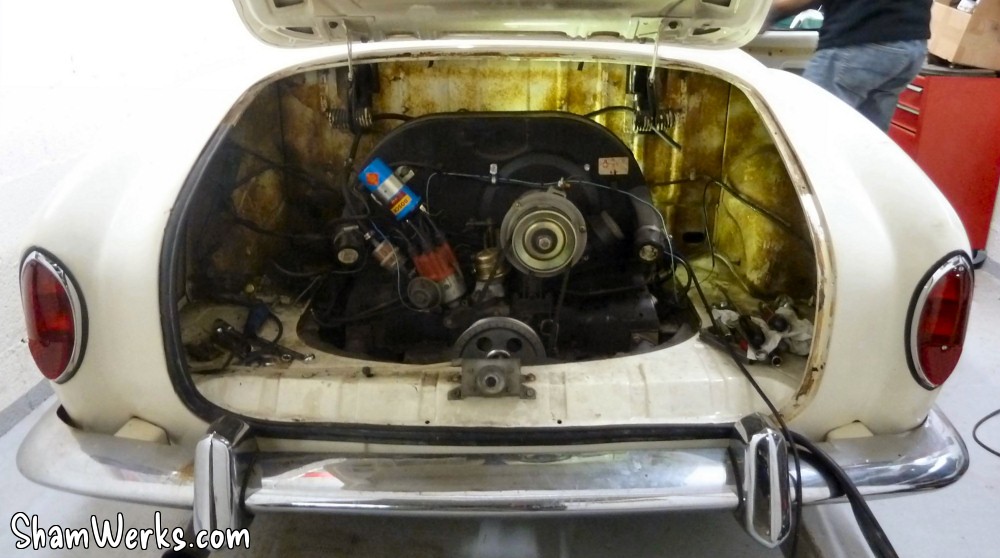
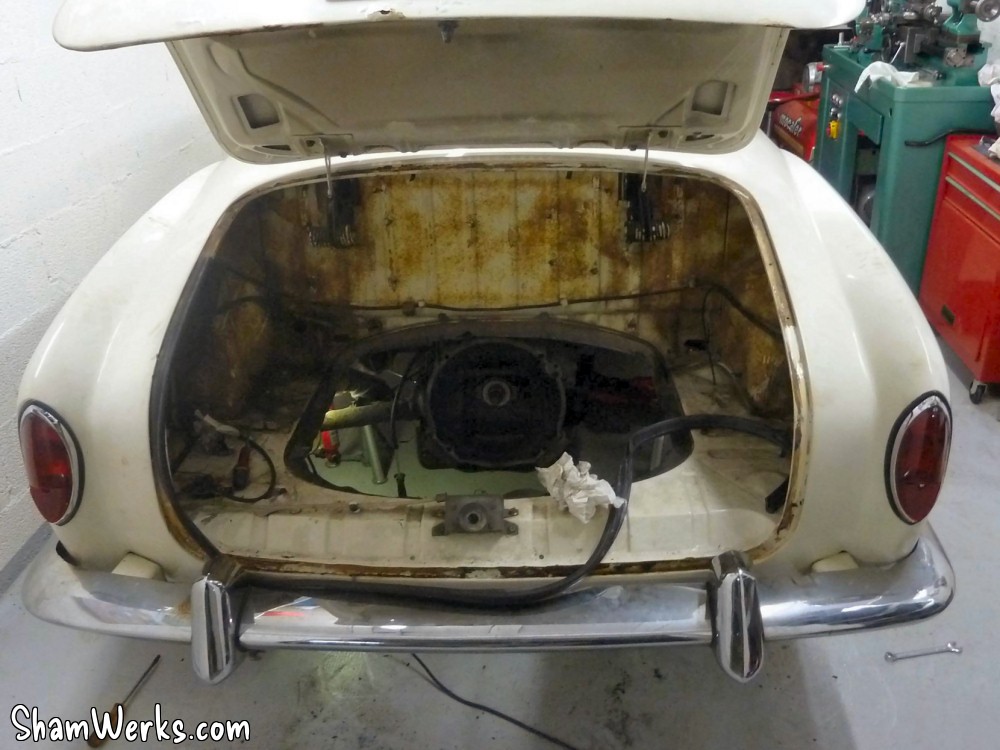
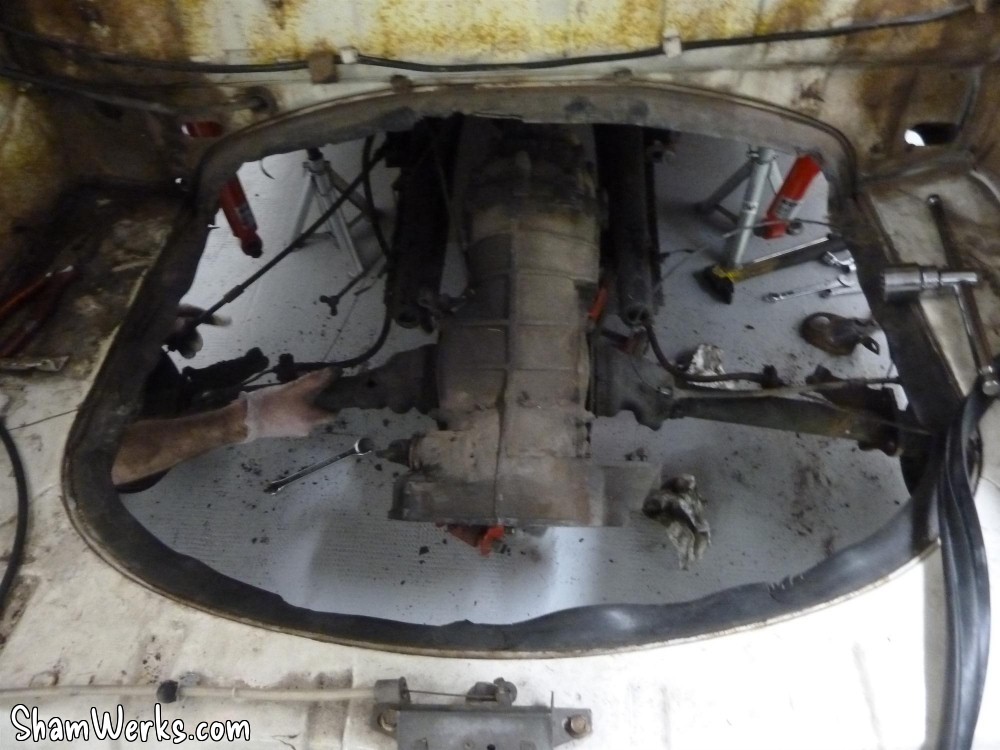
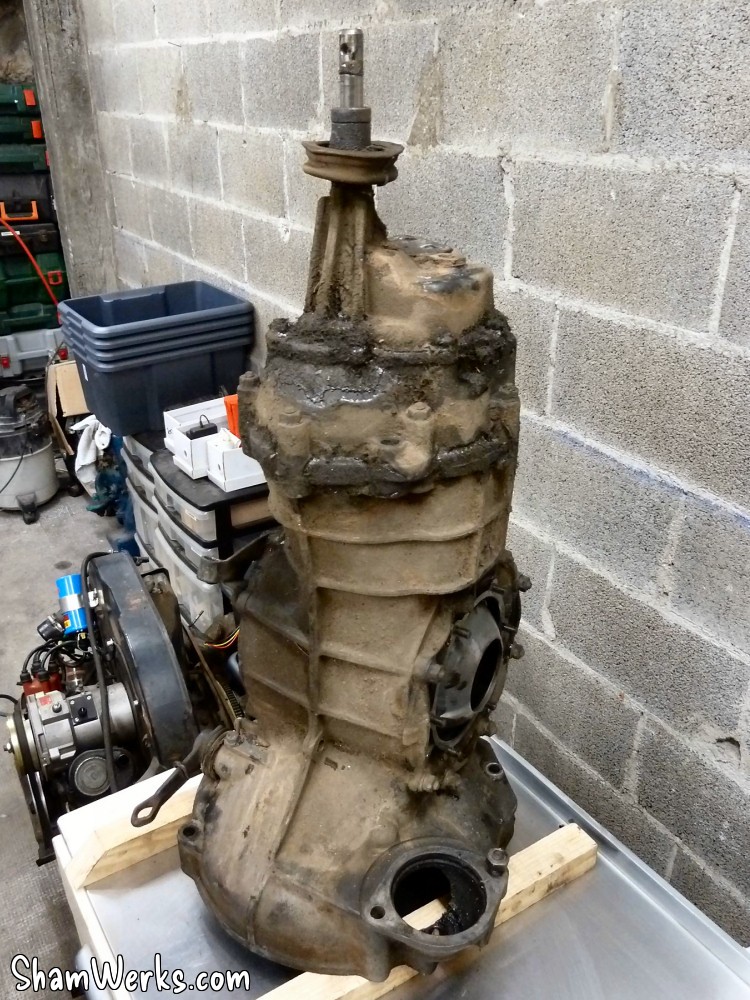
The engine is taken out of the car without too much hassle (thanks Flo for your help!), except for that one exhaust nut rust-welded. I had to saw the exhaust away ; I had planned to change the exhaust anyway.
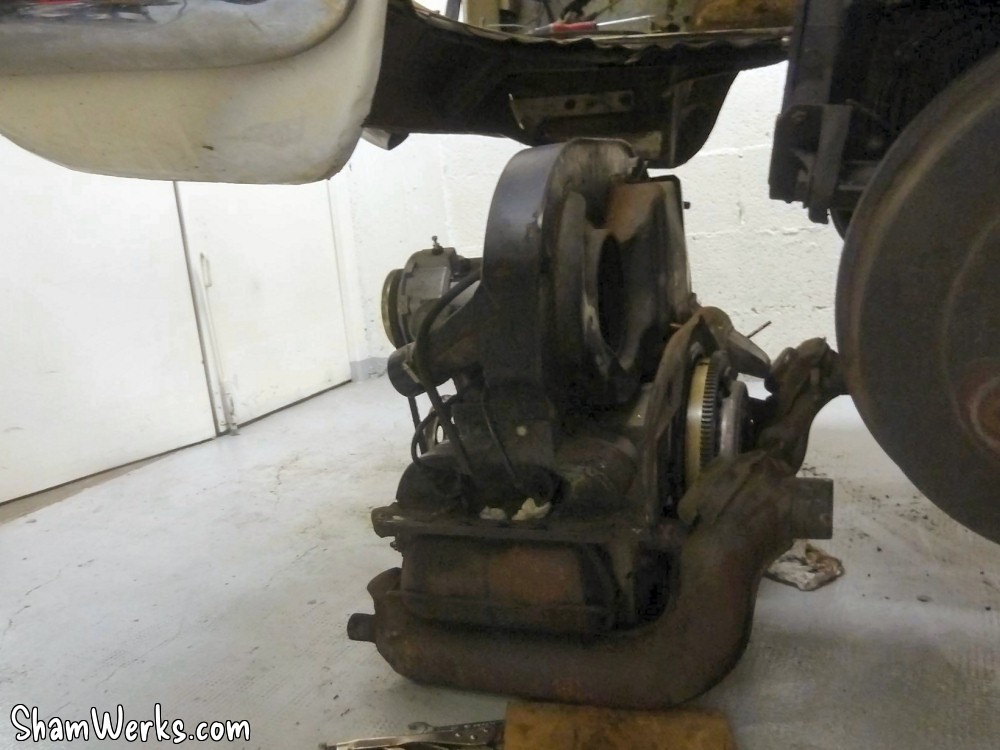
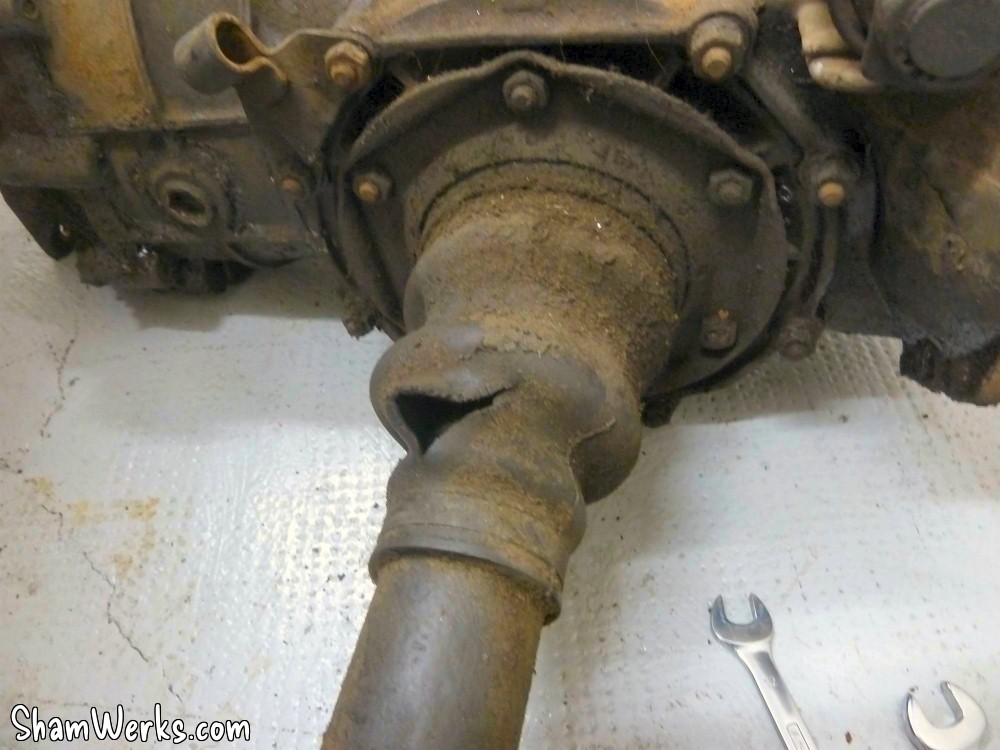
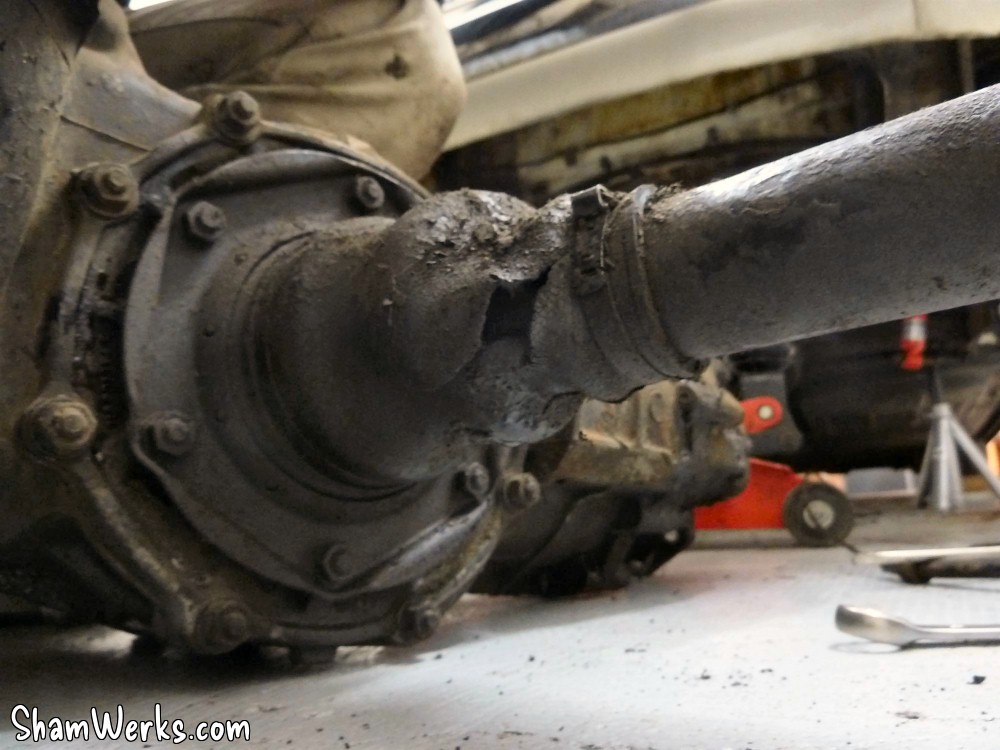
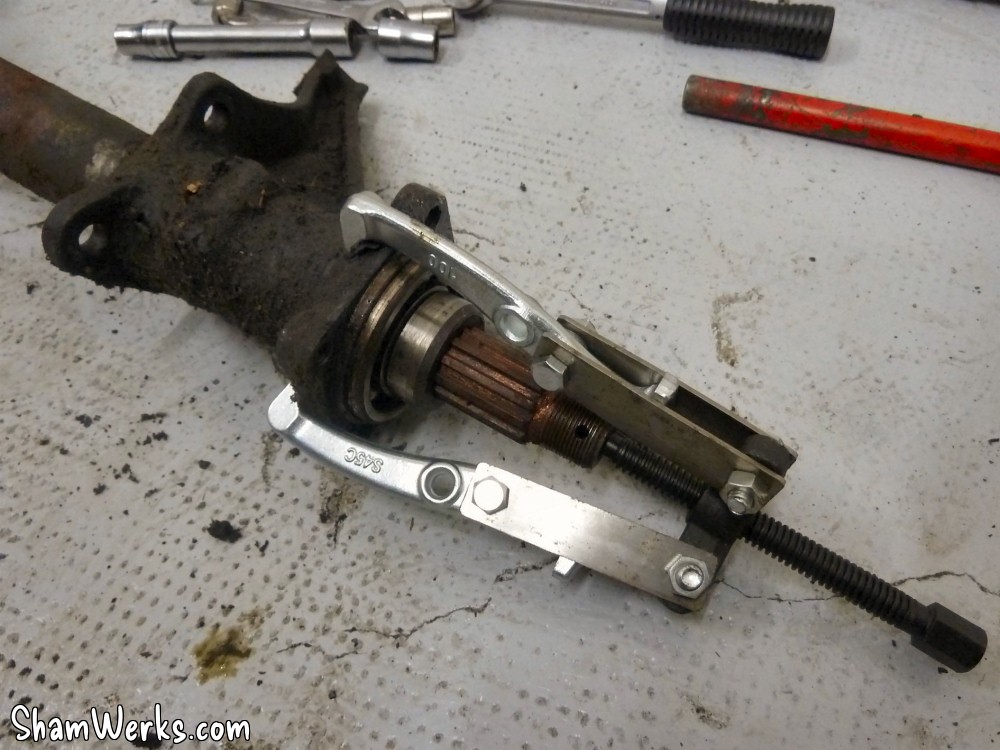
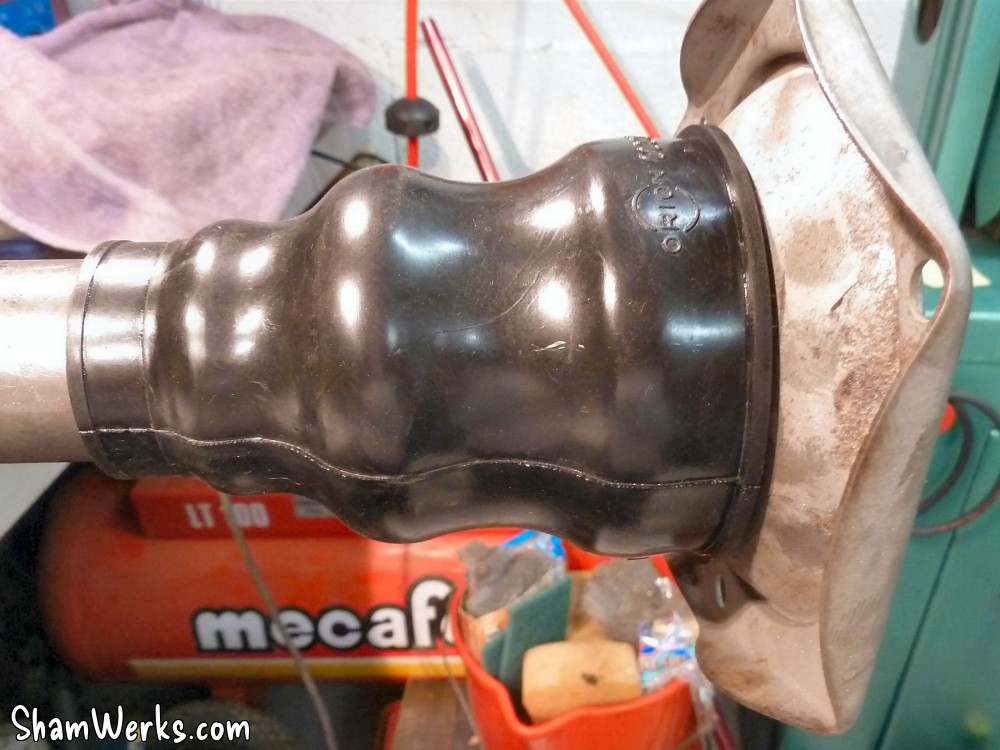
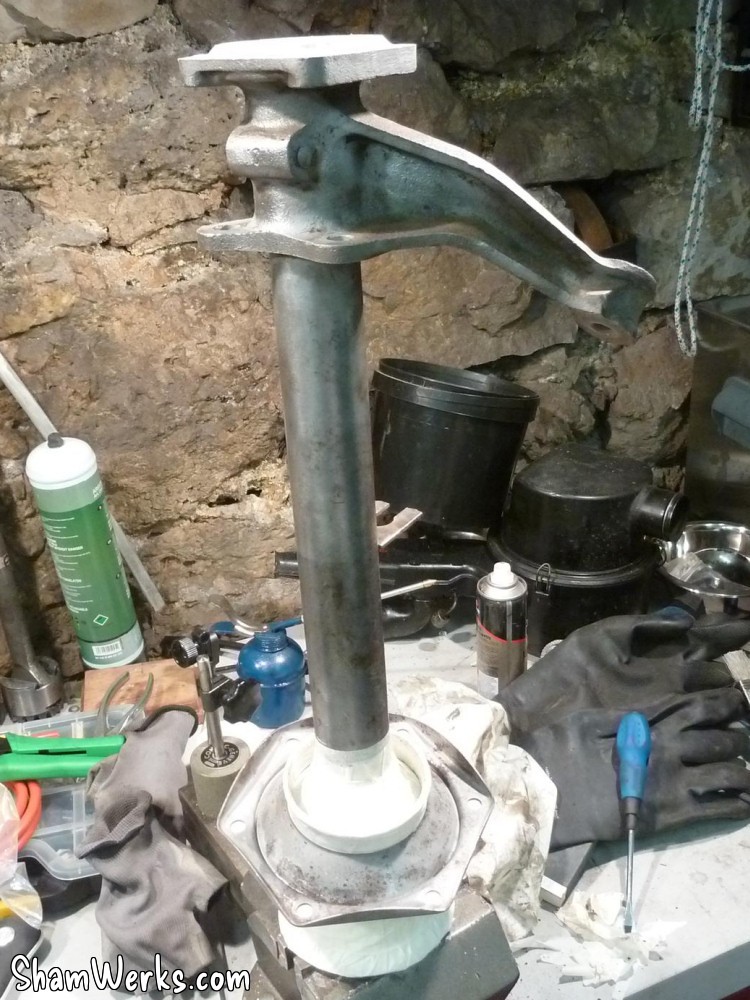
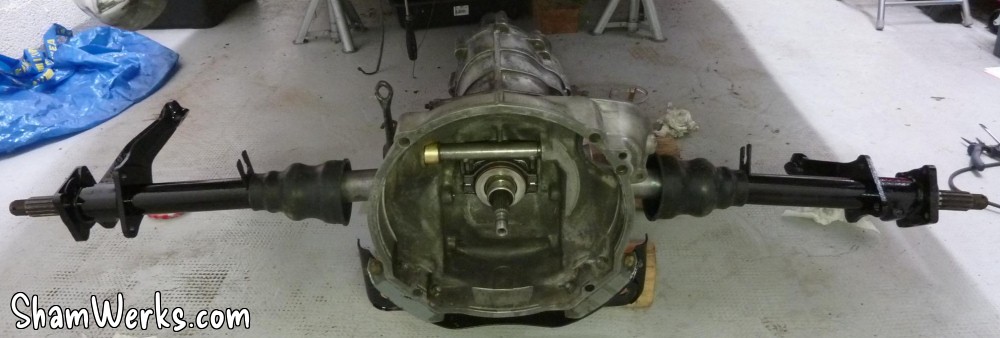
Then I remove the axles from the gearbox using a modified extractor. The rubber boots are dead and desperately need replacement...
The planetary gears are extracted, not an easy task since the end play had not been correctly adjusted when the gearbox was swapped : the snap ring moved in its housing, which created a small metal bur around it... I used a Dremel with a cutting disk to ever so slightly remove that bur from the lip of the housing, freeing the planetary gear...
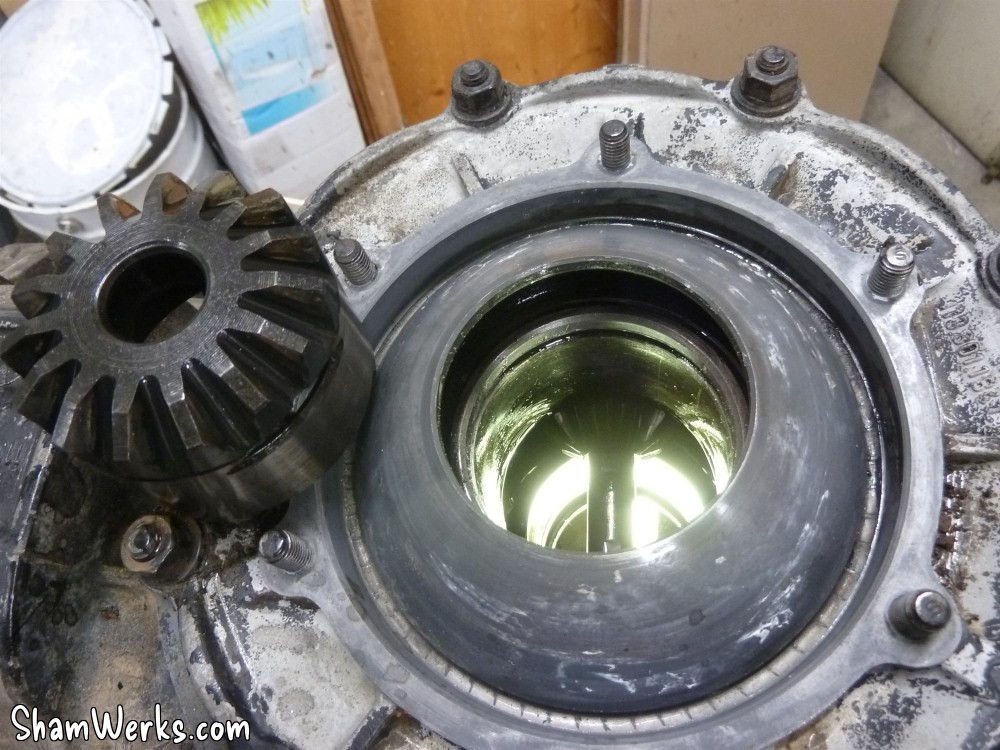
The differential holes were blocked with duct tape to avoid getting any cr*p inside during the cleaning process.

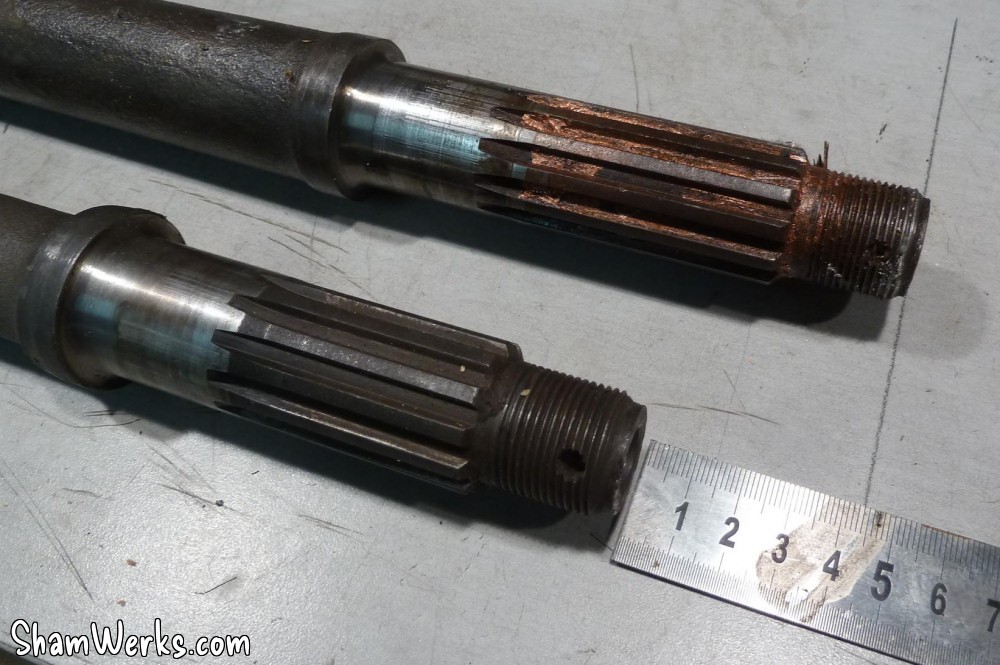
The short version is more or less 30mm shorter ; but the transmission axles are actually 45mm shorter : the difference comes from the splined section, which is 15mm shorter... Which means you need to lathe down 15mm from your brake drums to be able to fit them on!
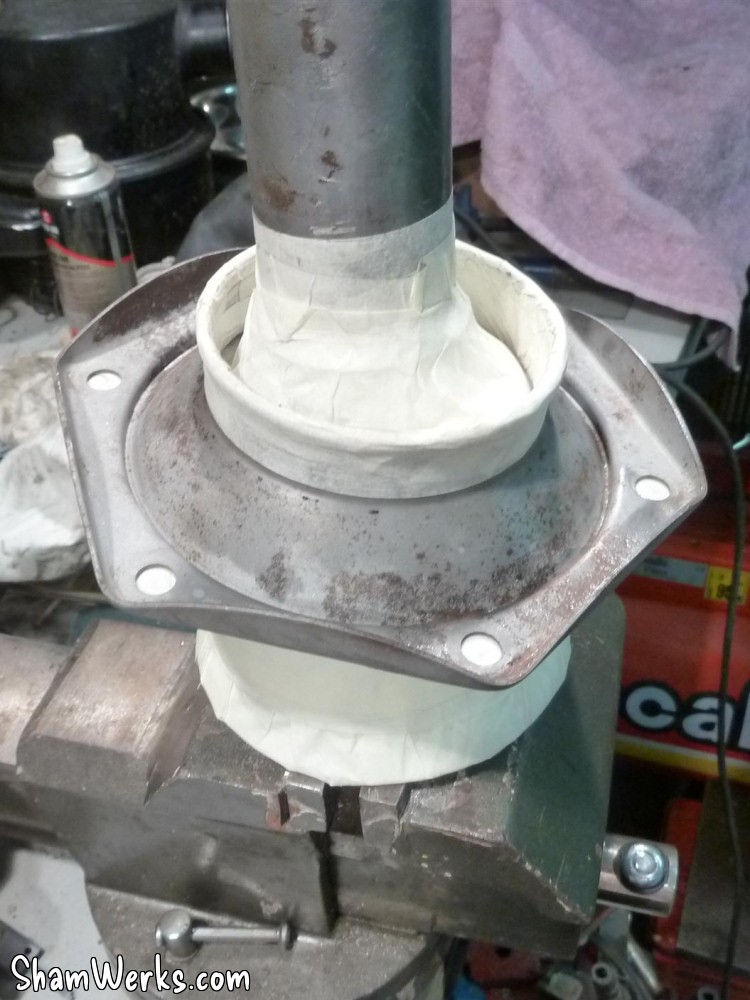
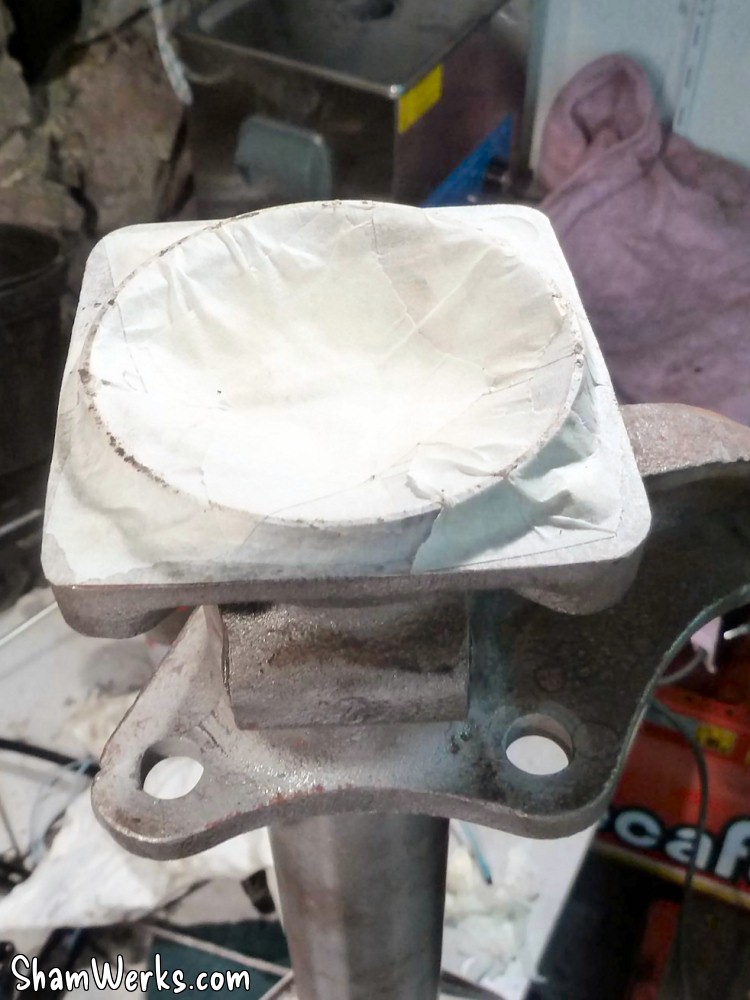
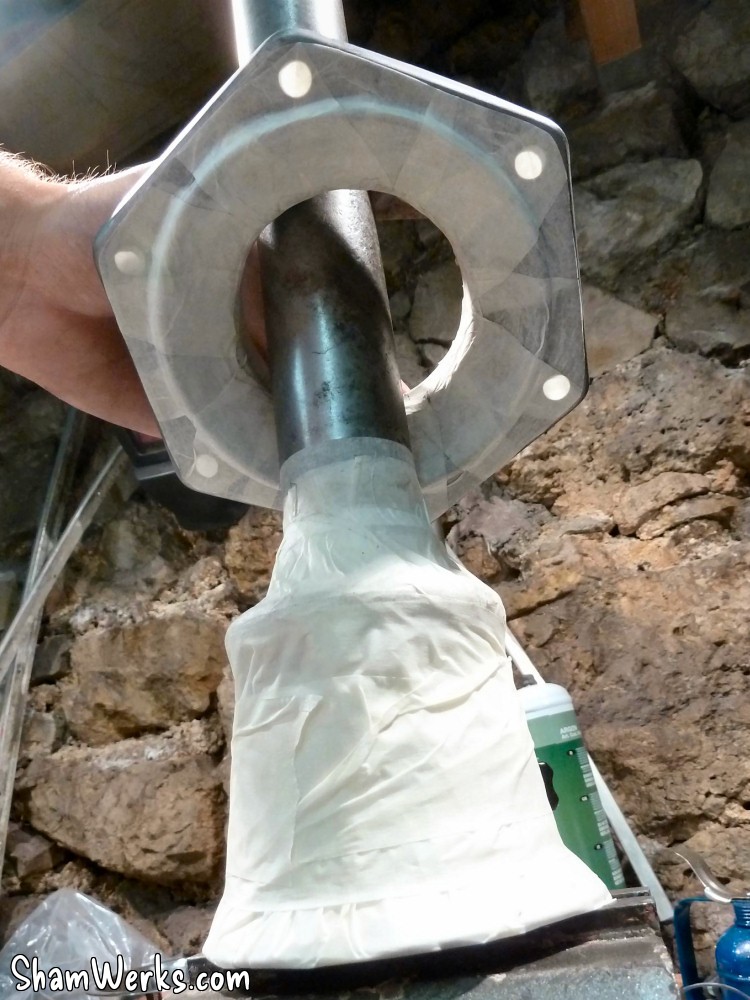
To install them, there's two ways : either you remove the end casting (on the wheel side) with an hydraulic press, to fit the boot from there (after grinding away the rake line support). After what you re-install the end casting with the very same hydraulic press.
Or, if you don't have a press (I don't), you can use the solution described in the VW workshop manual ; it may look tricky, but it quite easy to do actually.
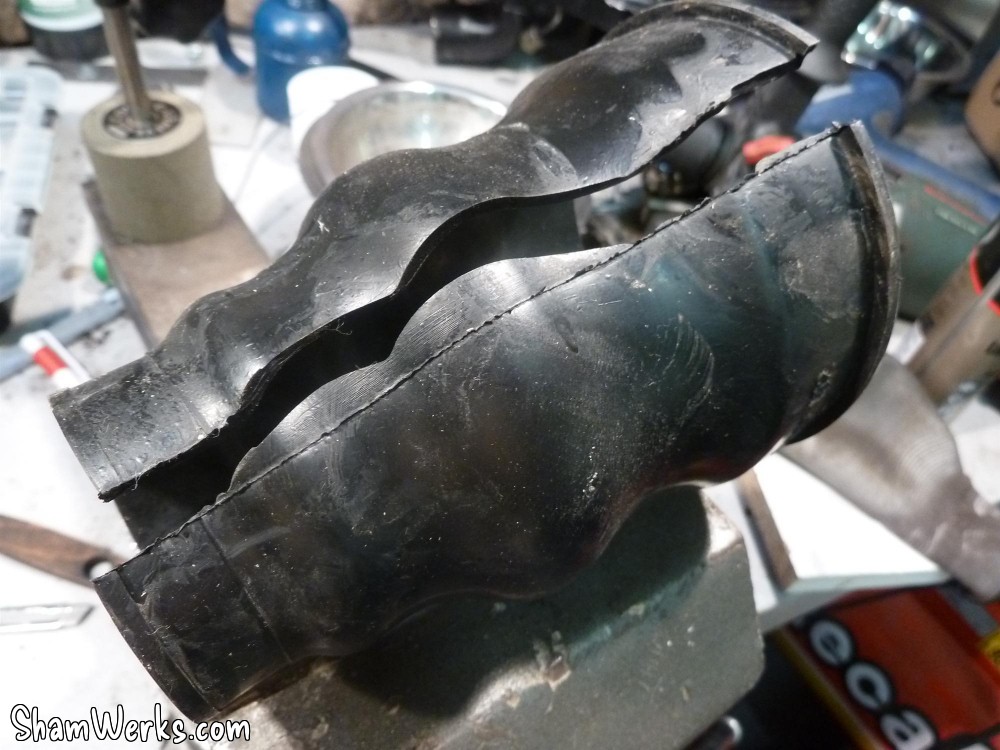
I've made a short video to show you how to do it... And how not to do it, I managed to rip one!
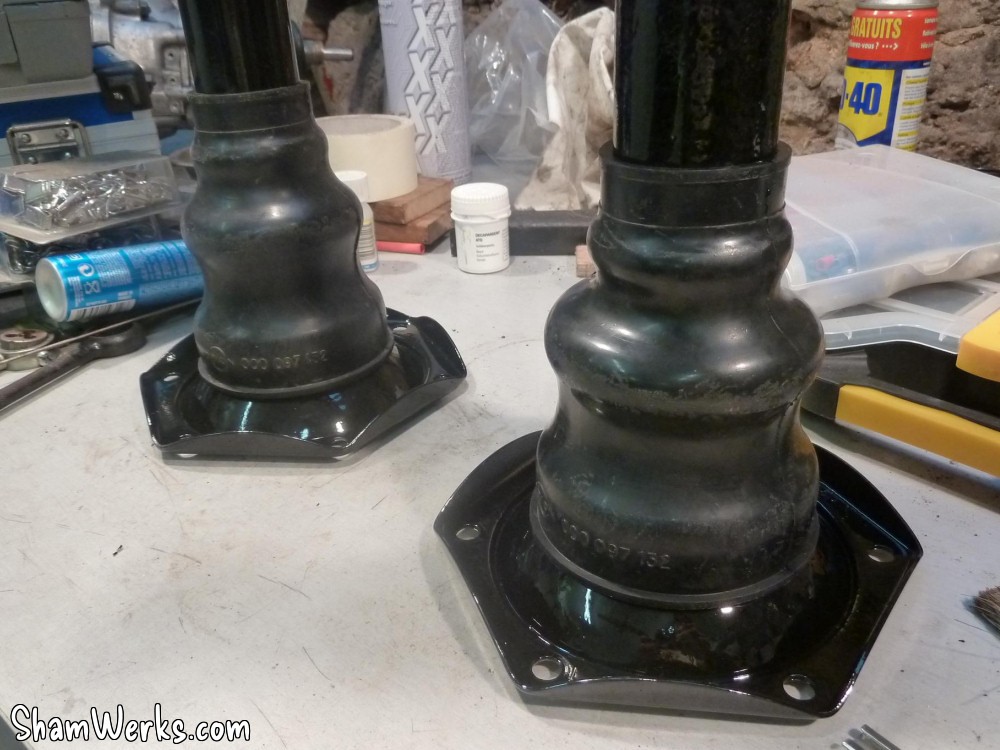
So here the result : pretty neat, uh?
Inspecting the boot I ripped, I could see that it broke along the "mold seam", there's probably a weakness in the matter there, and that's precisely where I forced with my screwdriver... And I probably did not let it heating long enough. So if you give this a try, do not make the same mistakes!😉
A few days later... TAAAADAAAAA! 😁
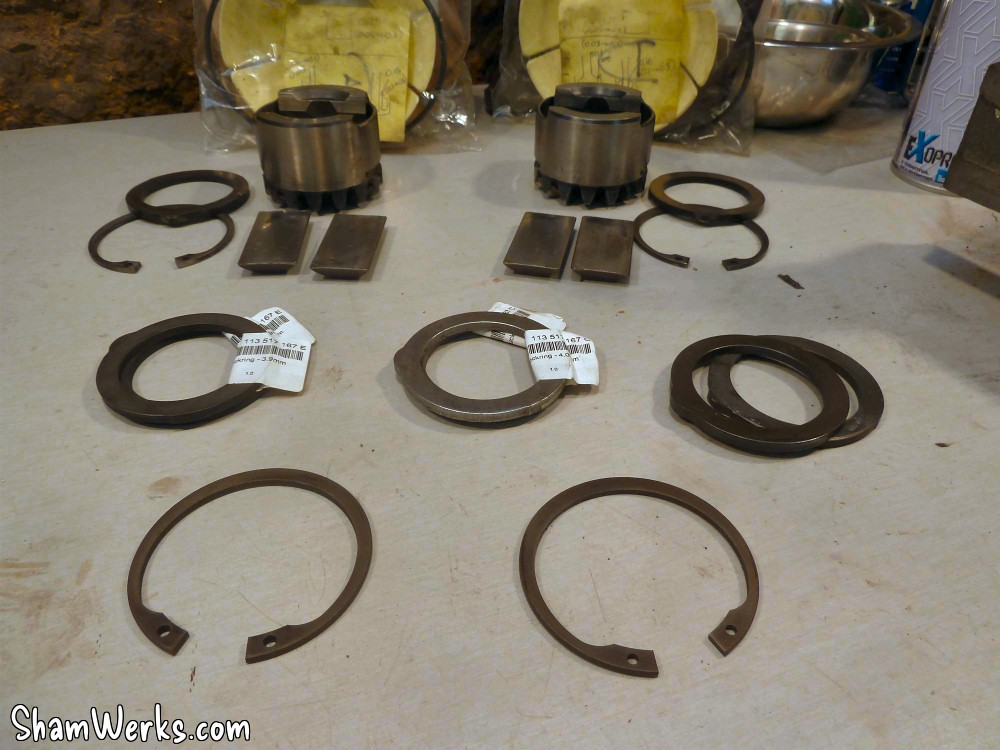
As said earlier the planetary gears play had not been set correctly. Time to do it correctly...
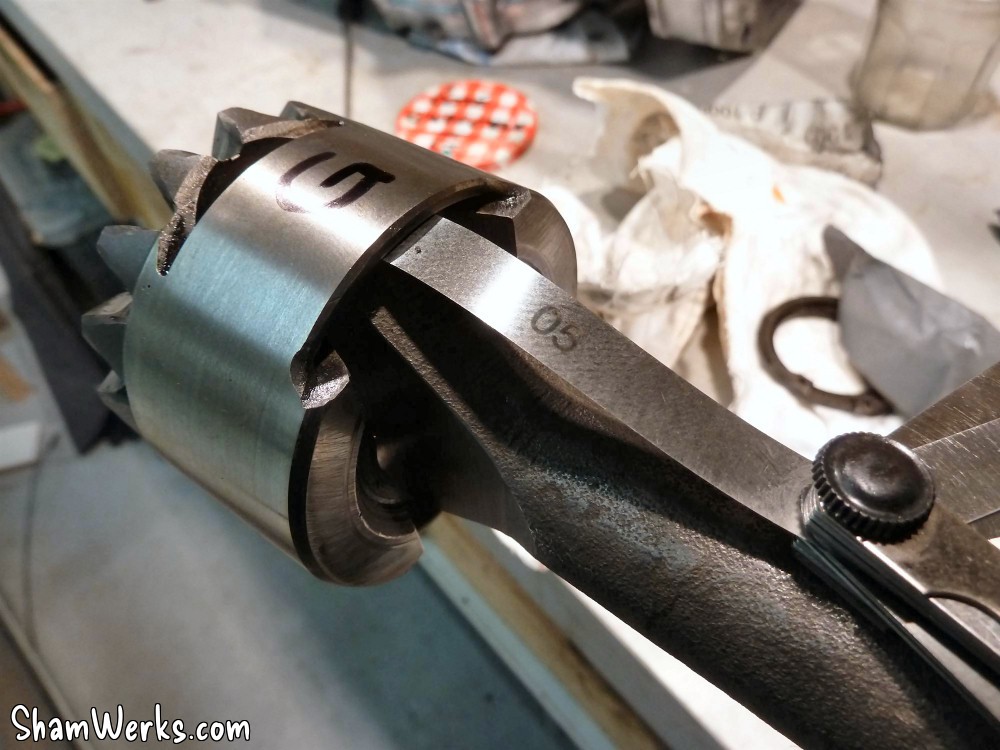
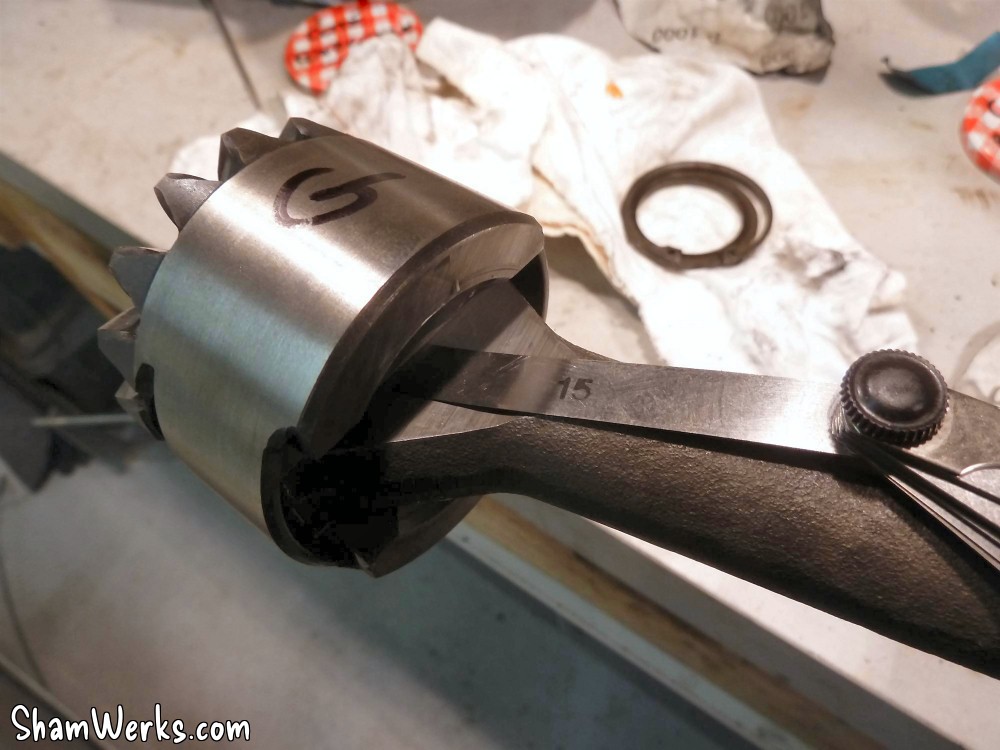
There is 3 different plays to check on the planetary gears, the VW workshop manual gives the tolerances :
- between the sides of the "fish tail" end of the axle and the planetary gear body : you're supposed to have between 0.03mm and 0.1mm, with a preference for a tight fitting. My thinnest thickness gauge, 0.04mm, goes in tight on the right axle, while I have 0.05mm on the left one. That's perfect as far as I'm concerned.
- between the flat side of the "fish tail" end of the axle and the fulcrum plates : you need between 0.1mm and 0.3mm, the ideal range being 0.15mm/0.20mm. I measure 0.15mm on the left one, and 0.16mm on the right one : bull's eye.
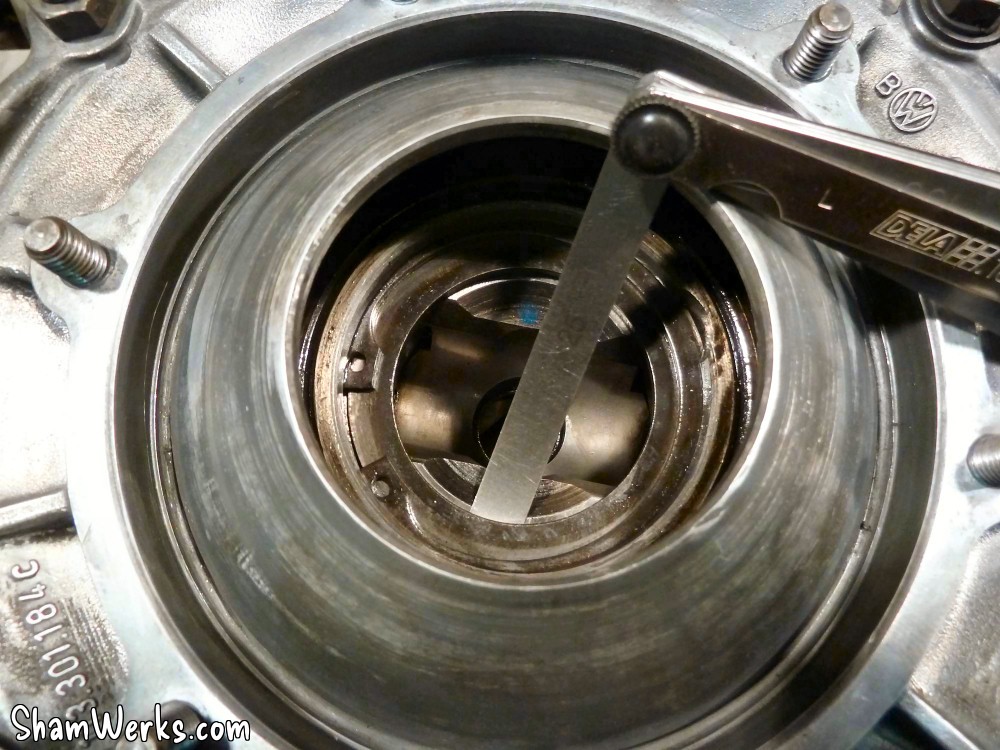
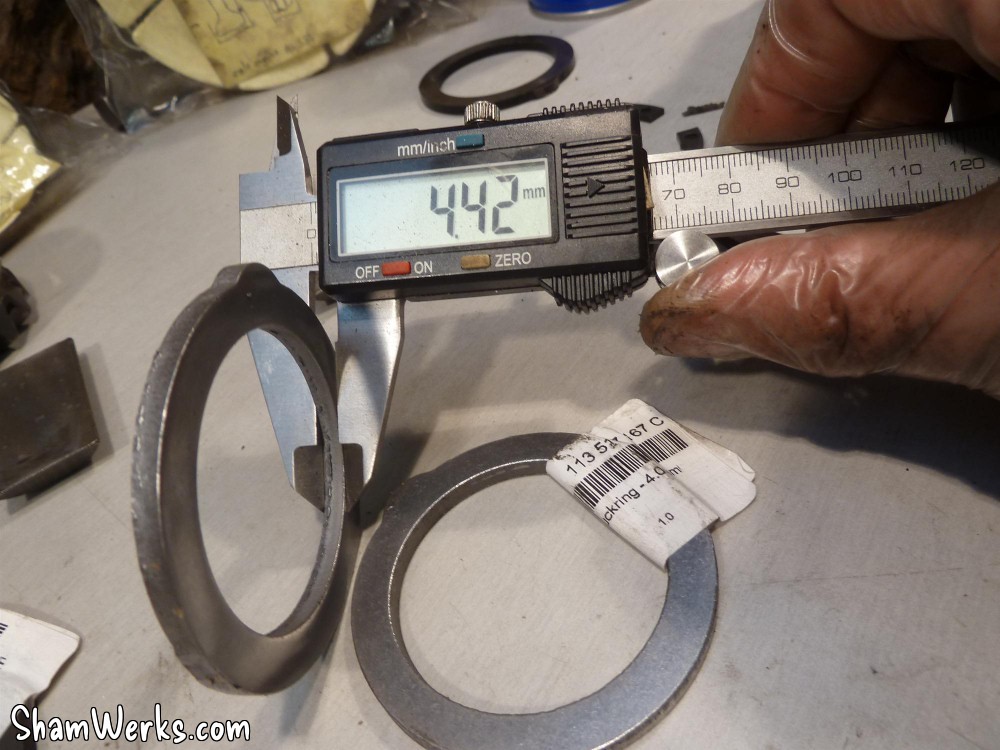
- and now things get a bit more complex : planetary gear inside the differential, with its thrust washer and snap ring in place, you should have between 0.05mm and 0.2mm of end play, with a preference for the tighter end of that range. Unfortunately, I have 0.27mm on the right and 0.25mm on the left... No bueno. 😔
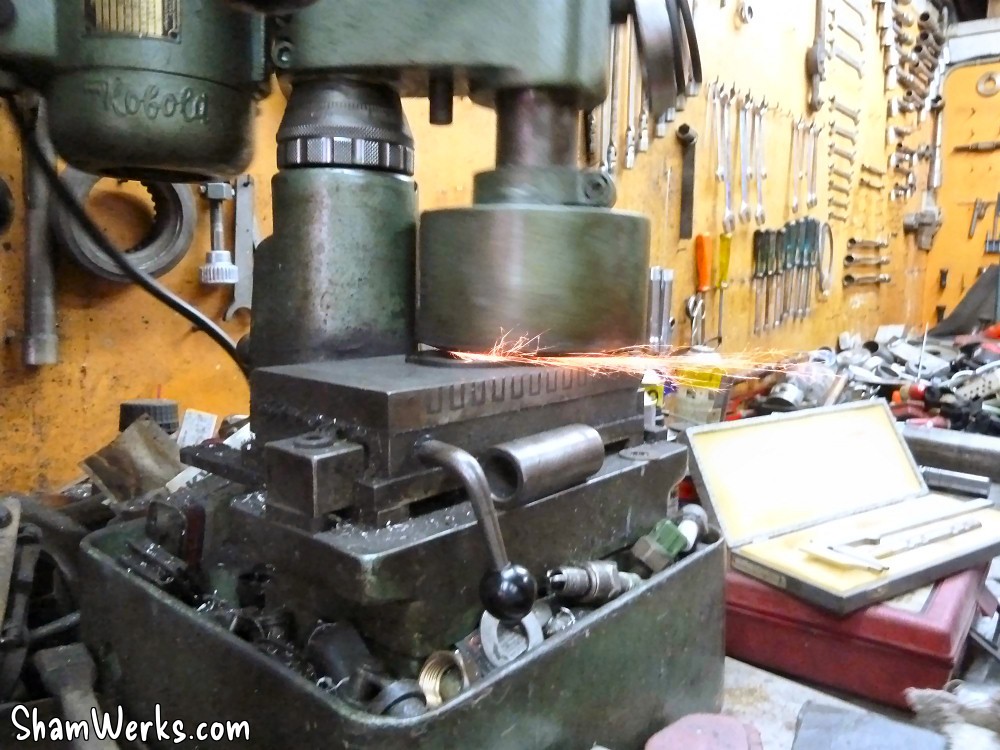
Plan B it is then, I order thickness-calibrated thrust washers from VW Classics (2 months delay, one gotta be patient... I ordered new snap rings as well to have a reliable setup), in 3.9mm, 4.0mm and 4.2mm (thickest size available), hoping to have the right one for my assembly. Besides, upon inspection there are two distinct finish qualities : the 3.9mm and 4.2mm are precisely calibrated, with a nice smooth finish ; on the other hand, the 4.0mm actually are 4.42mm thick!
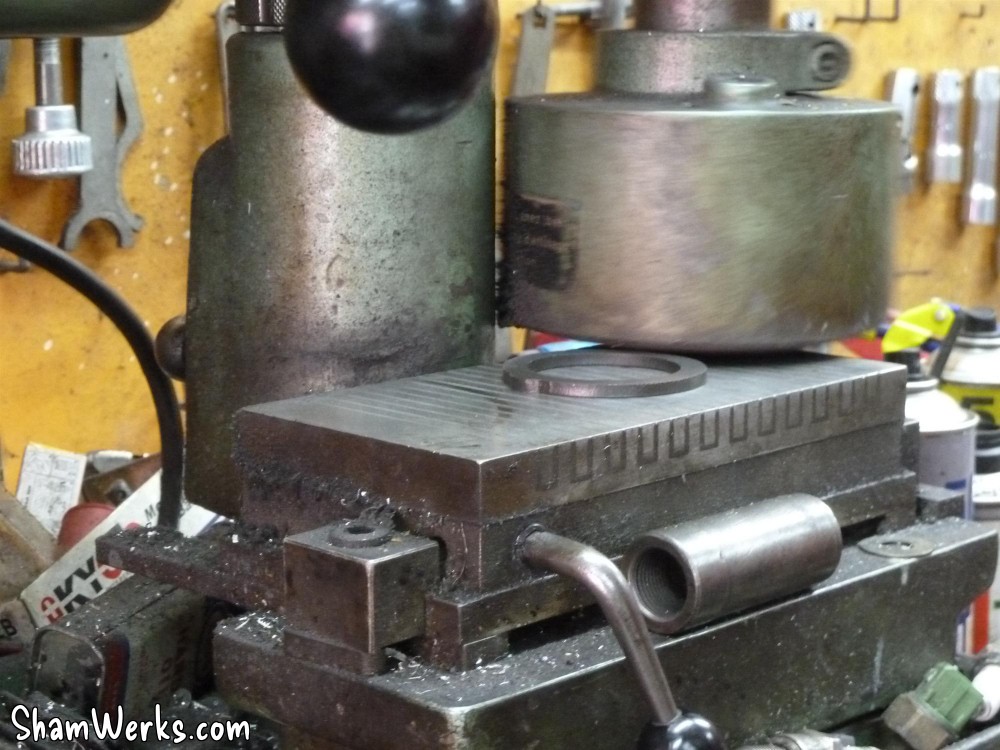
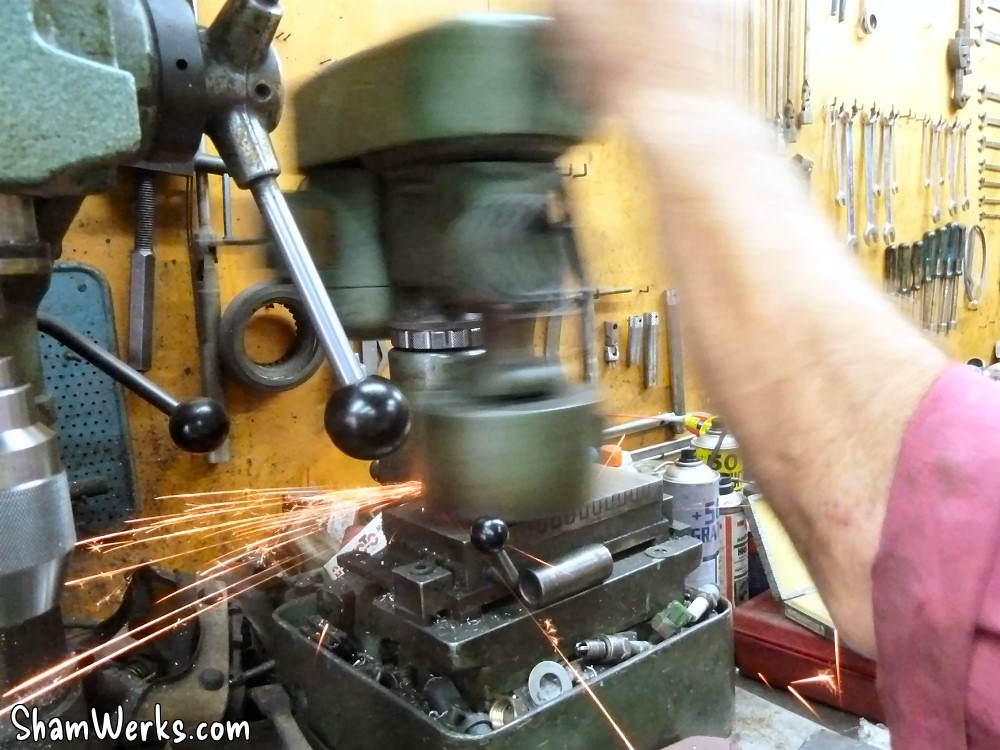
So I head up to JLC's (thanks Jean-Louis) to adjust the thickness with his surface grinding machine... And here it goes, perfect fit, almost tight, it will be just perfect after driving it a few kilometers!
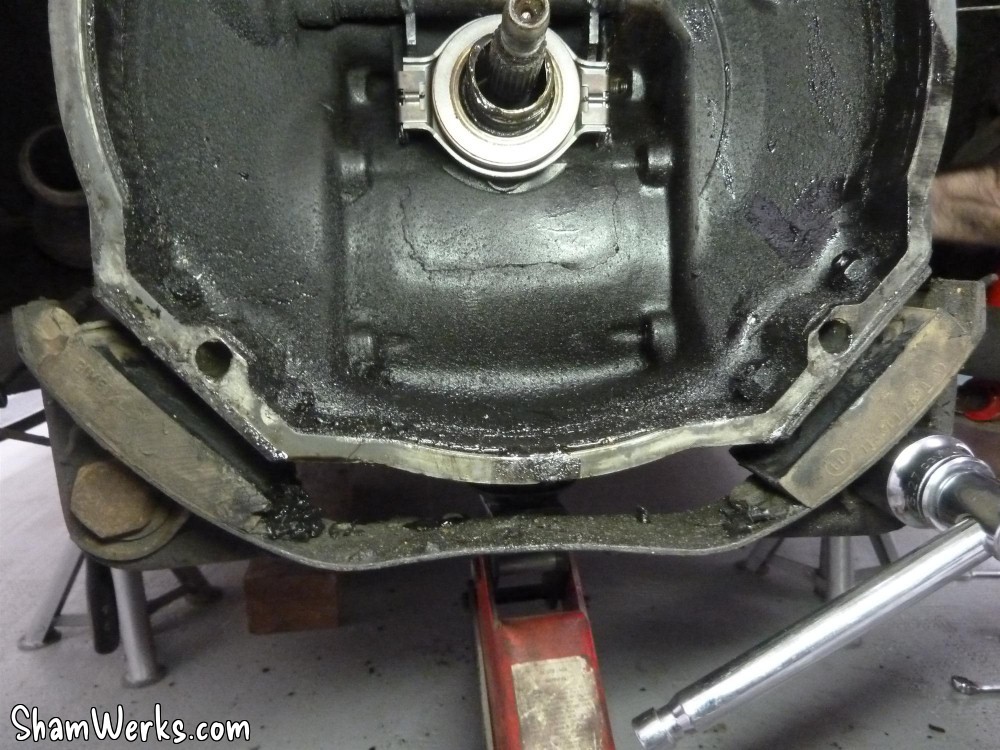
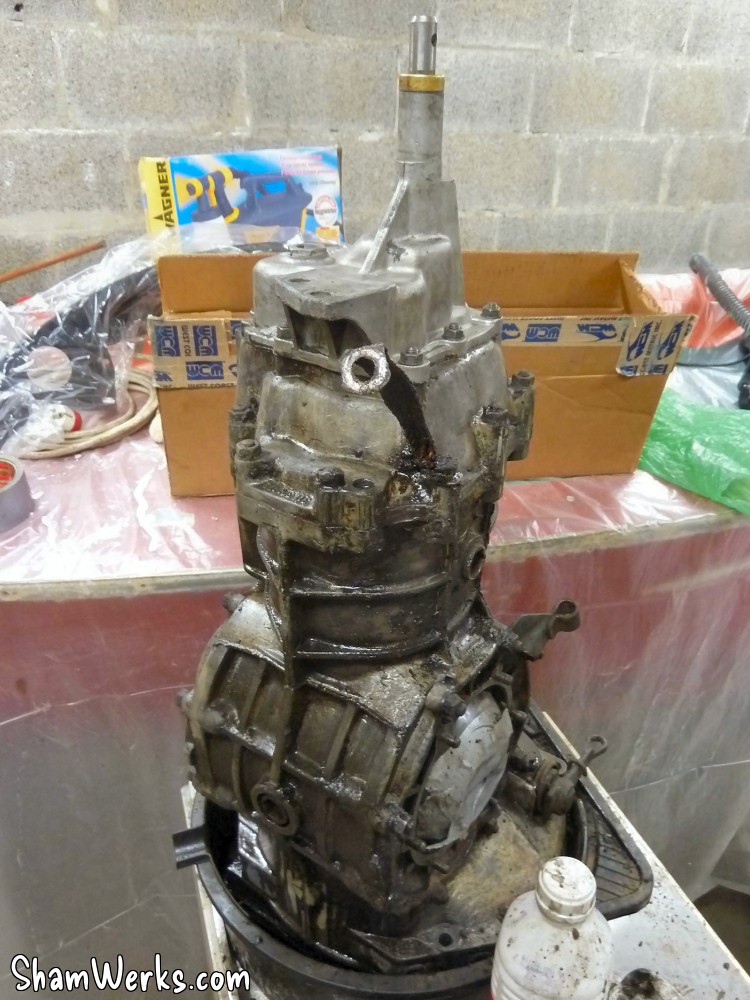
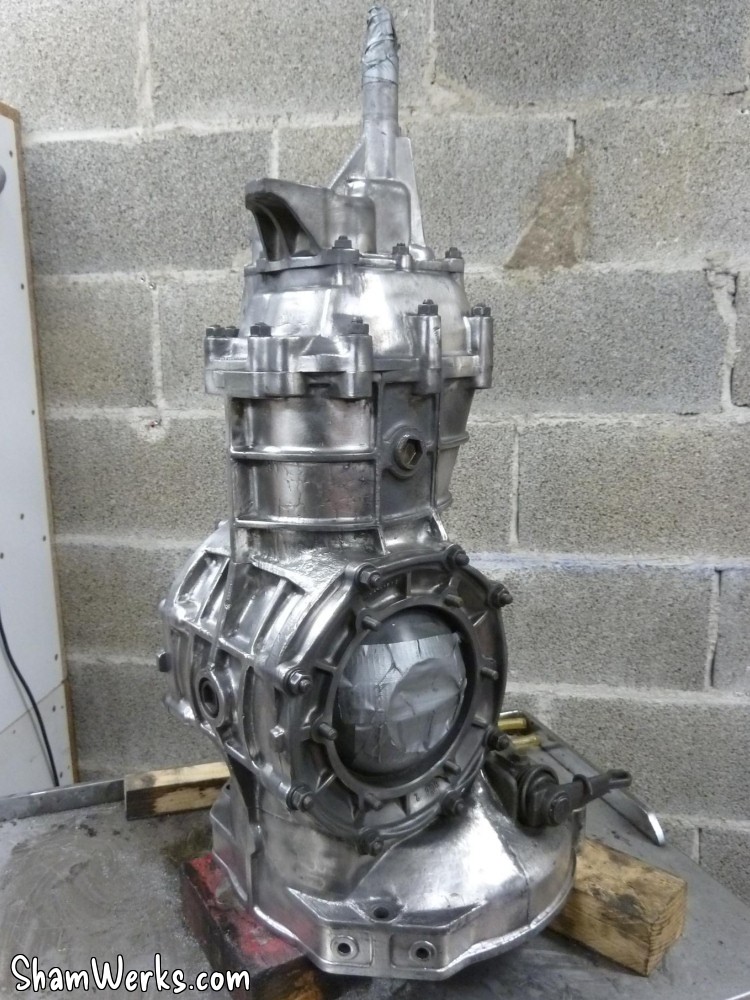
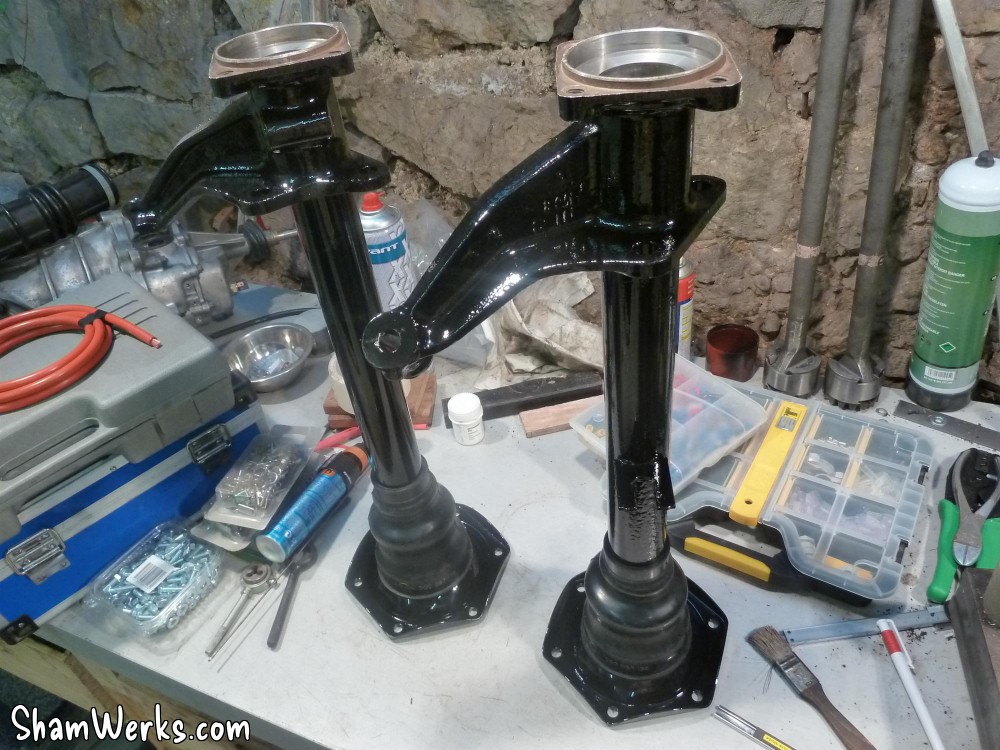
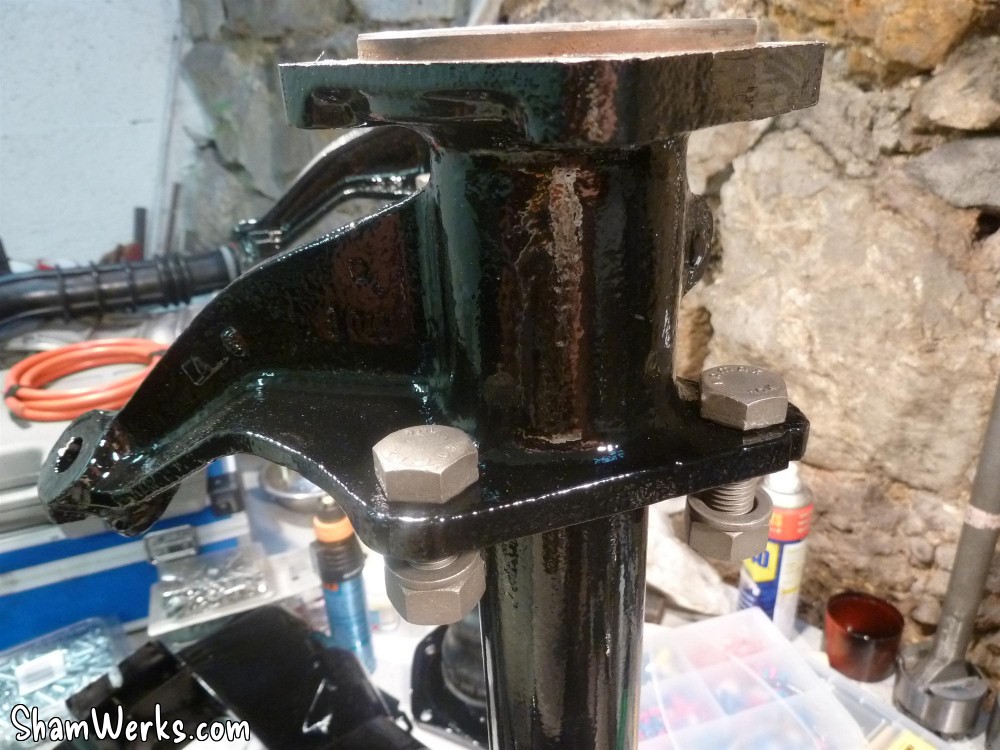
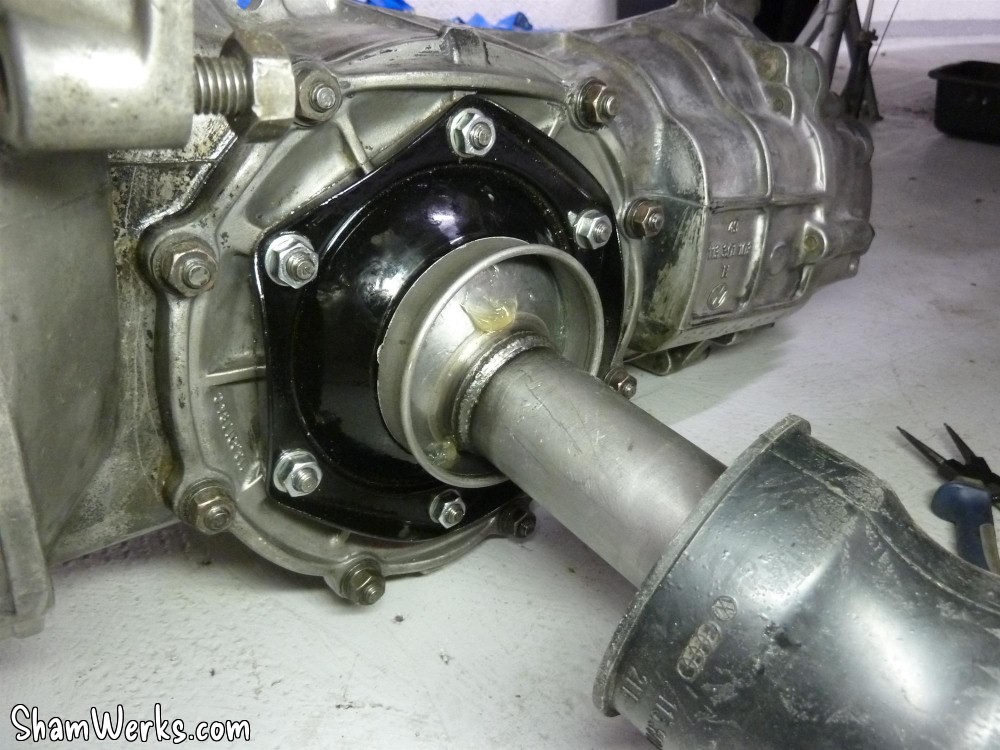
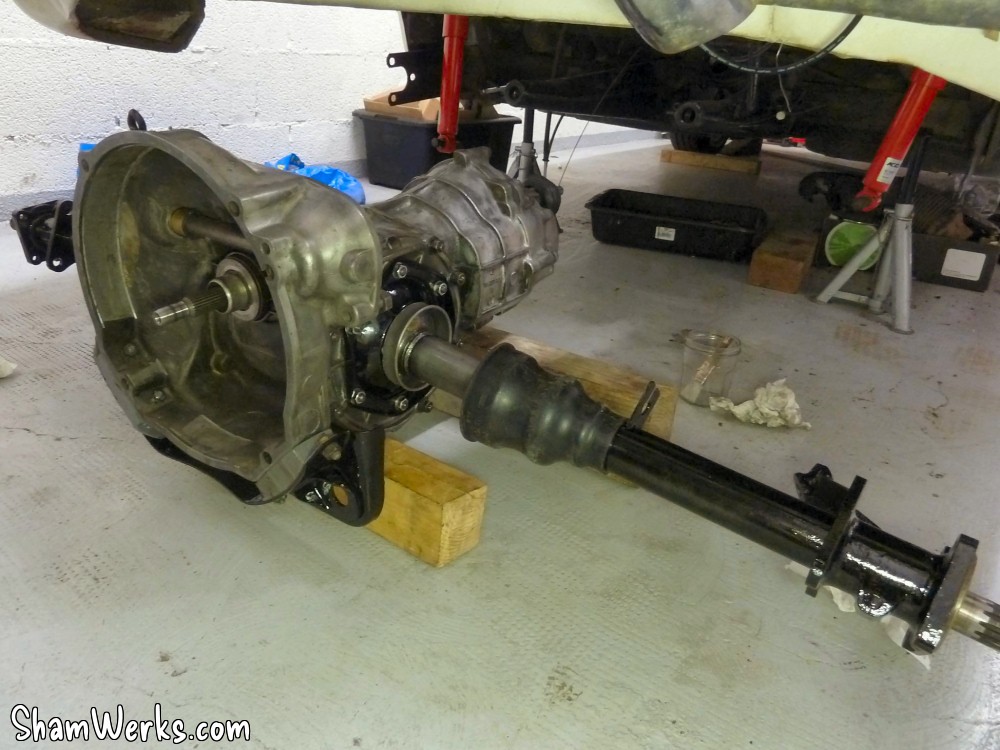
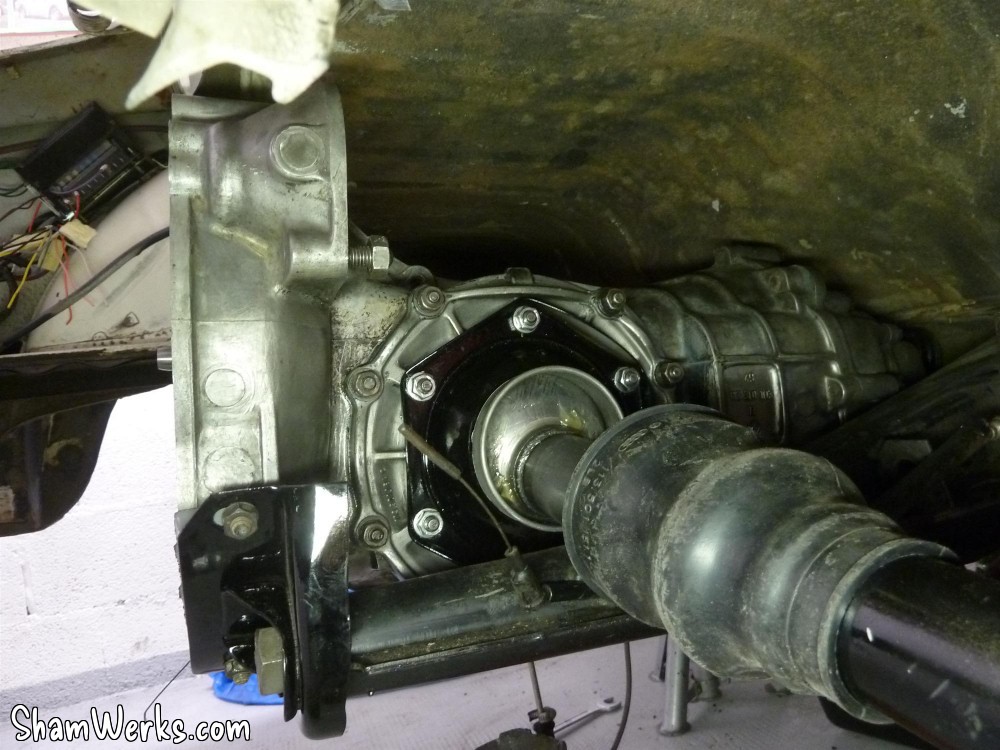
I can now finally push the gearbox back into the car!
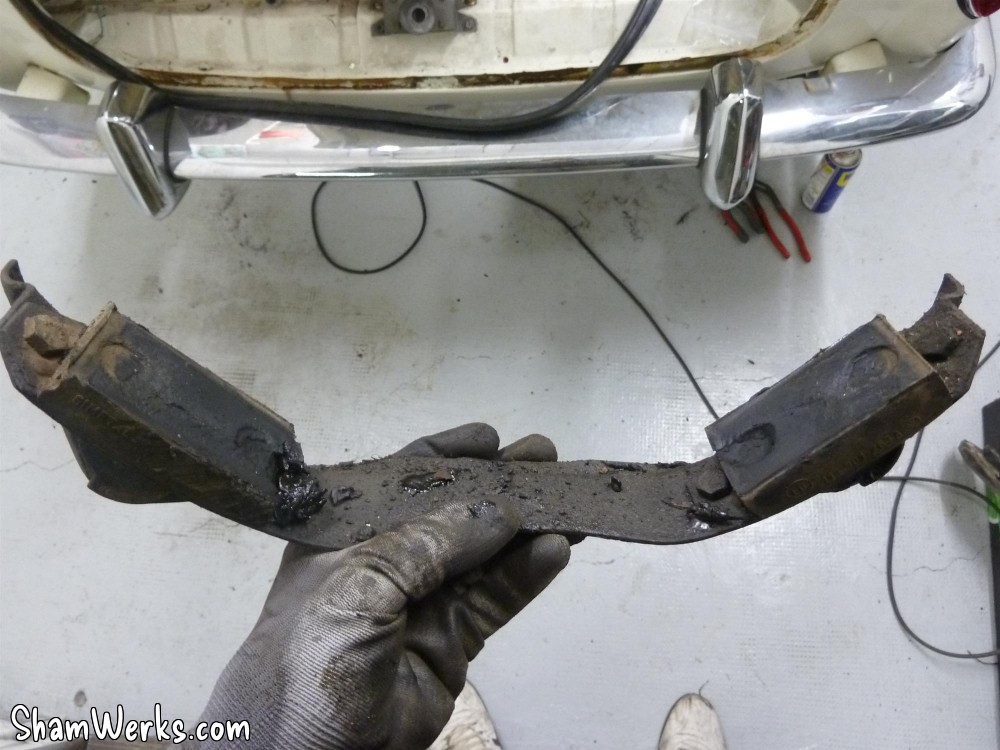
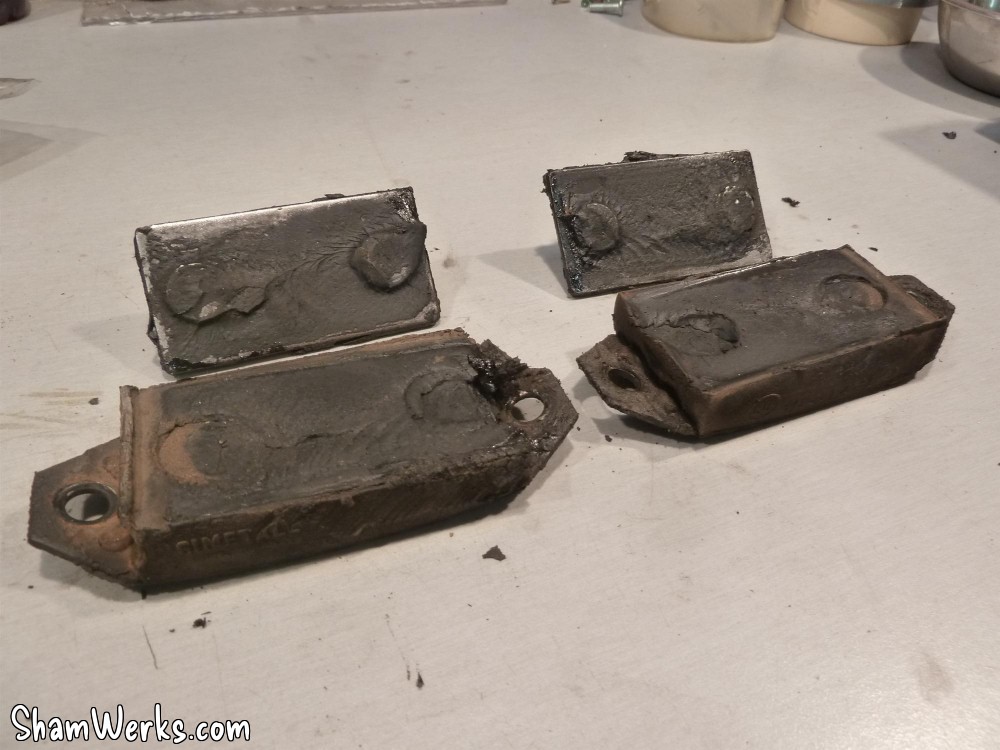
I install new mounts (harder ones), new bearings and gaskets/seals on the wheel side...

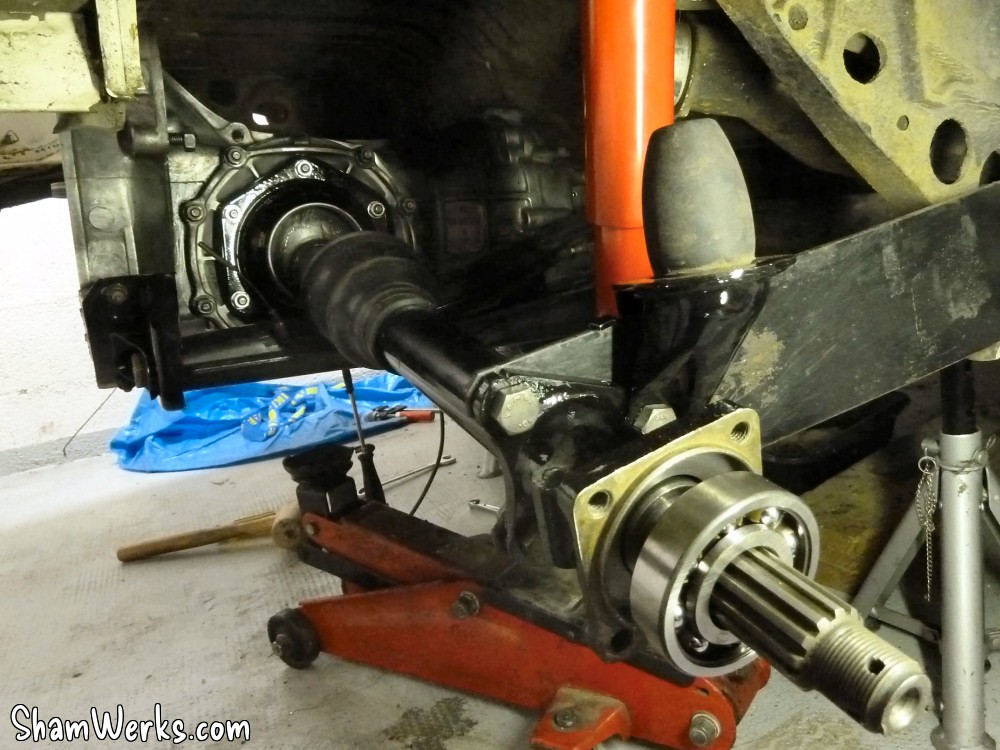
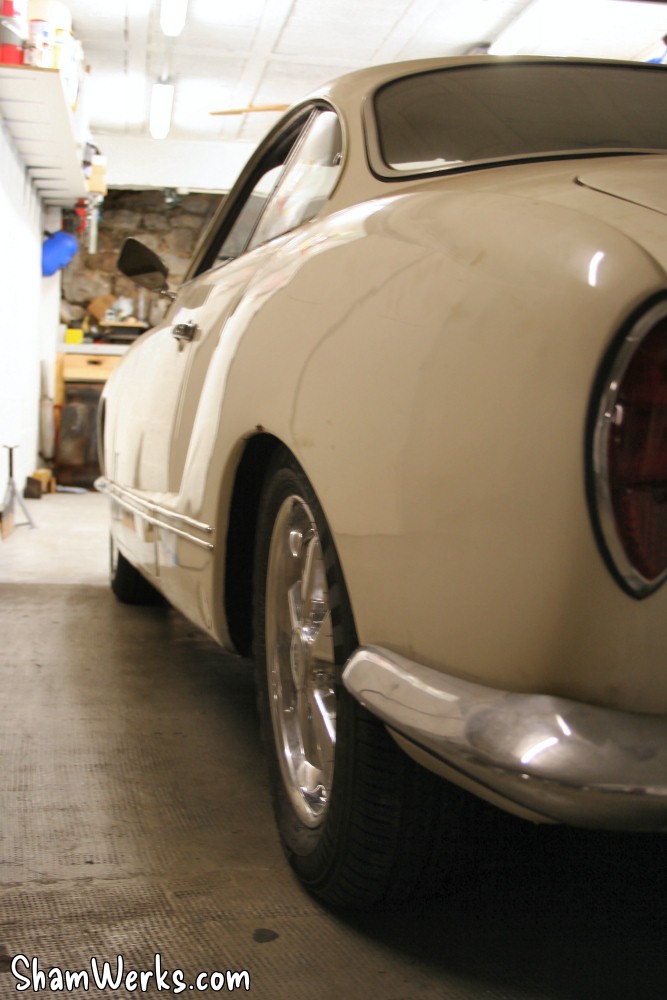
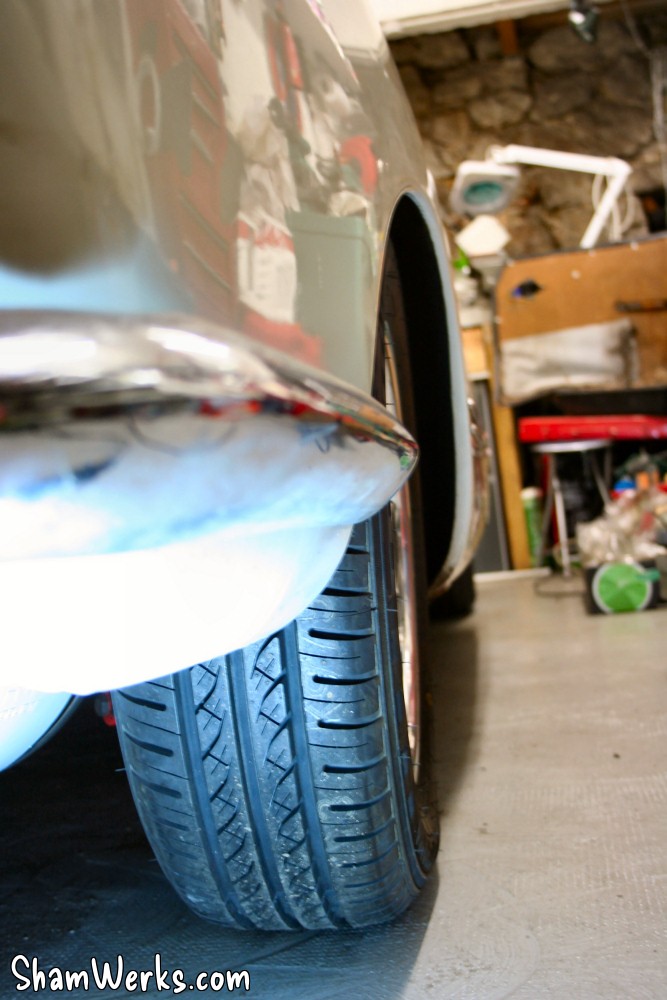
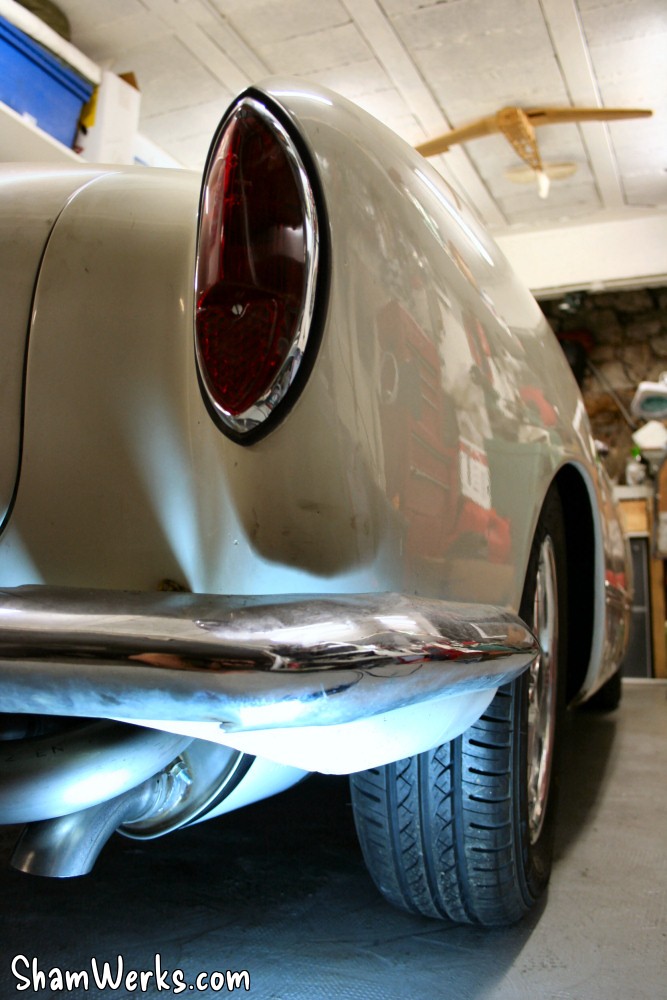
The rear wheels fit comfortably under the fenders, I may even be able to put slightly thicker spacers behind the rims (I currently have 8mm ones).
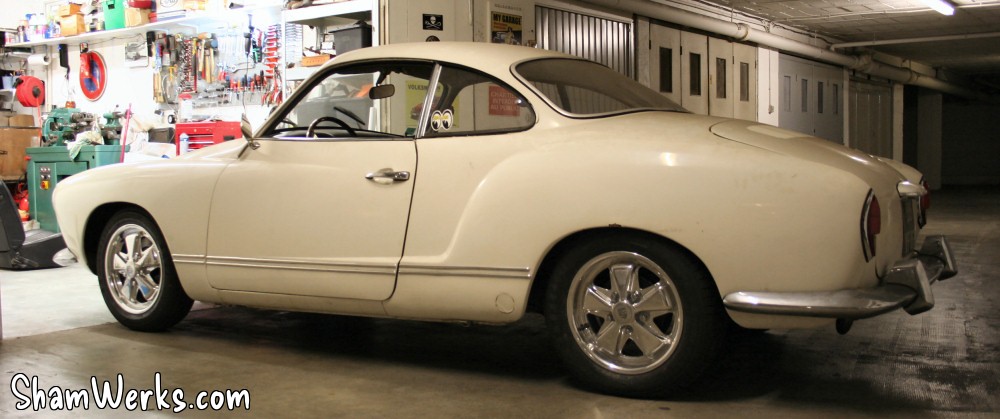
I couldn't help making a quick Photoshop to see how it would look like!